
waffle recipe with self raising flour

title 1
waffle recipe with self raising flour
⏱️ cook time 12 minutes
🍽️ servings 4
⚡ Difficulty easy

intro

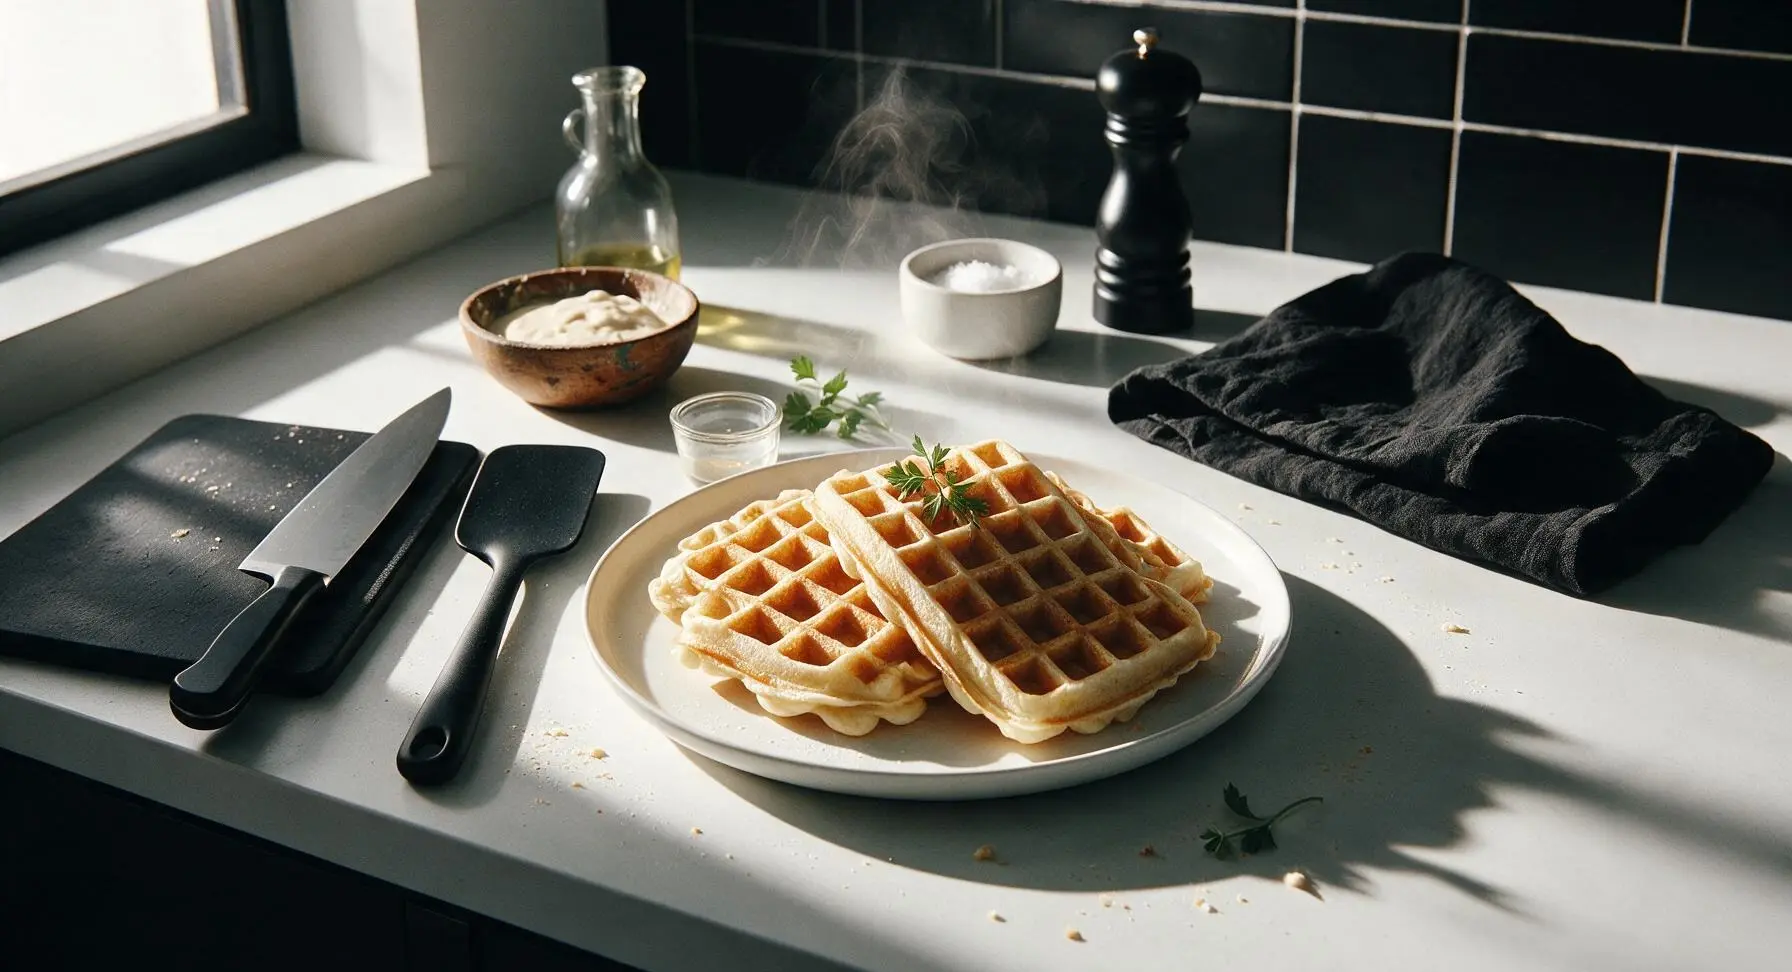
Fluffy, crisp-edged homemade waffles made simple with self-raising flour—no fancy leavening math, ready in 20 minutes for cozy, customizable meals any time of day.

Ingredients
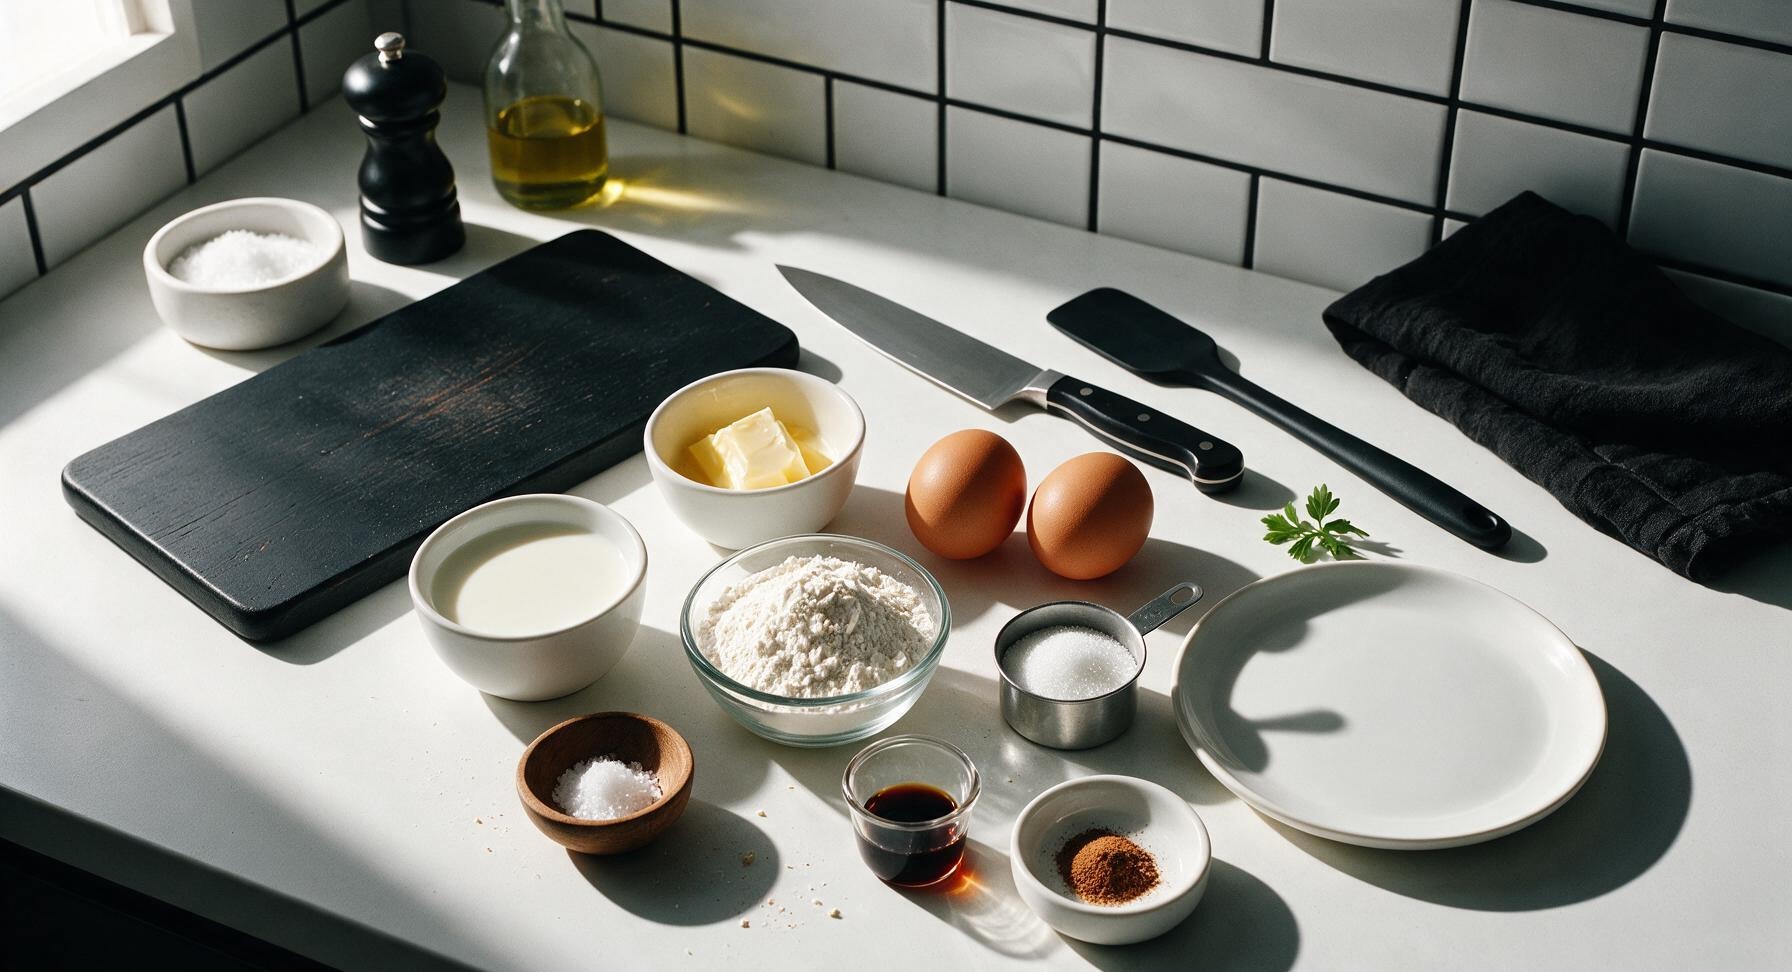
Self-raising flour 2 cups (240g)
Whole milk, room temperature 1.5 cups (360ml)
Large eggs, room temperature 2 each
Unsalted butter, melted and cooled 4 tbsp (56g)
Granulated sugar 2 tbsp (25g)
Pure vanilla extract 1 tsp (5ml)
Fine sea salt 1/4 tsp
Ground cinnamon 1/2 tsp

Steps

1

Preheat Waffle Maker

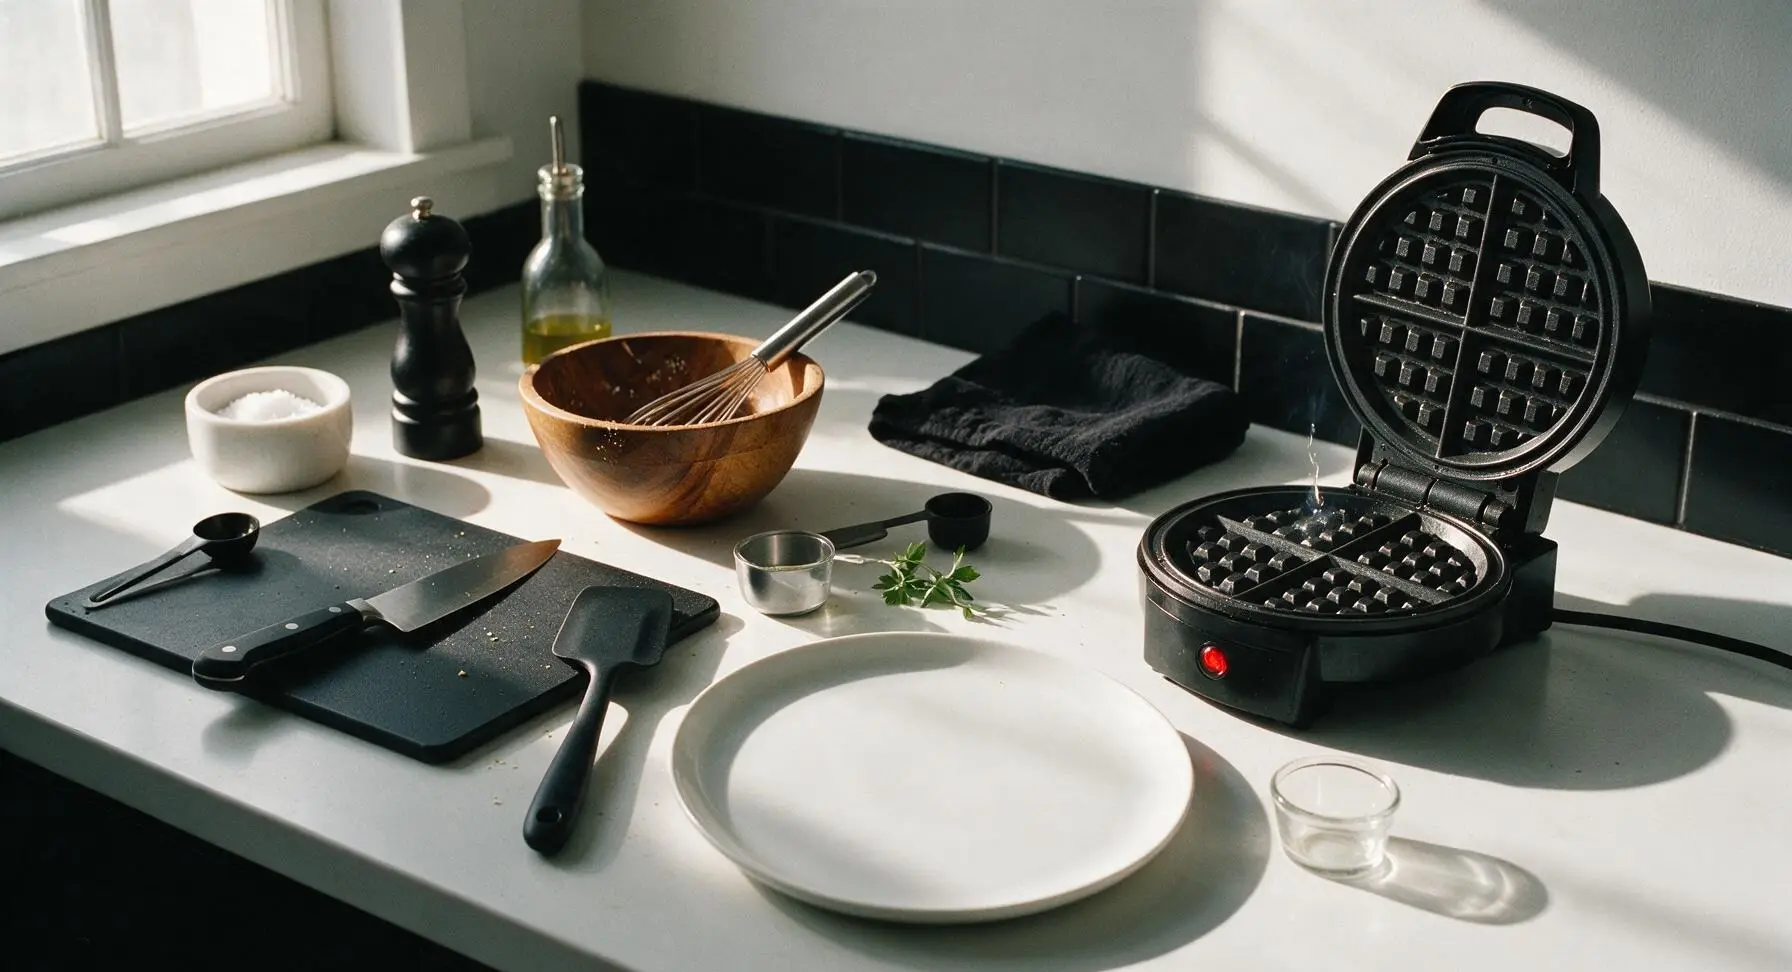
Plug in the 7-inch matte black electric waffle maker and preheat to the medium-high setting (375°F/190°C). Allow it to heat fully for 5 minutes while you prep the batter; test readiness by sprinkling a single drop of cold water on the plate—it should sizzle and dance across the surface and evaporate in 2 seconds. There is no need to grease the non-stick plates at this stage.
Step 1
step1:Preheat Waffle Maker
2

Combine Dry Ingredients

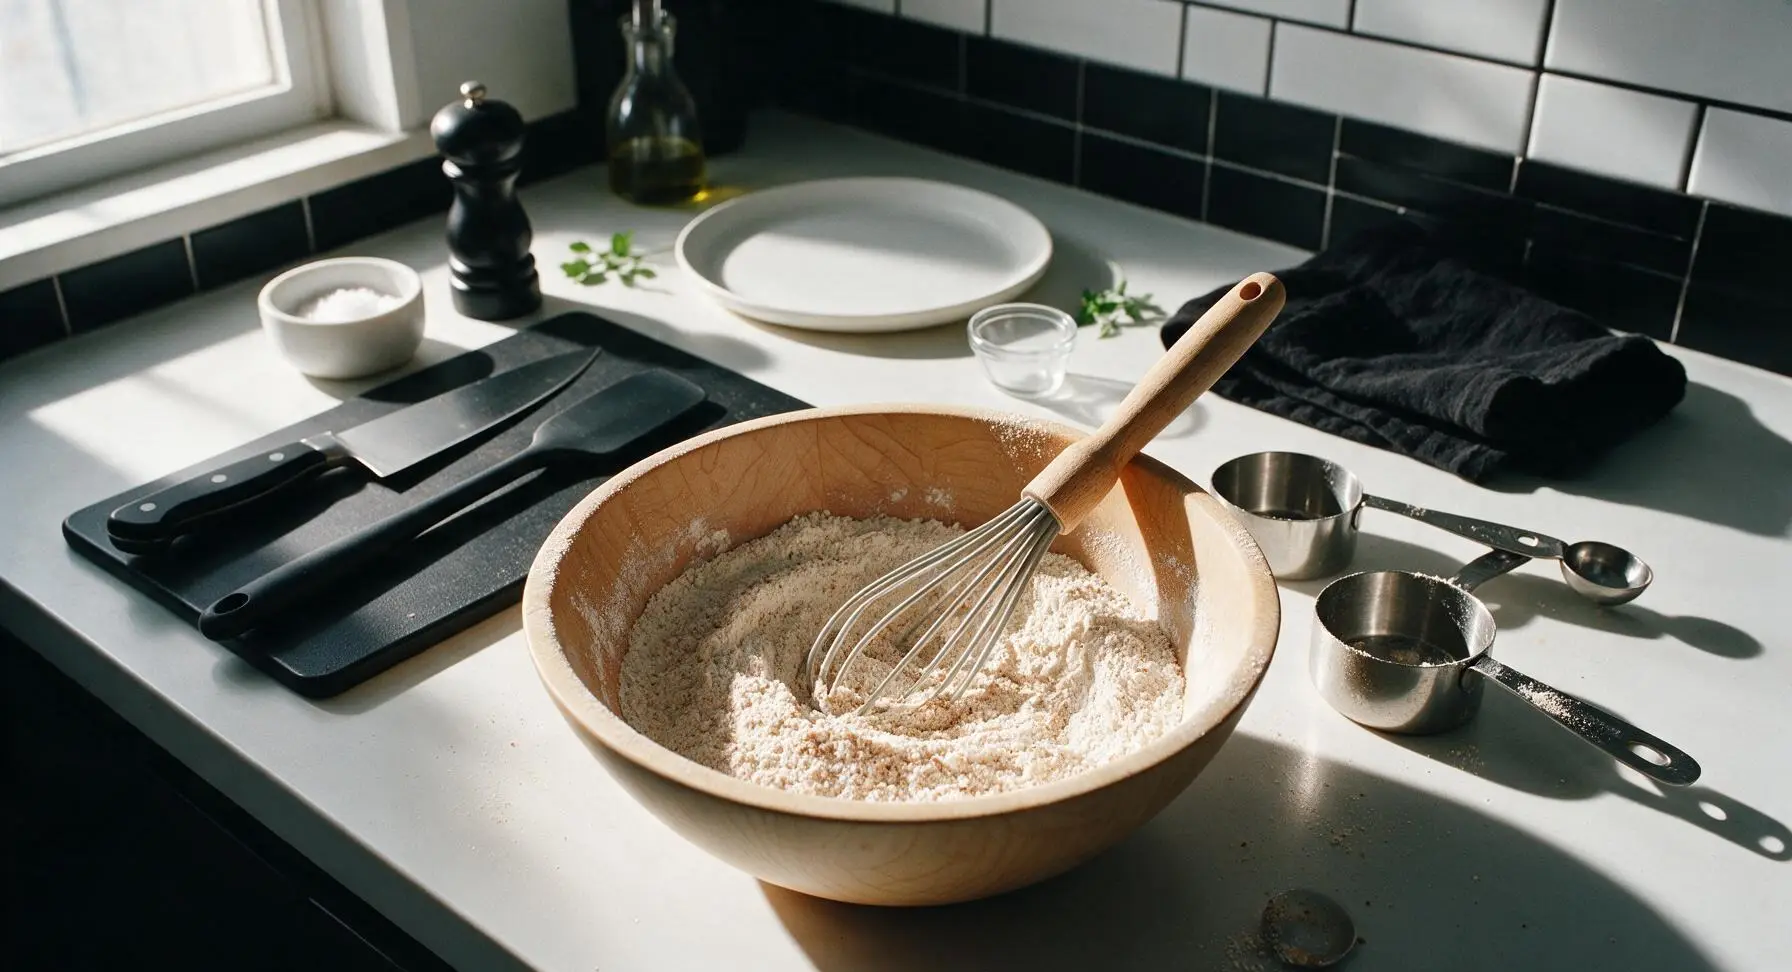
Add the 2 cups (240g) self-raising flour, 2 tbsp (25g) granulated sugar, 1/4 tsp fine sea salt, and 1/2 tsp ground cinnamon to the light maple wood mixing bowl. Use the black silicone whisk to stir the dry ingredients for 30 seconds until fully combined, with no concentrated clumps of cinnamon visible in the pale flour mixture.
Step 2
step2:Combine Dry Ingredients
3

Add Wet Ingredients

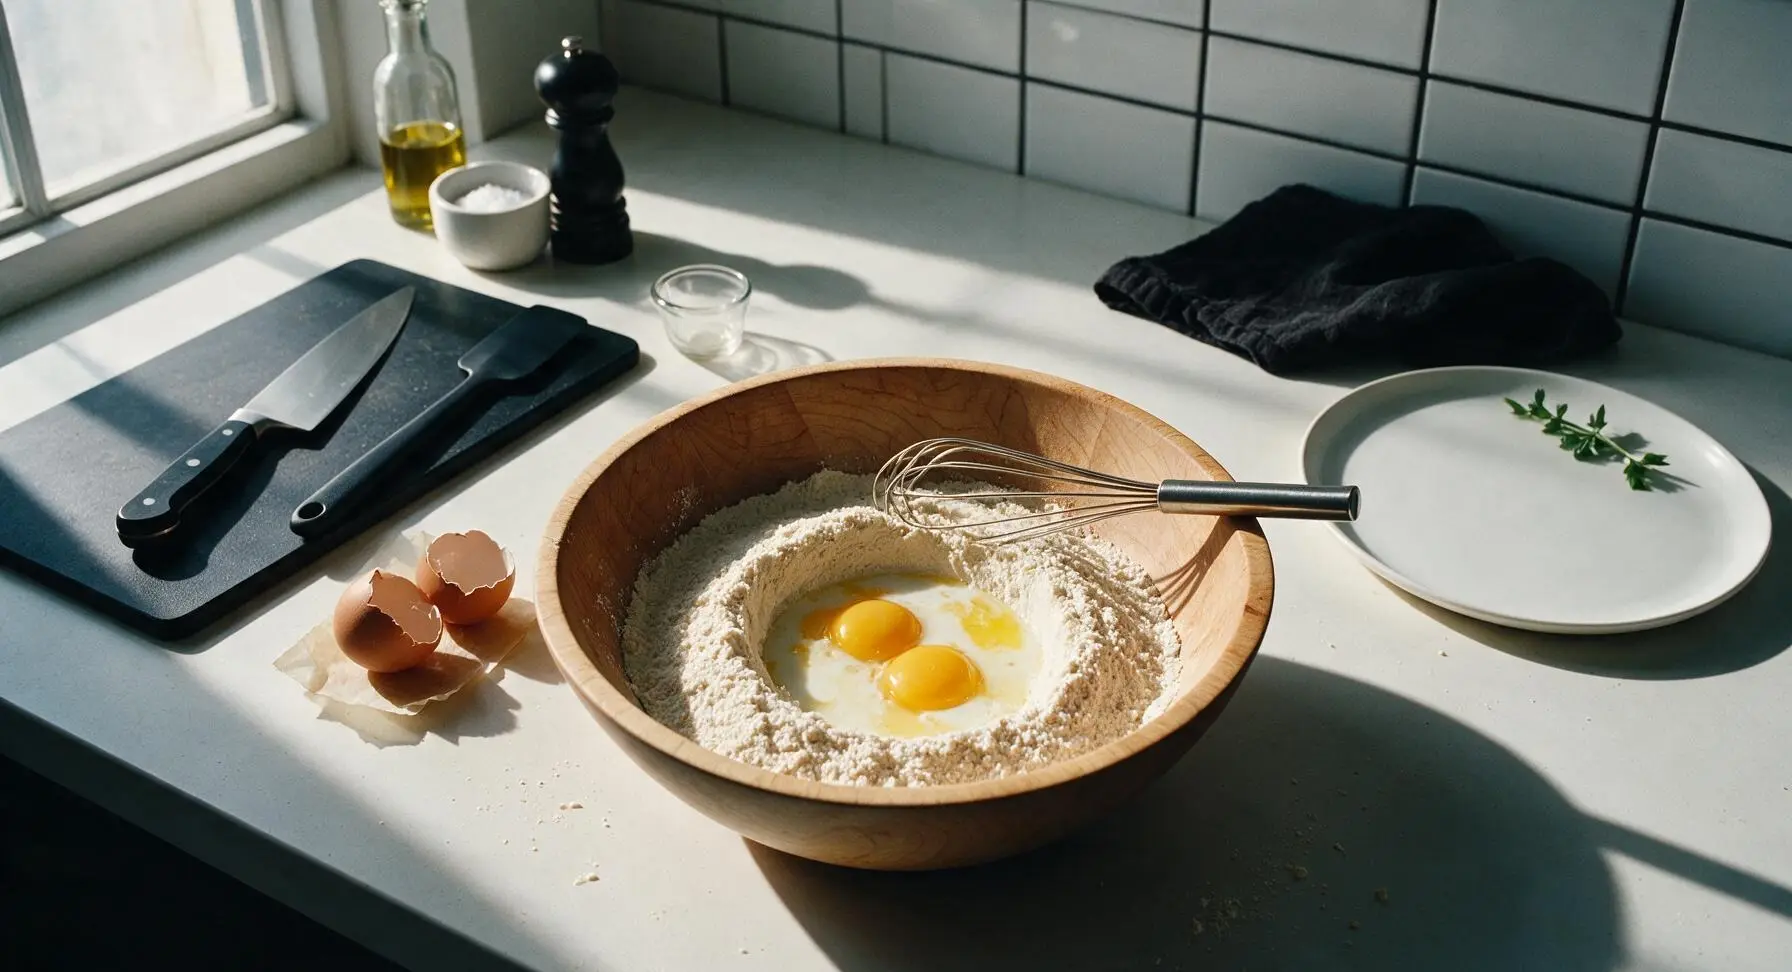
Create a 3-inch wide well in the center of the combined dry ingredients by pushing flour up the sides of the bowl with the whisk. Crack the two room-temperature large eggs into the well, then pour in the 1.5 cups (360ml) room-temperature whole milk, cooled melted butter, and 1 tsp vanilla extract, taking care not to splash flour over the bowl edges.
Step 3
step3:Add Wet Ingredients
4

Mix Smooth Batter

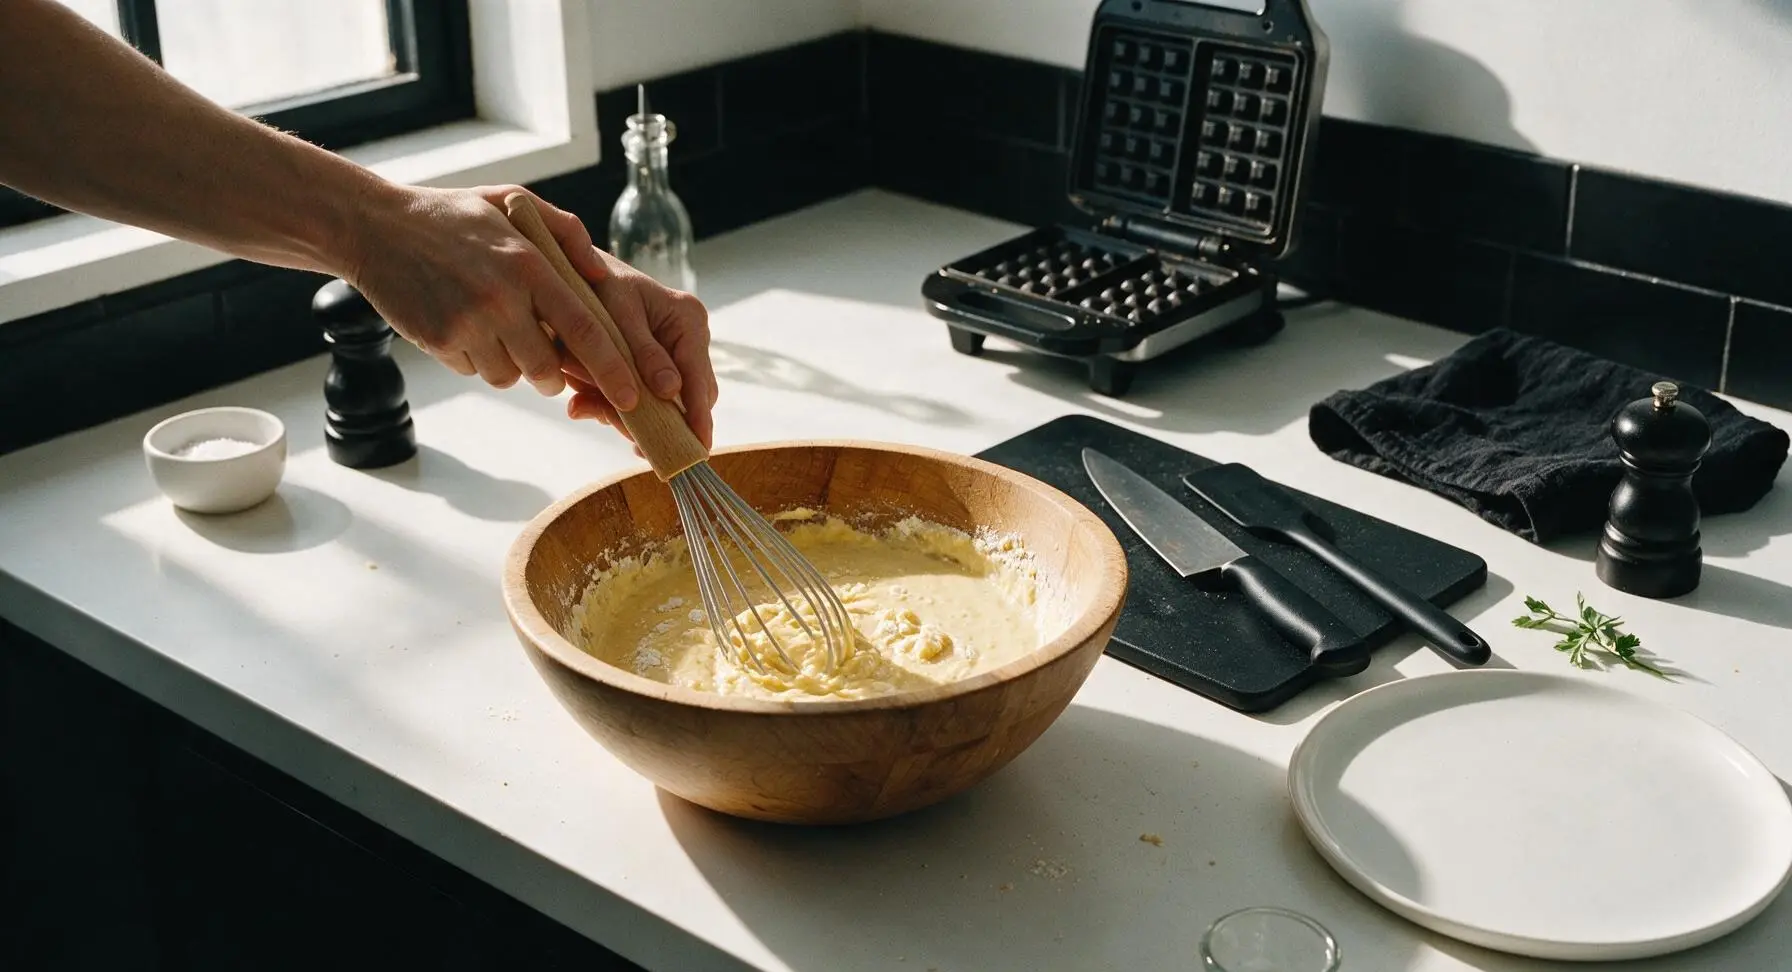
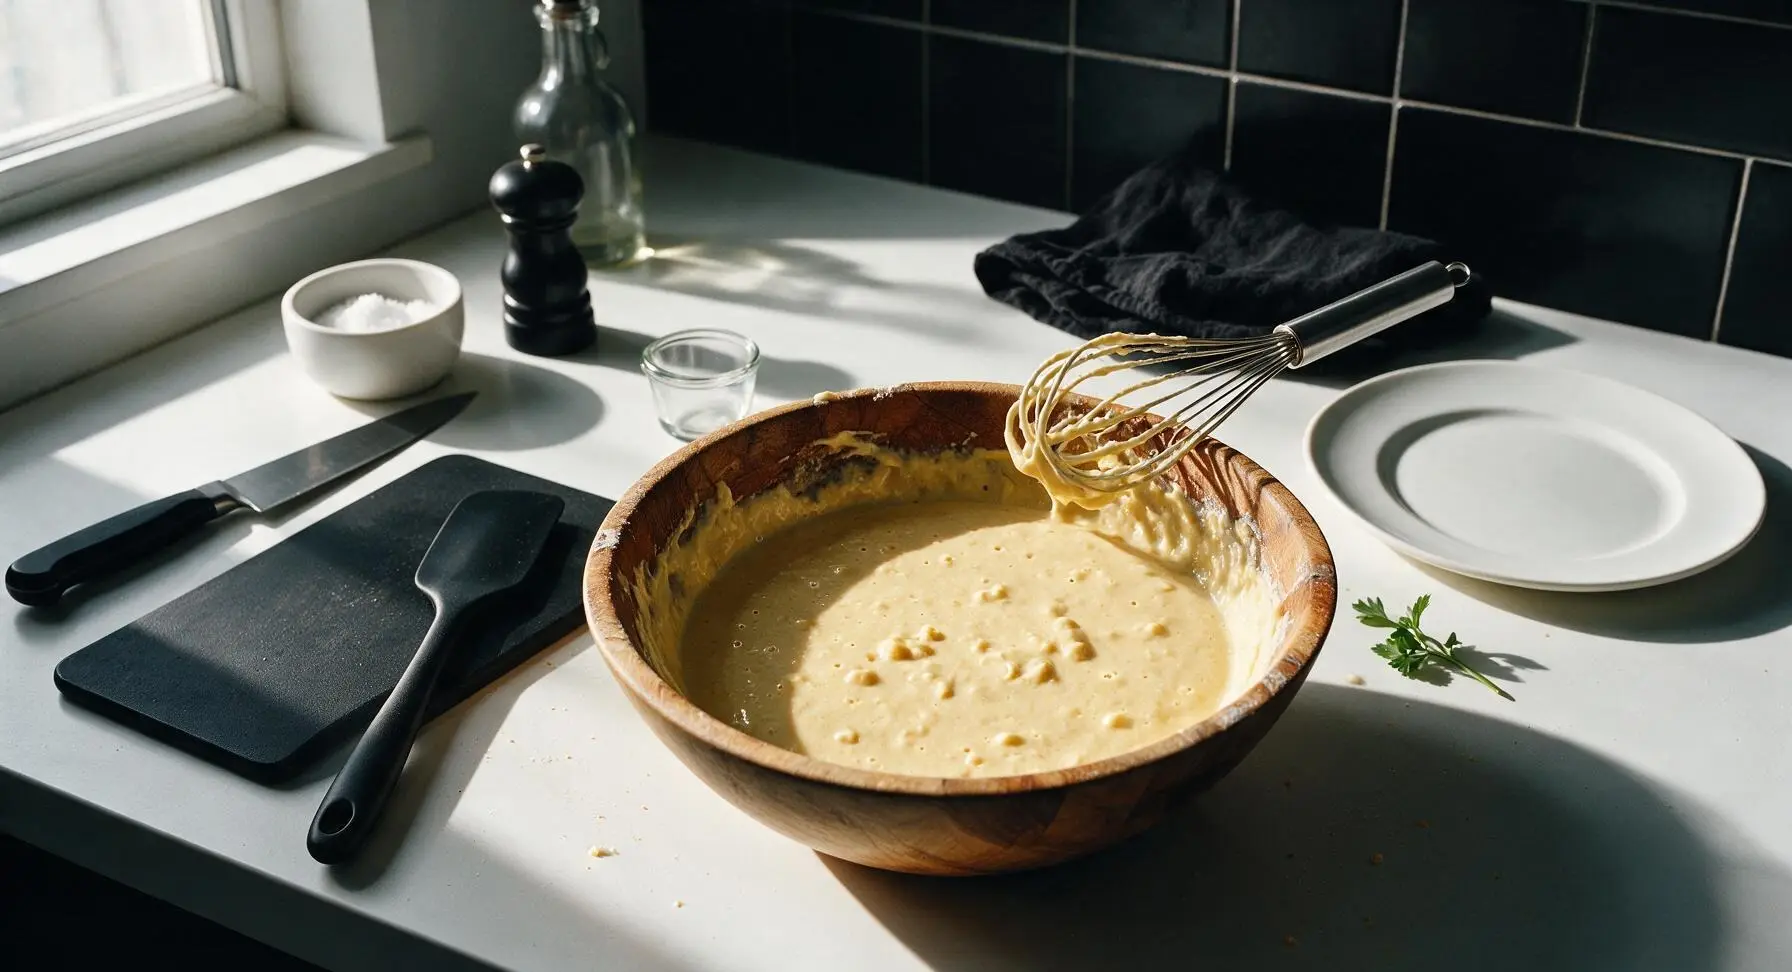
Use the silicone whisk to gently stir the wet ingredients into the dry flour, mixing only until just combined—stop stirring as soon as the last streak of dry flour disappears. The batter will be thick and slightly lumpy; do not overmix (stir for no more than 30 seconds total), as this develops wheat gluten and results in tough, dense waffles. Let the batter rest for 2 minutes to allow the leavening in the self-raising flour to activate, while you prepare to grease the waffle plates.
Step 4
step4:Mix Smooth Batter
Step 4
step4:Mix Smooth Batter
5

Grease Waffle Plates

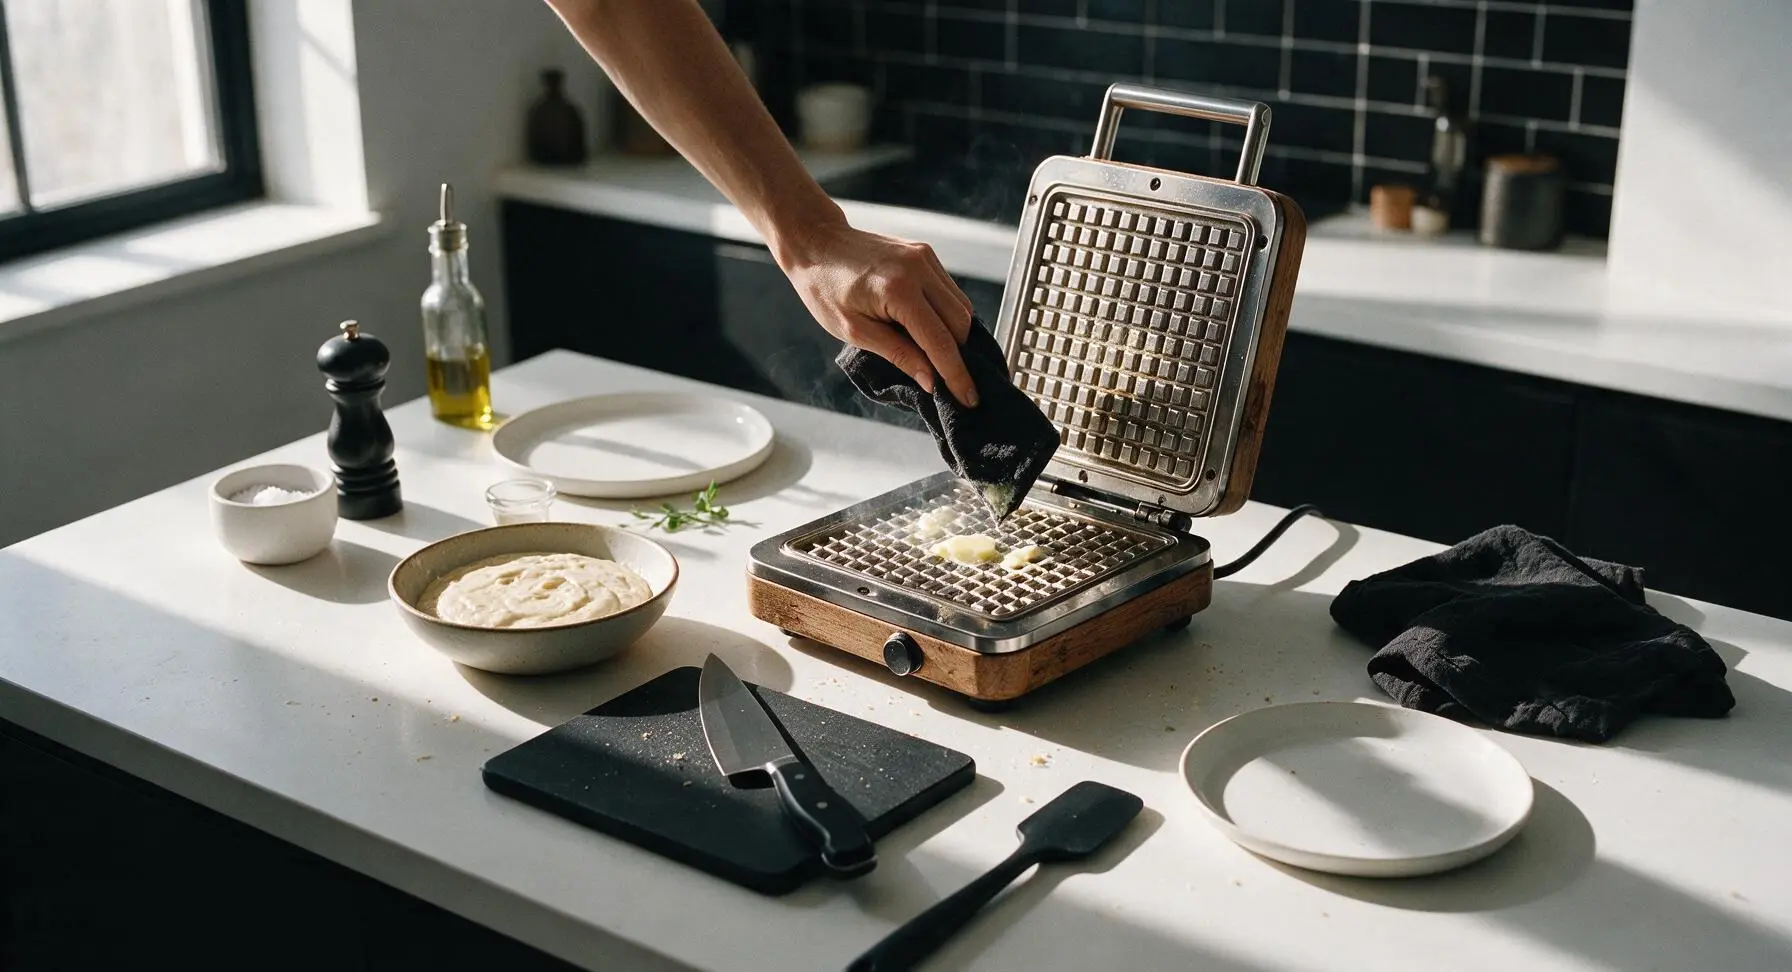
Gently lift the corner of the fixed linen tea towel (without moving the towel from its top-right position) to dab a tiny amount of leftover melted butter onto the hot waffle maker plates, wiping a thin even coat across both top and bottom grids. Use only enough butter to create a light sheen—excess butter will cause smoking and burnt edges on the waffles.
Step 5
step5:Grease Waffle Plates
6

Pour Batter Onto Iron

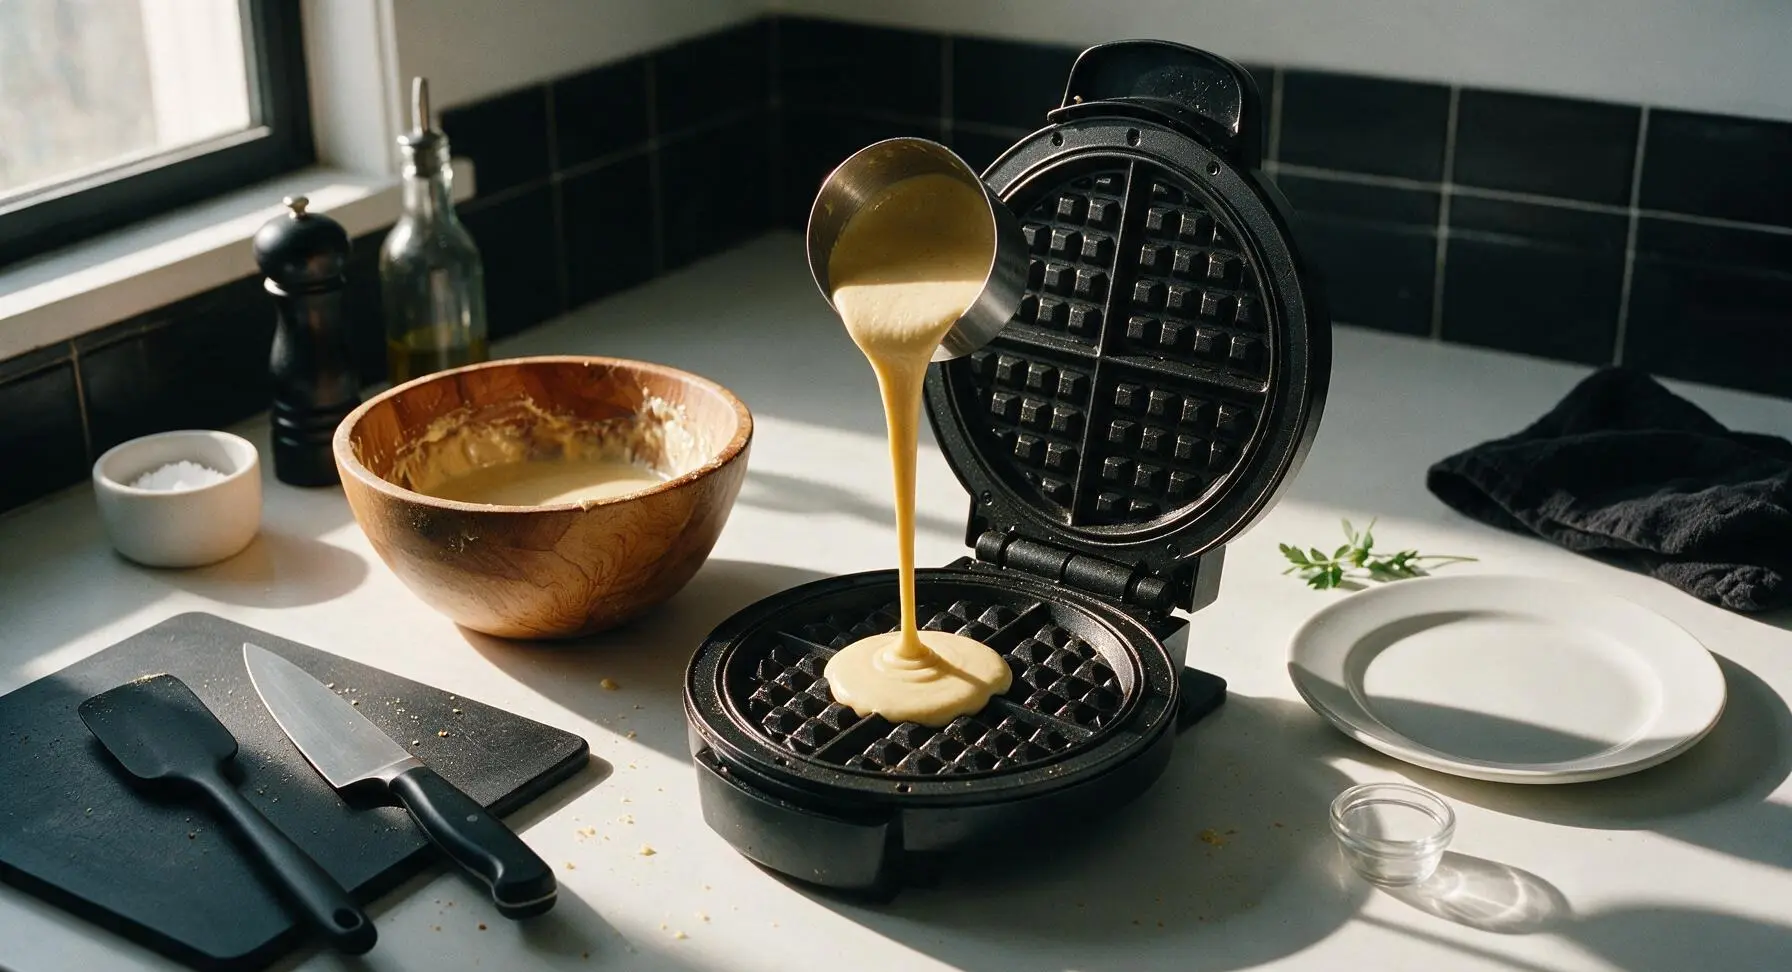
Use the 1/2 cup stainless steel measuring cup to scoop exactly 1/2 cup of rested batter, pouring it slowly in a steady stream directly into the center of the bottom waffle grid. The batter will spread naturally toward the edges of the plate; do not spread it with a utensil, as this will pop air bubbles and lead to denser waffles.
Step 6
step6:Pour Batter Onto Iron
7

Cook Golden Waffles

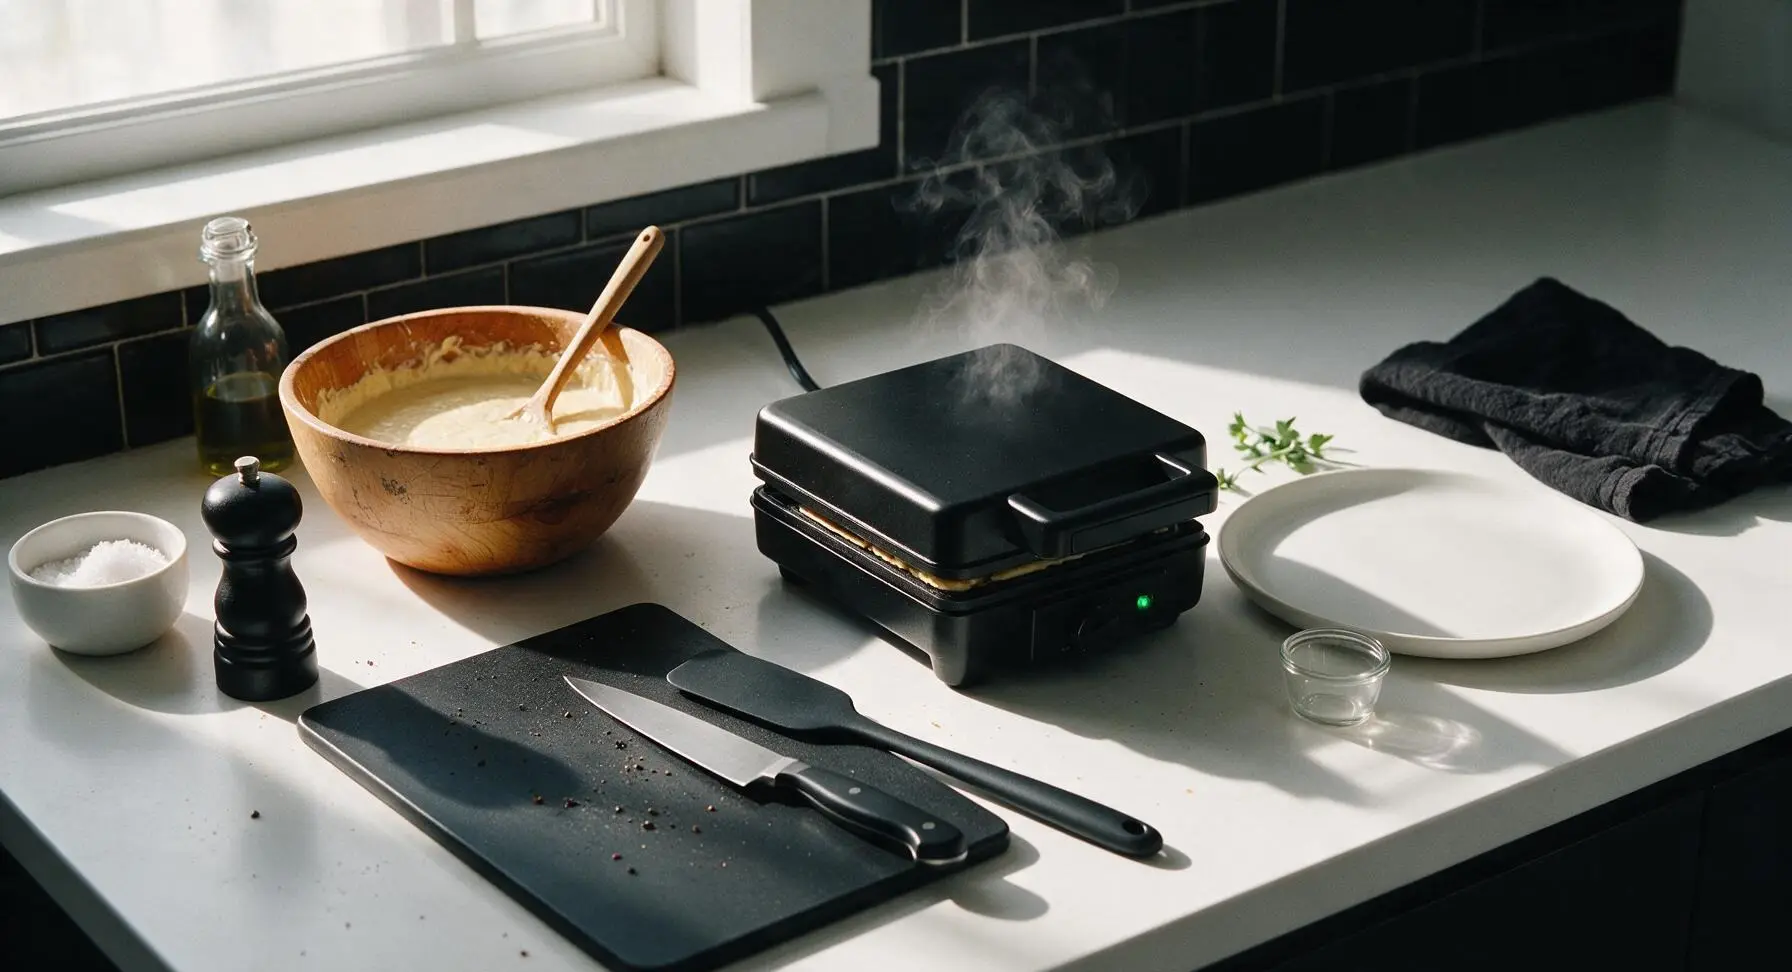
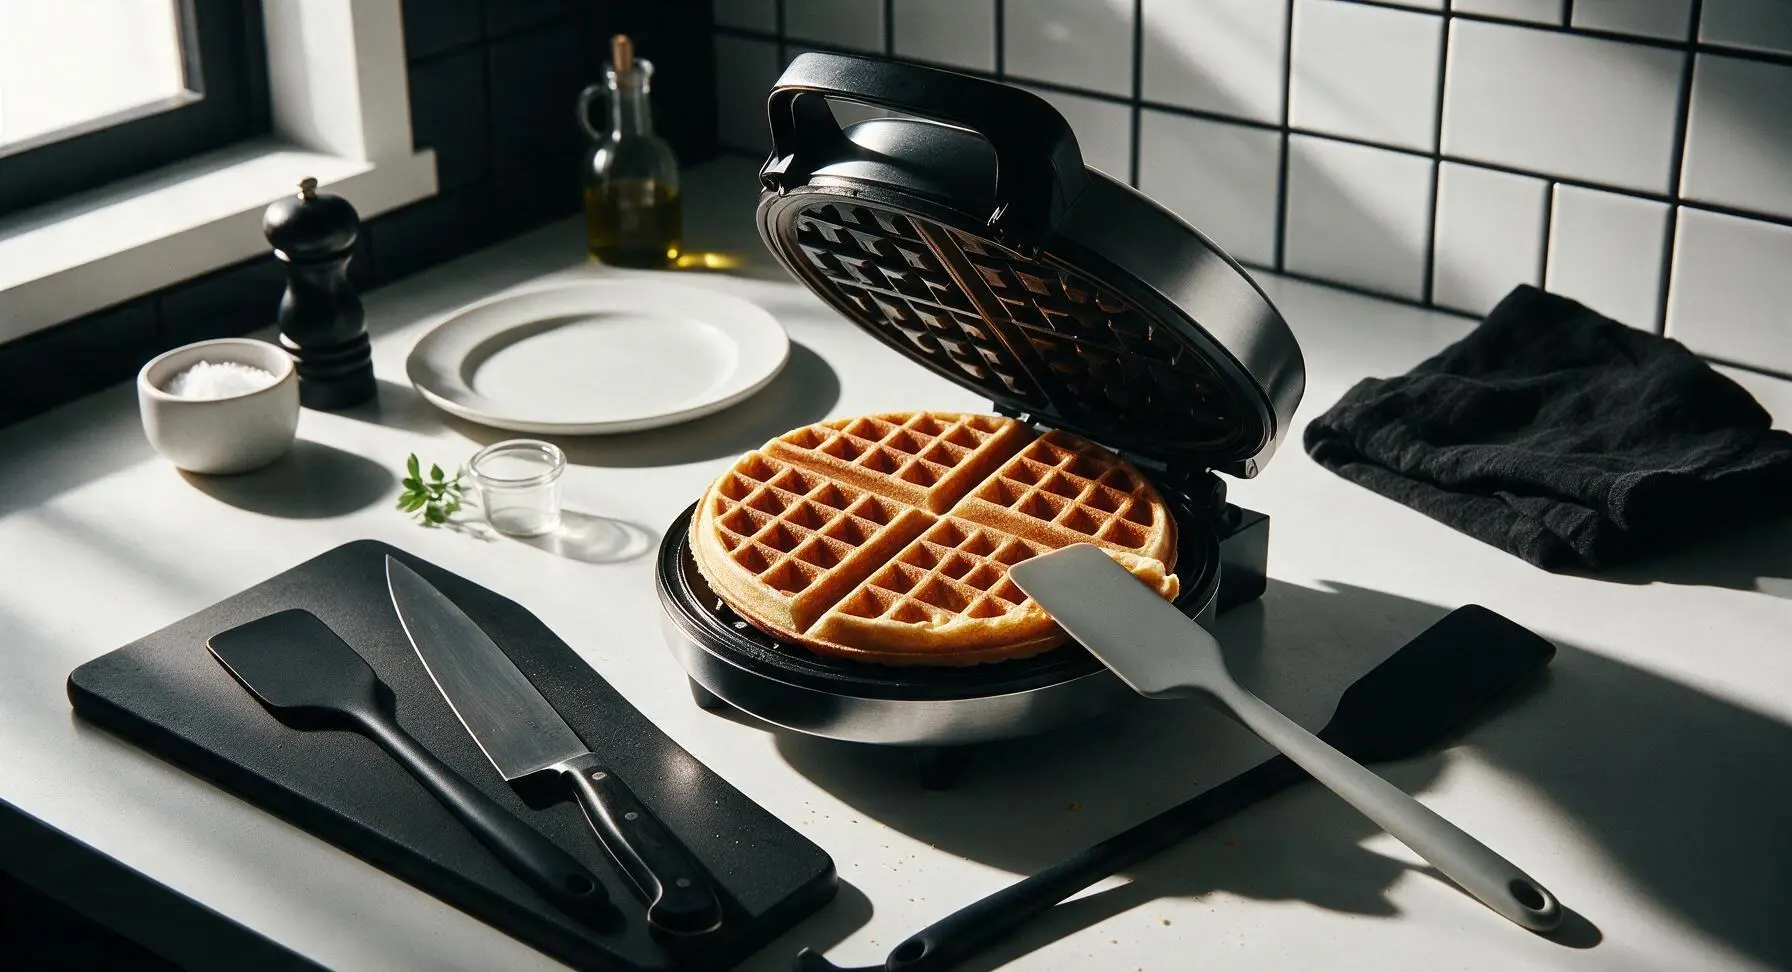
Close the waffle maker lid and cook for 3 to 4 minutes at 375°F/190°C, until the waffle is deep golden brown, crisp along the grid edges, and no visible steam escapes from the sealed sides of the iron. Resist the urge to open the lid before the 3-minute mark, as this will tear the waffle and cause it to stick to the plates.
Step 7
step7:Cook Golden Waffles
Step 7
step7:Cook Golden Waffles
8

Stack and Serve Waffles

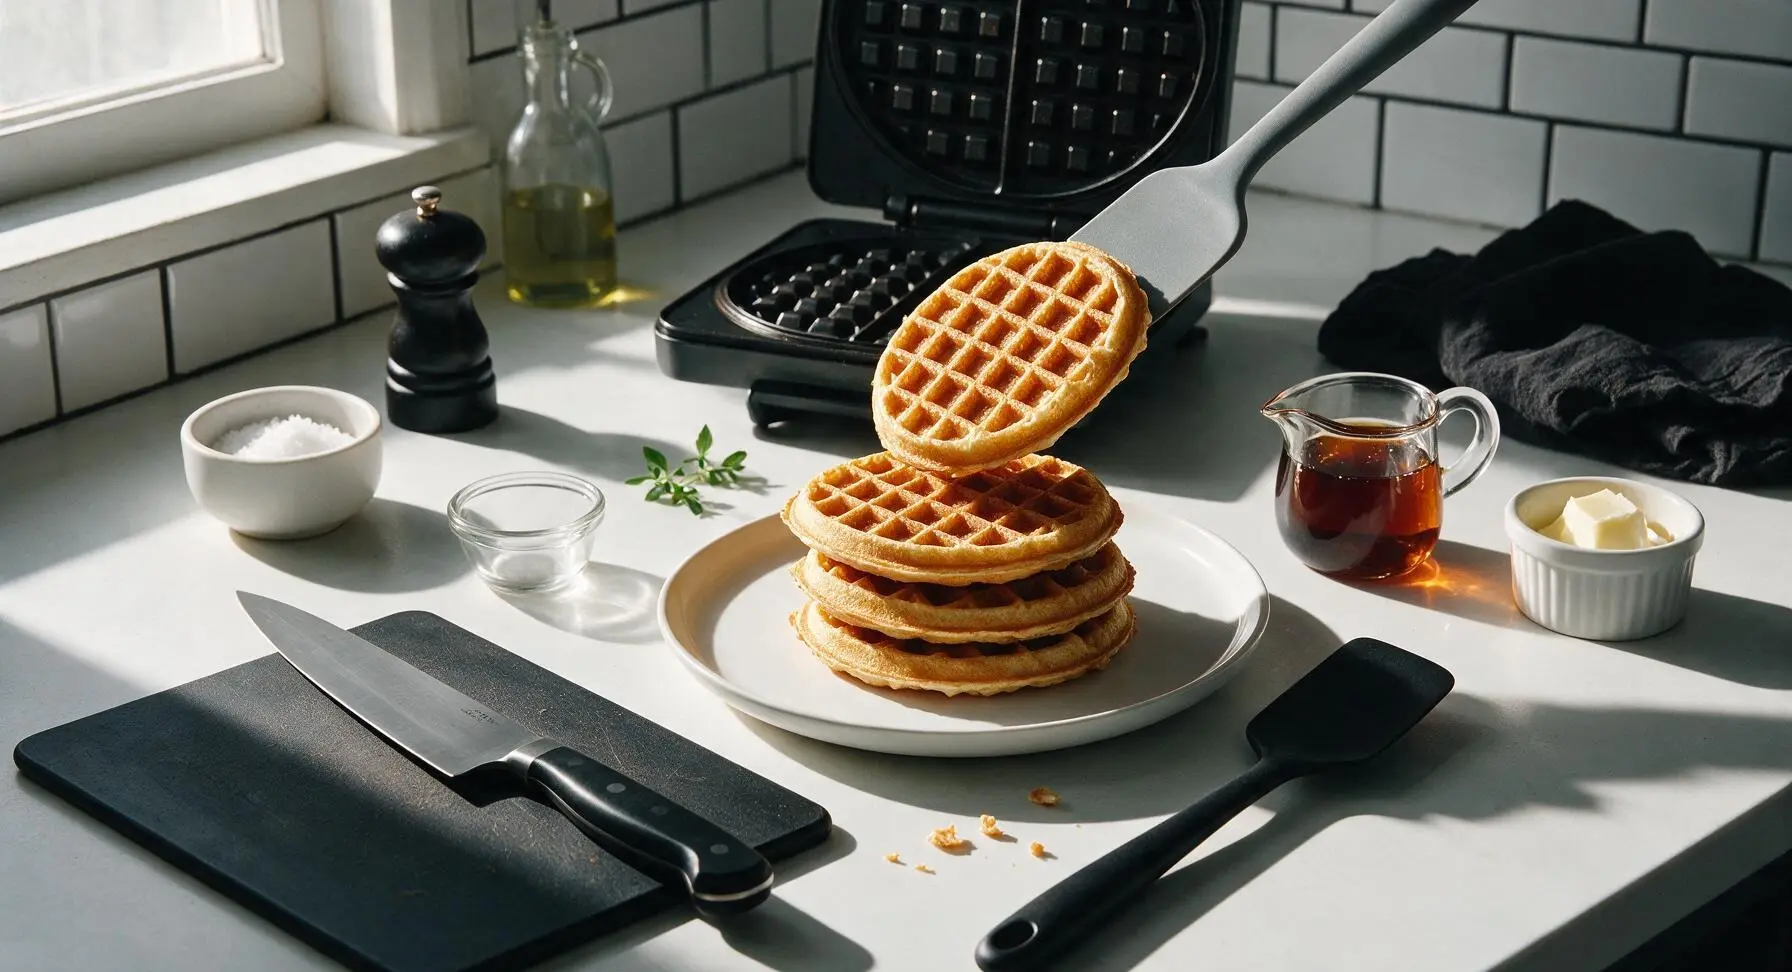
Transfer the cooked waffle to the cream stoneware dinner plate, then repeat the pouring and cooking process with the remaining batter to make 4 total waffles. Stack the finished waffles evenly, top with a pat of salted butter, a light drizzle of maple syrup, and a faint sprinkle of cinnamon, then serve immediately while hot.
Step 8
step8:Stack and Serve Waffles

Tips

1.Use room temperature eggs and milk for the fluffiest results: Cold ingredients slow the activation of the leavening in self-raising flour, leading to denser, flatter waffles, while room temperature ingredients mix evenly and help the batter rise to full height during cooking.
2.Resist overmixing the batter: Small, soft lumps are completely normal and expected. Over-stirring for more than 30 seconds develops gluten in the flour, which produces tough, chewy waffles instead of light, tender ones with crisp edges.
3.If cooking waffles in batches, keep finished waffles warm on a wire rack set in a 200°F (95°C) oven instead of stacking them on a plate: Stacking traps steam between waffles, turning crisp edges soggy in seconds, while the rack allows air circulation to keep texture perfect.


✨ You May Also Like

Breakfast
🍜 United States

Crisp-edged, fluffy lard griddle cakes are a nostalgic homestyle staple, with rich savoriness from rendered lard, perfect topped with maple syrup or savory gravy.

⏱️ 25 minuteBreakfast ★ 4.8
Breakfast
🍜 United States

Flaky, buttery homemade buttermilk biscuits smothered in creamy, peppery pork sausage gravy: a beloved, hearty Southern American comfort food classic.

⏱️ 35 minuteBreakfast ★ 4.8
Breakfast
🍜 United States

Golden, custardy brioche stuffed with sweet cream cheese and fresh berries, pan-fried to crisp perfection. An indulgent, cozy breakfast perfect for slow weekend mornings.

⏱️ 30 minuteBreakfast ★ 4.7
Breakfast
🍜 United States

Flaky, buttery Southern-style biscuits stuffed with savory salty country ham, a portable, satisfying classic perfect for casual on-the-go meals.

⏱️ 25 minuteBreakfast ★ 4.8
Breakfast
🍜 United States

Iconic puffy baked pancake popularized in Seattle, with crisp golden edges and soft custardy center, served warm with classic sweet toppings.

⏱️ 35 minuteBreakfast ★ 4.6
Breakfast
🍜 United States

Fluffy, golden pancakes studded with juicy peak-summer mixed berries, drizzled with maple syrup for a bright, comforting, crowd-pleasing family breakfast.

⏱️ 25 minuteBreakfast ★ 4.7

waffle recipe with self raising flour:Frequently Asked Questions

1.Why do my waffles turn out dense instead of fluffy even when I use self-raising flour? ▾
That almost always traces back to three common missteps: overmixing your batter, using cold eggs or milk, or not preheating your waffle iron fully. Mix only until dry ingredients are just moistened (small lumps are totally fine!) to avoid tough gluten development, and use room-temperature dairy and eggs to help leavening activate evenly for light, tall waffles.
2.Can I use low-fat or plant-based milk instead of whole milk in this recipe? ▾
You absolutely can, though whole milk delivers the richest, tenderest crumb thanks to its higher fat content. If using skim or low-fat cow’s milk, add an extra tablespoon of melted, cooled butter to make up for lost fat. For plant-based picks, opt for unsweetened oat or soy milk, as thinner options like almond milk may produce slightly less crisp edges.
3.Do I need to add extra leavening if my self-raising flour is past its best-by date? ▾
You likely will—self-raising flour loses leavening power 6 to 8 months after opening, even when stored in a sealed container. Test it first by dropping a pinch into hot water; if it fizzes immediately, it’s fine to use. If not, stir 1 ½ teaspoons of fresh baking powder into every cup of flour to keep waffles light and fluffy.
4.How do I get perfectly crisp waffle edges instead of soggy, soft ones? ▾
Two simple tricks make all the difference here. First, wait until your waffle iron is fully preheated (wait for the ready indicator light!) before pouring batter. Second, don’t stack finished waffles on a plate as you cook; set them on a wire rack over a baking sheet in a 200°F oven to keep edges crisp, not steamed soft.
5.Can I mix up this waffle batter ahead of time for quick weekday breakfasts? ▾
This batter doesn’t hold up well to long fridge storage, because the leavening in self-raising flour starts activating as soon as it hits wet ingredients. For the fluffiest results, pre-mix your dry ingredients the night before and store them in a sealed container, then stir in the wet ingredients right before cooking to cut prep time to 2 minutes flat.
6.What if I don’t have unsalted butter on hand to make these waffles? ▾
No need to run to the store! You can substitute salted butter, just skip any extra pinch of salt you might usually add to waffle batter to keep the flavor balanced. If you need a dairy-free swap, use refined melted coconut oil—unrefined coconut oil will leave a strong tropical flavor that clashes with many classic waffle toppings.
7.How do I store leftover waffles so they reheat well later? ▾
Let leftover waffles cool completely to room temperature first, then stack them between sheets of parchment paper to prevent sticking, and store in a sealed freezer bag for up to 3 months. Reheat straight from frozen in a toaster or 350°F oven for 3 to 4 minutes—skip the microwave, as it will turn waffles chewy and soggy fast.

Comments (13)

2 days ago

OMG these waffles were such a game changer for our busy Saturday morning rush! I didn’t have to fumble with a million ingredients since I already had self-raising flour in the pantry, and they got so FLUFFY even when my 7 year old tried to help stir. My kids ate 2 each and begged for more before soccer practice. 10/10 will be on our weekly rotation!

yesterday

Wait did you add any extra vanilla? I’m making these tomorrow for a potluck and wondering if a splash would be good!

yesterday

A splash of vanilla (about 1 tsp) pairs beautifully with these! If you’re making them for a crowd, you can keep cooked waffles warm on a wire rack in a 200°F oven while you batch cook so they stay crisp.

3 days ago

Super easy recipe, came out great the first try! Only thing is I didn’t grease my waffle iron enough so the first one stuck a little, but after a quick spray of nonstick the rest slid right out. Perfectly crisp on the outside, soft inside, exactly what I was craving.

2 days ago

So glad they turned out well for you! A quick light spray of nonstick between every couple waffles is always a good call to avoid sticking, especially with older waffle irons.

yesterday

Made these for brunch with my roommates yesterday and everyone thought I spent forever making them from scratch! Nobody could believe how simple the ingredient list was. Topped mine with fresh strawberries and whipped cream, *chef’s kiss*.

1 week ago

I’m always looking for quick breakfast ideas I can prep for the week, and these are perfect! I made a double batch on Sunday, popped them in the freezer, and they toast up so good in the toaster on busy school mornings. Total lifesaver.

5 days ago

Wait how long do they last in the freezer? I’m a college student with a tiny mini fridge/freezer and need easy meals that don’t go bad fast!

3 days ago

These waffles will stay fresh in the freezer for up to 3 months if stored in an airtight bag or container with parchment paper between each waffle to prevent sticking. Perfect for quick breakfasts on the go!

5 days ago

I’ve tried so many waffle recipes that come out dense and soggy, but these? Literally so light and fluffy I couldn’t believe it. The self-raising flour does all the hard work for you, no need to whip egg whites separately or anything? Wild. Will make these every brunch from now on.

3 days ago

Right?? I was skeptical too because I always thought fluffy waffles required separating eggs, but this recipe proves you don’t need all that extra work! I added a handful of chocolate chips to mine last weekend and it was chef’s kiss.

2 weeks ago

I made these for my grandkids when they visited last weekend, and even my picky 10 year old granddaughter who only eats plain food ate three of them! I added a little cinnamon to the batter like I do with all my breakfast bakes, and it was a lovely touch. Great simple recipe.

30 minutes ago

Wait, can I use this batter for pancakes too if I don’t feel like pulling out the waffle iron? I’m obsessed with how fluffy it is and would love to make it for pancake breakfast this weekend too.

5 minutes ago

Great question! This batter works great for pancakes too — just cook them on a greased griddle over medium heat for 2-3 minutes per side until golden. The texture will be just as light and fluffy!

1 week ago

Made these for a neighborhood potluck brunch last weekend and they were the first dish gone! People kept asking me for the recipe, I felt like a professional chef. I set up a little topping bar with maple syrup, blueberries, Nutella, and crushed pecans so everyone could customize theirs. 10/10.

5 days ago

Oh the topping bar idea is so smart! I’m hosting a baby shower brunch next month and definitely stealing that, how many batches did you make for a crowd?

3 days ago

Love the topping bar idea! For a crowd of 15-20 people, we recommend making 3-4 batches of this recipe to make sure everyone gets their fill. Pro tip: keep them warm in the oven as mentioned earlier so you don’t have to cook right up until serving time!

2 hours ago

I have literally zero cooking skills and a super cheap dorm waffle maker, and these still came out perfect! I didn’t have milk at one point so I used oat milk and it worked totally fine. So cheap to make too, way better than the frozen Eggo waffles I’ve been living on.

30 minutes ago

Oat milk swap is such a good call! I used almond milk and a flax egg last time I made these and they were still just as fluffy, great for my vegan friends who come over for brunch.

3 days ago

I added a handful of shredded cheddar and a pinch of garlic powder to a half batch of the batter to make savory waffles to go with fried chicken for dinner last night, and it was INSANE. The sweet and salty combo was so good, my boyfriend said it was better than the restaurant version we got for our anniversary.

2 weeks ago

Great base recipe! I love that it’s easy enough for my kids to help measure and mix without it turning into a total disaster. We did half plain and half blueberry this week, and even our toddler who refuses most breakfast foods gobbled his up. Only note is I’d add a tiny bit more sugar next time for my family’s sweet tooth, but that’s just personal preference.

1 week ago

So glad your family enjoyed them! You can absolutely add an extra 1-2 tbsp of granulated sugar to the batter if you prefer sweeter waffles, or even a drizzle of extra maple syrup on top to bump up the sweetness without changing the batter texture.

5 days ago

I was worried these would be bland since there’s no fancy add-ins in the base recipe, but wow, they’re perfect as is! I’ve made them three times in the last two weeks, once for a quick weekday breakfast, once for brunch with friends, once for a late night snack when I didn’t feel like ordering takeout. So versatile.

3 days ago

Right? The simplicity is what makes them so good! I’ve been experimenting with different add-ins too, last time I put lemon zest and poppyseeds in and it tasted like a muffin in waffle form.

2 days ago

We love hearing how versatile the recipe is! Lemon poppyseed is such a fun twist, we’ll have to test that version ourselves soon. Thanks for sharing!

just now

I followed the recipe exactly and they came out so light and fluffy I almost thought I did something wrong! Cook time was spot on too, 3 minutes in my waffle iron per batch and the whole thing was done in 12 minutes just like the recipe said, no guesswork. Perfect for when I sleep in and don’t have a ton of time to make a fancy brunch.



