
War Cake
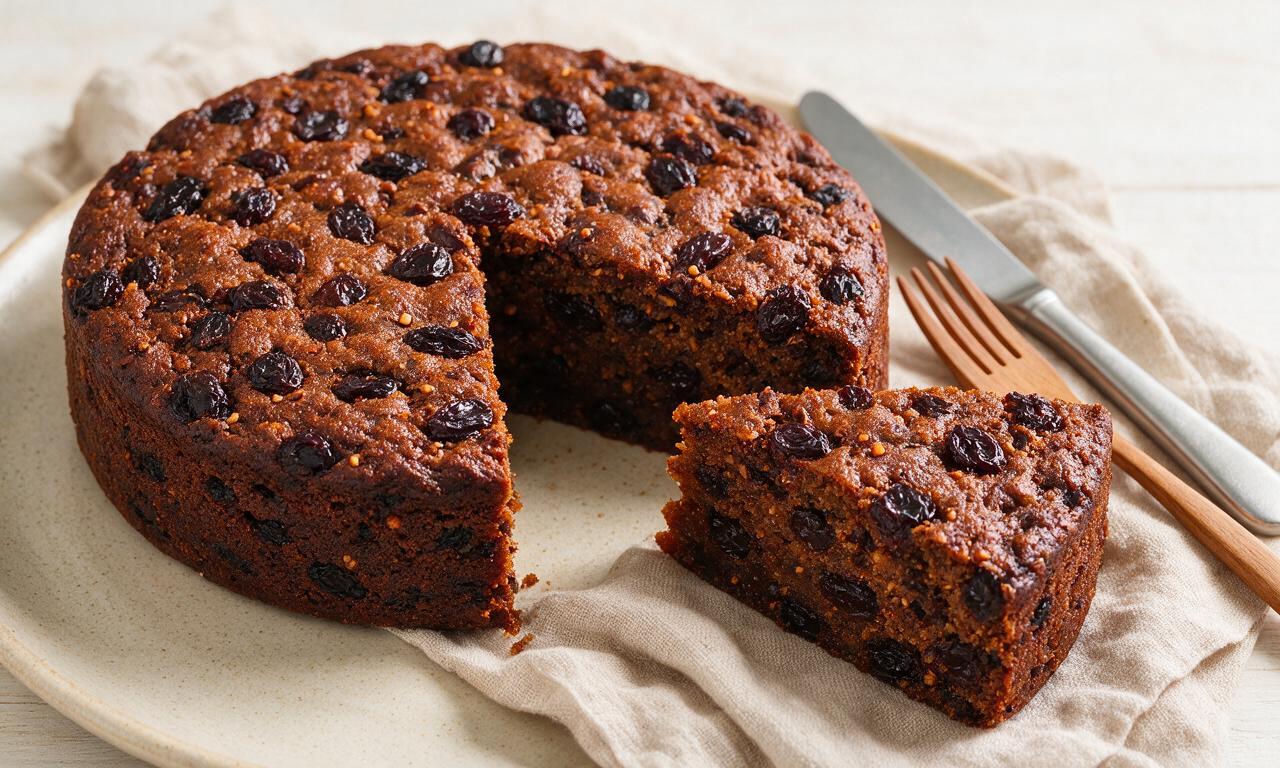
intro
A dense, moist, egg- and dairy-free spiced pantry cake born of wartime rationing, packed with warm spices and plump raisins, with a long shelf life.
Ingredients
Steps
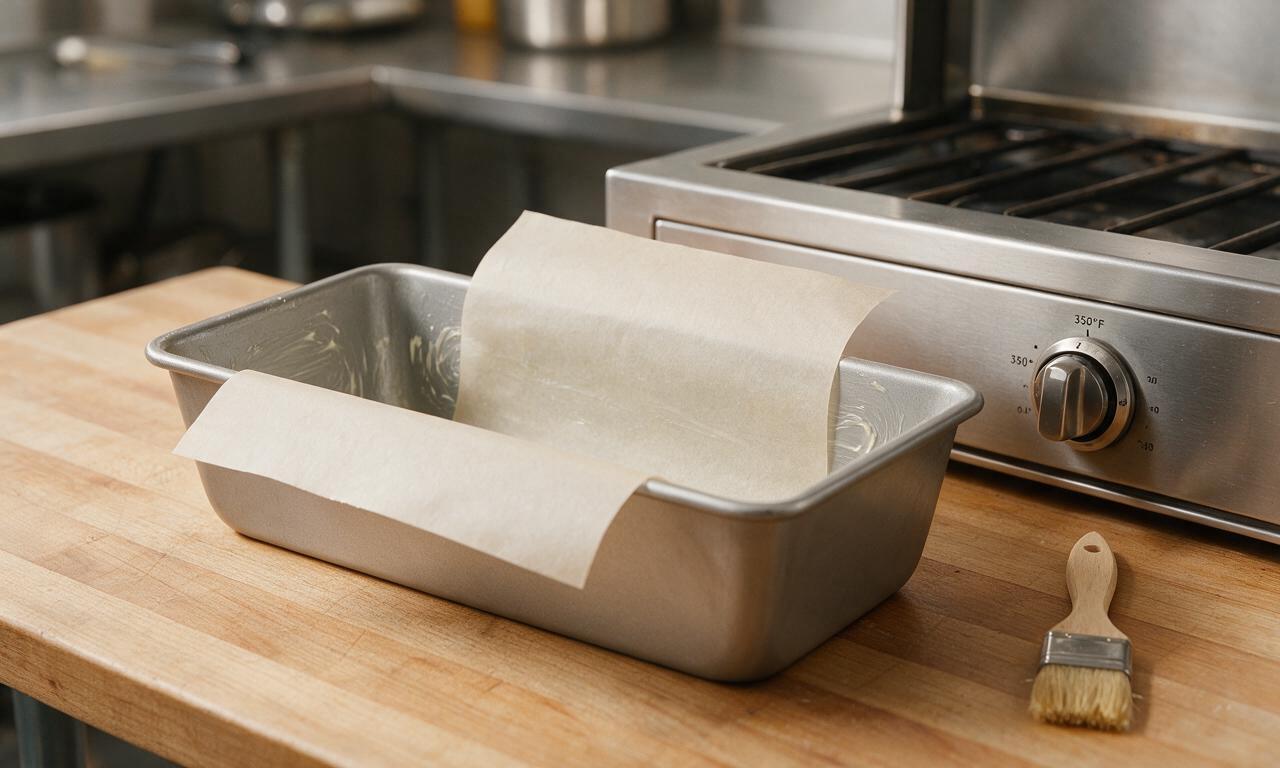
Prep oven and loaf pan
Preheat your oven to 175°C (350°F). Use a small dab (about 1g) of the measured vegetable shortening to grease the inside of a 9x5 inch (23x13cm) metal loaf pan, then line the bottom and long sides with a strip of parchment paper that overhangs the edges by 5cm (2 inches) for easy cake removal.
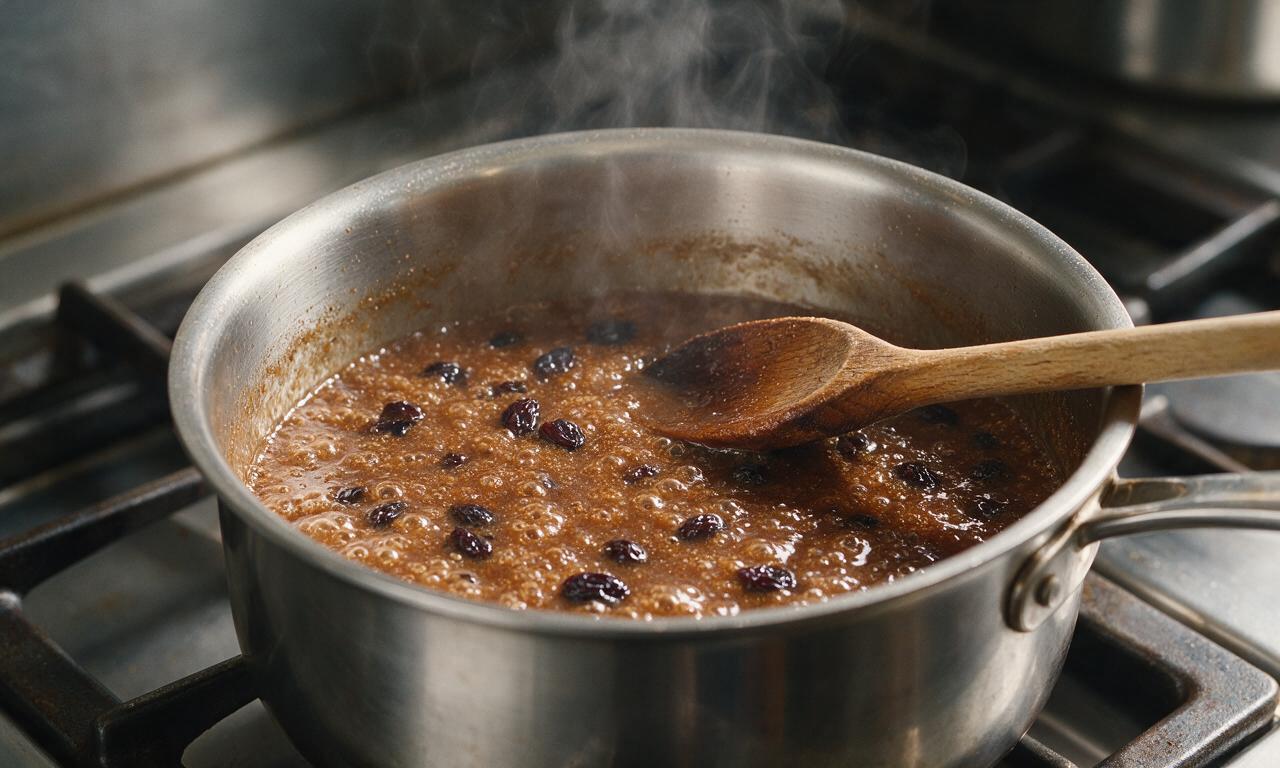
Simmer the raisin base
Combine the remaining vegetable shortening, 150g packed light brown sugar, 170g raisins, 227ml water, 2.5g ground cinnamon, 1g ground cloves, and 3g table salt in a small saucepan over medium heat. Bring to a rolling boil, then reduce heat to medium-low to maintain a gentle simmer, and cook for 3 minutes, stirring occasionally with a wooden spoon, until the shortening is fully melted and raisins are plump. Remove from heat and let cool for 15 minutes until it reaches lukewarm (around 43°C/110°F), so it does not prematurely activate the baking soda.
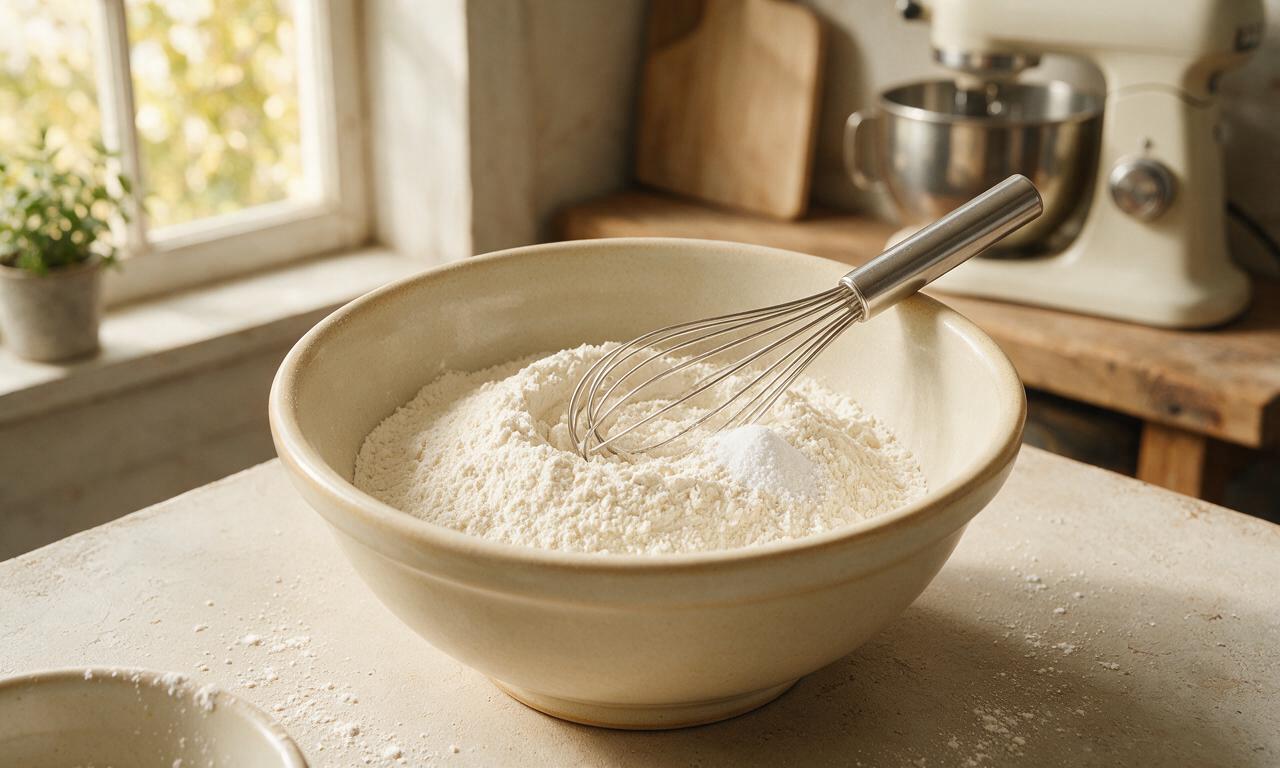
Whisk dry ingredients
While the raisin mixture cools, add the 240g spooned-and-leveled all-purpose flour and 4g baking soda to a medium mixing bowl. Whisk vigorously for 30 seconds to evenly distribute the baking soda throughout the flour, breaking up any small lumps of flour with the whisk tines.
Mix the cake batter
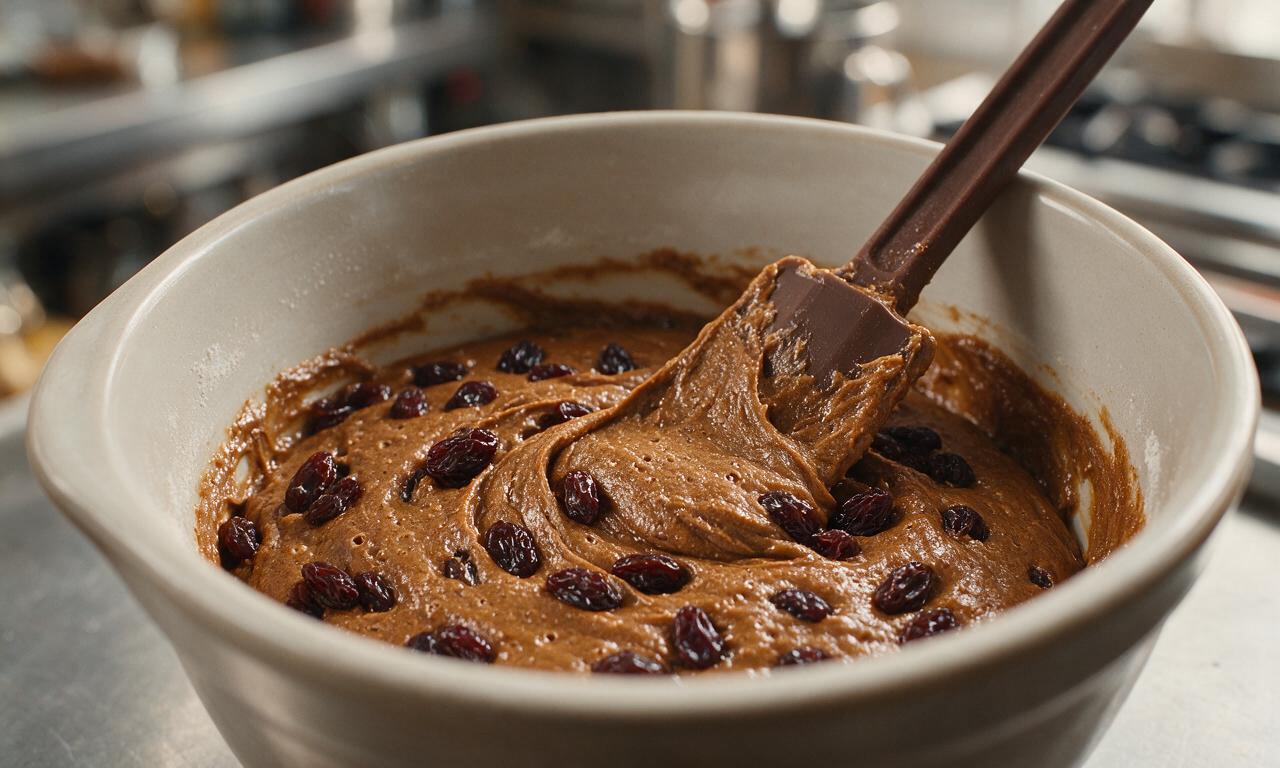
Pour the cooled lukewarm raisin mixture into the bowl with the dry ingredients. Stir with a rubber spatula just until no dry streaks of flour remain, about 20 to 25 seconds; do not overmix, as this will make the cake tough. The finished batter will be thick, with evenly dispersed plump raisins throughout.
Bake the war cake
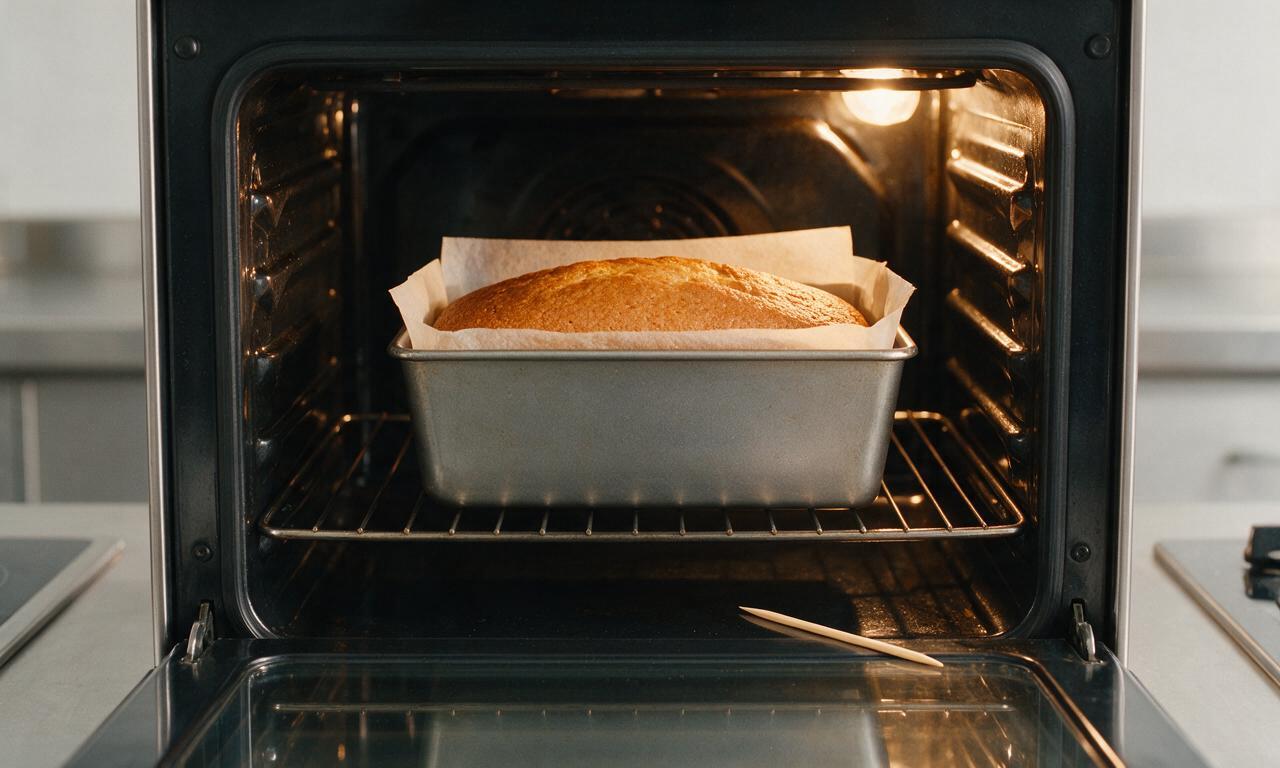
Scrape all of the batter into the prepared 9x5 inch loaf pan, smoothing the top into an even layer with the spatula. Place the pan on the middle rack of the preheated 175°C (350°F) oven, and bake for 40 to 45 minutes, until a wooden toothpick inserted into the center of the cake comes out with only 1 to 2 moist crumbs attached, no wet batter.
Cool before serving
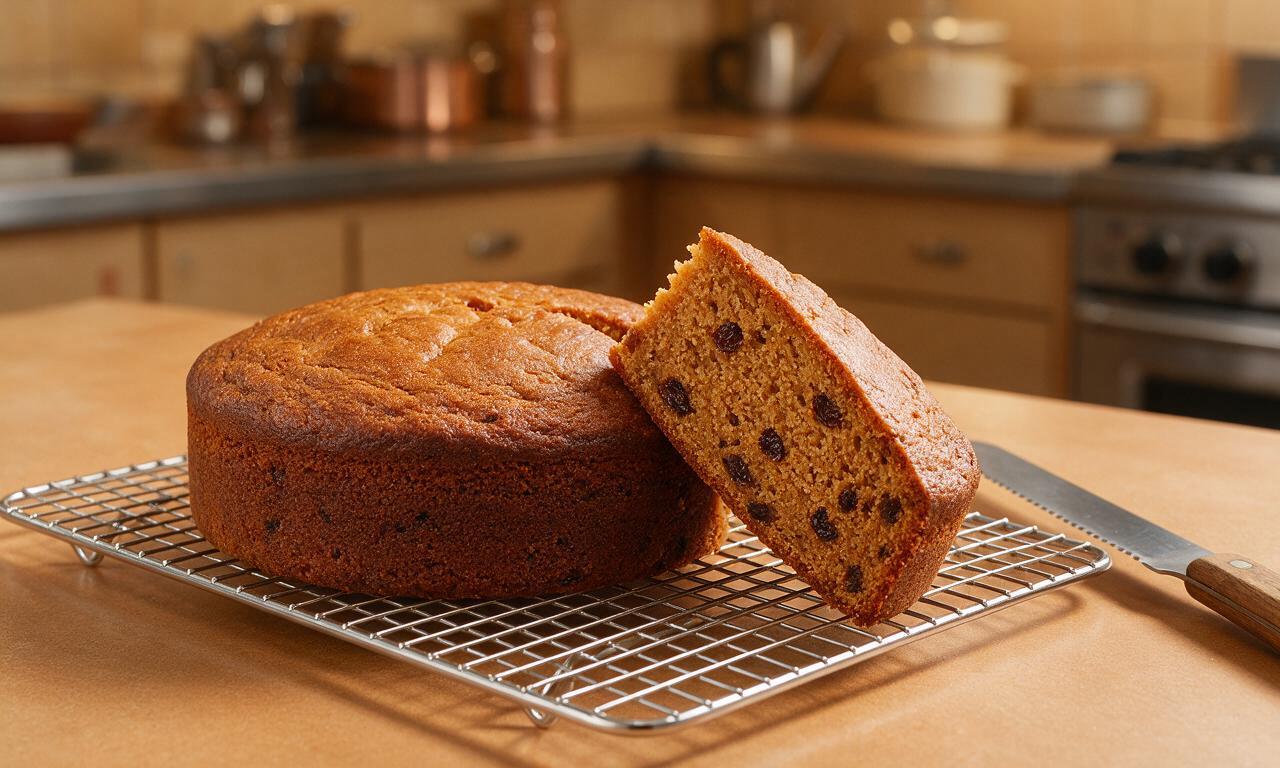
Remove the baked cake from the oven, and let it rest in the pan on a wire cooling rack for 15 minutes. Lift the cake out of the pan using the parchment paper overhang, and let it cool completely on the rack for another 25 minutes before slicing into 2.5cm (1 inch) thick slices to serve.
Tips
2.This cake was designed for long shelf life to send to deployed troops during wartime: wrap fully cooled slices tightly in plastic wrap or parchment, and store at room temperature for up to 7 days with no refrigeration needed.
3.Stir the batter only until dry flour streaks disappear; overmixing develops gluten in the all-purpose flour, leading to a tough, chewy crumb instead of the traditional tender, dense texture.






OMG, this war cake tasted exactly like the one my great-grandma used to make for our family reunions! I was so nervous I’d mess up a vintage recipe, but the instructions were so straightforward even my 12 year old helped me stir. Brought it to our church potluck last Sunday and people were asking for the recipe left and right! The warm spice and chewy raisins hit so different than regular frosted cake, SO good.
Made this for my 10th grade US History project on WWII home front cooking! I was worried a cake without eggs or butter would be bland, but wow? It’s moist, perfectly spiced, and I didn’t even have to run to the grocery store for fancy ingredients since it uses all pantry staples. My whole class was shocked how good it was, even my teacher went back for a second slice. Only note is I added a handful of chopped walnuts because my grandma said that’s how they made it back in the day.
Game changer for last-minute work potlucks! I forgot we had a team sign-up yesterday, threw this together in 15 minutes of prep, popped it in the oven, and it was done right before I had to leave. No fancy mixers needed, zero weird ingredients, and everyone thought I spent hours baking. 10/10, going into my regular rotation for easy desserts.
This is a solid easy cake, perfect for meal prep since it stays moist all week in the fridge! I will say my cook time was closer to 2 hours total instead of the 1hr45 listed, probably because my oven runs a little cool. I dusted a little powdered sugar on top instead of making a glaze and it was perfect with my morning coffee.
My kids are super picky eaters and they both went back for seconds of this cake! I told them it was a “magic old-fashioned cake” that people made when groceries were hard to get, and they thought that was the coolest thing ever. We didn’t have any raisins so we swapped in dried cranberries and it worked like a charm.
Obsessed with how cheap this is to make! All ingredients cost me less than $5 total for a whole cake, which is way better than buying a store-bought mix that tastes like chemicals. The cinnamon and clove give it such a cozy, warm flavor perfect for cold rainy days. I’ll be making this all fall long, no cap.
I’ve been making war cake from my mom’s tattered recipe card for 40 years, and this version is spot on! I love that you didn’t add a bunch of unnecessary fancy extras to “modernize” it. The balance of nutmeg, cinnamon, and cloves is exactly right, not too overpowering. I served it with a dollop of whipped cream after Sunday dinner and my grandbabies ate every last crumb.
Wait a second, this cake is accidentally vegan? No eggs, no butter, no dairy? I made it for my vegan roommate’s birthday and she cried because she hasn’t had a spiced cake that tasted this good in years. Game. Changer. Already texted the recipe to all my vegan friends, this is too good not to share.
Uh, this was my first time ever baking a cake from scratch and I didn’t mess it up??? The directions were so easy to follow, no weird steps, and it came out perfect on the first try. I was so proud I brought half of it over to my next door neighbor, and she thought I bought it from a bakery! Only thing I messed up was I forgot to add the salt, but it still tasted amazing, oops.
I swapped the all-purpose flour for a 1:1 gluten free baking blend and this cake turned out incredible! I’ve been looking for a nostalgic dessert I can bring to family dinners that my gluten intolerant kiddo can eat too, and this checks every box. It’s dense, moist, spiced perfectly, no weird gritty texture from the GF flour at all.
This tastes exactly like the war cake slice I got at that old vintage diner on Route 66 last summer! I’ve been chasing that flavor for months and this recipe is dead on. I love that it’s not too sweet, so you can have a slice for breakfast without feeling like you’re eating a candy bar. 10/10, will make again and again.
We made three of these cakes for our local VFW post’s Veterans Day luncheon, and the veterans absolutely loved them! So many of them said it took them right back to their childhoods when their moms would make this during the war. It was such a special moment watching them share stories over slices of cake, all because of this simple recipe. Can’t thank you enough for sharing this.