1.Wait, this pie really uses water as the main filling ingredient? How does that actually taste good?
▾
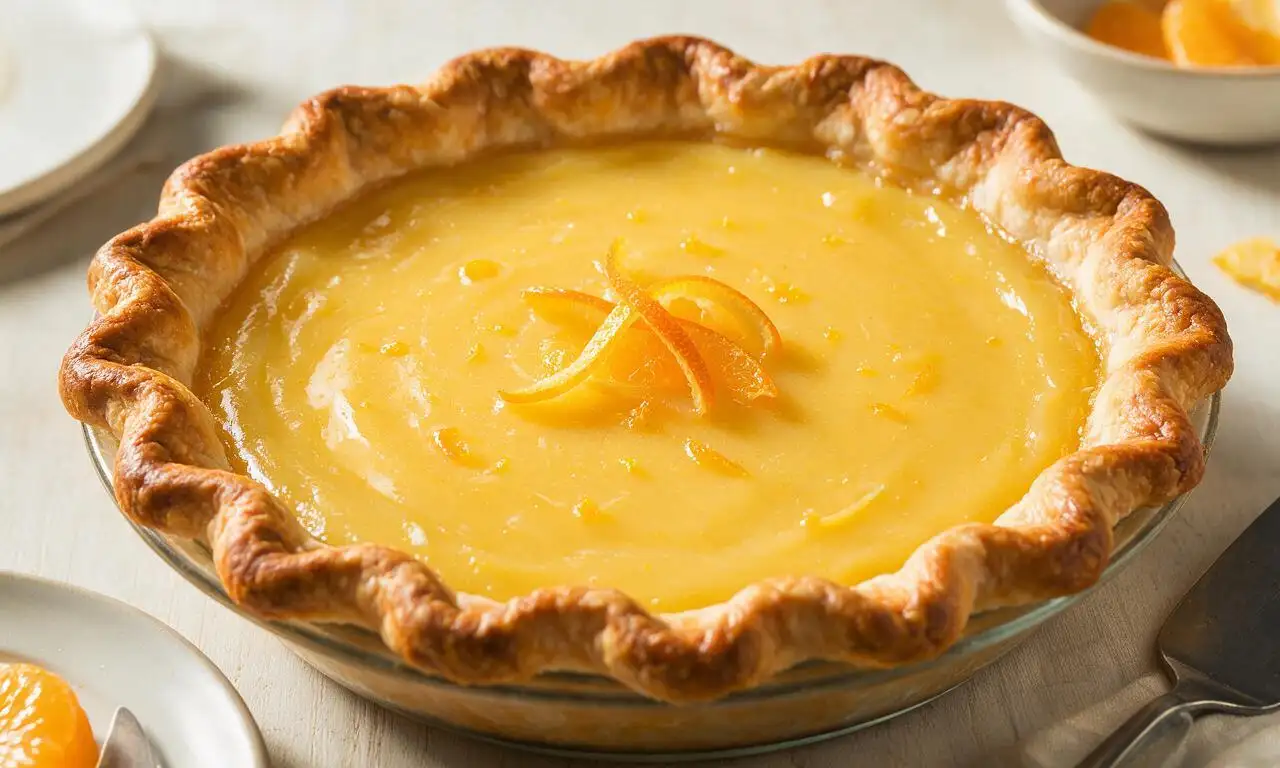
It really does! This clever Great Depression hack relies on pantry staples to turn plain water into a silky, sweet vanilla-citrus filling that tastes like a light, smooth custard. The sugar, flour, and melted butter create a rich, balanced flavor, so you won’t even notice there’s no milk, eggs, or fancy fillings at all.
2.Do I have to use a homemade pie crust, or will a store-bought unbaked crust work?
▾
Store-bought unbaked 9-inch crust works perfectly for this low-fuss, budget-friendly recipe, and fits right in with its vintage no-fuss vibe. If you have time to make a homemade flaky crust it’ll add extra buttery depth, but just make sure whatever crust you use is well-chilled before adding filling to cut down on sogginess.
3.Why does the recipe call for cold water specifically, instead of room temperature or warm?
▾
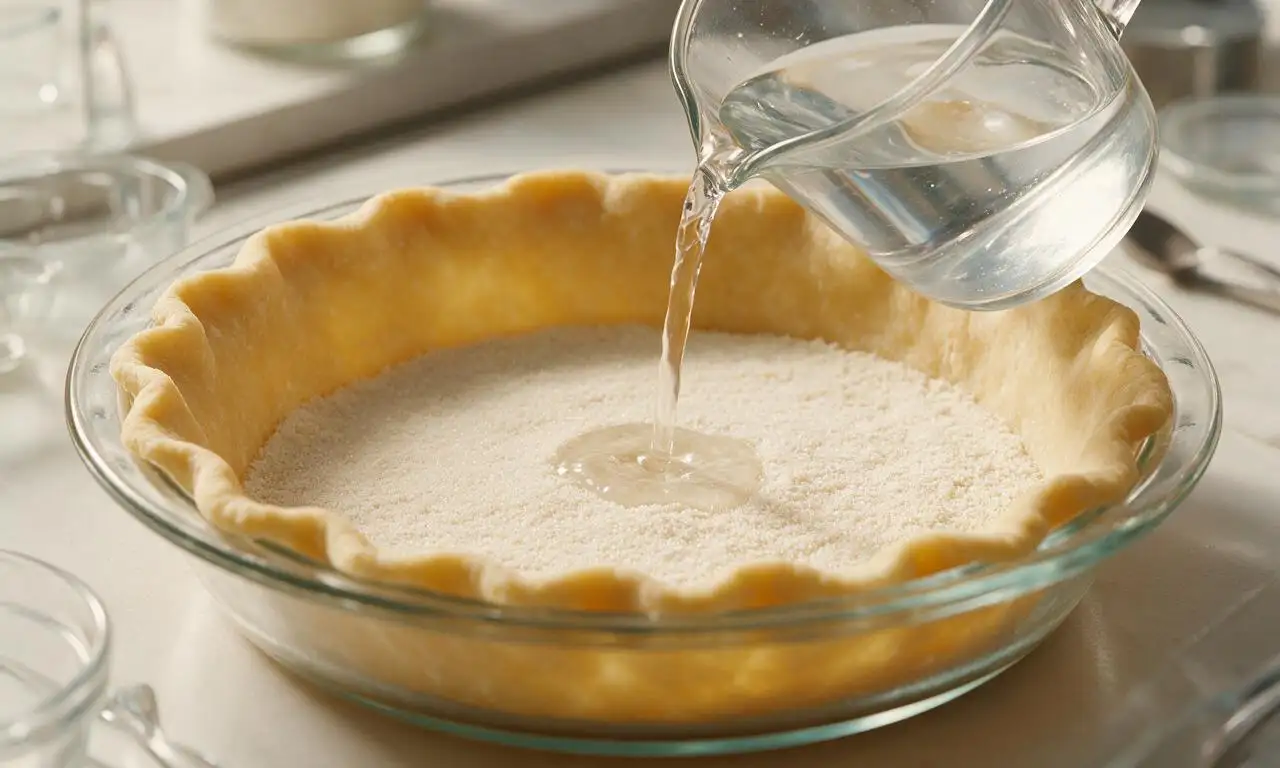
Cold water serves two key purposes: first, it keeps the small bits of cold butter in the filling firm as the pie starts baking, so they melt slowly to create an even, silky texture instead of pooling on top. Second, it prevents the all-purpose flour from clumping up when you mix the filling, leading to a perfectly smooth final result.
4.My filling turned out really runny after baking—what did I do wrong?
▾
The most common culprit is cutting the cool time short! This pie needs at least 4 hours (ideally overnight) of cooling at room temperature or in the fridge to fully set, as the flour gelatinizes as it cools. If it’s still runny after that, you likely underbaked it, used too little flour, or opened the oven too often while it cooked, dropping the temperature.
5.Wait, there’s no eggs or dairy in the filling? How does it set into that silky texture?
▾
That’s the genius of this vintage recipe! The small amount of all-purpose flour in the filling gelatinizes as it bakes with sugar and melting butter, creating a soft, custard-like consistency without eggs, milk, or specialty thickeners. It’s lighter than traditional egg custard, with a smooth, never-dense mouthfeel that feels surprisingly indulgent.
6.Can I add other flavors to the basic filling without ruining the texture?
▾
Absolutely! The classic base pairs vanilla with a bright hint of citrus, but you can stir in a pinch of nutmeg or cinnamon, a tablespoon of unsweetened cocoa for a chocolate twist, or a splash of almond extract for extra warmth. Just keep total dry add-ins to 2 tablespoons max so you don’t throw off the delicate filling ratio and cause runniness.
7.Do I need to pre-bake (blind bake) my pie crust for this recipe?
▾
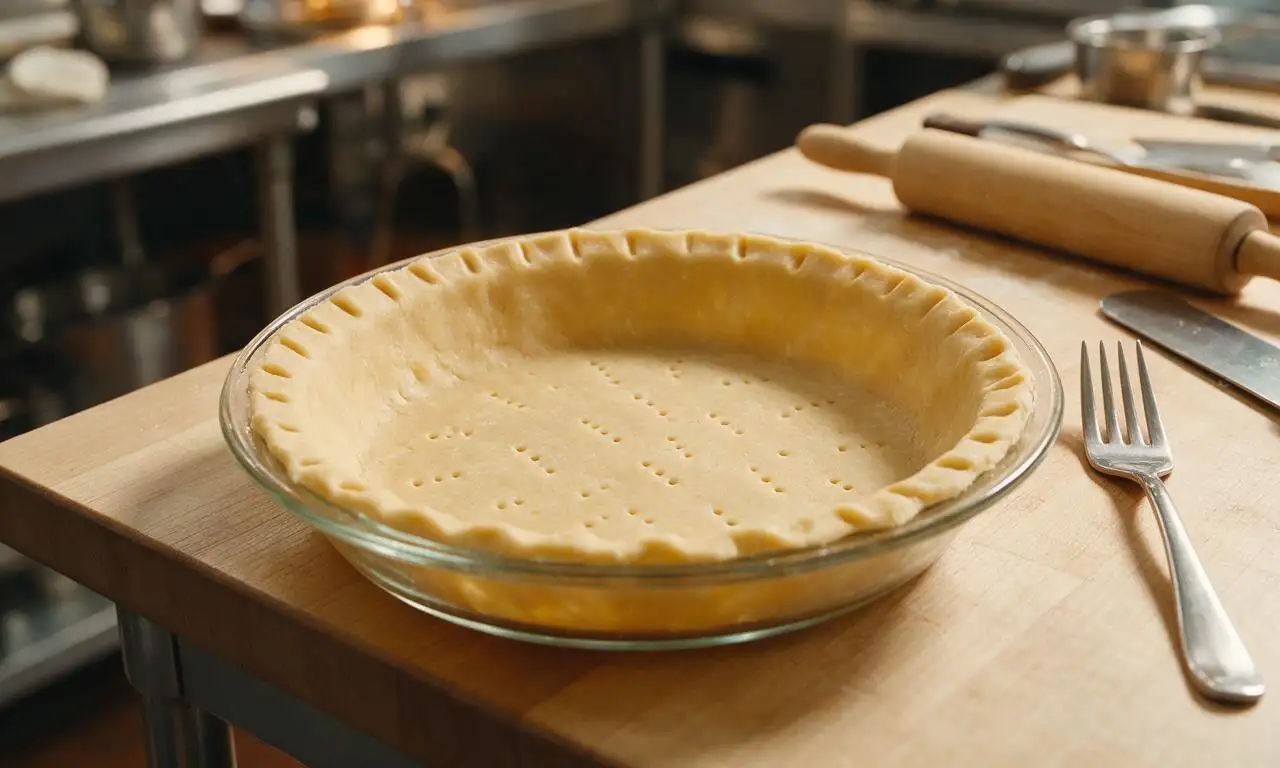
You don’t need to fully blind bake the crust for water pie, since its long, moderate bake time cooks the crust through from the bottom up. If you’re extra worried about a soggy bottom, you can brush the unbaked crust with a thin layer of beaten egg white and chill it for 10 minutes before adding filling to create a simple moisture barrier.
8.How long does this pie keep, and how should I store it?
▾
Since the filling has no fresh eggs or dairy, it keeps really well! Cover it loosely with plastic wrap and store it in the fridge for up to 5 days. You can serve it cold straight from the fridge, or let slices sit at room temperature for 15 minutes for that softer, silkier classic texture. It doesn’t freeze well, as the filling separates when thawed.
9.What kind of citrus is traditional for this pie, and how much should I add?
▾
The classic Southern version uses 1 to 2 teaspoons of fresh lemon zest plus a tiny squeeze of lemon juice to cut the sweetness of the sugar, no fancy specialty citrus required. If you don’t have lemon, fresh orange zest works beautifully for a milder, warmer citrus note—just skip bottled citrus juice, as it tastes flat in this simple filling.
10.Why do some old recipes dot butter on top of the filling instead of mixing it in?
▾
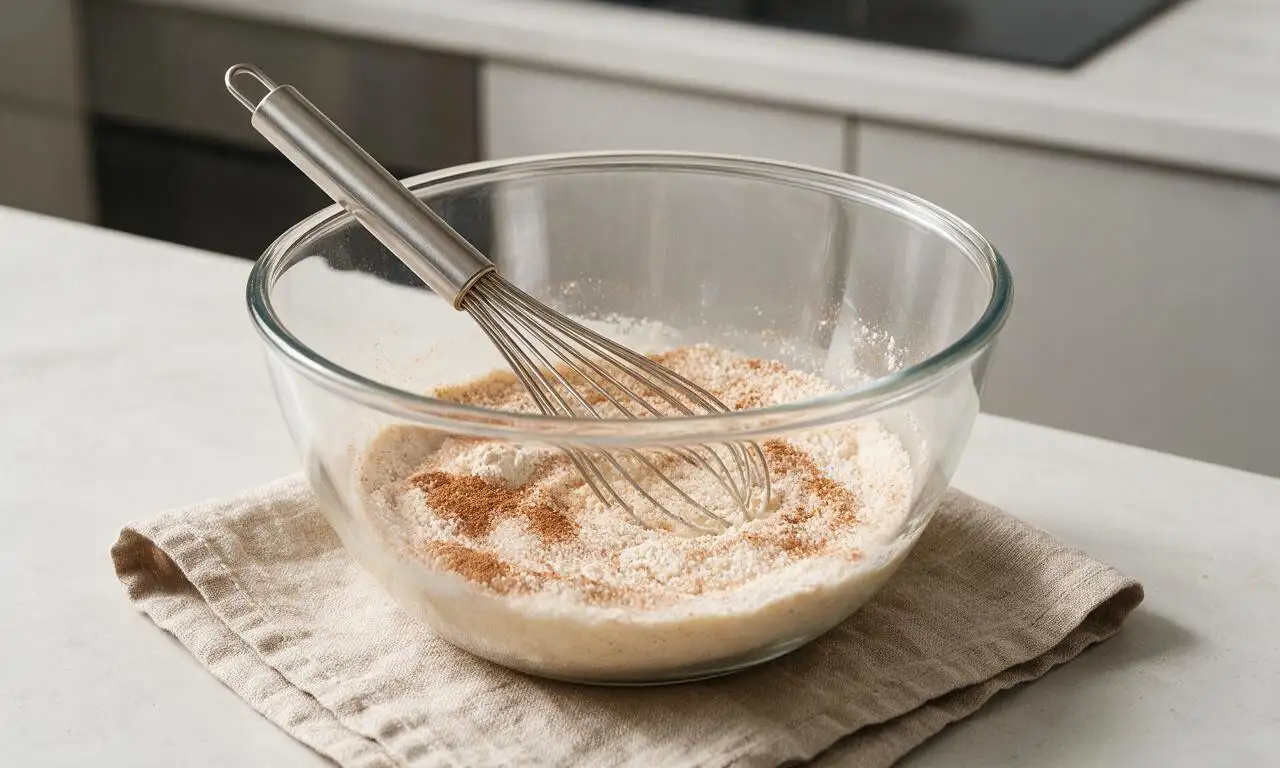
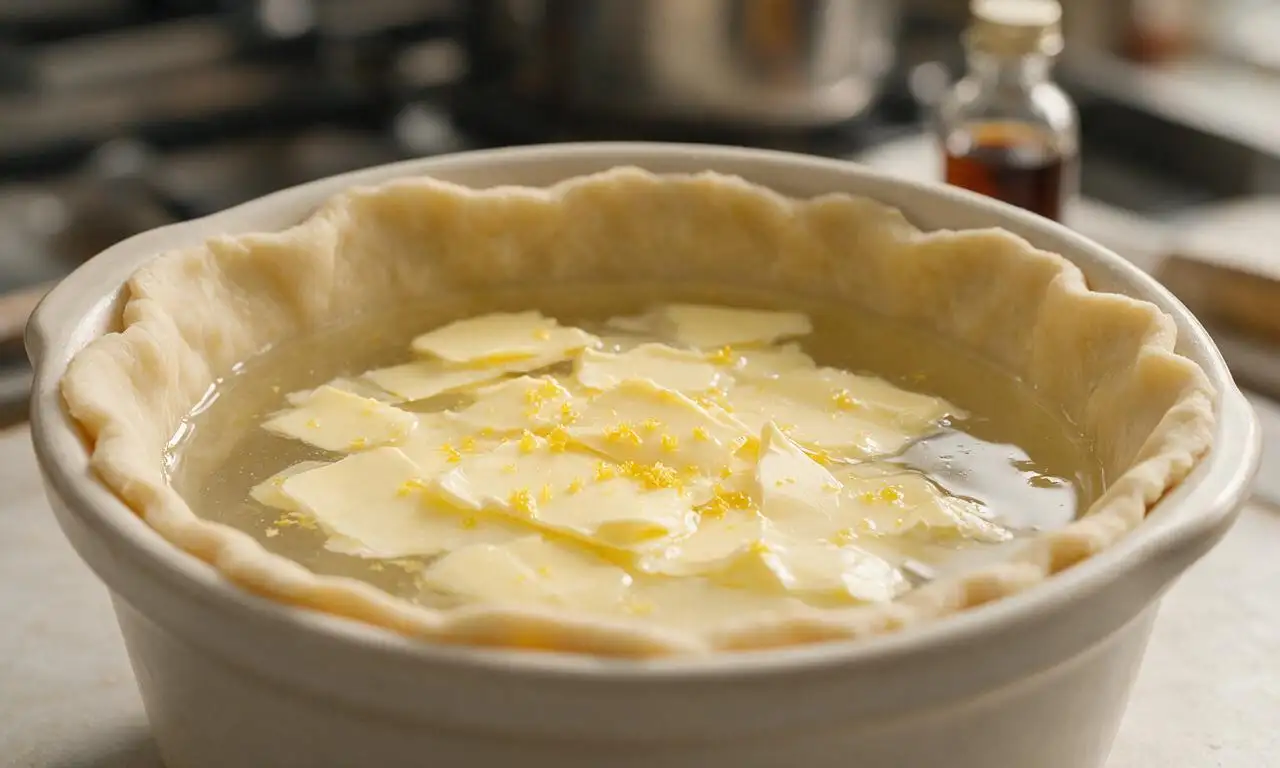
That’s actually the original vintage prep method! Early recipes had home cooks mix sugar and flour right in the unbaked crust, pour cold water over top, then dot thin slices of cold unsalted butter across the surface before baking. As the butter melts, it blends with the other ingredients to create that signature silky filling with zero extra mixing.
11.Can I use a sugar substitute to make a lower-sugar version of this pie?
▾
You can, but note that granulated sugar plays a big role in the filling’s structure, not just its sweetness. A 1:1 baking-grade sugar substitute (like an erythritol blend made for baked goods) will work, but the filling may be slightly less silky and set a bit softer. Avoid liquid sweeteners like honey or maple syrup, as they’ll make the filling too runny.
12.What oven temperature and bake time gives the best result, and how do I know it’s done?
▾
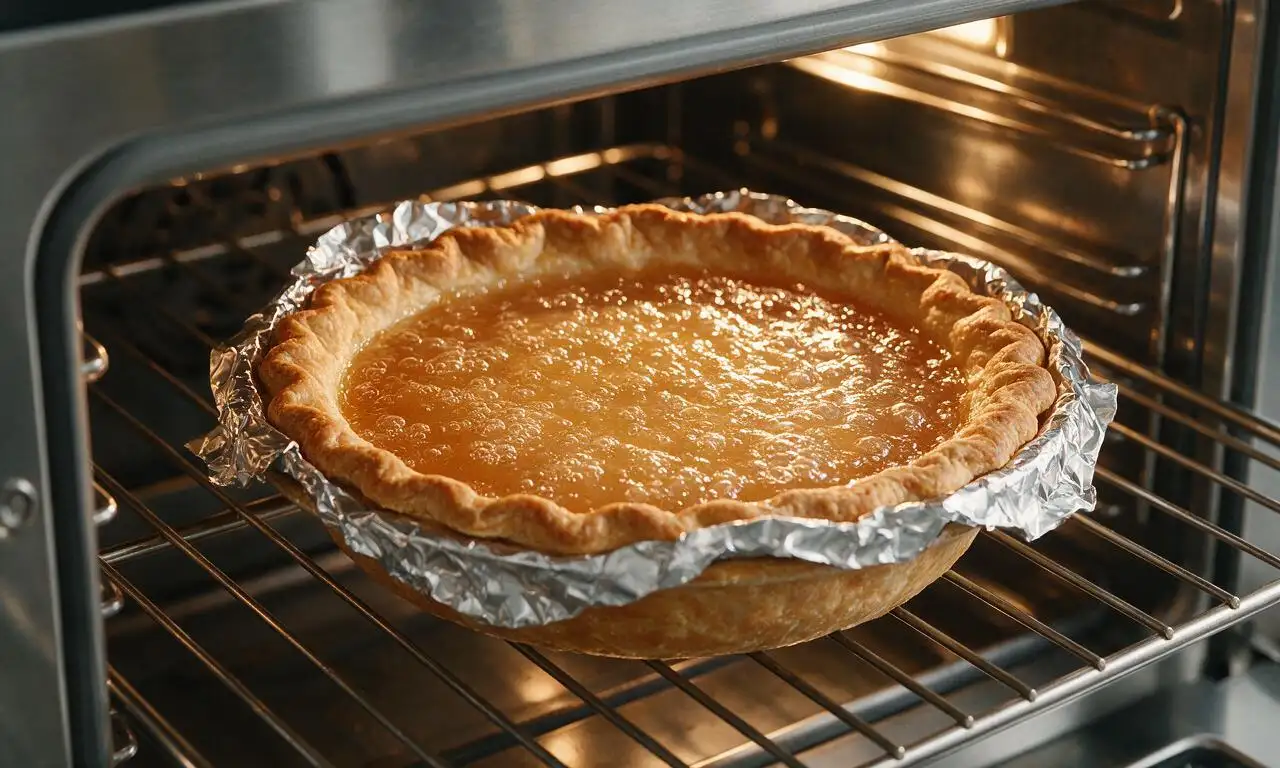
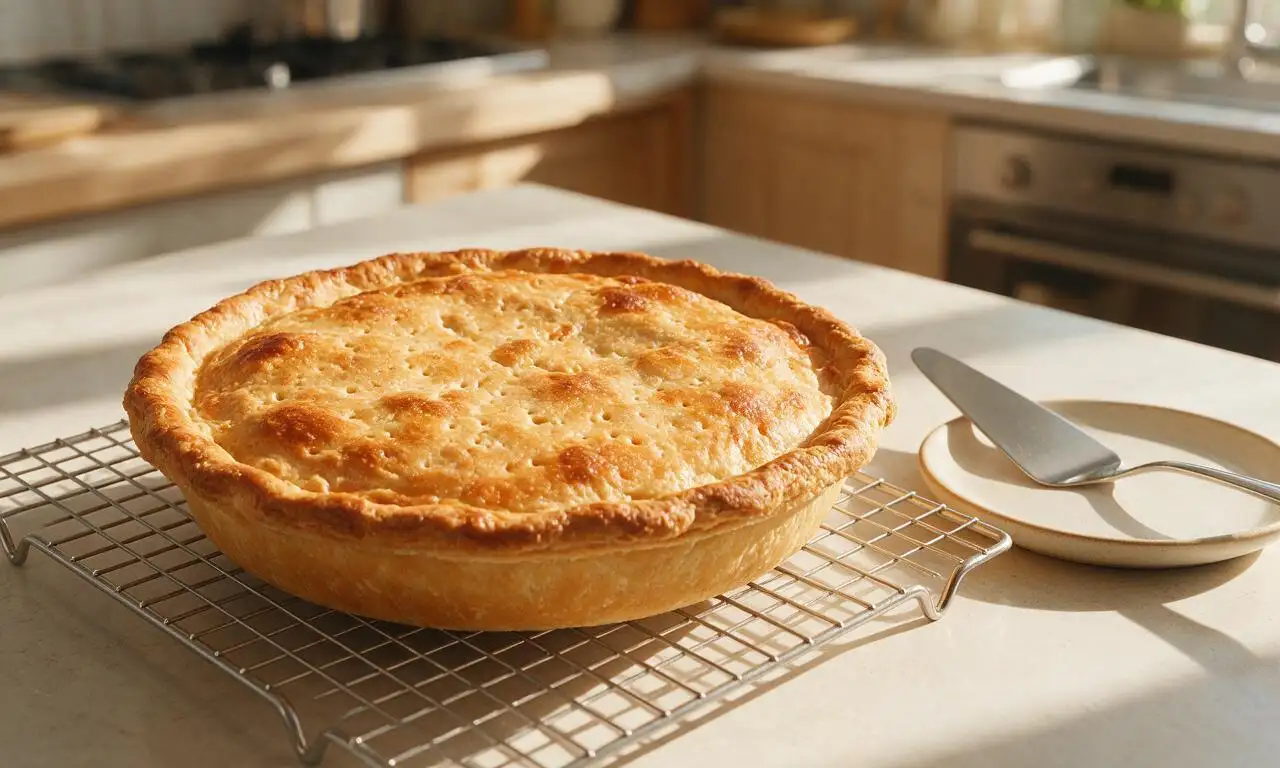
Bake at 400°F for the first 10 minutes to set the crust and prevent sogginess, then drop the oven temperature to 350°F for another 40 to 45 minutes. It’s done when the edges are golden and bubbly, and the center 2 inches have a soft Jell-O-like jiggle (not sloshy liquid). It will set fully as it cools, so don’t overbake it or the filling will turn tough.
13.Is this pie supposed to be super sweet? I’ve heard vintage pies are really sugary.
▾
The original 1930s recipe is fairly sweet, as sugar was one of the cheapest, most accessible pantry staples at the time. You can cut ¼ cup of granulated sugar from the standard 1 ½ cup measure if you prefer less sweet desserts; the citrus and butter will keep flavors balanced. Just don’t cut more than ⅓ of the sugar, or the filling won’t set right.
14.Can I add mix-ins like fruit or chocolate chips to the filling?
▾
Small, low-moisture mix-ins work great: try a handful of mini chocolate chips, a sprinkle of toasted coconut, or a few tablespoons of finely chopped dried cranberries. Skip juicy fresh fruit like peaches or berries, though—they release too much extra moisture as they bake, which will make the filling runny and ruin its delicate, smooth set.
15.Why is this considered a Southern Great Depression pie, exactly?
▾
Water pie originated across the rural American South in the 1920s and 1930s, when tight household budgets and limited access to fresh eggs, milk, and fruit made fancy pies out of reach for most families. Home cooks leaned on cheap, shelf-stable staples to make a comforting sweet treat, and the recipe has been passed down through community cookbooks ever since.







OMG I cannot believe how good this was!!! I had never heard of water pie before, saw this pop up and decided to make it for our Sunday family dinner on a whim because I had literally no other dessert supplies in the house. My kids devoured half the pan before we even finished the main course! It’s so buttery and sweet, tastes way fancier than the ingredient list makes it sound. Total game changer for last minute dessert needs.
I grew up eating my grandma’s water pie during the depression era, and I’ve spent years trying to get the recipe just right after she passed. This one is dead on!!! The vanilla to sugar ratio is exactly how she made it, no weird extra add-ins that mess up the simple, comforting flavor. I brought this to my church potluck last week and three people asked for the recipe before I even left. 10/10, will be making this every other week from now on.
Super easy to throw together after work when I’m craving something sweet. I added a tiny dash of cinnamon on top because I can’t leave well enough alone, and it slapped. Would make again, especially since it doesn’t require any fancy ingredients I never have on hand.
Bro this recipe saved me during finals week. I have literally zero baking skills, my dorm kitchen only has a tiny toaster oven, and I could get all the ingredients at the campus convenience store for like $4. It came out perfect first try??? My roommates thought I bought it from the bakery down the street. SO good.
Wait hold on, pie made with WATER? I thought this was a joke recipe when my cousin sent it to me, but I tried it because I was bored on a rainy Saturday and… how is this real? It tastes like a creamy, buttery custard? There’s no eggs or milk in the filling??? I’m so confused but so obsessed. Only thing is I burned the crust edges a little, next time I’ll wrap them in foil earlier.
Made this for our backcountry camping trip last weekend because I could pre-make the filling at home and keep the crust in the cooler, then bake it in our camp dutch oven over the fire. It was the best post-hike treat ever after an 8 mile day. Everyone in our group was asking for seconds, no one could believe how simple it was.
I am notoriously bad at baking, like I once burned boxed brownies bad enough the smoke alarm went off for 20 minutes. This recipe was foolproof for me. My wife thought I picked up a pie from the local farmers market when she got home from work. Win for dad credibility. Only note is I used a store bought crust because there was no way I was making one from scratch, still came out great.
I’ve made water pie for years but always added a splash of lemon juice, this recipe’s version without it is so much cozier and lets the butter and vanilla shine. I served this with a dollop of fresh whipped cream on top for our book club meeting and everyone went back for a second slice. So easy to dress up or keep plain, it’s such a versatile little dessert.
Was so excited to try this, swapped the regular pie crust for a gluten free shortbread crust I had in the freezer and it turned out amazing! I was worried the texture of the filling would be off since I’ve had weird watery GF bakes before, but it set perfectly after the full 50 minute cook time plus 20 minutes of cooling. Finally an easy dessert I can bring to family gatherings where my cousin with Celiac can also eat it!
I made this on Sunday as part of my weekly meal prep for sweet treats during the work week, and it held up so good all week in the fridge! I cut it into individual slices and grabbed one each day on my way out the door, it was the perfect little midday pick me up at my desk. Way cheaper and tastier than buying cookies from the office café every day.
I remember making water pie with my home ec class back in the 70s when the school budget was super tight, and I’d completely forgotten about the recipe until I saw this! Made it for my granddaughter’s birthday party last weekend and told all the kids it was “magic pie” because it’s made with water, they thought it was the coolest thing ever. Tastes exactly like I remembered.
Took this to my office potluck yesterday and it was the first dessert gone, even beating out the fancy chocolate cake one of my coworkers brought from the high end bakery downtown. People kept going “wait there’s WATER in this?” like I was pulling their leg. 10/10, easy, cheap, crowd pleaser. Can’t beat that.