
Water Pie (Depression)
intro
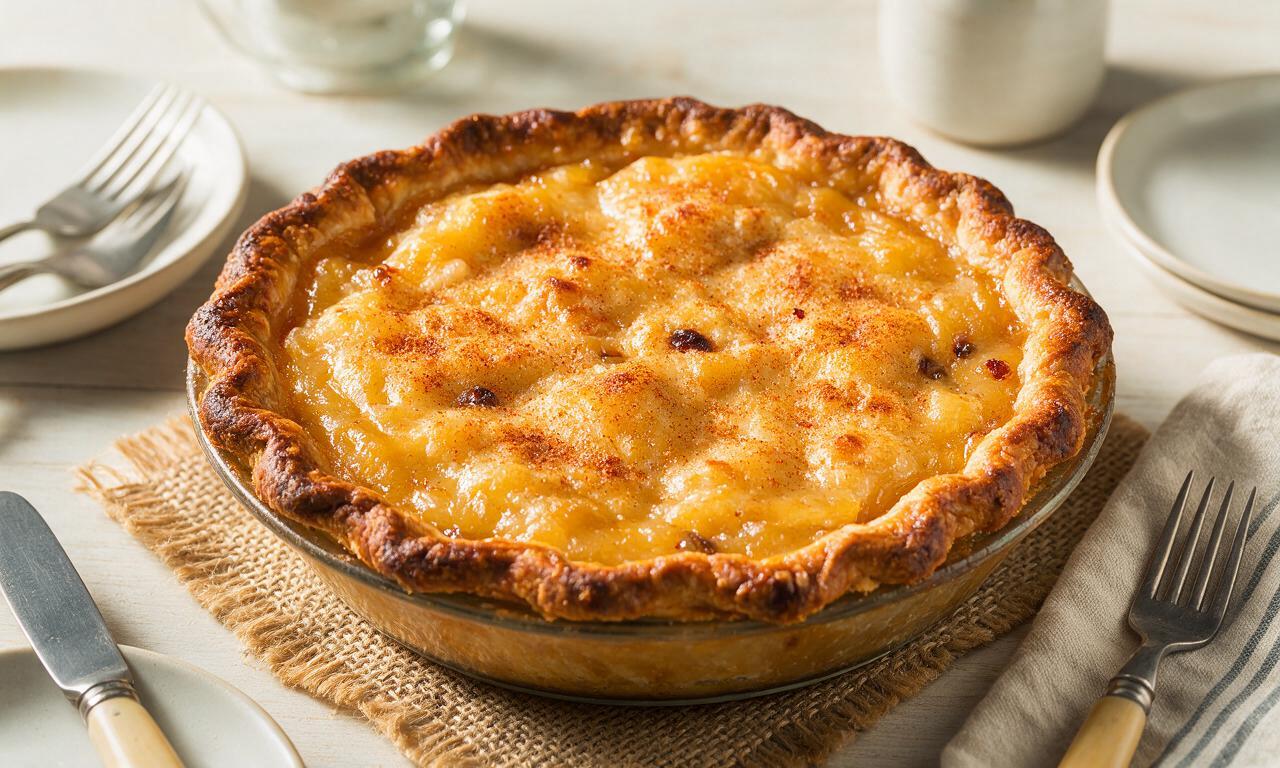
A frugal, surprisingly creamy sweet pie born of 1930s US Great Depression pantry scarcity, made with simple, low-cost staples for a comforting nostalgic treat.
Ingredients
Steps
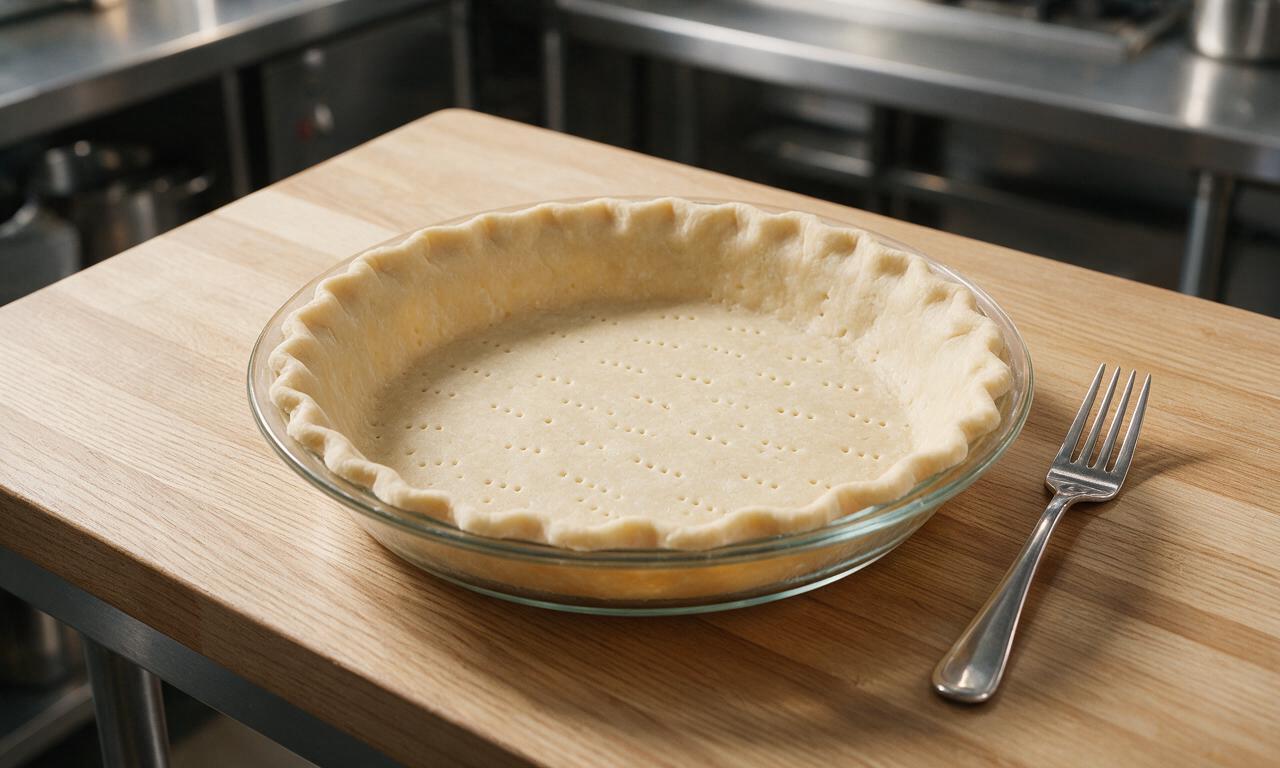
Prep crust and preheat oven
Preheat your oven to 400°F (200°C). Place the 9-inch unbaked pie crust into a standard glass or metal pie dish, crimping the edges decoratively if desired, and prick the bottom of the crust 6-8 times with a fork to prevent air bubbles from forming during baking. Do not blind bake the crust.
Mix dry filling ingredients
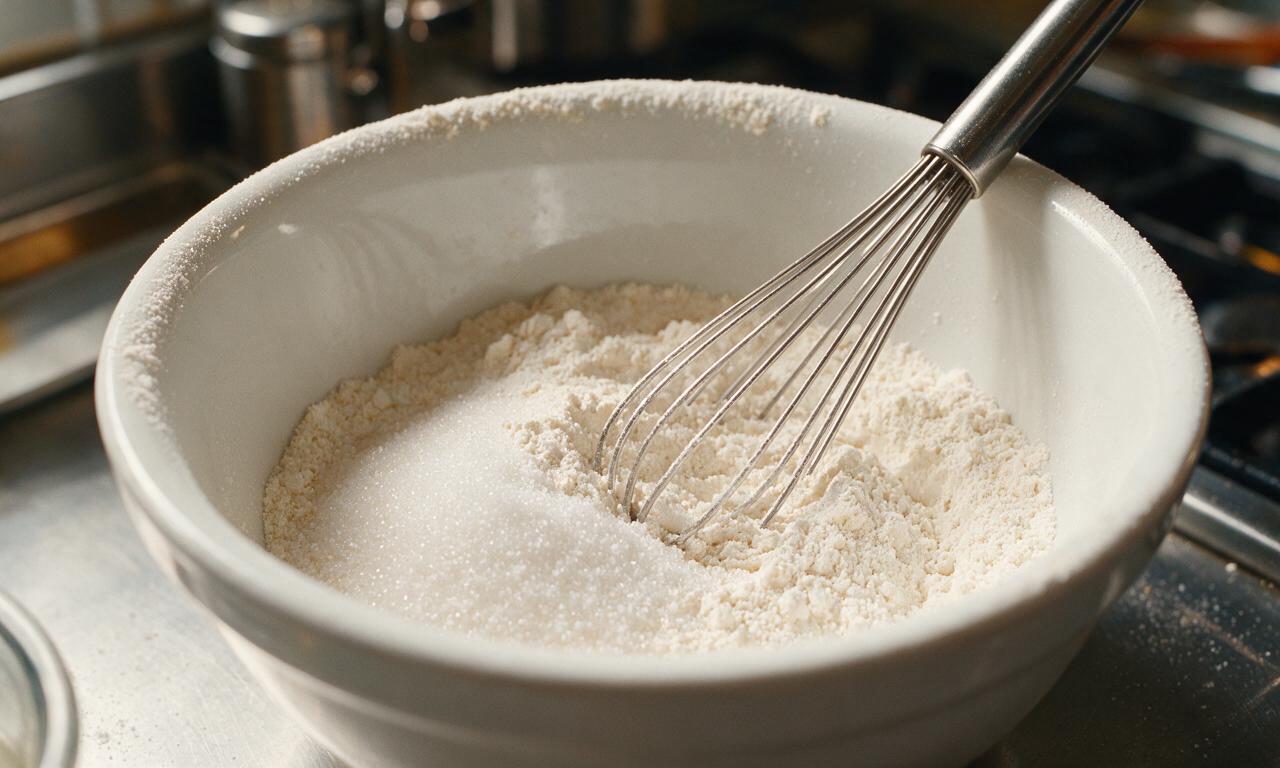
In a small mixing bowl, whisk together 1 cup (200g) granulated sugar, 1/4 cup (30g) all-purpose flour, and 1/4 teaspoon (1.5g) fine table salt until fully evenly combined, with no visible lumps of flour remaining in the mixture.
Layer base filling in crust
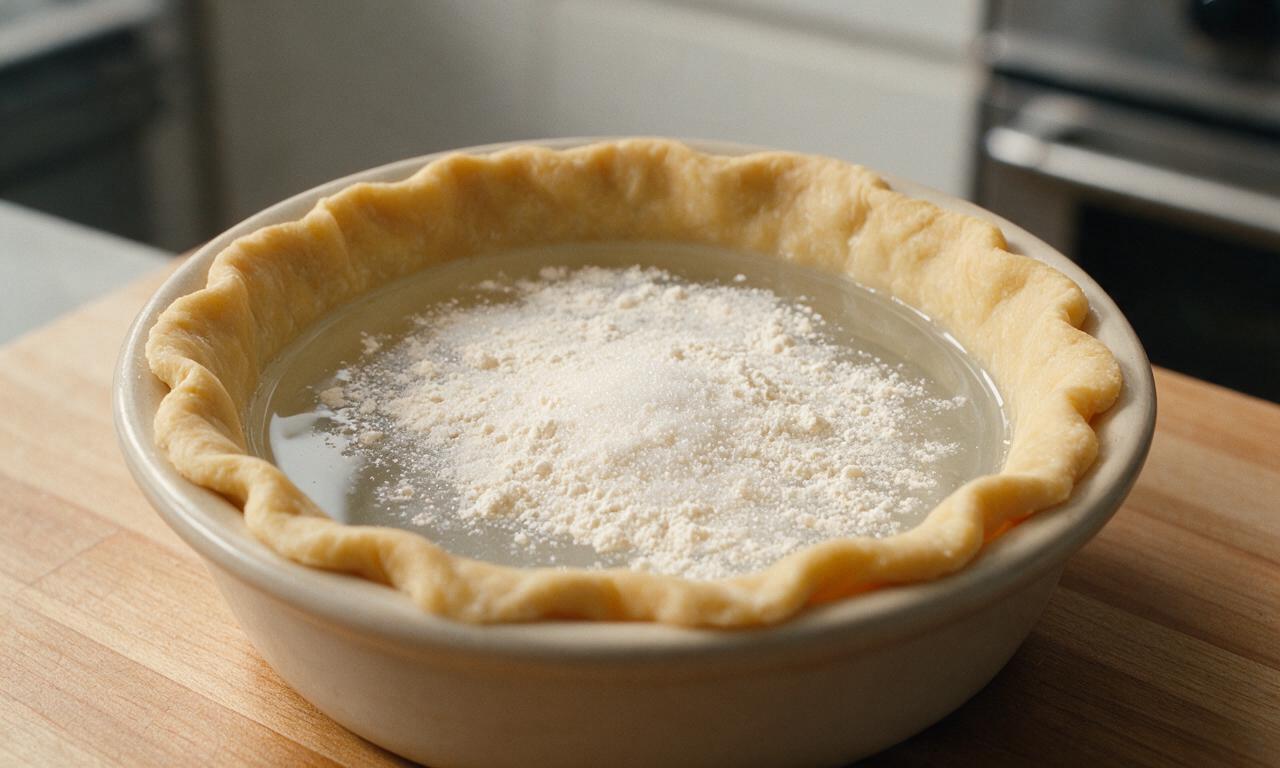
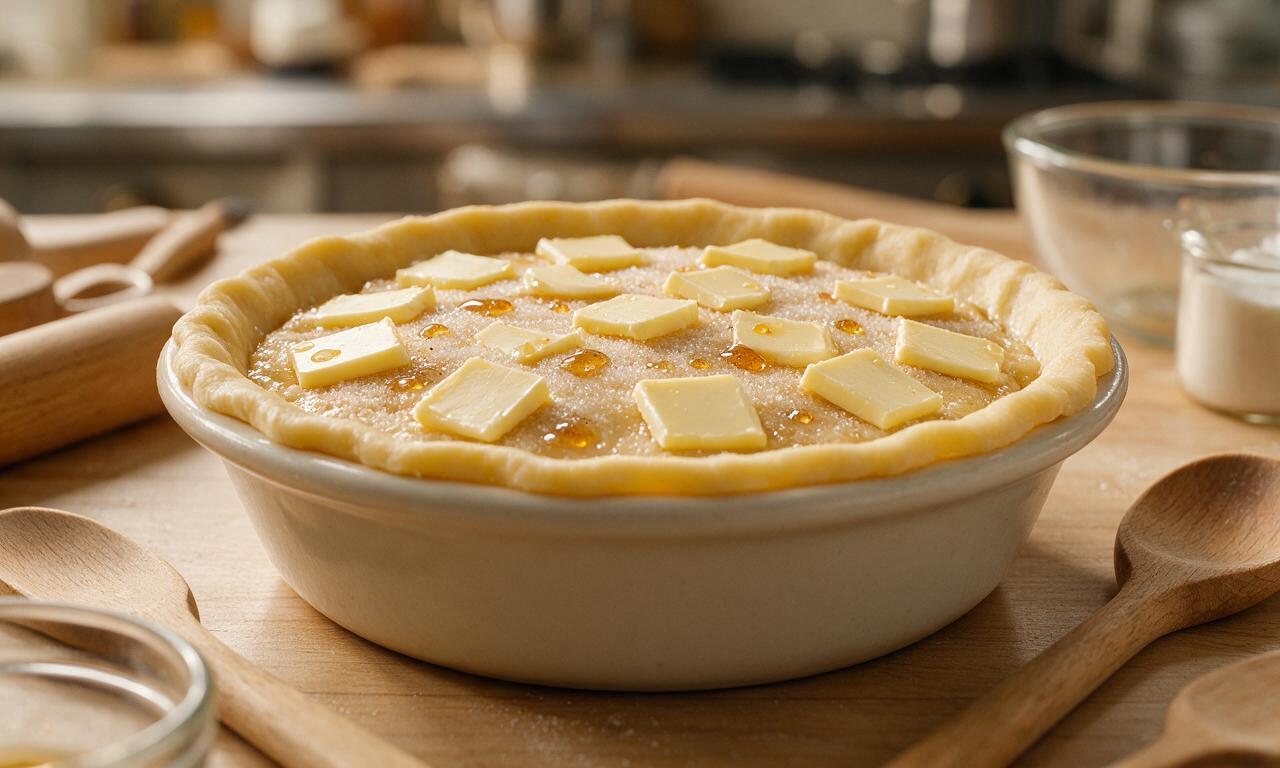
Pour the full 2 cups (480ml) of cold tap water directly into the unbaked pie crust. Evenly sprinkle the pre-mixed dry sugar-flour-salt mixture across the entire surface of the water; do not stir the mixture into the water, as this will ruin the final filling texture.
Add butter and vanilla
Evenly dot the top of the dry mixture with 5 tablespoons (70g) of thinly sliced cold unsalted butter pats, spacing them roughly 1 inch apart across the entire pie surface. Drizzle 1 teaspoon (5ml) of pure vanilla extract evenly over the top of the butter and dry mix layer.
Bake the assembled pie
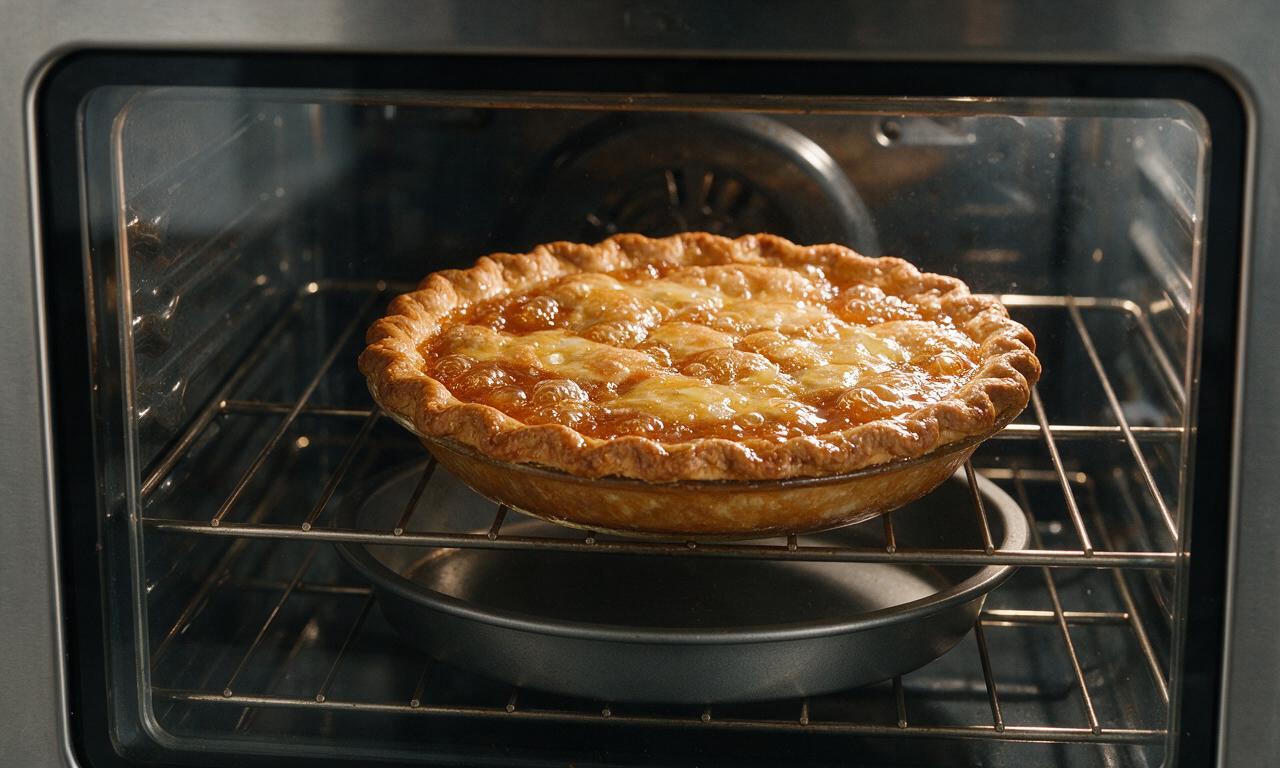
Carefully transfer the pie to the middle rack of the preheated 400°F (200°C) oven, placing a rimmed baking sheet on the rack below to catch any bubbled-over filling. Bake for 15 minutes, then reduce the oven temperature to 350°F (175°C) without opening the oven door, and bake for an additional 35 minutes, until the crust is deep golden brown and the filling bubbles vigorously around the edges.
Cool pie fully before serving
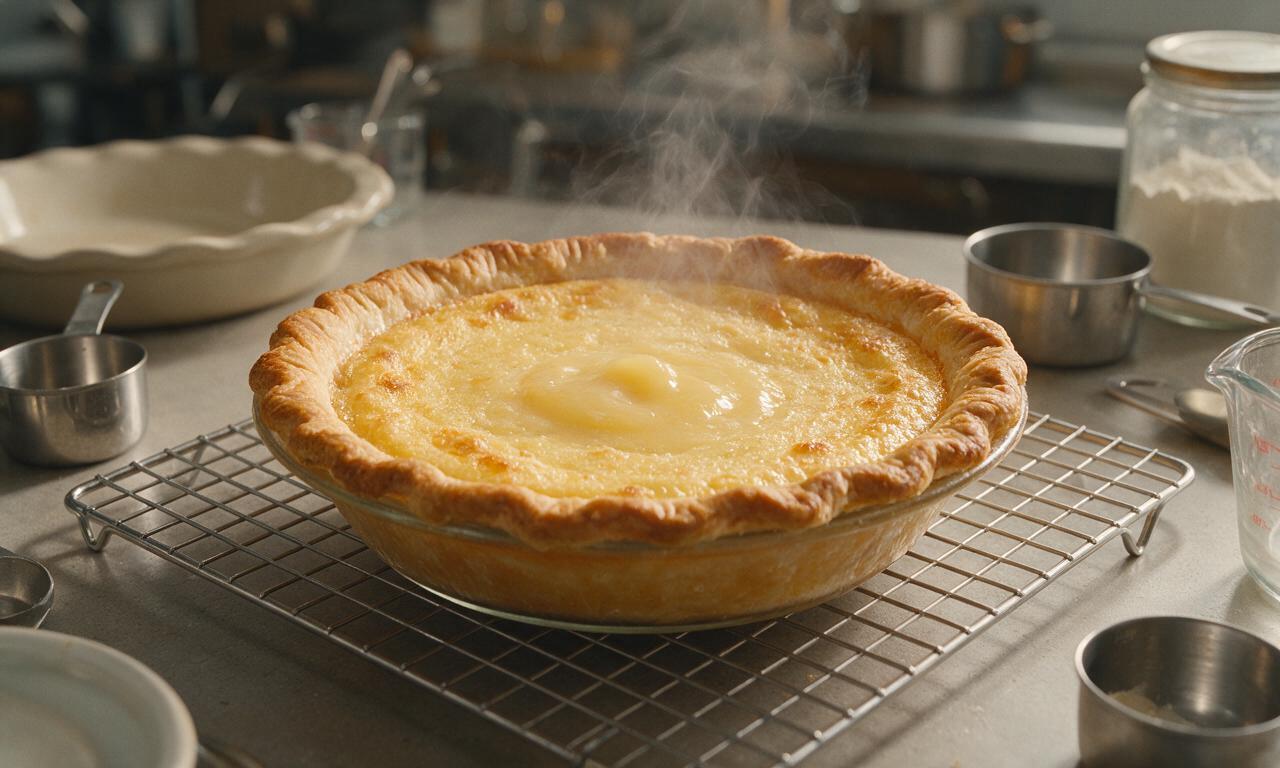
Remove the baked pie from the oven using heat-resistant oven mitts, and place it on a wire cooling rack at room temperature for a full 2 hours, until the filling sets completely into a soft, creamy, custard-like consistency. Do not slice the pie while warm, as the filling will be runny.
Tips
2.If your pie crust edges begin to darken too quickly during baking, wrap a 2-inch wide strip of aluminum foil around the crust rim after the first 20 minutes of baking to prevent burning.
3.For a subtle warm flavor twist, add 1/8 teaspoon of ground nutmeg or cinnamon to the dry sugar mixture, though this spiced variation is not part of the original minimal-ingredient 1930s recipe.






OMG, I remember my great grandma making this when money was tight when I was little and I could never find the right recipe! This tasted exactly like I remembered—sweet, creamy, that little hint of vanilla, you’d never guess the main filling is just water and sugar! Brought it to our church potluck last Sunday and three people asked for the recipe, even the teens who turn their nose up at ‘old people food’ loved it. SO good, 10/10.
Was super skeptical about a pie made with mostly water, y’all, but groceries have been so expensive lately I figured I’d give it a shot. Game changer! It’s so simple to throw together, my 8 year old helped me stir the filling and she was so proud of ‘our pie.’ Knocked a star off because my crust got a little soggier than I wanted on the bottom, but the flavor was spot on. Will definitely be adding this to our weekly meal prep rotation for quick sweet treats.
Just pulled this out of the oven after baking for an hour, let it cool like the recipe instructed, and WOW. I was super skeptical a pie made mostly with water could taste good, but it set up perfectly into this silky, custardy treat that tastes just like the fancy sugar cream pie I pay $6 a slice for at our local bakery. My husband already ate two slices and said it’s better than the apple pie I make every Thanksgiving! My kids are going to lose their minds when they get home from school and see we have dessert. Can’t wait to bring this to our next family dinner.