
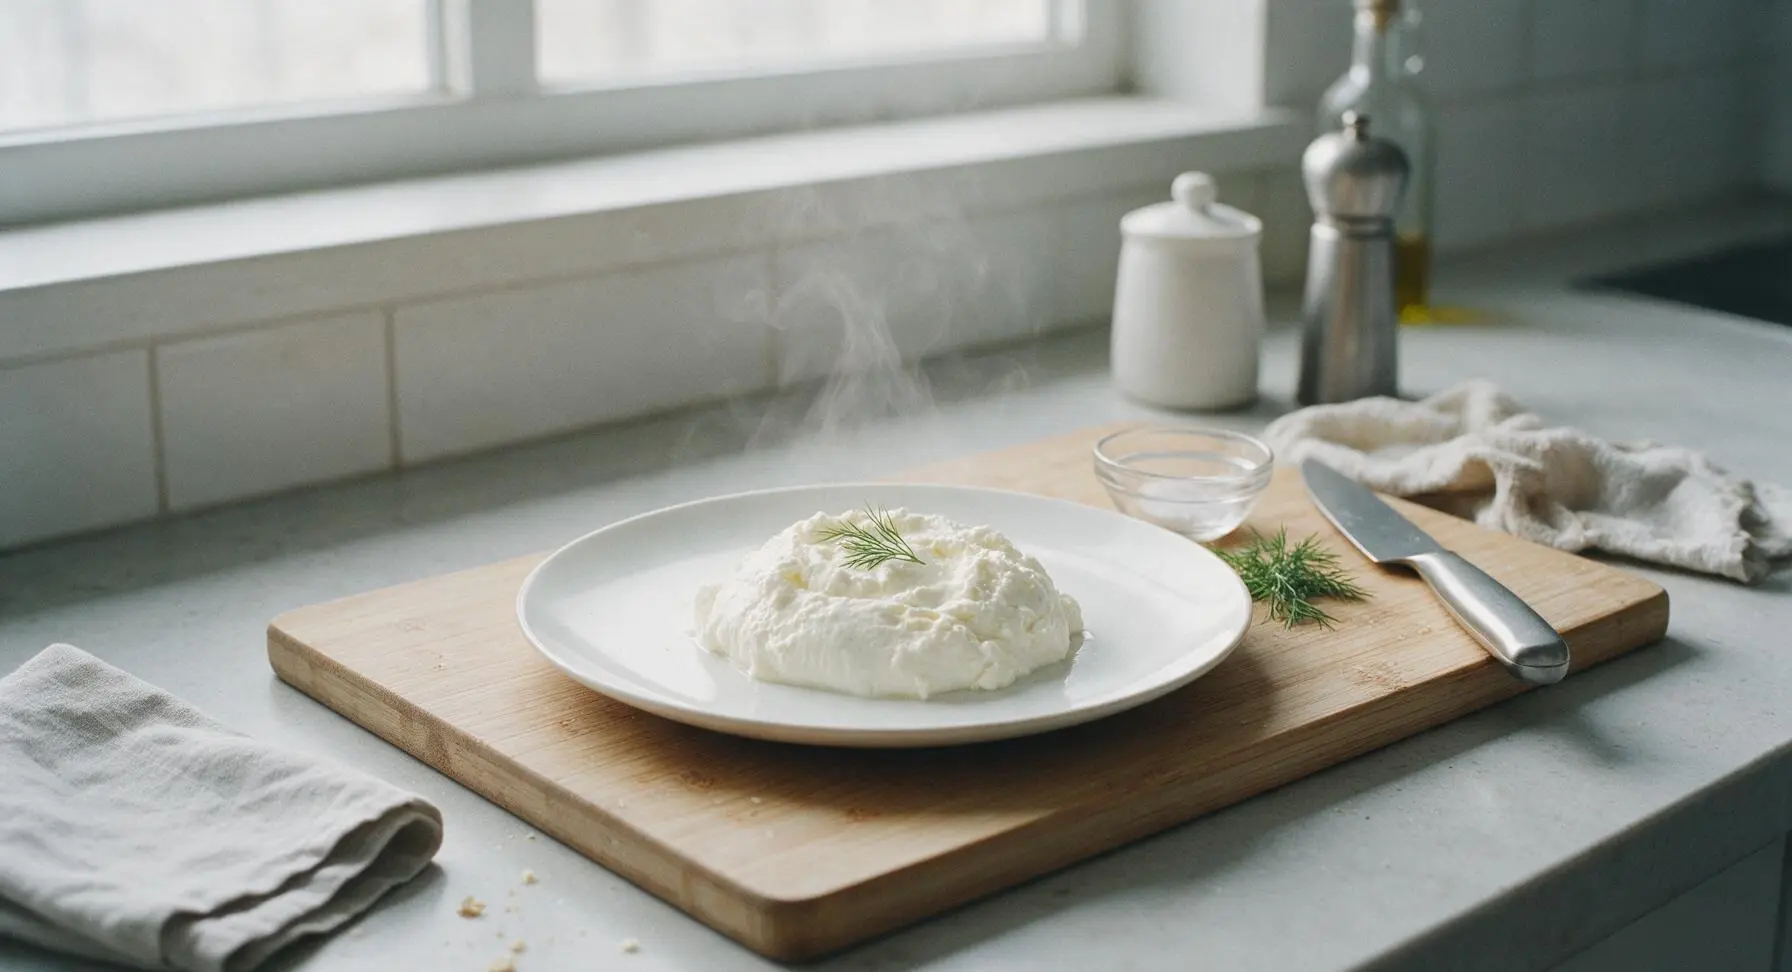
whole milk ricotta

title 1
whole milk ricotta
⏱️ cook time 30 minutes
🍽️ servings 6
⚡ Difficulty easy

intro

Pillowy, creamy homemade whole milk ricotta with bright, fresh milky flavor—richer and softer than store-bought, perfect for baking, spreading on toast, or topping with a drizzle of honey.

Ingredients
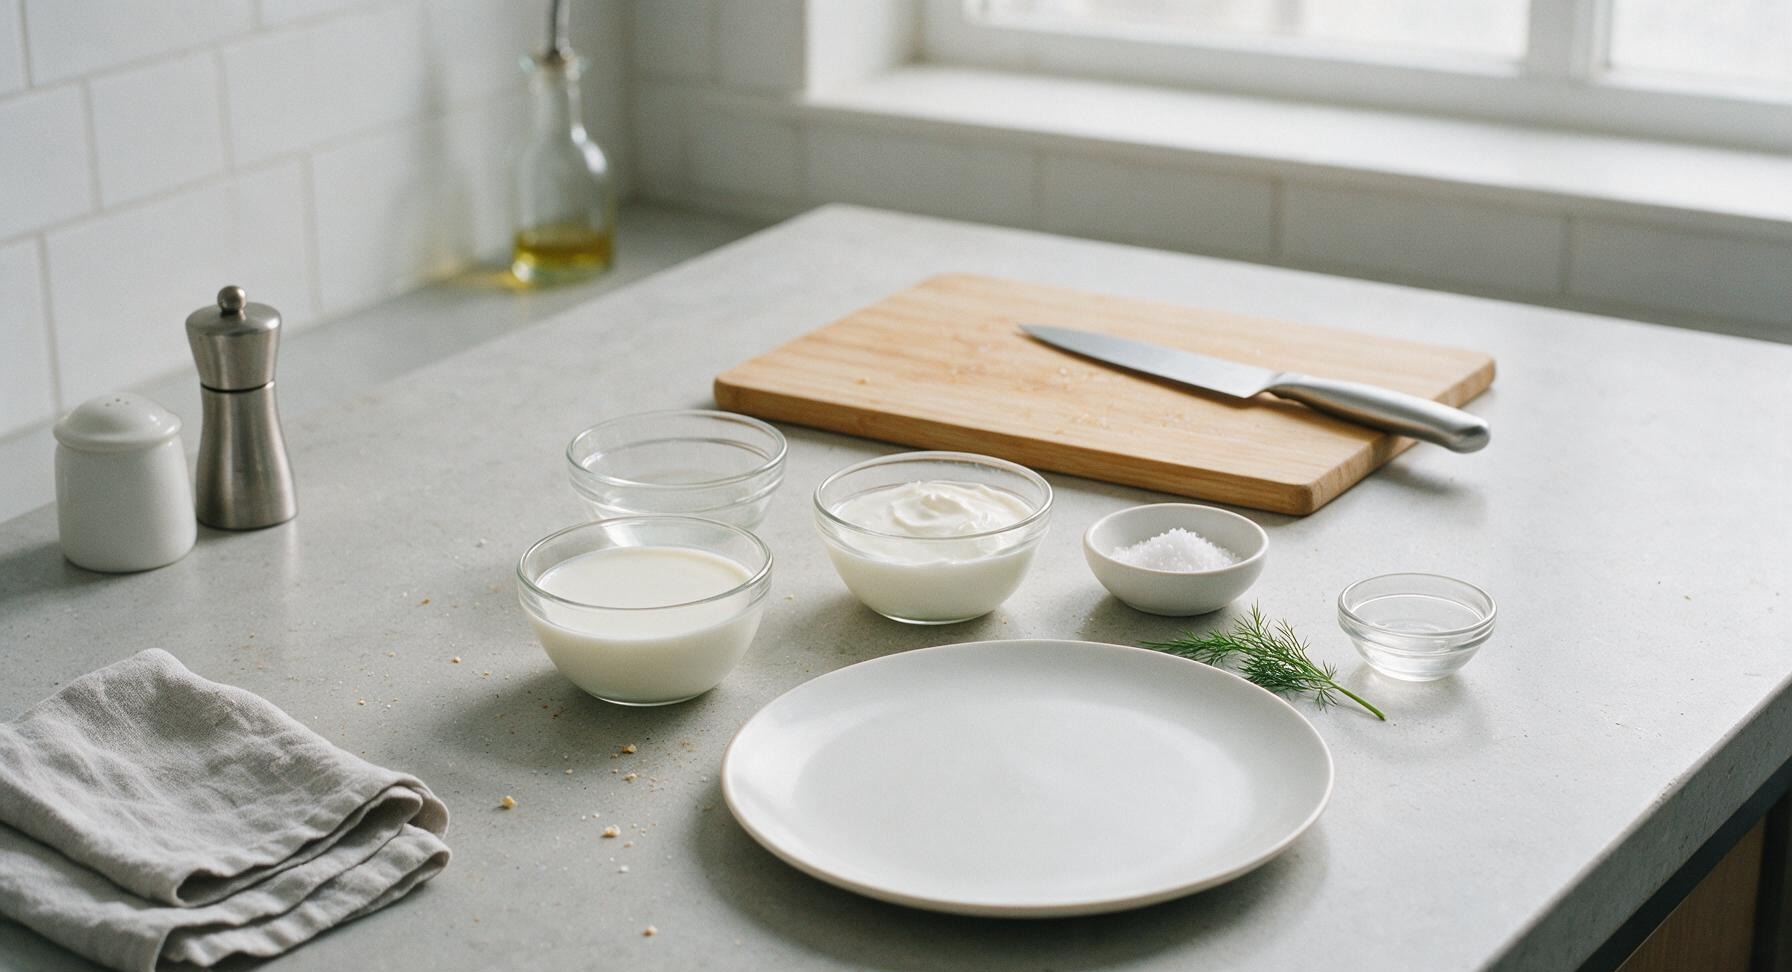
Whole milk (not ultra-pasteurized) 8 cups (1.9L)
Heavy cream 1 cup (240ml)
White distilled vinegar 1/4 cup (60ml)
Fine sea salt 1 tsp

Steps

1

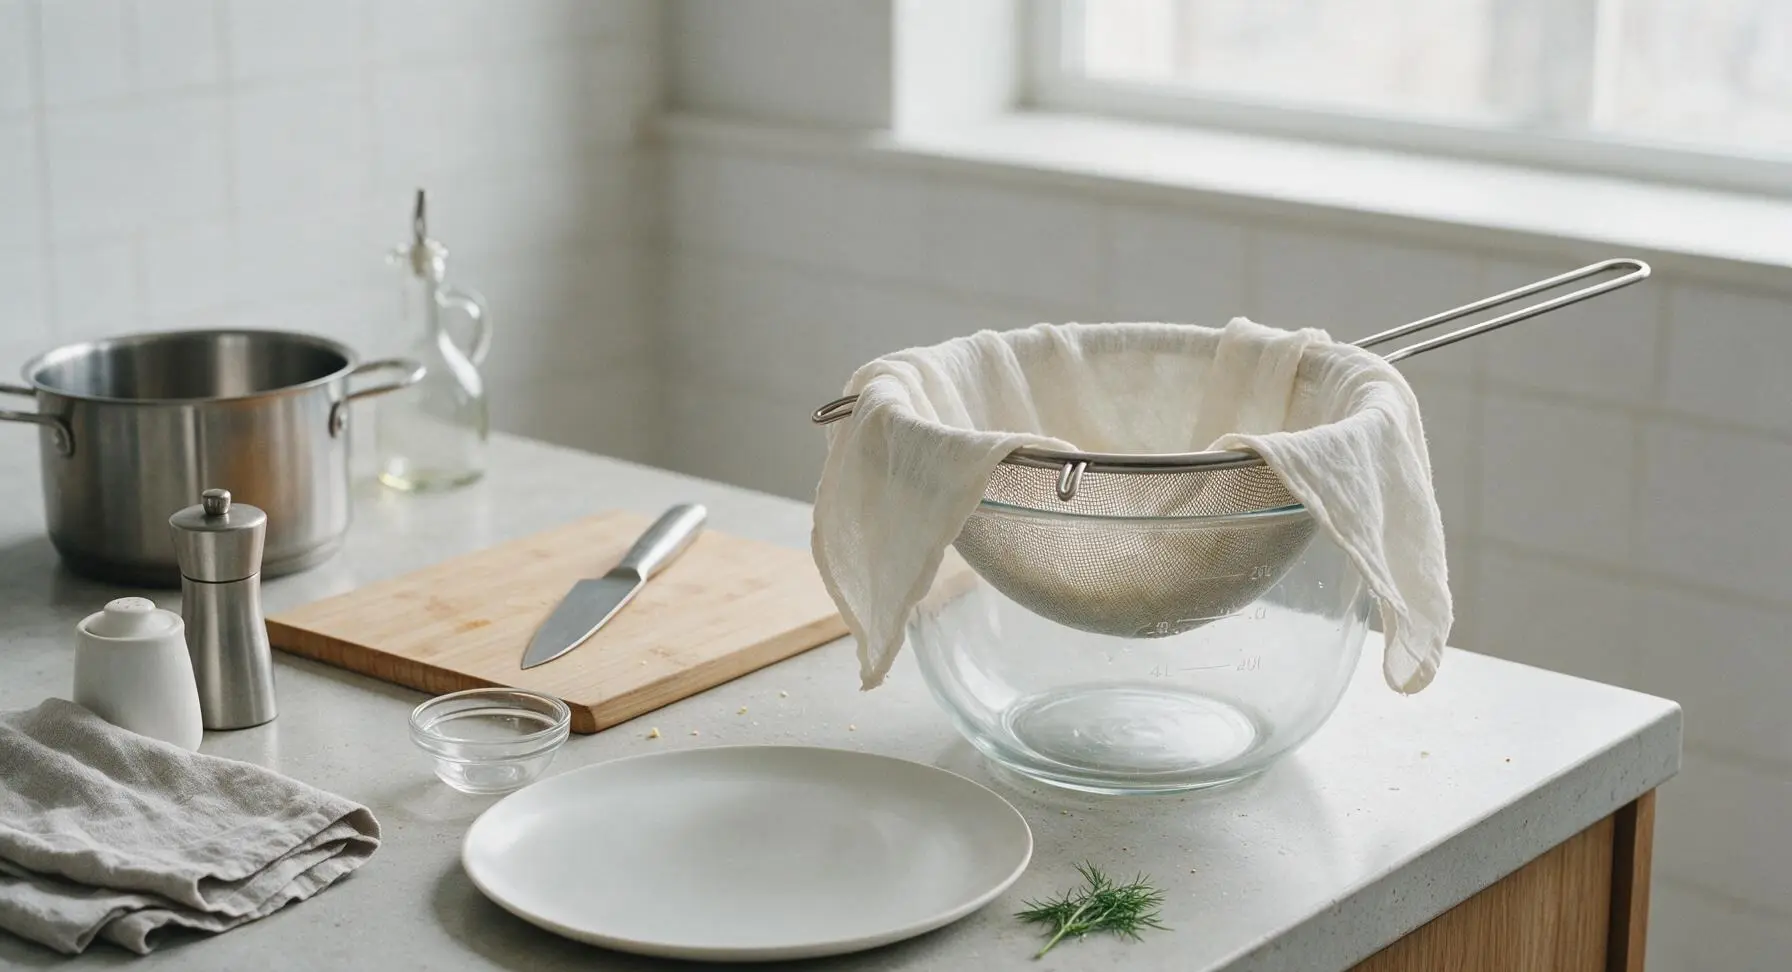
Prep straining station

Line the 20cm fine-mesh stainless steel strainer with 2 layers of the unbleached cotton cheesecloth, leaving 5cm (2 inch) overhang around the entire edge to prevent curds from slipping through. Set the lined strainer inside the 4L clear glass heatproof mixing bowl, and place the assembly on the right side of the central counter, adjacent to the stock pot's storage position. This setup will be ready to use the moment your curds form, so you do not have to fumble with hot equipment mid-process.
Step 1
step1:Prep straining station
2

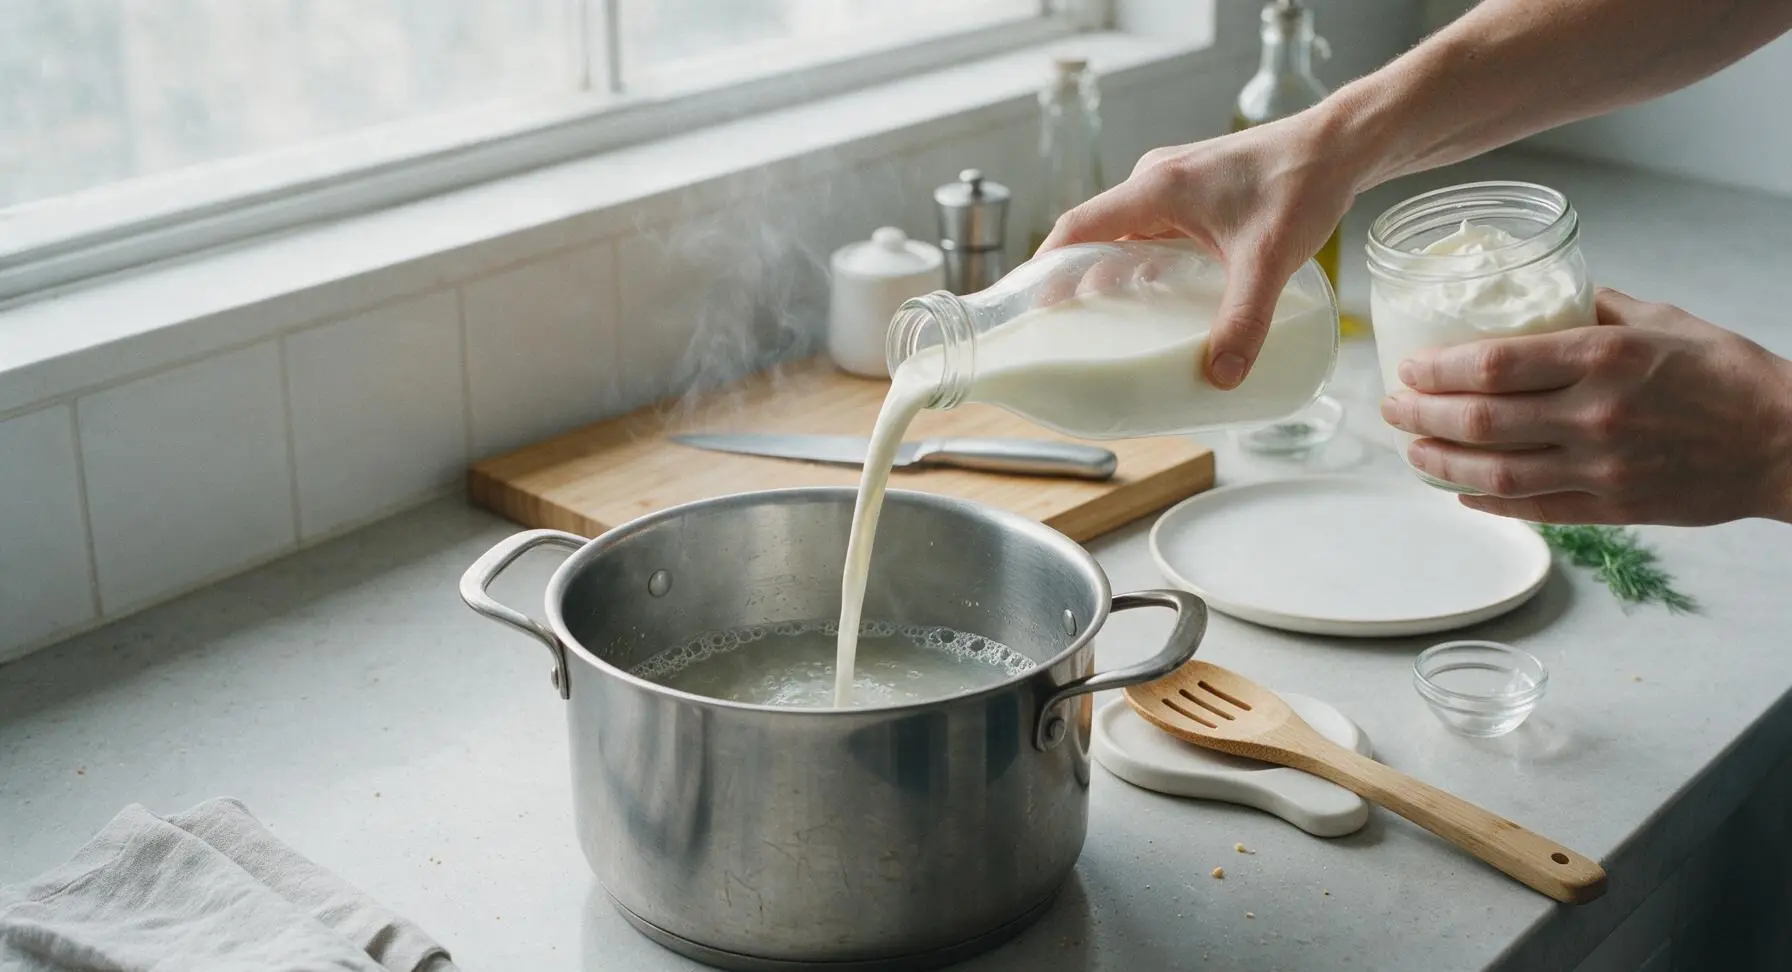
Heat milk and cream

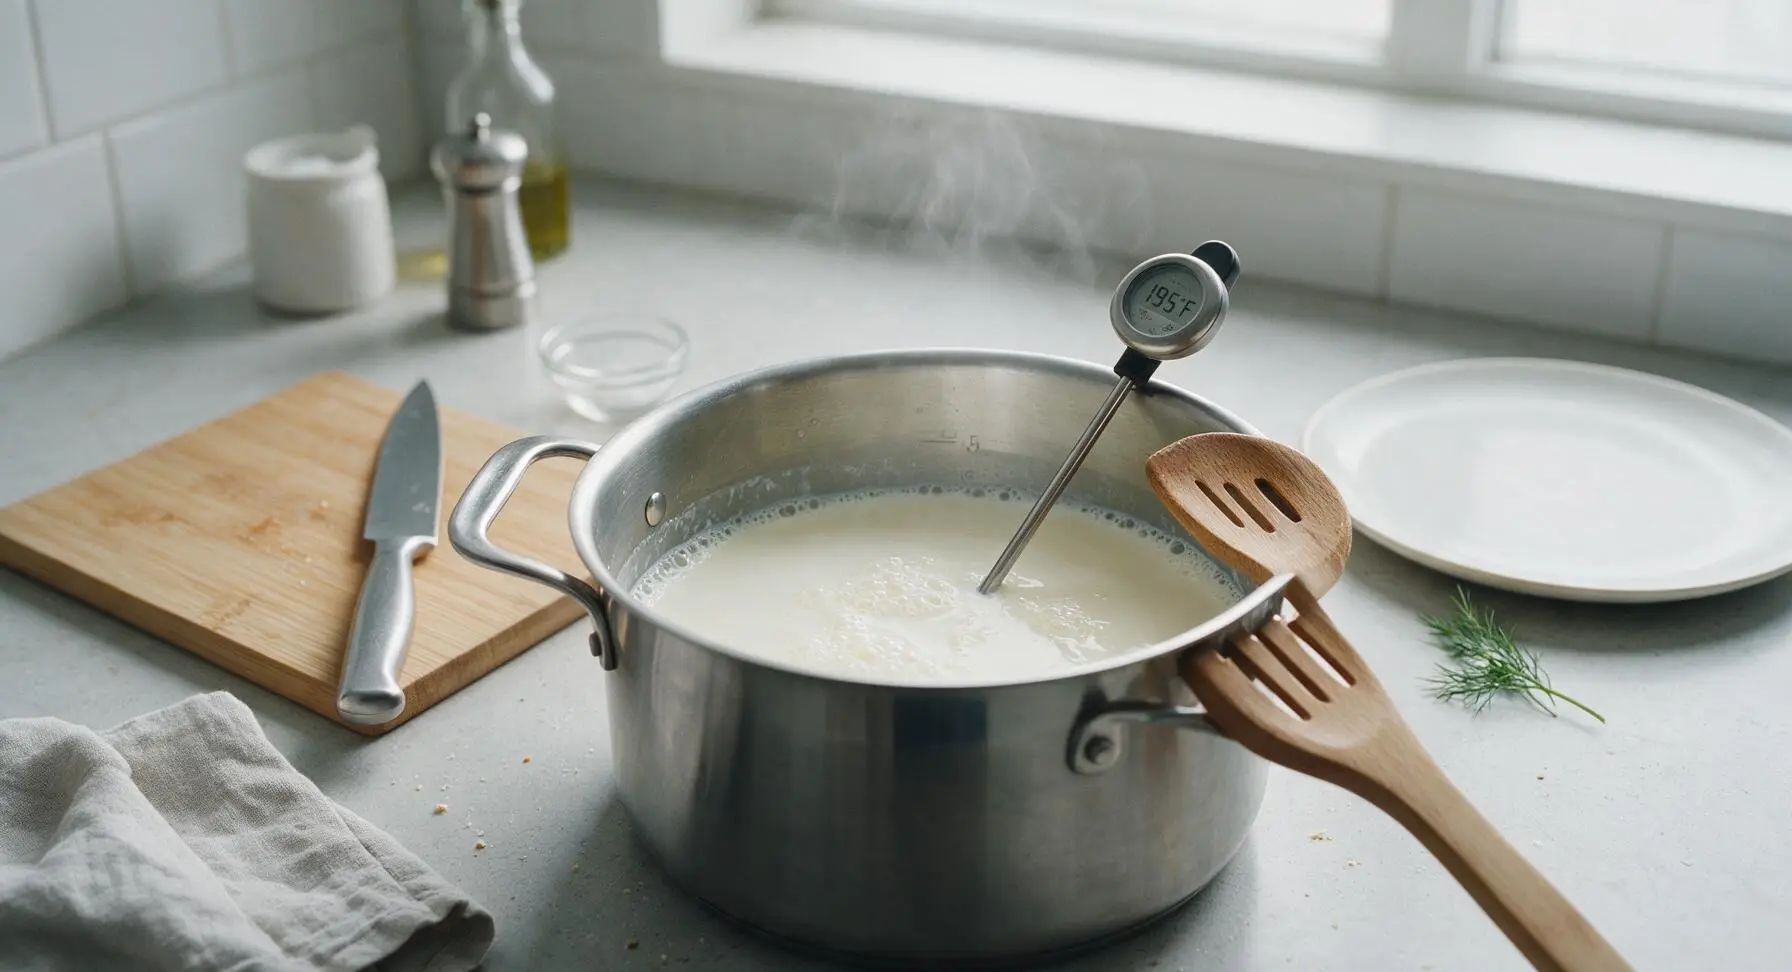
Pour the 8 cups whole milk and 1 cup heavy cream into the 5L stainless steel stock pot, and set over medium-low heat. Stir gently with the beech wood slotted spoon every 2-3 minutes to prevent scorching on the bottom of the pot. Heat the mixture until it reaches exactly 195°F (90°C), checking temperature frequently with the instant-read thermometer. You will see small, steady bubbles forming around the inner edge of the pot and thin wispy steam rising from the surface, but do not let the mixture come to a rolling boil, as this can create a grainy texture.
Step 2
step2:Heat milk and cream
Step 2
step2:Heat milk and cream
3

Add vinegar and salt

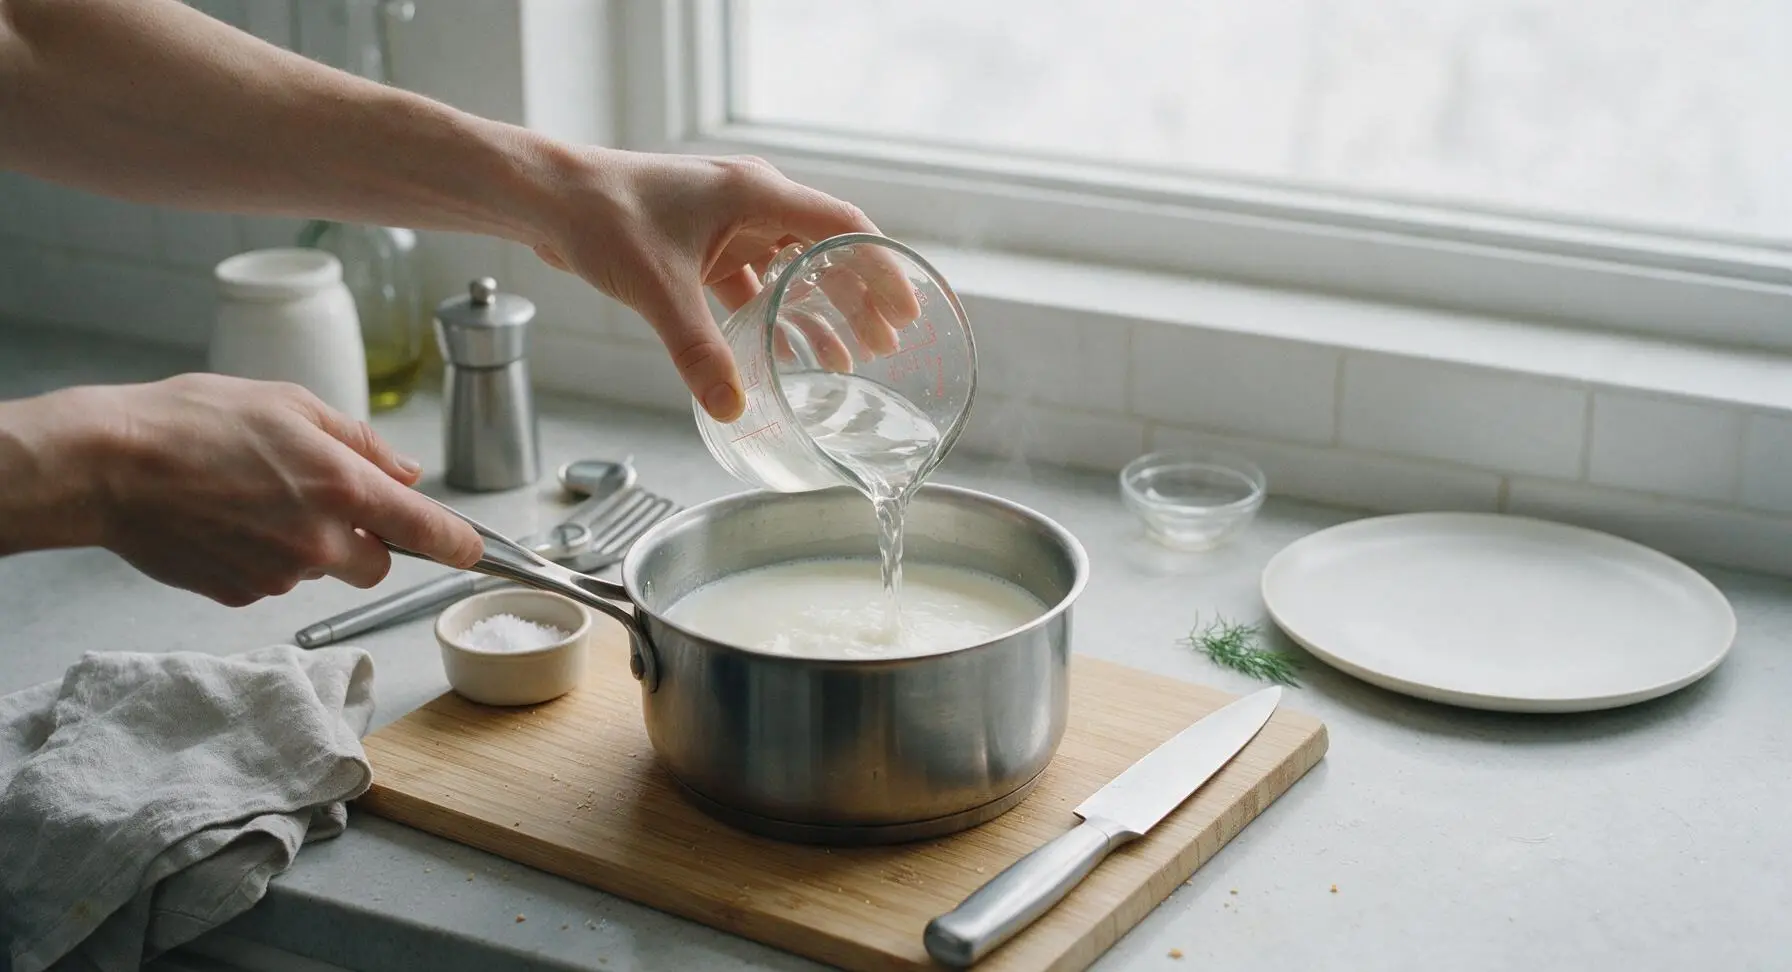
Once the milk mixture reaches 195°F, turn off the heat. Pour in the 1/4 cup white distilled vinegar and add the 1 teaspoon fine sea salt, stirring slowly and gently with the slotted spoon for exactly 10 seconds to distribute the acid evenly through the liquid. Do not over-stir, as this can break forming curds into overly small pieces that will slip through the cheesecloth.
Step 3
step3:Add vinegar and salt
4

Rest to form curds

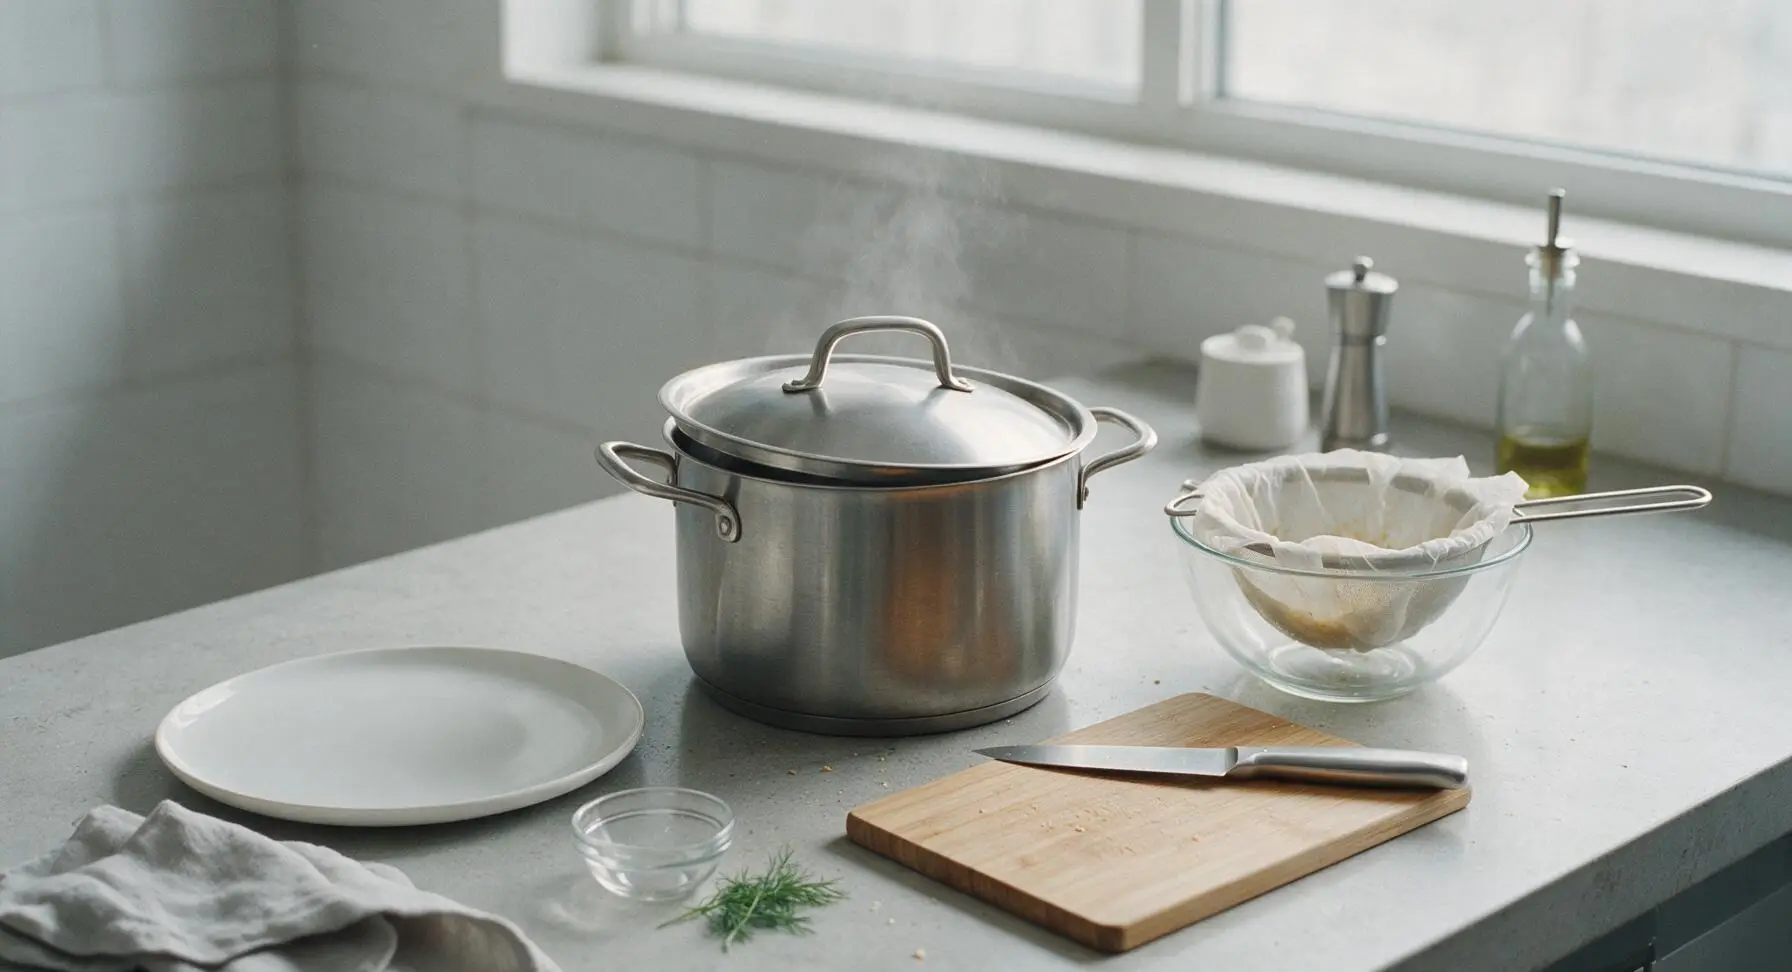
Cover the pot with its tight-fitting stainless steel lid, and let the mixture sit completely undisturbed for 10 full minutes. Do not stir, lift the lid, or move the pot during this time. The acid will react with the milk proteins to form soft, pillowy white curds that float to the surface, separating from the pale yellow, translucent whey below. You will see a clear, distinct line between solid curds and liquid whey when the rest time is complete.
Step 4
step4:Rest to form curds
5

Scoop curds to strain

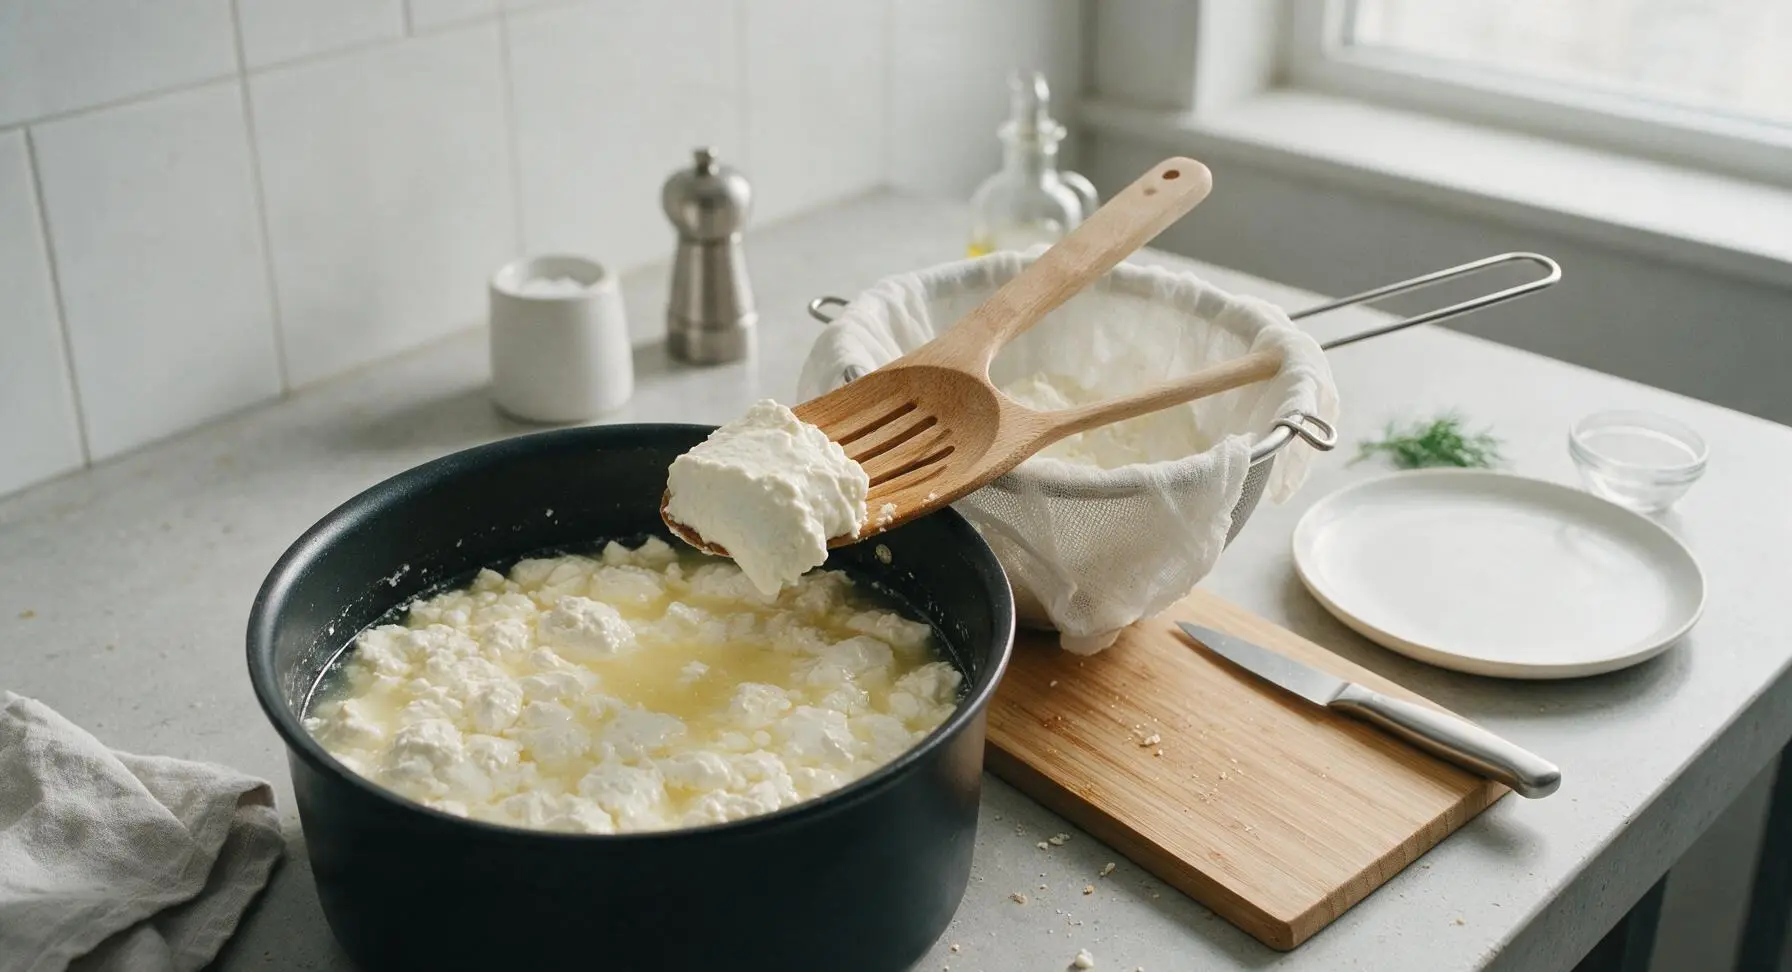
After 10 minutes, remove the lid from the pot. Use the beech wood slotted spoon to gently lift the large, soft curds from the surface of the whey, transferring them directly into the cheesecloth-lined strainer. Avoid pouring the entire pot contents at once, as the force of the pouring liquid can push small curds through the cheesecloth and reduce your final yield. Let the curds drain naturally once all are transferred.
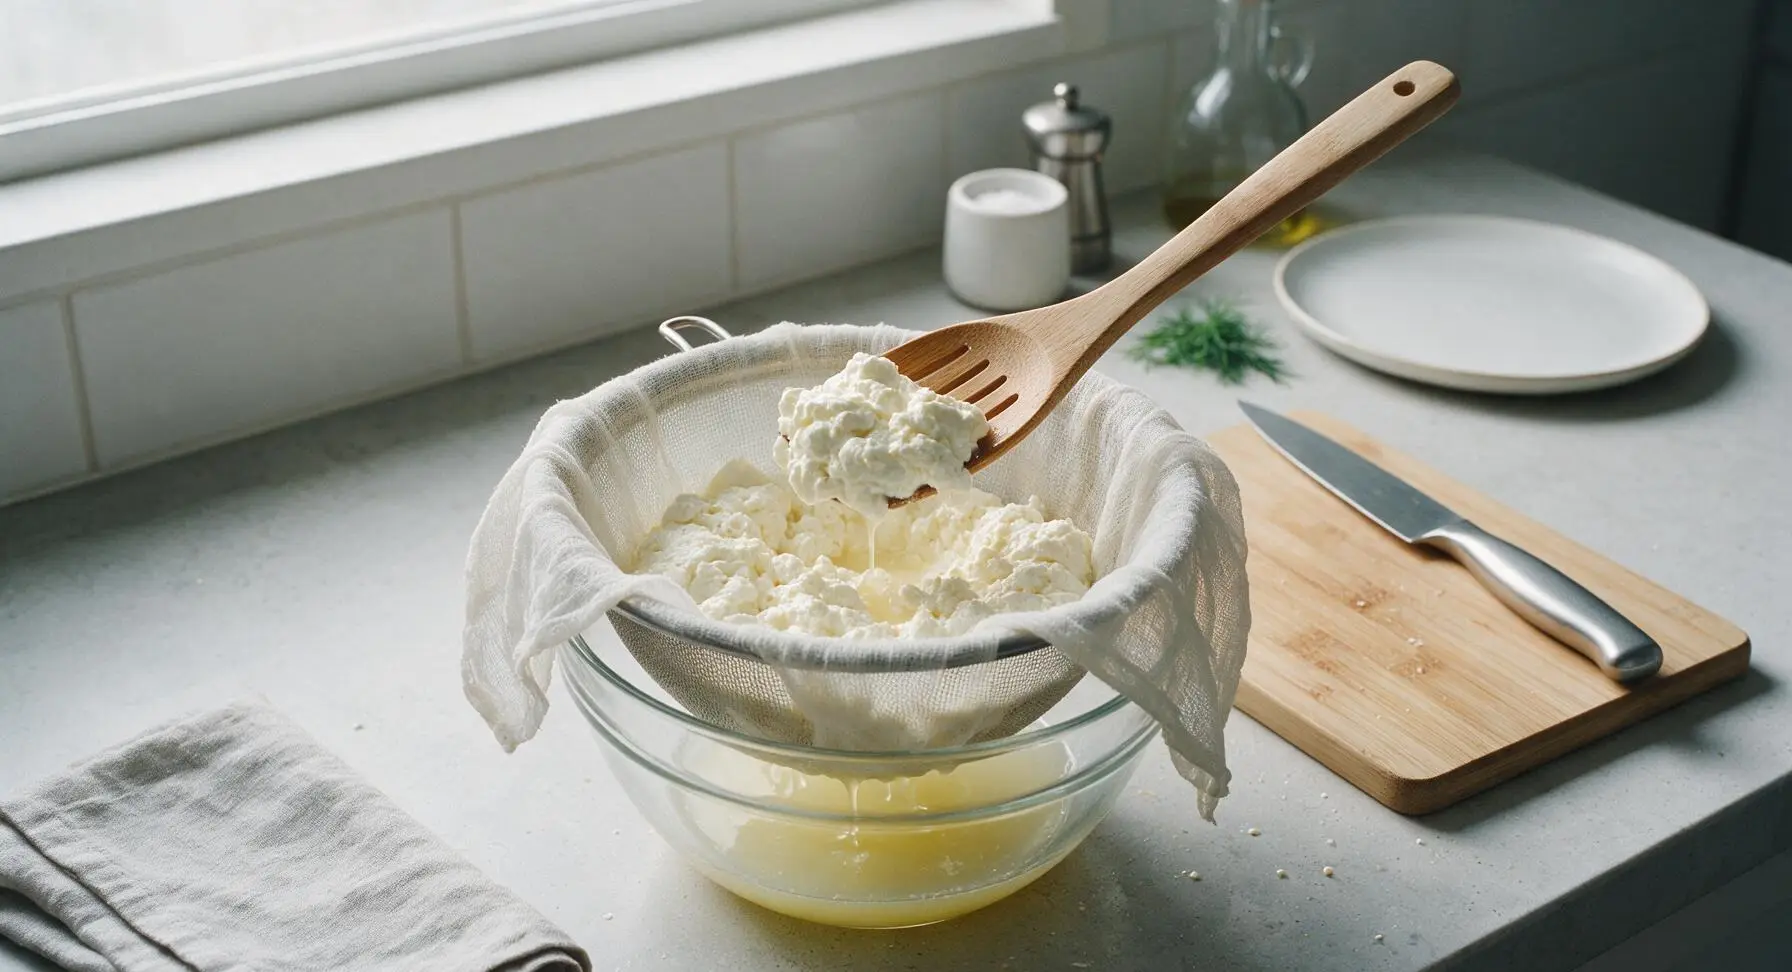
Step 5
step5:Scoop curds to strain
Step 5
step5:Scoop curds to strain
6

Drain to desired texture

Let the curds drain at room temperature for 10 to 30 minutes, depending on your preferred ricotta texture: 10 minutes for a soft, spreadable, moist ricotta perfect for toast or topping with honey and fruit, 20 minutes for a medium texture ideal for lasagna or stuffed pasta, 30 minutes for a drier, firmer ricotta perfect for baking cheesecakes or cannoli filling. Do not press the curds with a weight unless you want an unusually dry, crumbly texture.
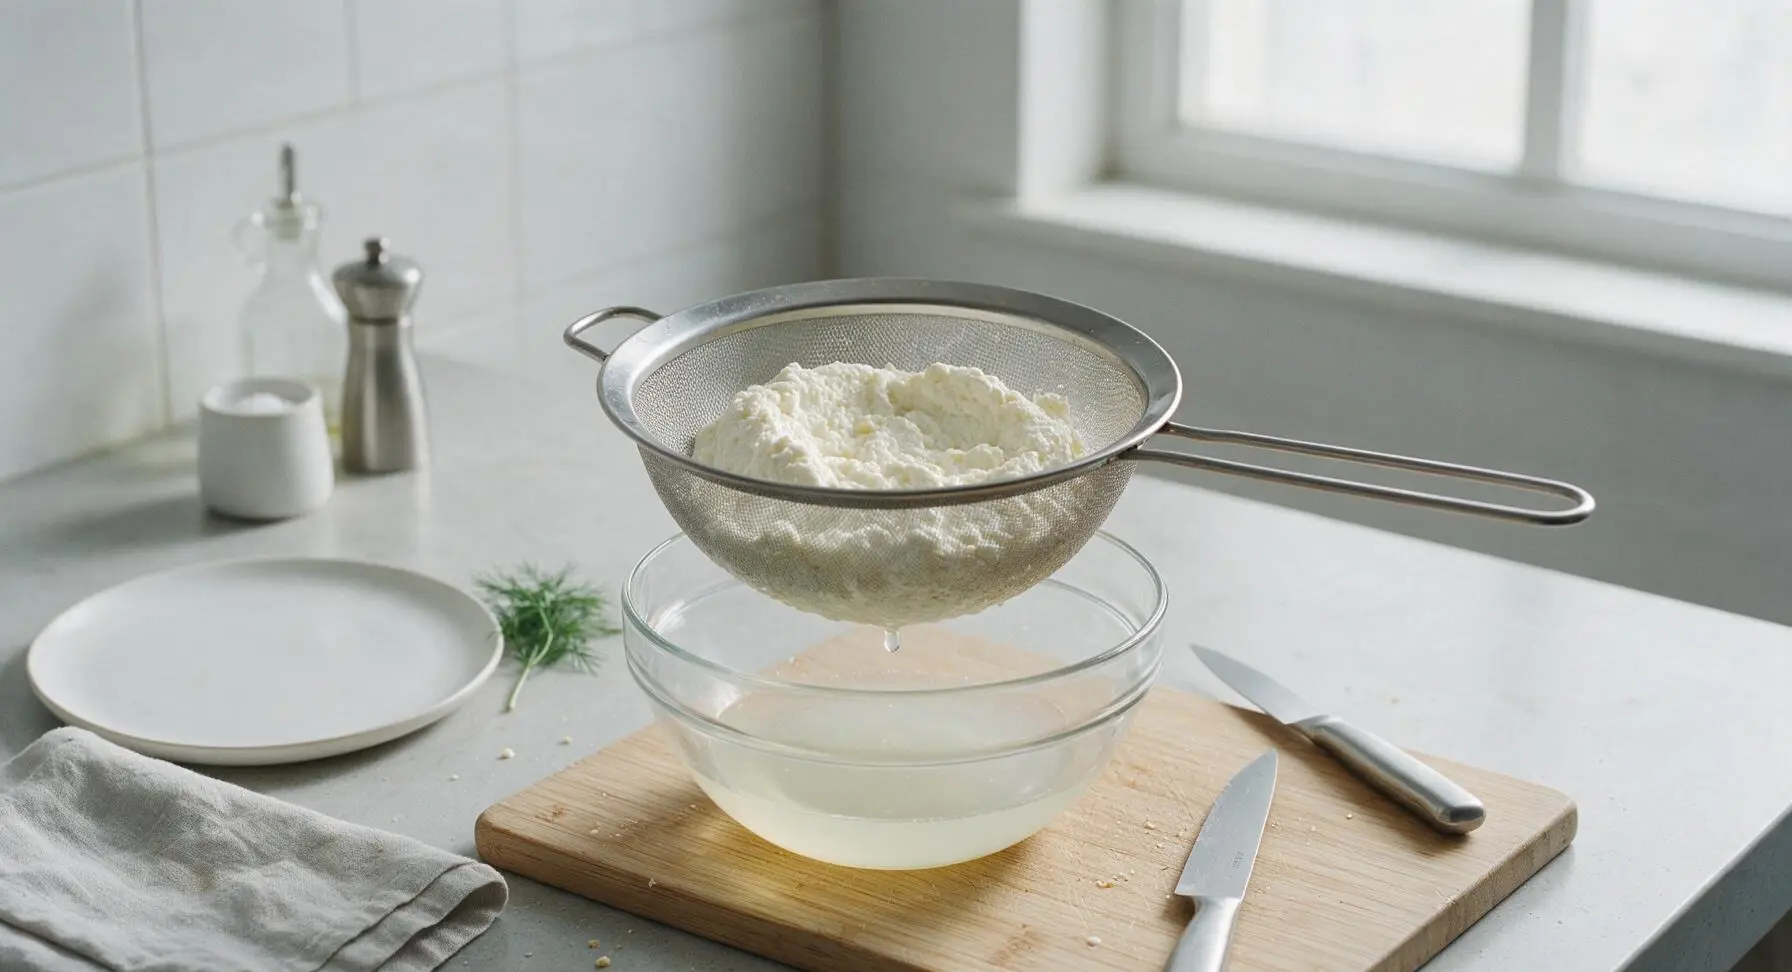
Step 6
step6:Drain to desired texture
7

Transfer finished ricotta

Once the ricotta reaches your desired texture, gently gather the edges of the cheesecloth to lift the curds, and transfer the fresh ricotta to the cream white speckled ceramic serving bowl. Use immediately, or store in an airtight container in the refrigerator for up to 5 days. Reserve the drained whey for use in baking bread, blending into smoothies, or adding depth to soup stocks if desired.
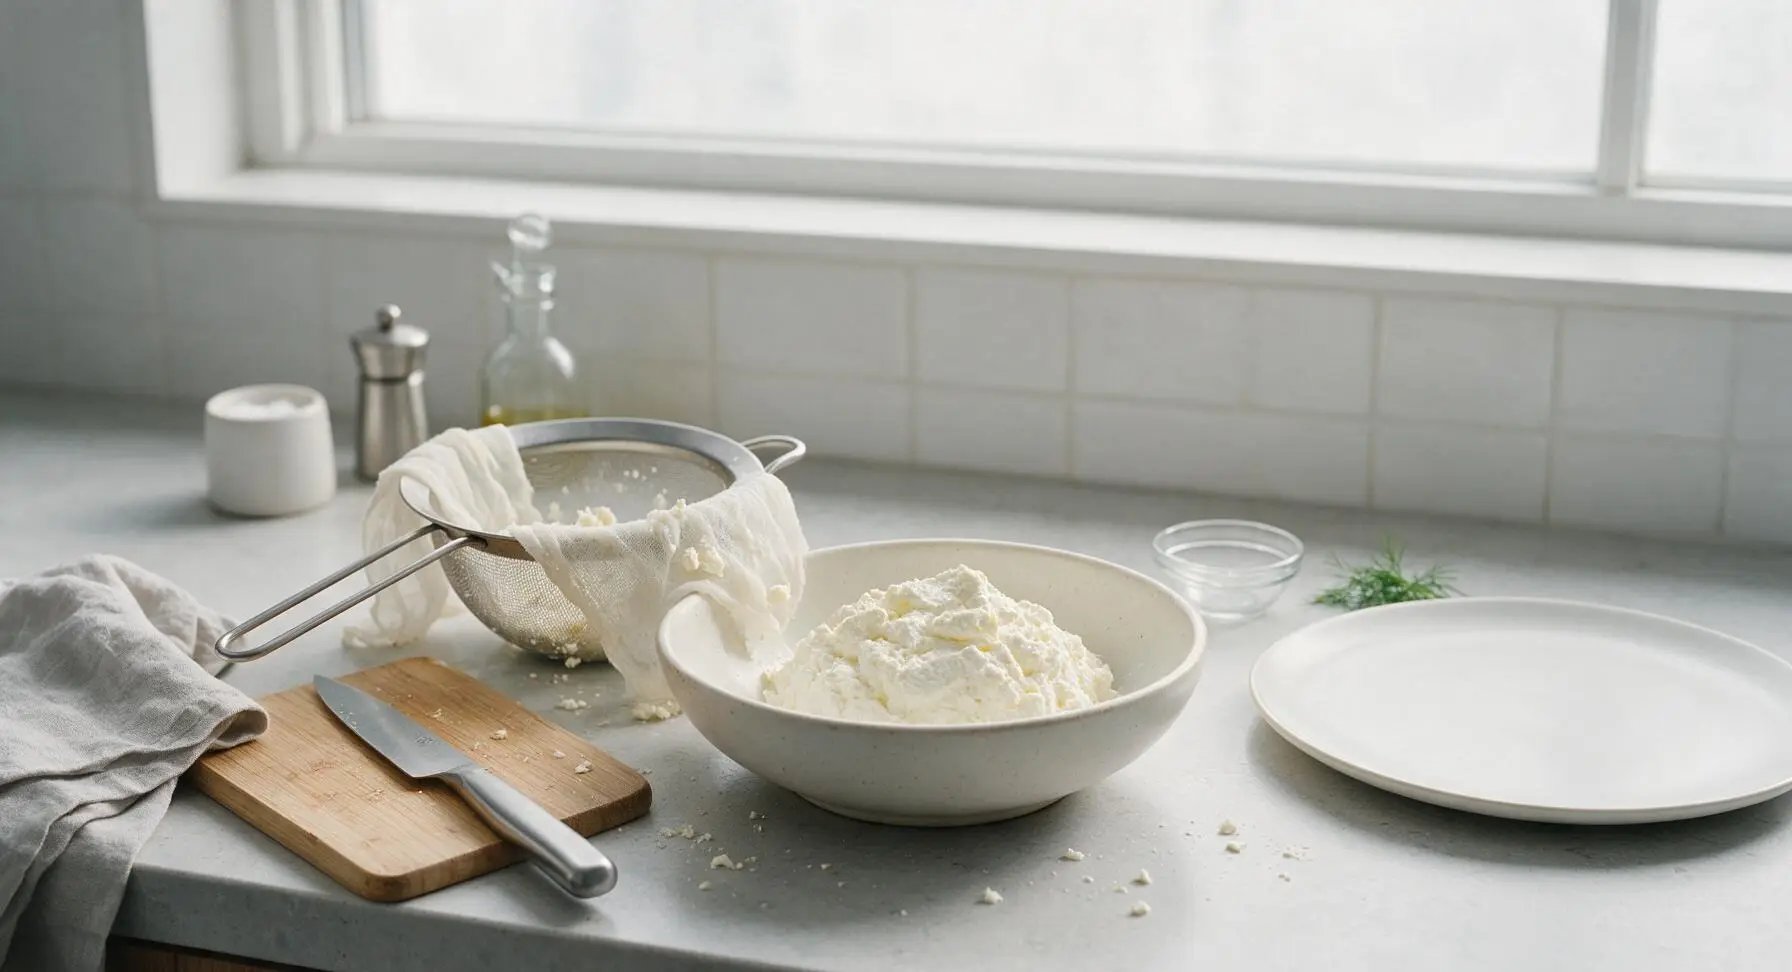
Step 7
step7:Transfer finished ricotta

Tips

1.Avoid ultra-pasteurized milk and cream for this recipe: the high-heat processing used for ultra-pasteurized dairy denatures milk proteins in a way that prevents large, soft curds from forming, resulting in a grainy, low-yield ricotta. Regular pasteurized whole milk will produce the creamiest, most tender curds.
2.Do not over-stir the mixture after adding vinegar: aggressive stirring breaks curds into tiny fragments that slip through the cheesecloth, reducing your final yield and creating a gritty final texture. Slow, gentle stirring for just 10 seconds to distribute the acid is all that is needed.
3.Skip the heavy pressing step: unlike firm cheeses, ricotta is meant to have a soft, moist curd. Pressing the curds with a weight will squeeze out too much whey, resulting in a dry, crumbly texture that lacks the signature creamy mouthfeel of fresh ricotta.


✨ You May Also Like

Desserts & Baking
🍜 Italy

Creamy, coffee-kissed classic Northern Italian no-bake dessert, with layers of rum-spiked mascarpone cream, soft ladyfingers, and a rich cocoa dusting.

⏱️ 4 hours 3Desserts & Baking ★ 4.7
Desserts & Baking
🍜 France

Flaky, shatteringly crisp, buttery French croissants with golden exteriors and soft, airy layered interiors, perfect for pairing with coffee for a special morning treat.

⏱️ 12 hours Desserts & Baking ★ 4.5
Desserts & Baking
🍜 United States

Warm, spiced baked apples topped with a fluffy golden biscuit crust, this cozy dessert pairs perfectly with vanilla ice cream for cool-weather comfort.

⏱️ 55 minuteDesserts & Baking ★ 4.6
Desserts & Baking
🍜 United States

A star-spangled classic American blueberry pie with buttery flaky crust and bright sweet-tart filling, perfect for summer patriotic gatherings.

⏱️ 1 hour 25Desserts & Baking ★ 4.7
Desserts & Baking
🍜 United States

A beloved no-bake regional Maine candy with a chewy coconut-potato center coated in rich dark chocolate, a New England holiday staple since the 1870s.

⏱️ 2 hours 3Desserts & Baking ★ 4.8
Desserts & Baking
🍜 France

Luxuriously creamy, floral frozen custard made with aromatic Tahitian vanilla beans, boasting a smooth, rich texture that melts slowly on the tongue.

⏱️ 3 hours 3Desserts & Baking ★ 4.5

whole milk ricotta:Frequently Asked Questions

1.Why do I need to avoid ultra-pasteurized whole milk for this ricotta recipe? ▾
Ultra-pasteurized milk is heated to extremely high temperatures to extend shelf life, which denatures milk proteins so they can’t form soft, cohesive curds properly. Using it will leave you with tiny, crumbly curds and very low yield. Stick to standard pasteurized whole milk for that pillowy, creamy final texture we want.
2.Can I use a different type of vinegar instead of white distilled vinegar? ▾
You can swap in fresh lemon juice or raw apple cider vinegar in a pinch, but white distilled vinegar has a perfectly neutral, clean flavor that won’t compete with ricotta’s bright, fresh milky taste. Skip strongly flavored vinegars like balsamic or red wine vinegar, as they will discolor the cheese and add harsh off-notes.
3.How long should I drain the curds, and how does draining time affect texture? ▾
For a soft, spreadable ricotta perfect for toast or honey toppings, drain curds for 10 to 15 minutes after separating from whey. For a firmer ricotta ideal for baking like lasagna or cannoli, drain 25 to 30 minutes. Draining over an hour will produce dry, crumbly cheese closer to farmer’s cheese, not creamy ricotta.
4.Can I skip the heavy cream to make a lower-fat version of this ricotta? ▾
The heavy cream is what gives this ricotta its signature rich, pillowy, melt-in-your-mouth texture that’s far softer than standard store-bought ricotta. You can skip it if you prefer, but your final cheese will be leaner, firmer, and less luxuriously creamy. If you cut the cream, keep salt and acid amounts the same for consistent coagulation.
5.How should I store homemade ricotta, and how long will it stay fresh? ▾
Transfer fully cooled ricotta to an airtight container and keep it in the coldest part of your fridge (the back of a lower shelf, not the door) for 4 to 5 days. Give it a gentle stir before using, and discard it immediately if you notice sour off-smells, mold, or slimy texture, since this fresh cheese has no preservatives.
6.Why did my ricotta turn out grainy instead of smooth and creamy? ▾
Grainy ricotta almost always comes from one of two easy-to-fix mistakes: you heated the milk too quickly over high heat, which causes proteins to seize into tough, gritty curds, or you stirred too aggressively once curds formed. Heat milk and cream slowly over medium-low, and stir gently once curds separate to keep them soft.
7.What can I do with the leftover whey from making ricotta? ▾
Don’t pour that nutrient-dense leftover whey down the drain! It has a mild, tangy flavor that works beautifully in place of water or milk for baking bread, pancakes, or muffins, to cook grains like rice or farro, or to add subtle depth to homemade soup stocks. It will keep in the fridge for up to a week.
8.Can I freeze this homemade ricotta to use later? ▾
You can freeze ricotta for up to 3 months in a tightly sealed, freezer-safe container, but note the texture will shift slightly once thawed—it will be a little crumblier and less pillowy than fresh. Thaw it overnight in the fridge, drain excess separated liquid, and use it for baked dishes rather than fresh spreading for best results.

Comments (19)

2 hours ago

OMG I cannot believe how easy this was!!! I’ve been paying $8 a tub for fancy artisanal ricotta at the grocery store for years and this took 30 minutes total? Used it on my morning toast with a drizzle of honey and some flaky salt and it’s SO much creamier than store bought. Total game changer.

30 minutes ago

Right??? I did the same math last time I made it, it’s literally a third of the cost for way better flavor. I love stirring a little lemon zest into mine for extra brightness!

5 minutes ago

So happy you loved it! The honey and flaky salt combo is one of my all-time favorite quick snacks, so glad you’re enjoying the homemade version!

yesterday

Made this for our Sunday family lasagna last night and my kids devoured it. The oldest usually picks at the cheese layer and he went back for seconds! I was worried it would be too fussy for a weeknight prep but it came together so fast. Will be making this on repeat.

2 hours ago

There’s no better compliment than a kid going back for seconds! So glad it worked perfectly for your family lasagna, that’s exactly how we use it most often too.

3 days ago

Used this ricotta for my cannoli filling for a neighborhood potluck and everyone was begging for the recipe. The texture is so smooth, no grainy bits at all if you don’t over-stir it when the curds form. 10/10, no notes.

5 days ago

Wait, quick question — my curds didn’t really form fully the first time I tried this? I heated the milk to the temp the recipe said but it stayed pretty milky even after adding the vinegar. Did I do something wrong?

3 days ago

I had that happen once! Turns out my vinegar was old and not acidic enough. Tried again with a fresh bottle and it worked perfectly on the first try.

2 days ago

Great tip from HomeCook101! Old acid is the most common culprit here — also make sure you’re not using ultra-pasteurized milk, it won’t form curds properly no matter how much acid you add. Hope that helps for your next batch!

1 week ago

Meal prepped a double batch of this on Sunday and it’s lasted me all week! Used it for toast, stirred into pasta, even mixed a scoop into my scrambled eggs for extra creaminess. Such a versatile staple to have in the fridge.

5 days ago

Love that you’re getting so much use out of a batch! The scrambled egg trick is such an underrated hack, it makes them so fluffy without making them watery.

2 weeks ago

Tried this after seeing a friend rave about it and wow, the difference from store bought is night and day. I added a tiny pinch of nutmeg to the curds right before straining and it gives it this warm, cozy depth that’s insane. Highly recommend that little add-in.

2 days ago

First time ever making any kind of cheese at home and I was fully convinced I’d mess it up, but this was so forgiving! Mine was a little wetter than I expected at first so I just let it strain a little longer and it turned out perfect. Used it for stuffed shells last night and my roommate said it was the best thing I’ve ever cooked.

yesterday

The straining time is totally customizable! I like mine super thick for stuffed shells so I let it go 20 minutes, but if I’m putting it on toast I only strain for 5 so it’s spreadable. So smart to adjust it to what you need!

2 hours ago

Love that you adjusted the straining time to get the texture you wanted — that’s exactly the way to do it! No fancy equipment or strict rules required, which is why this recipe is so great for beginners.

1 week ago

Put this out on a cheese board for my girls’ night last weekend with some fresh berries, crostini, and honey, and it was the first thing gone. Everyone thought I bought it from the fancy cheese shop down the street! Nobody believed I made it in 30 minutes in my own kitchen.

5 days ago

I did the exact same thing for my last game night! Added a sprinkle of pistachios on top and people were going back for thirds. It looks so fancy but requires zero skill, it’s my new go-to party trick.

3 days ago

Obsessed with how little waste this has! I saved all the whey after straining and used it to make smoothies, cook oatmeal, and even water my tomato plants (they love the extra nutrients!). Way better than buying plastic tubs of ricotta from the store every week.

30 minutes ago

Quick question — can I freeze this ricotta? I made way too big of a batch and I don’t want it to go bad before I can use it all. Would love to save some for next month’s baked ziti!

5 minutes ago

You absolutely can freeze it! Just let it thaw fully in the fridge overnight and give it a good stir before using, it works perfectly for baked dishes like ziti or lasagna. It might be a little too crumbly for spreading on toast after freezing, but for cooked recipes it’s just as good as fresh.

yesterday

I used to make ricotta with my grandma back when I was a kid and this recipe tastes exactly like hers. I forgot how simple it was — just good quality milk, a little acid, some salt, that’s it. Brought back so many good memories making this yesterday.

2 hours ago

That means the world to hear — there’s nothing quite like the simple, homemade recipes we grow up with. I’m so glad this recipe could help bring back those sweet memories with your grandma.

5 days ago

Added a teaspoon of red pepper flakes and a clove of crushed garlic to the milk while it heated and the ricotta came out with this perfect subtle kick. Topped it on some homemade pizza and it was chef’s kiss. Will definitely be messing around with different flavor add-ins from here on out.

2 days ago

My super picky toddler ate half a bowl of this straight up with a spoon, no toppings, no nothing. I’ve been struggling to get her to eat any dairy that isn’t string cheese for months so this is a massive win. Thank you for this easy recipe!!

yesterday

Oh my gosh same! My 3 year old turns his nose up at every soft cheese but he went crazy for this. I think it’s because it’s not as tangy as the store bought stuff, way milder and creamier.

30 minutes ago

Picky toddler approval is the highest possible rating in my book! So happy this worked for your little one, it’s such a great, simple source of calcium for kids (and adults, let’s be real).

1 week ago

Did the math on this and it’s literally 60% cheaper than buying the good ricotta at my grocery store. I go through ricotta at least once a week for pasta nights so this is going to save me so much money over the course of a year. No brainer.

5 days ago

Wait until you realize you can use the leftover whey to make bread! It makes the softest sourdough ever, so you’re getting even more value out of a single gallon of milk. Total game changer for grocery budgets.

2 weeks ago

I’ll admit I was skeptical because so many “easy” homemade cheese recipes lie about how simple they are, but this one actually delivers. 30 minutes, minimal cleanup, perfect ricotta every time. I’ve made it three times in the last two weeks already.

2 hours ago

So excited to find this recipe! I have to be super careful about additives in store bought cheeses because of my gluten sensitivity, and making it at home means I know exactly what’s going into it. No weird stabilizers or hidden fillers, just simple ingredients. Can’t wait to make it this weekend.

30 minutes ago

That’s such a great point! So many store bought ricottas have added thickeners and stabilizers that can sneak in unwanted ingredients. We love that this version is totally customizable and made with only ingredients you can pronounce. Enjoy your batch!

3 days ago

Wait, has anyone tried making this with apple cider vinegar instead of white vinegar? I ran out of white vinegar halfway through prepping and used ACV instead, and it seemed to work? Just curious if other people have done that and if it changes the flavor much.

2 days ago

I do it every time! It adds a tiny, subtle fruity tang that I actually like better than white vinegar. Just make sure it’s plain ACV with no added flavors or sugar and it works exactly the same.

yesterday

Great question! Any mild edible acid will work here — white vinegar, ACV, even fresh lemon juice. Lemon juice gives it a brighter, citrusy note, ACV gives that soft fruity tang, all are delicious. So glad it worked out even when you swapped ingredients!

1 week ago

Made this for a work potluck last week and served it with roasted cherry tomatoes and basil on crostini, and three different coworkers asked for the recipe before the lunch hour was even over. It looks so impressive but takes basically zero effort, it’s my new go-to potluck dish.

5 minutes ago

I am the worst at following recipes, I always skip steps or misread measurements, and even I didn’t mess this up. Let it cool a little, mixed in a tiny bit of vanilla extract, and ate it with fresh peaches for dessert last night. SO good, felt like I was eating at a fancy restaurant.

just now

That vanilla and fresh peach combo sounds absolutely dreamy! So glad even with your relaxed recipe approach this turned out perfectly for you — that’s exactly what easy, approachable cooking is all about.



