
whole wheat sourdough sandwich bread

intro
Soft, chewy whole wheat sourdough sandwich bread with a mild tang, tender even crumb, and sturdy structure perfect for toast and stacked sandwiches, made with simple, wholesome pantry ingredients.
Ingredients

Steps
Mix Initial Dough
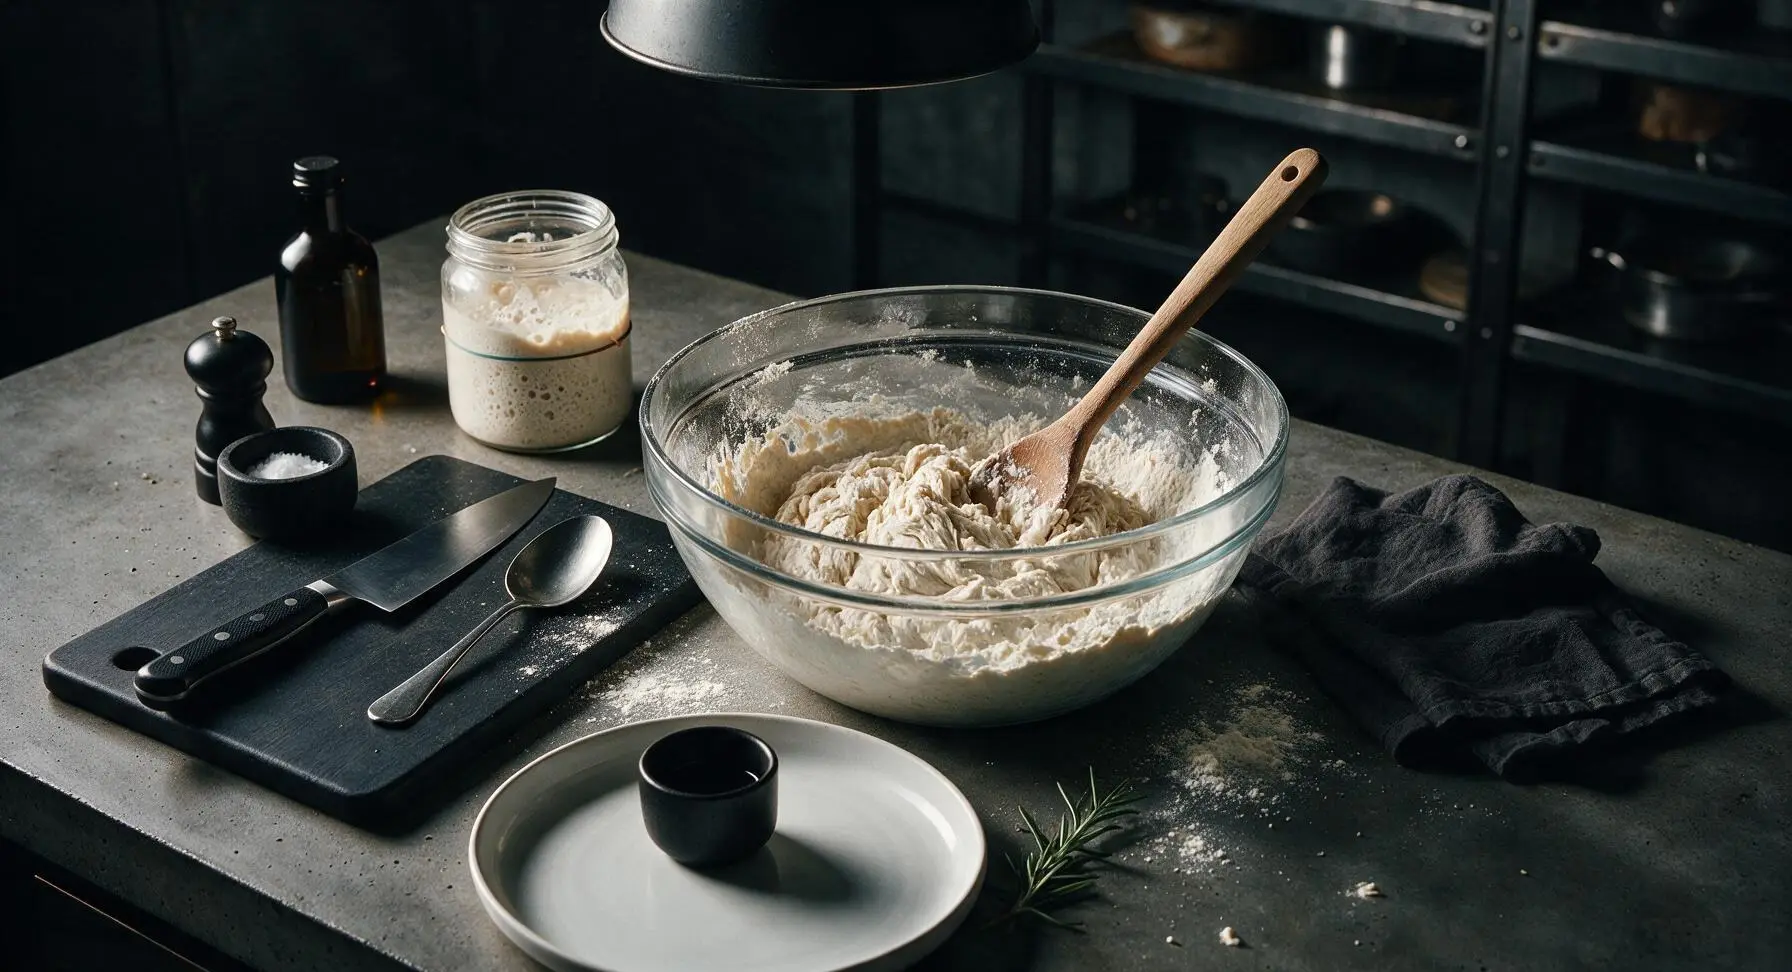
Confirm your sourdough starter is fully active: it should have doubled in volume 4-6 hours after feeding, with visible surface bubbles and a light, airy texture. In the 4L clear glass mixing bowl, combine 100g active starter, 320g room temperature filtered water, and 25g raw honey, stirring with the beech wood mixing spoon until the starter and honey are fully dissolved. Add 300g whole wheat bread flour and 200g unbleached all-purpose flour, stirring until no dry flour pockets remain and a shaggy, stiff dough forms. Cover the bowl with a flat glass plate, and let rest 30 minutes at 70°F (21°C) to autolyse, allowing flour to absorb water and begin gluten development.
Incorporate Salt and Butter
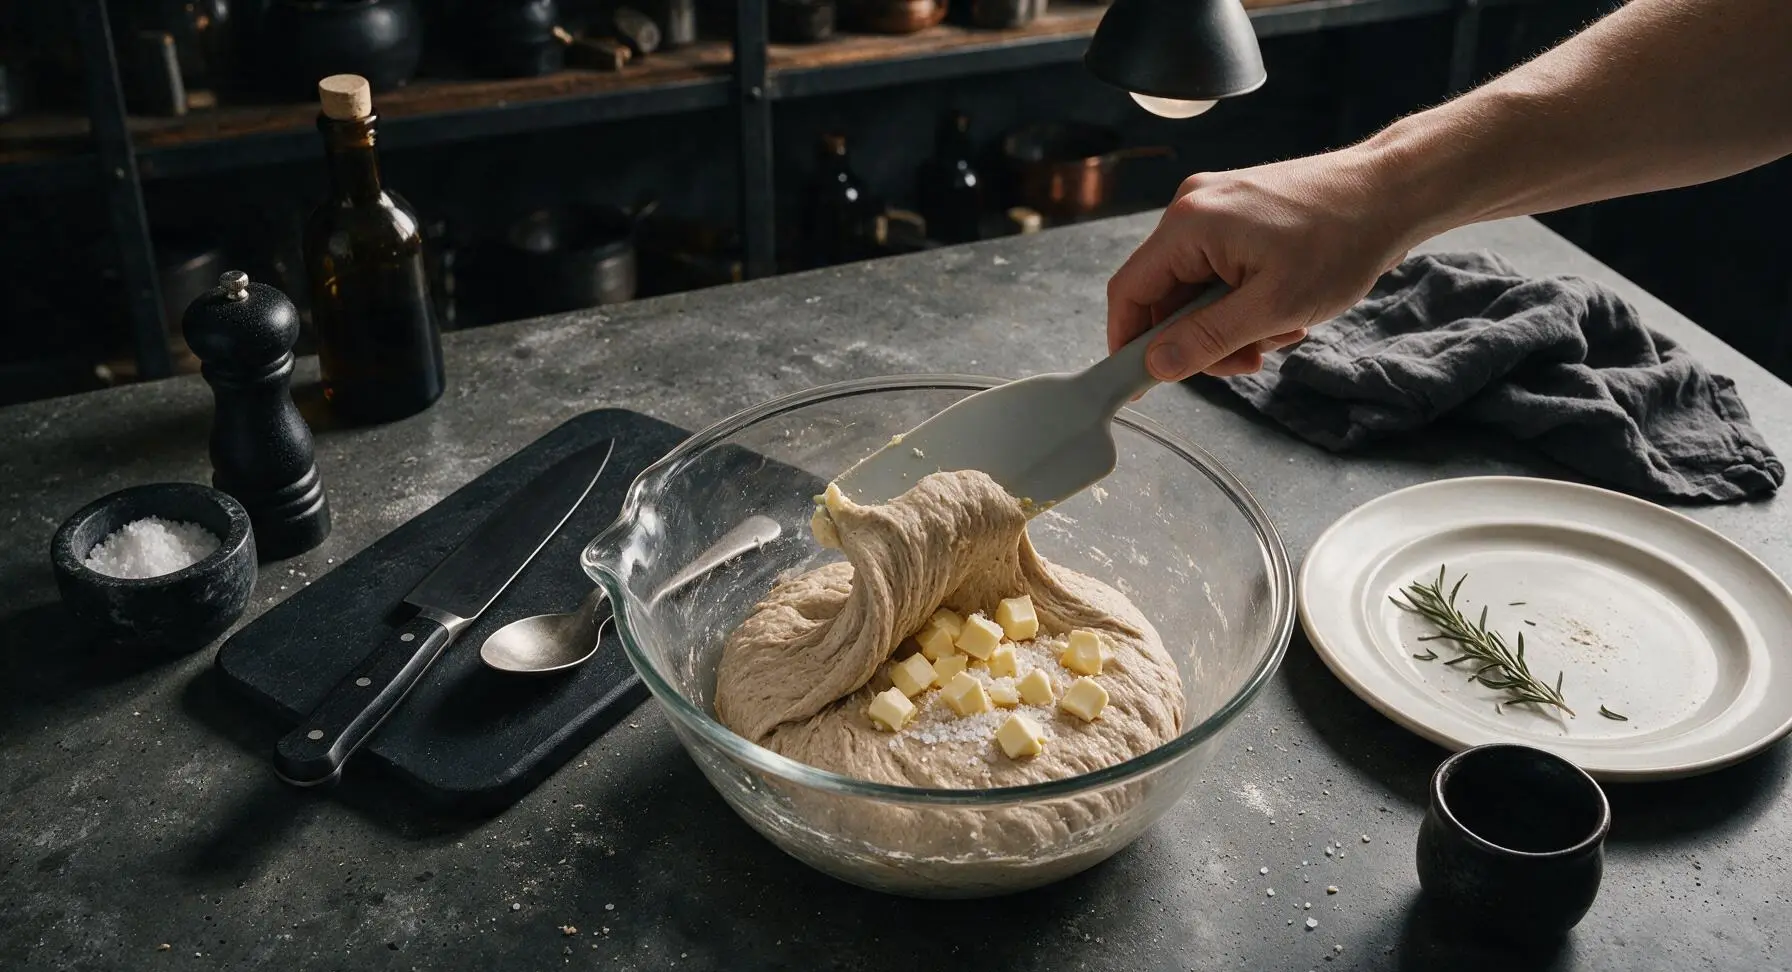
After the 30-minute autolyse, uncover the dough. Sprinkle 10g fine sea salt evenly over the dough surface, then dot with 28g softened unsalted butter cut into 1cm cubes. Use the pale gray silicone dough scraper to fold the dough edges up and over the salt and butter, pinching gently to incorporate, until the additions are fully mixed in. The dough will feel slightly lumpy at first, but will smooth with gentle folding. Cover the bowl again, and let rest 30 minutes.
Perform Stretch and Folds
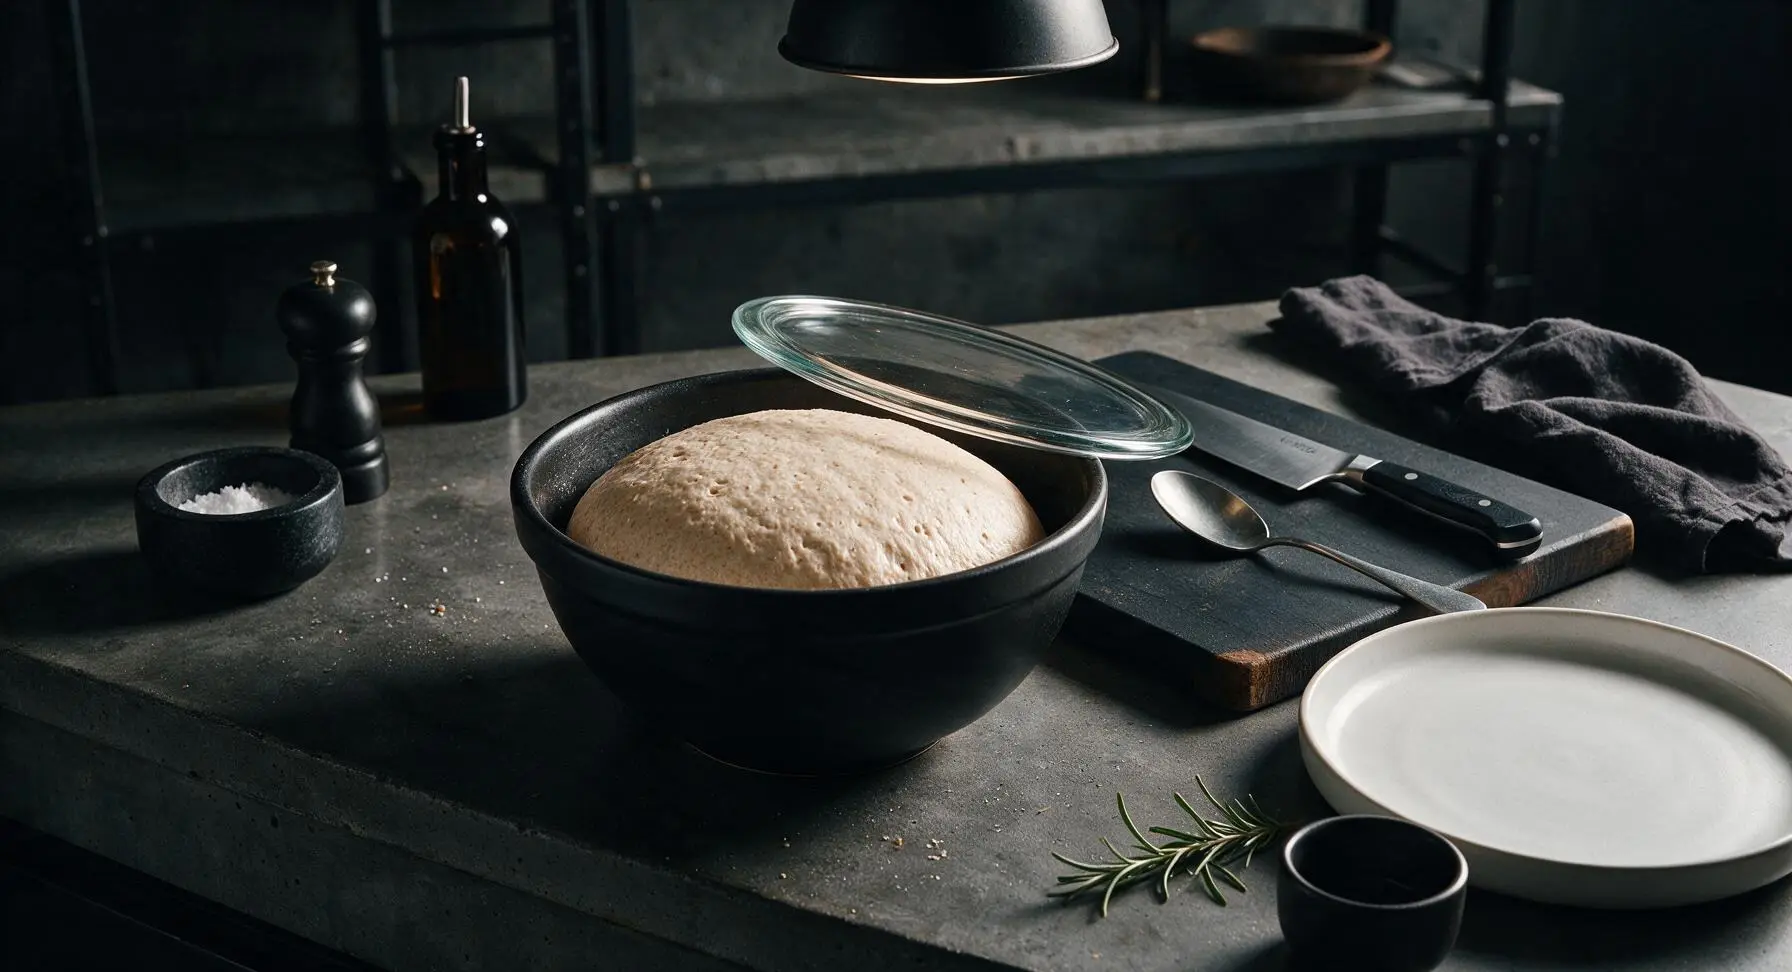
Over the next 2 hours, complete one set of stretch and folds every 30 minutes, for 4 total sets. For each set, wet your hands to prevent sticking, grab one dough edge, stretch it upward as far as it will go without tearing, then fold it over the dough top. Rotate the bowl a quarter turn, repeating 3 more times to fold all four sides. After the final fold set, cover the bowl tightly and let bulk ferment at room temperature for 3-4 hours, until the dough increases in volume by 50%, feels light and puffy, and shows small visible bubbles just under its surface.

Shape the Sandwich Loaf
Lightly dust the counter surface with a thin layer of whole wheat flour. Use the silicone dough scraper to gently turn the fermented dough out of the bowl onto the floured surface, taking care not to fully deflate it. Use the beech wood bench knife to gently pat the dough into a rough 8x10 inch rectangle, with the short edge facing you. Fold the top third of the dough down to the center, then fold the bottom third up over it like a business letter. Starting at the short edge closest to you, roll the dough tightly into a log, pinching the seam closed with your fingertips, and tucking the ends under to create a smooth, taut top surface. The shaped log should match the length of the 9x5 inch matte black loaf pan.


Proof the Shaped Loaf
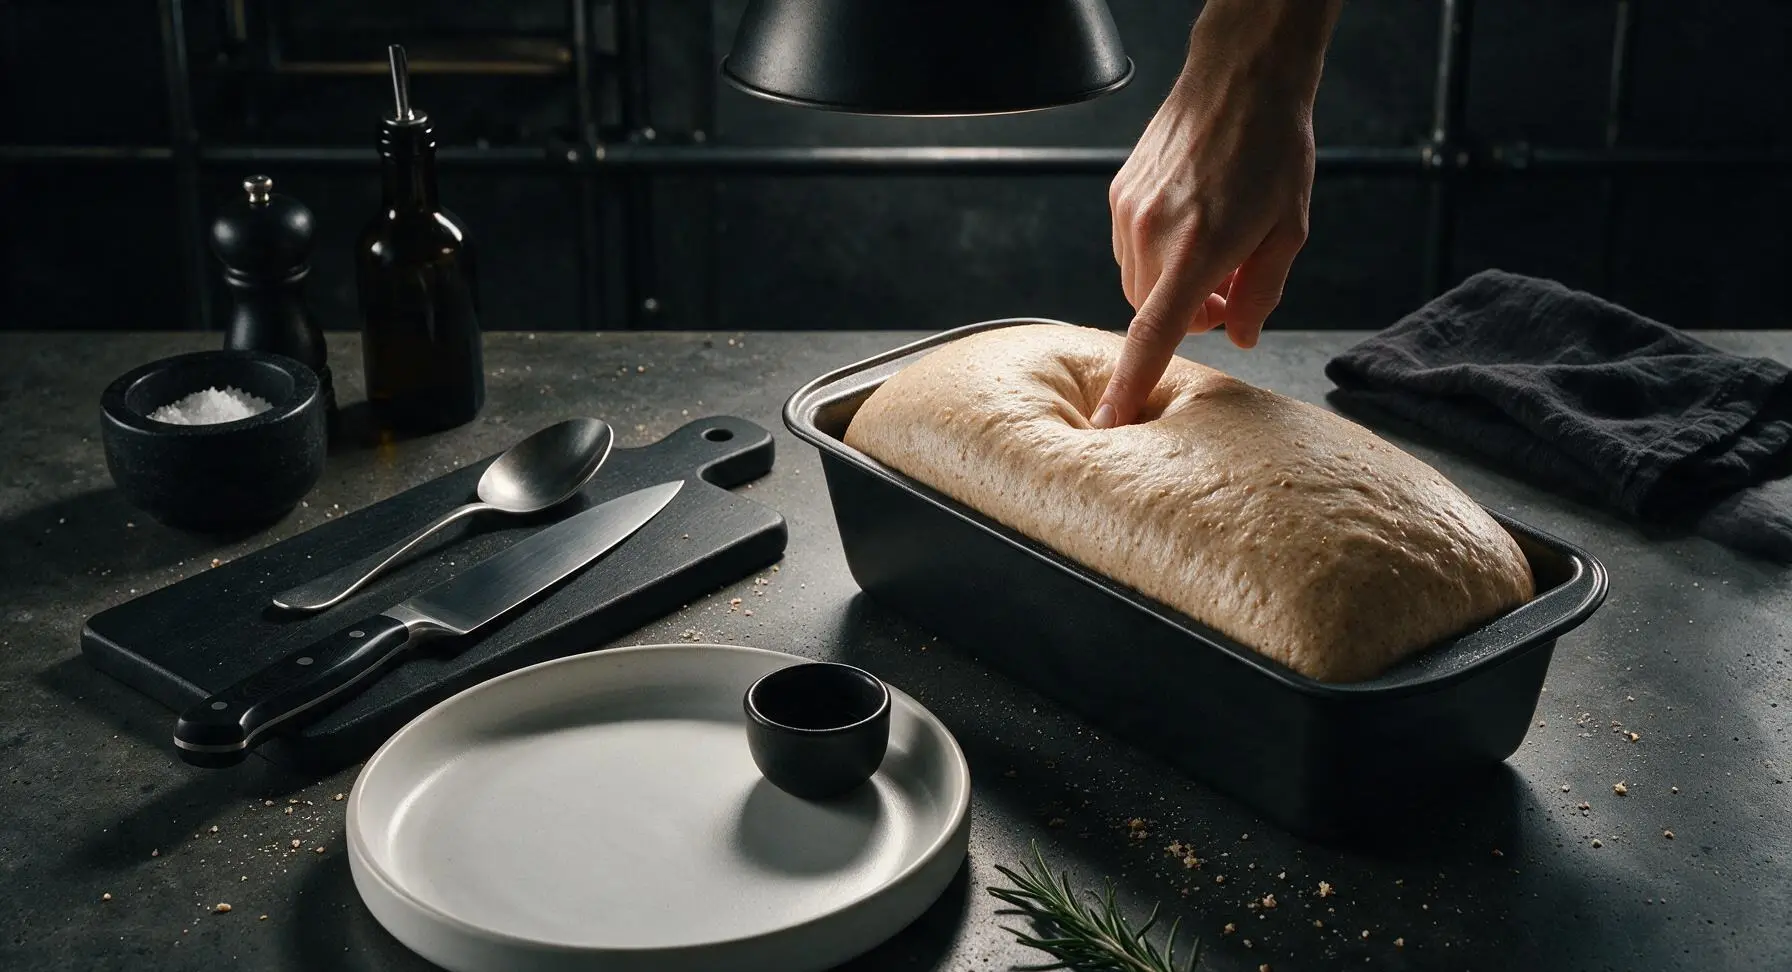
Lightly grease the inside of the matte black loaf pan with a thin swipe of butter, then place the shaped dough log seam-side down into the pan, pressing gently so it sits evenly across the pan bottom. Cover the pan loosely with a sheet of unbleached parchment paper, and let final proof at room temperature for 1.5-2 hours, until the dough rises 1 inch above the pan rim, and a gentle finger indent pressed into the dough springs back slowly, leaving a small visible mark. While the dough proofs, preheat your oven to 375°F (190°C), with a rack positioned in the middle.
Score and Bake Loaf
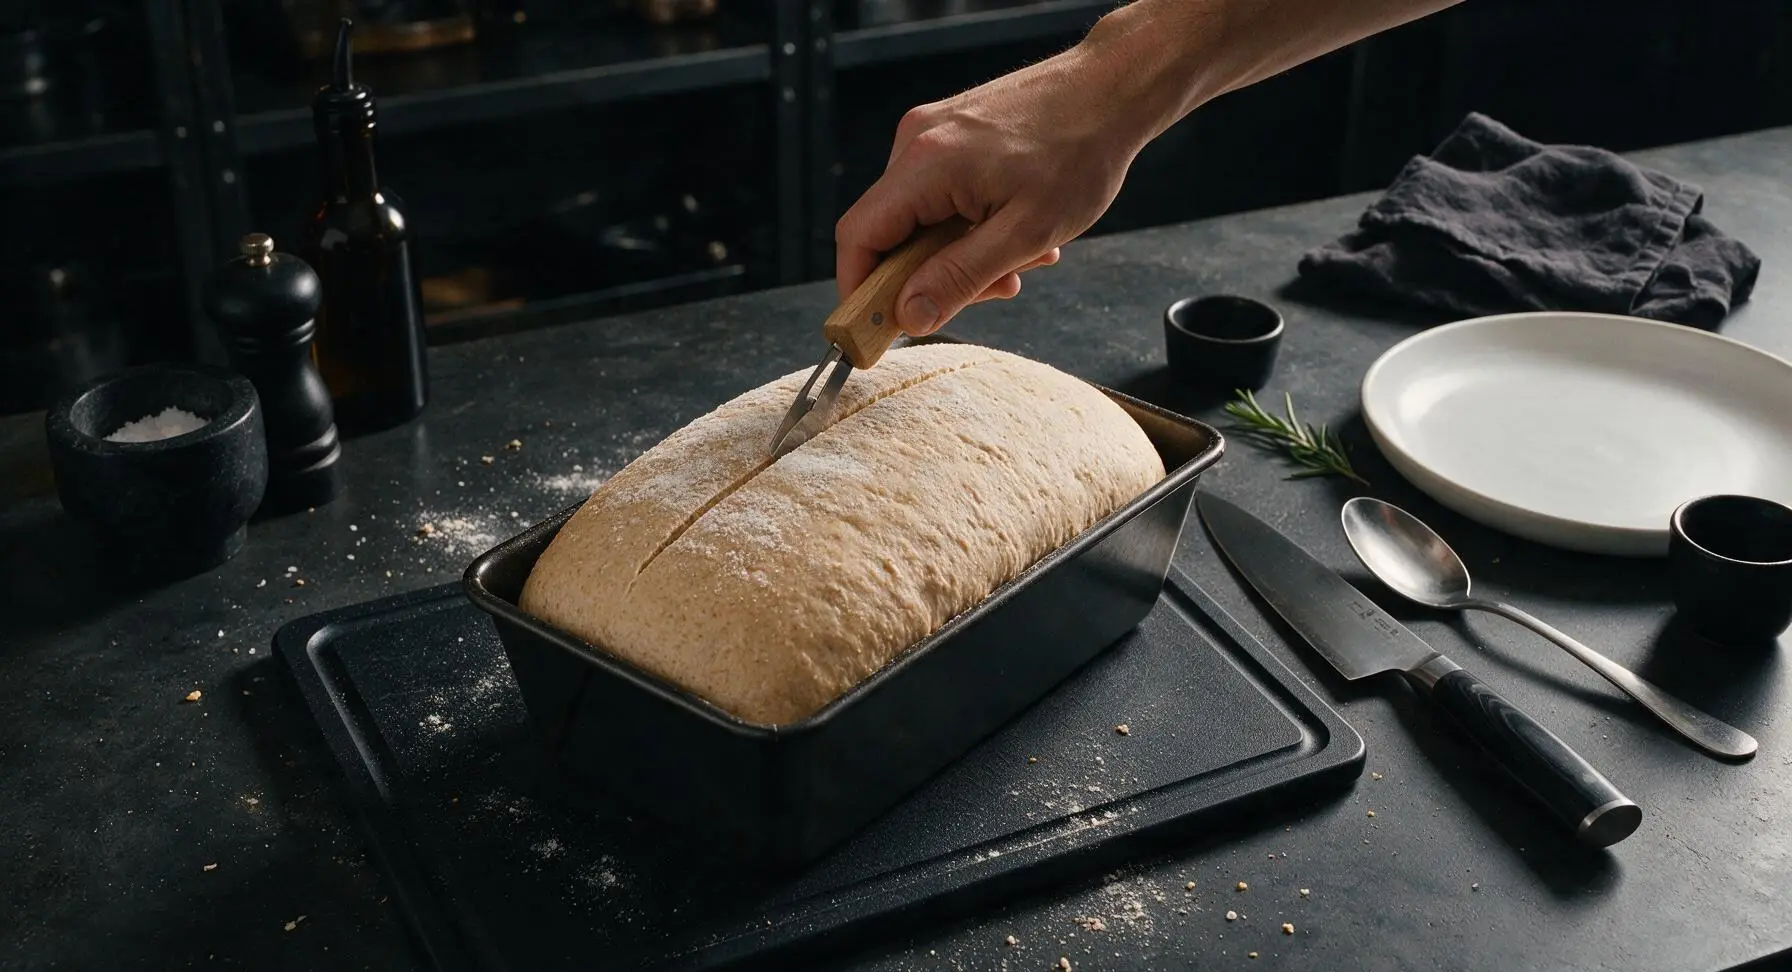
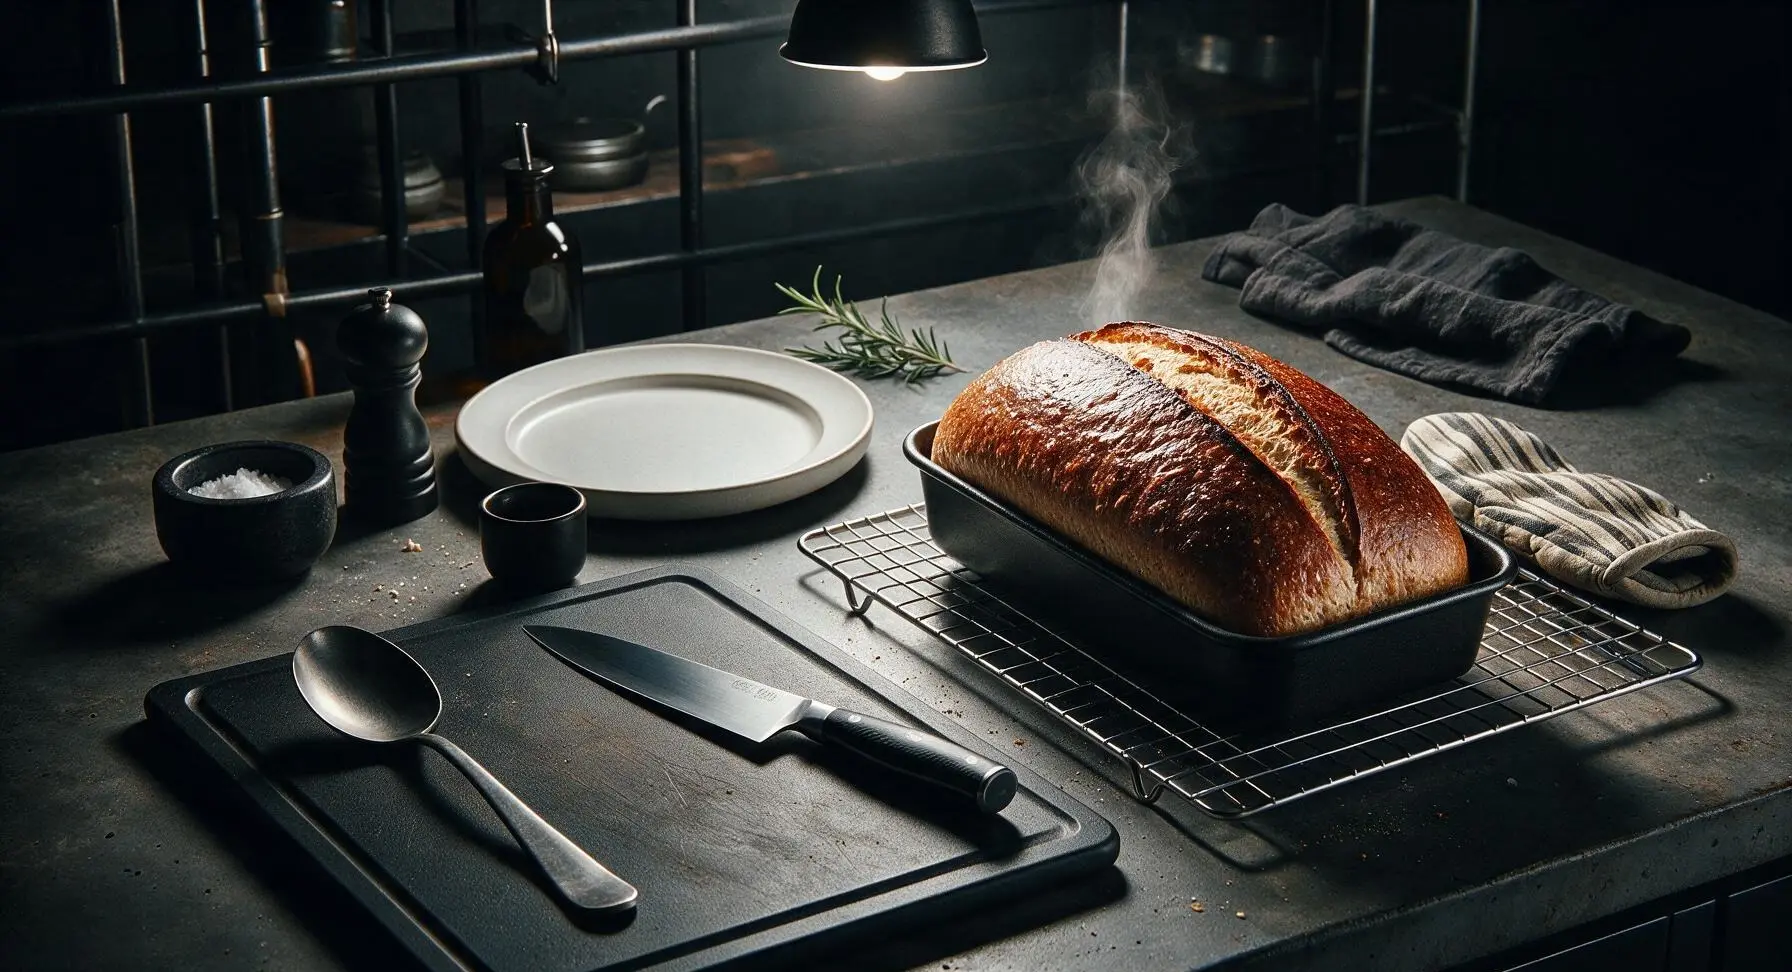
Once fully proofed, use the stainless steel bread lame to make a single 1/4-inch deep straight score down the center length of the loaf, to allow for even oven spring. Place the loaf pan on the middle oven rack, and bake for 35 minutes. After 35 minutes, tent the loaf top loosely with aluminum foil to prevent over-browning, then bake 5 additional minutes, until the crust is deep golden brown and the loaf’s internal temperature reaches 205°F (96C) when measured with a food thermometer.
Cool Loaf Completely
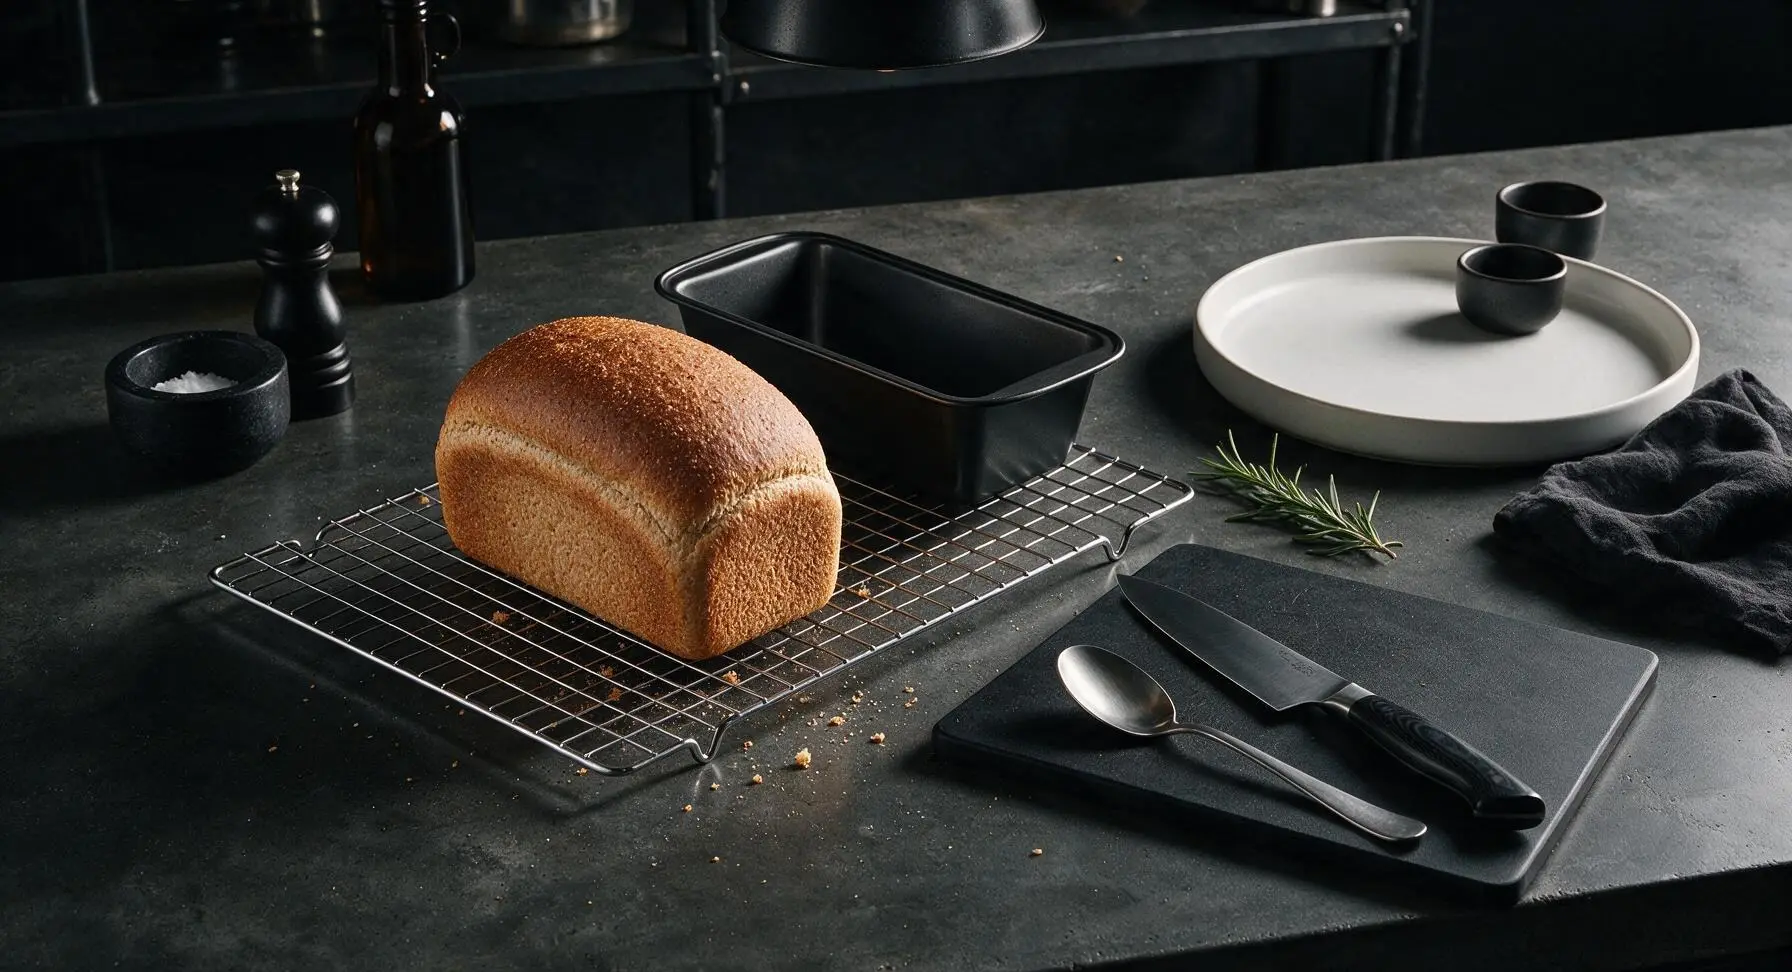
Immediately after removing the loaf from the oven, turn it out of the pan directly onto the chrome wire cooling rack. Let the bread cool completely for 2 full hours at room temperature before slicing. Cutting warm bread causes the gelatinized crumb starch to set unevenly, resulting in a gummy, compressed texture instead of the soft, even crumb ideal for sandwiches. Once fully cooled, the crust will soften slightly, and the crumb will be firm enough to slice into even pieces for sandwiches or toast.
Tips
2.Adjust sourdough tang to your preference: for a milder, sweeter loaf, complete bulk fermentation at a cooler 68°F (20°C); for a deeper, tangier flavor, let the shaped loaf cold-proof in the refrigerator for 12-16 hours before baking, adding 10 minutes to total bake time to account for cold dough.
3.Use wet hands, not extra flour, to handle sticky dough during folding and shaping: adding excess flour will dry out the crumb and create a dense loaf, while wet hands prevent sticking without altering the dough’s carefully balanced hydration ratio.






Just pulled my first loaf out of the oven and my whole apartment smells incredible! The crust is perfectly crisp on the outside but it feels soft when I press the top, can’t wait for it to cool so I can slice it for a turkey avocado sandwich later. Fingers crossed the inside is as good as it smells!
Game changer for my weekly meal prep! I slice the whole loaf as soon as it cools, pop half the slices in the freezer, and pull out two pieces every morning for breakfast sandwiches. Toasts up perfectly, doesn’t get soggy when I add eggs and cheese, and that whole wheat sourdough flavor makes even a quick weekday breakfast feel fancy. 10/10, will be making this monthly at least.
Took this to a neighborhood potluck last weekend and people were asking me for the recipe left and right! I used half white whole wheat and half regular whole wheat flour like someone suggested in the notes, and it had the perfect nutty flavor. Held up great for turkey and avocado sandwiches, even when people loaded them up with toppings. SO good.
This bread is so tasty, but the 40 minute cook time listed had me pulling my loaf out way too early the first time! My oven runs a little cool, I guess, because after 40 minutes the center was still totally gummy. I had to pop it back in for another 15 minutes covered in foil to keep the top from burning, and it turned out great after that. Just a heads up for anyone with a finicky oven!
Really solid recipe! The only issue I had was my loaf came out a little more dense than I was hoping for — I think I might have underproofed it because my kitchen is pretty cold this time of year. Flavor is incredible though, that classic sourdough tang without being overpowering, and it slices perfectly for sandwiches. Will definitely give it another go once I adjust my proofing time.
As someone who’s ruined so many sourdough loaves over the past two years, I was shocked how straightforward this recipe was for medium difficulty! The instructions were super clear about when to fold, how to tell when it’s proofed enough, even how to get that soft crust perfect for sandwich bread instead of the hard crackly crust I usually make. I used it for grilled cheese with tomato soup for family dinner last night, and my husband said it’s better than the overpriced sourdough we get from the bakery down the street. Win!
OMG this whole wheat sourdough sandwich bread is a total game changer! I’ve been nervous to try sourdough that isn’t the crusty artisan kind because I thought it’d be too dense for sandwiches, but this came out perfectly soft and chewy with that perfect tang. My kids ate two slices each with peanut butter for after school snacks and asked when I’m making another loaf. Already added this to my weekly meal prep rotation!
Flavor was great, but I had a really hard time getting the dough to hold its shape when I was shaping it for the loaf pan. It kept spreading out instead of rising up, so I ended up with a really short, wide loaf. Tasted fine, just not the tall sandwich slices I was hoping for. Not sure if I added too much water?