
Whoopie Pie
intro
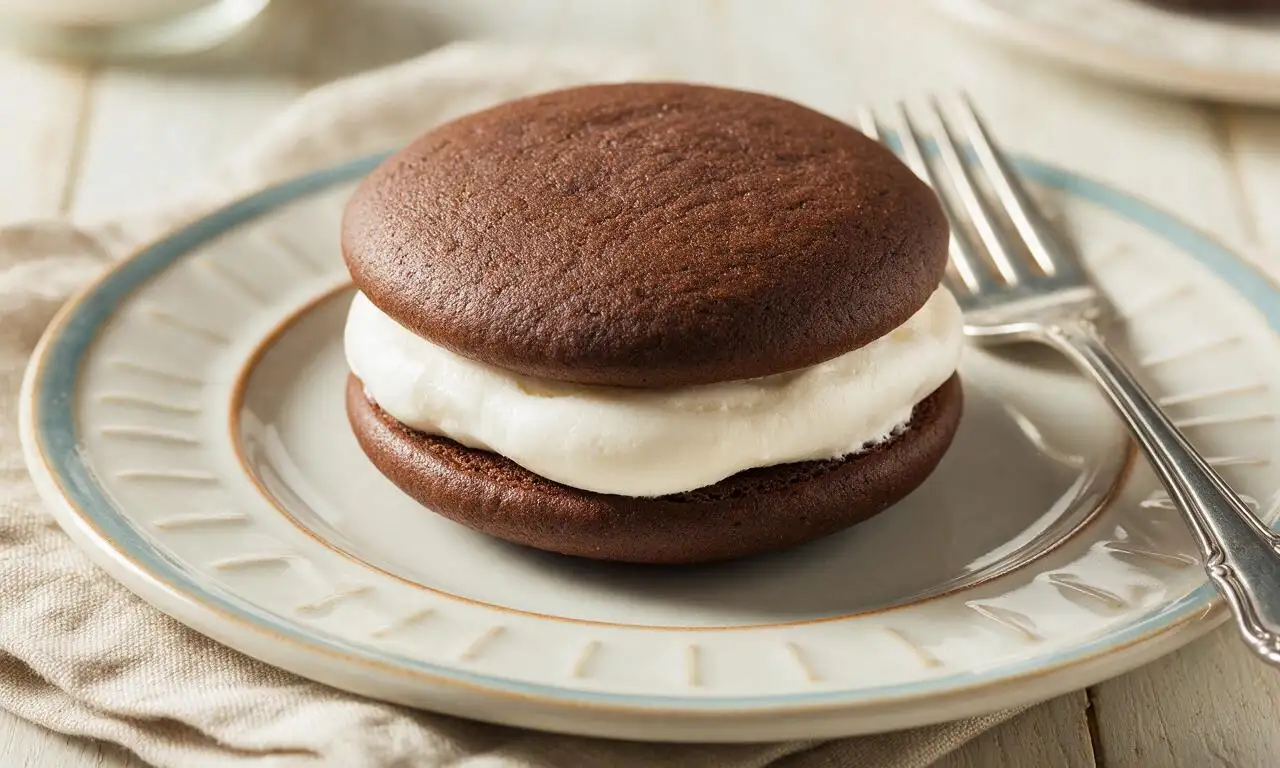
Soft, cakey chocolate rounds sandwiched with fluffy vanilla marshmallow filling: a nostalgic, handheld Pennsylvania Dutch treat perfect for holiday sharing.
Ingredients
Steps
Prep oven and dry mix
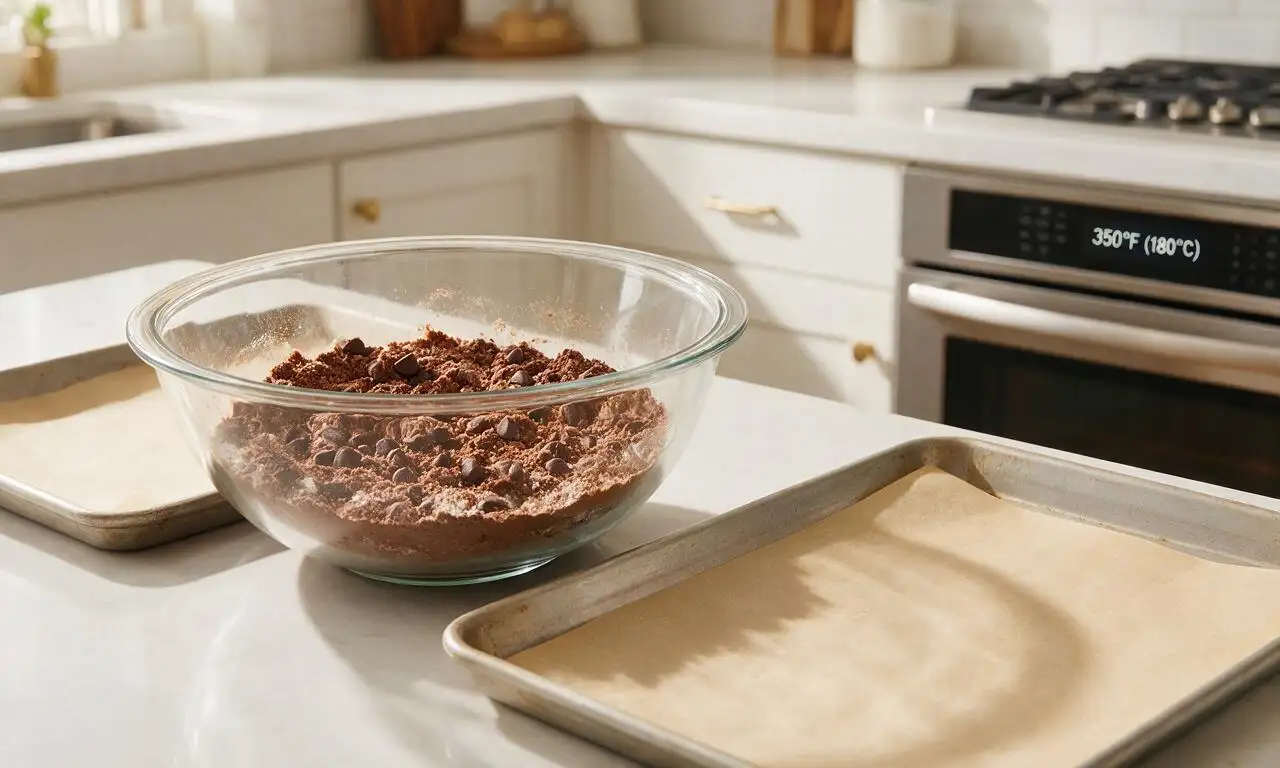
Preheat your oven to 180°C (350°F) and line two large rimmed baking sheets with unbleached parchment paper, set aside. In a medium mixing bowl, whisk together 240g all-purpose flour, 50g unsweetened cocoa powder, 1 teaspoon baking soda, ½ teaspoon baking powder, and ½ teaspoon of the fine sea salt for 30 seconds until fully combined, with no visible cocoa lumps.
Cream butter and sugar
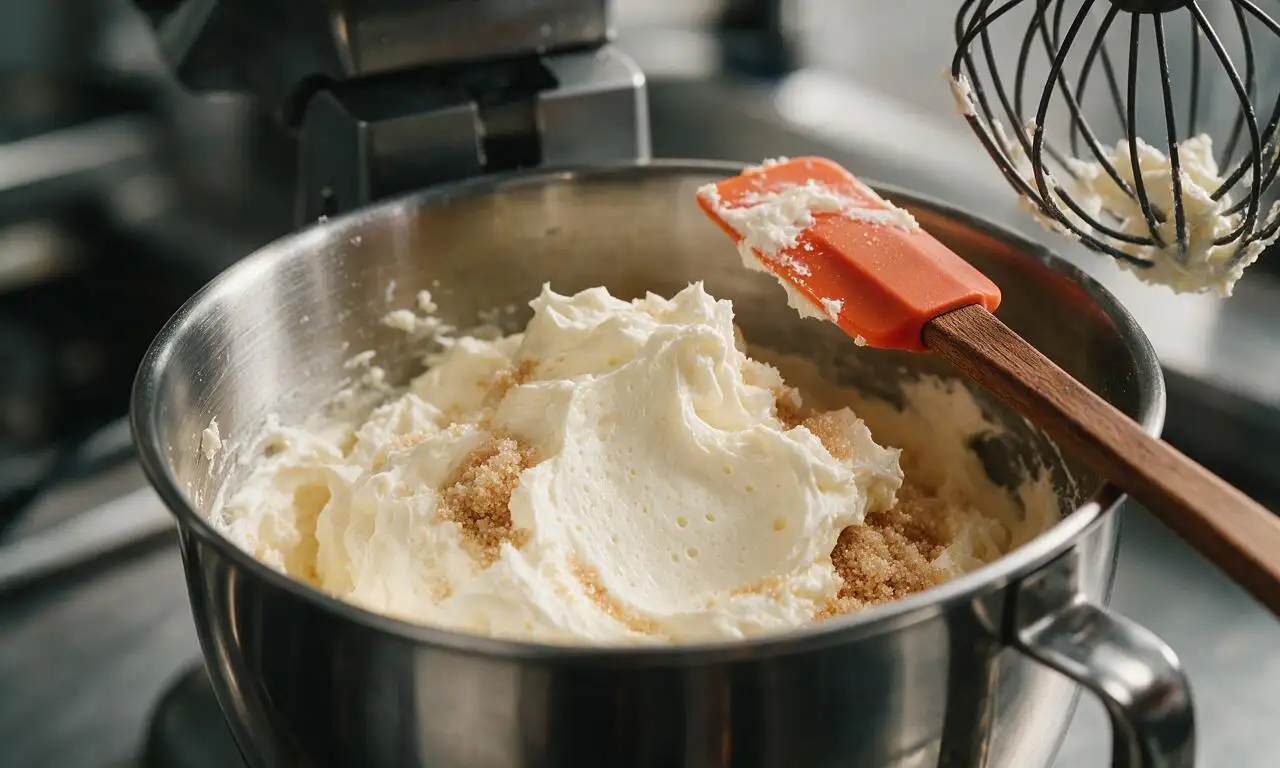
In a large stand mixer (or with a handheld electric mixer on medium speed), beat 113g (½ cup, 1 stick) of the softened unsalted butter and 200g packed light brown sugar for 2 full minutes until light, pale, and fluffy. Add 1 room-temperature large egg and 1 teaspoon of the vanilla extract, beating on medium-low for 30 seconds until fully incorporated, scraping down the sides and bottom of the bowl with a rubber spatula once halfway through to avoid lumps.
Mix and portion batter
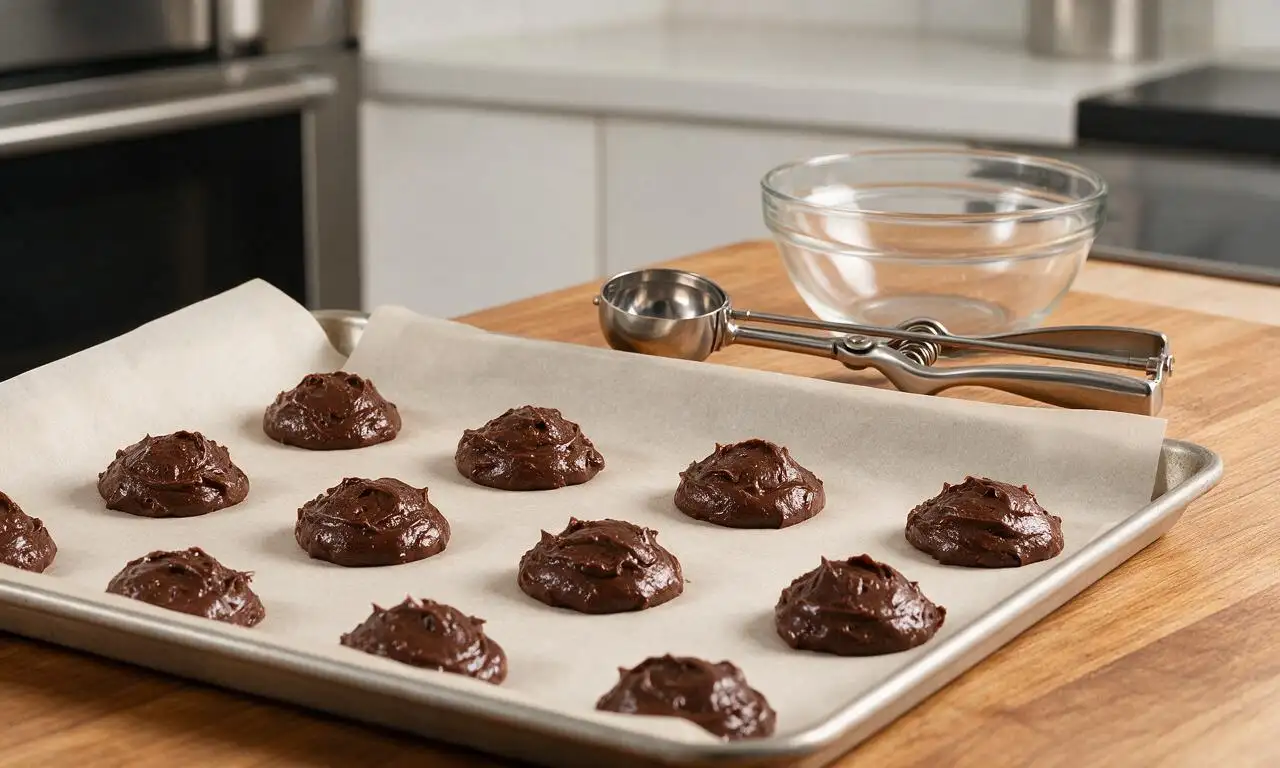
Alternate adding the dry flour mixture and 120ml room-temperature whole milk to the creamed butter base in 3 additions each, mixing on low speed only until no dry streaks remain (do not overmix, as this will make tough cookies). Use a 2-tablespoon (30ml) spring-loaded cookie scoop to drop rounded mounds of batter 5cm (2 inches) apart on the prepared baking sheets, yielding 24 total even rounds for 12 finished sandwiches.
Bake chocolate rounds
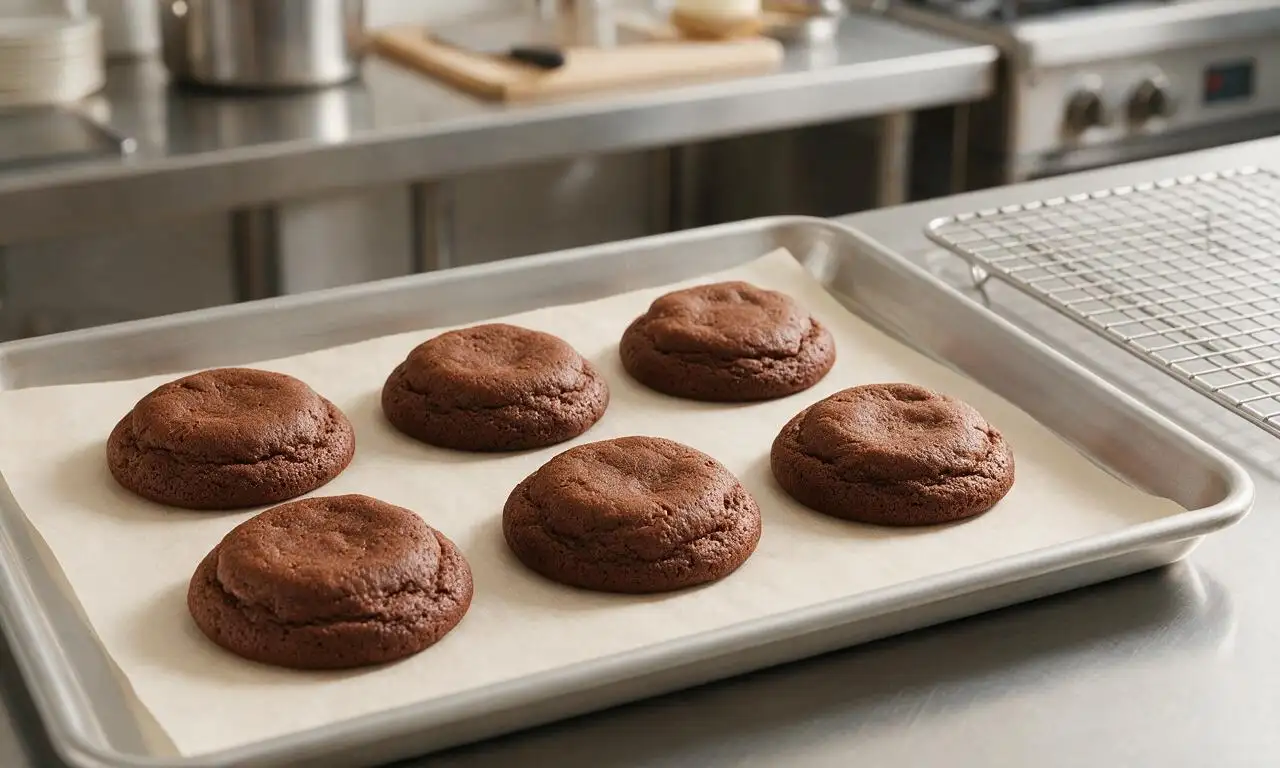
Bake one sheet at a time on the middle oven rack for 10-12 minutes, until the tops spring back lightly when touched and a toothpick inserted in the center comes out with 1-2 moist crumbs (not wet batter, not fully clean). Let the rounds cool on the baking sheet for 10 minutes before transferring to a wire rack to cool fully (20 more minutes) before filling—warm cookies will melt the filling.
Whip marshmallow filling
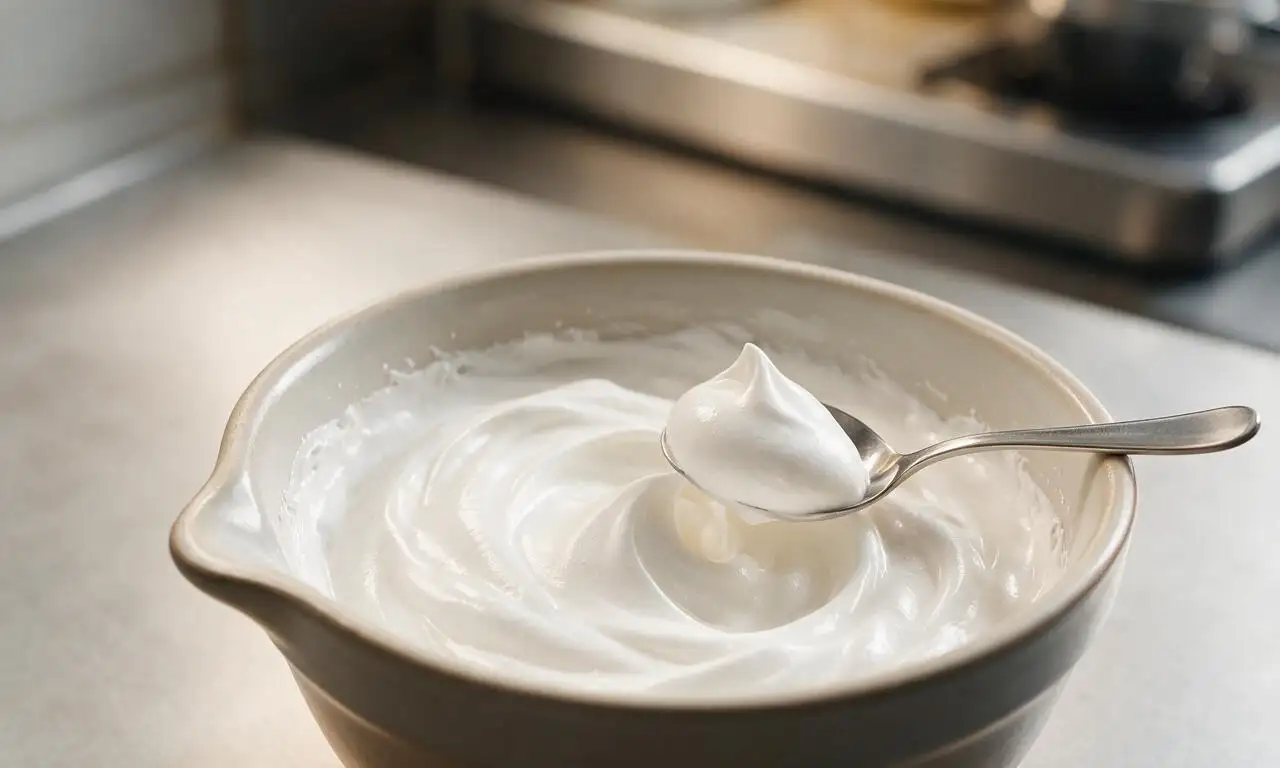
While cookies cool, make the filling: beat the remaining 113g softened unsalted butter in a clean bowl on medium speed for 1 minute until smooth. Add 213g marshmallow fluff, 120g sifted powdered sugar, the remaining 1 teaspoon vanilla extract, and remaining ¼ teaspoon fine sea salt, beating on low for 30 seconds then increasing to medium speed for 1 minute until light, fluffy, and completely smooth.
Assemble whoopie pies
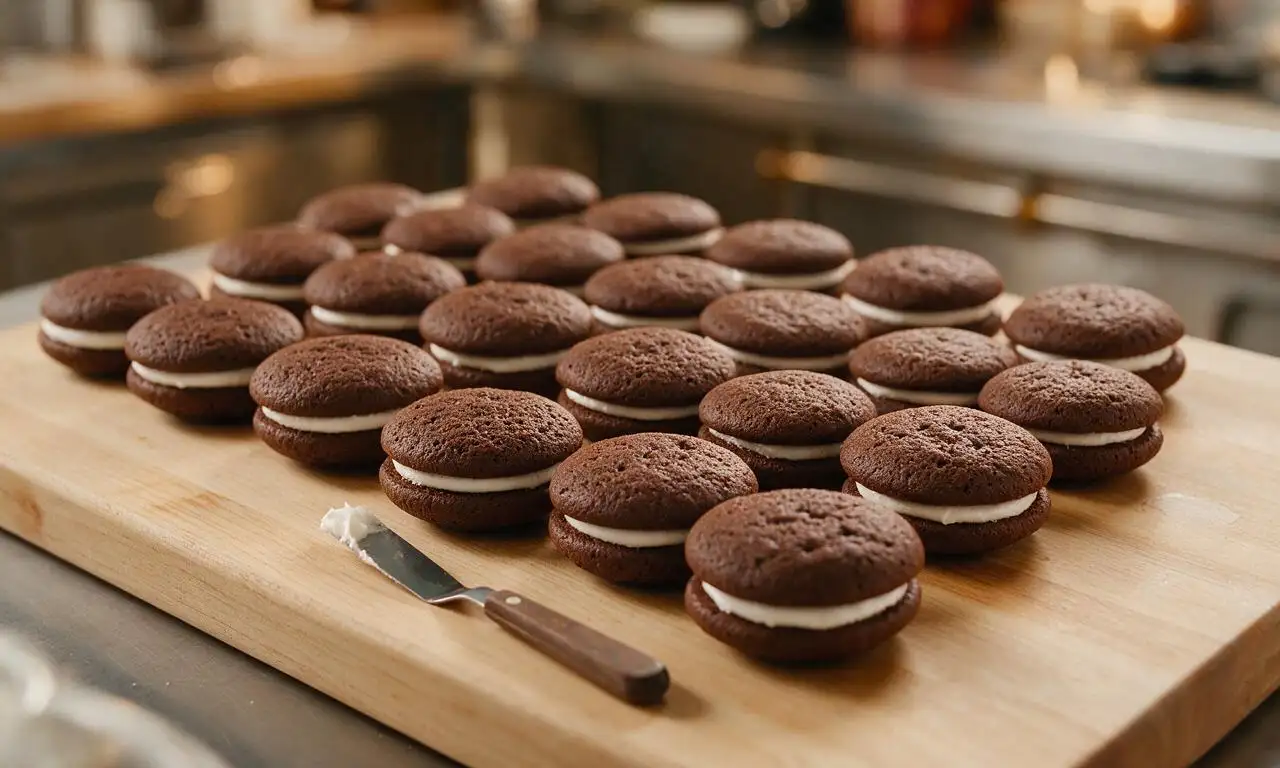
Once cookie rounds are fully cooled, match them into pairs of equal size and shape. Scoop 1 heaping tablespoon (15g) of marshmallow filling onto the flat bottom side of one cookie per pair, then press the flat bottom side of the matching cookie on top, applying gentle even pressure until the filling spreads to ½cm from the edge of the sandwich. Repeat for all pairs, and serve at room temperature.
Tips
2.Never add filling to warm cookies: residual heat will melt the marshmallow filling, causing it to slide out of the sandwiches and create a mess.
3.Store assembled whoopie pies in an airtight container in the refrigerator for up to 5 days; let them rest at room temperature for 10 minutes before serving for the softest texture.






OMG these whoopie pies were a total game changer for my kid’s soccer team potluck! I was worried they’d be too fussy since I’m not a huge baker, but the recipe was so easy, took me right around 45 minutes total, and every last one was gone before the halftime show even ended. The marshmallow filling is so fluffy, not too sweet, perfectly paired with the rich chocolate cake. 10/10 will make again!
Made these for a backyard cookout over the weekend and my brother-in-law who swears he ‘hates sweet stuff’ ate two back to back. Only note: I let the filling sit for 10 mins before piping so it didn’t ooze out the sides when I sandwiched the cookies, worked like a charm.
Super easy recipe for a beginner! I live in a dorm with just a tiny countertop oven and these still came out perfect. My roommates are already begging me to make another batch this week. The filling tastes exactly like the vanilla marshmallow fluff I loved as a kid, no weird artificial aftertaste at all.
Wait has anyone tried making these gluten free? I have a family member with celiac and I want to bring these to our family dinner next Sunday but don’t want to mess up the texture.
SO good. I’ve tried three other whoopie pie recipes before and this one is by far the best. The chocolate cakes are so moist, not dry and crumbly like the other recipes I tested, and the marshmallow filling isn’t cloyingly sweet. I brought them to my office potluck and three people asked for the recipe before I even left the break room.
Made these with my 7 year old daughter for her class treat day and she had an absolute blast helping scoop the batter and spread the filling. We added a few rainbow sprinkles to the edges of the filling for fun and the kids went wild for them. Only took us 45 minutes even with all the ‘help’ from my little one, super straightforward.
Meal prepped these for our weekend backpacking trip and they held up so well! Wrapped each one individually in parchment paper, tossed them in the cooler, and they were the perfect sweet pick-me-up after a long hike. The filling didn’t get all melty even when it was 75 degrees out, which I was shocked by. Will be adding these to our regular hiking snack rotation.
Help! I tried making these last night and my filling came out super runny? Did I do something wrong? I followed the recipe exactly as written, measured everything with cups instead of a scale, so I’m confused why it didn’t set up.
These taste exactly like the whoopie pies my grandma used to make when I was a kid growing up in Maine! I was so worried I’d never find a recipe that hit that nostalgic note, but this is spot on. The soft chocolate cake, the fluffy vanilla marshmallow filling, not too fancy, just perfect comfort food.
Made these for my neighborhood block party last weekend and they were the first dessert gone! I even made a mini version using a small cookie scoop so people could grab them as bite sized snacks, which worked perfectly. So easy to throw together even when I was juggling three other dishes for the party.
These are the perfect pairing with my morning iced coffee, I’m not even sorry. I keep a batch in the freezer now and pull one out when I need a little sweet treat after work, they thaw in like 10 minutes and taste just as fresh as the day I baked them. 10/10 for meal prep friendly.
Okay I literally never bake, like I burn boxed brownies level of bad at baking, and I pulled these off on the first try! I was so nervous they’d be a flop for my partner’s birthday, but he said they’re better than the ones we get at the fancy bakery downtown. I cannot believe how easy these were.
Is it normal for the cake part to be super soft and almost fudgy? I pulled mine out after 10 minutes like the recipe said and they were really tender, I was worried they were underbaked but once they cooled they were perfect? Just want to make sure I didn’t mess up, because they tasted amazing.
Tweaked the recipe a little by adding a teaspoon of espresso powder to the chocolate batter and oh my GOD it elevated the chocolate flavor so much, you have to try it. It doesn’t taste like coffee at all, just makes the chocolate taste richer and deeper. The filling was perfect as written, didn’t change a thing. Will be making these for every cookout from now on.
Wait can I make the filling a day ahead? I’m hosting a dinner party tomorrow and want to prep as much as I can today so I’m not running around like a crazy person when guests show up.
Has anyone tried making these vegan? I have a few vegan friends coming to my game night next week and these would be such a hit if I can adapt them without ruining the texture.
I added a thin layer of peanut butter to the inside of each cake round before adding the marshmallow filling and my family lost their minds. The peanut butter and chocolate combo with the fluffy marshmallow is chef’s kiss. My teenager already asked if I can make a double batch for his birthday party next month.
I was so skeptical because marshmallow filling always feels too complicated for me, but this came together so fast! I didn’t even have to pull out my stand mixer, just used a hand mixer and it was fluffy in like 5 minutes. 10/10 for lazy bakers like me.
Testing recipes early for my holiday cookie platter this year and these are definitely making the cut. They’re sturdy enough to stack on a platter, the flavor is classic so everyone will love them, and they don’t require any weird specialty ingredients I have to run all over town to find. Score!