
Whoopie Pie (Maine)
intro
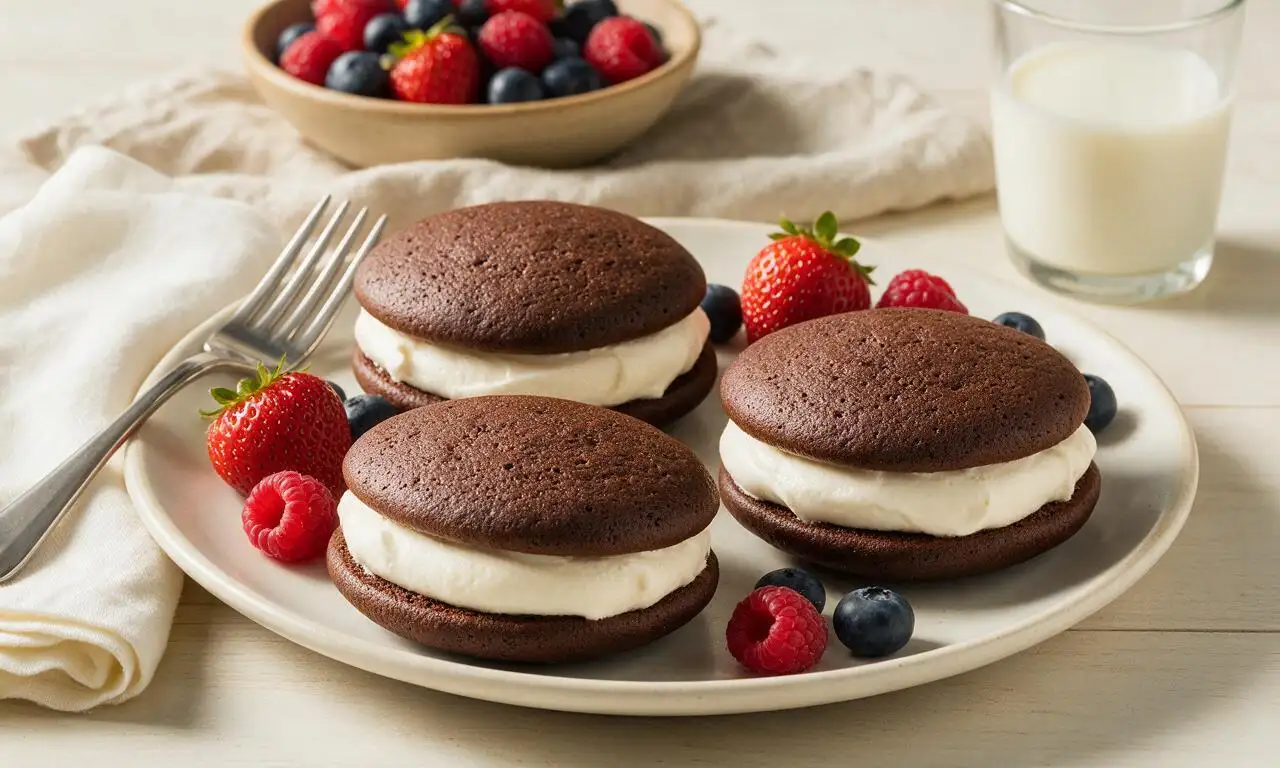
Soft, pillowy chocolate cake sandwiches filled with fluffy marshmallow vanilla cream, the iconic handheld dessert from coastal Maine.
Ingredients
Steps
Prep Oven and Dry Ingredients
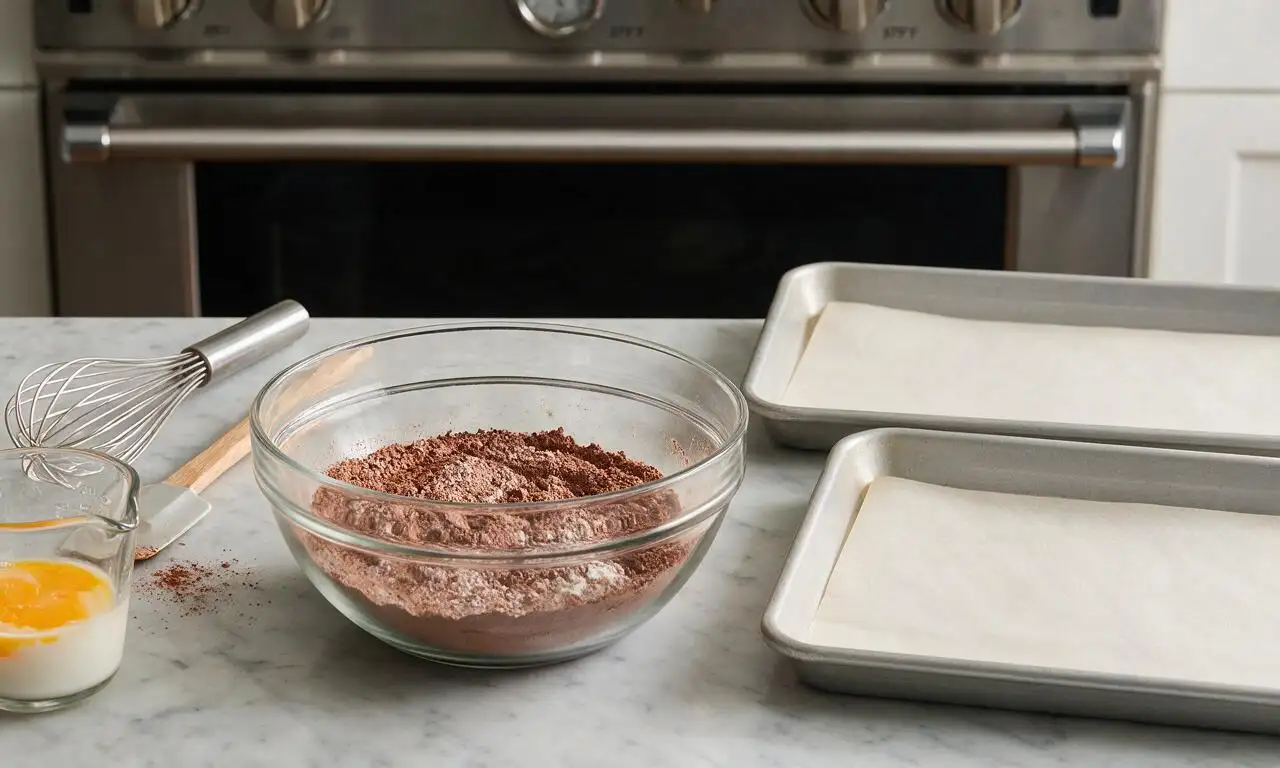
Preheat your oven to 375°F (190°C) and line two 18x13 inch rimmed baking sheets with unbleached parchment paper. In a medium mixing bowl, whisk together 2 cups (240g) all-purpose flour, ½ cup (50g) unsweetened cocoa powder, 1 tsp baking soda, ½ tsp baking powder, and ½ tsp fine sea salt for 30 seconds until fully combined, with no visible clumps of cocoa remaining.
Cream Butter and Sugar
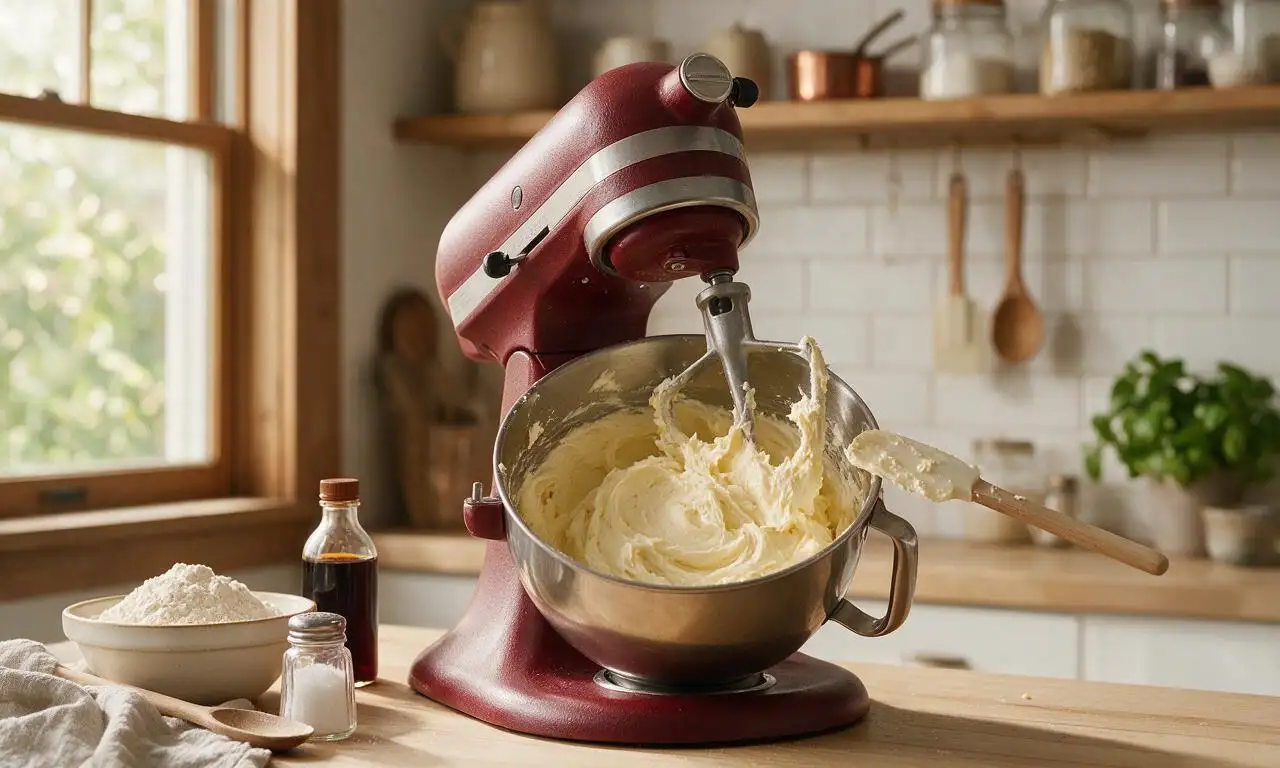
In a large stand mixer fitted with a paddle attachment, beat ½ cup (113g) of the softened unsalted butter and 1 cup (200g) granulated sugar on medium speed (setting 4 on most stand mixers) for 2 full minutes until the mixture is pale, light, and fluffy. Add 1 room-temperature large egg and 1 tsp vanilla extract, beating on medium speed for 30 seconds until fully incorporated, pausing once to scrape down the sides and bottom of the bowl with a rubber spatula.
Mix the Cake Batter
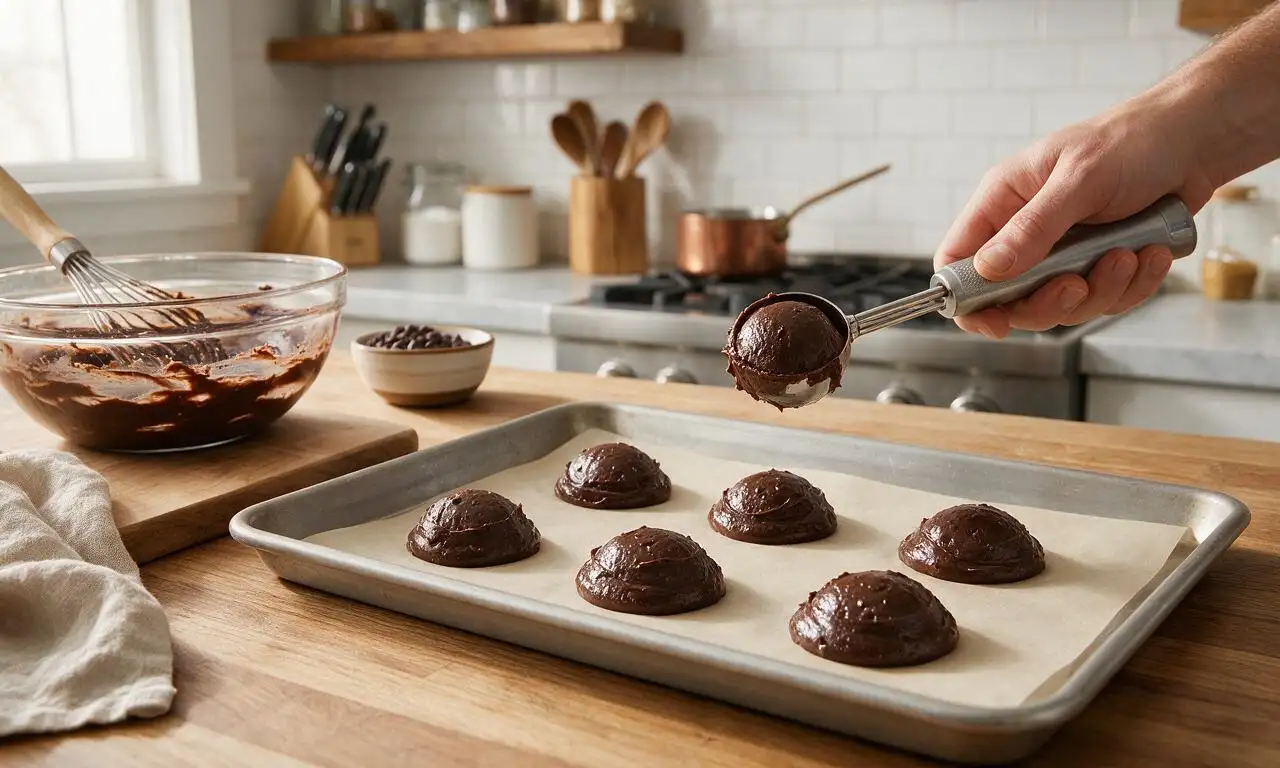
Alternate adding the dry flour-cocoa mixture and 1 cup (240ml) room-temperature whole milk to the butter mixture in 3 equal additions, starting and ending with dry ingredients. Mix on low speed (setting 2) only until no dry streaks remain, about 45 seconds total—do not overmix, as this will make the cakes tough. Use a 2-tbsp (30ml) spring-loaded cookie scoop to drop rounded mounds of batter 2 inches apart on the prepared baking sheets, making 24 equal-sized mounds total.
Bake the Whoopie Cakes
Bake one sheet at a time on the middle oven rack for 10 to 12 minutes, until the cake tops spring back instantly when lightly pressed with a fingertip, and a toothpick inserted into the center of a cake comes out with 2 to 3 moist crumbs attached (not wet batter). Let the cakes cool completely on the baking sheets for 10 minutes, then transfer to a wire cooling rack to cool for an additional 20 minutes to room temperature before filling—warm cakes will melt the filling.
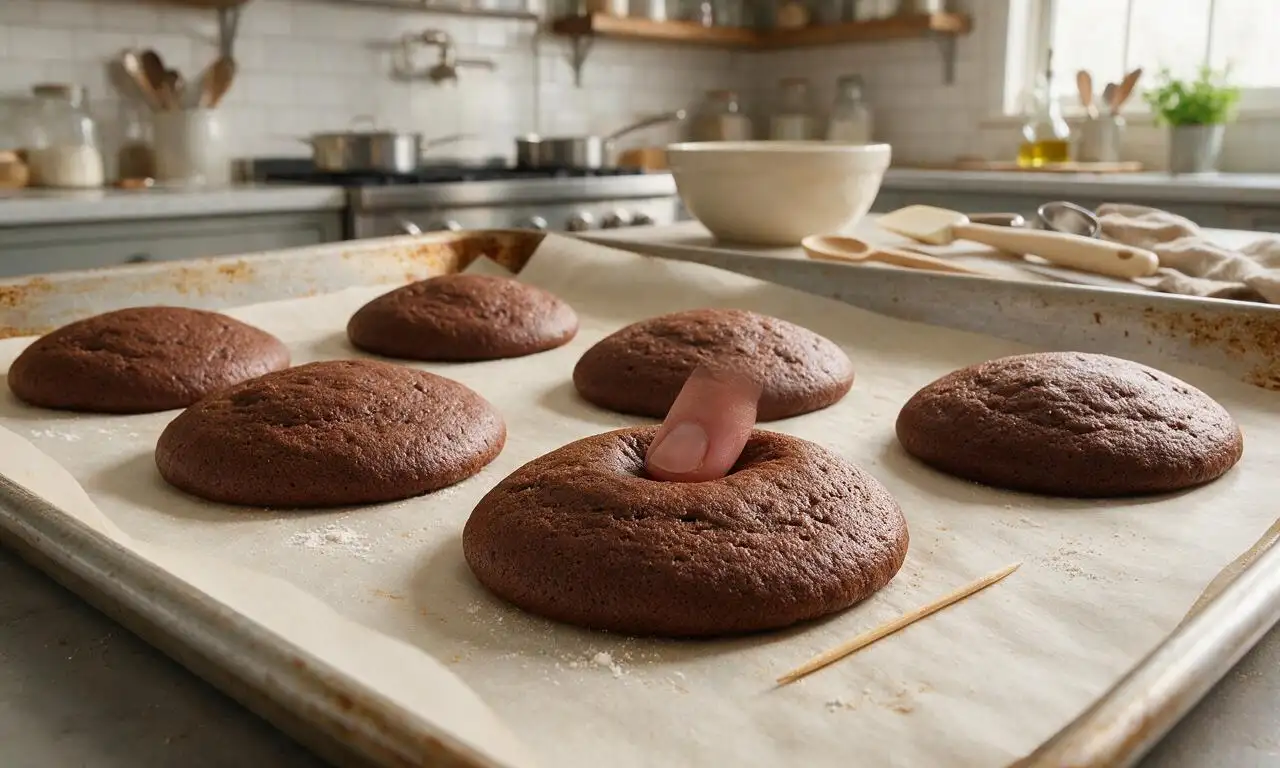
Prepare Classic Maine Filling
While the cakes cool, prepare the classic Maine-style filling: in a clean large mixing bowl, beat the remaining ½ cup (113g) softened unsalted butter on medium speed for 1 minute until completely smooth with no lumps. Add 1 ½ cups (150g) marshmallow fluff, 2 cups (240g) sifted powdered sugar, 1 tsp vanilla extract, and 1 tbsp (15ml) whole milk. Mix on low speed for 30 seconds to avoid powdered sugar splatters, then increase to medium speed and beat for 2 full minutes until the filling is light, bright white, and fluffy with a spreadable consistency.
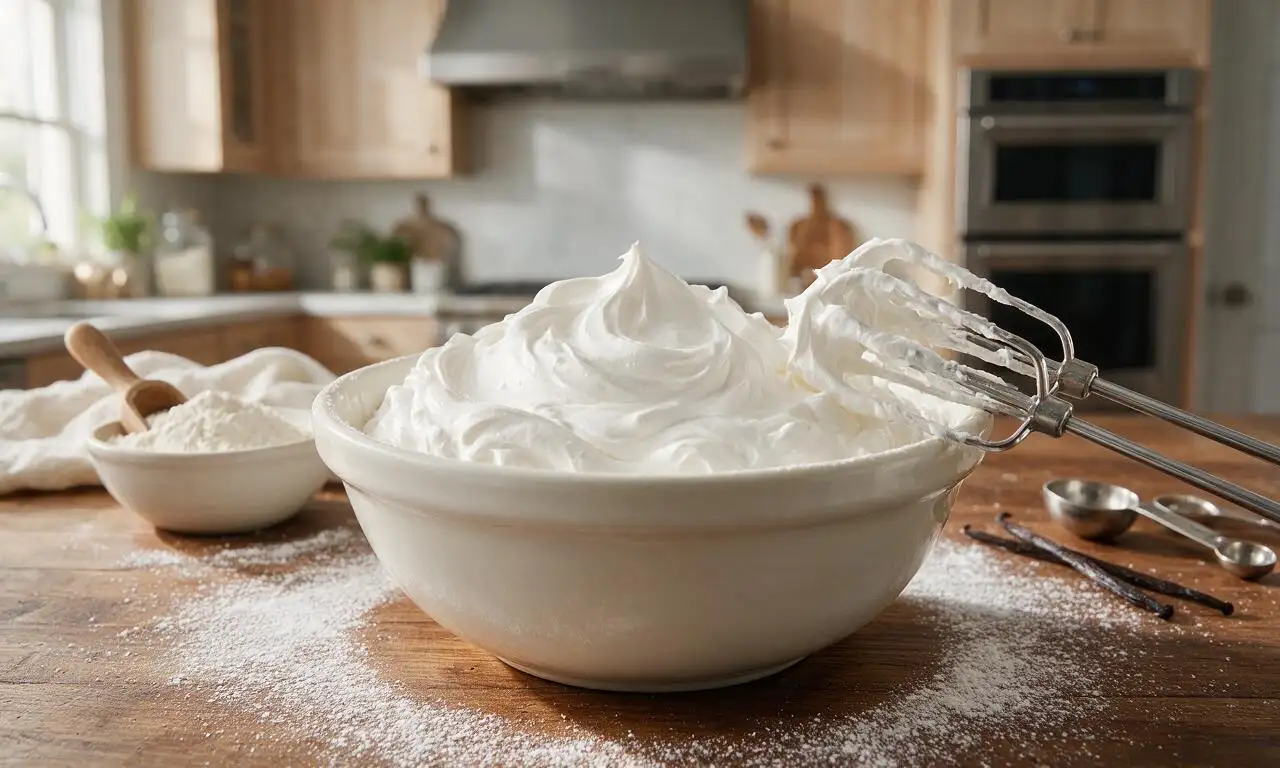
Assemble the Whoopie Pies
Once cakes are fully cool, match them into 12 pairs of equal size and shape. Scoop 2 tbsp (30g) of filling onto the flat bottom side of one cake per pair, then press the flat bottom side of the matching cake on top, applying gentle even pressure until the filling spreads to just reach the edges of the sandwich. Serve immediately, or wrap each whoopie pie individually in plastic wrap and store in an airtight container in the fridge for up to 4 days.
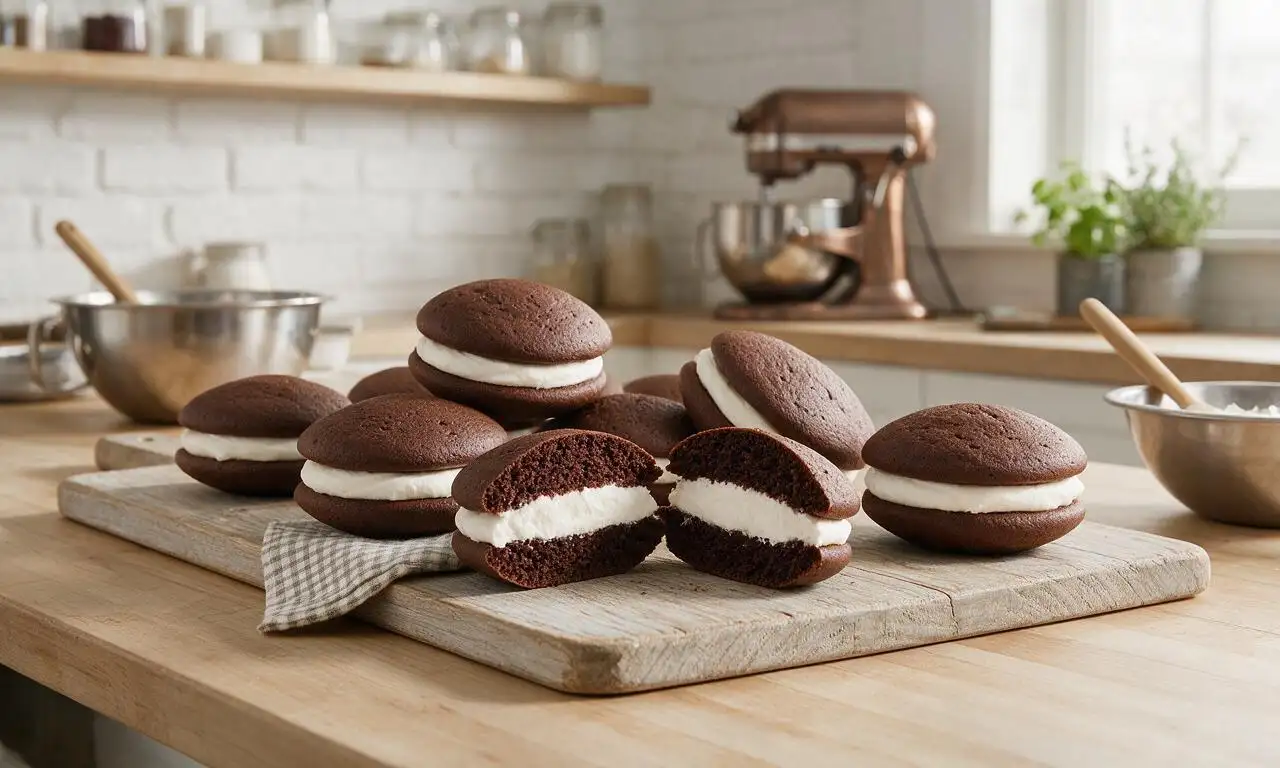
Tips
2.Avoid overbaking the cake rounds: they will finish setting as they cool on the hot baking sheet, and overbaking will eliminate the signature soft, pillowy texture of authentic Maine whoopie pies.
3.For a classic regional twist, stir ¼ tsp pure maple extract into the filling to add a subtle woody New England maple note, or roll the exposed filling edges in crushed walnuts or peppermint candies for extra texture.






OMG, these taste exactly like the whoopie pies I grew up eating at summer potlucks in coastal Maine! I was worried the filling would be too sweet, but it’s perfectly fluffy and not cloying at all. My kids devoured three each after school yesterday, even my super picky 8 year old asked for seconds. So easy to throw together too, no fancy equipment needed!
Brought these to my office potluck last week and people were begging for the recipe before I even left! The cake part is so moist, not dry like so many other whoopie pie recipes I’ve tried over the years. Total game changer for easy bake sale treats too, I’m already making a double batch for my kid’s soccer snack stand this weekend.
Full transparency, I burn basically everything I bake, so I was shocked how well these turned out! The instructions were super straightforward, no weird confusing steps. Only thing I messed up was making the cookies a little too big so they were more like whoopie pie frisbees, but my roommate thought that was even better lmao. Will absolutely make again.
I swapped the all purpose flour for a 1:1 gluten free baking blend and these still came out SO good! I was worried the texture would be gritty or off, but no one at my family dinner could even tell they were gluten free. Pro tip: add a tiny dash of cinnamon to the cake batter, it adds such a nice warm depth without being overpowering.
Made these for my dorm floor last night and they were gone in 10 minutes flat. Didn’t have a stand mixer so I just used a cheap hand mixer and it worked totally fine. Only complaint is I wish the recipe made more, lmao, I had guys from three floors down knocking asking if I had extras.
I’ve been making my grandma’s whoopie pie recipe for 40 years and decided to give this one a try to compare. The filling is dead on for the classic Maine version, though I did add a teaspoon of maple extract to mine for a little New England twist. My grandkids went wild for them, said they were better than grandma’s — little traitors! 😉