
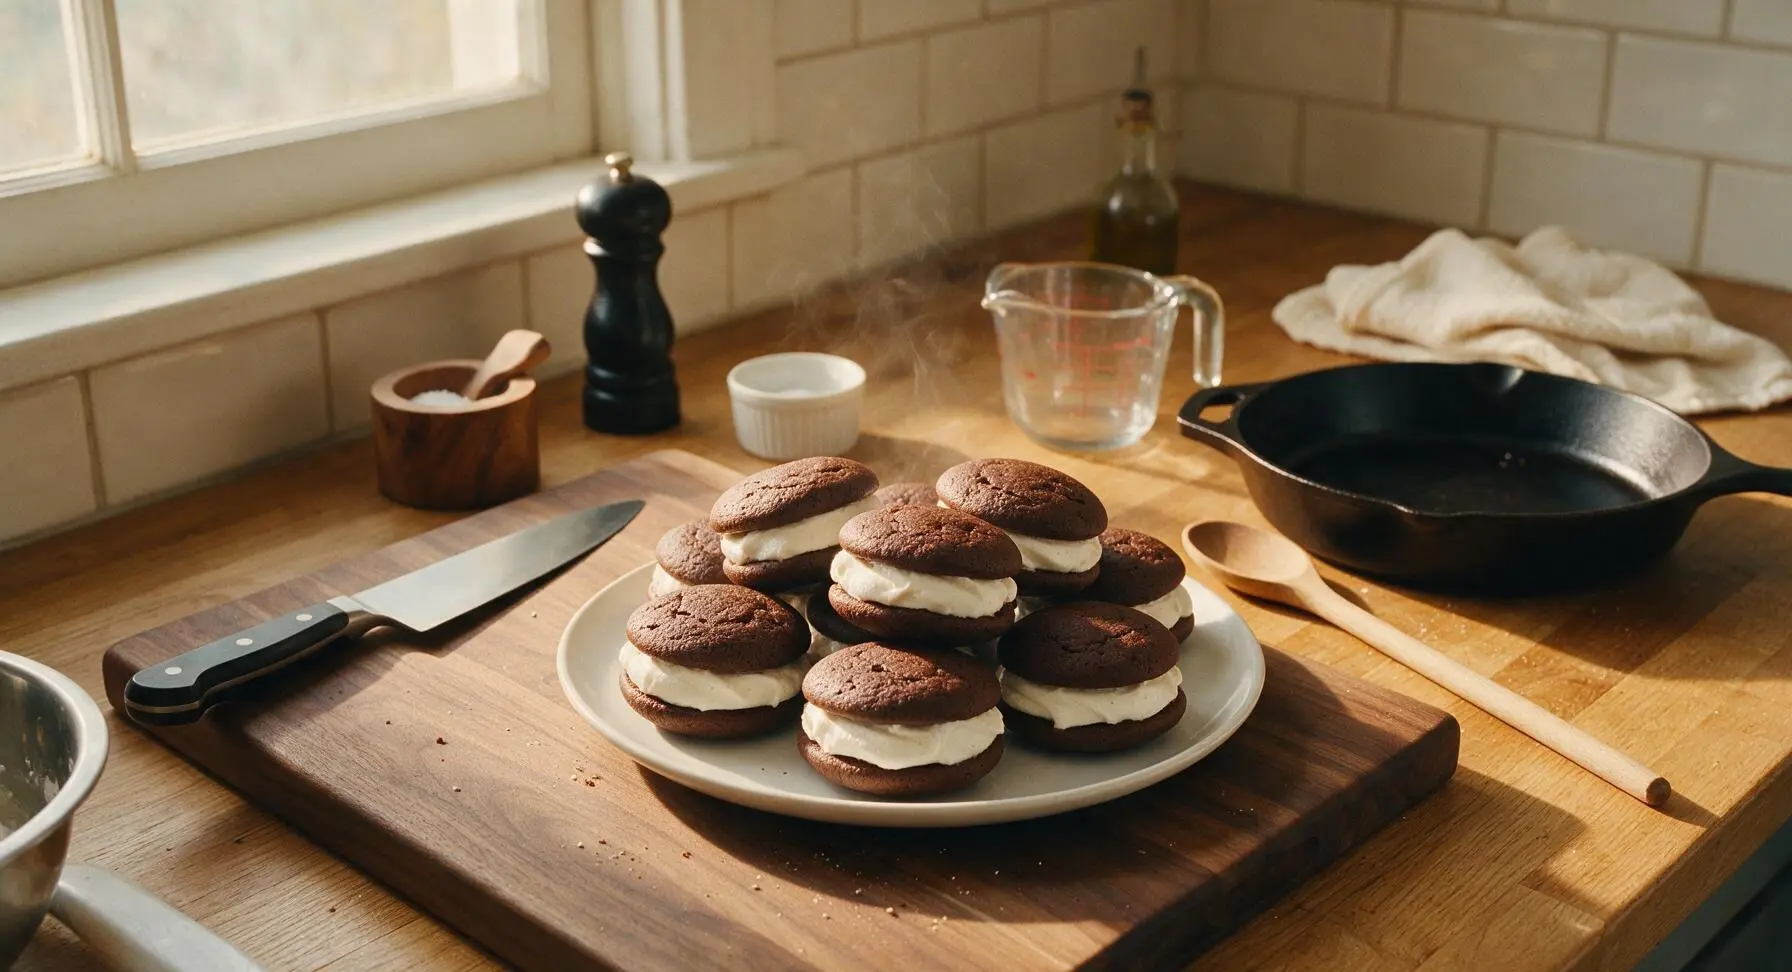
Whoopie Pies

title 1
Whoopie Pies
⏱️ cook time 20 minutes
🍽️ servings 12
⚡ Difficulty easy

intro

Soft, tender chocolate cake rounds sandwiched around light, fluffy marshmallow vanilla buttercream—this nostalgic Pennsylvania Dutch treat is a beloved holiday baking staple.

Ingredients
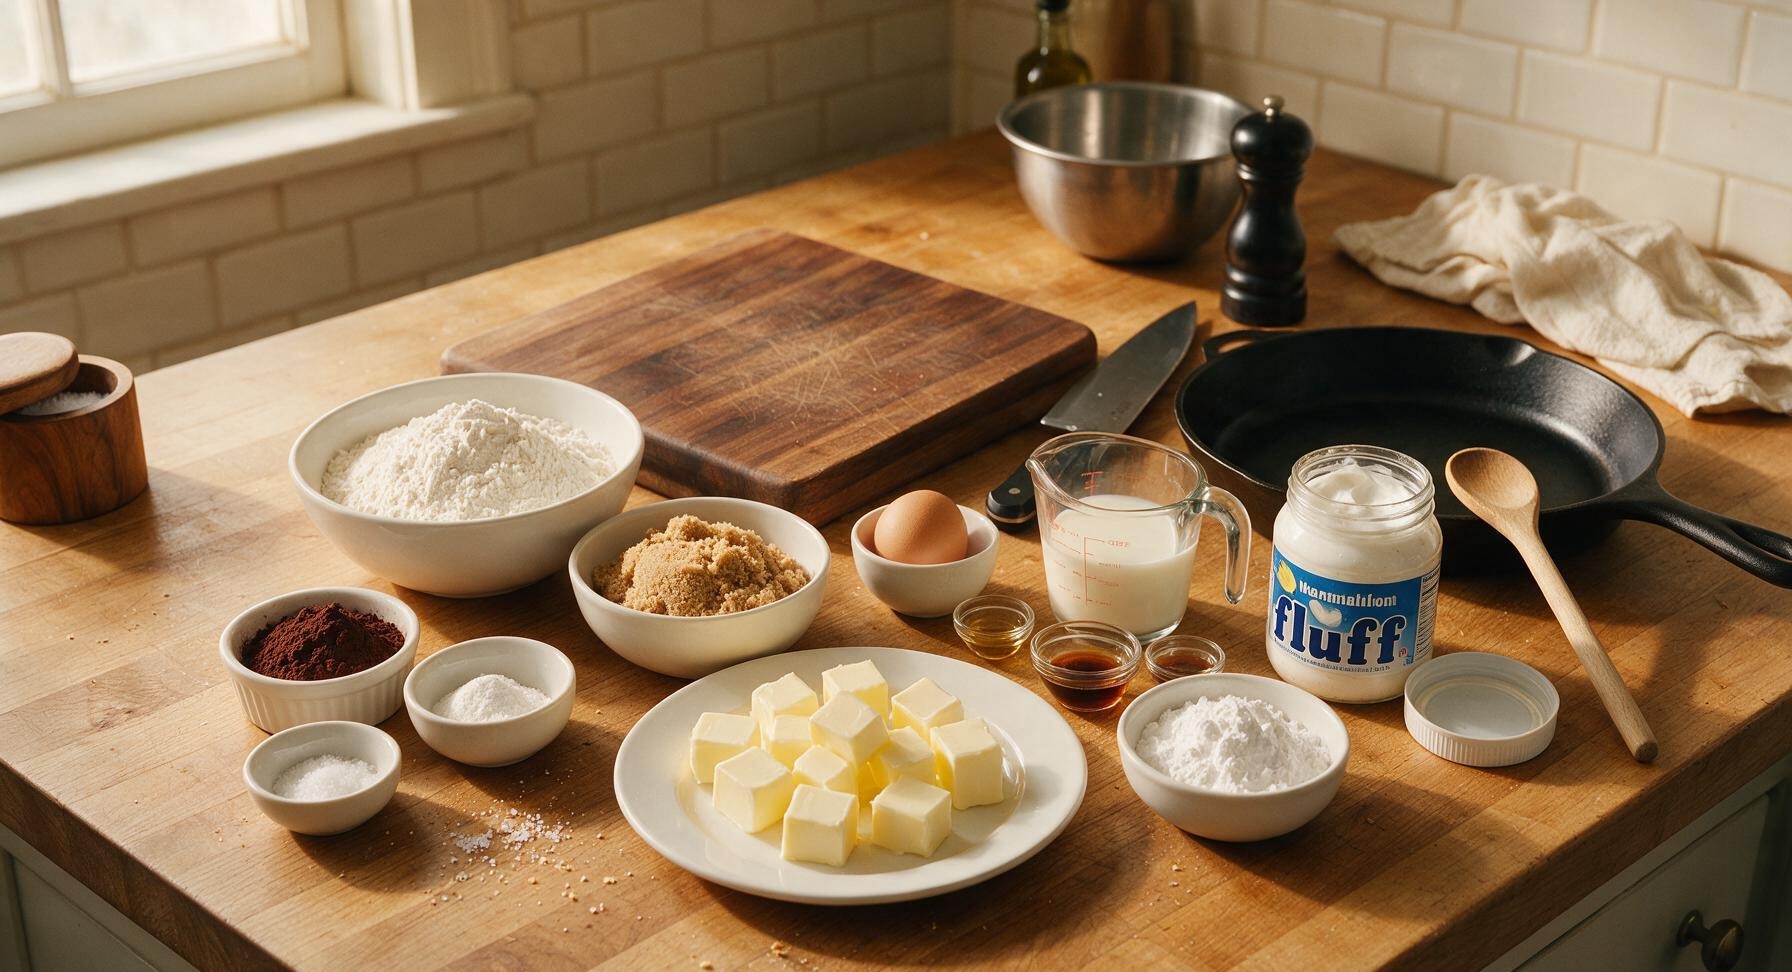
All-purpose flour 2 cups (240g)
Dutch-processed unsweetened cocoa powder 1/2 cup (50g)
Baking soda 1 tsp (5g)
Fine sea salt 5/8 tsp (3.5g), divided
Unsalted butter, softened to room temperature 1 cup (226g / 2 sticks), divided
Packed light brown sugar 1 cup (200g)
Large egg, room temperature 1 (50g)
Whole milk, room temperature 1 cup (240ml)
Pure vanilla extract 2 tsp (10ml), divided
Powdered sugar 1 cup (120g)
Marshmallow fluff 1 7-oz jar (198g)

Steps

1

Prep Baking Setup

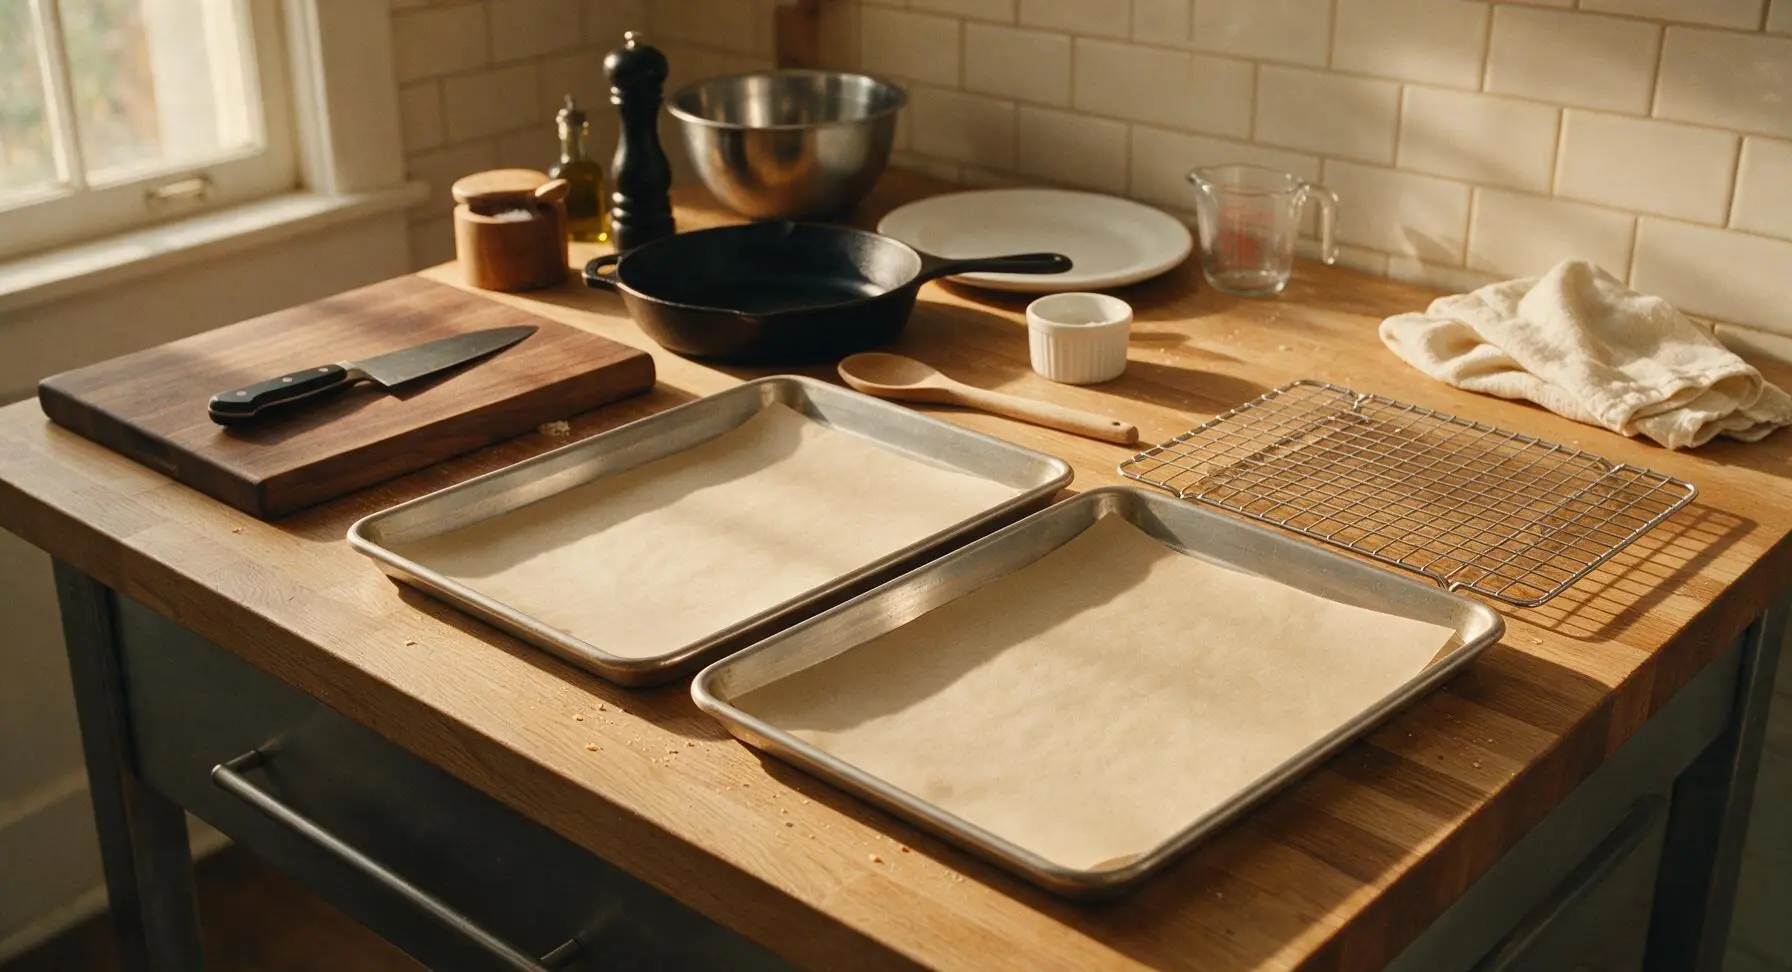
Preheat oven to 375°F (190°C). Line both large stainless steel baking sheets with cut-to-fit unbleached parchment paper, smoothing out any wrinkles to create a flat surface. Set the wire cooling rack on the counter to the right of the baking sheets for later use.
Step 1
step1:Prep Baking Setup
2

Mix Dry Cake Ingredients

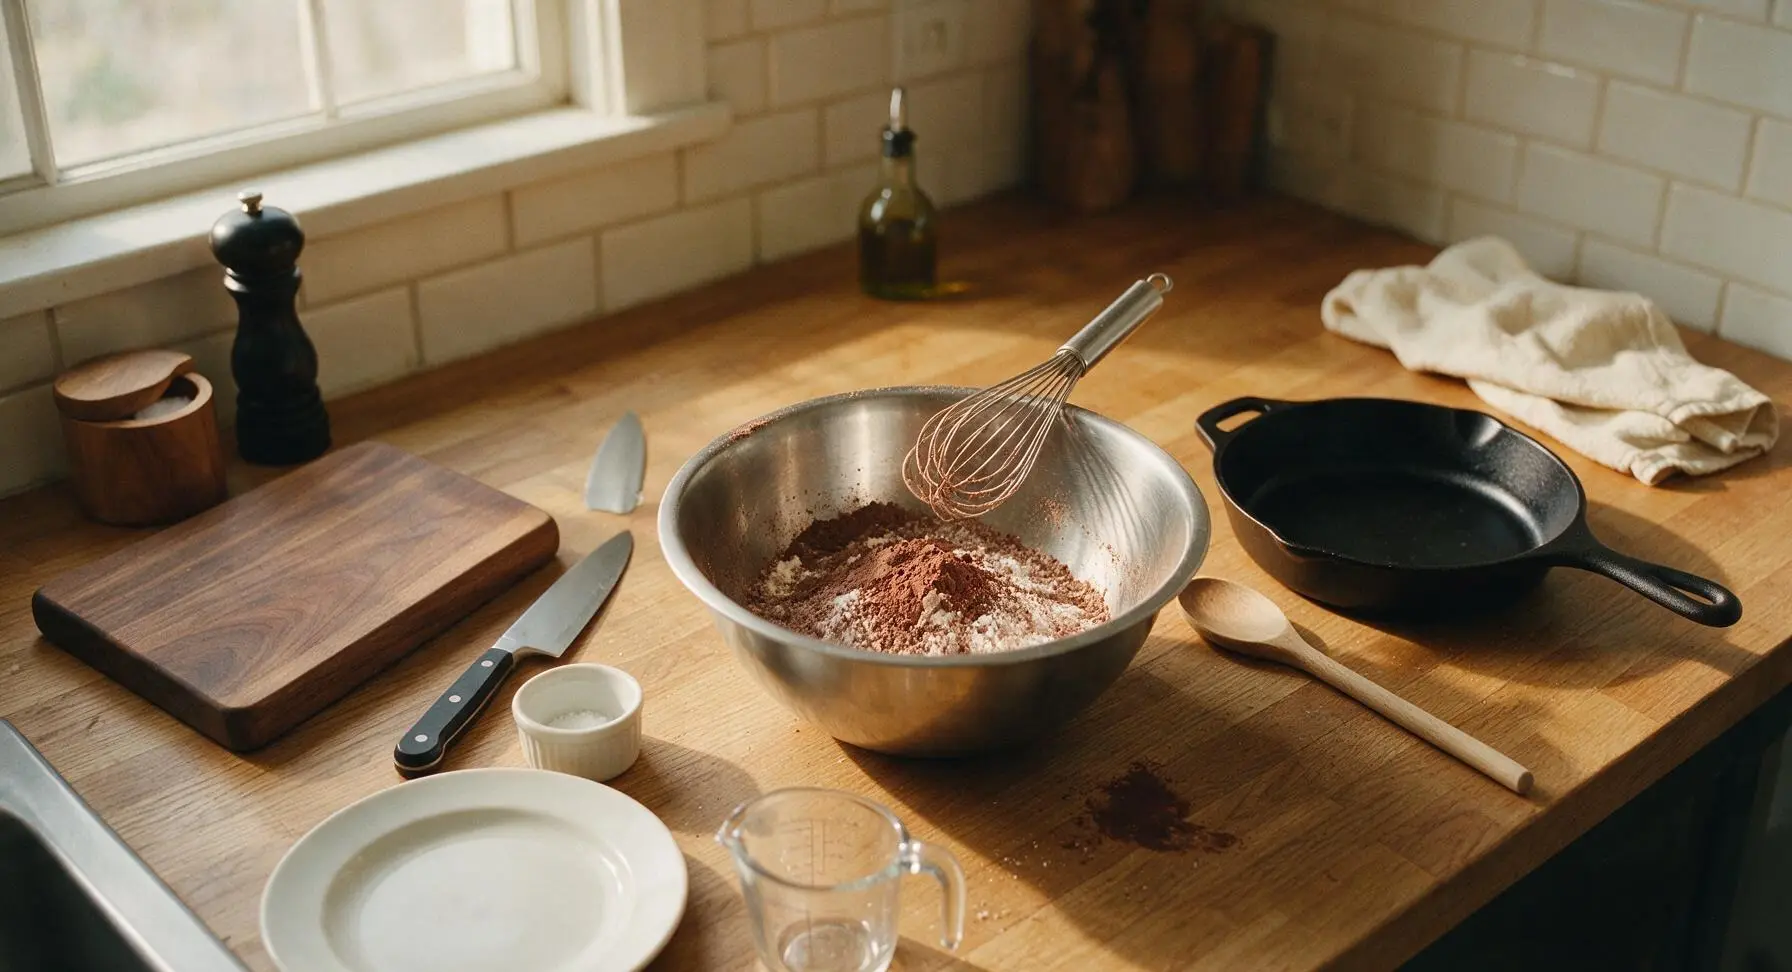
In the medium stainless steel mixing bowl, combine the 240g all-purpose flour, 50g Dutch-processed cocoa powder, 1 tsp baking soda, and 1/2 tsp of the fine sea salt. Use the wire whisk to stir for 30 seconds until fully combined, with no visible clumps of cocoa remaining. Set the bowl aside.
Step 2
step2:Mix Dry Cake Ingredients
3

Cream Butter and Sugar

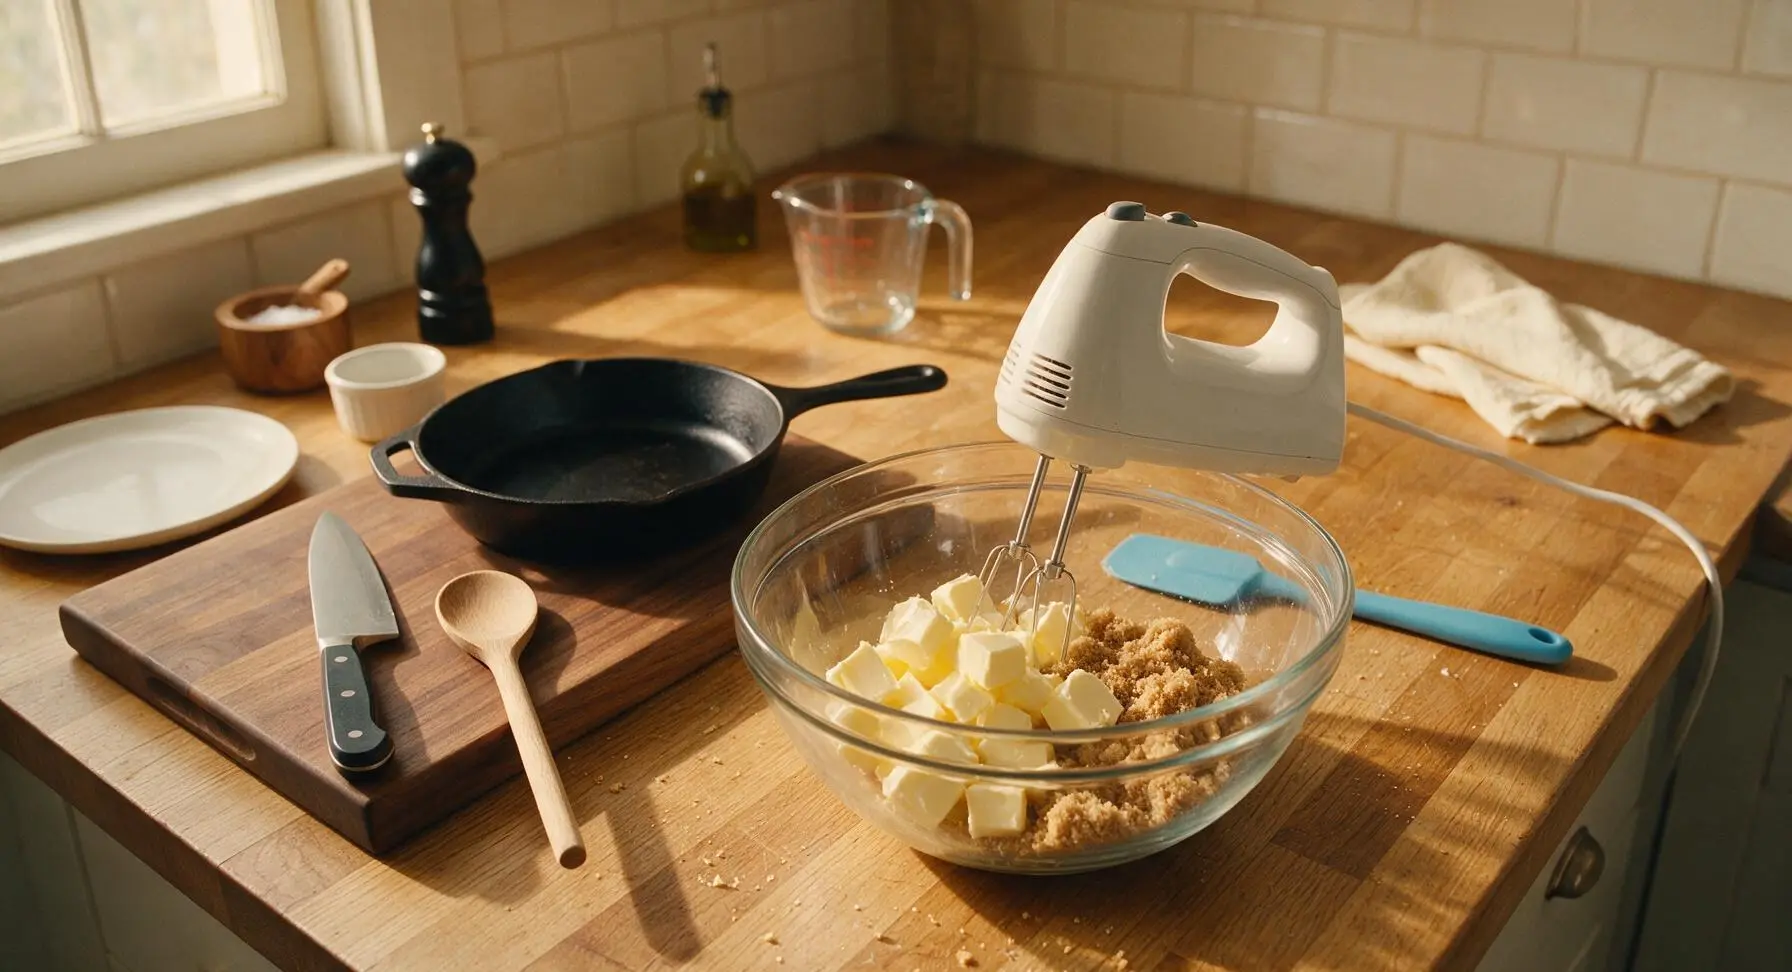
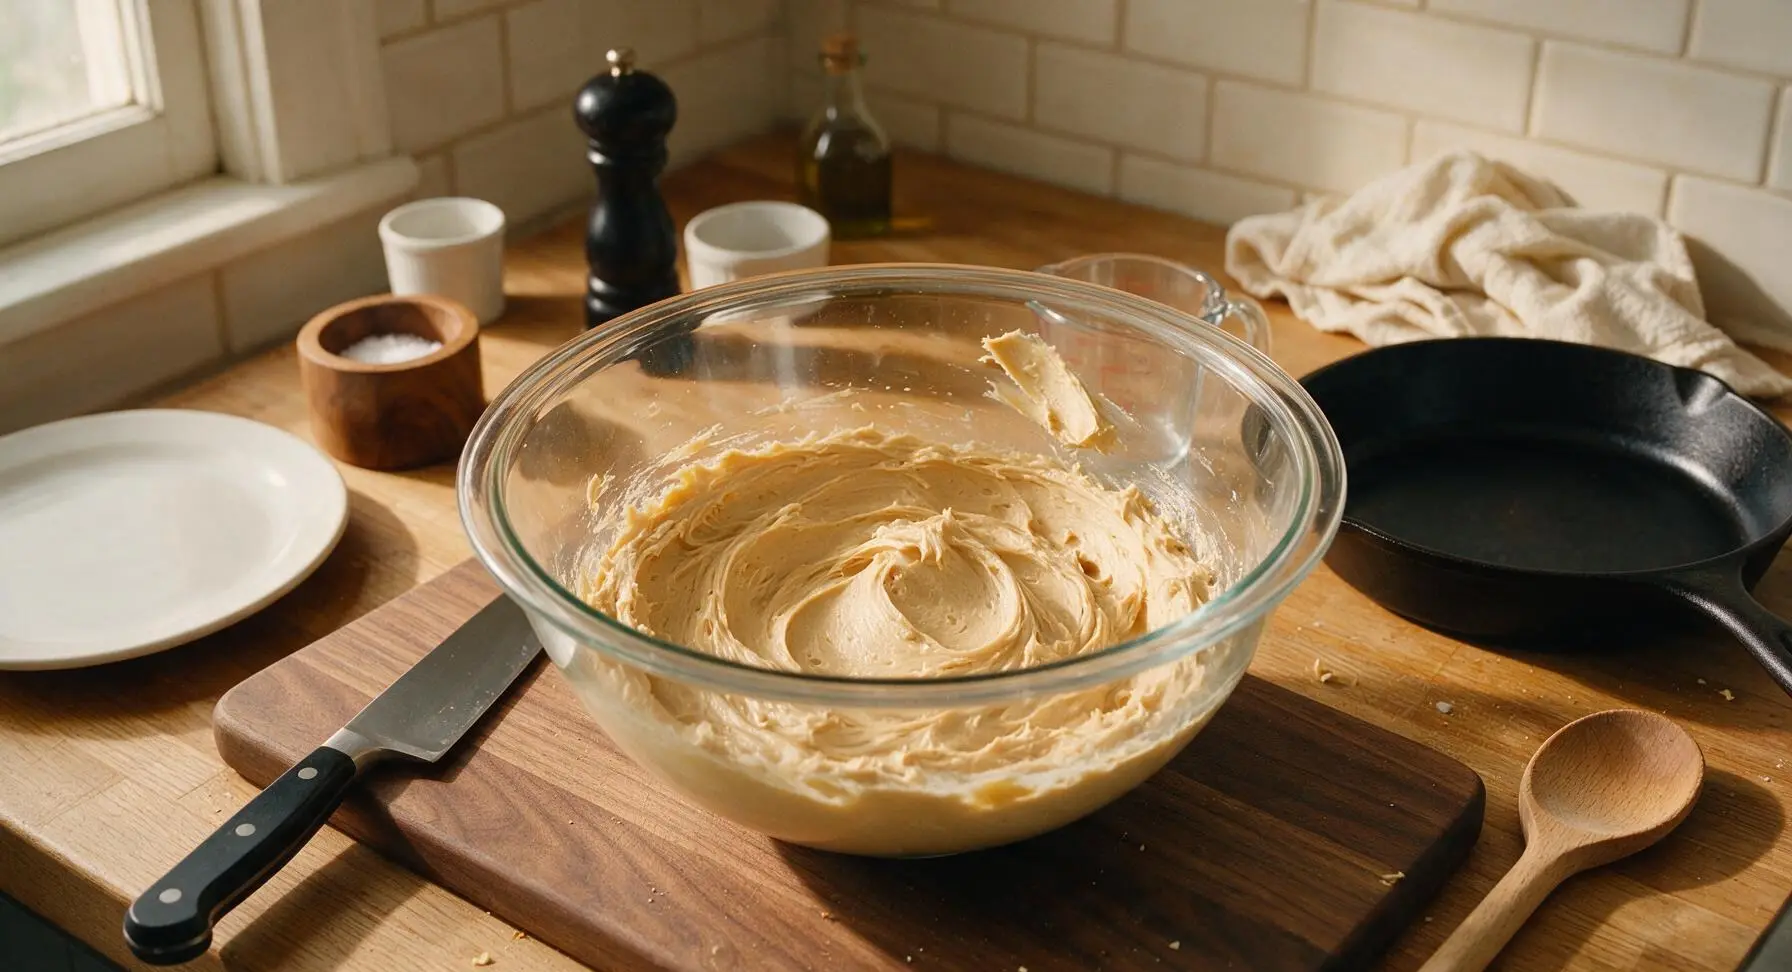
Place 113g (1 stick, half the total) softened unsalted butter and 200g packed light brown sugar into the large clear glass mixing bowl. Using the electric hand mixer on medium speed, beat the mixture for 2 minutes until it is light, fluffy, and pale caramel in color, stopping to scrape down the bowl sides with the sky blue silicone spatula once halfway through.
Step 3
step3:Cream Butter and Sugar
Step 3
step3:Cream Butter and Sugar
4

Finish Cake Batter

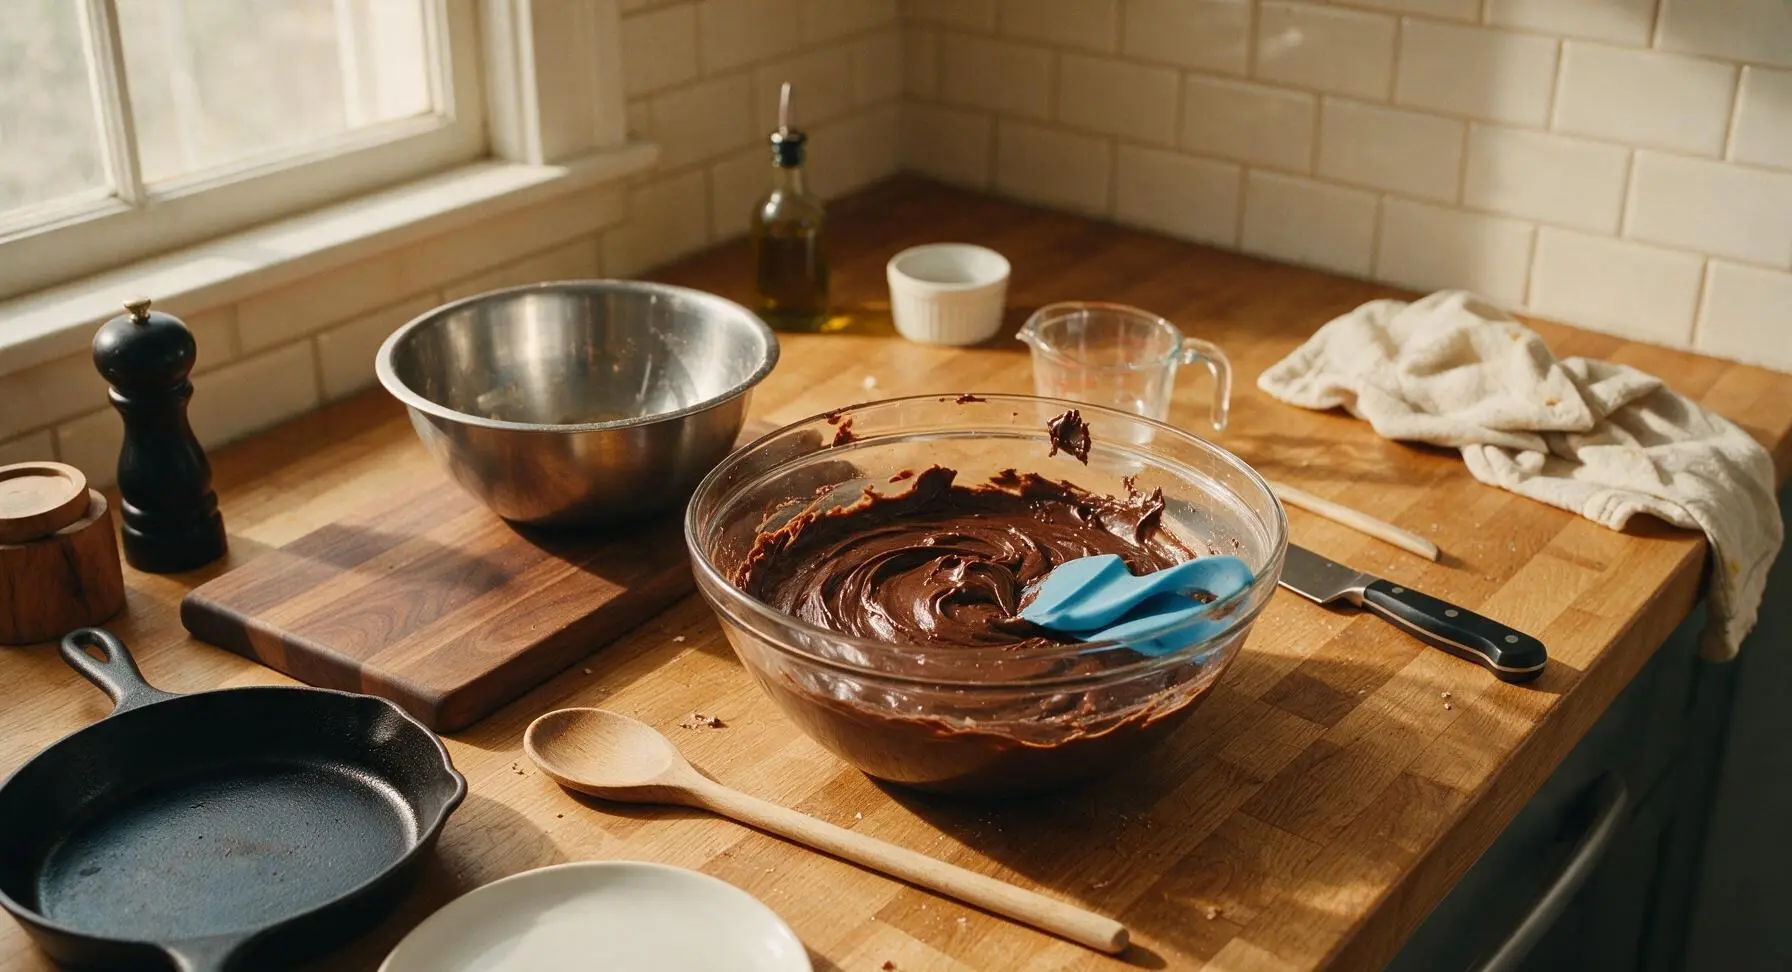
Add the room-temperature large egg and 1 tsp of the vanilla extract to the creamed butter-sugar mixture, beating on low speed for 30 seconds until fully incorporated. Alternate adding 1/3 of the dry ingredient mixture and 1/2 of the whole milk, mixing on low speed only until just combined—do not overmix, as this will make the cakes tough. Stop as soon as no dry flour streaks remain; the batter will be thick, smooth, and deep chocolate brown.
Step 4
step4:Finish Cake Batter
5

Scoop and Bake Cookies

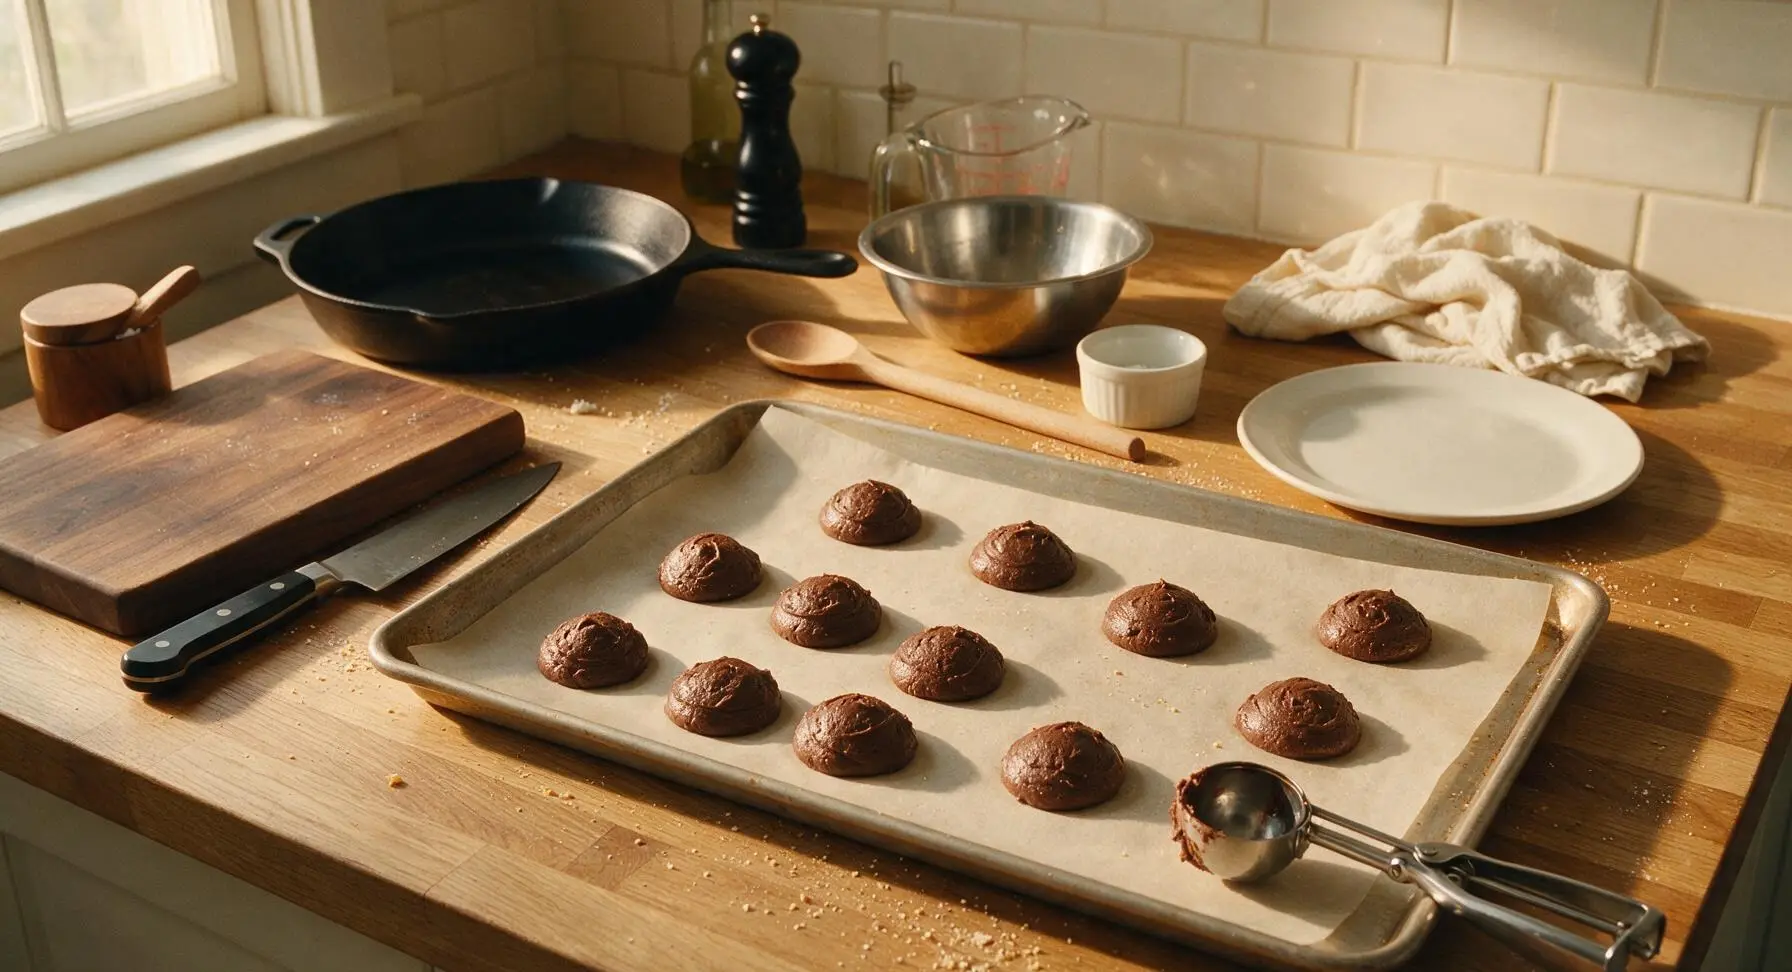
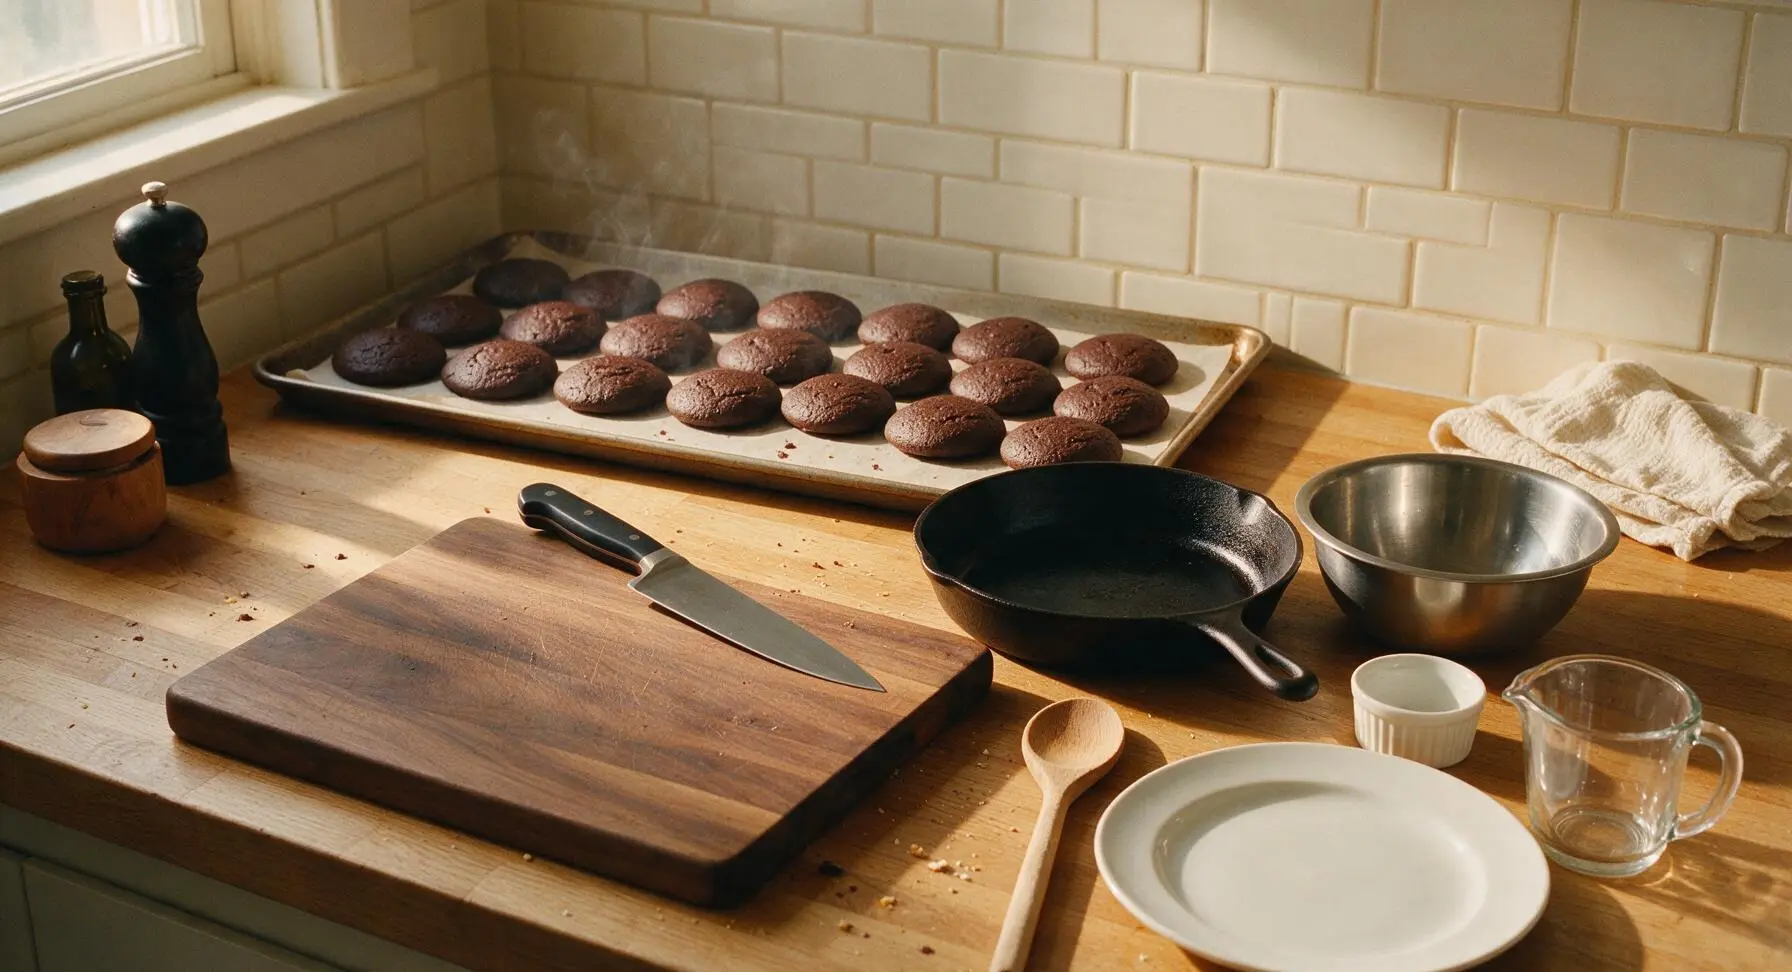
Use the 1-tablespoon stainless steel cookie scoop to drop mounds of batter 5cm (2 inches) apart on the parchment-lined baking sheets, making 24 equal-sized mounds total (12 per sheet). Bake one sheet at a time on the middle oven rack for 10 minutes, until the tops of the cakes spring back slightly when gently pressed and a toothpick inserted in the center comes out with a few moist crumbs (not wet batter).
Step 5
step5:Scoop and Bake Cookies
Step 5
step5:Scoop and Bake Cookies
6

Cool Baked Rounds

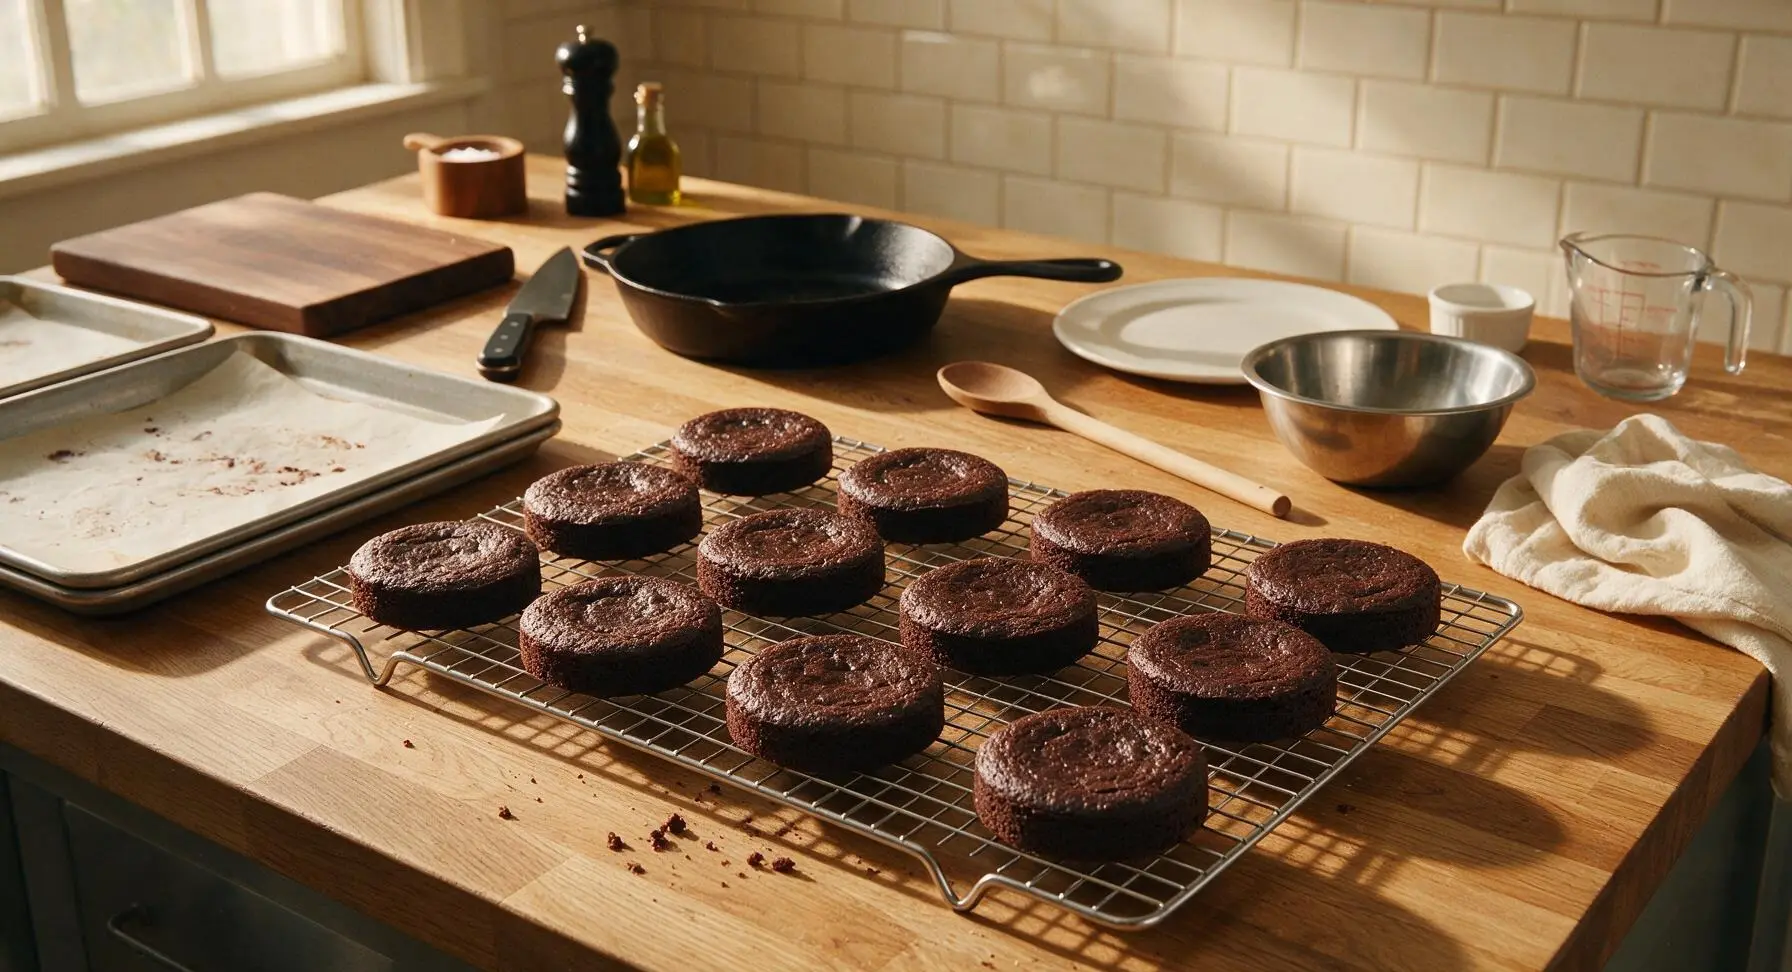
Let the baked cake rounds rest on the hot baking sheet for 5 minutes, then use the small offset spatula to transfer them to the chrome wire cooling rack to cool completely to room temperature (about 20 minutes). Important: Do not add filling to warm cakes, as the filling will melt and slide out.
Step 6
step6:Cool Baked Rounds
7

Whip Buttercream Filling

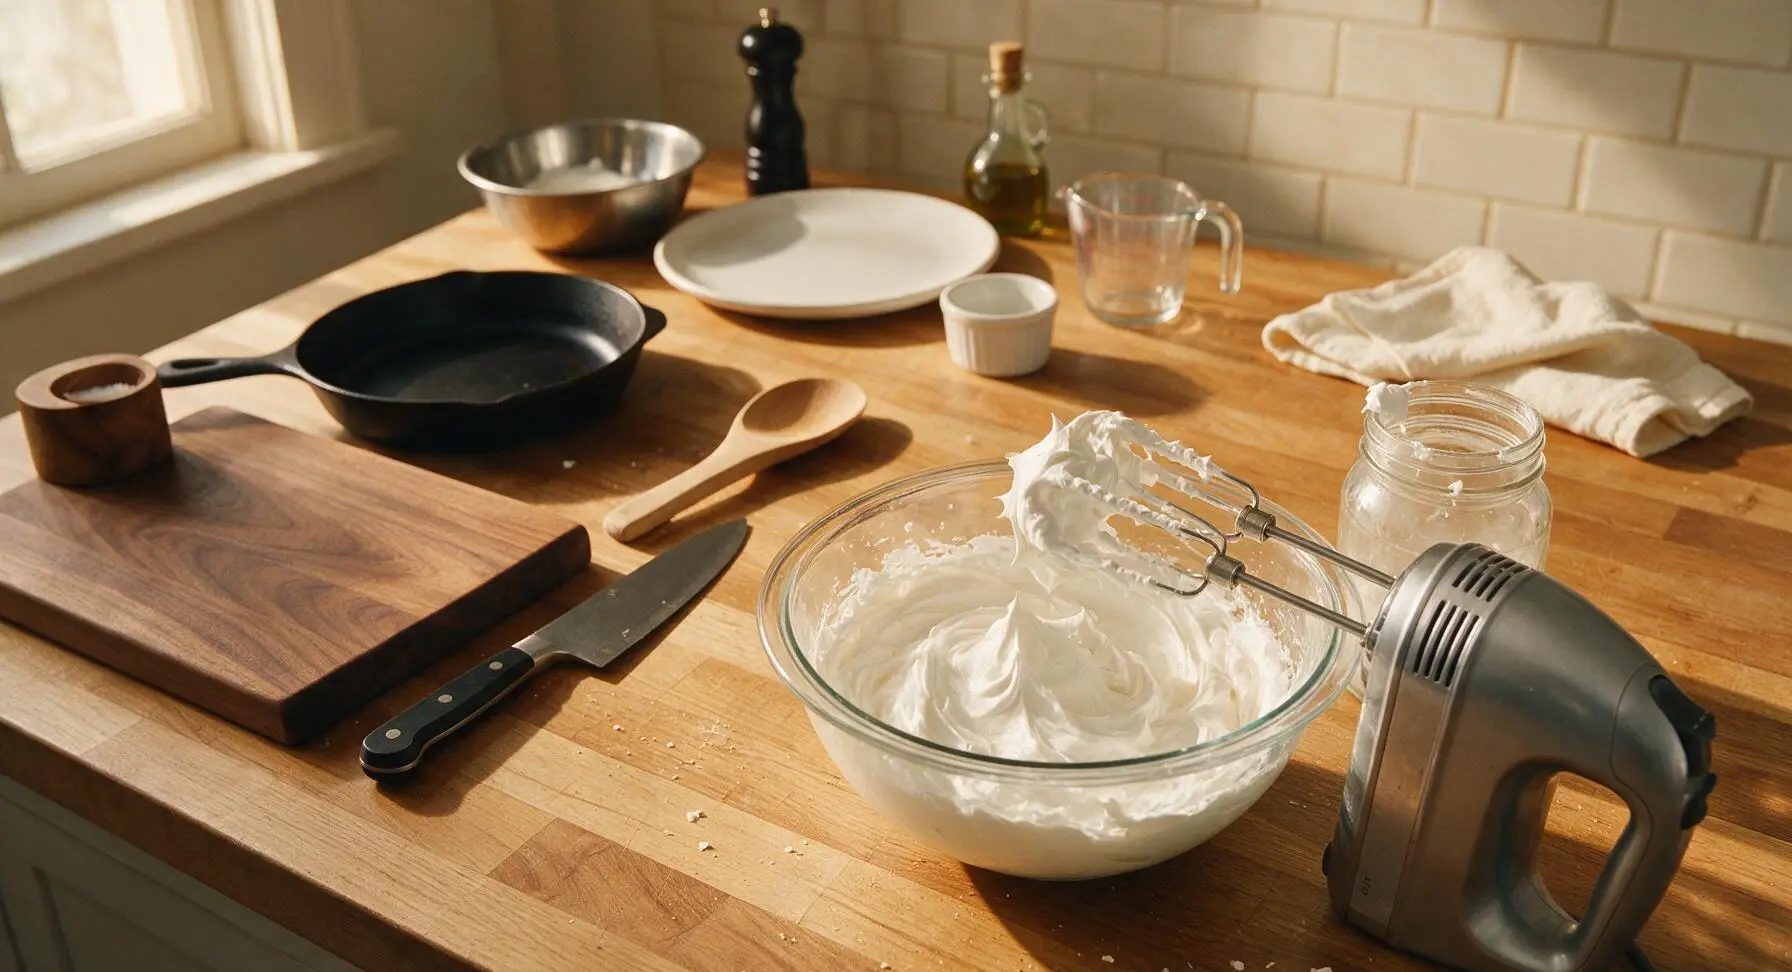
While the cakes cool, wipe out the large glass mixing bowl. Add the remaining 113g (1 stick) of softened unsalted butter, beating with the electric hand mixer on medium speed for 1 minute until smooth. Add 120g powdered sugar, the remaining 1 tsp vanilla extract, remaining 1/8 tsp fine sea salt, and the full 198g jar of marshmallow fluff, beating on low speed for 1 minute then increasing to medium for 2 minutes until the filling is light, fluffy, and bright white, with no lumps of powdered sugar remaining.
Step 7
step7:Whip Buttercream Filling
8

Assemble Sandwich Pies

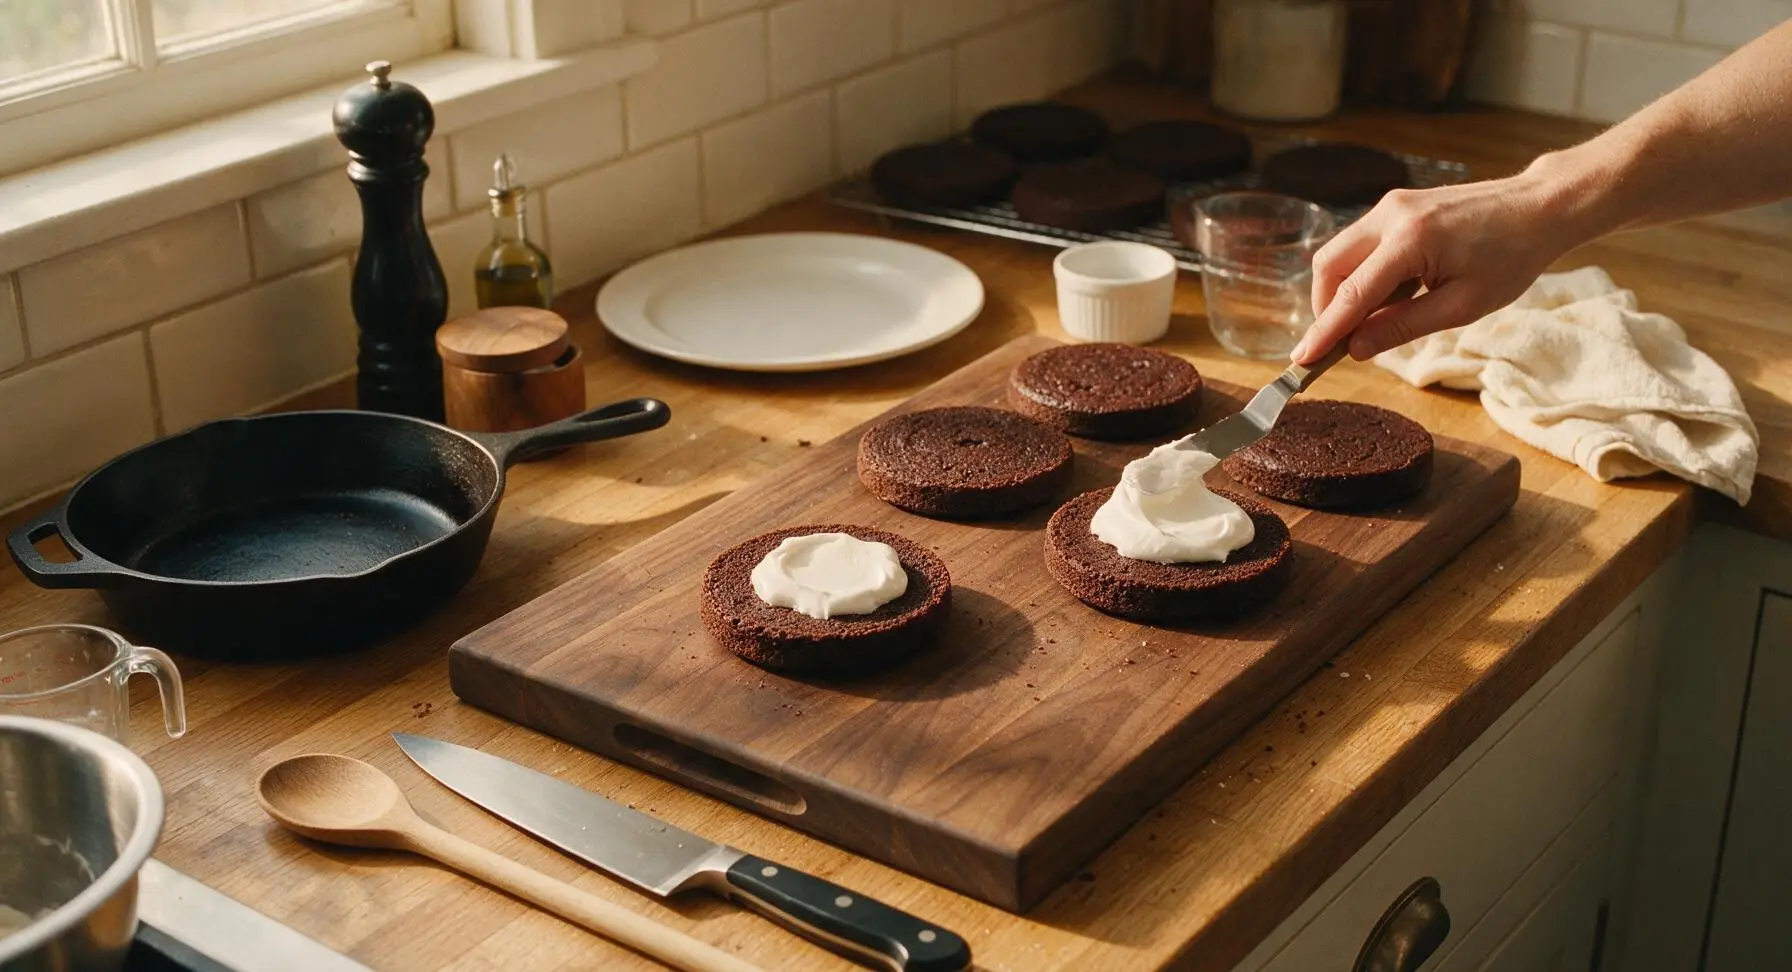
Once the cake rounds are fully cool, flip 12 of the rounds flat-side up. Use the small offset spatula to spread 1 generous tablespoon of the marshmallow filling evenly across the flat side of each flipped round, leaving a 2mm border around the edge. Top each filled round with a second cake round, flat-side down, pressing gently until the filling spreads just to the edge of the cookies. Transfer assembled pies to the cream ceramic serving platter.
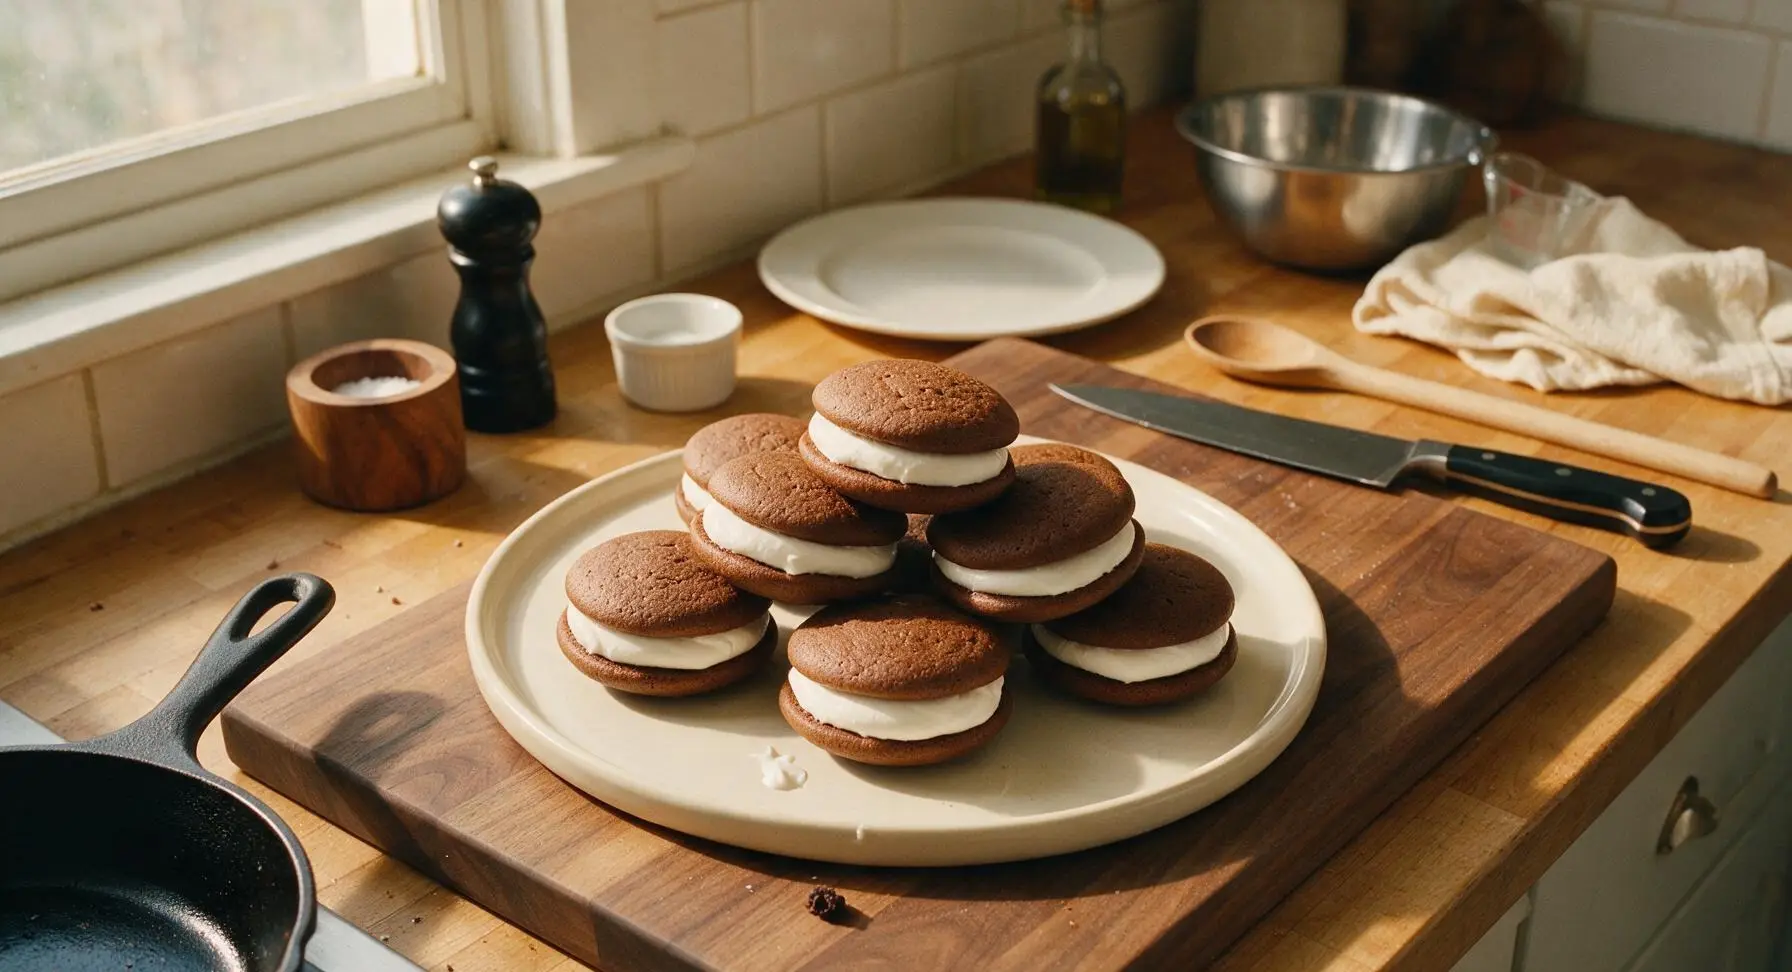
Step 8
step8:Assemble Sandwich Pies
Step 8
step8:Assemble Sandwich Pies

Tips

1.Use room-temperature dairy and eggs for the cake batter: cold ingredients will not emulsify smoothly, leading to dense, flat cake rounds instead of the signature soft, domed, cake-like texture.
2.Resist the urge to overmix the cake batter once dry ingredients are added: overmixing develops gluten in the flour, which will make the whoopie pies tough and chewy instead of tender; stop mixing as soon as no dry flour streaks are visible.
3.Wait until cake rounds are completely cool (at least 20 minutes off the baking sheet) before adding filling: even slightly warm cakes will melt the marshmallow buttercream, causing filling to ooze out the sides and the top rounds to slide off.


✨ You May Also Like

Desserts & Baking
🍜 Italy

Creamy, coffee-kissed classic Northern Italian no-bake dessert, with layers of rum-spiked mascarpone cream, soft ladyfingers, and a rich cocoa dusting.

⏱️ 4 hours 3Desserts & Baking ★ 4.7
Desserts & Baking
🍜 France

Flaky, shatteringly crisp, buttery French croissants with golden exteriors and soft, airy layered interiors, perfect for pairing with coffee for a special morning treat.

⏱️ 12 hours Desserts & Baking ★ 4.5
Desserts & Baking
🍜 United States

Warm, spiced baked apples topped with a fluffy golden biscuit crust, this cozy dessert pairs perfectly with vanilla ice cream for cool-weather comfort.

⏱️ 55 minuteDesserts & Baking ★ 4.6
Desserts & Baking
🍜 United States

A star-spangled classic American blueberry pie with buttery flaky crust and bright sweet-tart filling, perfect for summer patriotic gatherings.

⏱️ 1 hour 25Desserts & Baking ★ 4.7
Desserts & Baking
🍜 United States

A beloved no-bake regional Maine candy with a chewy coconut-potato center coated in rich dark chocolate, a New England holiday staple since the 1870s.

⏱️ 2 hours 3Desserts & Baking ★ 4.8
Desserts & Baking
🍜 France

Luxuriously creamy, floral frozen custard made with aromatic Tahitian vanilla beans, boasting a smooth, rich texture that melts slowly on the tongue.

⏱️ 3 hours 3Desserts & Baking ★ 4.5

Whoopie Pies:Frequently Asked Questions

1.Why does this recipe call for Dutch-processed cocoa instead of natural unsweetened cocoa? ▾
Great question! Dutch-processed cocoa is treated to neutralize its natural acidity, giving the cake rounds a deeper, smoother, less bitter chocolate flavor and rich dark color that matches the classic Pennsylvania Dutch profile. It pairs perfectly with the recipe’s baking soda to create soft, tender, evenly risen crumbs without any metallic aftertaste.
2.How soft does my unsalted butter need to be for the cake and buttercream filling? ▾
You want your unsalted butter to hit 65–67°F, or cool room temperature, for both components. That means when you press it gently with a finger, it leaves a clear indent but doesn’t feel greasy or melt onto your fingertip. Butter at this temp creams evenly for light cake rounds and fluffy, lump-free marshmallow buttercream every time.
3.Why do my whoopie pie rounds spread too much and turn thin when baking? ▾
Over-spreading almost always traces back to butter that was too warm when you mixed the batter, incorrectly measured flour, or baking on an overheated, unlined sheet pan. Spoon and level your all-purpose flour, chill scooped batter 15 minutes if your kitchen is warm, and line pans with parchment to keep rounds thick and soft.
4.Can I make the marshmallow vanilla buttercream ahead of time? ▾
Absolutely! You can make the filling up to 3 days ahead if stored in an airtight container in the fridge. Just let it sit on the counter for 20–25 minutes to come back to cool room temperature, then give it a quick 30-second whip with a hand mixer to restore its light, fluffy texture before sandwiching cooled rounds.
5.How do I get evenly sized whoopie pie rounds so they match up when sandwiching? ▾
The easiest, most consistent trick is to use a 2-tablespoon spring-loaded cookie scoop to portion batter onto parchment-lined sheets, leaving 2 inches of space between each scoop. This gives you perfectly uniform 3-inch rounds once baked, so you won’t waste time sorting mismatched sizes when adding filling.
6.Why do my whoopie pies have a dense, tough crumb instead of a soft, tender texture? ▾
Tough, dense whoopie pie rounds almost always come from overmixing the batter after you add dry ingredients. Once you fold in the flour, cocoa, baking soda, and salt, stir only until no dry streaks remain—overworking the batter develops excess gluten, which leads to a chewy, heavy crumb instead of that classic pillowy texture.
7.How should I store assembled whoopie pies to keep them fresh? ▾
Assembled whoopie pies stay best stored in an airtight container layered between sheets of parchment paper in the fridge for up to 5 days. Let them sit at room temperature for 10–15 minutes before serving to let the cake soften and the buttercream return to its signature light, fluffy texture.
8.Can I freeze these whoopie pies for holiday baking prep? ▾
They freeze beautifully, which makes them ideal for busy holiday baking! Wrap individual assembled whoopie pies tightly in plastic wrap, then tuck them into a labeled freezer bag for up to 3 months. Thaw in the fridge overnight, then rest 10 minutes at room temp before serving—no one will guess they were frozen.
9.Do I have to use fine sea salt, or can I swap in regular table salt? ▾
I strongly recommend sticking to fine sea salt for this recipe. Table salt is much denser and has a sharper, slightly metallic salty flavor that can throw off the balance of sweet chocolate cake and buttercream. If you only have table salt, cut the measured amount in half to avoid over-salting your whoopie pies.
10.My baking soda is a few years old—will that mess up my whoopie pies? ▾
It absolutely can! Expired baking soda loses its leavening power, which means your cake rounds won’t rise properly and will turn out flat and dense. To test it, drop a pinch into a small bowl of vinegar: if it fizzes vigorously, it’s good to use; if not, swap in a fresh box for pillowy rounds.
11.Can I add mix-ins to the cake or filling without ruining the classic texture? ▾
You can add gentle mix-ins without losing that iconic whoopie pie texture! Try folding ½ cup mini semi-sweet chocolate chips into the cake batter, or stirring extra vanilla bean paste into the buttercream for depth. Skip heavy, wet mix-ins like jam or thick caramel in the batter, as those make rounds spread and turn soggy.
12.Why are classic whoopie pies considered a Pennsylvania Dutch treat? ▾
Whoopie pies trace their roots to 1920s Pennsylvania Dutch communities, where Amish and Mennonite bakers used leftover chocolate cake batter to make small rounds sandwiched with vanilla cream for kids’ lunch boxes. Legend says kids would shout “Whoopie!” when they spotted the treat, giving it its memorable name.

Comments (5)

3 days ago

OMG these whoopie pies were SO good! I made them for my kid’s soccer team potluck last weekend and every single last one got eaten before I even got to try a second one. The filling is so fluffy, not too sweet, and the cake part is perfectly moist—total game changer. I was worried they’d be fussy since I’m not a super experienced baker, but the easy difficulty rating was no lie! 10/10 will make again for our next family dinner.

2 days ago

Wait I was at that potluck! I grabbed two of these and begged my wife to track down the recipe—small world! Can confirm they’re insane, I’m gonna make a batch this weekend for our camping trip.

yesterday

So happy these were a hit at the potluck! Pro tip: if you want to prep ahead, you can bake the cake rounds 2 days in advance and store them in an airtight container before adding the filling—saves so much time for busy event days!

5 minutes ago

Took me about 20 minutes total cook time just like the recipe said, which was perfect because I decided to make these last minute for my roommate’s birthday. Only thing I changed was adding a tiny bit of vanilla extract to the filling, and it came out chef’s kiss. My roommate said they were better than the whoopie pies we get at the Amish market back home—high praise!

just now

Love the vanilla extract tweak! That’s such a great way to amp up the flavor without adding any extra work. So glad you and your roommate enjoyed them—happy birthday to your roomie!

yesterday

I whipped these up on Sunday for my weekly meal prep to toss in my husband’s work lunch and my kids’ school lunches, and they’ve been a total hit! They hold up great for 3-4 days in the fridge, and my kids said all their friends were begging for bites at lunch. They’re so much better than the processed snack cakes we used to buy, and the easy steps meant I didn’t spend half my Sunday in the kitchen. Only reason I’m not giving 5 stars is I wish the recipe noted how long to let the cake rounds cool before adding the filling—my first batch oozed a little because I was too impatient! Still tasted amazing though, and I’ll be making these on repeat.

2 weeks ago

I’ve been making whoopie pies for my grandkids for over 40 years, and let me tell you—this recipe is just as good as the old handwritten one I got from my mother back in the 70s! Super straightforward, no fancy equipment needed, and the texture is spot on. My oldest grandson ate three in one sitting when I made these last Sunday.

1 week ago

Oh Betty, I feel the same way! I was skeptical of an online whoopie pie recipe but this one tasted exactly like the ones we used to get at church bake sales when I was a kid. So good!

2 hours ago

Y’all, I am terrible at baking—like, I burn boxed brownies level bad. But these were so easy! I followed the directions exactly, and they came out perfect on the first try. My girlfriend thought I bought them from a fancy bakery until I showed her the mixing bowl in the sink. 10/10, even a cooking newbie can nail these.

30 minutes ago

Same! I once messed up no-bake cookies so bad I had to throw the pan away, so I was nervous to try these. Made them last night and they turned out perfect—you’re so right, the directions are impossible to mess up!

5 minutes ago

This makes our day! We work hard to make sure our easy-rated recipes are actually accessible for bakers of all skill levels, so it means so much to hear these worked out for you. If you loved these, definitely try our chocolate chip cookie recipe next—it’s just as forgiving!



