1.Why do my witch finger cookies spread too much and lose their gnarled shape when baking?
▾
This almost always traces back to overly warm dough or over-softened butter. Use butter that’s 65°F (soft enough to press, but not squishy or melted), chill shaped dough for 20 full minutes before baking, and never place dough on a warm baking sheet straight from the dishwasher or oven. Those steps will keep your finger shapes crisp and defined.
2.Can I use salted butter instead of unsalted butter for this recipe?
▾
Absolutely! Just skip the ¼ teaspoon of fine salt I recommend mixing into the dry ingredients if you go that route. Most major US salted butter brands have a consistent salt level, so it won’t throw off the buttery shortbread flavor. The only tradeoff is you’ll have slightly less control over the final salt balance, which is totally fine for casual baking.
3.What can I use instead of whole almonds for the fingernails if I have a nut allergy?
▾
You have several great nut-free options! Raw, hulled pumpkin seeds (pepitas) have the perfect pale, curved fingernail shape, or you can use half a green candy melt, a small square of white chocolate, or a halved, well-patted maraschino cherry. Press whichever option you choose firmly into the dough tip before baking so it stays put.
4.How do I get that gnarled, knobbly witch finger texture instead of smooth, plain cookie sticks?
▾
After rolling each dough log to 3-4 inches long (about the thickness of your own index finger), pinch the dough in two evenly spaced spots to create raised knuckles, then use a dull butter knife to press light horizontal wrinkle lines across each knuckle. Don’t over-smooth the dough—little uneven bumps and lumps make the fingers look extra spooky and realistic.
5.Can I make this dough ahead of time and bake it later?
▾
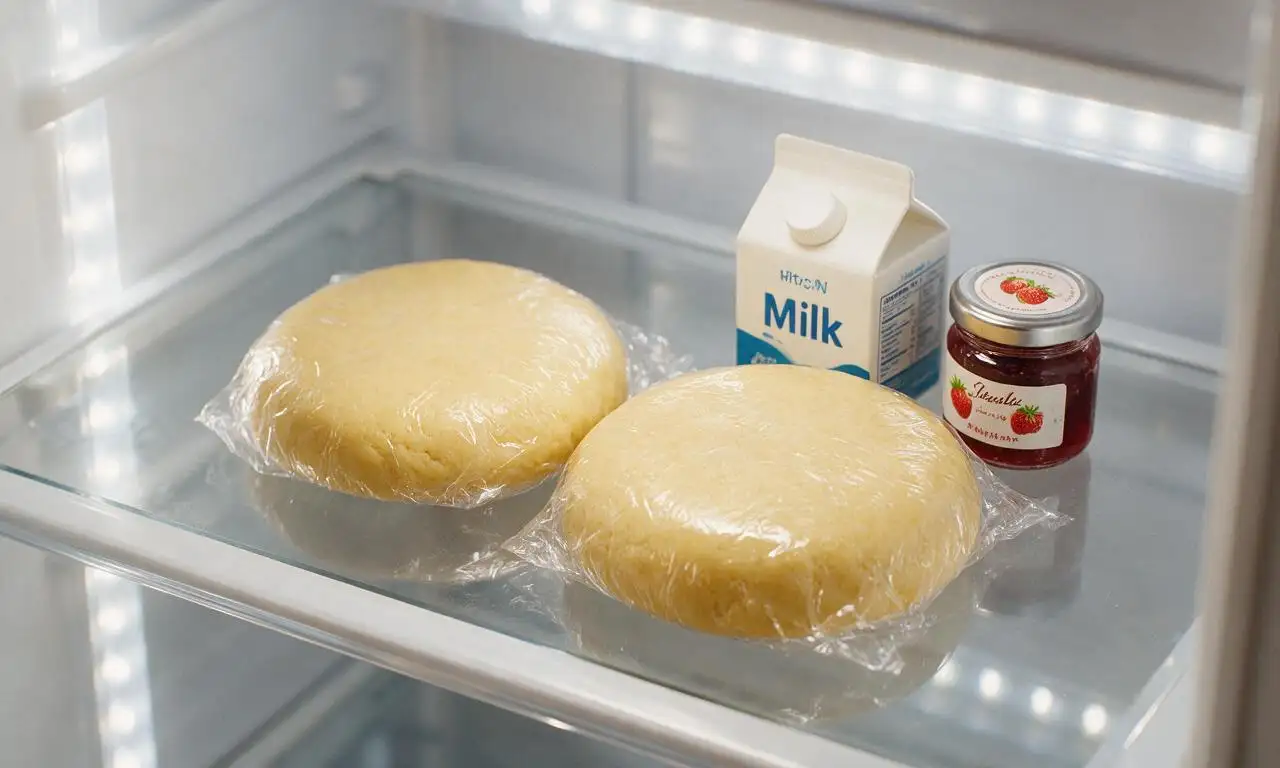
Definitely! Wrap unshaped dough tightly in plastic wrap and store it in the fridge for up to 5 days, or freeze it for up to 3 months. If frozen, thaw it in the fridge overnight before shaping. I actually prefer chilling dough for 24 hours, as it deepens the buttery almond flavor and cuts down on spreading during baking.
6.What’s the best product to use for the spooky red bloody details on the cookies?
▾
Skip thin, watery liquid food coloring for this—it will make your crisp cookies soggy. Use thick red gel food coloring mixed with a tiny bit of clear vanilla extract to paint "blood" around the nail and severed cookie base, or use tube red decorating gel straight from the package for a glossy, oozing effect that stays put.
7.My cookies came out tough and hard instead of tender, crisp shortbread—what went wrong?
▾
Tough shortbread almost always comes from overworking the dough during mixing or shaping. When you mix in the flour, stop stirring as soon as you no longer see dry flour streaks, and don’t knead the dough like you would bread dough. Over-mixing develops too much gluten in the flour, which turns tender shortbread dense and hard even if you measure ingredients perfectly.
8.Do I have to use almond extract, or can I swap it for another flavor?
▾
Almond extract gives these cookies that classic warm, nutty shortbread flavor that pairs perfectly with the almond fingernails, but you can absolutely swap it 1:1 for vanilla extract, a tiny splash of lemon extract for a bright twist, or ½ teaspoon of ground cinnamon for a cozier fall flavor if you don’t like almond.
9.How do I keep the almond fingernails from falling off the cookies after baking?
▾
The key is to press each almond firmly into the tip of the shaped dough before chilling and baking, so it sinks about ⅛ inch into the dough. If you still have loose nails after baking, dab a tiny dot of corn syrup, red decorating gel, or melted white chocolate on the almond back to act as edible glue before pressing it back on.
10.Can I make these witch finger cookies vegan?
▾
Yes, with a few simple, intentional swaps! Use stick-style vegan butter (not spreadable tub butter, which has too much added water) in place of unsalted butter, swap the large egg for 1 flax egg (1 tbsp ground flax mixed with 3 tbsp water, left to thicken 5 minutes), and use nut-free fingernails to keep the recipe fully plant-based.
11.How long do these cookies stay fresh, and what’s the best way to store them?
▾
Once cookies are fully cooled and any decorations are completely set, store them in an airtight container at room temperature for up to 1 week. Layer them between parchment paper to prevent red decorations from smudging, and skip the fridge—cold, moist fridge air will make the crisp shortbread go soft and stale much faster.
12.Why are my cookies pale and bland instead of light golden and buttery tasting?
▾
First, check your oven temperature with an oven thermometer—most home ovens run 25-50°F cold, which leads to underbaked, pale cookies. Bake for 10-12 minutes at 350°F, until the very edges of the fingers are light golden brown. Don’t overbake, but don’t pull them out fully pale, or they’ll taste raw and doughy.
13.Can I add green food coloring to the dough to make the fingers look more witchy?
▾
Absolutely! Add 2-3 drops of gel green food coloring to the butter and sugar mixture while creaming, before adding egg and flour, to get a pale, ghoulish green hue across the whole cookie. Avoid liquid food coloring here, too—it adds extra moisture that can make dough sticky and cause cookies to spread when baking.
14.What size should I roll each cookie to get the most realistic witch finger look?
▾
Aim for about 1 tablespoon of dough per finger, rolled into a log that’s 3 to 4 inches long and roughly the thickness of your own index finger. Remember the cookies will puff slightly as they bake, so don’t roll them too thick. Taper one end for a fingertip, and leave the other end a little ragged for a spooky severed effect.
15.Can I freeze fully baked, decorated cookies for an upcoming Halloween party?
▾
It’s better to freeze undecorated baked cookies in an airtight, freezer-safe container between parchment layers for up to 2 months. Thaw them completely at room temperature for 1 hour before adding red "blood" details and almond nails. Freezing decorated cookies can make red gel run or almonds soften as they thaw, so decorate post-thaw for best results.
16.My dough is super sticky and hard to roll into finger shapes—what should I do?
▾
Sticky dough usually means the butter got too warm while mixing, or you added a touch too much egg. Pop the dough in the fridge for 30 minutes to firm up before shaping, and lightly dust your hands with a tiny bit of flour when rolling if it still sticks. Don’t add too much extra flour, though—that will make finished cookies tough and dry.
17.What other fun, spooky details can I add to make these cookies stand out at a party?
▾
Get creative! Press a tiny plastic spider ring into the base of each finger before baking, dust knuckles with a little cocoa powder to look like grave dirt, add thin drips of red gel from the fingernail for extra gory flair, or tuck a tiny sliver of chocolate chip under the almond nail to mimic a grimy, dirty fingernail.
18.Do I need to line my baking sheet for these cookies, or can I place dough directly on the pan?
▾
I always recommend lining baking sheets with parchment paper or a silicone baking mat for this recipe. Liners prevent cookie bottoms from browning too fast, make cleanup totally hassle-free, and keep almond nails from sticking to the pan if they shift slightly during baking. You won’t need extra pan grease with a liner, which also helps cut down on unwanted spread.

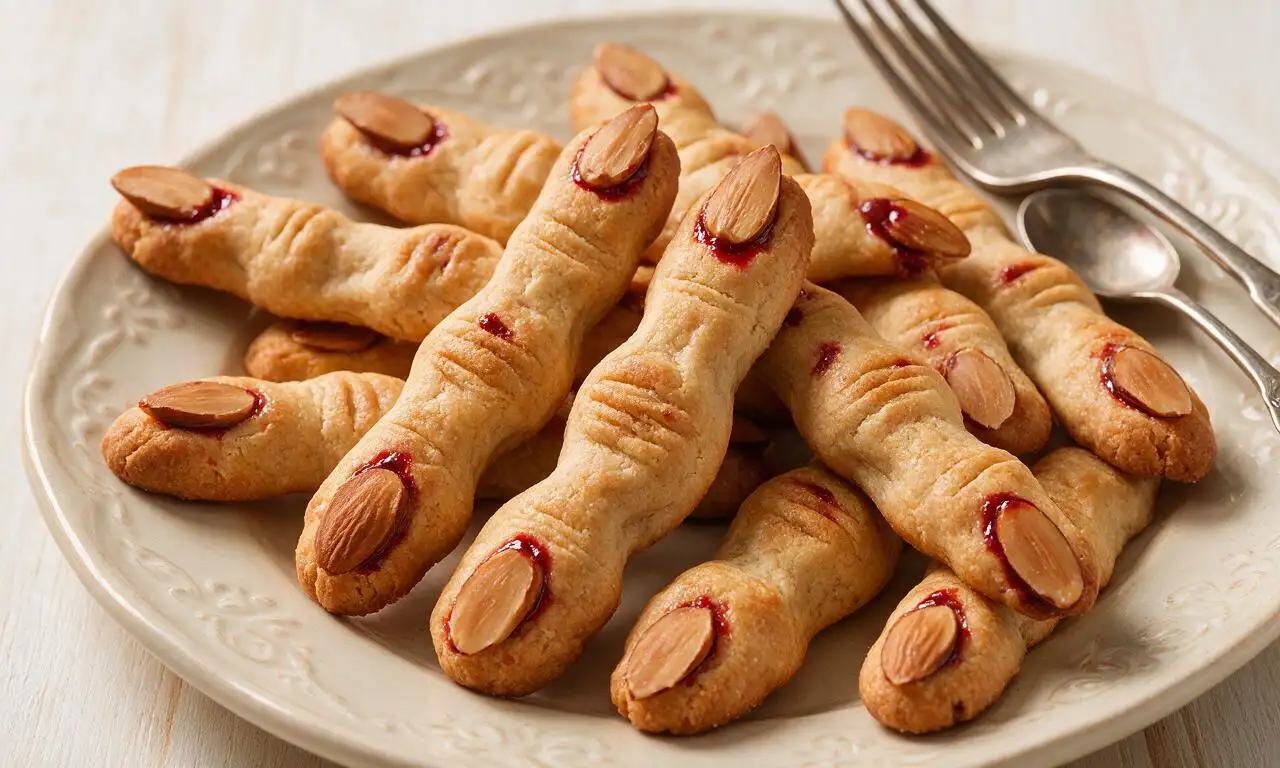
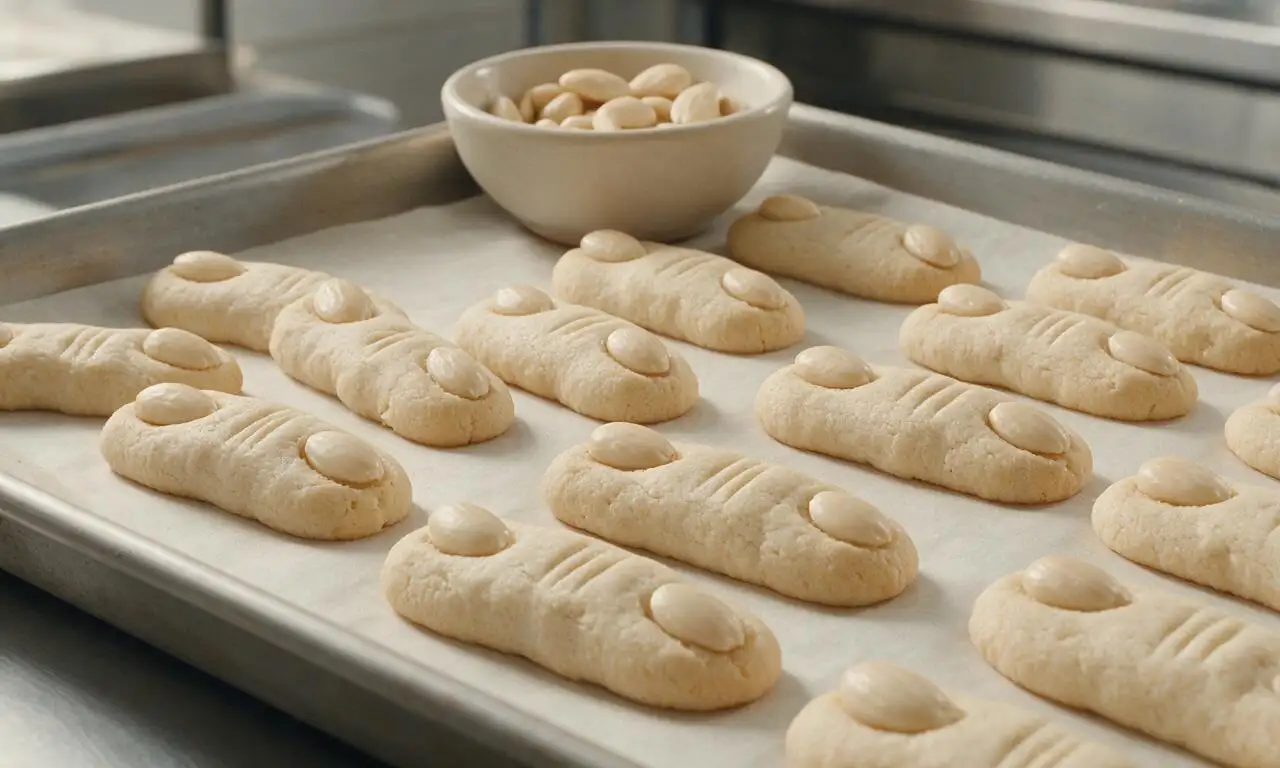
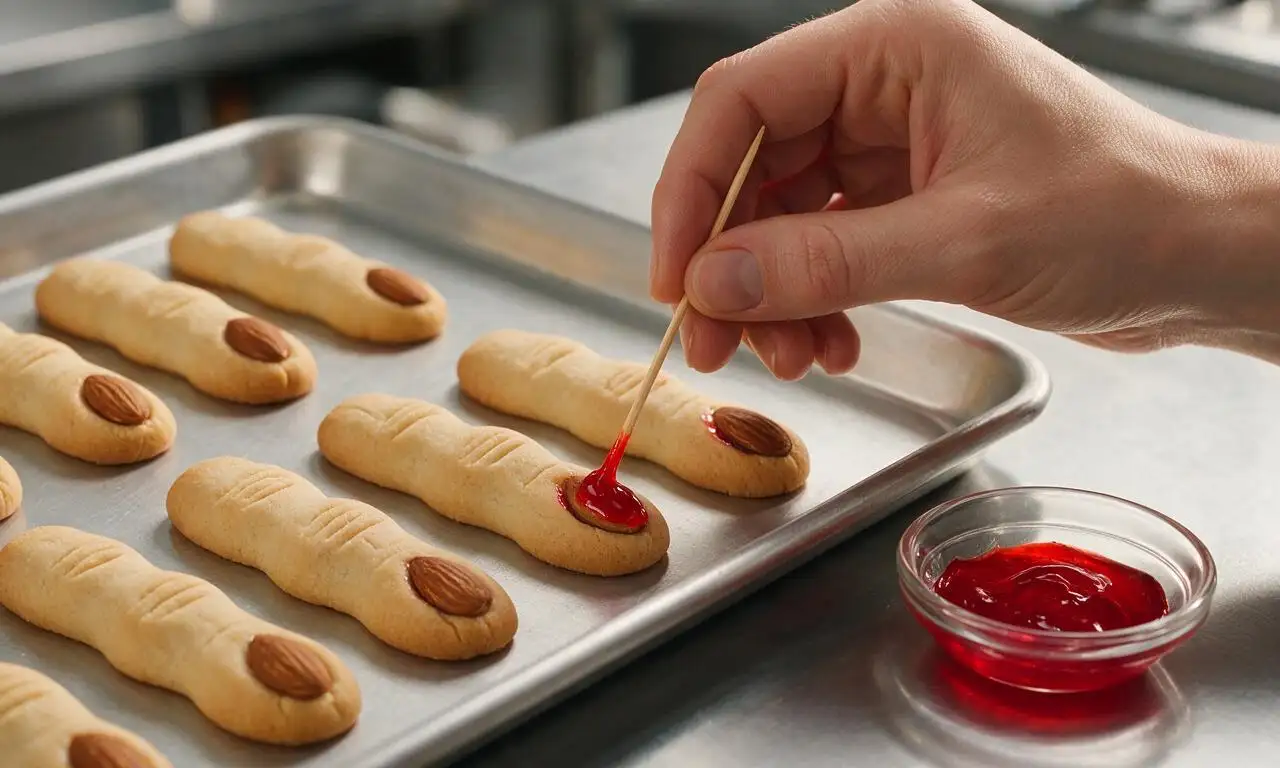
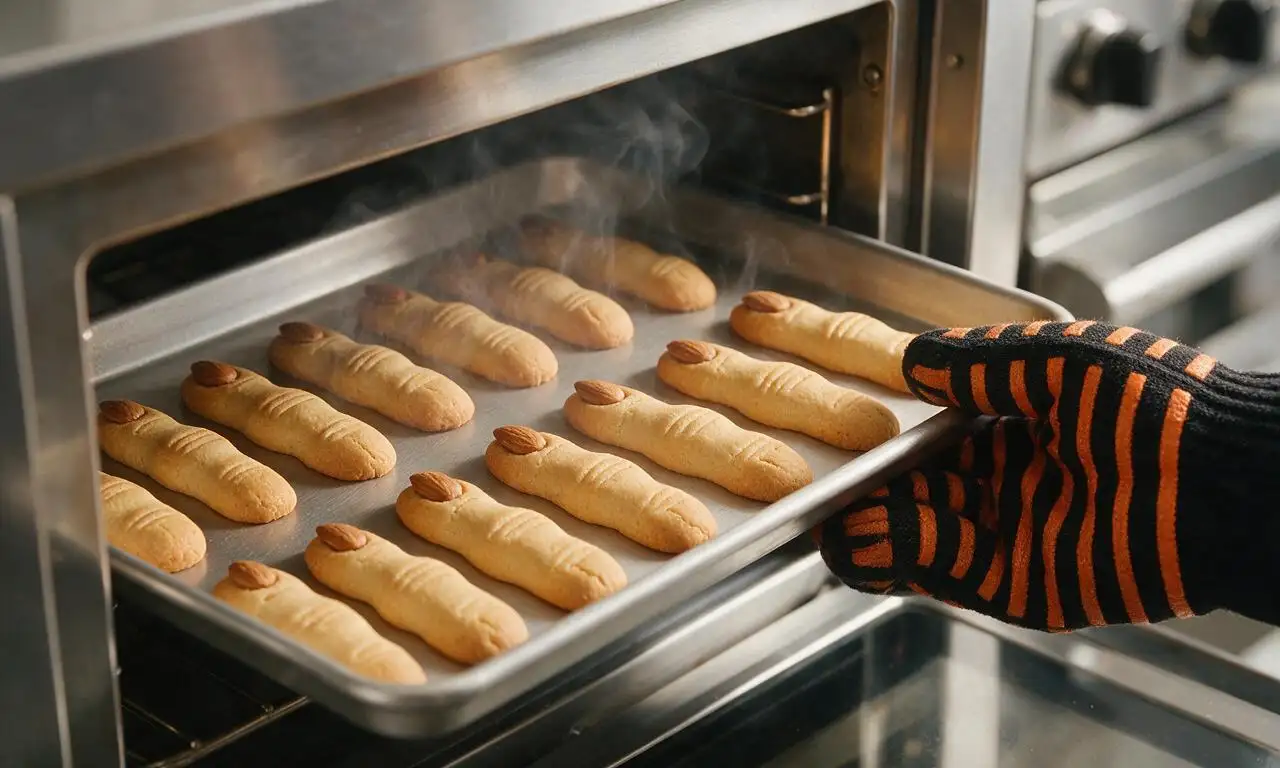






Made these for my 8 year old’s Halloween class party today and the kids went WILD for them! Everyone kept asking how I got the fingernails to look so real (used sliced almonds per the recipe, duh!) and the dough was so easy to work with even when my kiddo insisted on helping shape half the batch. SO good, not too sweet which is perfect for little ones before they load up on candy. 10/10 will make every Halloween from now on!
Brought these to our neighborhood block party potluck last weekend and they were the first treat gone! I added a little green food coloring to the dough to make them look extra ghoulish and people kept taking photos to post to their group chats. Super easy, even for someone like me who burns slice-and-bake cookies half the time lmao.
Okay full transparency I messed up the first batch because I forgot to chill the dough long enough, oops? But the second batch came out perfect! The almond flavor is chef’s kiss, and the red food coloring around the nail bed makes them look so creepy and fun. Great easy recipe for spooky season.
Made these for our annual scary movie night with friends and everyone was obsessed! I used pumpkin spice instead of plain almond extract for a little fall twist and it worked so well. Crunchy, buttery, exactly what you want in a shortbread-style cookie. Will be adding these to my yearly Halloween rotation.
My teen said these were ‘actually sick’ which is high praise coming from someone who acts like everything I make is lame. Only note is I wish the recipe mentioned how much the dough spreads a tiny bit? Mine came out a little puffier than the photos but still tasted great, no complaints from the crew.
Wait these are such a game changer for last minute Halloween treats! I had all the ingredients in my pantry already, no random specialty stuff required. I even let my toddler put the almond nails on and it was the easiest 20 minute activity + snack combo ever. My kids loved it, zero mess (okay minimal mess) to clean up after.
OMG these look so realistic I almost scared my roommate when I left a plate on the counter! I added a little drizzle of red gel icing at the knuckle cuts to make them look extra gory and it was chef’s kiss. Dough came together in 10 minutes, no fancy equipment needed. Total win for spooky szn.
Quick question – has anyone tried making these with a 1:1 gluten free all purpose flour? I want to make them for my niece who has celiac for our family Halloween dinner and don’t want to waste ingredients if it doesn’t hold up!
Made these for my dorm Halloween party and everyone thought I bought them from a fancy bakery! Super cheap to make, no weird skills required, and they look so impressive. I used cherry jam as the ‘blood’ around the nails since I didn’t have red food coloring and it worked perfectly.
I make these every year for my 2nd grade class Halloween party and this is by far the easiest version of the recipe I’ve ever tried! The dough doesn’t stick to your hands when you’re shaping the fingers, the kids can help without making a huge mess, and they taste amazing. Only thing I do differently is use slivered almonds that are a little more jagged for extra creepy nails.
Wait why did I think these would be complicated? The cook time listed was spot on, I didn’t have to adjust a single thing, and my whole family demolished half the batch before I even got them on a serving platter. My wife said they’re the best Halloween treat I’ve ever made, which is saying something because my mummy hot dogs are legendary.
Has anyone tested this with vegan butter and a flax egg? I’m hosting a vegan Halloween potluck and these would be perfect if I can swap the ingredients without them falling apart!
Made these for my book club’s spooky theme night and they were a total hit! I paired them with little plastic witch rings on the end of some of the fingers as a silly party favor and everyone thought it was so cute. The buttery shortbread base is so good I might make the dough year round for regular cookies lmao.
Help! I put my first tray in the oven and the fingers are spreading way more than they look in the photos? Did I do something wrong? I only chilled the dough for 10 minutes because I was in a rush, oops.
These are SO good! I made them last year for Halloween and everyone begged me for the recipe, so I’m making a double batch this weekend for our trunk or treat. Quick question – how long do these stay fresh for if I store them in an airtight container? I want to make them a couple days ahead so I’m not rushing the night before.
My three boys thought these were the coolest thing ever! We added little green food coloring to make them look like wicked witch fingers, and used chocolate chips for a couple of the nails when we ran out of almonds. They kept cackling while they were shaping them like they were actual witches, it was the cutest thing. 10/10 for family fun time.
Wait I was today years old when I realized witch finger cookies are just fancy shortbread? I’ve been buying the pre-made ones from the grocery store for years and these taste 100x better, are way cheaper, and were so easy to make. My only tiny complaint is I wish the recipe had a note about scoring the knuckles deeper before baking – mine faded a little when they puffed up.
Made these for my big Halloween bash last weekend and they were such a conversation starter! I served them on a platter lined with fake spider webs and had little bowls of extra red icing for people to add more ‘blood’ if they wanted. The only issue I had was a couple of the almond nails fell off when I was moving the platter, but a little dab of icing glued them right back on.
Is it just me or are these not super sweet? Which is honestly a good thing! I was worried they’d be cloying like some Halloween sugar cookies, but the subtle almond flavor and buttery shortbread is perfect, especially when you’re already eating a million candy bars this time of year. I dipped the tips of mine in dark chocolate for a little extra oomph and it was chef’s kiss.
Okay y’all I need to make these for a potluck in 2 hours, can I skip the chill time entirely if I pop the shaped dough in the freezer for 10 minutes instead? I completely forgot to plan ahead and don’t have time for the full chill, help a girl out!