
Witch Hat Cookies
intro
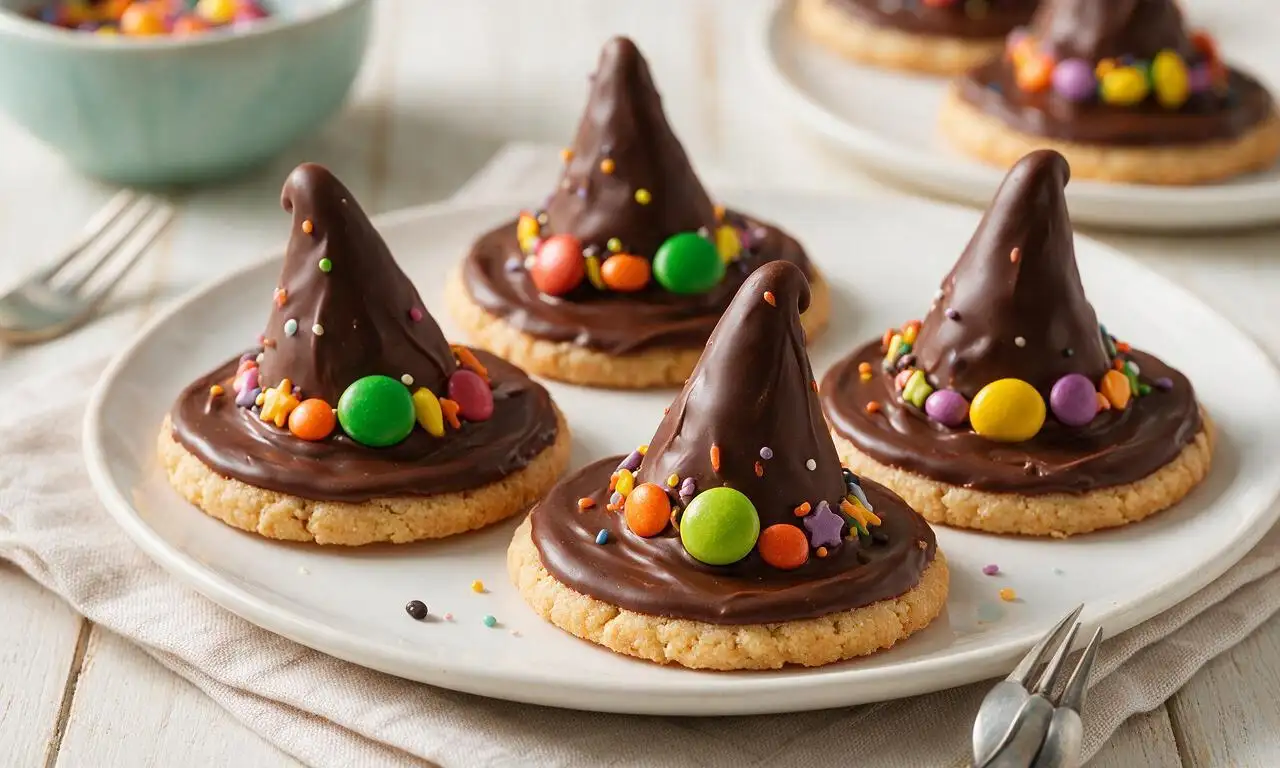
Fun, spooky no-bake witch hat cookies are a kid-friendly Halloween treat, pairing crisp shortbread, rich chocolate, and bright candy for a quick, festive sweet.
Ingredients
Steps
Prep your workspace
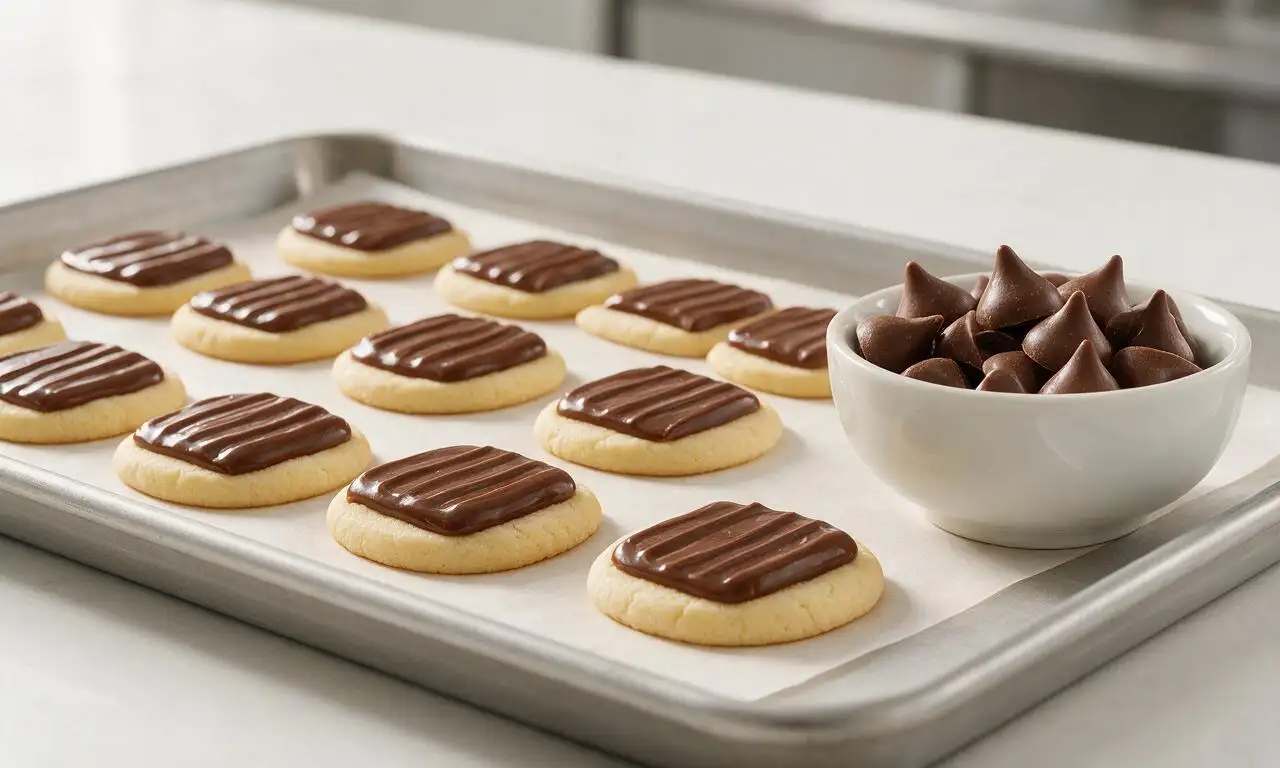
Line an 18x13 inch large baking sheet with parchment paper, then arrange 24 fudge-striped shortbread cookies in a single layer on the sheet with their fudge-coated side facing up. Unwrap all 24 milk chocolate candy kisses and place them in a small bowl within easy reach to speed up assembly.
Melt sealing chocolate
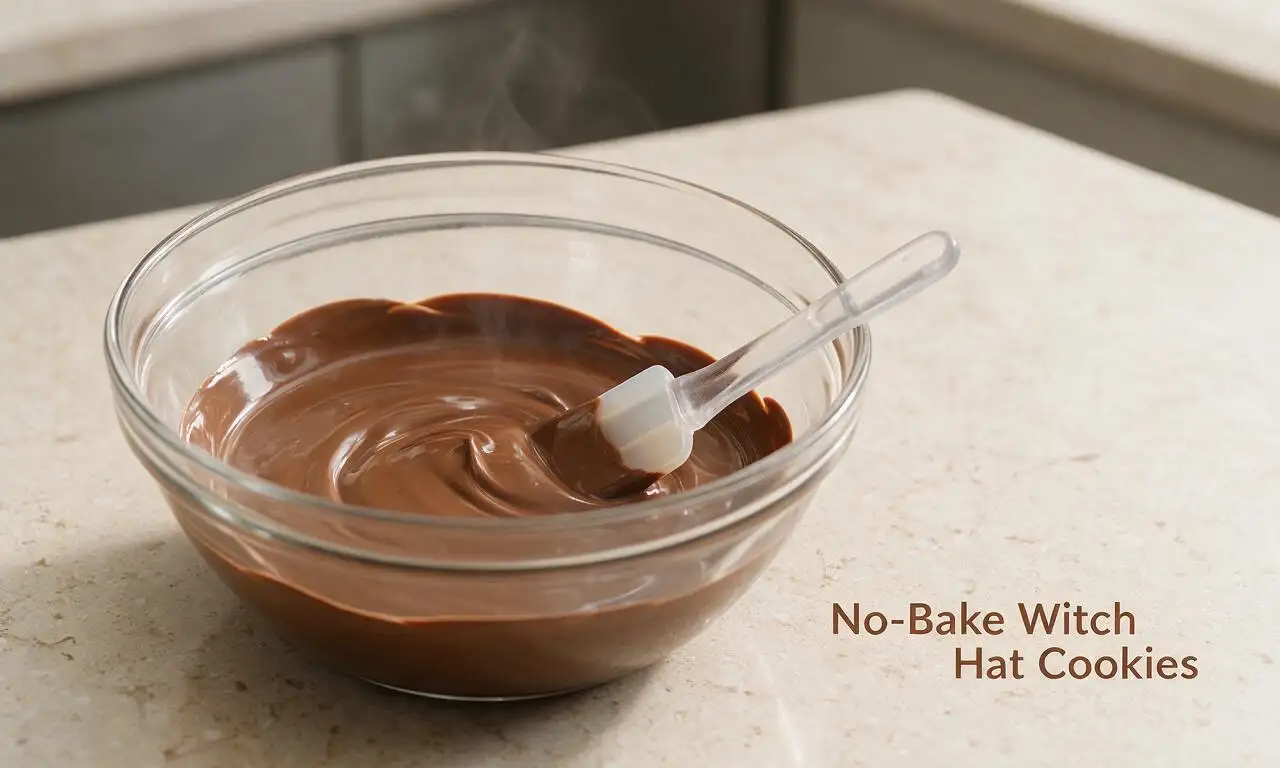
Place ½ cup (85g) semi-sweet chocolate chips in a small microwave-safe glass bowl. Heat in the microwave at 50% power in 30-second intervals, stirring thoroughly with a silicone spatula between each interval, for a total of 90 seconds or until chocolate is completely smooth and lump-free. Do not heat on full power, as this will cause the chocolate to seize and turn grainy.
Attach chocolate cones
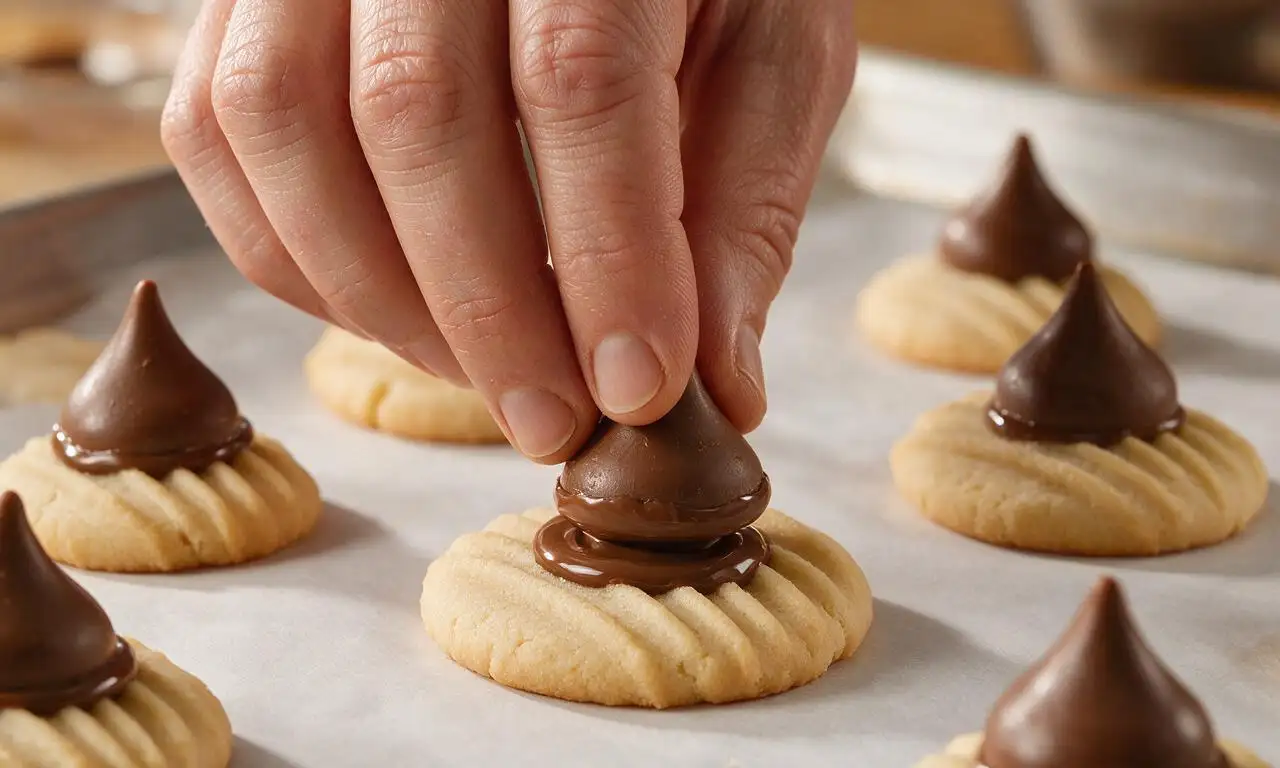
Dip the flat circular base of each unwrapped milk chocolate kiss ¼ inch deep into the melted semi-sweet chocolate, then press the dipped base firmly onto the exact center of a fudge-striped shortbread cookie. Hold for 2 seconds to secure, so the pointed end of the kiss stands straight up to form the witch hat’s pointed crown, leaving a ¼-inch wide ring of cookie visible as the hat brim. Repeat for all 24 cookies.
Chill to set chocolate
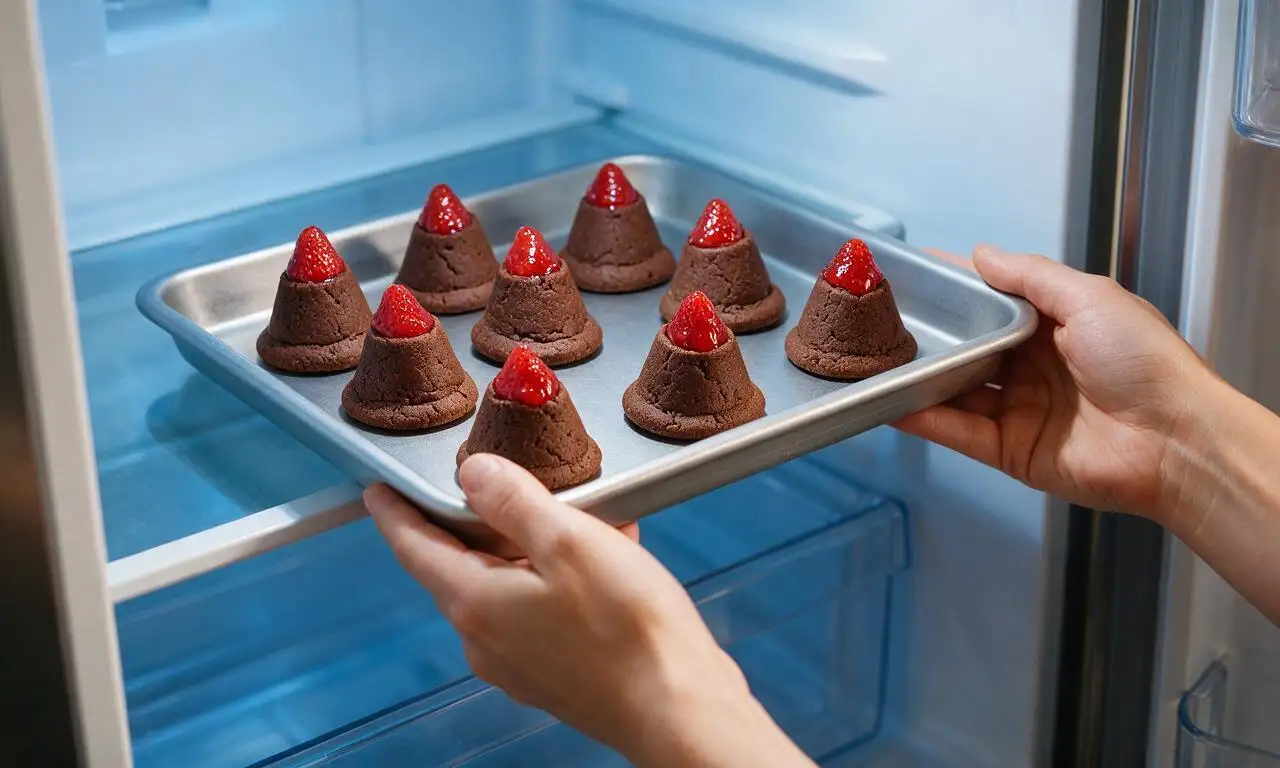
Once all chocolate kiss cones are attached to cookie bases, slide the entire baking sheet onto a middle shelf of a refrigerator set to 38°F (3°C). Chill for 15 minutes to allow the melted sealing chocolate to harden completely, so the kiss cones stay firmly attached to the brims. Do not freeze, as this will cause unsightly white chocolate bloom on the surface.
Pipe orange hat bands
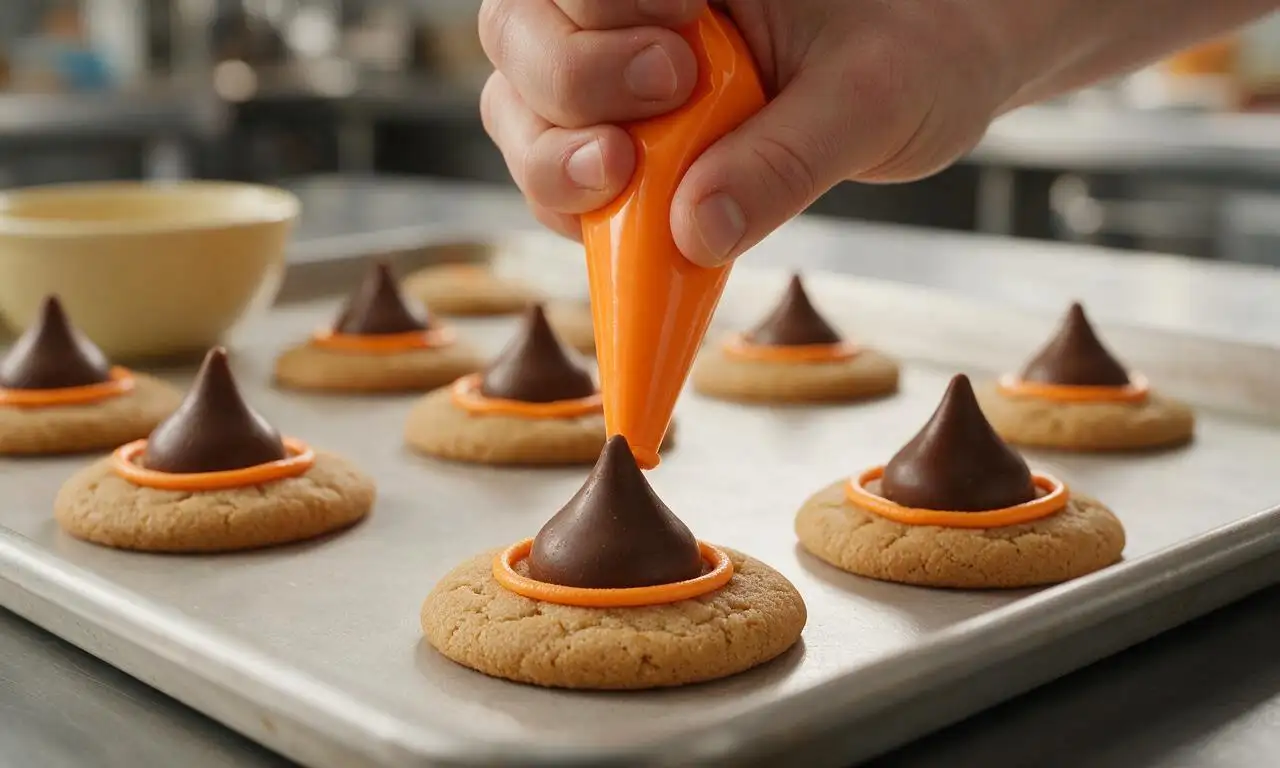
Remove the chilled baking sheet from the refrigerator. Snip a 1/8-inch wide opening off the pointed tip of the 120g tube of orange vanilla icing. Pipe a thin, continuous ¼-inch wide ring of icing around the base of each chocolate kiss, exactly where the kiss meets the cookie brim, to mimic the fabric band on a traditional witch hat.
Add finishing sprinkles
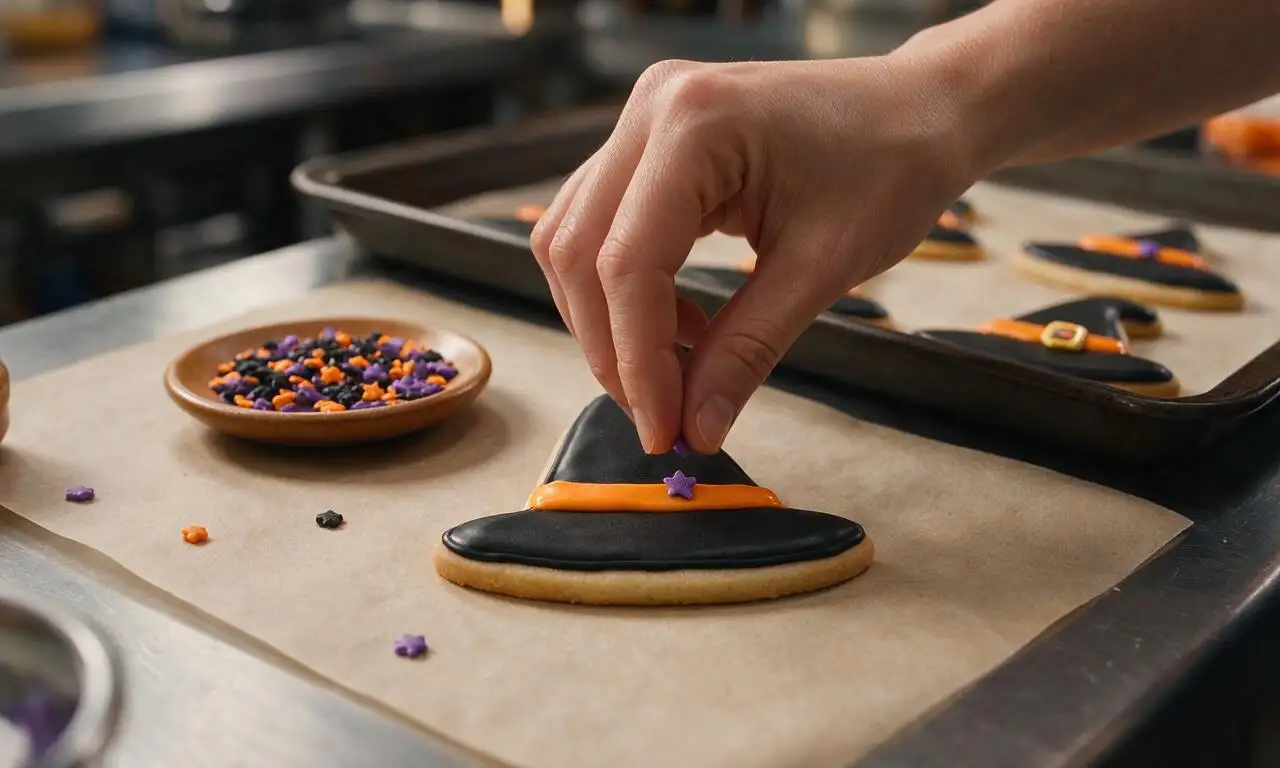
Within 2 minutes of piping the orange icing bands (while the icing is still soft and tacky), place 1-2 small Halloween-themed sprinkles (star, mini bat, or colored nonpareil) onto each orange band for a decorative accent. Let the icing set fully at room temperature (68-72°F / 20-22°C) for 10 minutes before serving or storing.
Tips
2.Always assemble cookies with the fudge-coated side of the shortbread facing up: the smooth, slightly sticky fudge helps the melted chocolate adhere far better than the dry, crumbly plain cookie underside.
3.Store fully set cookies in an airtight container at cool room temperature (away from direct sunlight or stovetop heat) for up to 5 days, or in the refrigerator for up to 1 week; do not stack cookies directly on top of each other to avoid smudging the icing.






OMG these were such a hit at my kid’s 2nd grade Halloween party yesterday! I was stressing because I forgot I signed up for treats until the night before, and these no-bake witch hats took literally no time to throw together. The kids went crazy for the little orange sprinkle brims, even the picky eaters asked for seconds. 10/10 will make every year now!
Game changer for last minute Halloween plans! I don’t bake at all, like I burn toast half the time, and these turned out perfect. Brought them to my buddy’s costume party and people kept asking who made the fancy bakery cookies. Only note I have is I added a little green food coloring to the icing to make tiny 'witch warts' on the hats, chef’s kiss.
Wait, hold on—mine kept sliding off the cookie base when I set them out? I think I skimped on the icing glue? Tasted SO good though, my roommate and I ate half the batch while we were decorating. Any tips to make them stay put better for when I make them for our office potluck next week?
Made these with my little cousin when she came to visit for the weekend, we had so much fun! We used purple and green sprinkles instead of just orange to make them extra spooky, and they cost like $8 total to make which is perfect for my college student budget.
My kids loved it! We made a whole afternoon activity out of decorating these after school last week, they got to pick out all the different sprinkle colors and even added little candy spider rings next to the hats on the plate for our family Halloween dinner. So easy, zero oven time which is a win when you’ve got two hyper 7 year olds running around.
These are perfect for meal prep? Wait no, treat prep! I made a big batch on Sunday and kept them in an airtight container in the fridge, they stayed fresh all week for my kid’s after school snacks. The Hershey’s kiss on top is *chef’s kiss* no notes, absolutely delicious.
Made these for my grandkids when they came over for pumpkin carving night, they thought I was the coolest grandma ever. I didn’t even have to turn the oven on which was great because my knees have been acting up and I didn’t feel like standing over a hot stove. Tasted just as good as the baked sugar cookies I usually make, but half the work!
Wait has anyone tried making these with gluten free fudge stripe cookies? My niece has celiac and I want to make something she can actually eat at our family Halloween party this weekend, but I don’t want the texture to be weird.
Brought these to our Sunday tailgate (we did a Halloween theme this week) and they were gone in 10 minutes flat. People kept asking if I ordered them from a local cookie shop, little do they know I can barely boil water. So easy, so tasty, will absolutely be adding these to my regular tailgate rotation for Halloween next year.
So excited to make these for my friend’s Halloween costume party this weekend! Quick question—do I have to use the orange icing for the brim? I have a tube of black icing left over from another project, would that work okay? I don’t want to run to the store for just one thing.
Made these as a fun reward for my students who aced their math test last week, and they were obsessed! I let each kid add their own sprinkle mix to their hat, and it was such a fun little celebratory activity. The only thing is I wish I’d made double the batch, because the other classes kept stopping by to ask for a cookie too lmao.
These are SO good. I made a batch last night to test before my book club Halloween meeting, and I ate 6 of them while watching scary movies after. Whoops. Guess I’m making another batch tonight! They’re so quick it’s no big deal, honestly.
I’ve made these three times this Halloween season already! First for my office potluck, then for my neighbor’s block party, then for my nephew’s birthday party (he wanted a spooky theme). Every single time people beg for the recipe. So simple, so cute, always a crowd pleaser.