
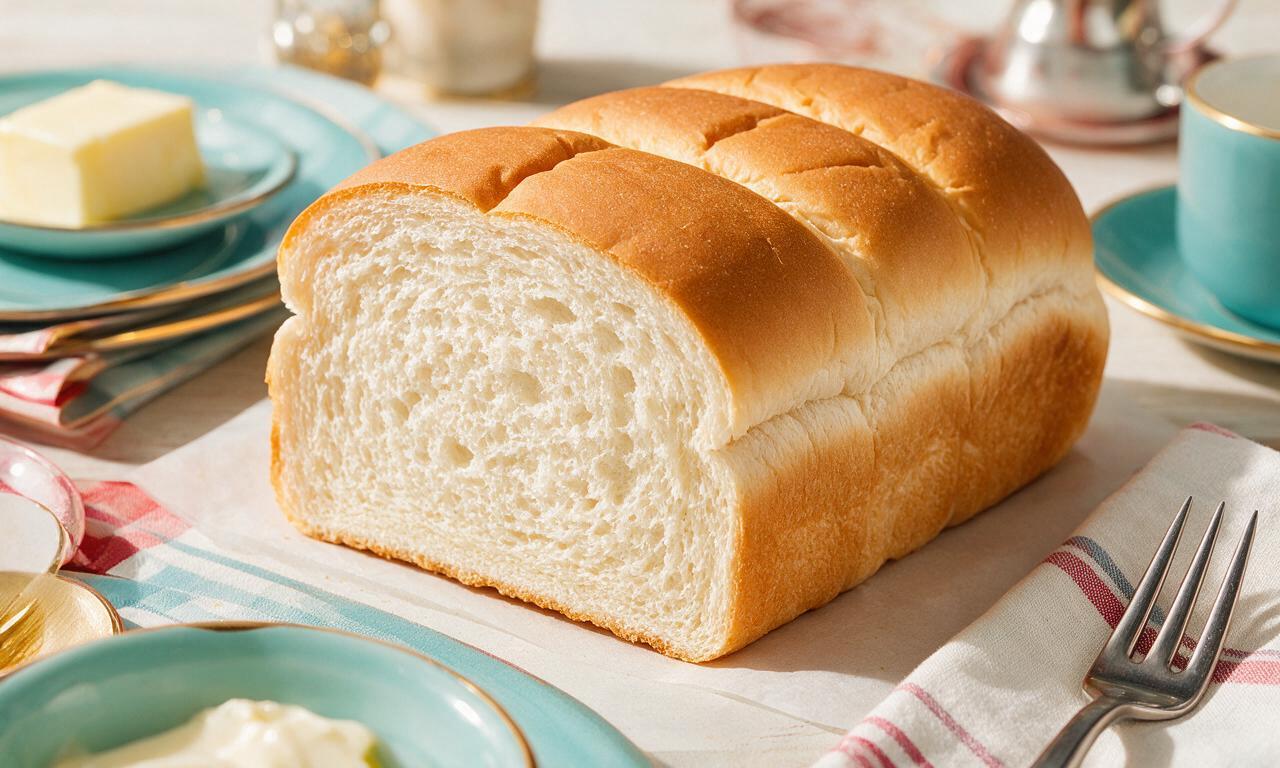
Wonder Bread

Wonder Bread
⏱️ cook time 3 hours
🍽️ servings 8
⚡ Difficulty medium

intro

Pillowy, soft-crumbed retro American white sandwich bread with a thin golden crust, ideal for summer picnic sandwiches, toast, and quick snacks.

Ingredients

All-purpose flour 480 grams (4 cups)
Whole milk 240 ml (1 cup), warmed to 105–110°F
Active dry yeast 7 grams (2 1/4 teaspoons, 1 standard packet)
Granulated sugar 25 grams (2 tablespoons)
Unsalted butter 47 grams (3 tablespoons plus 1 teaspoon, divided)
Fine sea salt 6 grams (1 teaspoon)
Neutral vegetable oil 2.5 ml (1/2 teaspoon, for greasing)

Steps

1

Activate the yeast

In a small mixing bowl, combine 240ml warm whole milk (heated to 105–110°F / 40–43°C), 25g granulated sugar, and 7g active dry yeast. Stir gently once to combine, then let rest for 5–7 minutes until the mixture forms a frothy, 1/4-inch thick foamy layer on top, confirming the yeast is active. If no foam forms after 7 minutes, replace your yeast as it is no longer viable.
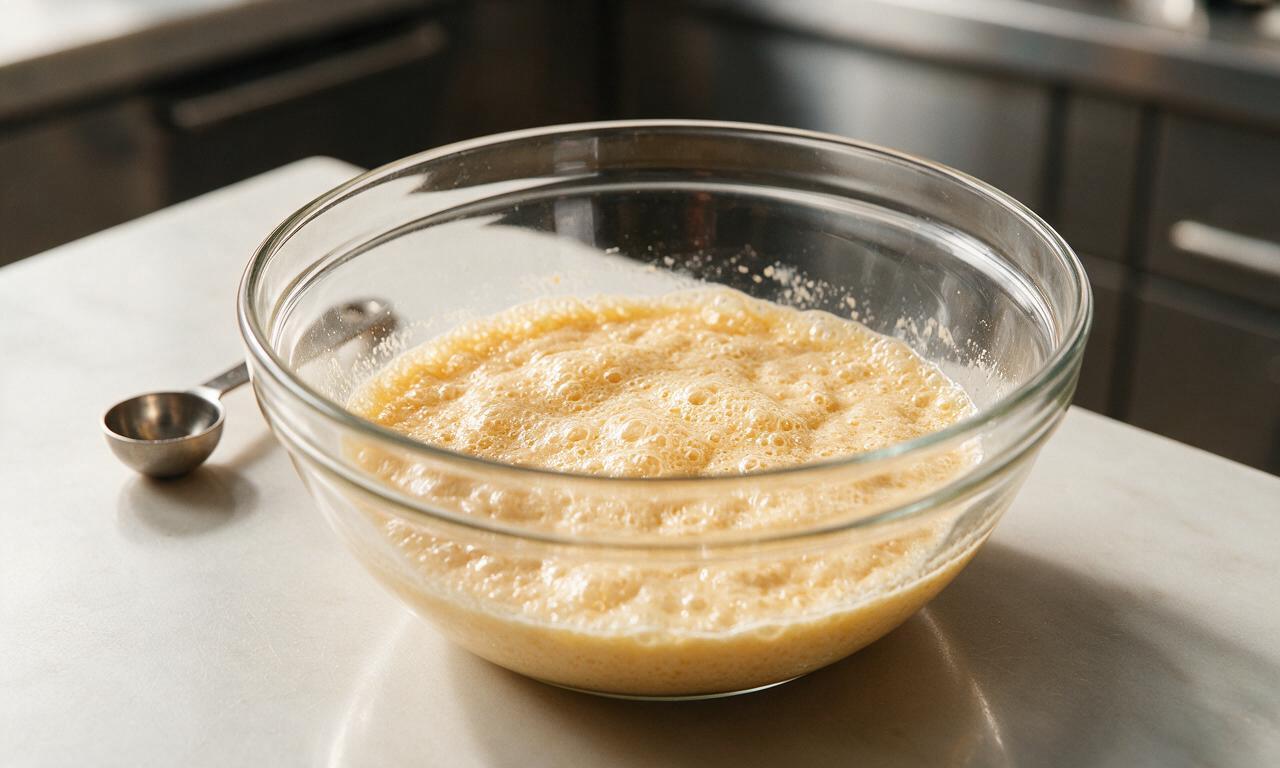
Step 1
step1:Activate the yeast
2

Mix the shaggy dough

In the bowl of a stand mixer fitted with a dough hook attachment, add 480g all-purpose flour and 6g fine sea salt, stirring briefly to evenly distribute the salt. Pour in the activated yeast mixture and 42g cooled, melted unsalted butter. Mix on low speed (setting 2 on most standard stand mixers) for 3 minutes, scraping down the bowl sides once halfway through, until a rough, shaggy, slightly sticky dough forms.
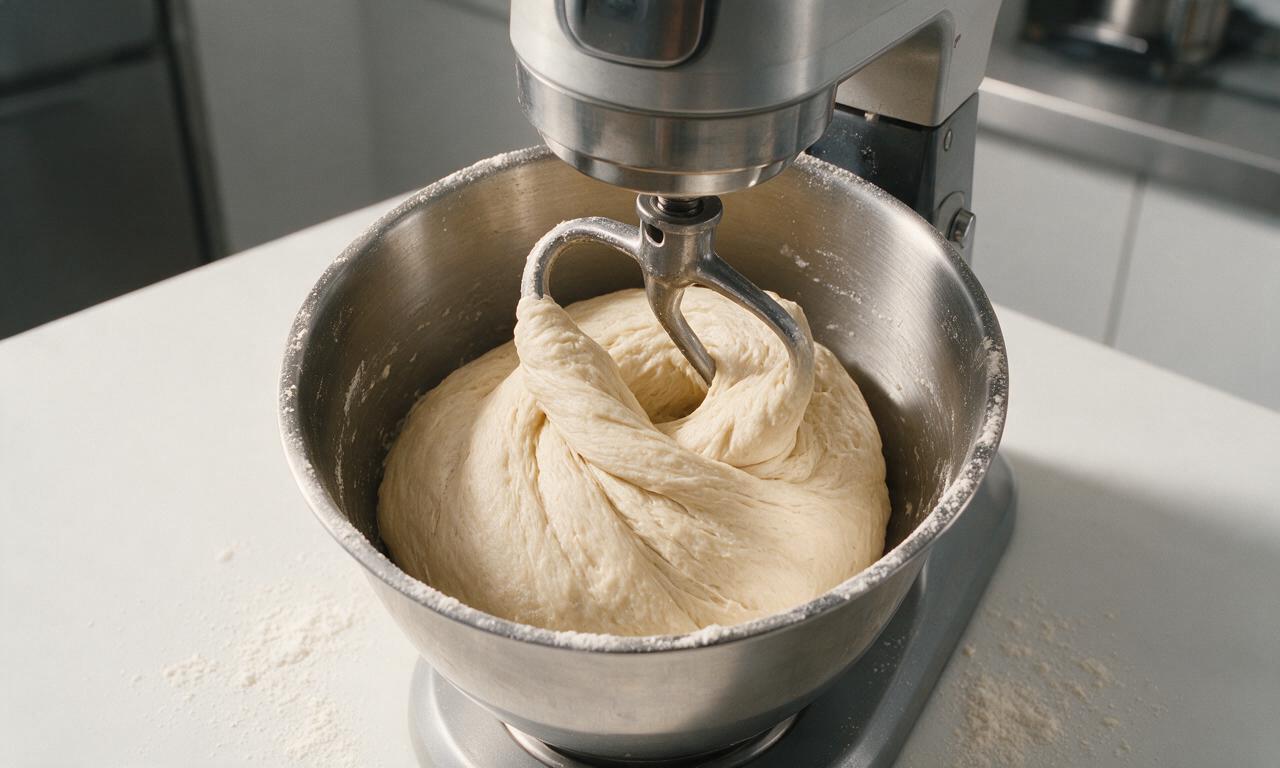
Step 2
step2:Mix the shaggy dough
3

Knead until elastic

Increase the mixer speed to medium-low (setting 3) and knead the dough for 8–10 minutes, until it pulls fully away from the bowl sides, feels satiny and soft, and springs back slowly when poked with a floured finger. If the dough remains stickily adhered to the bowl after 10 minutes, add up to 8g (1 tablespoon) extra all-purpose flour, 1 teaspoon at a time, to avoid over-flouring and creating a dense loaf.
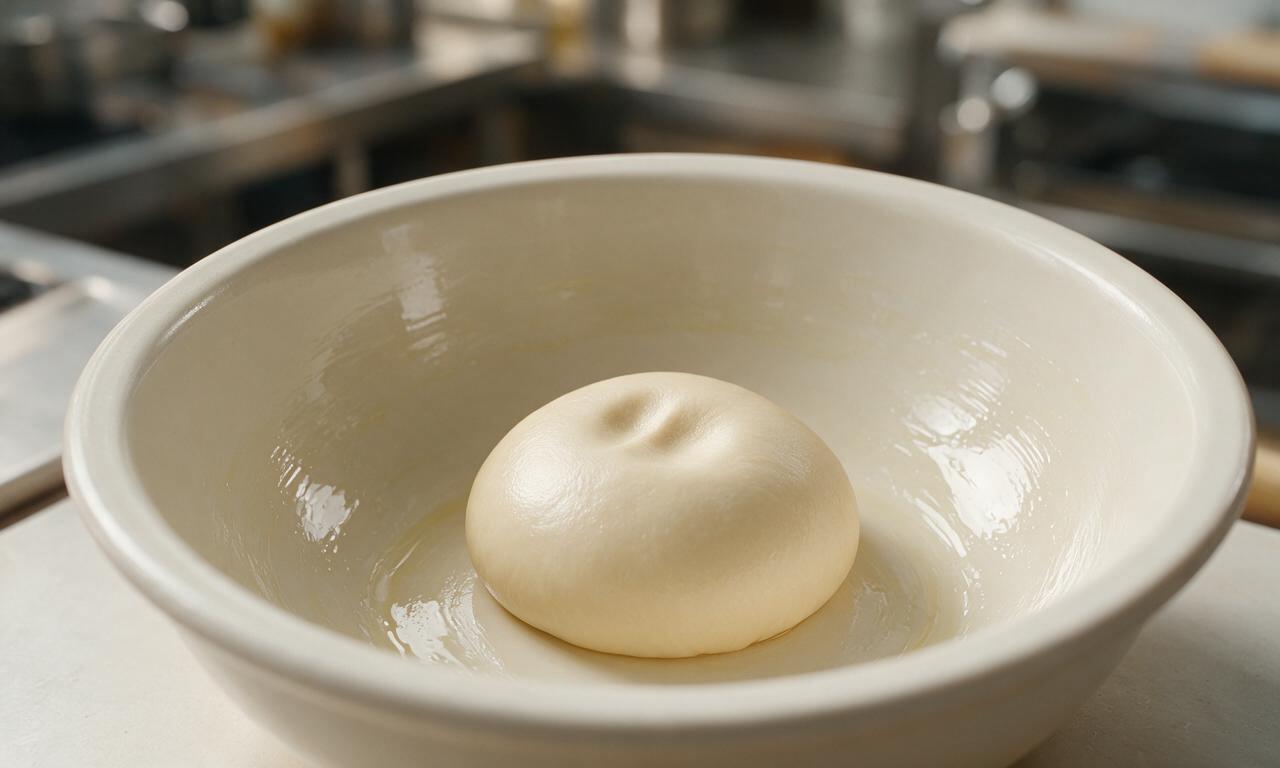
Step 3
step3:Knead until elastic
4

Complete first rise

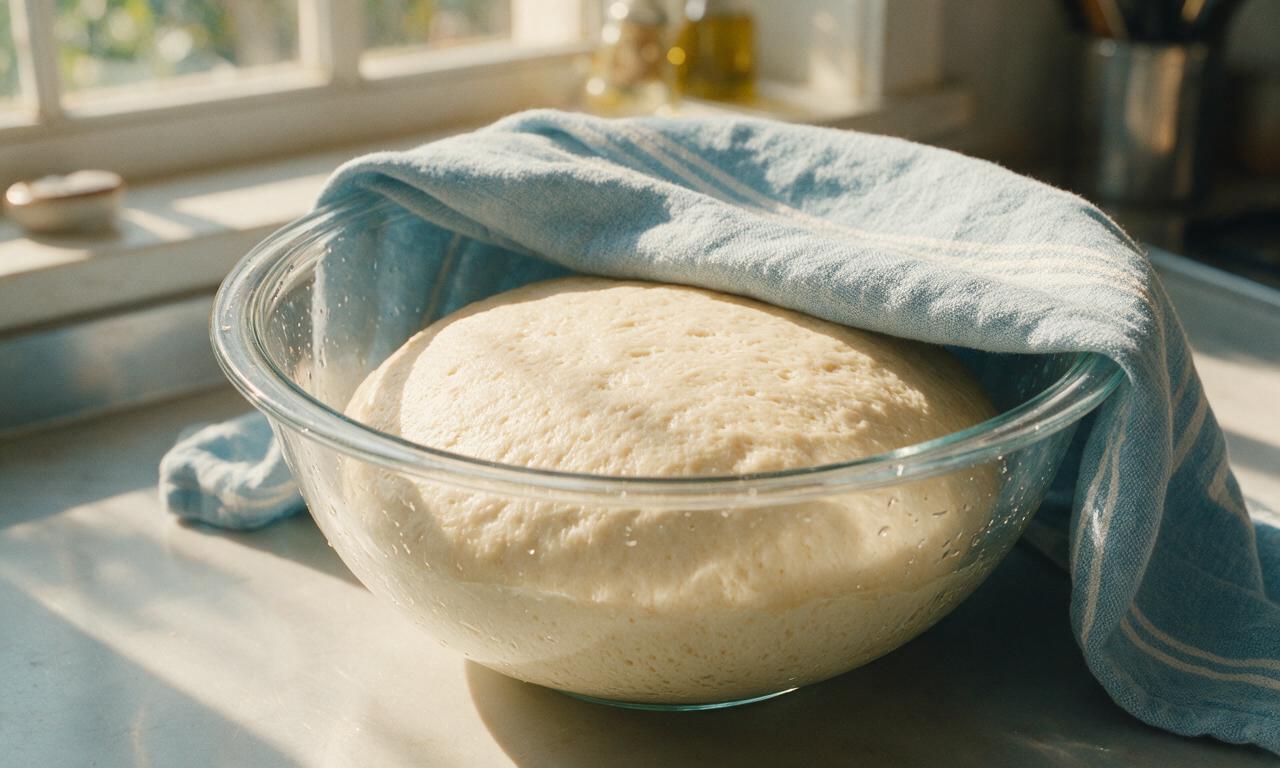
Coat the inside of a large clean mixing bowl with 2.5ml (1/2 teaspoon) neutral vegetable oil, place the kneaded dough ball seam-side down in the bowl, and turn once to coat the dough surface in oil. Cover tightly with a damp lint-free kitchen towel or plastic wrap, and let rise in a warm, draft-free spot (75–78°F / 24–25°C) for 60 minutes, until the dough doubles in volume and leaves a non-bouncing indent when poked 1 inch deep.
Step 4
step4:Complete first rise
5

Shape the loaf

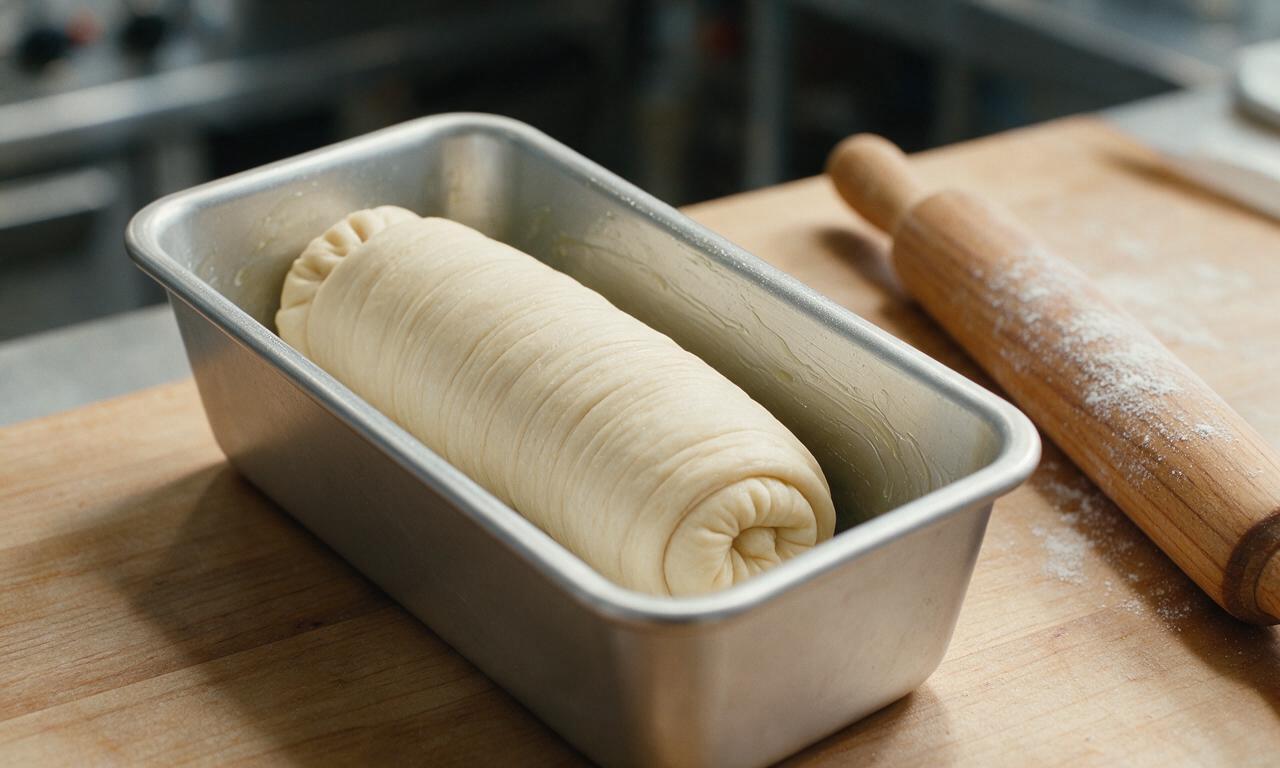
Punch the risen dough firmly in the center to release all trapped air, then turn it out onto a lightly floured work surface. Roll the dough into a 9x12 inch even rectangle with a rolling pin, fold the two short ends inward toward the center like a business letter, then roll tightly from the long edge into a smooth cylinder, pinching the seam and ends firmly to seal. Place the shaped loaf seam-side down in a greased 9x5 inch metal loaf pan.
Step 5
step5:Shape the loaf
6

Second rise and preheat

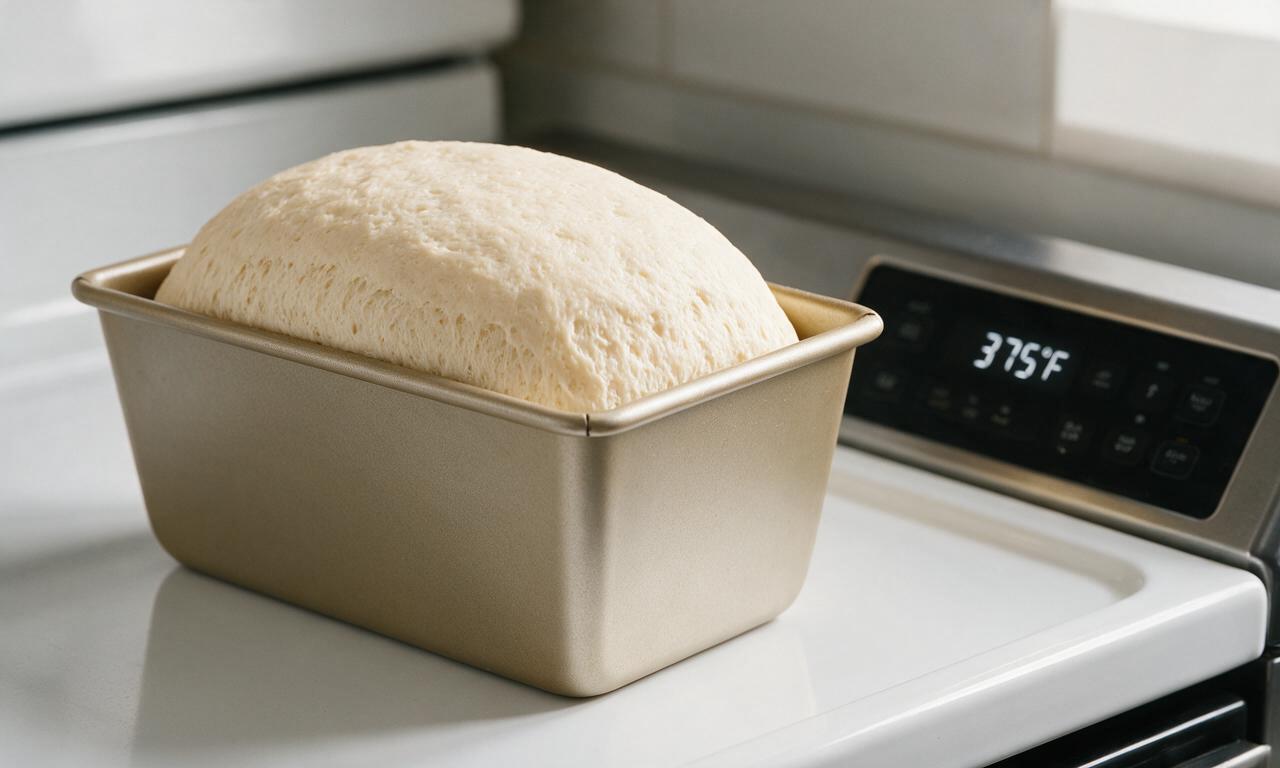
Cover the loaf pan loosely with a damp kitchen towel, and let the shaped dough rise for 30 minutes in the same warm, draft-free spot, until the dough crowns 1 inch above the top rim of the loaf pan. During the final 10 minutes of this rise, preheat your oven to 375°F (190°C) with an oven rack positioned in the exact center of the oven.
Step 6
step6:Second rise and preheat
7

Bake the loaf

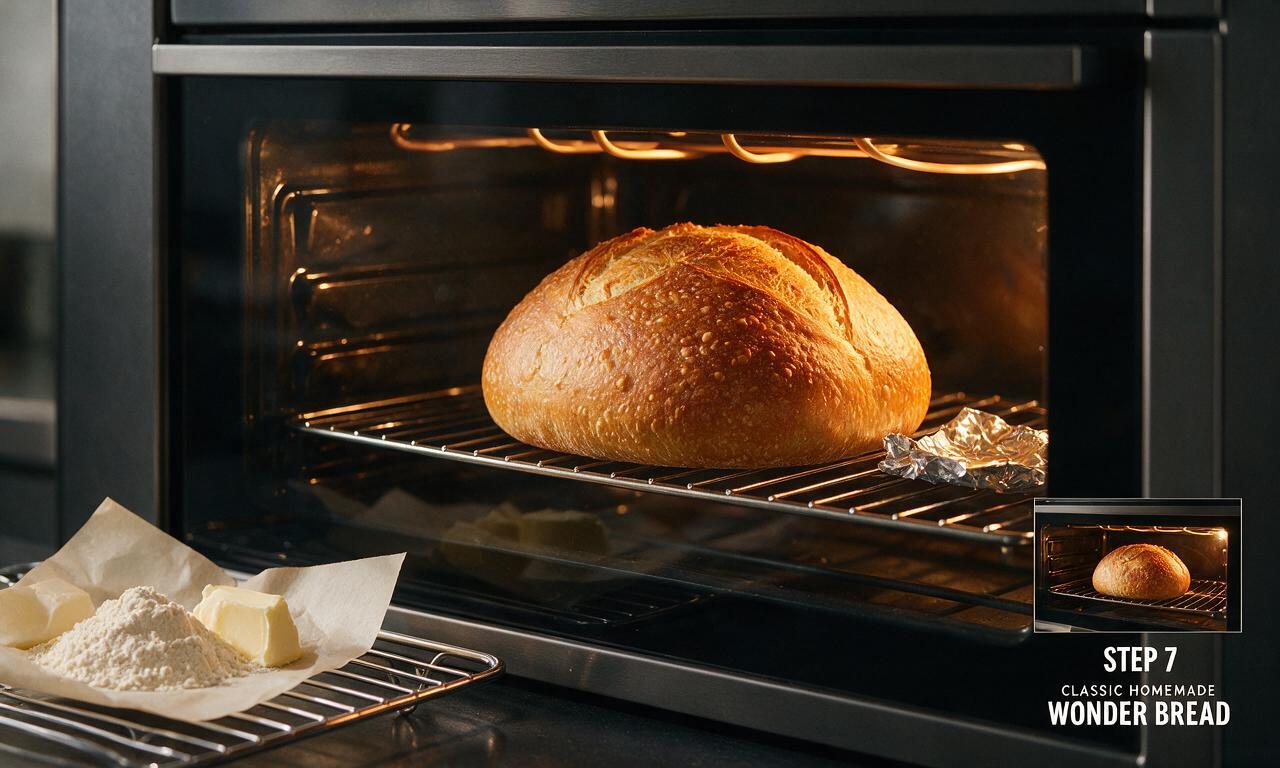
Remove the towel from the pan, and place the loaf on the center oven rack. Bake for 30–32 minutes, until the top crust is a deep, even golden brown, and the internal temperature of the bread reaches 195°F (90°C) when measured with an instant-read thermometer inserted into the loaf center. If the top browns too quickly after 20 minutes of baking, tent the loaf loosely with a sheet of aluminum foil to prevent burning.
Step 7
step7:Bake the loaf
8

Cool before slicing

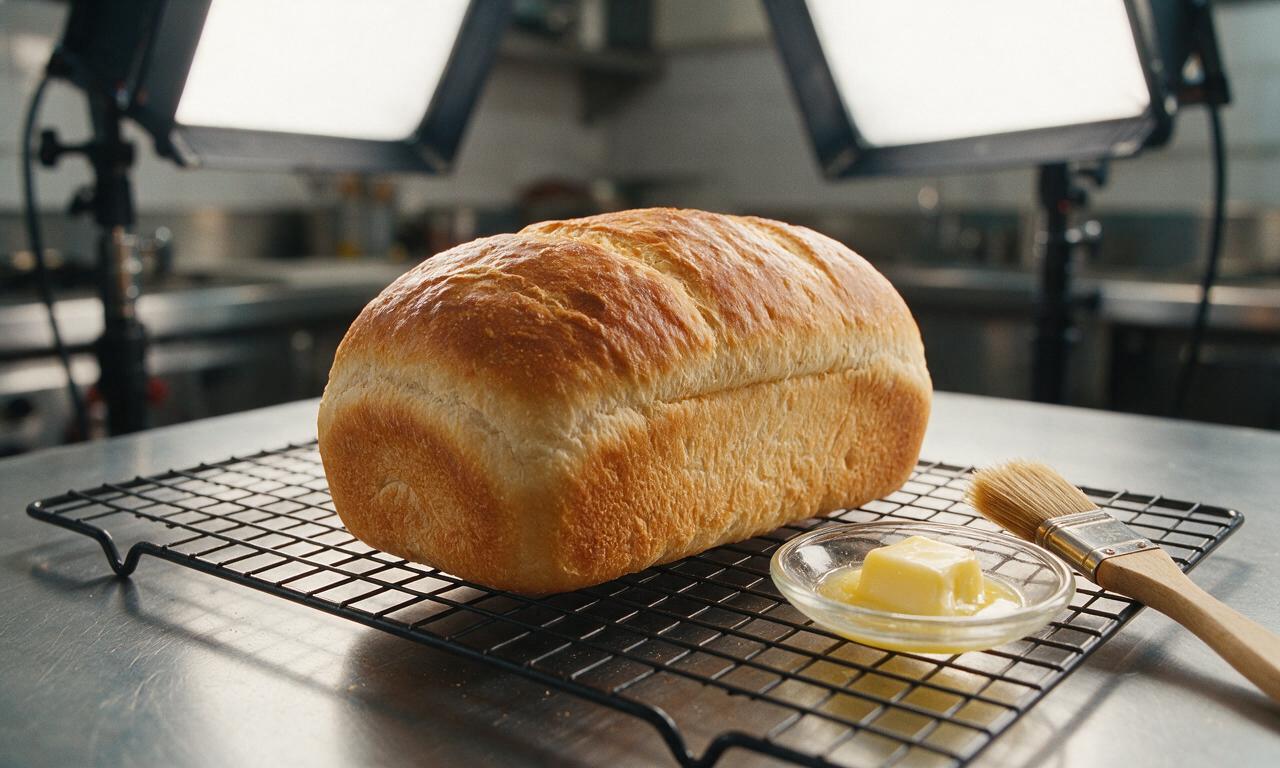
Once baked, immediately turn the loaf out of the pan onto a wire cooling rack. For a soft, shiny top crust, brush the warm crust with 5g (1 teaspoon) of melted unsalted butter, then let the bread cool completely for 60 minutes at room temperature before slicing, to prevent compressing the soft, fluffy crumb.
Step 8
step8:Cool before slicing

Tips

1.Always test milk temperature before adding yeast: liquid hotter than 115°F will kill yeast, leading to a dense, unrisen loaf, while liquid too cool will not activate yeast properly.
2.Never slice warm bread: cutting the loaf before it cools fully for 60 minutes will compress the soft crumb, resulting in a gummy, squished texture instead of light, fluffy slices.
3.Store fully cooled bread tightly wrapped in plastic wrap or in a sealed bread box at room temperature for up to 5 days; avoid refrigerating bread, as this accelerates staling and makes it go dry faster.


✨ You May Also Like

Desserts & Baking
🍜 Italy

Creamy, coffee-kissed classic Northern Italian no-bake dessert, with layers of rum-spiked mascarpone cream, soft ladyfingers, and a rich cocoa dusting.

⏱️ 4 hours 3Desserts & Baking ★ 4.8
Desserts & Baking
🍜 France

Flaky, shatteringly crisp, buttery French croissants with golden exteriors and soft, airy layered interiors, perfect for pairing with coffee for a special morning treat.

⏱️ 12 hours Desserts & Baking ★ 4.7
Desserts & Baking
🍜 United States

Warm, spiced baked apples topped with a fluffy golden biscuit crust, this cozy dessert pairs perfectly with vanilla ice cream for cool-weather comfort.

⏱️ 55 minuteDesserts & Baking ★ 4.7
Desserts & Baking
🍜 United States

A star-spangled classic American blueberry pie with buttery flaky crust and bright sweet-tart filling, perfect for summer patriotic gatherings.

⏱️ 1 hour 25Desserts & Baking ★ 4.8
Desserts & Baking
🍜 United States

A beloved no-bake regional Maine candy with a chewy coconut-potato center coated in rich dark chocolate, a New England holiday staple since the 1870s.

⏱️ 2 hours 3Desserts & Baking ★ 4.9
Desserts & Baking
🍜 France

Luxuriously creamy, floral frozen custard made with aromatic Tahitian vanilla beans, boasting a smooth, rich texture that melts slowly on the tongue.

⏱️ 3 hours 3Desserts & Baking ★ 4.6

Wonder Bread:Frequently Asked Questions

1.What gives this homemade Wonder Bread that iconic pillowy, soft crumb just like the retro store-bought version?
That cloud-like texture comes from a carefully balanced ratio of tenderizing fats and gentle gluten development: whole milk and melted unsalted butter add rich moisture, a small amount of granulated sugar feeds the active dry yeast for a light rise, and proper kneading creates a stretchy network that traps tiny, even air bubbles.
2.Can I use skim or low-fat milk instead of whole milk for this recipe?
You can, but your loaf will be slightly less tender and rich, since whole milk’s fat content is key to that soft, melt-in-your-mouth crumb. If you only have skim milk, stir in 2 tablespoons of melted unsalted butter per cup of skim to replace missing fat, and you’ll get a result very close to the original.
3.Do I really need to activate my active dry yeast before mixing the dough?
It’s a low-effort step that prevents dense, failed loaves! Stir your yeast and a pinch of the granulated sugar into warm (105–110°F) whole milk, and let it sit 5–7 minutes until foamy. If it never foams, your yeast is dead, and you’ll need a fresh packet to avoid wasting flour and butter.
4.How do I know when I’ve kneaded the dough enough for the right texture?
You’ll know the dough is ready when it’s smooth, pulls cleanly away from the sides of your mixing bowl, and passes the windowpane test: pinch off a small piece, stretch it thin enough to see light through without tearing. That takes 8–10 minutes by hand, or 4–5 minutes in a stand mixer with a dough hook on low.
5.Why is the first rise (proof) so important for this bread?
The first proof lets active dry yeast feed on granulated sugar to produce carbon dioxide, which creates the tiny, even air pockets that make Wonder Bread so light. Skipping or cutting this short leads to a dense, tight crumb instead of that fluffy, pull-apart texture. Let it rise in a warm, draft-free spot until doubled, usually 1–1.5 hours.
6.Can I use bread flour instead of all-purpose flour for this recipe?
You can, but know that bread flour’s higher protein content creates a slightly chewier, more structured crumb that’s less true to Wonder Bread’s soft, delicate texture. If you swap, keep all measurements the same, and cut kneading time by 1–2 minutes to avoid over-developing gluten that makes the loaf tough.
7.Why does my loaf come out with a thick, hard crust instead of the thin golden one described?
Thick, tough crust usually comes from baking at too low a temperature, skipping steam for the first 10 minutes of bake time, or over-proofing the dough. For that thin, soft crust, bake at 375°F, tent with foil for the first 10 minutes to trap steam, and brush the warm loaf with melted butter right out of the oven.
8.How long should I let the loaf cool before slicing it for sandwiches?
I know it’s tempting to slice into warm fresh bread right out of the pan, but you need to let it cool completely on a wire rack for 1.5–2 hours first. Cutting it while warm makes the soft crumb squish and turn gummy, ruining that even, fluffy texture. Wait for room temp for clean, even slices.
9.Can I make this dough ahead of time to bake later for a summer picnic?
Absolutely! After kneading, place the dough in a greased airtight container and do its first slow rise in the fridge for 8–12 hours (or overnight). The cold temp slows yeast activity for deeper flavor, and you can shape it, do the second rise, and bake it the morning of your picnic for fresh, soft sandwich bread.
10.What’s the best way to store this homemade Wonder Bread to keep it soft?
Since this loaf has no artificial preservatives, store fully cooled bread in a sealed plastic bread bag or airtight container at room temperature for up to 4 days. Don’t refrigerate it—cold temps speed up staling and dry out the crumb. For longer storage, slice and freeze individual slices for up to 3 months, toasting straight from frozen.
11.Why did my loaf collapse in the oven while baking?
A collapsed loaf almost always means you let the dough over-proof during its second rise in the loaf pan. If the dough rises more than 1 inch above the pan rim and jiggles loosely when you tap the pan, it’s over-proofed and lacks the structure to hold its shape. Stick to a 45–60 minute second rise, until it just crests the pan edge.
12.Can I add mix-ins like raisins or cinnamon to this base for a sweet twist?
This soft, neutral white bread base is super versatile for mix-ins! For a sweet twist, fold in ½ cup raisins and a teaspoon of ground cinnamon when shaping the loaf before the second rise. Just avoid adding more than ¾ cup of heavy mix-ins total, or they’ll weigh down the light crumb and prevent proper rising.
13.Do I need a metal loaf pan, or can I use glass or ceramic instead?
You can use any 9x5 inch loaf pan, but adjust bake time and temperature slightly for glass or ceramic, since those retain heat differently than metal. Drop your oven temp by 25°F for glass/ceramic to avoid burning the bottom crust, and add 3–5 minutes of bake time to ensure the center is fully set with no raw dough spots.
14.Can I swap the granulated sugar for honey or maple syrup?
You can swap granulated sugar for an equal amount of honey or maple syrup, and it will still feed the active dry yeast just as well to help the loaf rise. Keep in mind honey adds a subtle floral note and makes crust brown faster, so tent your loaf with foil a few minutes earlier if you notice the crust getting too dark before the center is done.
15.How do I check if my bread is fully baked without cutting into it too early?
There are two easy, reliable checks: first, tap the top of the loaf—if it sounds hollow, it’s almost done. Second, use an instant-read thermometer inserted into the loaf center (avoiding the pan) — it should read 190–200°F when fully baked. This takes the guesswork out, so you never get a doughy center or dry, over-baked loaf.
16.Can I use salted butter instead of unsalted butter in this recipe?
You can absolutely use salted butter if that’s what you have on hand! Just cut out any small added pinch of salt (included in most versions for flavor balance) to keep the taste from getting too salty. The butter’s fat content is the key part for tenderizing the crumb, so the salt difference is an easy adjustment with no texture impact.
17.Why is my crumb full of large, uneven holes instead of the fine, soft Wonder Bread texture?
Large, random air pockets usually happen when you don’t punch down the dough properly after the first rise, or don’t tightly shape the loaf before the second rise in the pan. When shaping, press out all large air bubbles, roll the dough into a tight log, and pinch seams closed to create even, tiny pockets for that uniform, soft crumb.
18.Is this bread sturdy enough for loaded summer picnic sandwiches like egg salad or BLTs?
It absolutely is! When fully baked and cooled, this soft bread has just enough gluten structure to hold up to creamy egg salad, juicy tomato slices, crispy bacon, and other classic picnic fillings without getting soggy or falling apart. It also works perfectly for toast, small snack sandwiches, or quick peanut butter and jelly for kids.

Comments (5)

2 hours ago

OMG, this tastes exactly like the Wonder Bread I grew up eating as a kid! I was so nervous it would turn out too dense, but it came out so soft and fluffy—perfect for peanut butter and jelly sandwiches for my kids’ school lunches this week. 10/10, will be making this on repeat for meal prep!

3 days ago

Brought this to our neighborhood block party potluck last weekend and people were asking me for the recipe left and right! Only thing I messed up was letting the second rise go a little too long so it slumped a bit in the pan, but the flavor and texture were still chef’s kiss. SO good slathered with salted butter right out of the oven.

2 days ago

So glad it was a hit at the block party! If your second rise goes a touch long next time, just pop the loaf pan in the fridge for 10 minutes before baking to help it hold its shape—works like a charm!

1 week ago

Wait, is the dough supposed to be super sticky after the first knead? I added an extra half cup of flour because I thought I messed up, and now my loaf is a little drier than I was hoping for. Still tasty, just not as pillowy soft as the photos look!

5 days ago

I had the exact same issue on my first try! The dough is supposed to be pretty soft and tacky, not dry—resist the urge to add extra flour, I learned that the hard way! My second loaf came out perfectly pillowy when I followed the measurements exactly.

5 days ago

Game changer! I’ve tried so many homemade white bread recipes that turn out heavy or rock-hard crusty, but this one is that perfect soft, squishy sandwich bread we all know and love. My husband said it’s better than store bought, which is the highest compliment in our house. We used the leftover slices for French toast this morning and *chefs kiss*.

3 days ago

How did it hold up for French toast? I’ve been looking for a good bread that doesn’t turn totally soggy when I soak it for the kids on weekends!

2 days ago

Love that you repurposed leftovers for French toast! The tight, soft crumb is perfect for soaking up custard without getting soggy or falling apart, so it works beautifully for that—great call. So happy your husband gave it his stamp of approval!

2 weeks ago

As someone who’s literally never baked yeast bread before, I was intimidated by the medium difficulty rating, but I gave it a shot anyway! Took the full 3 hours, but the instructions were so clear and easy to follow, and my loaf came out looking just like the cover photo. My roommates lost their minds when they tried it, they thought I picked it up from the fancy bakery downtown lmao

1 week ago

Good for you for jumping right in! Yeast bread sounds way scarier than it is, right? Once you get the hang of the rise times it’s so low-effort, this recipe is such a great starter pick for new bakers.

5 days ago

This makes our whole team’s day! We marked this medium difficulty just because it requires a couple of rise stages and a bit of kneading, but we worked hard to make the steps straightforward enough for bakers of all skill levels. So proud your first yeast loaf turned out so well!



