
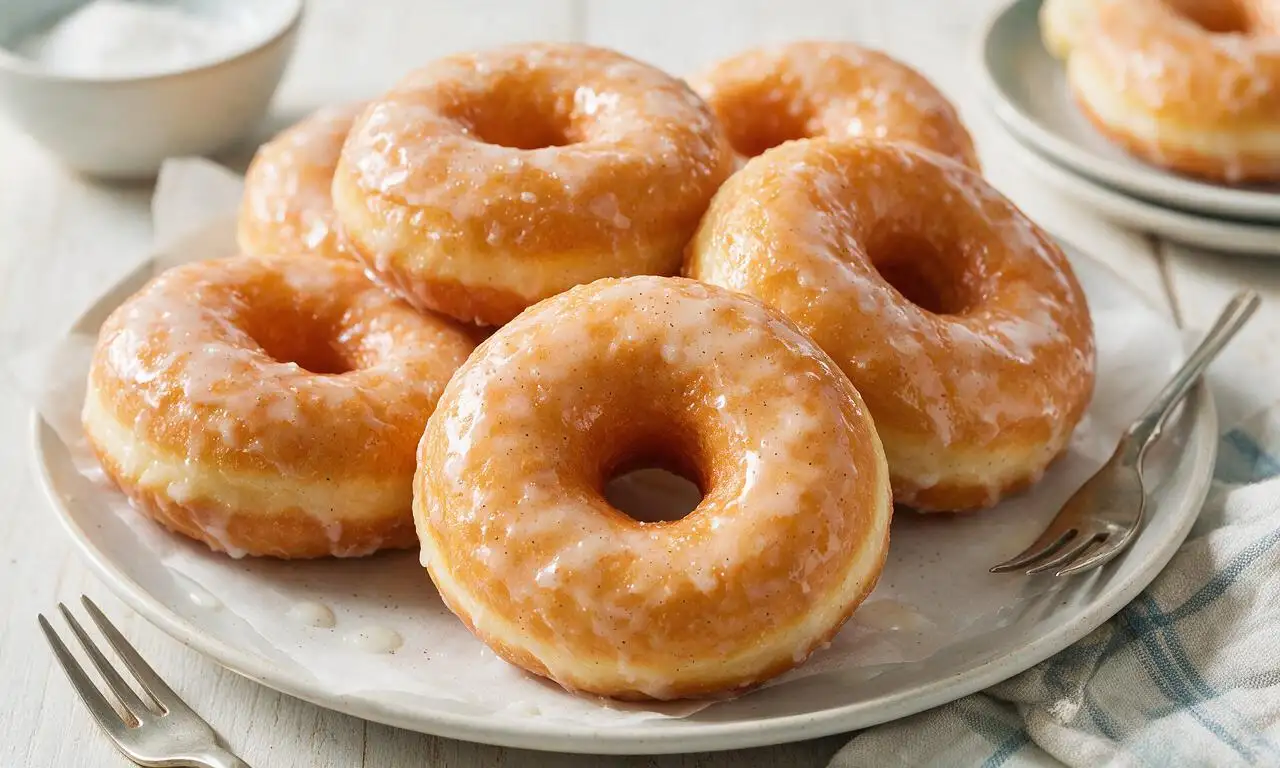
Yeast Donut

title 1
Yeast Donut
⏱️ cook time 2 hours 45 minutes
🍽️ servings 12
⚡ Difficulty medium

intro

Pillowy, golden-fried yeast donuts coated in sweet vanilla glaze—soft, airy, and nostalgic, this homemade version is a perfect shareable treat.

Ingredients

All-purpose flour 500g (4 cups)
Active dry yeast 7g (2 1/4 tsp, 1 standard packet)
Whole milk 285ml (1 cup + 3 tablespoons), divided, 1 cup warmed to 110°F/43°C for dough
Large eggs 2, room temperature
Granulated sugar 60g (1/3 cup)
Unsalted butter 57g (4 tbsp / 1/4 cup), melted and cooled slightly
Fine table salt 5g (1 tsp)
Vanilla extract 10ml (2 tsp), divided
Powdered (confectioners') sugar 240g (2 cups)
Neutral vegetable oil (canola or soybean) 1.5L (6 cups)

Steps

1

Activate yeast and mix dough

In a small bowl, combine 1 cup warmed whole milk (110°F/43°C), 1 tablespoon of the granulated sugar, and active dry yeast. Stir gently, then let rest for 5-7 minutes until foamy on top to confirm yeast is active. In a large stand mixer fitted with a dough hook, add the remaining granulated sugar, flour, salt, room temperature eggs, cooled melted butter, 1 teaspoon vanilla extract, and the foamy yeast mixture. Mix on low speed for 2 minutes until a shaggy dough forms, then increase speed to medium-low and knead for 6-8 minutes until the dough is smooth, elastic, and pulls cleanly away from the bowl sides.
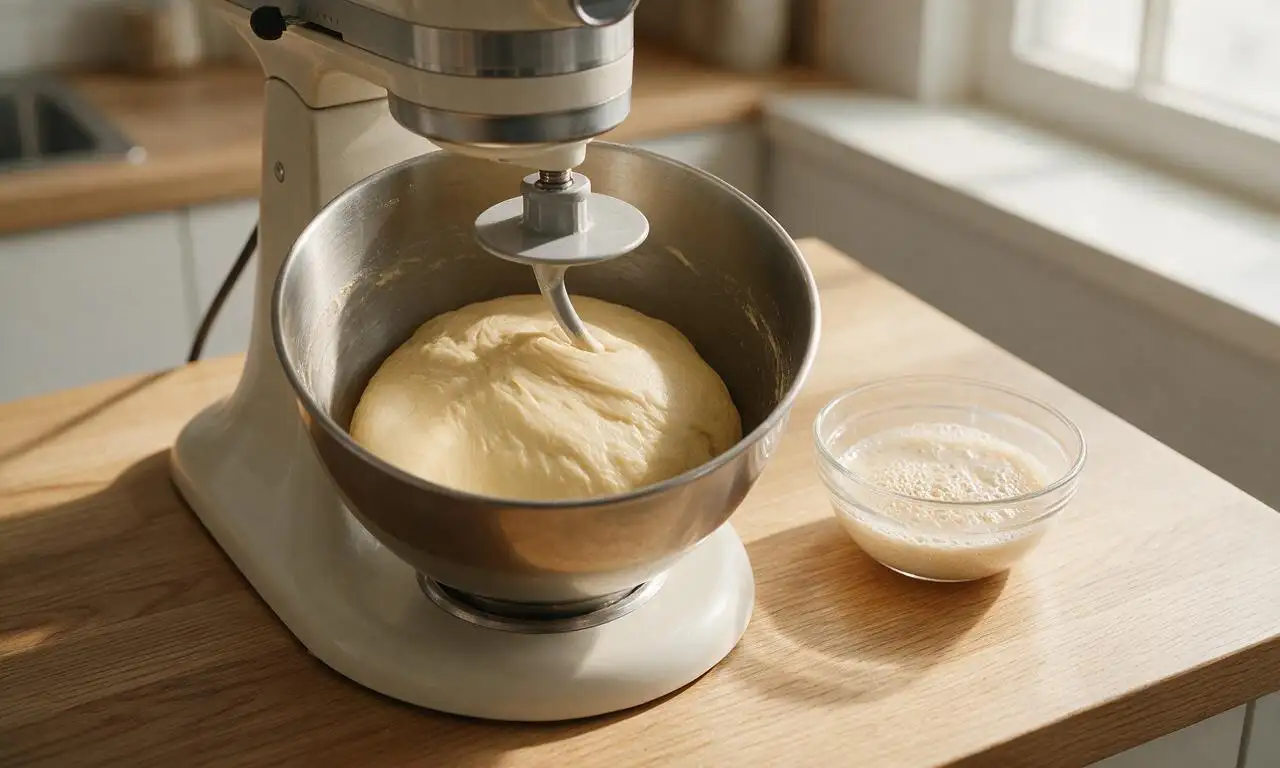
Step 1
step1:Activate yeast and mix dough
2

First dough rise

Coat the inside of a large clean glass bowl with 1 teaspoon of neutral oil, form the kneaded dough into a tight ball, and place it seam-side down in the bowl. Cover the bowl tightly with plastic wrap or a clean damp kitchen towel, and set it in a warm, draft-free spot (75-80°F/24-27°C) for 60-75 minutes until the dough doubles in size and leaves a lasting indent when poked 1/2 inch deep with a floured finger.
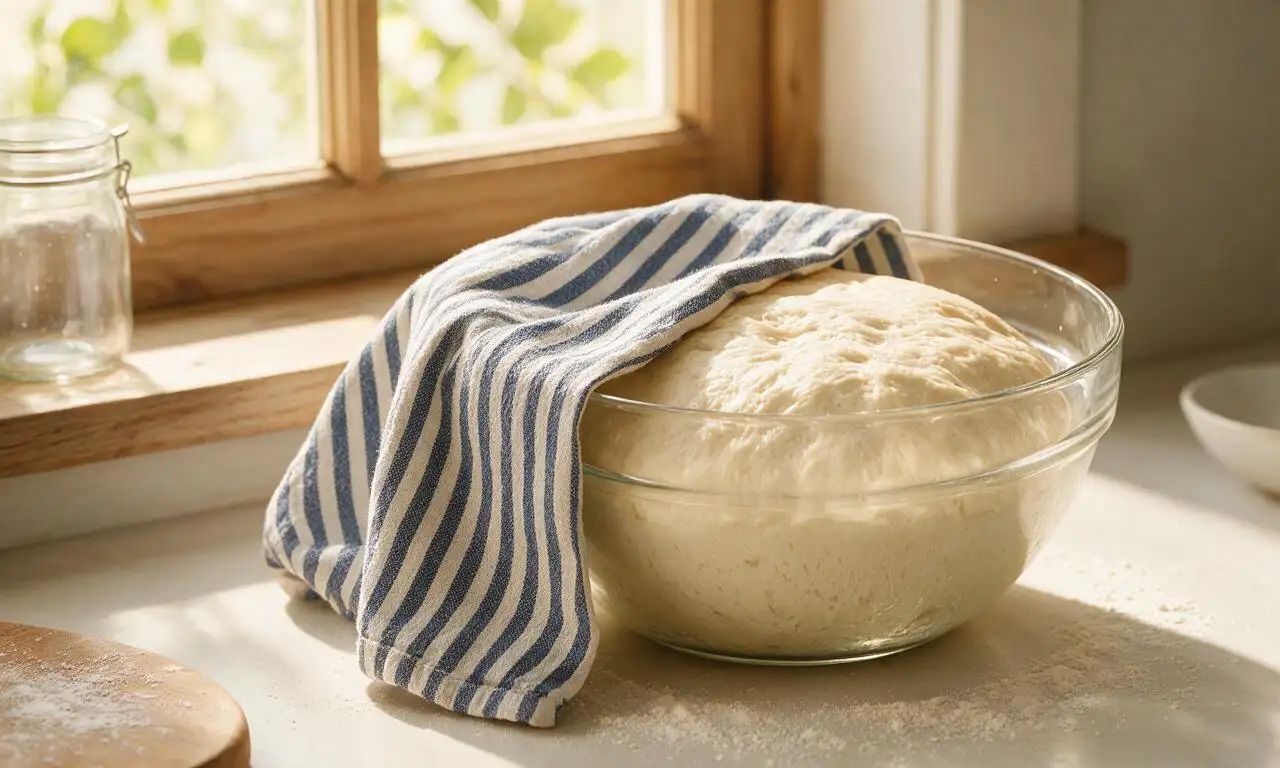
Step 2
step2:First dough rise
3

Roll and cut donuts

Punch down the risen dough firmly with your knuckles to release all trapped air, then turn it out onto a lightly floured work surface. Roll the dough to an even 1/2-inch (1.25cm) thickness with a wooden rolling pin. Use a floured 3.5-inch (9cm) round donut cutter to cut donut shapes, pressing straight down without twisting to ensure even rising, and use a 1-inch (2.5cm) round cutter to punch out the center holes. Gather dough scraps, re-roll only once, and cut remaining donuts to yield 12 total donuts and 12 small donut holes.
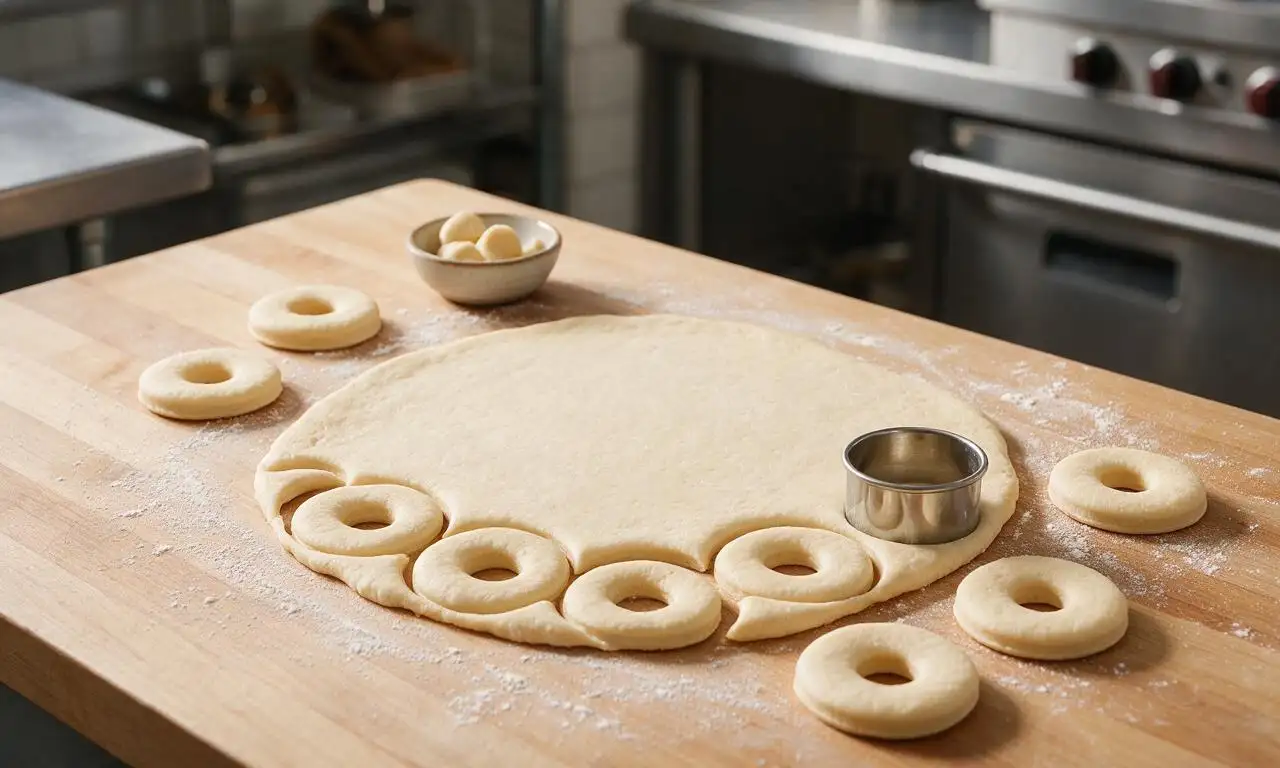
Step 3
step3:Roll and cut donuts
4

Second dough proof

Arrange the cut donuts and holes on parchment-lined baking sheets spaced 2 inches (5cm) apart to allow room for rising, cover loosely with a clean dry cotton kitchen towel, and let them proof in a warm spot for 25-30 minutes until puffy and 1.5 times their original size; when poked gently with a floured finger, the indent should slowly spring back halfway.
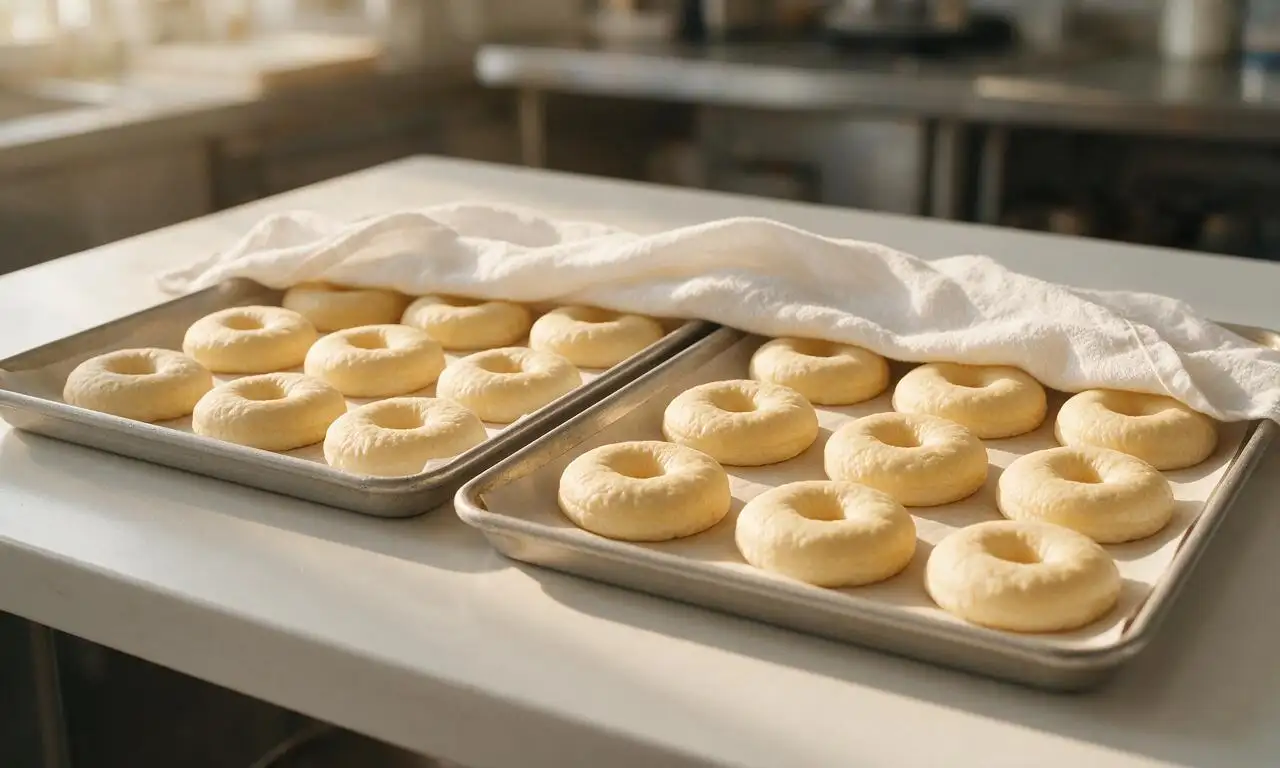
Step 4
step4:Second dough proof
5

Fry to golden brown

Heat 1.5 liters of neutral vegetable oil in a deep, heavy-bottomed Dutch oven to 350°F/175°C over medium heat, monitoring temperature consistently with a clip-on candy thermometer. Working in small batches of 2-3 donuts at a time to avoid dropping oil temperature, fry for 1 minute per side until deep, even golden brown, flipping carefully with a slotted metal spoon. Transfer fried donuts to a wire rack set over a rimmed baking sheet to drain excess oil for 5 minutes before glazing; fry donut holes for 45 seconds total, flipping once, until evenly golden.
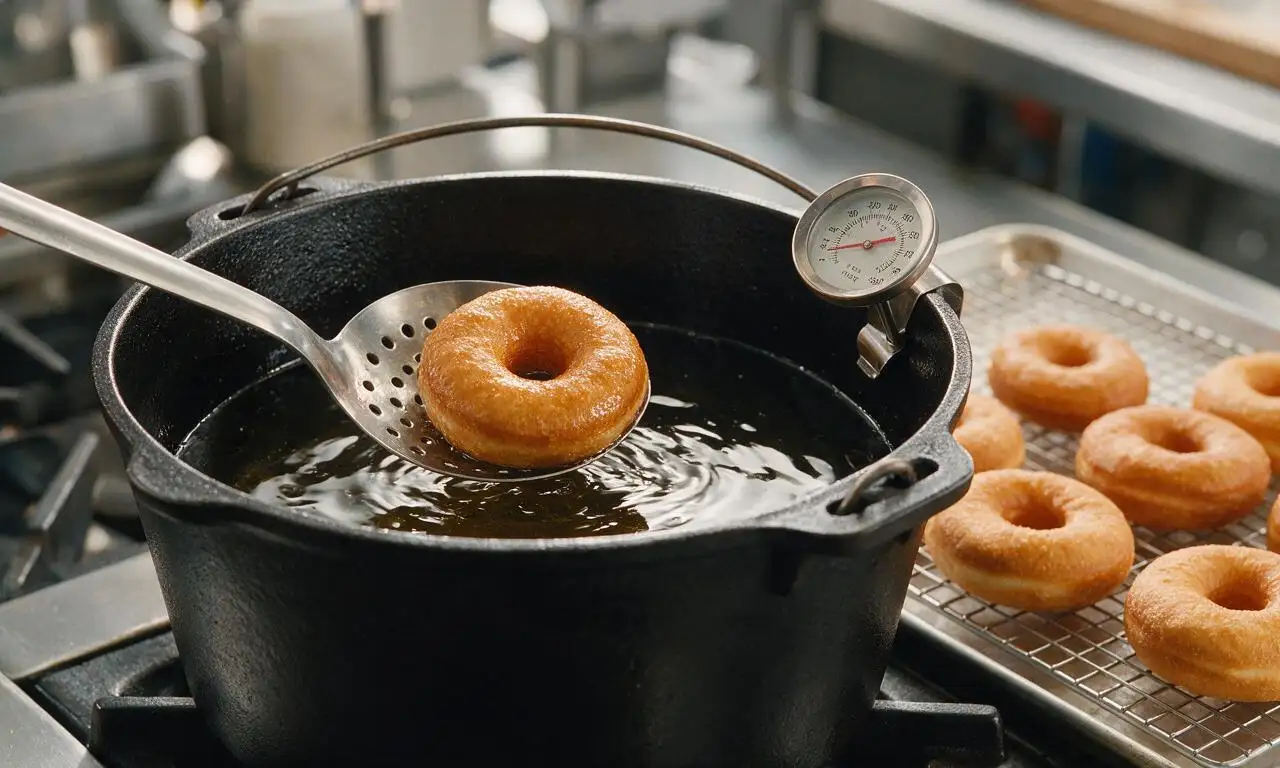
Step 5
step5:Fry to golden brown
6

Glaze and set donuts

While donuts cool slightly, prepare the vanilla glaze: whisk 240g powdered sugar, the remaining 3 tablespoons whole milk, and remaining 1 teaspoon vanilla extract in a shallow wide bowl until completely smooth, with a thick, honey-like pourable consistency. Dip each warm (not piping hot) donut halfway into the glaze, flipping to coat one full side evenly, then return to the wire rack glaze-side up for 10-15 minutes to let the glaze set into a thin, crisp, slightly shiny shell before serving.
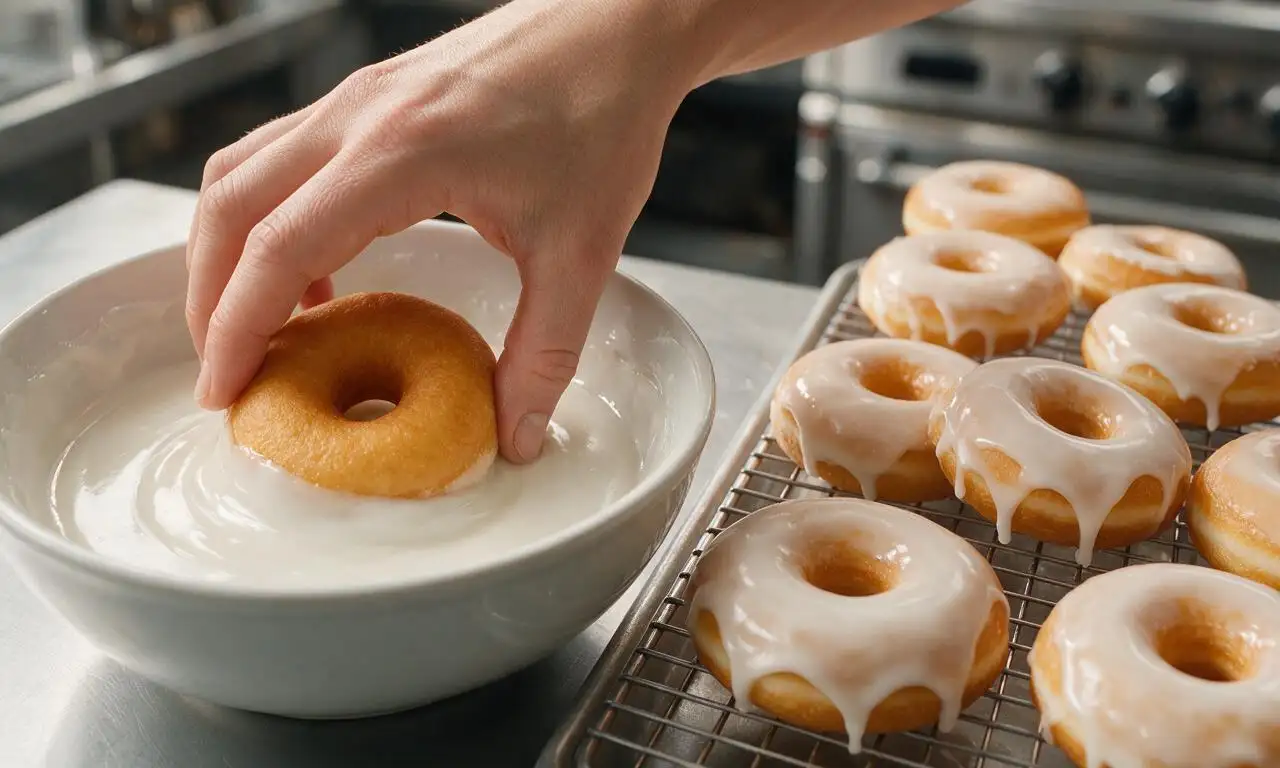
Step 6
step6:Glaze and set donuts

Tips

1.Always test milk temperature before adding yeast: liquid hotter than 115°F/46°C will kill yeast and prevent rising, while liquid too cold will fail to activate yeast for fluffy results.
2.Never overcrowd the frying pot, as this drops oil temperature rapidly, leading to greasy, soggy donuts that absorb excess oil instead of forming a crisp golden crust.
3.Only re-roll dough scraps one time; repeated rolling overworks gluten, resulting in tough, dense donuts instead of light, airy pastries.


✨ You May Also Like

Desserts & Baking
🍜 Italy

Creamy, coffee-kissed classic Northern Italian no-bake dessert, with layers of rum-spiked mascarpone cream, soft ladyfingers, and a rich cocoa dusting.

⏱️ 4 hours 3Desserts & Baking ★ 4.7
Desserts & Baking
🍜 France

Flaky, shatteringly crisp, buttery French croissants with golden exteriors and soft, airy layered interiors, perfect for pairing with coffee for a special morning treat.

⏱️ 12 hours Desserts & Baking ★ 4.5
Desserts & Baking
🍜 United States

Warm, spiced baked apples topped with a fluffy golden biscuit crust, this cozy dessert pairs perfectly with vanilla ice cream for cool-weather comfort.

⏱️ 55 minuteDesserts & Baking ★ 4.6
Desserts & Baking
🍜 United States

A star-spangled classic American blueberry pie with buttery flaky crust and bright sweet-tart filling, perfect for summer patriotic gatherings.

⏱️ 1 hour 25Desserts & Baking ★ 4.7
Desserts & Baking
🍜 United States

A beloved no-bake regional Maine candy with a chewy coconut-potato center coated in rich dark chocolate, a New England holiday staple since the 1870s.

⏱️ 2 hours 3Desserts & Baking ★ 4.8
Desserts & Baking
🍜 France

Luxuriously creamy, floral frozen custard made with aromatic Tahitian vanilla beans, boasting a smooth, rich texture that melts slowly on the tongue.

⏱️ 3 hours 3Desserts & Baking ★ 4.5

Yeast Donut:Frequently Asked Questions

1.Can I use instant yeast instead of active dry yeast for this recipe? ▾
Absolutely! Swap 1 ¾ teaspoons of instant yeast for every 2 teaspoons of active dry yeast called for. You can skip the initial proofing step in warm milk and mix it straight in with dry ingredients, just make sure your liquids hover around 110°F to support an even, tall rise for that classic pillowy texture.
2.How do I know my frying oil is at the correct temperature for donuts? ▾
The sweet spot is 365°F to 375°F, measured with a clip-on candy or deep-fry thermometer. If you don’t have a thermometer, drop a 1-inch cube of white bread into the oil—it should turn golden brown in exactly 60 seconds. Oil that’s too hot burns exteriors before insides cook, while too-cool oil makes greasy, dense donuts.
3.Can I prep the donut dough ahead of time? ▾
Definitely! After the first rise, punch the dough down, wrap it tightly in plastic wrap, and store it in the fridge for up to 12 hours. When you’re ready to cook, let the dough come to room temperature for 30 minutes before rolling, cutting, and doing the second rise—this slow chill actually builds a deeper, slightly tangy, delicious flavor.
4.Why do my glazed donuts turn out soggy after I apply the glaze? ▾
That almost always happens if you glaze donuts while they’re still piping hot, or if your glaze is too thin. Let fried donuts cool on a wire rack for 3 to 4 minutes first—they should be warm, not scalding. If your glaze runs too thin, stir in 1 to 2 tablespoons of sifted powdered sugar to help it set into a crisp, non-soggy shell.
5.Can I use low-fat or skim milk instead of whole milk in this recipe? ▾
You can, but you’ll get a slightly less tender, rich crumb. Whole milk’s fat content softens flour gluten, contributes to that golden fried crust, and feeds yeast for a better rise. If you only have skim milk, stir in 1 tablespoon of melted unsalted butter per cup of skim to mimic whole milk’s fat level for better results.
6.Can I use bread flour or cake flour instead of all-purpose flour for these donuts? ▾
All-purpose flour gives the perfect balance of tender crumb and sturdy structure for light, fluffy donuts. Bread flour has higher protein, which will make chewier, denser donuts, while cake flour has lower protein, leading to delicate donuts that fall apart easily. Stick to AP flour for that classic, nostalgic, pillowy texture you want.
7.How long should I let the dough rise for the fluffiest possible donuts? ▾
For the first rise, let covered dough sit in a warm, draft-free spot (like a turned-off oven with the light on) for 1 to 1.5 hours, until it doubles in size and holds an indent when poked with a floured finger. After cutting shapes, let donuts rise a second time for 30 to 45 minutes, until puffy and light to the touch.
8.Can I reduce the amount of granulated sugar in the donut dough? ▾
You can cut the granulated sugar by up to 2 tablespoons without ruining the dough, but don’t skip it entirely. Sugar feeds the yeast to help it rise, adds subtle sweetness to balance the vanilla glaze, and helps create that golden, crisp fried crust. Cutting too much sugar leads to slower rises and paler, less flavorful donuts.
9.Do I need to use large eggs for this recipe, or can I use other sizes? ▾
Stick with large eggs if you can, since egg size directly impacts the dough’s moisture and structure. Large eggs weigh about 50 grams each out of the shell; if you only have medium eggs, add 1 extra tablespoon of beaten egg per egg, or cut back 1 tablespoon per extra-large egg to keep the dough soft, not sticky or dry.
10.What’s the best way to cut donuts so they don’t stick to the cutter? ▾
Dip your donut or biscuit cutter in flour every single time before pressing it into rolled-out dough—don’t twist the cutter as you press, because that seals the dough edges and keeps donuts from rising as high during the second proof. If you don’t have a donut cutter, use a 3-inch round for the outside and 1-inch round for the center hole.
11.How long do these glazed donuts stay fresh after making them? ▾
These donuts taste best the same day they’re made, within 4 to 6 hours of frying for that perfect soft, pillowy crumb and crisp glaze. If you have leftovers, store them in an airtight container at room temperature for up to 2 days, though the glaze will soften over time. Skip the fridge, which dries out the crumb quickly.
12.Why didn’t my active dry yeast get foamy when I tried to proof it? ▾
If your yeast doesn’t foam after 5 to 10 minutes in warm (105°F to 110°F) milk with a pinch of sugar, it’s dead, and your dough won’t rise. This usually happens because your milk was too hot (over 115°F kills yeast), too cold, or your yeast was expired. Always test yeast first to avoid wasting ingredients.
13.Can I freeze these donuts to enjoy later? ▾
Absolutely! Freeze unglazed, fully cooled donuts in a single layer on a baking sheet first, then transfer them to a sealed freezer bag for up to 3 months. When you’re ready to eat, thaw them at room temperature for 30 minutes, then warm for 10 seconds in the microwave before dipping in fresh vanilla glaze for that just-made taste.
14.Why did my donuts turn out dense and heavy instead of light and airy? ▾
Dense donuts usually stem from one of three common issues: you didn’t let the dough rise long enough at either proof stage, you overworked the dough when mixing or rolling (which builds tough, tight gluten), or your frying oil was too cool, making donuts absorb excess grease instead of puffing up. Handle dough gently and give it ample rise time.

Comments (3)

2 days ago

OMG these donuts were such a game changer for my Sunday brunch! I was so nervous about working with yeast since I usually mess up the proofing step and end up with dense, bready baked goods, but the instructions were so clear even I didn’t mess it up. My kids devoured 3 each before I even got a chance to put the second batch in the fryer, and my husband asked if we can make these every weekend from now on. They’re SO fluffy, way better than the sad grocery store donuts we usually grab on busy mornings. 10/10, will be making these on repeat!

1 day ago

So thrilled these were a hit with your whole family! So many home bakers get nervous about yeast proofing – the biggest pro tip is to make sure your milk is warm (not scalding hot, right around 110°F) and you’ll get that perfect pillowy rise every time. Can’t wait to hear how your next weekend batch turns out!

3 days ago

Made these for my office potluck yesterday and people were literally hounding me for the recipe before they even finished their first donut! Only tweak I made was adding a tiny bit of vanilla extract to the glaze because I’m extra, and it worked perfectly. Only heads up for new bakers: the 2 hour 45 minute total time is no joke, don’t try to rush the rise like I almost did when I was running behind, that’s how you end up with sad, dense hockey pucks instead of fluffy donuts. Worth every single minute of wait though, no cap.

2 days ago

Ugh thank you for the heads up about not rushing the rise! I almost cut the proofing time short last weekend when I made these because I was impatient, and ended up with sad, flat donuts that went straight in the trash. The vanilla glaze addition sounds chef’s kiss, I’m definitely trying that next batch!

1 day ago

Great call out about not rushing the rise, Jake! That slow, steady proof is exactly what gives these donuts that light, airy, melt-in-your-mouth fluffy texture everyone loves. Adding a splash of vanilla to the glaze is such a tasty, easy tweak – we’re also big fans of adding a tiny pinch of cinnamon to the glaze for anyone who wants to mix up the flavor!

1 week ago

I was worried a medium-difficulty yeast donut recipe would be too much hassle for a casual weekend bake, but these came out perfect on my first try! I stored the leftover unglazed donuts in an airtight container and glazed them fresh each morning for breakfast during the work week, and they stayed soft and fluffy for 3 whole days. Absolute new staple in our house, already sent the recipe to my sister in Colorado so she can make them for her kid’s soccer team snack day.



