
air fryer ham and cheese
intro
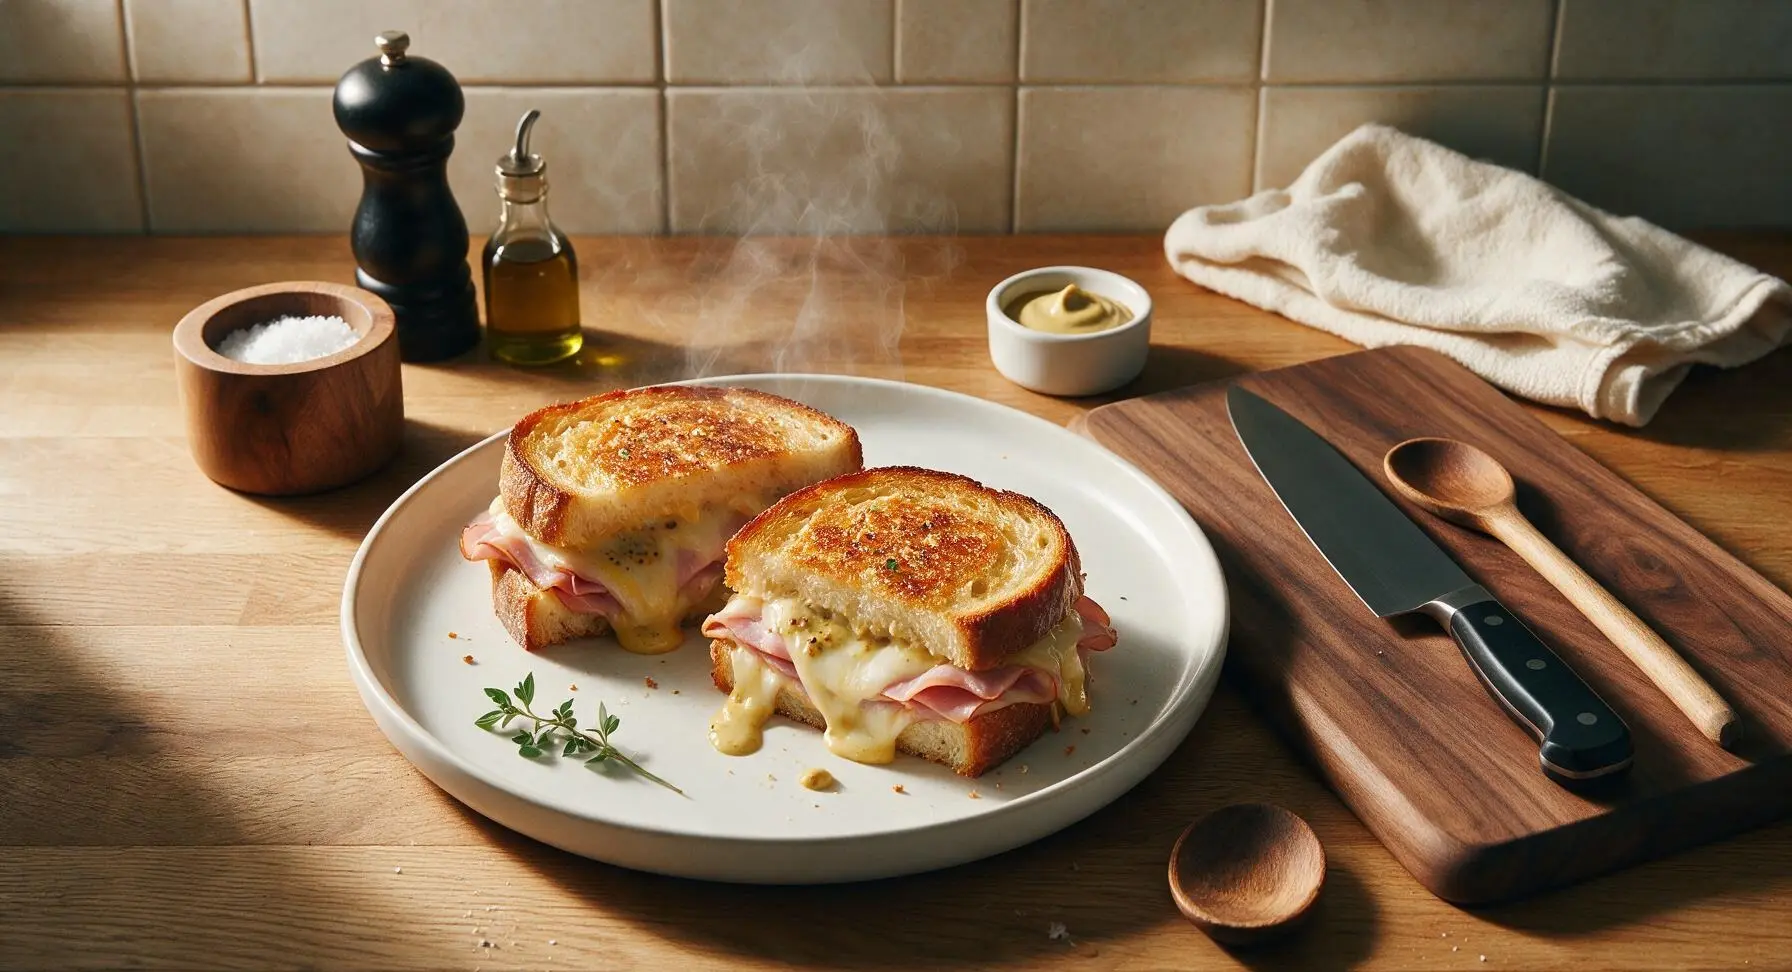
Crispy, golden air fryer ham and cheese melts with oozing melted cheese, tangy Dijon, and buttery crisp bread—ready in 11 minutes for a fast, cozy, satisfying meal.
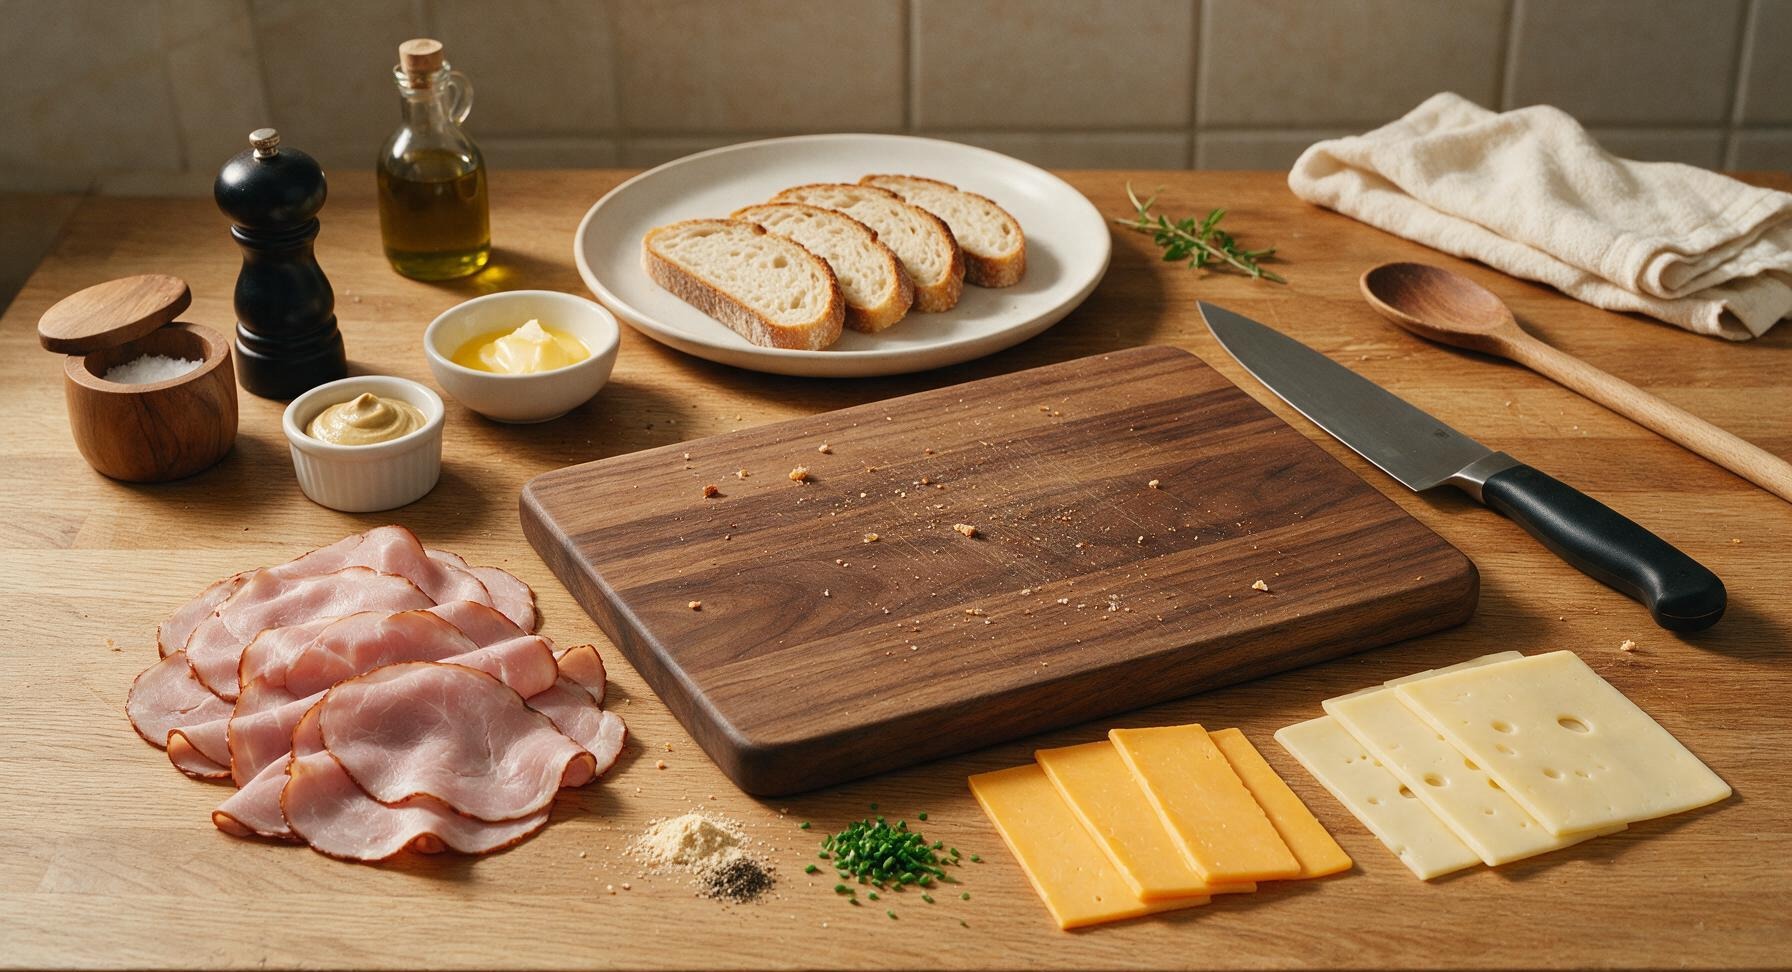
Ingredients
Steps
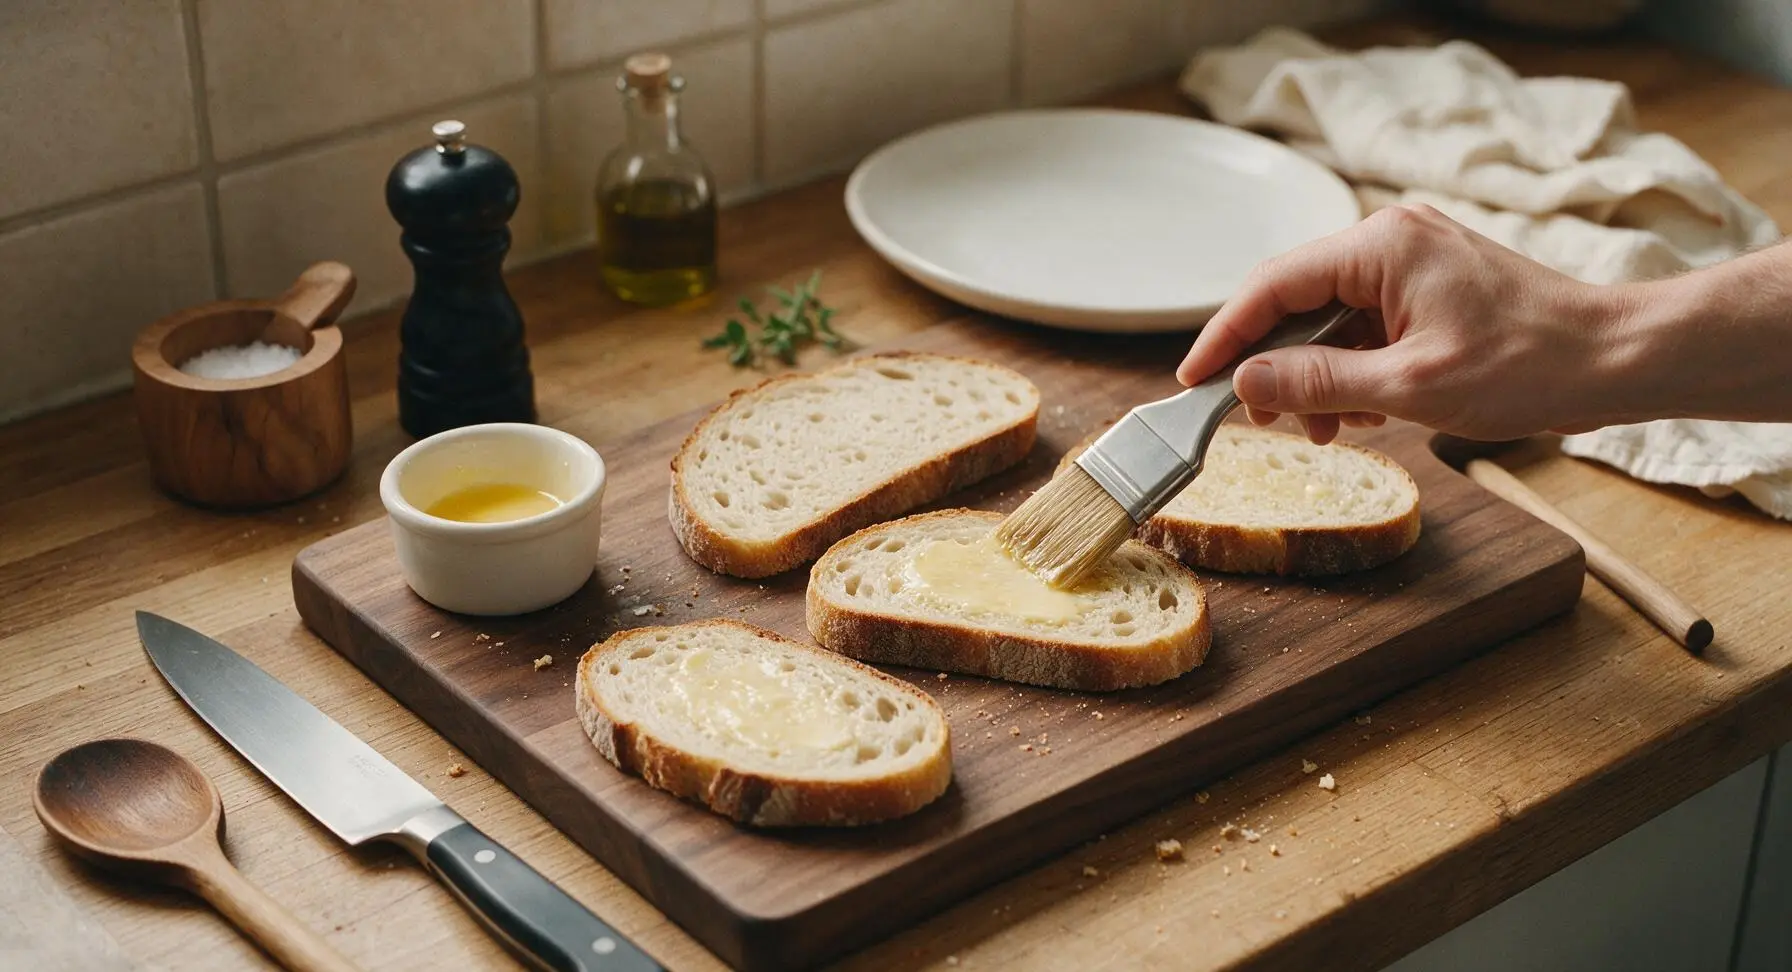
Butter Bread Slices
Lay all 4 sourdough slices flat on the light maple cutting board. Use the small stainless steel pastry brush to evenly brush one side of each bread slice with melted butter from the matte white ramekin. Aim for a thin, even coating across the entire surface, with no dry patches or thick butter clumps; this creates a uniformly crisp, golden crust during air frying without making the bread greasy.
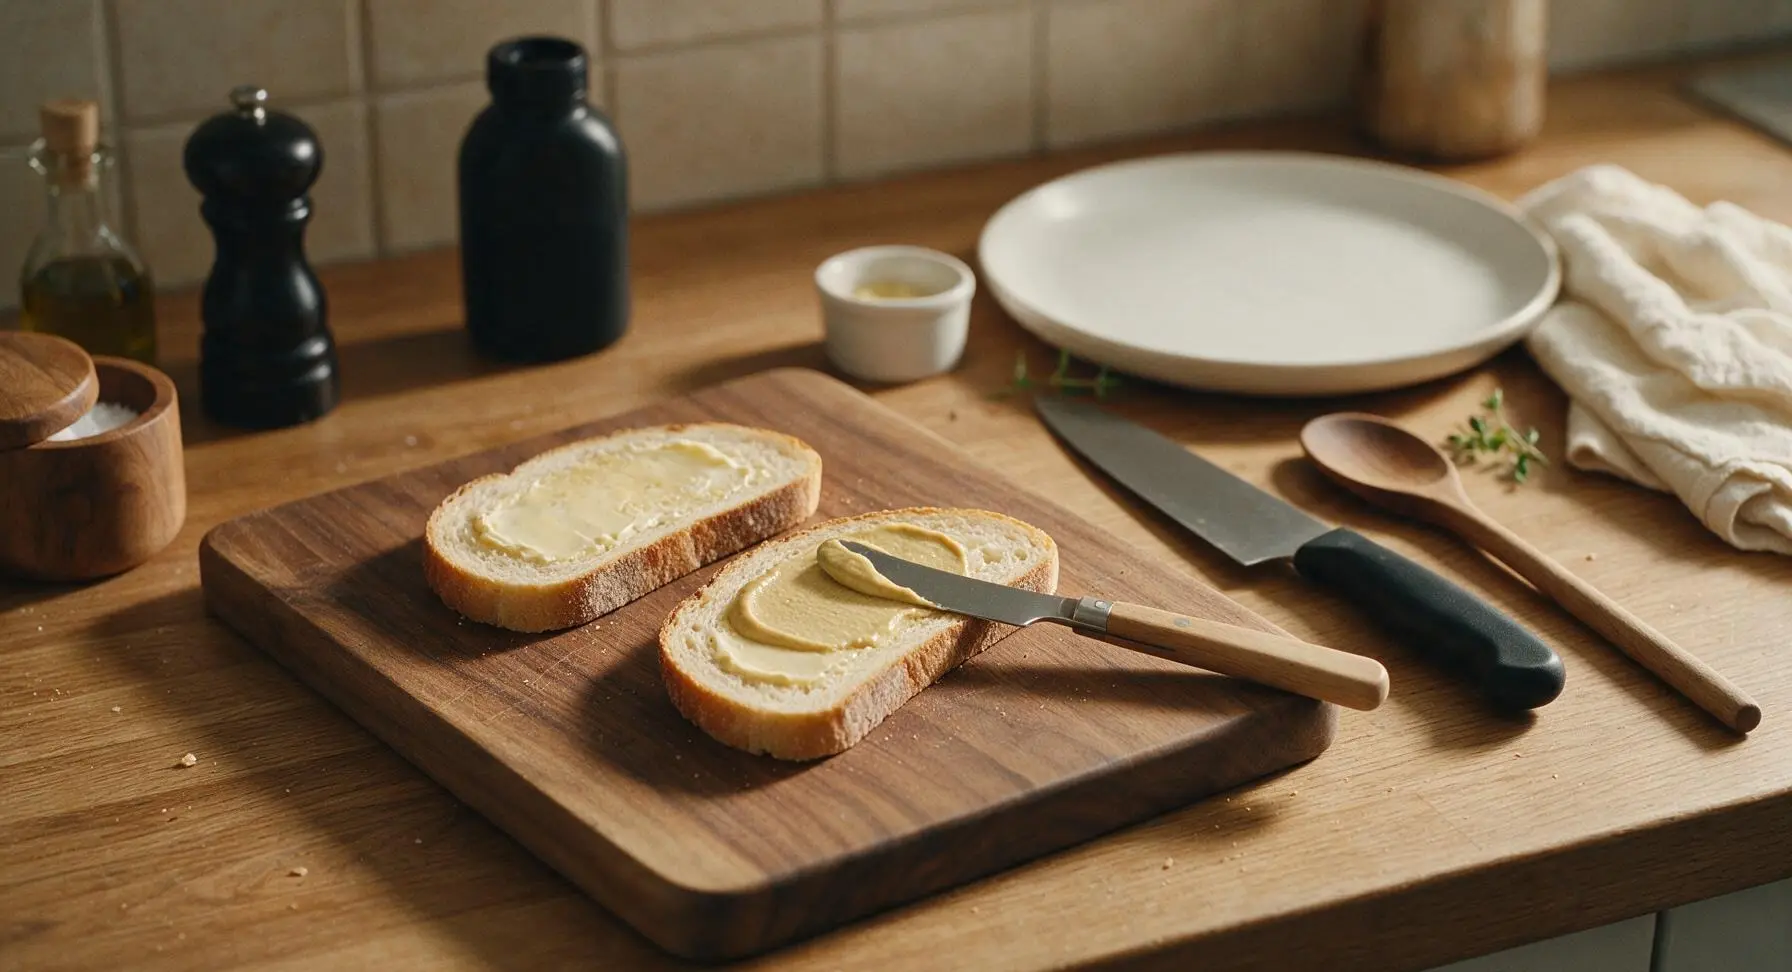
Add Dijon Spread
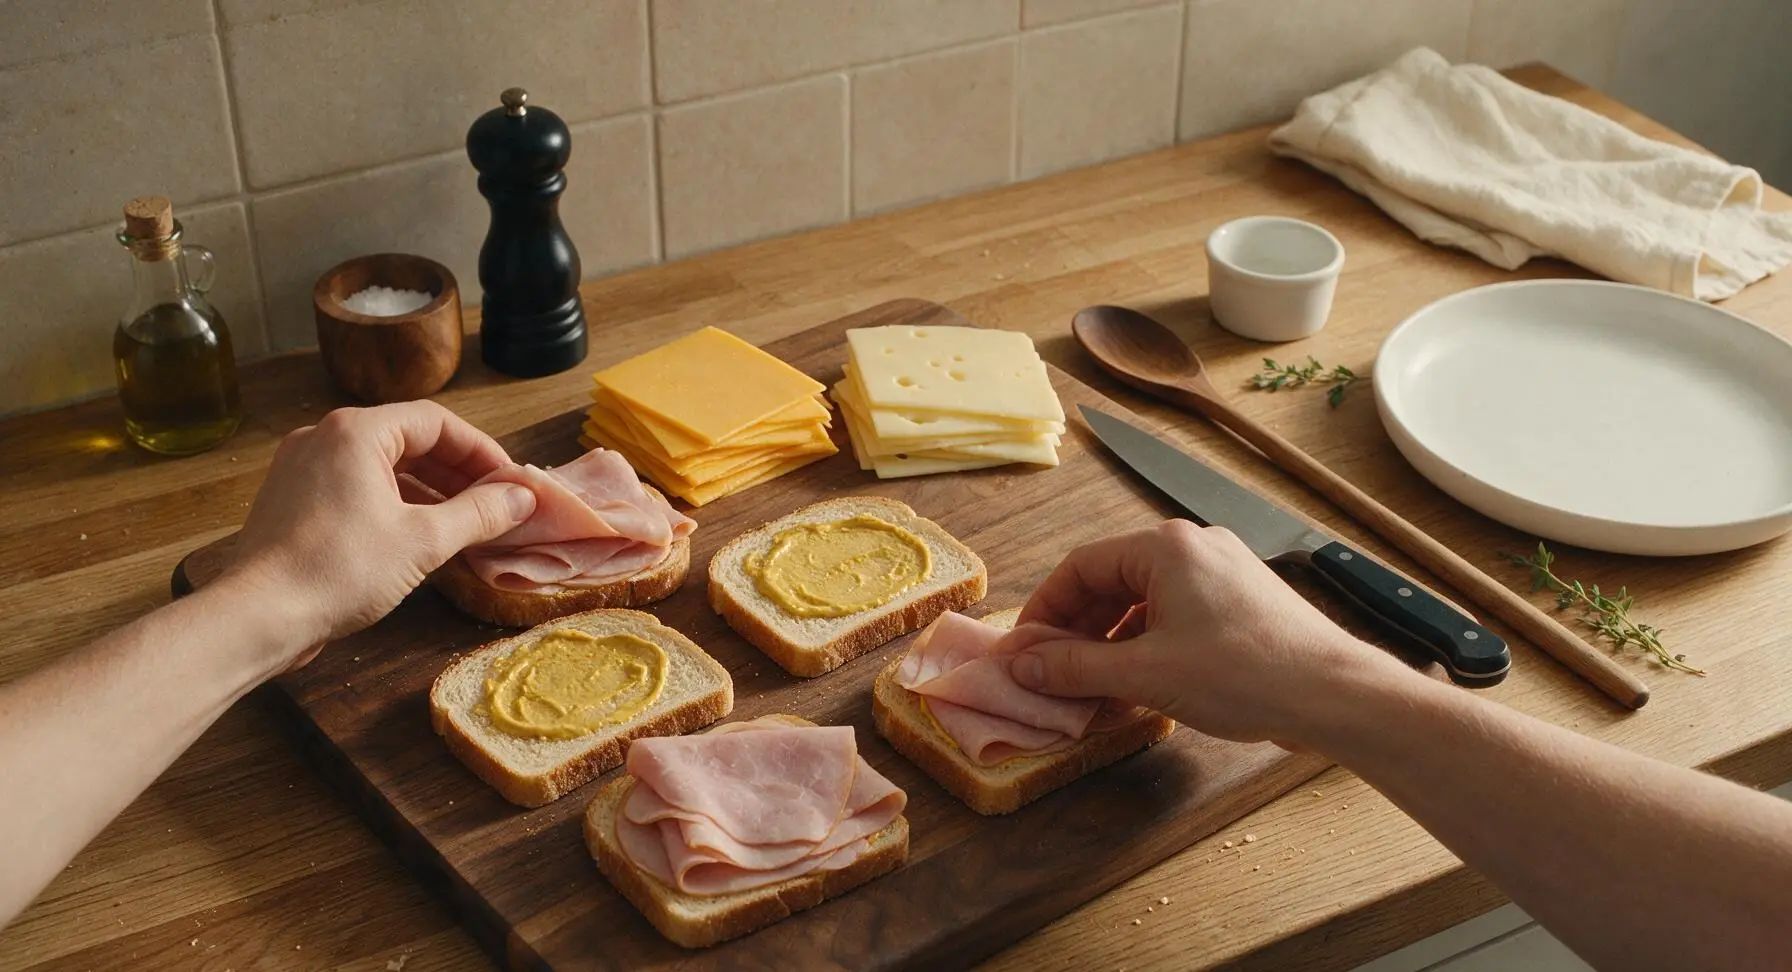
Flip all buttered bread slices over so the buttered side faces down against the cutting board. Use the 8-inch offset butter knife to spread a thin, even layer of Dijon mustard across the unbuttered side of each slice, using roughly ¼ teaspoon per slice. Keep the mustard layer thin to avoid soggy bread, as it only needs to add a subtle tangy contrast to the rich ham and cheese.
Layer Ham and Cheese
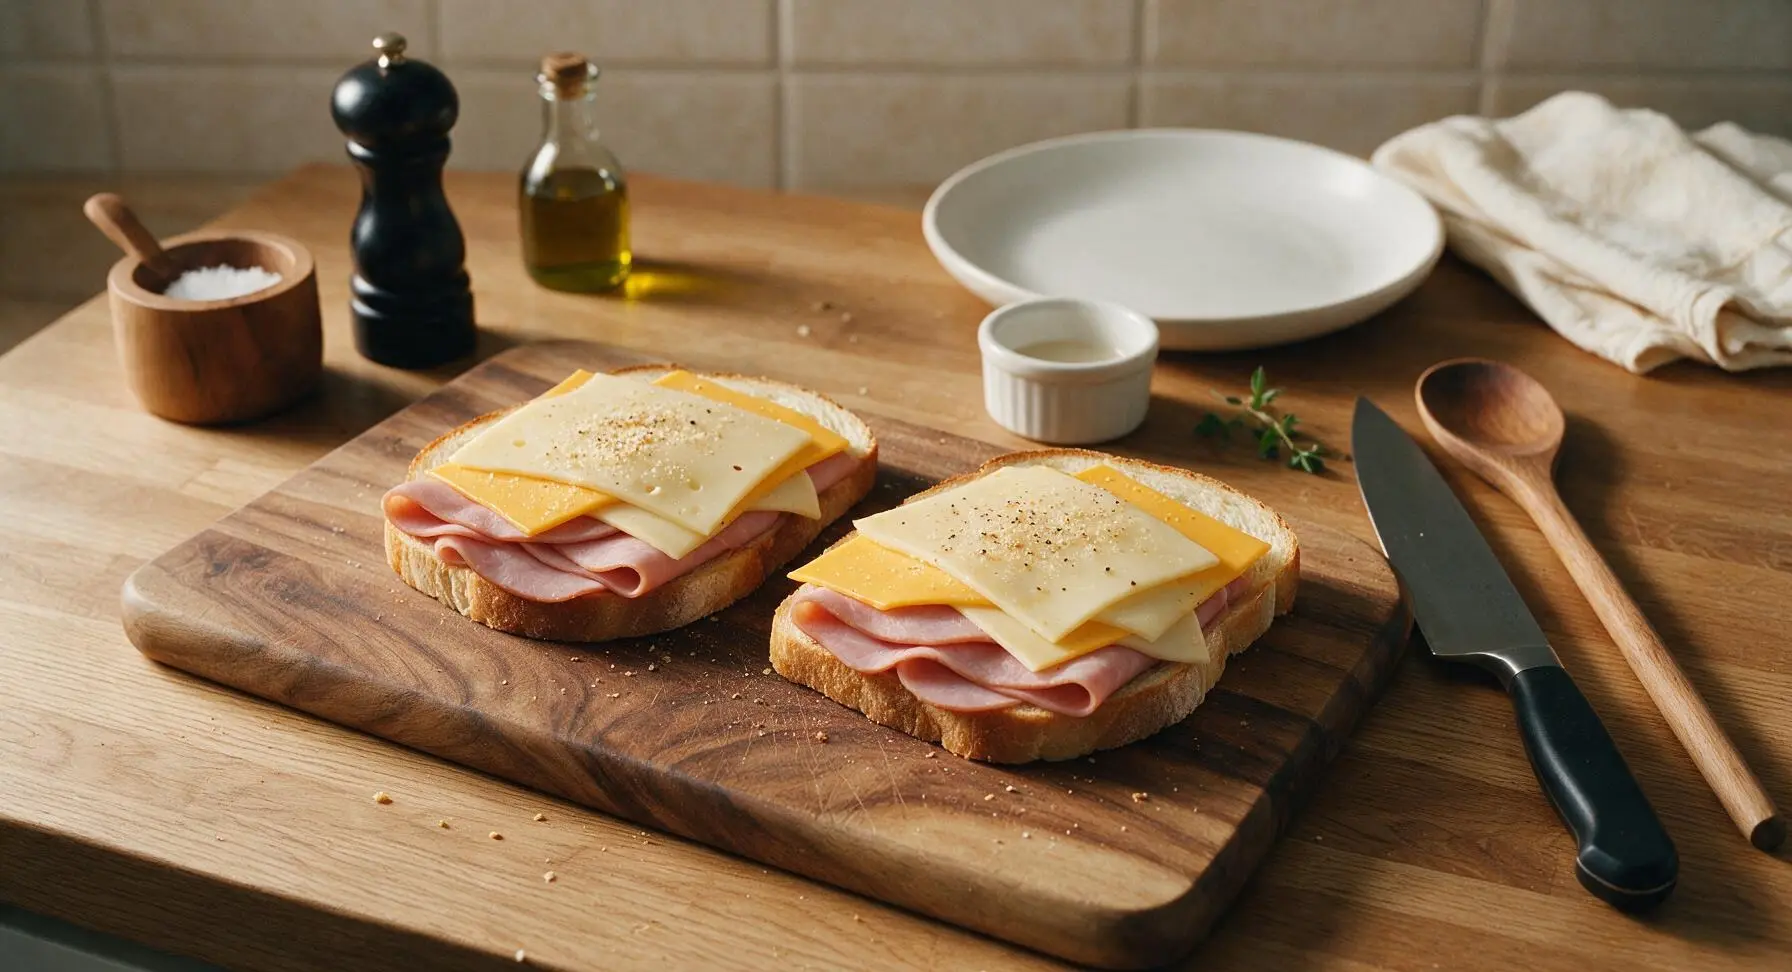
Divide the 6 deli ham slices evenly between two of the bread slices (3 slices per sandwich), folding slices slightly to fit the bread without hanging over the edges (overhanging filling will drip and burn in the air fryer). Top the ham on each sandwich with 2 slices of cheddar and 2 slices of Swiss, keeping all cheese ¼ inch inside the bread edges. Sprinkle the ¼ teaspoon garlic powder and ⅛ teaspoon black pepper evenly over the cheese layer for subtle savoriness.
Seal Sandwich Halves
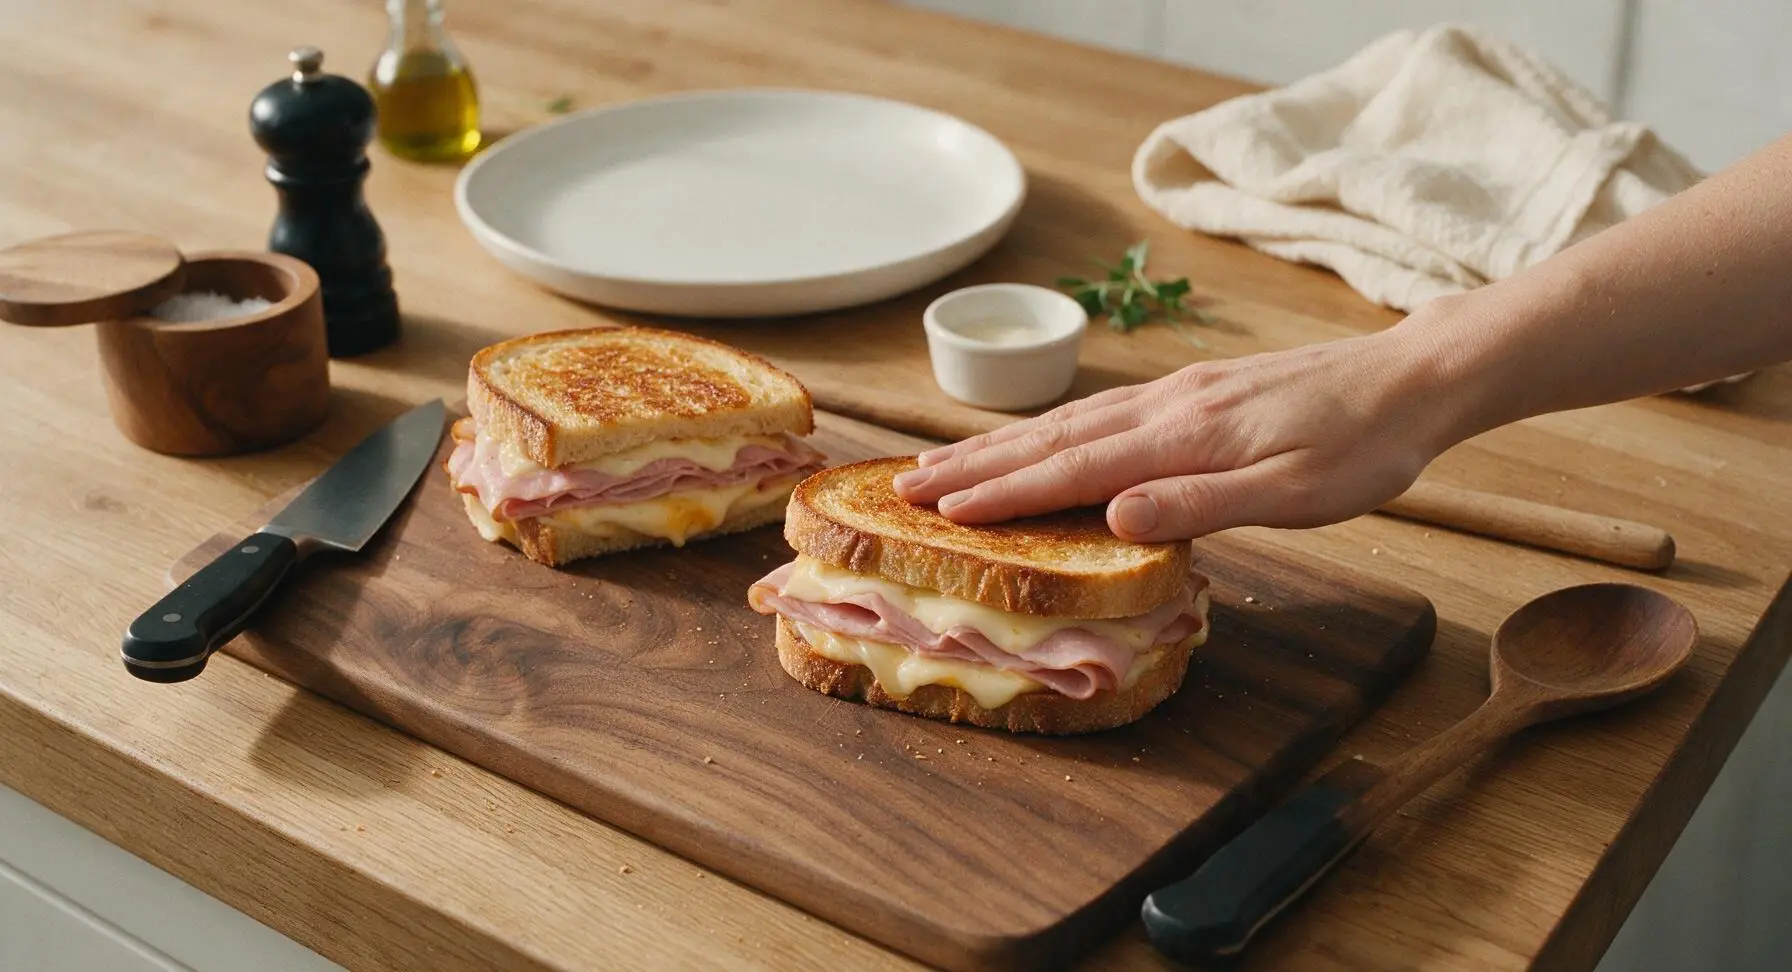
Place the remaining two bread slices on top of the filled halves, with the mustard-coated side facing down against the cheese, so the buttered side of the top slice faces outward. Press down gently on the top of each sandwich with the palm of your hand to compact the layers slightly, which prevents filling from sliding out during the air frying process.
Preheat Air Fryer
Set the matte black 5.8-quart air fryer to 375°F (190°C) and preheat for 2 minutes. Skip parchment paper or basket liners for this recipe, as they block hot air flow and prevent even crisping on the bottom of the bread.
Cook Until Golden
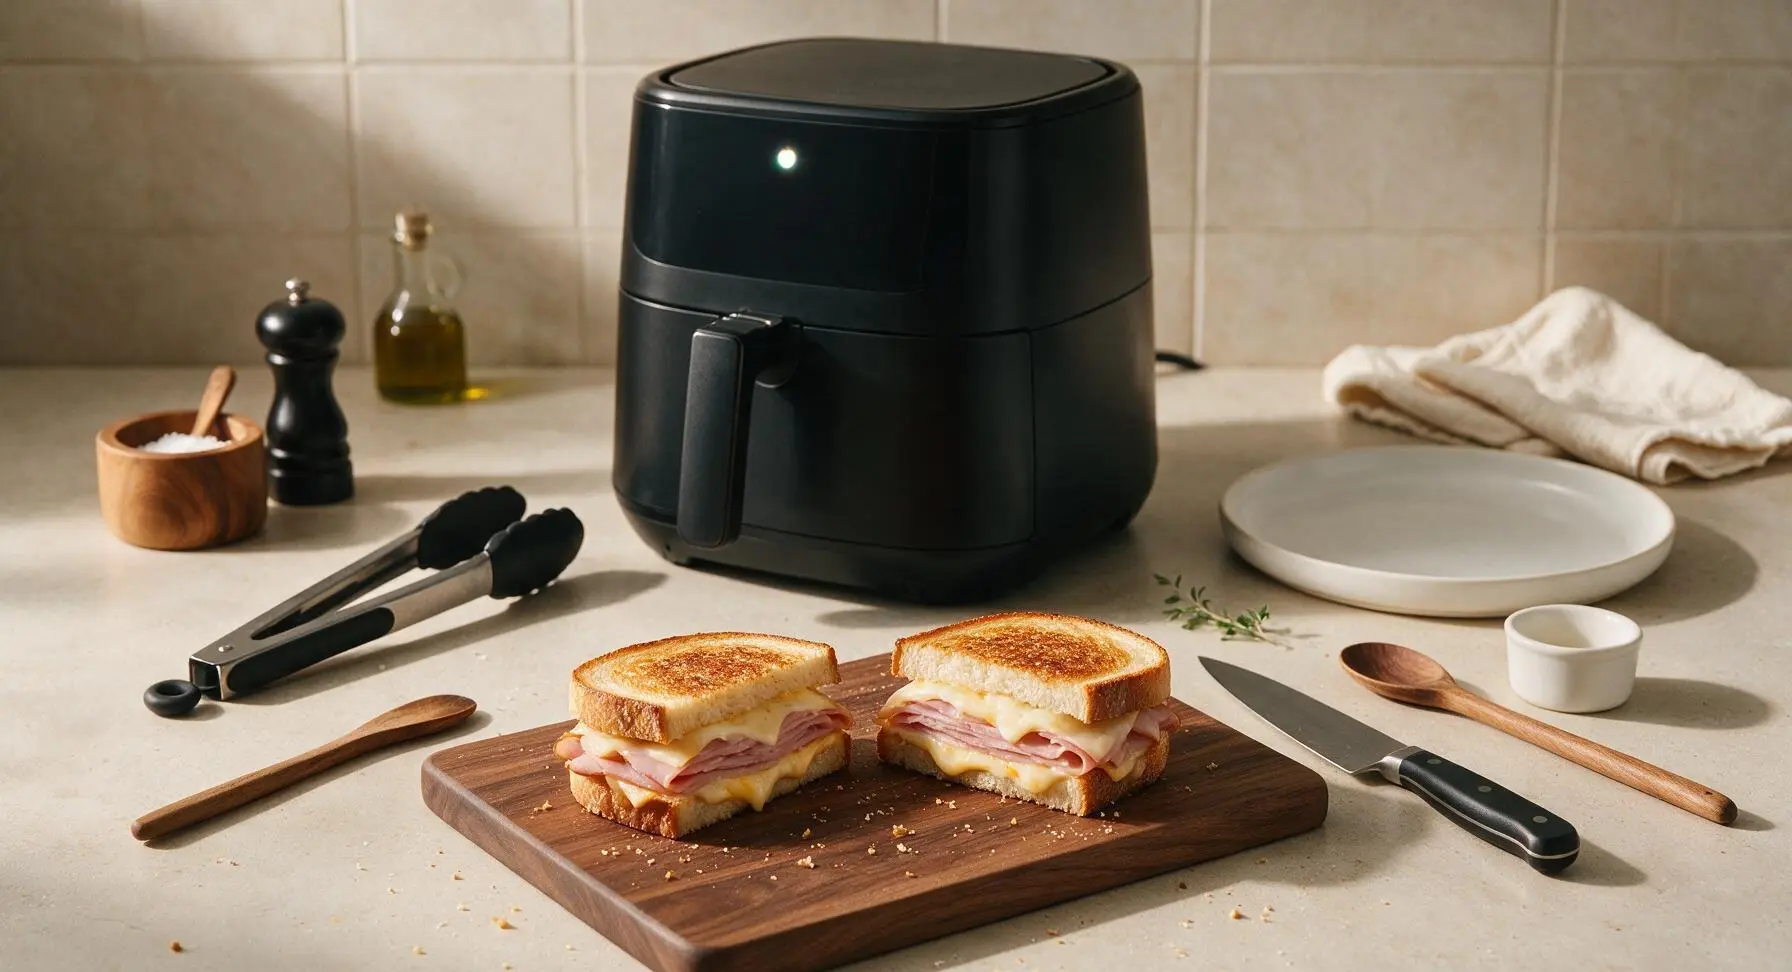
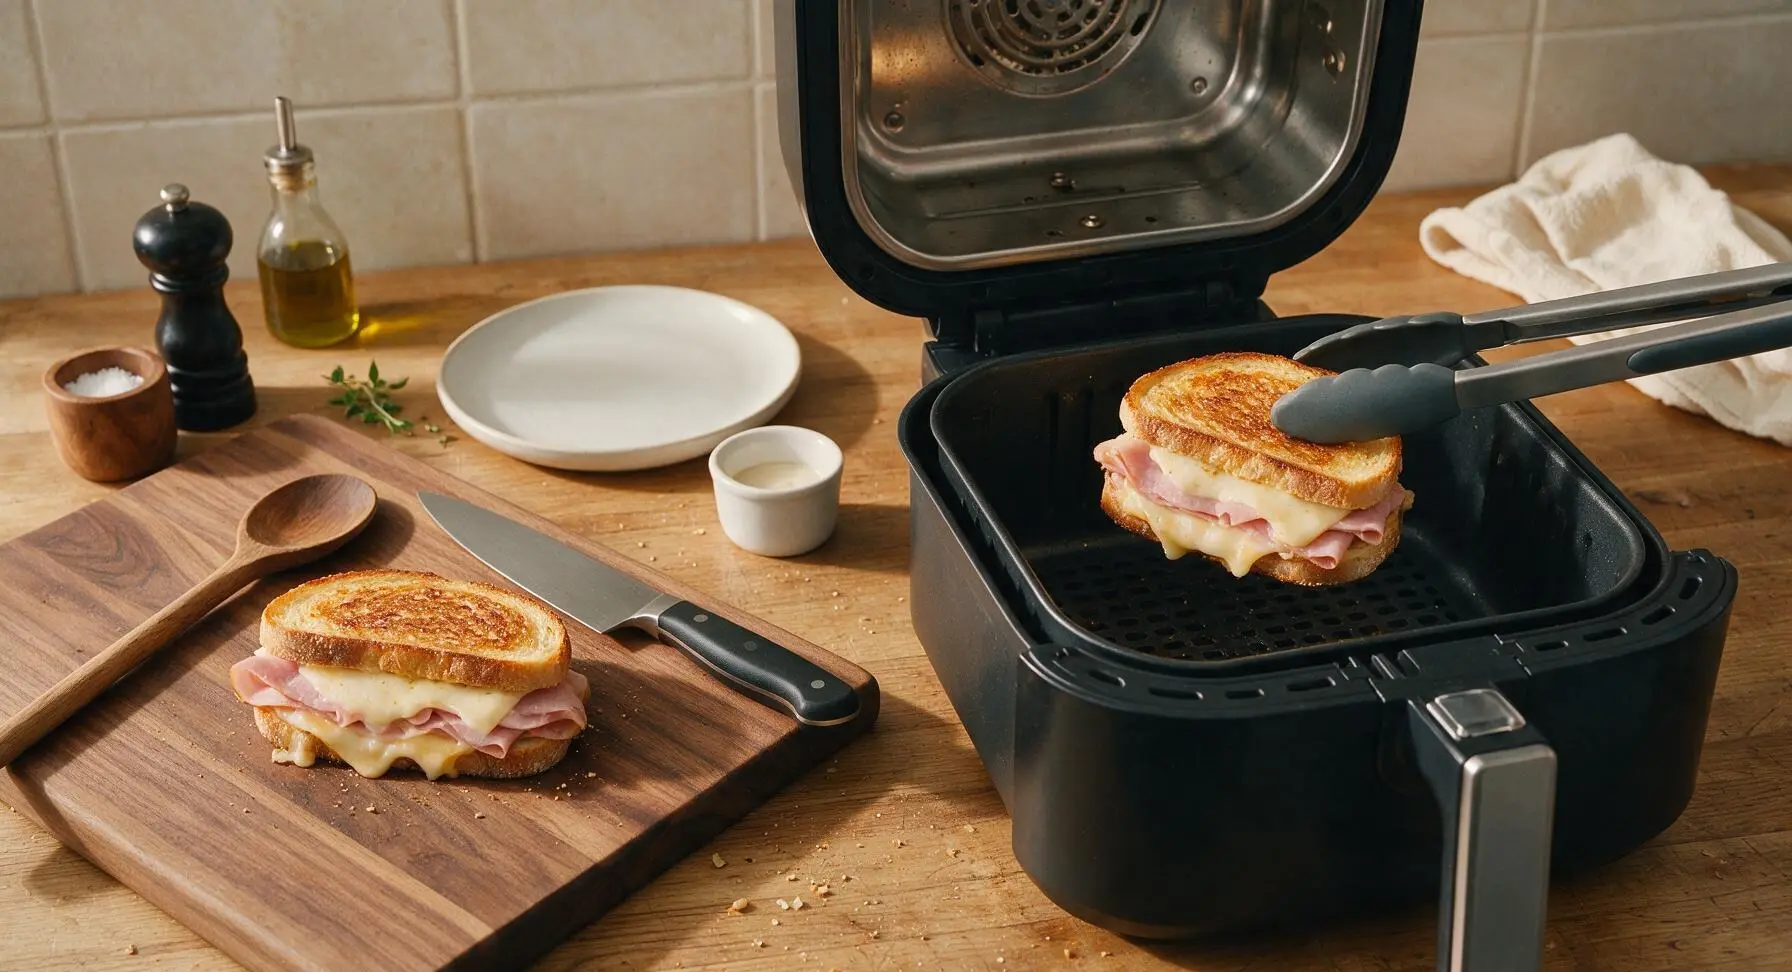
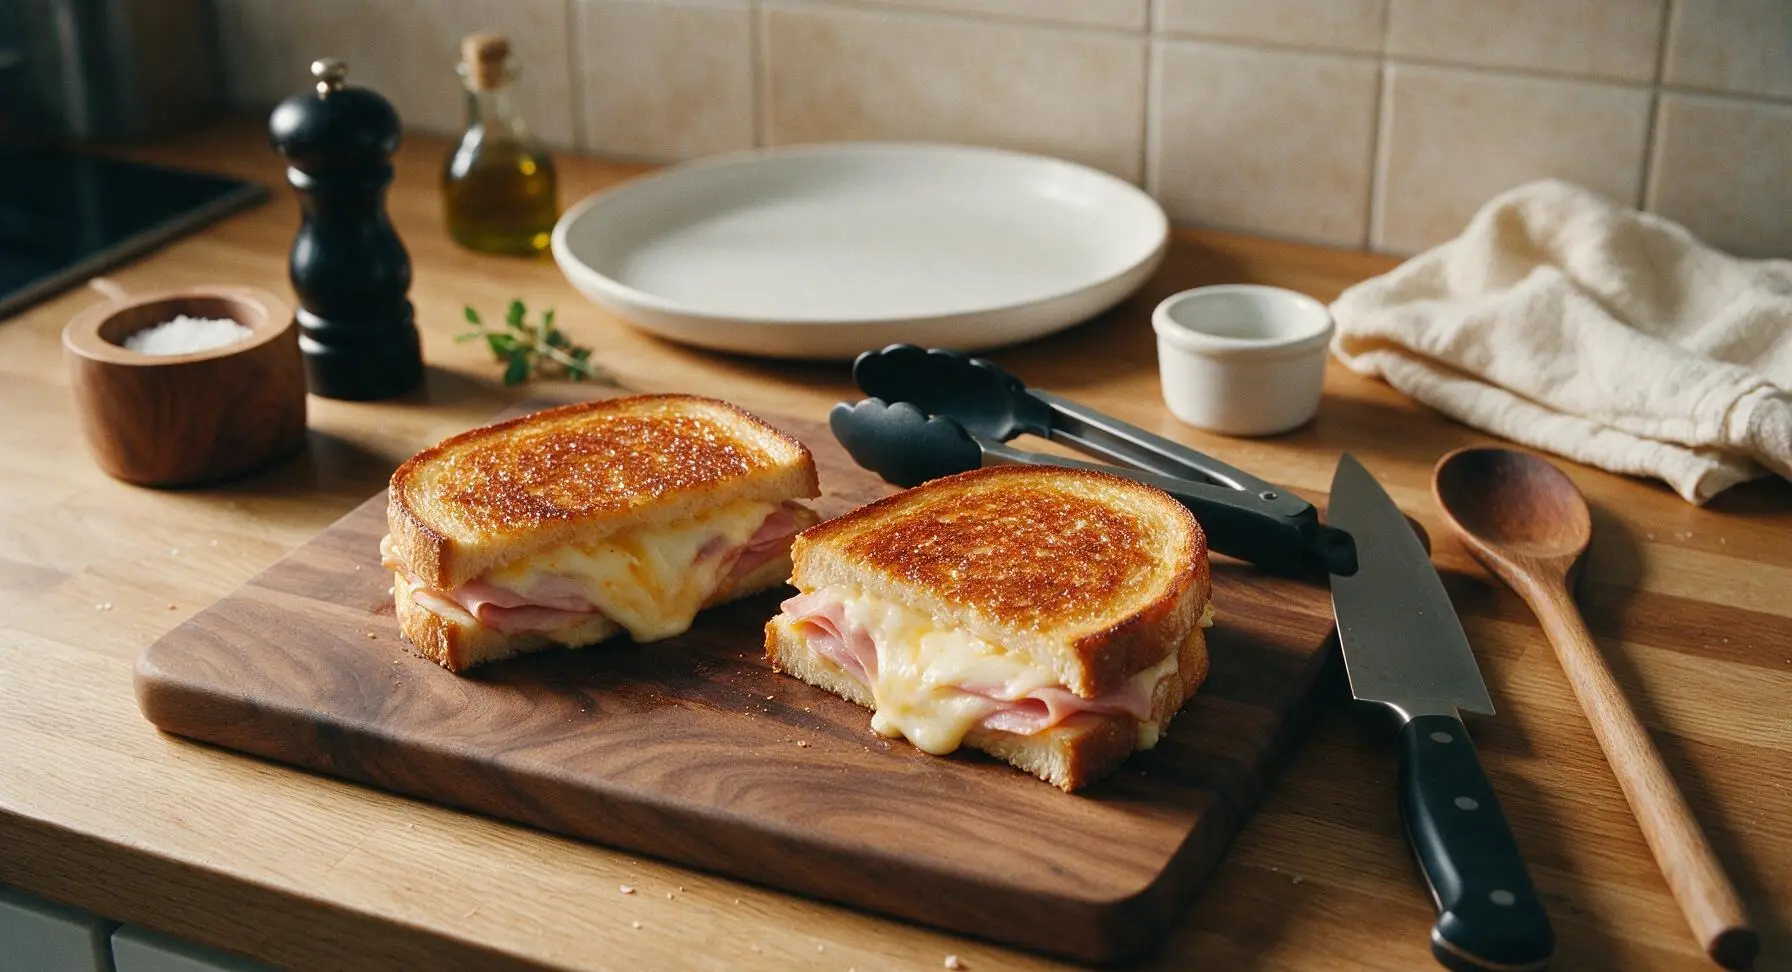
Use the silicone-tipped tongs to place both sandwiches in the preheated air fryer basket in a single layer, leaving ½ inch of space between them for unobstructed air circulation. Cook for 3 minutes, then carefully flip the sandwiches with the tongs, and cook for an additional 3 minutes. The bread should be deep golden brown and crisp to the touch, with fully melted cheese that has no firm, unmelted spots in the center.
Rest and Plate
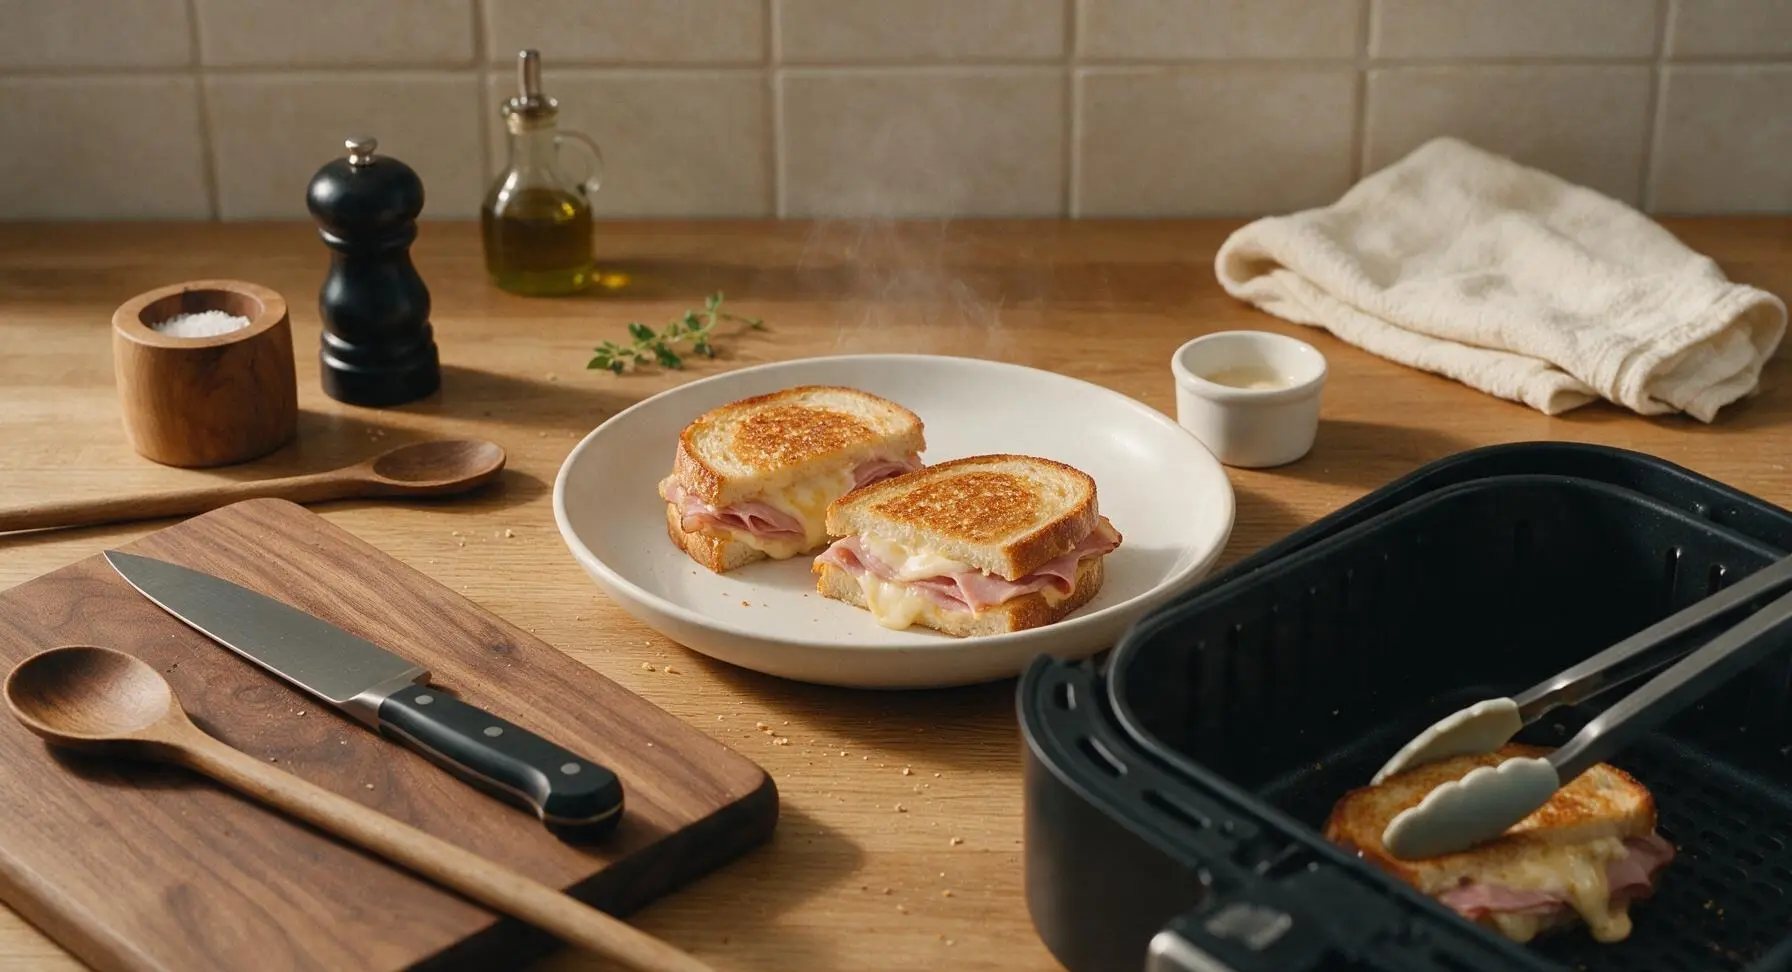
Once cooking is complete, use the silicone-tipped tongs to transfer the hot sandwiches from the air fryer basket to the cream white ceramic dinner plate. Let the sandwiches rest for 1 minute to allow the cheese to set slightly, which prevents it from running out completely when cut.
Cut and Garnish
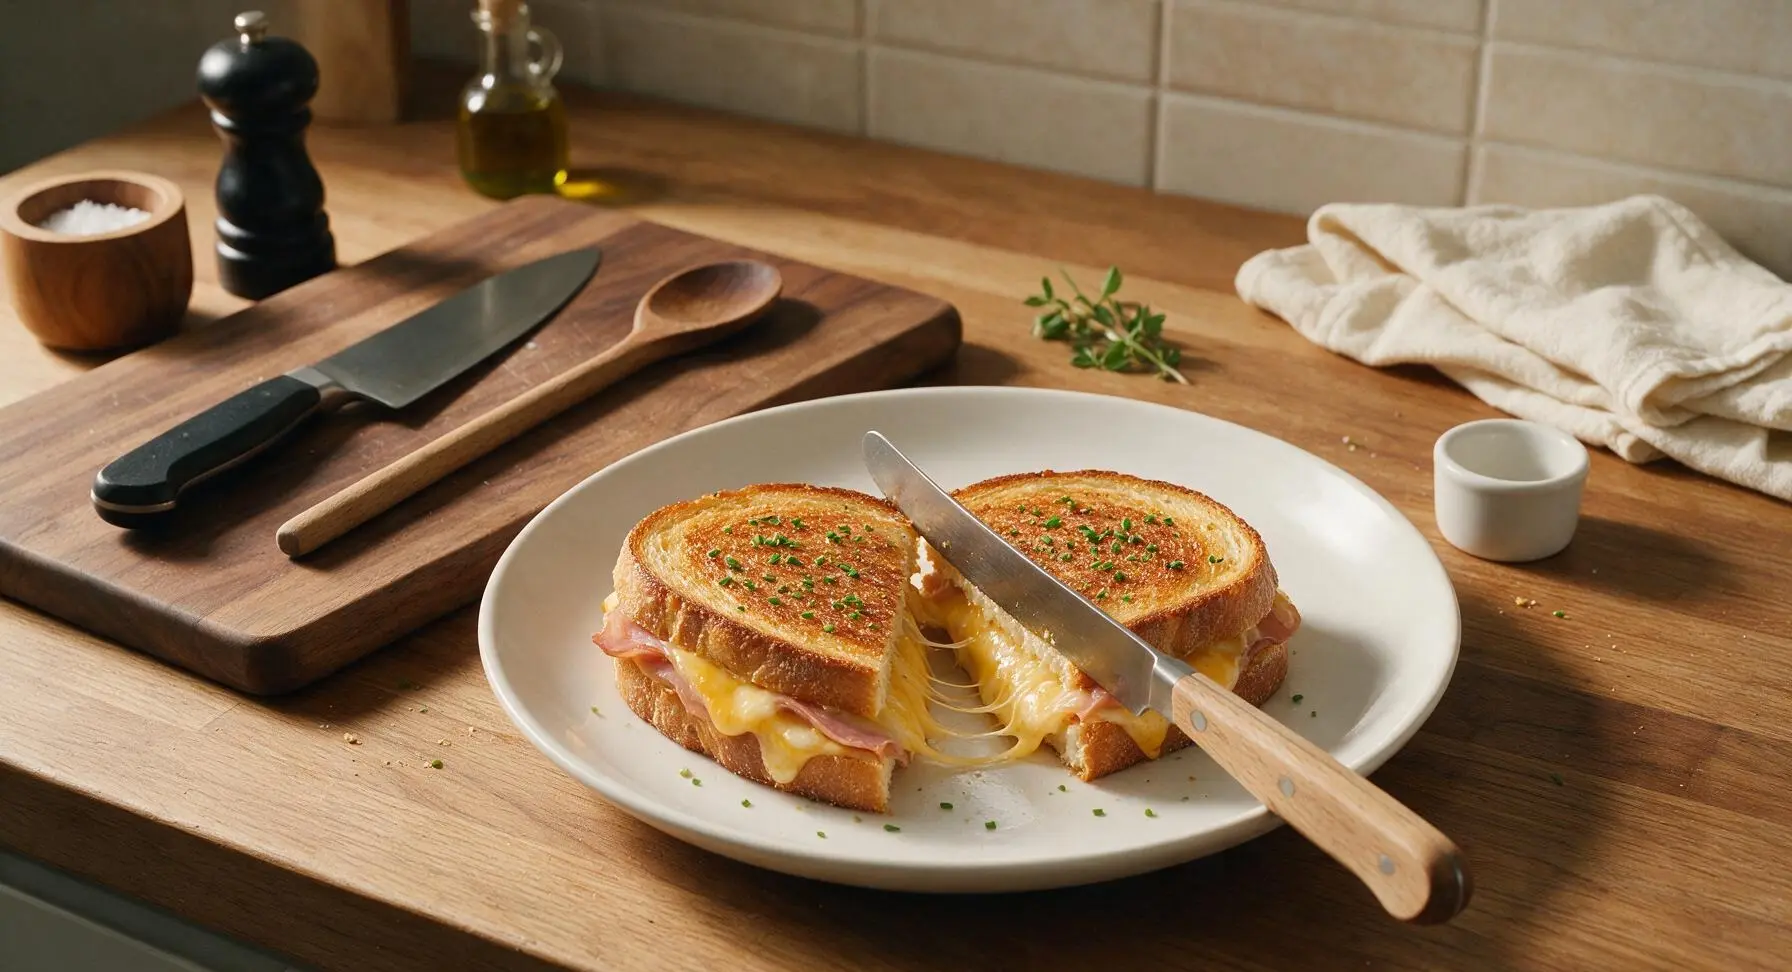
Use the offset butter knife to cut each sandwich diagonally into two equal triangles. Sprinkle the finely chopped fresh chives across the top of the sandwiches for a bright, fresh, oniony garnish. Serve immediately while the bread is crisp and the cheese is hot and stretchy.
Tips
2.Skip parchment liners in the air fryer basket: liners block the upward flow of hot air, leading to soggy, unevenly crisped bread on the bottom of the sandwiches.
3.Let sandwiches rest for 1 full minute after cooking: this short pause lets melted cheese thicken slightly, so you get a satisfying stretchy cheese pull instead of all the cheese running out onto your plate with the first bite.






OMG these air fryer ham and cheese melts are a total game changer! 6 minutes cook time? I threw these together after my kids’ soccer practice last night and my two super picky eaters devoured theirs before I even sat down. I used sourdough bread and smoked gouda instead of regular cheddar, total chef’s kiss.
Made these for a quick work from home lunch yesterday and wow, way better than the sad sandwich I usually microwave. The cheese gets perfectly melty without the bread getting soggy at all, 10/10.
These are going straight into my weekly meal prep rotation! Super easy, minimal cleanup, and they hold up great if I wrap them up for lunch at the office. Quick question though – has anyone tried making these ahead and freezing them? Would love to batch make a bunch for busy weeks.
Made a platter of these for our neighborhood block party potluck last weekend and they were gone in 10 minutes flat! Everyone was asking for the recipe, I felt like such a rockstar. Only pro tip from me: cut them into quarters so they’re easy finger food sized for grazing.
As a college senior with basically zero cooking skills and a tiny dorm air fryer, this recipe was totally foolproof. I used cheap pre-sliced deli ham and pre-shredded cheddar, didn’t burn a single thing, and it tasted way better than the sad ham melts from the campus diner. Will be making these nonstop between study sessions.
This was so easy to adapt for my gluten free diet! I used my favorite GF sandwich bread, spritzed a little olive oil on the outside, and it got perfectly crispy in the air fryer. My husband didn’t even notice it was GF, ha! Quick question: does anyone know if these work with Swiss cheese instead of cheddar?
6 minute cook time? Sign me all the way up. Between back-to-back work calls and getting my 8 year old to taekwondo practice on time, I never have bandwidth for fancy weeknight dinners, and these hit the spot perfectly last night. Only silly mishap: I totally overstuffed the first one and cheese oozed all over the air fryer basket, ha, still tasted amazing though.
Wait, why did I never think to make ham and cheese melts in the air fryer before? I used to make them in a pan on the stove and they’d always burn on one side before the cheese fully melted. These were perfectly golden on both sides, zero flipping needed! Added a few pickled jalapenos to mine for a little kick, SO good.
Made these in my tiny countertop air fryer in our RV over the weekend while we were camping, and they were the perfect quick camp meal! No need to heat up the whole RV propane oven, fast, almost no mess, and they tasted just as good as the melts we make at home. 10/10 for easy camp cooking.
I was skeptical these would be as good as stovetop grilled ham and cheese, but wow, the bread gets so perfectly crispy in 6 minutes! I slathered a little dijon mustard on the inside and it was chef’s kiss. Only bummer: my roommate walked in right as I finished and stole half my sandwich, so I definitely need to make a double batch next time.