
alton brown green bean casserole

title 1
alton brown green bean casserole
⏱️ cook time 45 minutes
🍽️ servings 8
⚡ Difficulty medium

intro

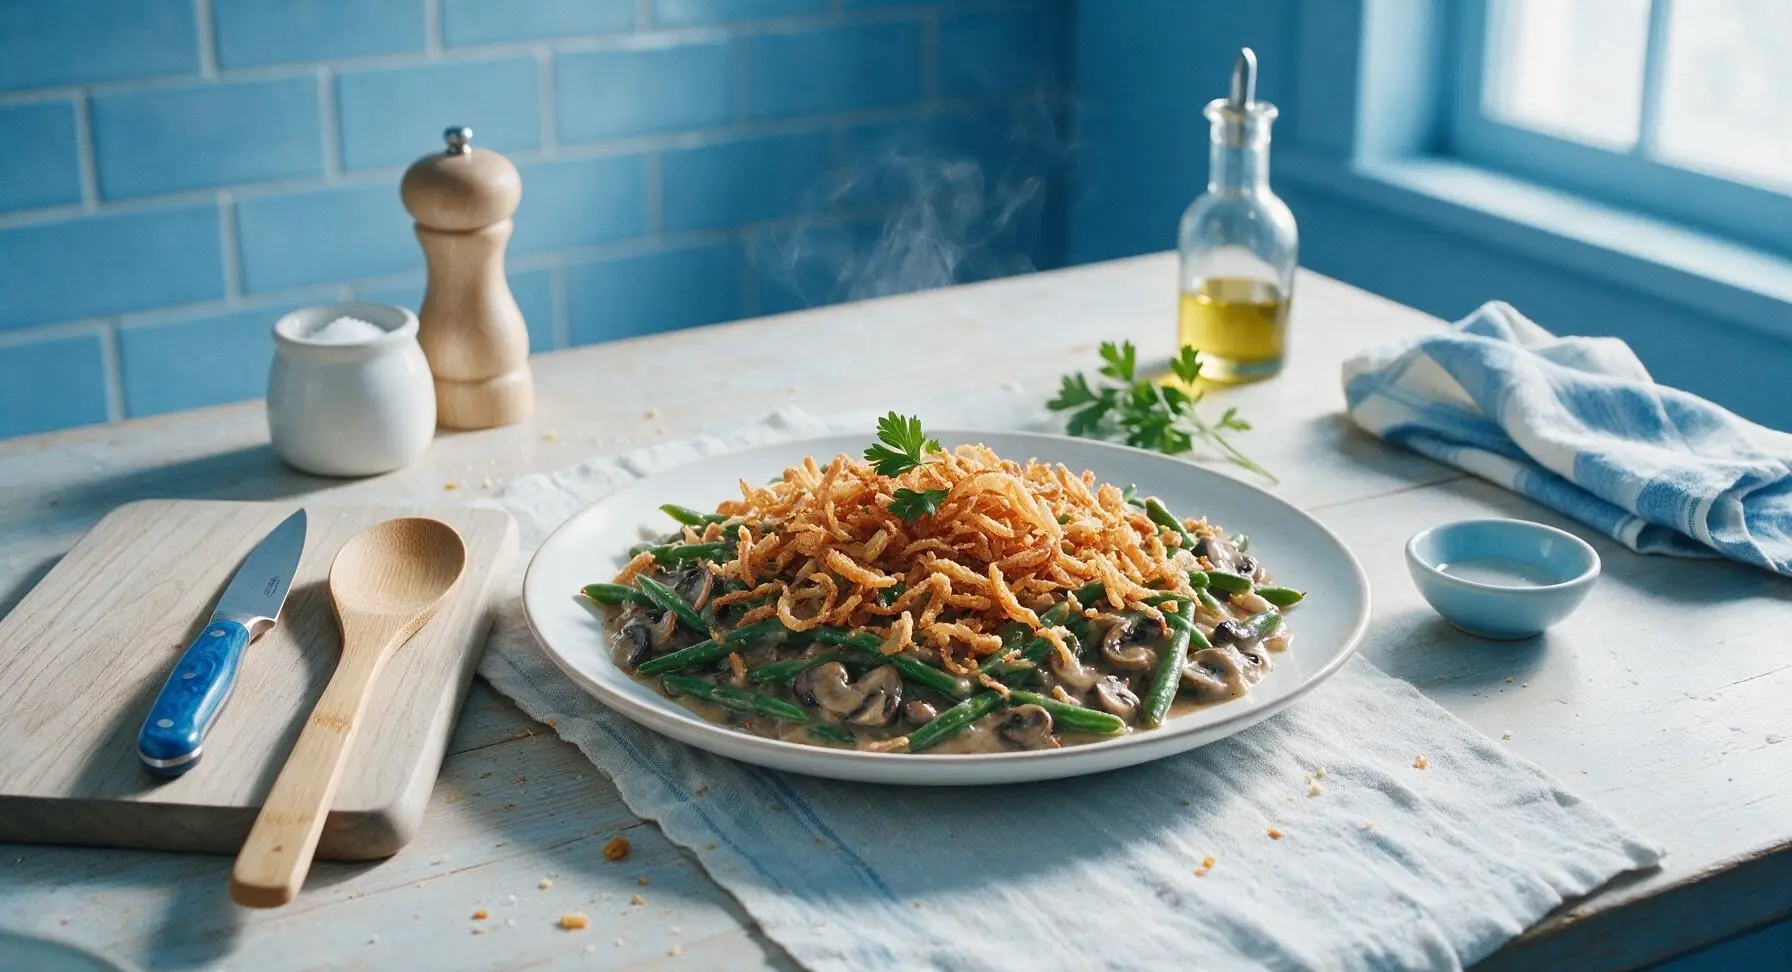
Alton Brown’s from-scratch green bean casserole skips canned soup for rich umami mushroom gravy, crisp-tender beans, and shatteringly crunchy homemade fried onions—the ultimate upgraded holiday side.

Ingredients
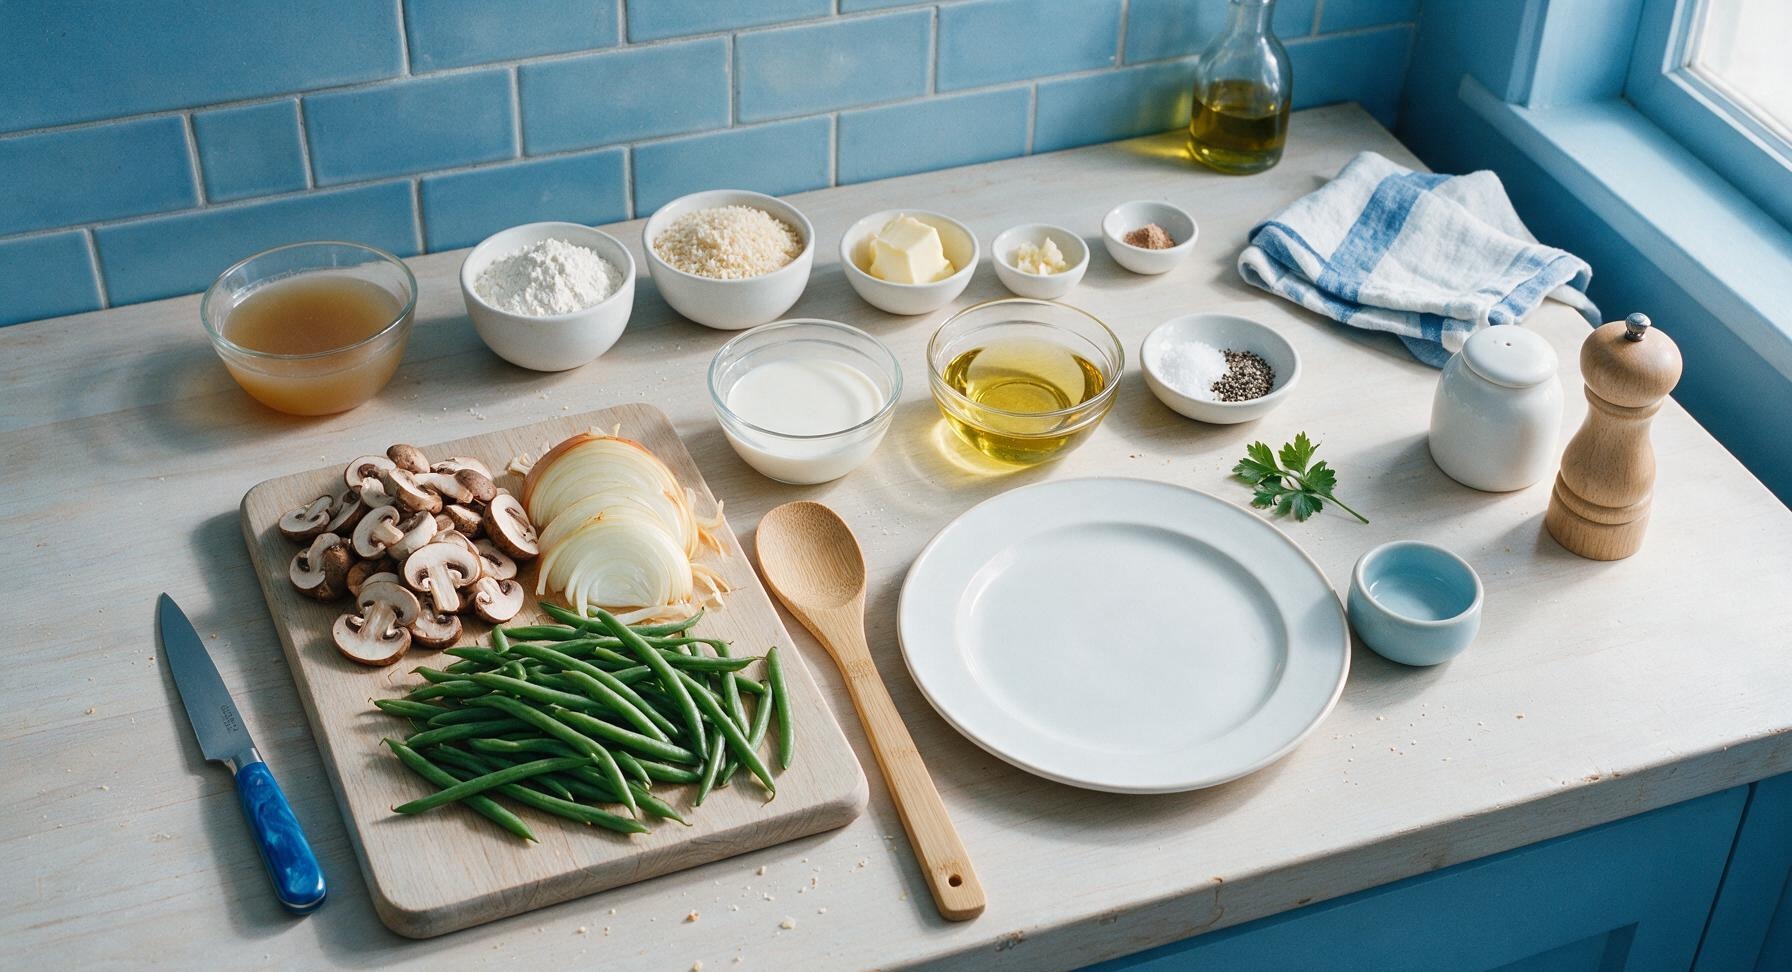
Fresh green beans, trimmed 1 lb (450g)
Cremini mushrooms, sliced ¼-inch thick 8 oz (225g)
Large yellow onion, thinly sliced into half-moons 1 each (220g)
All-purpose flour, divided 1 cup (120g)
Panko breadcrumbs ½ cup (30g)
Unsalted butter 3 tbsp (42g)
Garlic cloves, minced 2 each
Low-sodium chicken broth 2 cups (480ml)
Half-and-half 1 cup (240ml)
Kosher salt, divided 1 tbsp + 1 tsp (20g)
Freshly ground black pepper ½ tsp
Freshly grated nutmeg ¼ tsp
Canola oil (for frying) 2 cups (480ml)

Steps

1

Blanch Green Beans

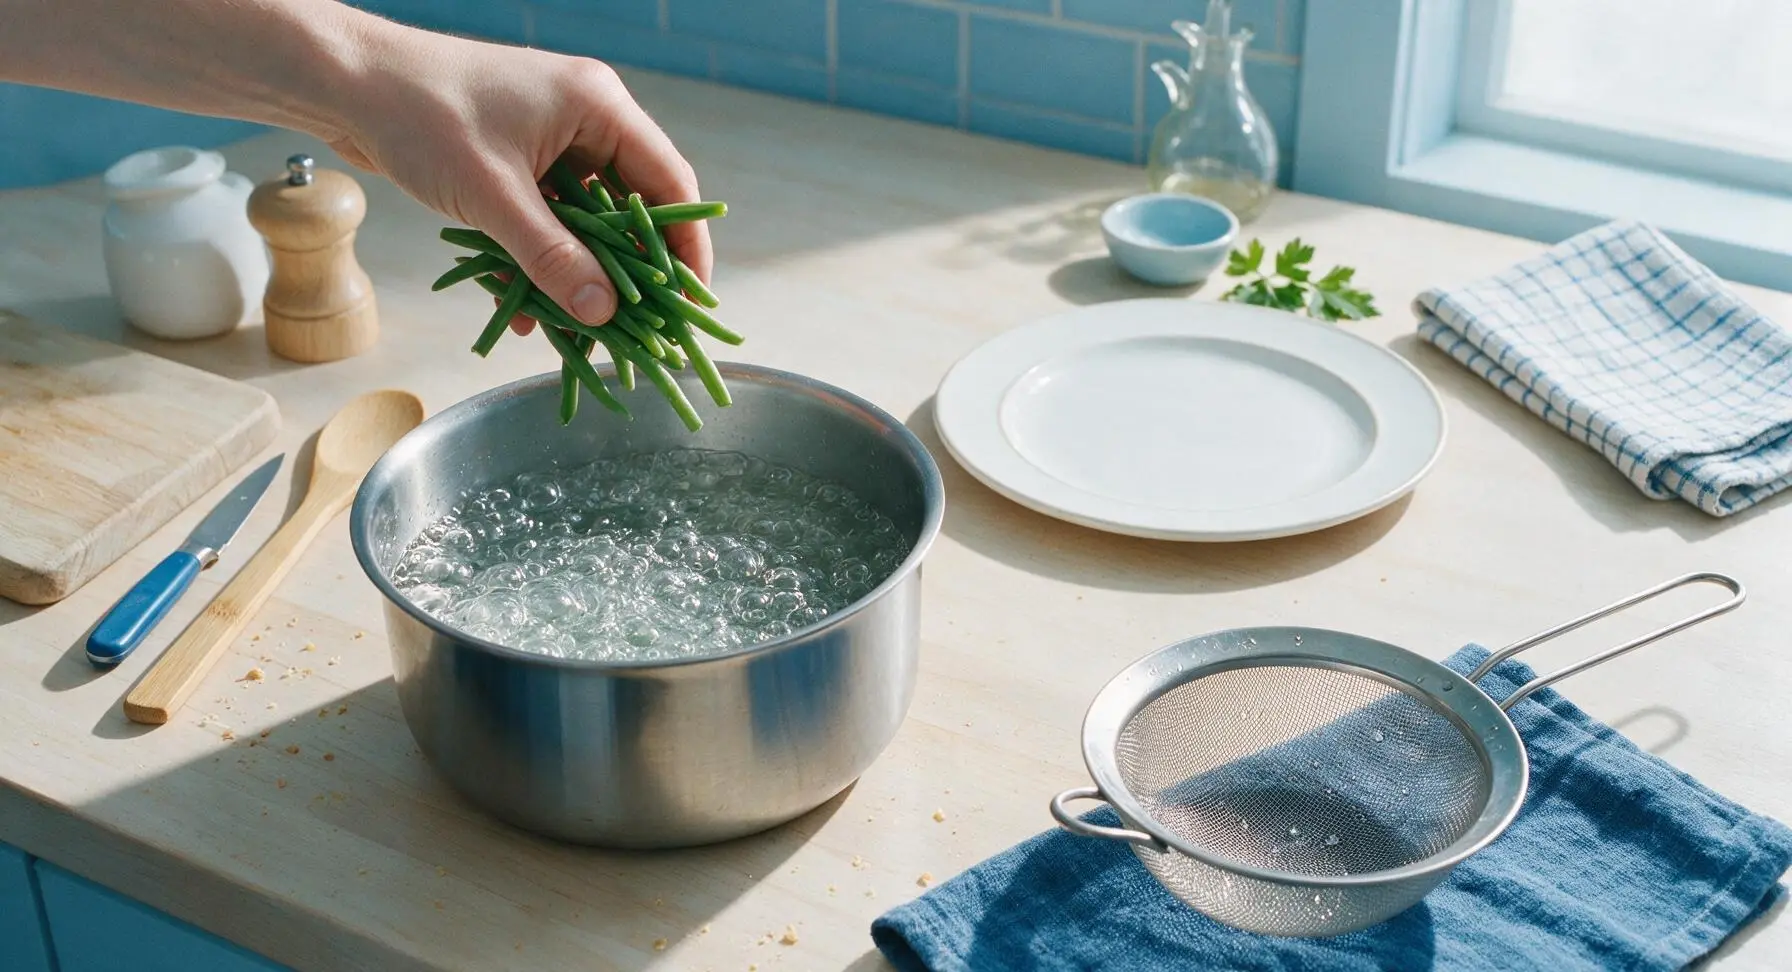
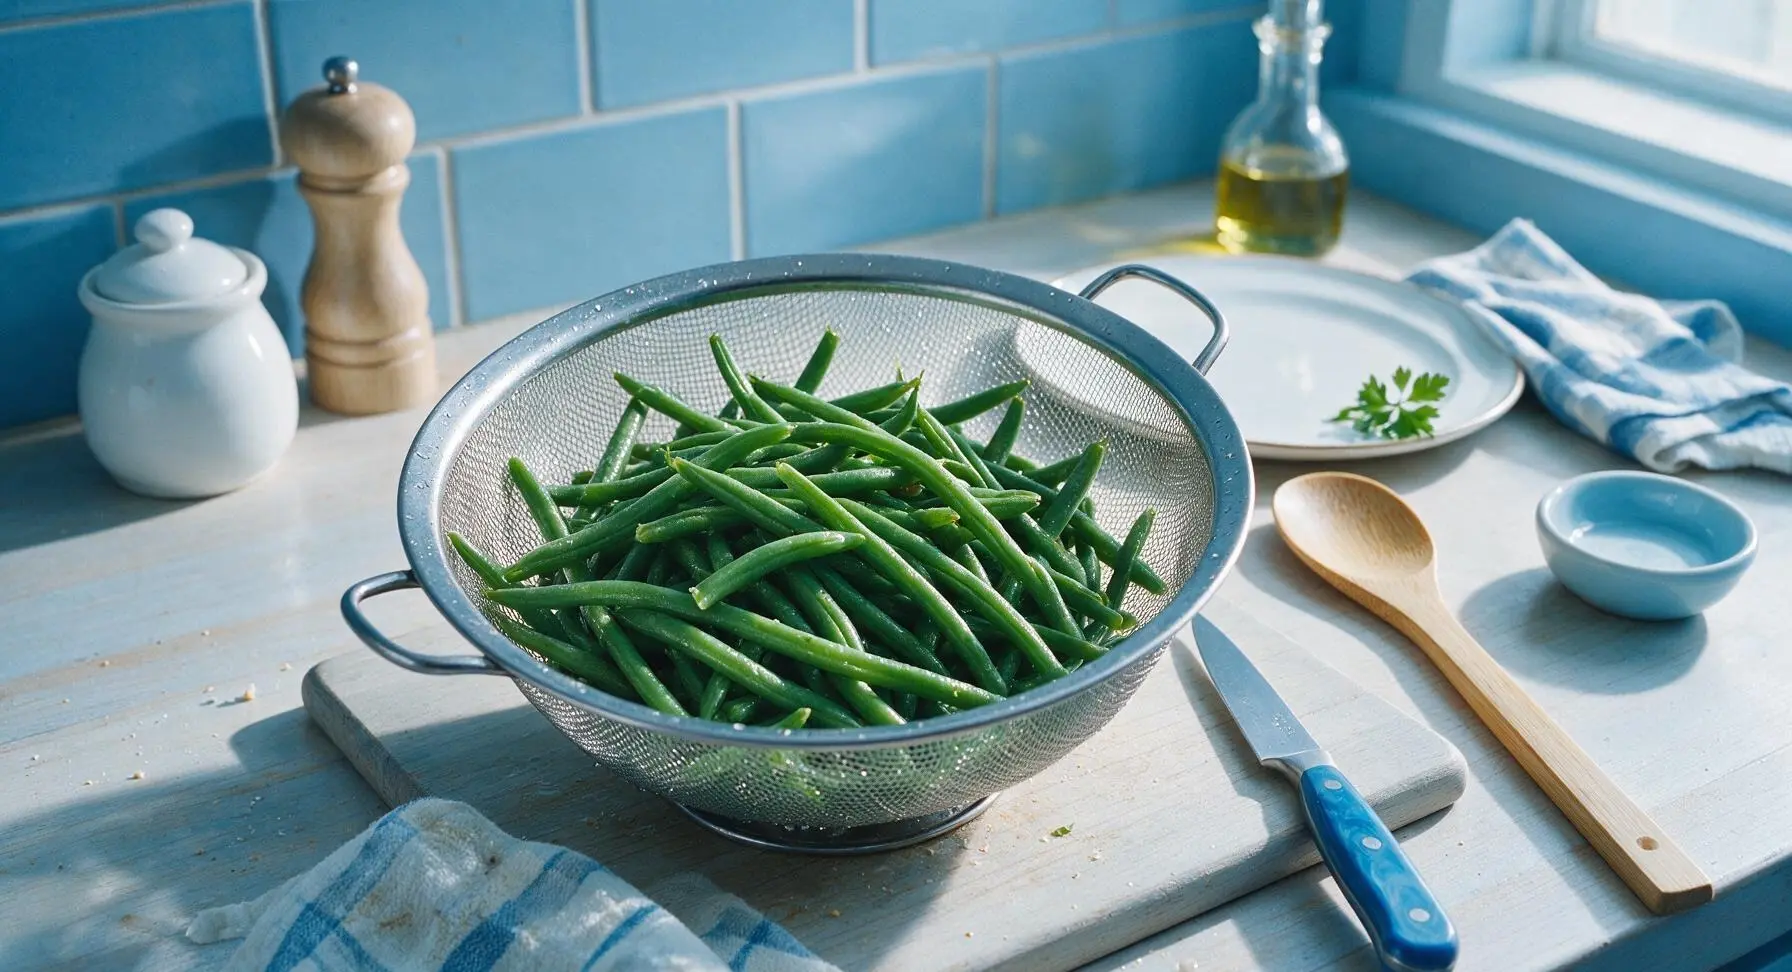
Fill the 3-quart stainless steel saucepan two-thirds full of cold water, stir in 1 tablespoon of kosher salt, and bring to a rolling boil over high heat (212°F). Add all trimmed green beans to the boiling water and cook for exactly 5 minutes, until beans turn bright, vivid green and are crisp-tender (they will bend slightly when lifted but not go limp). Drain immediately in the fine-mesh stainless steel strainer, then submerge the strainer of beans in a bowl of ice water for 2 minutes to halt cooking and lock in color. Lift the strainer, shake off excess water, and set drained beans aside.
Step 1
step1:Blanch Green Beans
Step 1
step1:Blanch Green Beans
2

Fry Crispy Onions

Heat 2 cups canola oil in the 10-inch seasoned cast iron skillet over medium heat until it reaches 375°F, measured with the matte black instant-read thermometer. Toss thinly sliced yellow onion half-moons with ½ cup all-purpose flour and ½ cup panko breadcrumbs in the 2-quart glass mixing bowl until every slice is evenly coated. Working in 3 small batches to avoid overcrowding, fry coated onions for 2-3 minutes per batch until deep golden brown and crispy. Use the fine-mesh strainer to lift onions from the oil, drain on a paper towel-lined plate, and season lightly with a pinch of kosher salt. Wait for oil to return to 375°F between batches.
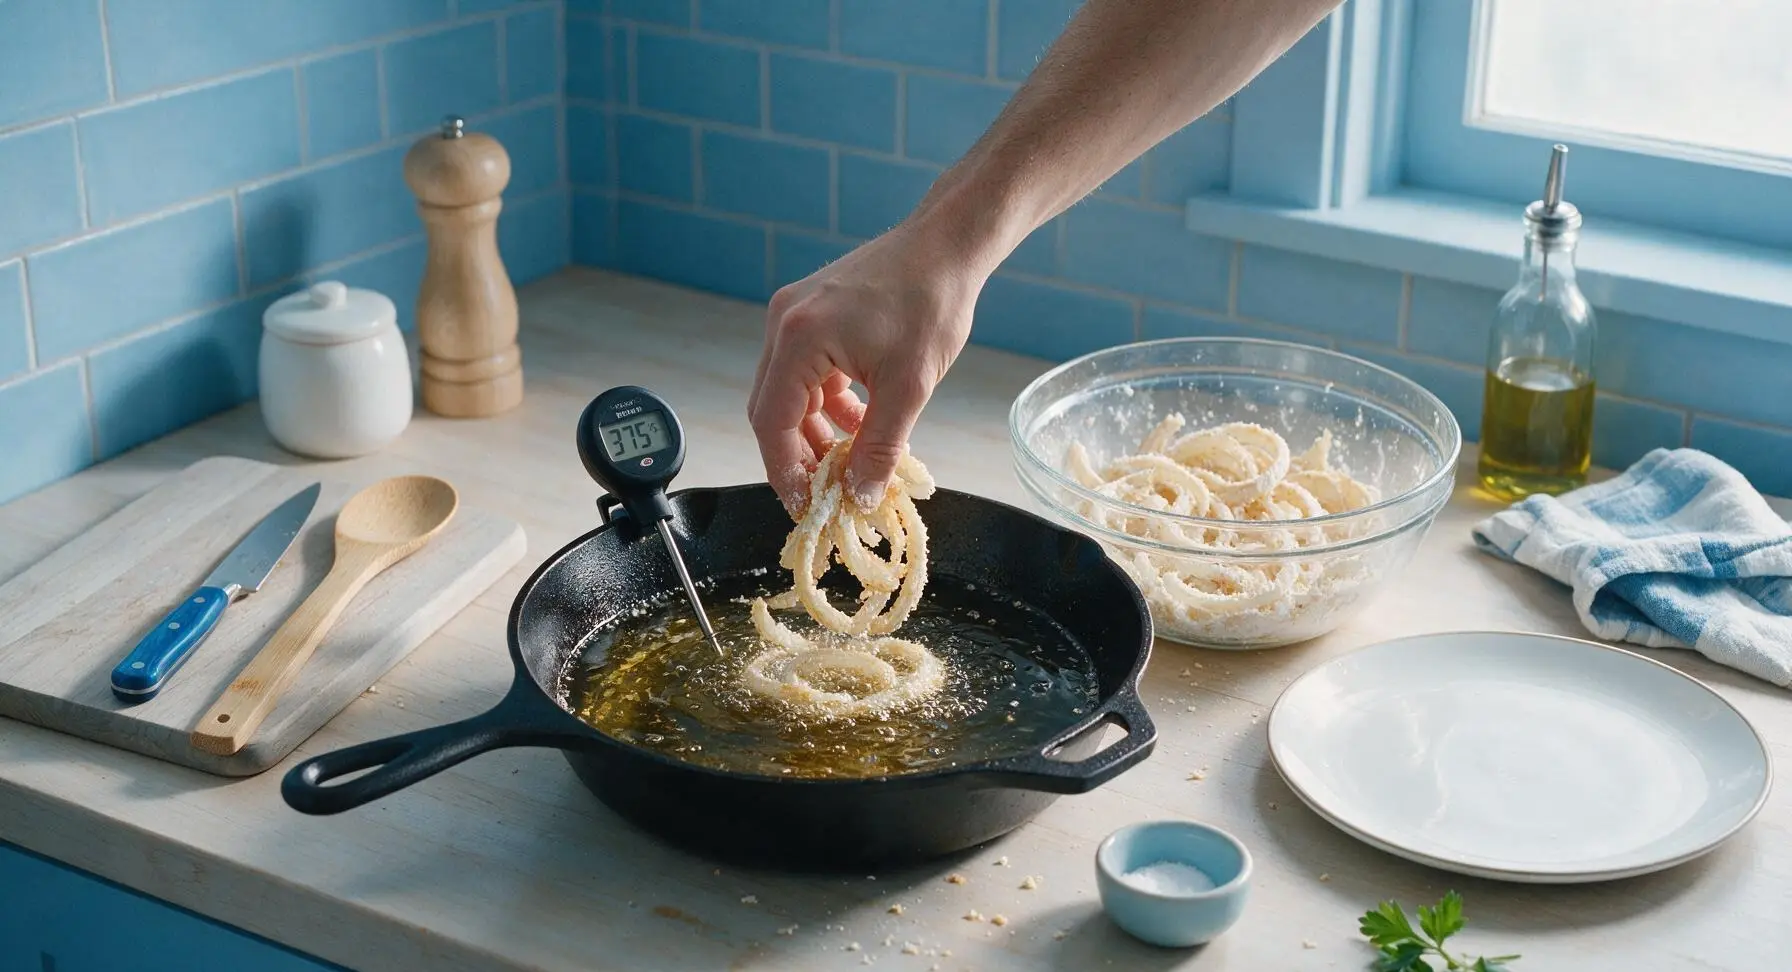
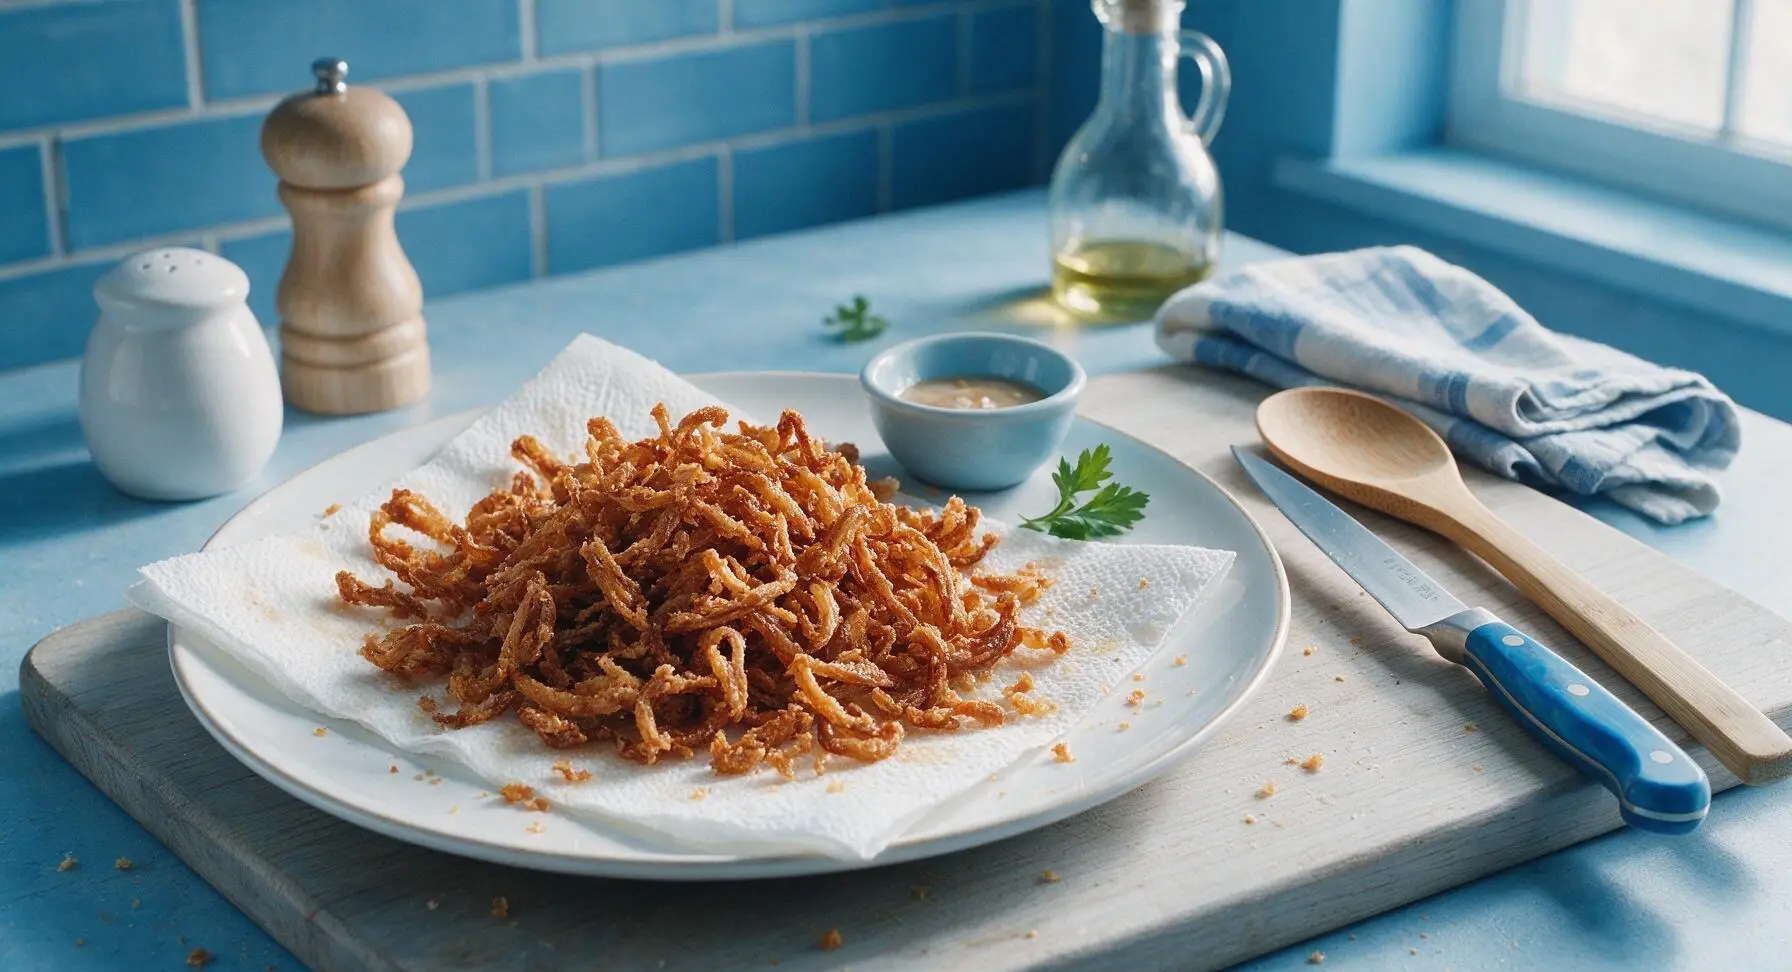
Step 2
step2:Fry Crispy Onions
Step 2
step2:Fry Crispy Onions
3

Sauté Mushroom Base

Pour off all but 2 tablespoons of frying oil from the cast iron skillet, reduce heat to medium. Add 3 tablespoons unsalted butter, let melt until foaming subsides. Add sliced cremini mushrooms, stirring occasionally with the beechwood cooking spoon for 8-10 minutes, until mushrooms release all their moisture, turn deep caramelized brown, and a dark brown fond forms on the skillet bottom with no standing liquid left. Add minced garlic, cook for 30 seconds until fragrant, taking care not to let the garlic burn or turn bitter.
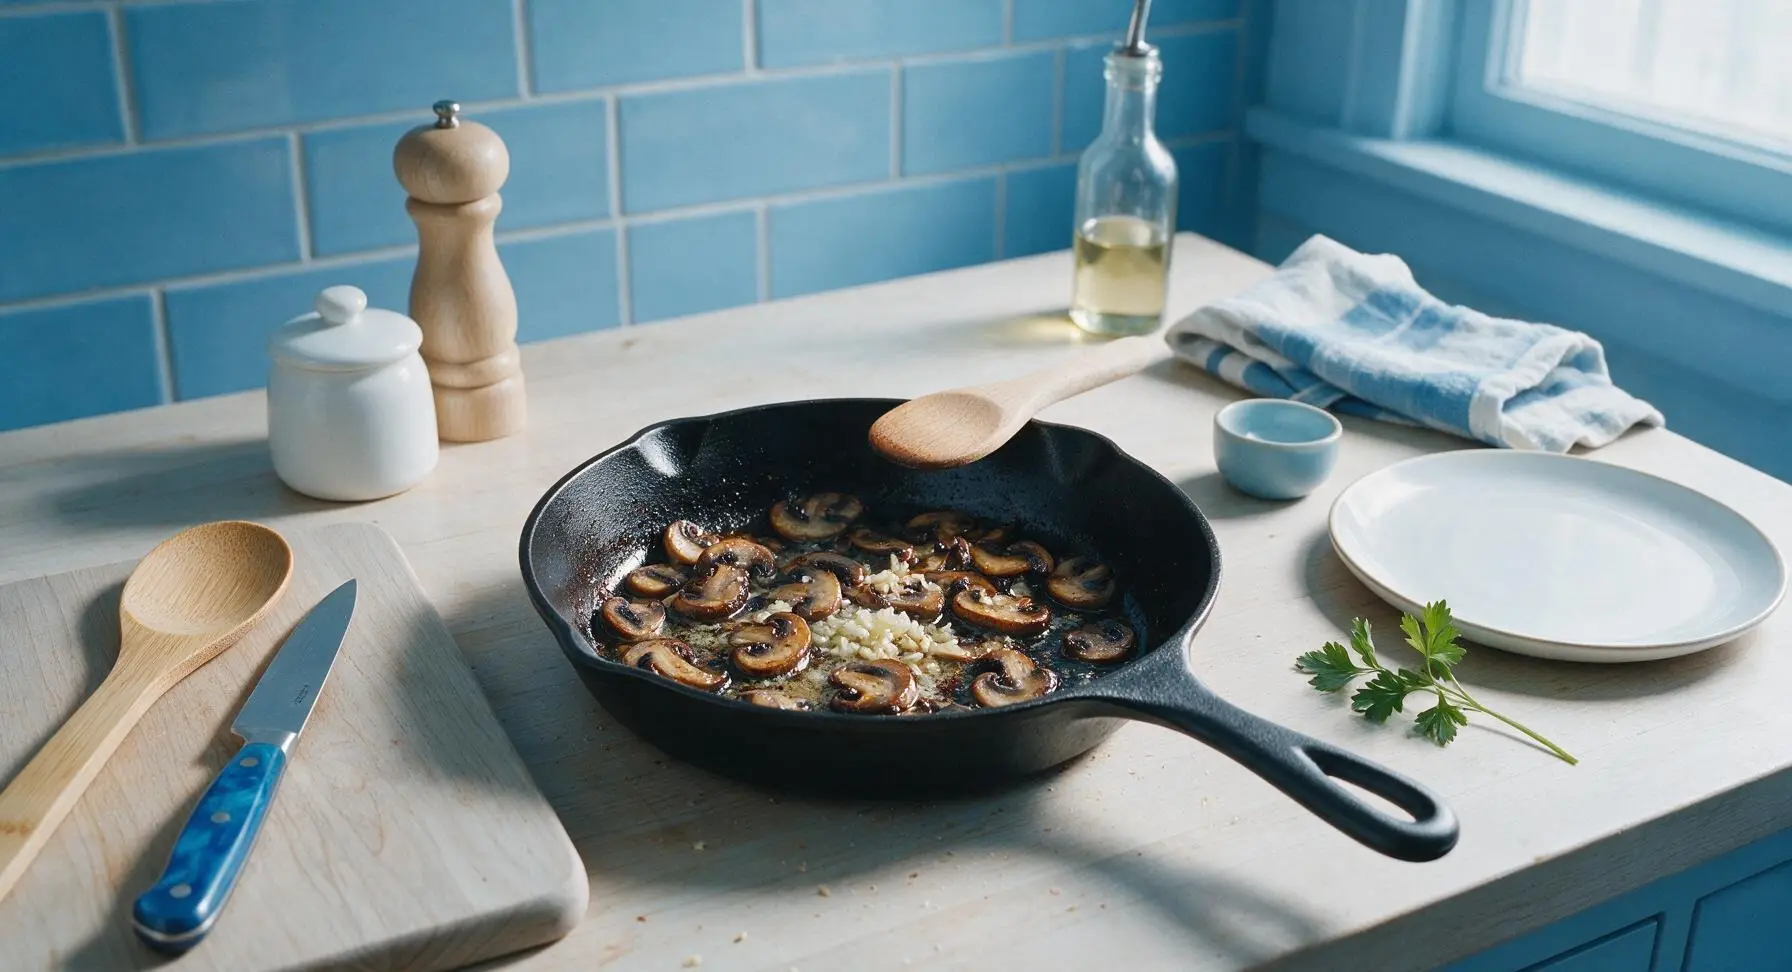
Step 3
step3:Sauté Mushroom Base
4

Thicken Mushroom Gravy

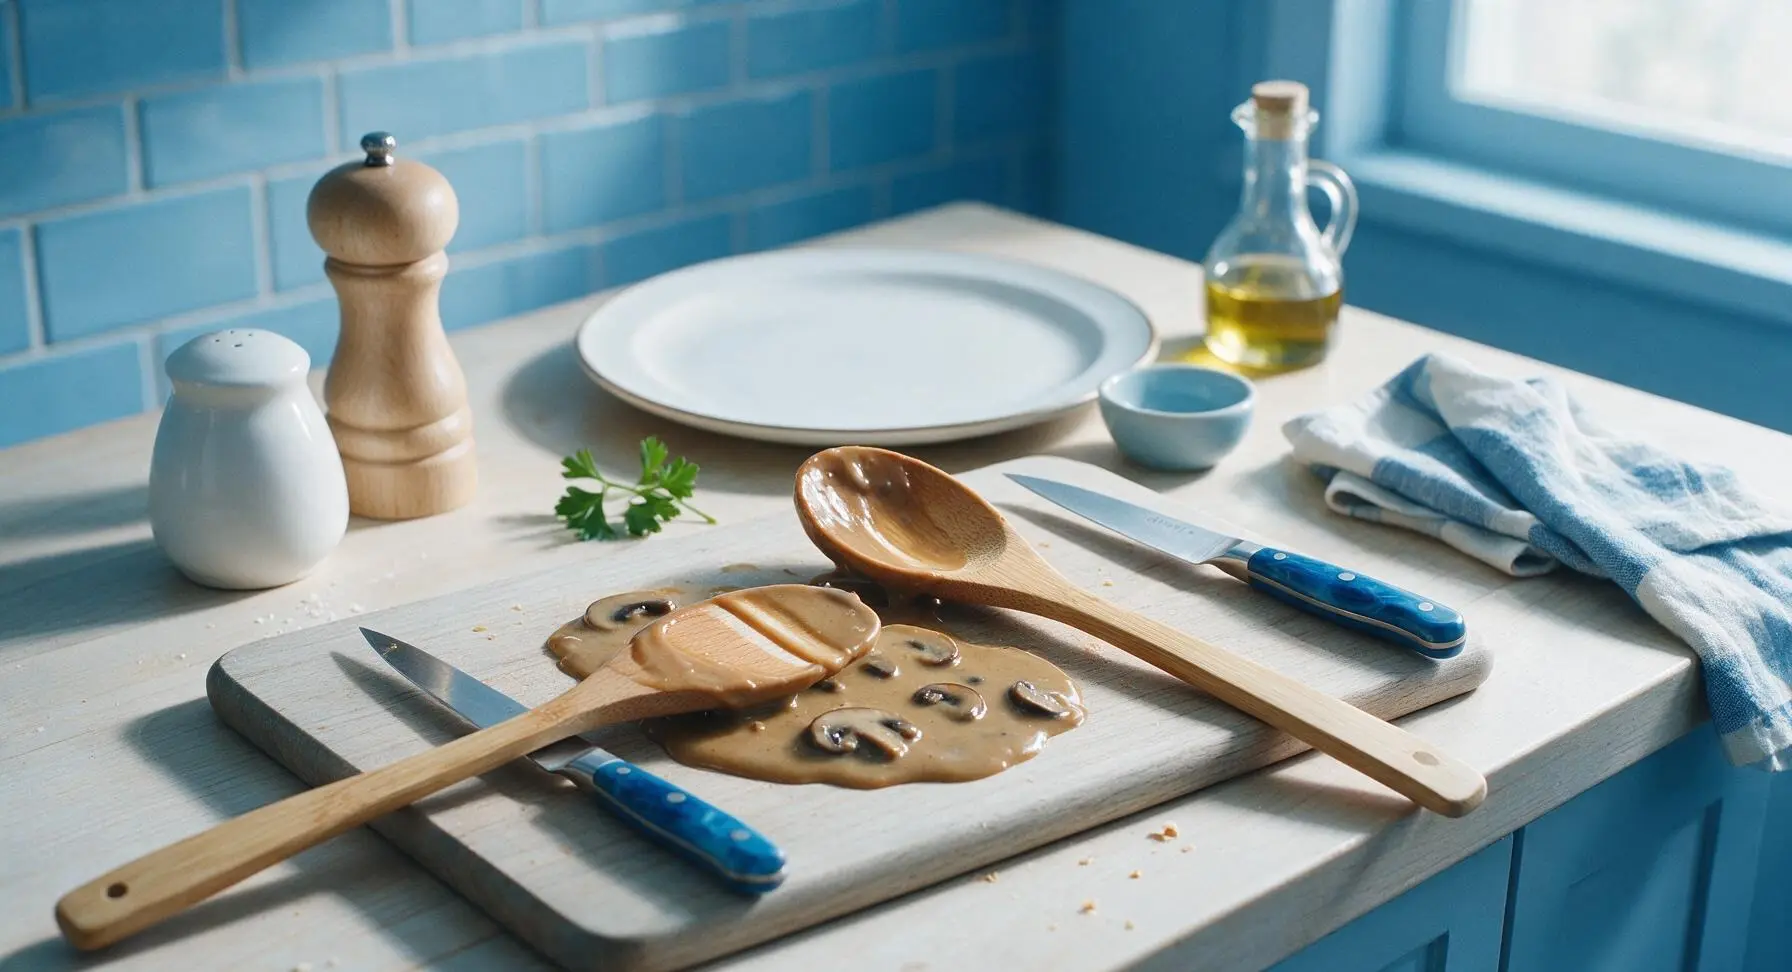
Sprinkle the remaining ½ cup all-purpose flour over the cooked mushrooms and garlic, stirring constantly with the beechwood spoon for 1 full minute to cook out the raw flour taste, forming a thick, paste-like roux that coats every mushroom slice. Slowly pour in 2 cups low-sodium chicken broth while stirring constantly to prevent lumps, then stir in 1 cup half-and-half. Bring the mixture to a gentle simmer, cooking for 3-4 minutes until the gravy thickens enough to leave a clear line when you run your finger across the back of the coated spoon. Season with 1 teaspoon kosher salt, ½ teaspoon freshly ground black pepper, and ¼ teaspoon freshly grated nutmeg, stirring to fully incorporate.
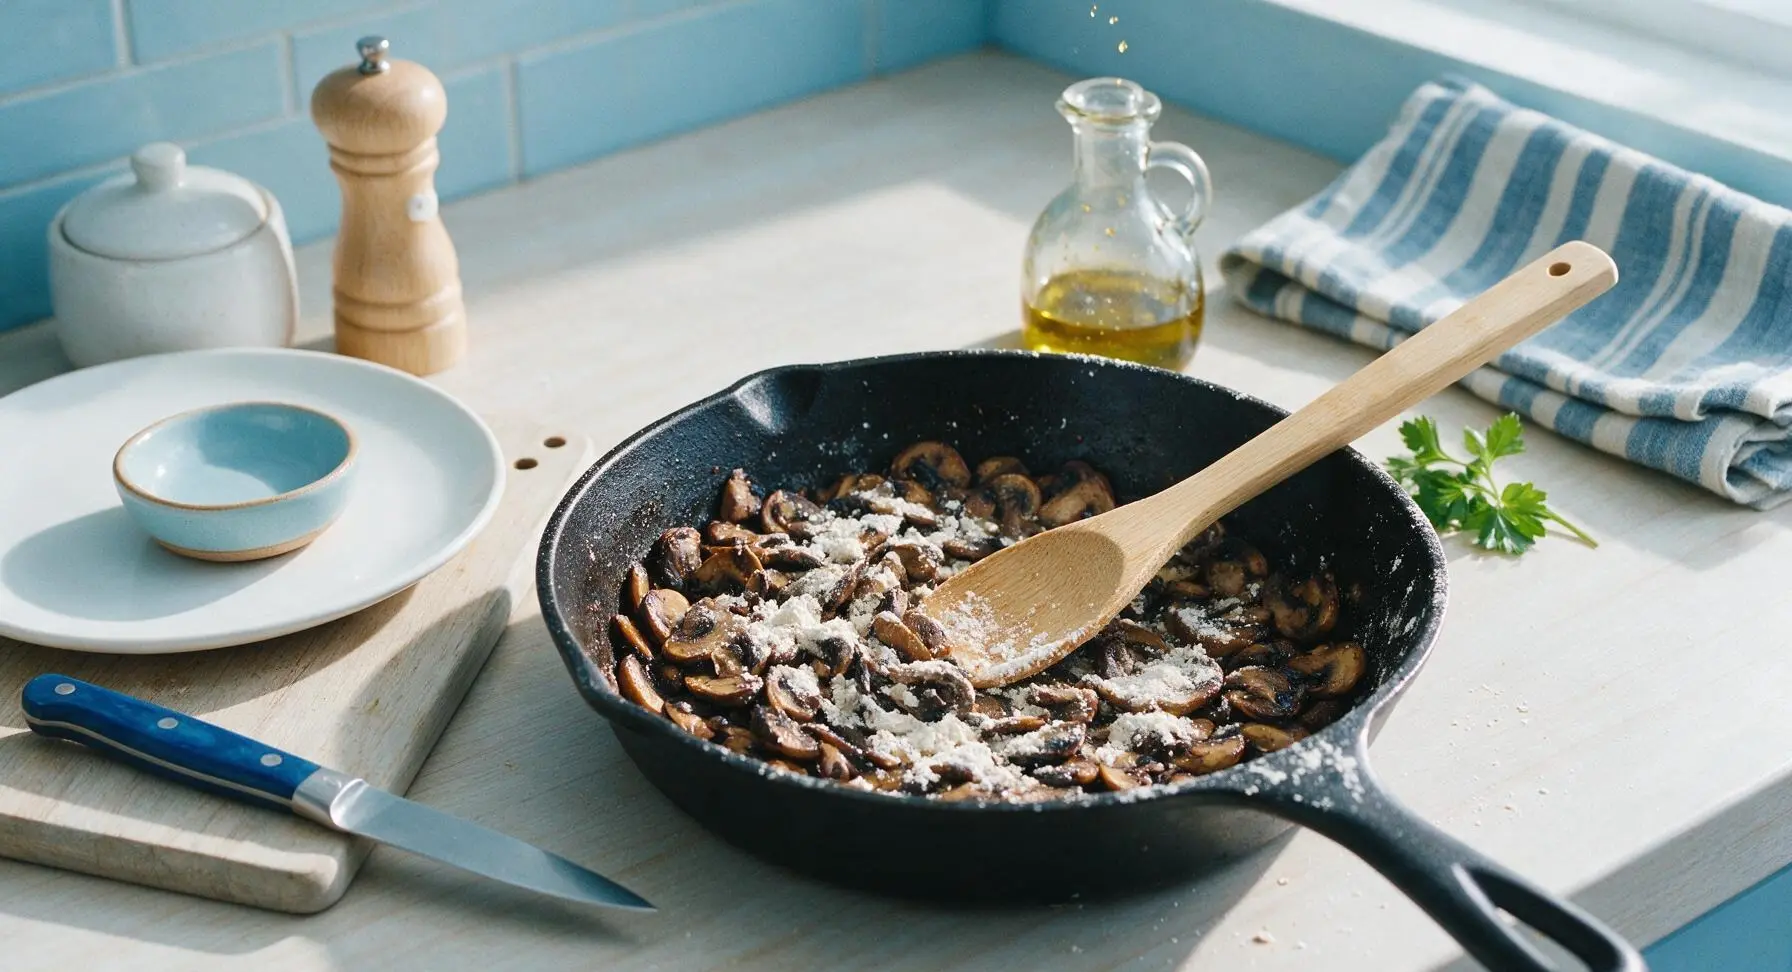
Step 4
step4:Thicken Mushroom Gravy
Step 4
step4:Thicken Mushroom Gravy
5

Combine Beans and Gravy

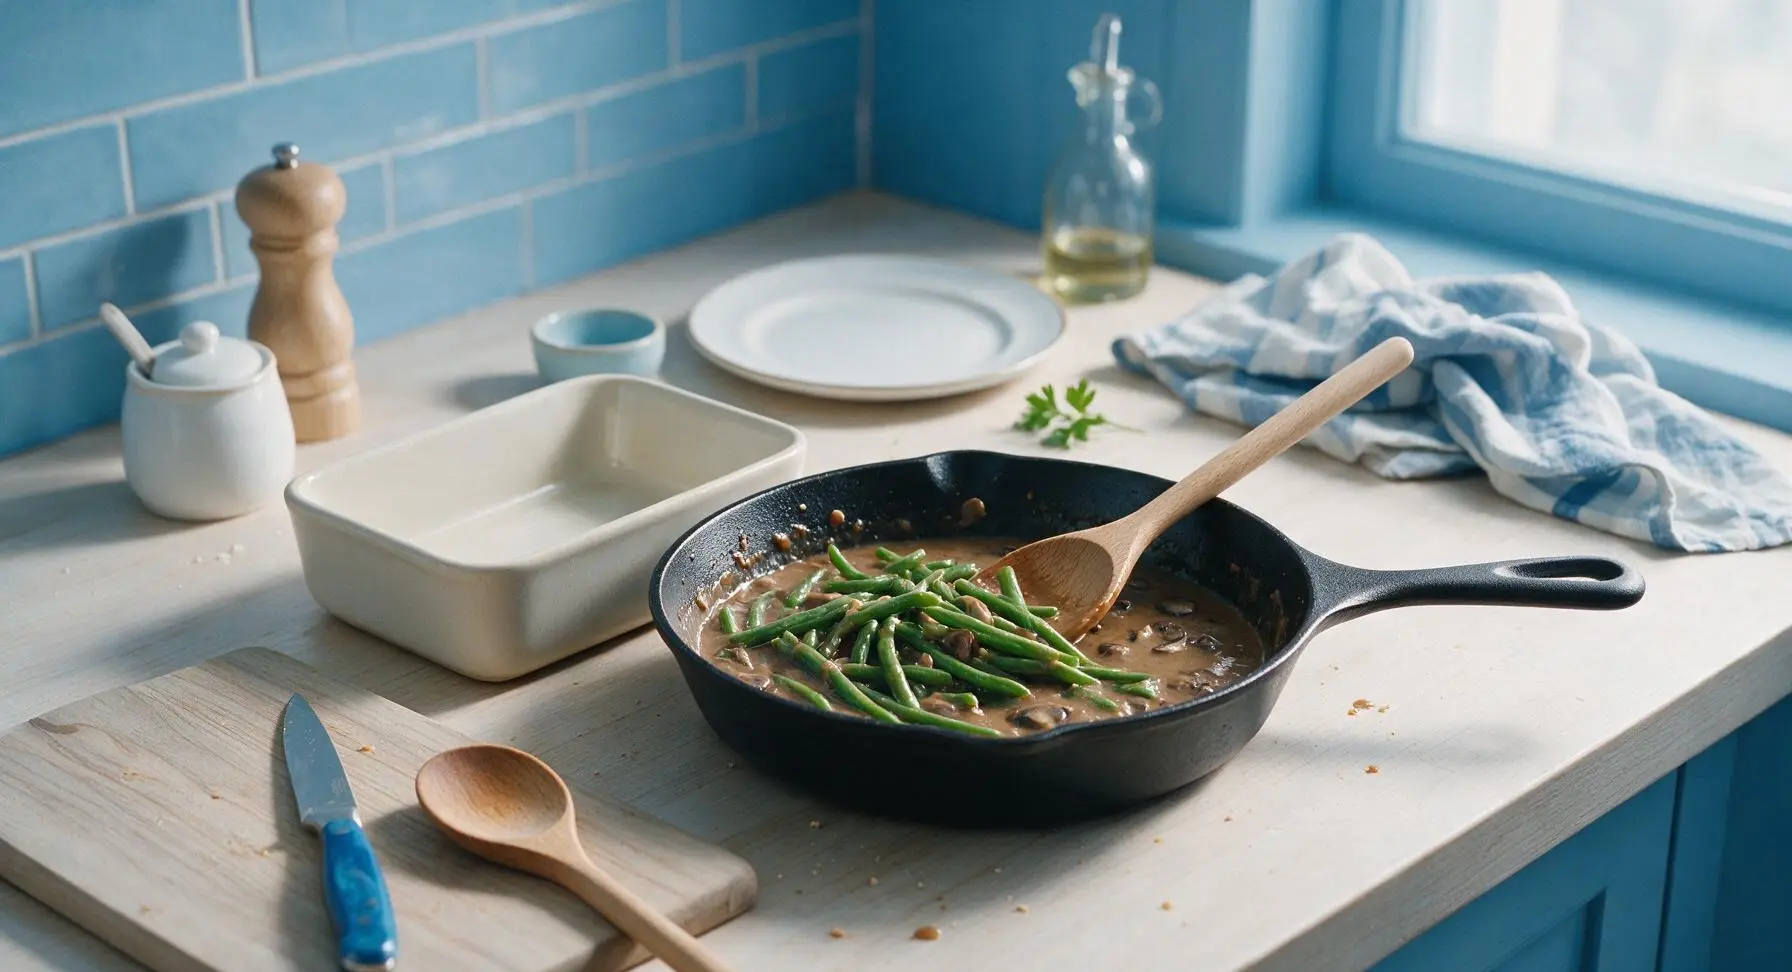
Add the fully drained, blanched green beans to the skillet with the finished mushroom gravy, tossing gently with the beechwood spoon until every bean is evenly coated in sauce, taking care not to break or mash the tender beans. Transfer the coated bean mixture to the matte cream white rectangular ceramic baking dish, spreading it into a smooth, even layer with the back of the spoon.
Step 5
step5:Combine Beans and Gravy
6

Bake Until Bubbly

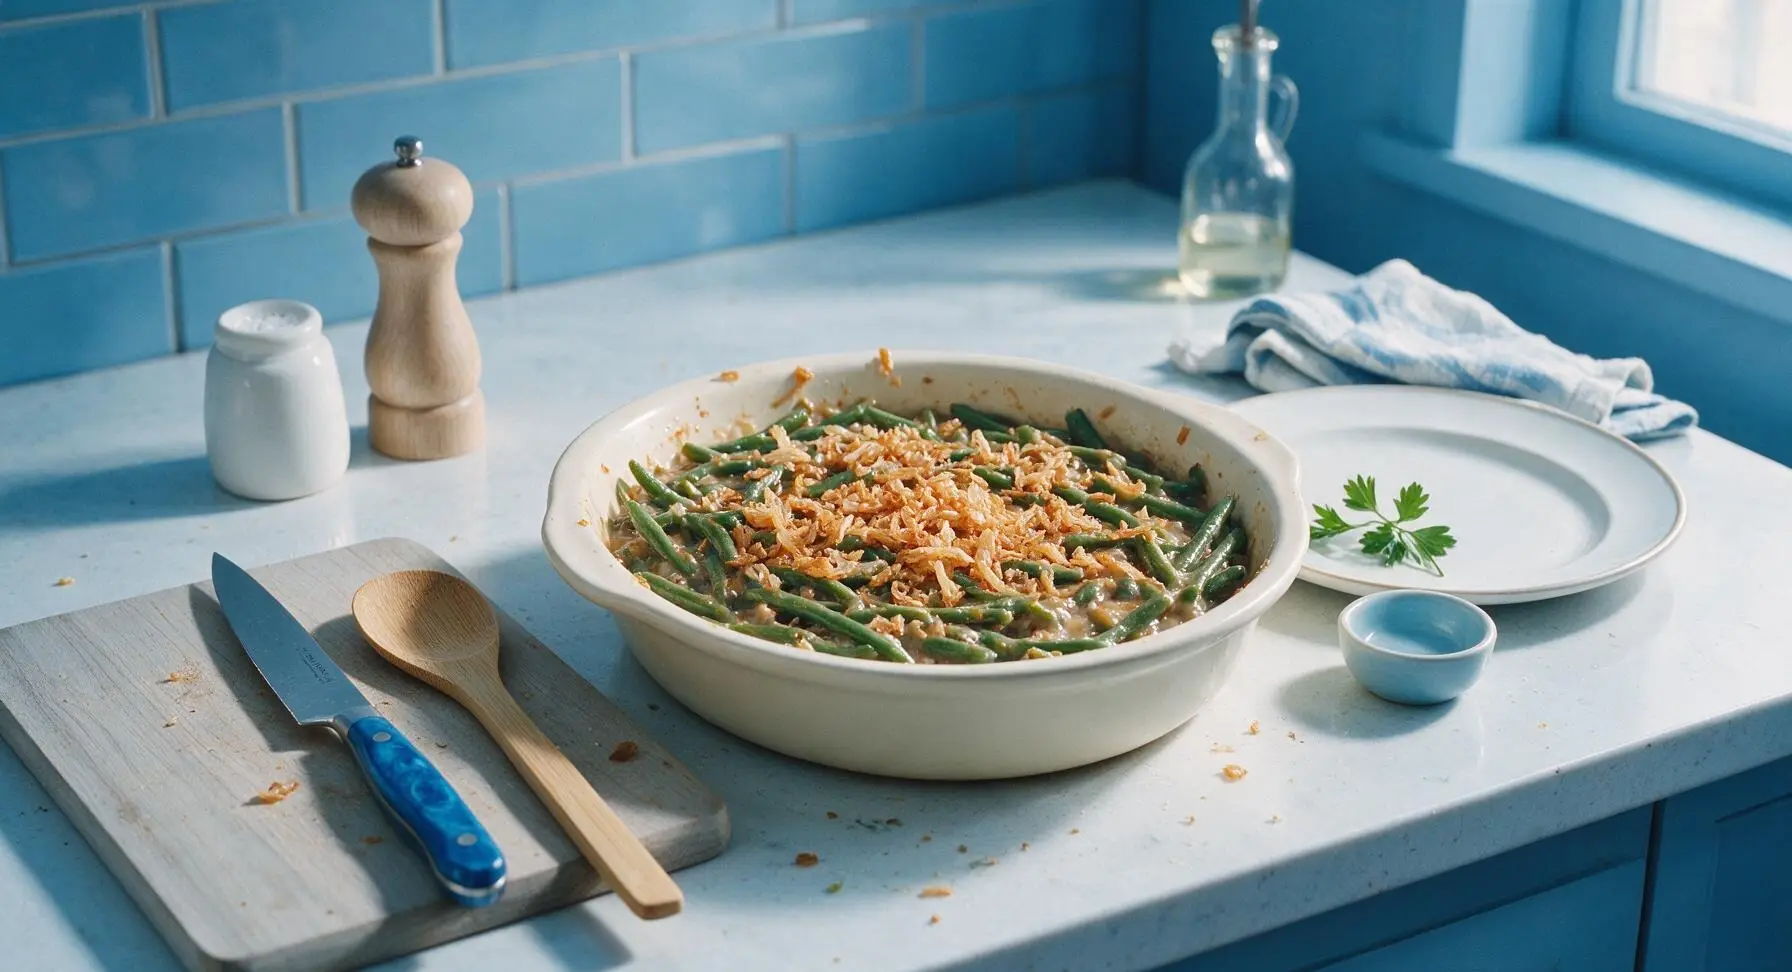
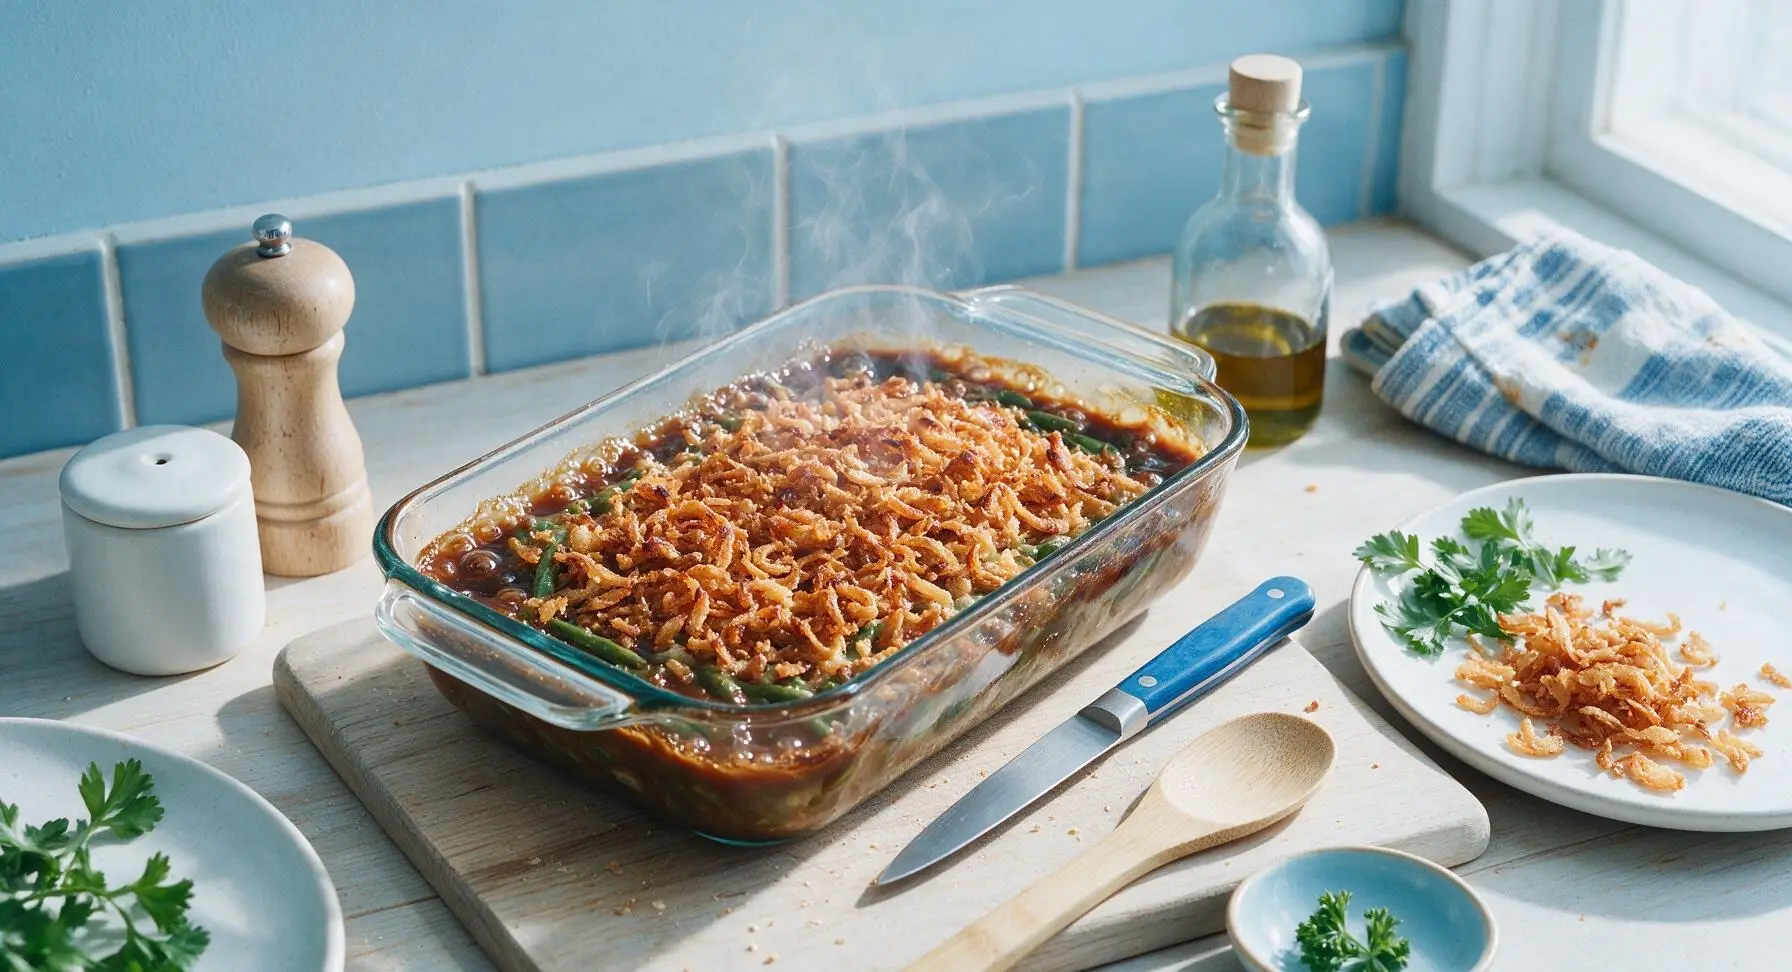
Sprinkle two-thirds of the crispy fried onions evenly across the top of the casserole in the baking dish. Place in a preheated 375°F oven and bake for 15 minutes, until the gravy is actively bubbling around the edges of the dish and the onion topping is deep golden brown. Carefully remove from the oven, sprinkle the remaining one-third of fried onions across the top, and let rest 5 minutes before serving to allow the gravy to set.
Step 6
step6:Bake Until Bubbly
Step 6
step6:Bake Until Bubbly

Tips

1.Always shock blanched green beans in ice water immediately after boiling: this halts carryover cooking instantly, locks in their vivid bright green color, and ensures beans stay crisp-tender rather than turning mushy during baking.
2.Fry the onion topping in 3 small batches rather than all at once: overcrowding the cast iron skillet drops oil temperature rapidly, leading to greasy, soggy onions instead of light, ultra-crispy ones. Wait for oil to return to 375°F between batches for consistent results.
3.Reserve ⅓ of the fried onions to sprinkle on top immediately after baking: onions placed under the heat for the full bake time will absorb gravy moisture and soften, while the post-bake sprinkle adds a bright, crunchy textural contrast that elevates the dish.


✨ You May Also Like

Side Dishes
🍜 India

Velvety, aromatic all-purpose curry sauce perfect for tossing with roasted veggies, grilled protein, or rice for fast, cozy, flavorful meals.

⏱️ 25 minuteSide Dishes ★ 4.8
Side Dishes
🍜 Spain

Tender, starchy boiled yuca tossed in bright, garlicky citrus mojo sauce—an iconic, zesty side that pairs beautifully with roasted pork, grilled meats, and rice and beans.

⏱️ 40 minuteSide Dishes ★ 5
Side Dishes
🍜 United States

Tender, paper-thin potato flatbread, a beloved Norwegian-American Minnesota Christmas staple, griddled until softly spotted and served warm with butter.

⏱️ 1 hour 30Side Dishes ★ 4.6
Side Dishes
🍜 United States

Rich, deeply savory cured salt pork, a long-lasting kitchen staple perfect for frying crispy as a side or adding umami to stews, beans, and chowders.

⏱️ 7 days (2Side Dishes ★ 4.9
Side Dishes
🍜 United States

Crispy, tangy classic Southern fried green tomatoes with a crunchy cornmeal crust, served hot for a nostalgic, comforting summery bite.

⏱️ 25 minuteSide Dishes ★ 4.9
Side Dishes
🍜 United States

Moist, golden-crusted savory muffins with sweet corn, zesty jalapeño, and melted cheddar, perfect for pairing with smoky summer grilled fare.

⏱️ 30 minuteSide Dishes ★ 4.9

alton brown green bean casserole:Frequently Asked Questions

1.Can I make this Alton Brown green bean casserole ahead of time to cut down on day-of holiday cooking prep? ▾
Absolutely! Prep individual components 1–2 days in advance: blanch and shock the green beans, cook the mushroom gravy, and store both in airtight containers in the fridge. You can assemble the bean and gravy base the night before, but add the crispy onion-panko topping during the last 10 minutes of baking to keep it from turning soggy.
2.Why does this recipe skip the canned cream of mushroom soup used in classic green bean casserole? ▾
Canned cream of mushroom soup is loaded with excess sodium, stabilizers, and a flat, processed flavor. Alton’s from-scratch version builds deep, rounded umami from sautéed cremini mushrooms and a simple light roux, delivering a fresher, richer creamy base that feels far more intentional, without losing that cozy holiday familiarity.
3.How do I keep my green beans crisp-tender instead of turning mushy? ▾
The trick is a quick blanch and shock: cook trimmed beans in heavily salted boiling water for 4–5 minutes, then immediately plunge them into an ice water bath to halt cooking completely. Don’t overboil the beans, and stick to the recommended 25-minute bake time at 375°F to avoid soft, limp results.
4.Can I substitute regular white button mushrooms for the cremini mushrooms called for in the recipe? ▾
You can absolutely swap in white button mushrooms if that’s what you have on hand, though creminis have a deeper, earthier, more umami-dense flavor. To make up for that depth, stir a tiny pinch of soy sauce or porcini powder into the gravy to replicate the rich savoriness creminis naturally bring to the dish.
5.Why do my homemade fried onions turn out soggy instead of shatteringly crisp? ▾
Soggy fried onions almost always stem from oil that’s too cool (aim for a steady 350°F, use a candy thermometer to check) or overcrowding the pan while frying. Cook onions in small batches, drain them on a wire rack (not paper towels) immediately after frying, and toss with panko right before topping the casserole.
6.What’s the best way to reheat leftover casserole without making it mushy? ▾
Skip the microwave, which will turn beans soft and make the topping chewy. Reheat portions in a 350°F oven, loosely covered with foil for 15 minutes, then remove the foil and bake 5 more minutes to recrisp the onion-panko topping. If the gravy feels thick, stir in a tiny splash of half-and-half before reheating.
7.Can I use regular plain breadcrumbs instead of panko for the topping? ▾
Panko is preferred because its coarser, airier crumb creates that signature light, shatteringly crisp topping the recipe is known for. Regular fine breadcrumbs work in a pinch, but they’ll create a denser, less crunchy top—toss them with a tablespoon of melted butter before mixing with fried onions to help them crisp better in the oven.
8.Can I adapt this recipe to be gluten-free for holiday guests with dietary restrictions? ▾
Yes, with two simple swaps. Replace the divided all-purpose flour used in the gravy and onion dredge with a 1:1 gluten-free all-purpose flour blend that contains xanthan gum, and swap regular panko for certified gluten-free panko. All other core ingredients are naturally gluten-free, so the final dish will taste nearly identical to the original.
9.My homemade mushroom gravy came out lumpy—how can I fix it? ▾
Lumps usually form when you add flour too quickly to hot fat, or pour cold liquid into the roux without constant whisking. It’s an easy fix: simply pour the warm gravy through a fine-mesh sieve into a clean pan, pressing gently to push smooth gravy through, then discard the leftover lumps before assembling your casserole.

Comments (11)

2 days ago

OMG this Alton Brown green bean casserole is a total game changer! I’ve made the gloopy canned soup version for every Thanksgiving and potluck for 15 years, and I was nervous to switch it up, but wow. The fresh mushrooms and the crispy fried onion topping from scratch? My kids loved it so much they asked me to make it again for our regular weeknight dinner this week. Only note: it took me a little closer to 55 minutes total because I prepped the beans while the sauce simmered, but totally worth it!

yesterday

Wait did you bring this to the neighborhood potluck last weekend? Because I had a green bean casserole there that blew my mind and I’ve been begging for the recipe! So that was this one? I’m making it for my in-laws this weekend now!

yesterday

So glad it was a hit with your family! The slight extra time for prep is always worth it for that fresh, rich flavor. If you’re short on time weeknights, you can blanch the beans and make the mushroom sauce a day ahead to cut down on cook time!

5 minutes ago

Okay, full transparency: I’m a total newbie in the kitchen and I almost burned the roux for the sauce because I got distracted scrolling TikTok 😅 But once I got that sorted, this turned out SO good! I brought it to my friend’s Friendsgiving and nobody believed it was my first ever casserole. Medium difficulty is fair, just don’t walk away from the butter and flour like I did!

just now

Welcome to cooking, we’ve all been there with the distracted roux moment! Great job salvaging it and pulling off a delicious casserole for Friendsgiving—next time it’ll go even smoother, promise.

3 days ago

I made a double batch of this on Sunday for meal prep and it held up perfectly all week for lunches! I was worried the green beans would get mushy when reheated, but they stayed crisp-tender and the sauce didn’t separate at all. 10/10 will be a regular in my weekly rotation.

1 week ago

Wait a second—where’s the canned cream of mushroom soup? I grew up on the classic version and I was skeptical this would live up to the nostalgia, but holy cow, it’s better. The depth of flavor from the fresh garlic and thyme? Unreal. My uncle who swears by the original recipe went back for thirds at our family Thanksgiving last week. Only tiny gripe: I wish the recipe noted how much salt to add upfront, I undersalted at first and had to adjust at the end.

5 days ago

I felt the same way about the salt! I ended up adding a little pinch of smoked paprika too and it complemented the mushrooms so well, you should try that next time!

3 days ago

Great feedback on the salt note! We’ll update the recipe to add a clearer recommended salt amount, since salt levels can vary a lot based on the broth you use too. So glad your uncle enjoyed the upgraded version—we love winning over the classic recipe purists!

30 minutes ago

Has anyone tried making this with frozen green beans instead of fresh? I have a giant bag in the freezer I need to use up before our grocery run next week, and I don’t want to waste ingredients if it’ll turn out weird.

5 minutes ago

I used frozen last month! Just thaw them completely and pat them really dry with paper towels before mixing them in so the sauce doesn’t get watery. Turned out just as good as fresh for me!

2 weeks ago

Made this for our annual fall BBQ this past weekend and it stole the show next to the brisket! I added a handful of crumbled bacon to the topping because… well, bacon makes everything better, and it was chef’s kiss. 45 minutes cook time is spot on, I prepped everything while the smoker was coming up to temp and it lined up perfectly. Don’t sleep on this recipe, folks.

1 week ago

OH the crumbled bacon addition is genius! Why didn’t I think of that? I’m making this for Christmas dinner and I’m 100% stealing that tip.

5 days ago

The bacon addition sounds incredible—what a perfect savory, salty kick for the topping! We love seeing people customize the recipe to fit their tastes, that’s what home cooking is all about.

yesterday

Made this in my tiny dorm kitchen with a hot plate and a toaster oven and it still turned out amazing! I halved the recipe since I don’t have a big baking dish, and it was the perfect fancy-ish meal to impress my roommate when she got done with midterms. Way easier than I thought it would be for a medium difficulty recipe.

2 hours ago

Quick question for anyone who’s modified this: can I make the sauce with oat flour and almond milk to make it gluten and dairy free for my cousin who’s coming for dinner? I don’t want the roux to break or the sauce to be grainy.

30 minutes ago

Great question! We’ve tested this with a 1:1 gluten free all purpose flour and unsweetened oat milk with great results—just make sure to whisk the roux constantly for the first 2 minutes to avoid graininess, and warm the almond/oat milk before adding it to the roux to prevent it from breaking. Hope your cousin enjoys it!

5 days ago

Ugh, my fried onion topping burned to a crisp the first time I made this! I followed the cook time exactly but my oven runs hot, I guess. I scraped off the burnt bits, threw on some store-bought fried onions last minute, and it still tasted great, but I’m determined to nail the homemade topping next time. Any tips?

3 days ago

Oh girl, I have the same problem! I always turn my oven temp down by 25 degrees if a recipe has a breadcrumb or onion topping, and I tent it with foil for the first 20 minutes of baking then take the foil off for the last 10 to crisp up. Never burned a topping since!

2 days ago

Oh no, sorry the topping burned on your first go! Oven temperature calibration varies so much from unit to unit, so that tip from Carl about tenting with foil and adjusting temp for hot ovens is spot on. You can also keep a close eye on the topping the last 10 minutes of bake time and pull it early if it’s getting deep golden before the timer goes off.

1 week ago

SO good! I’ve been looking for a way to upgrade our usual weeknight side dishes and this is going into permanent rotation. The flavors are so rich but it doesn’t feel heavy like the old canned version, and my husband who hates all vegetable dishes ate two full servings. Win in my book!

5 days ago

Right?! My husband is the exact same way, he turns his nose up at every veggie side I make but devoured this last week. I served it with baked chicken and mashed potatoes and it was the perfect cozy meal.

yesterday

Brought this to my first ever office potluck today and I got so many people asking for the recipe! I was so nervous I’d mess it up because I’m not great at making sauces, but the steps were super clear and easy to follow. Already got asked to bring it back for the holiday potluck next month!



