
Apple Cheddar Grilled Cheese
intro
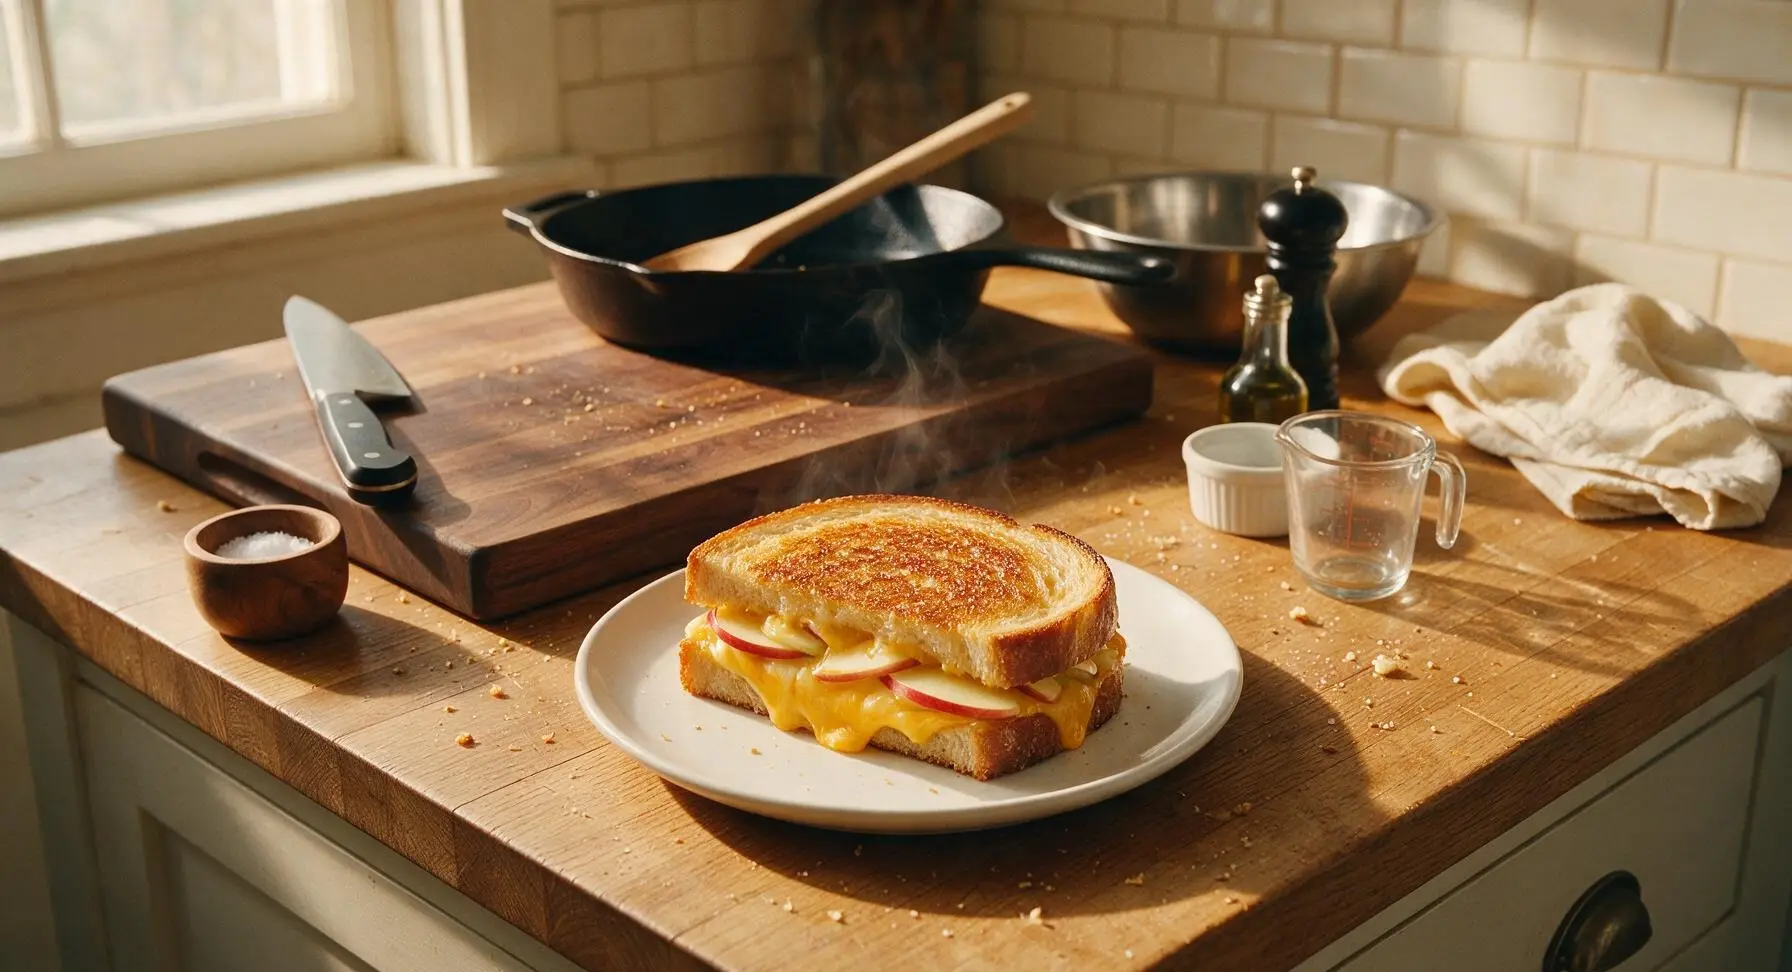
Crisp tart Honeycrisp apple melts into sharp, gooey cheddar between buttery golden sourdough for a cozy, sweet-savory upgrade to classic grilled cheese, perfect for cool fall days.
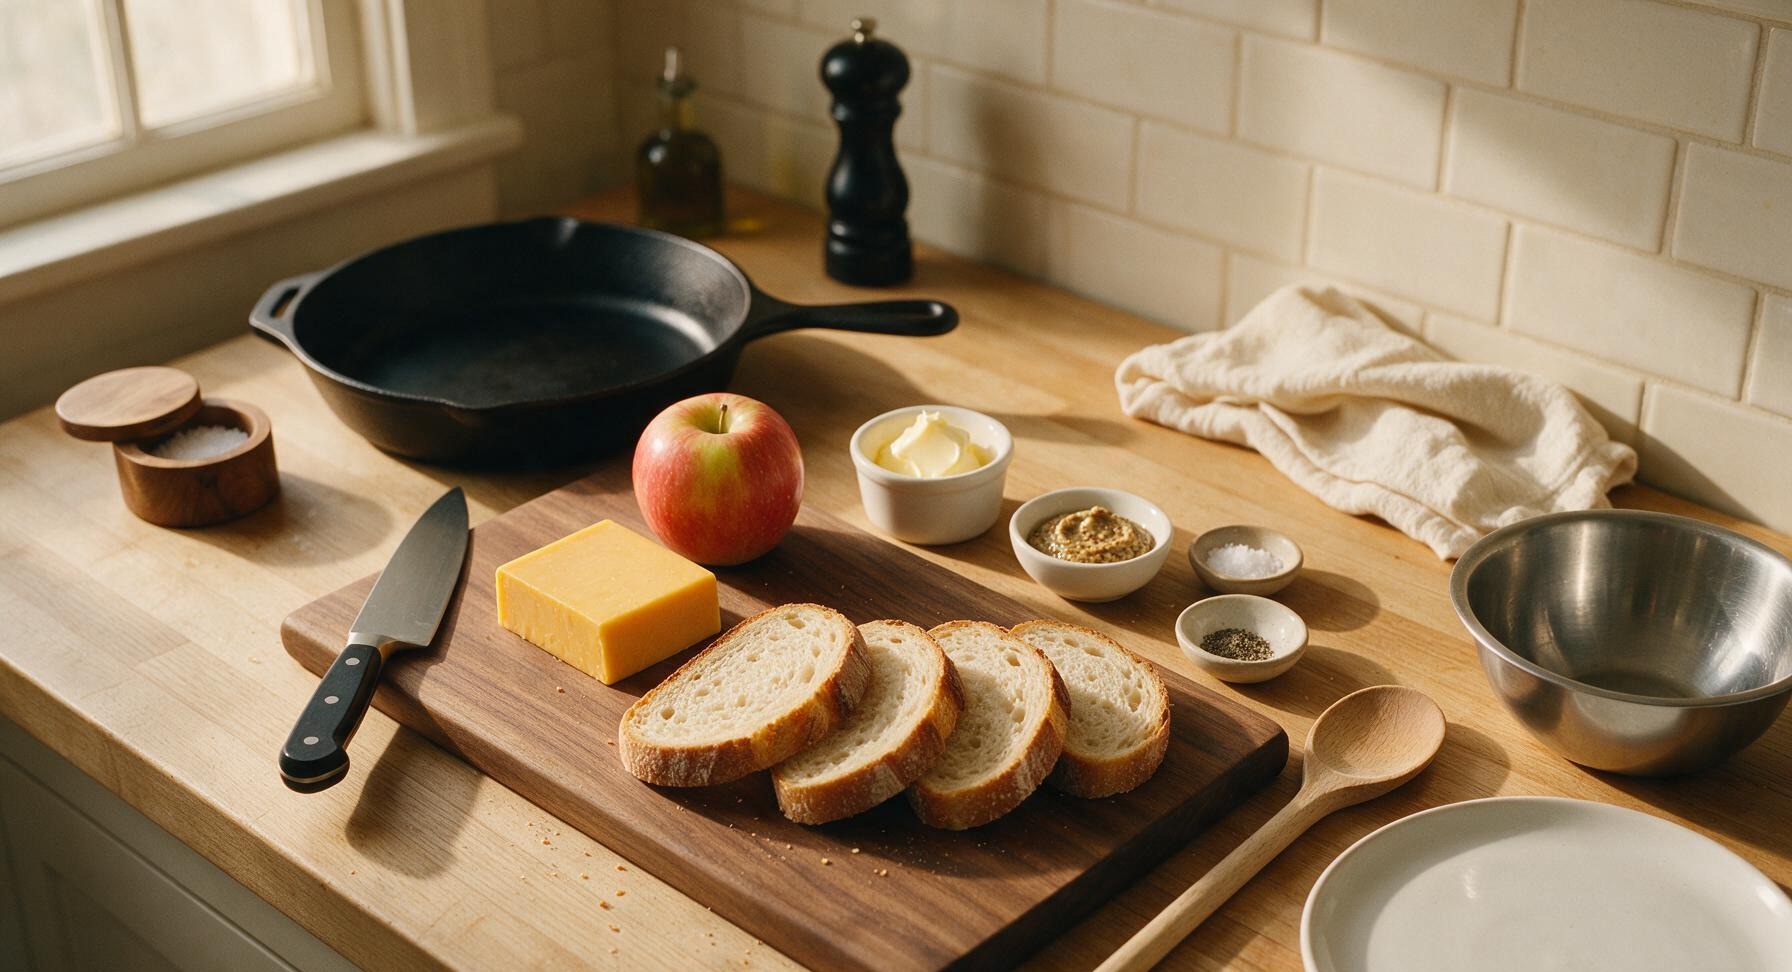
Ingredients
Steps
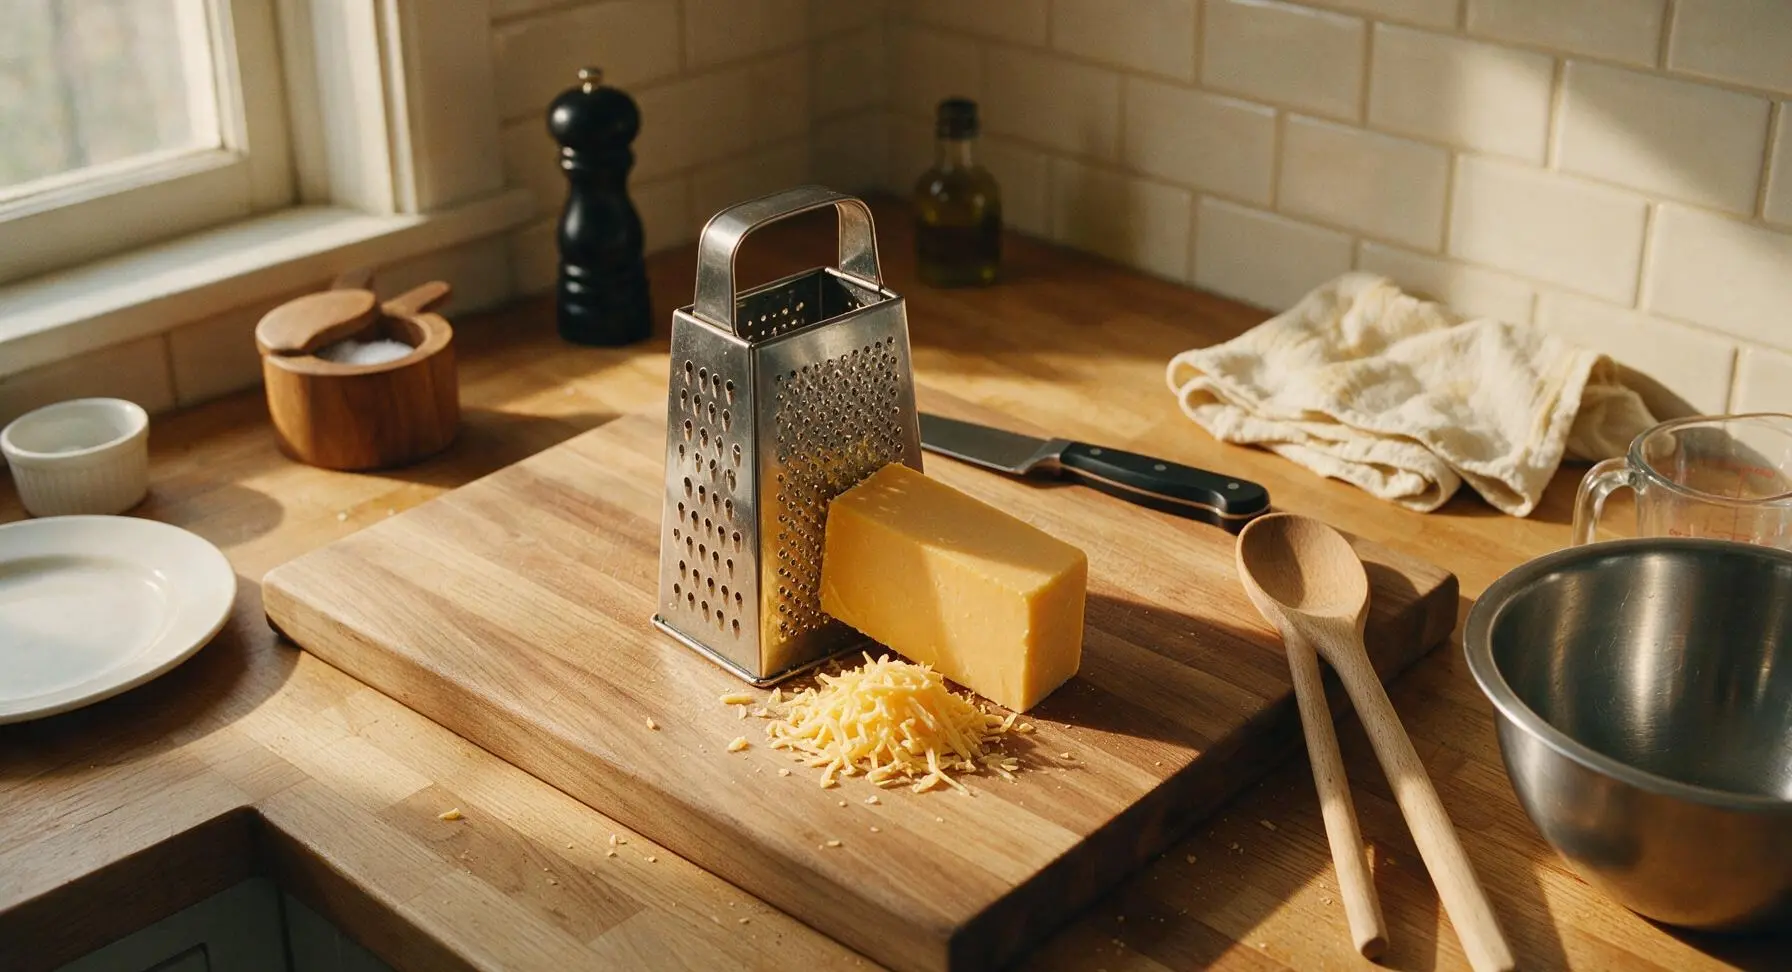
Grate Sharp Cheddar Cheese
Set the stainless steel box grater on top of the maple cutting board. Unwrap the block of sharp cheddar, and grate all 140g on the grater’s coarse side to create light, fluffy shreds that melt smoothly. Avoid packing the shreds tightly, as this leads to uneven melting. Pile the grated cheese in a small loose mound on the edge of the cutting board and set aside.
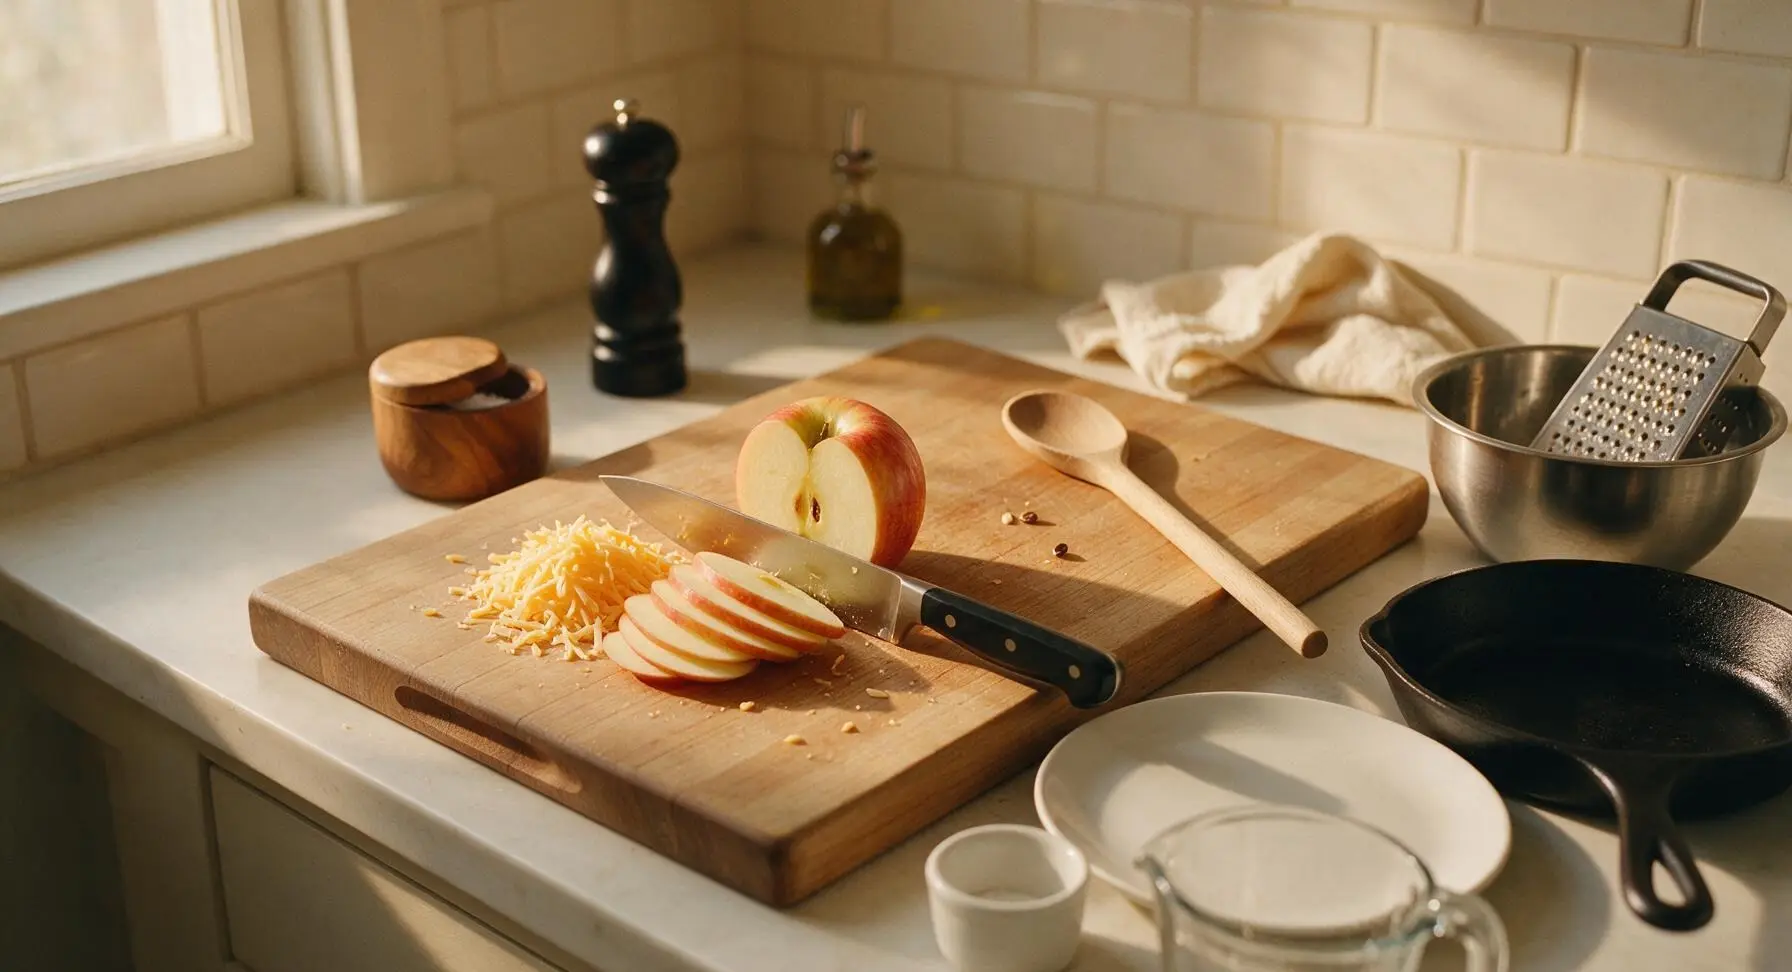
Slice Apple Thinly
Rinse and pat the Honeycrisp apple dry with a corner of the linen towel. Place the apple on the maple cutting board, and use the chef knife to cut it into uniform 3mm thick slices, removing the core and seeds as you work. Leave the red peel intact for color and texture, resulting in roughly 12 even slices. Pat the cut slices lightly with the linen towel to remove excess surface juice that could make the bread soggy. Fan slices out next to the grated cheddar on the board.
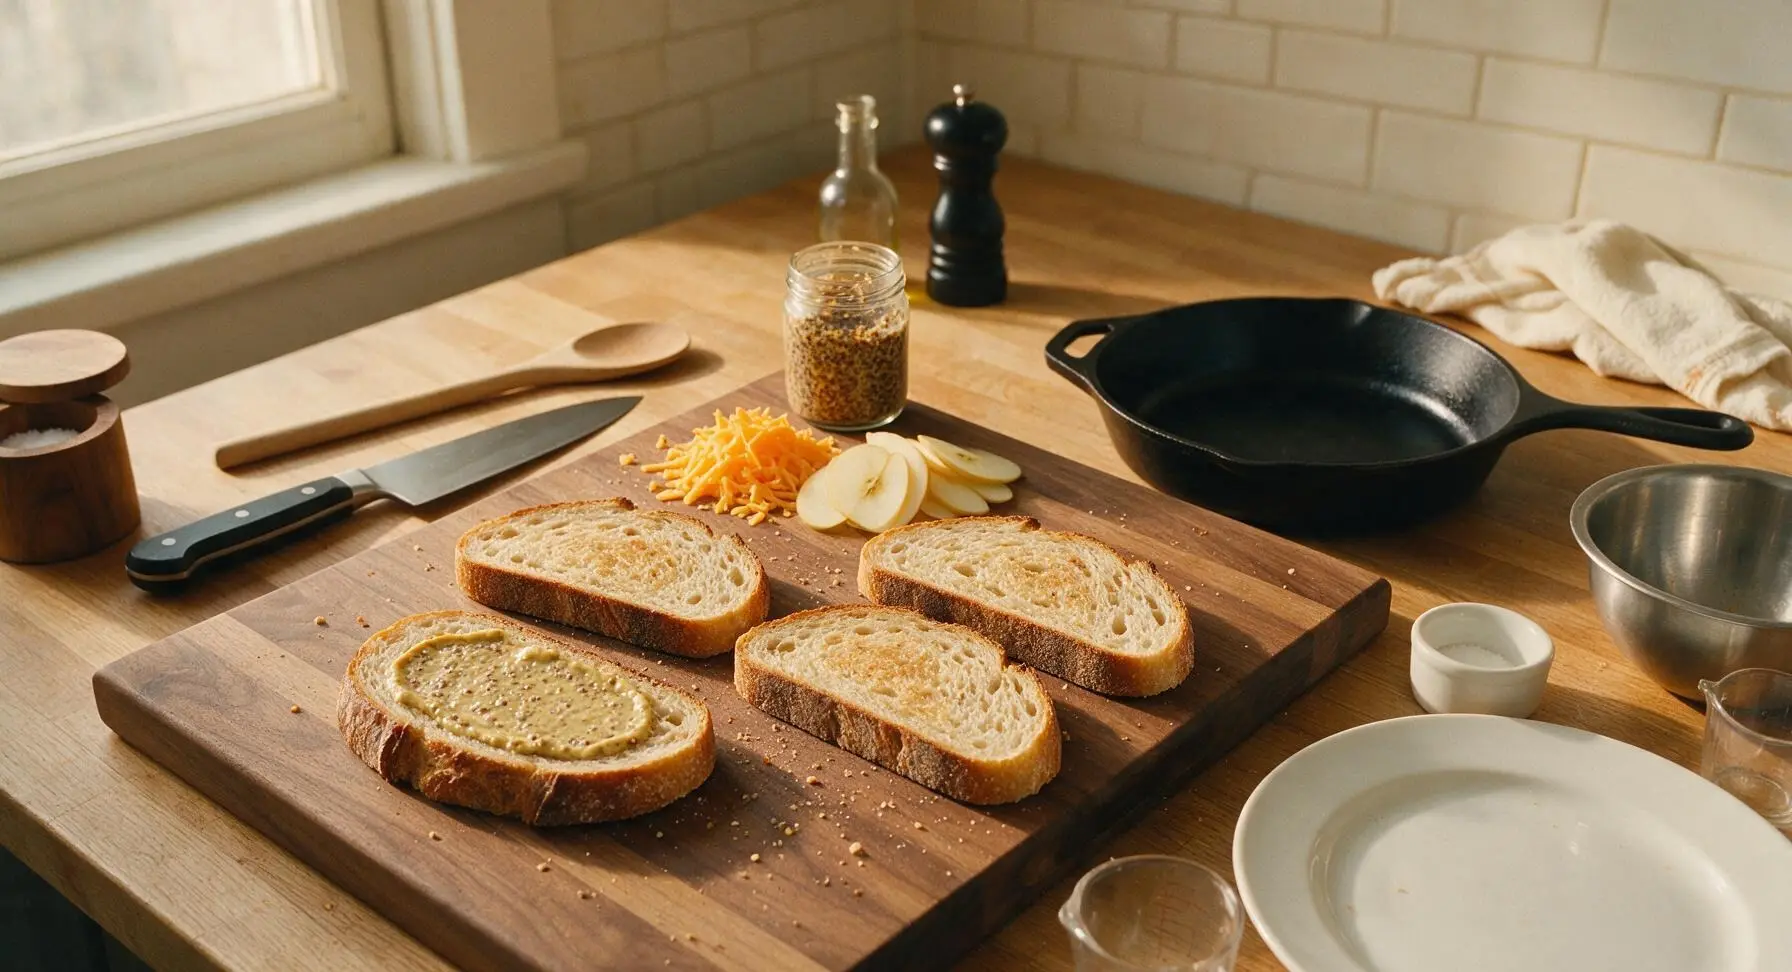
Spread Dijon on Bread
Lay all 4 slices of sourdough flat on the maple cutting board, arranged in two matching pairs. Spread ½ tsp of whole-grain Dijon mustard evenly across one side of each slice, leaving a 5mm border at the crust to prevent oozing during cooking. The thin mustard layer adds a bright tang that cuts through the rich cheese and sweet apple.
Layer Sandwich Fillings
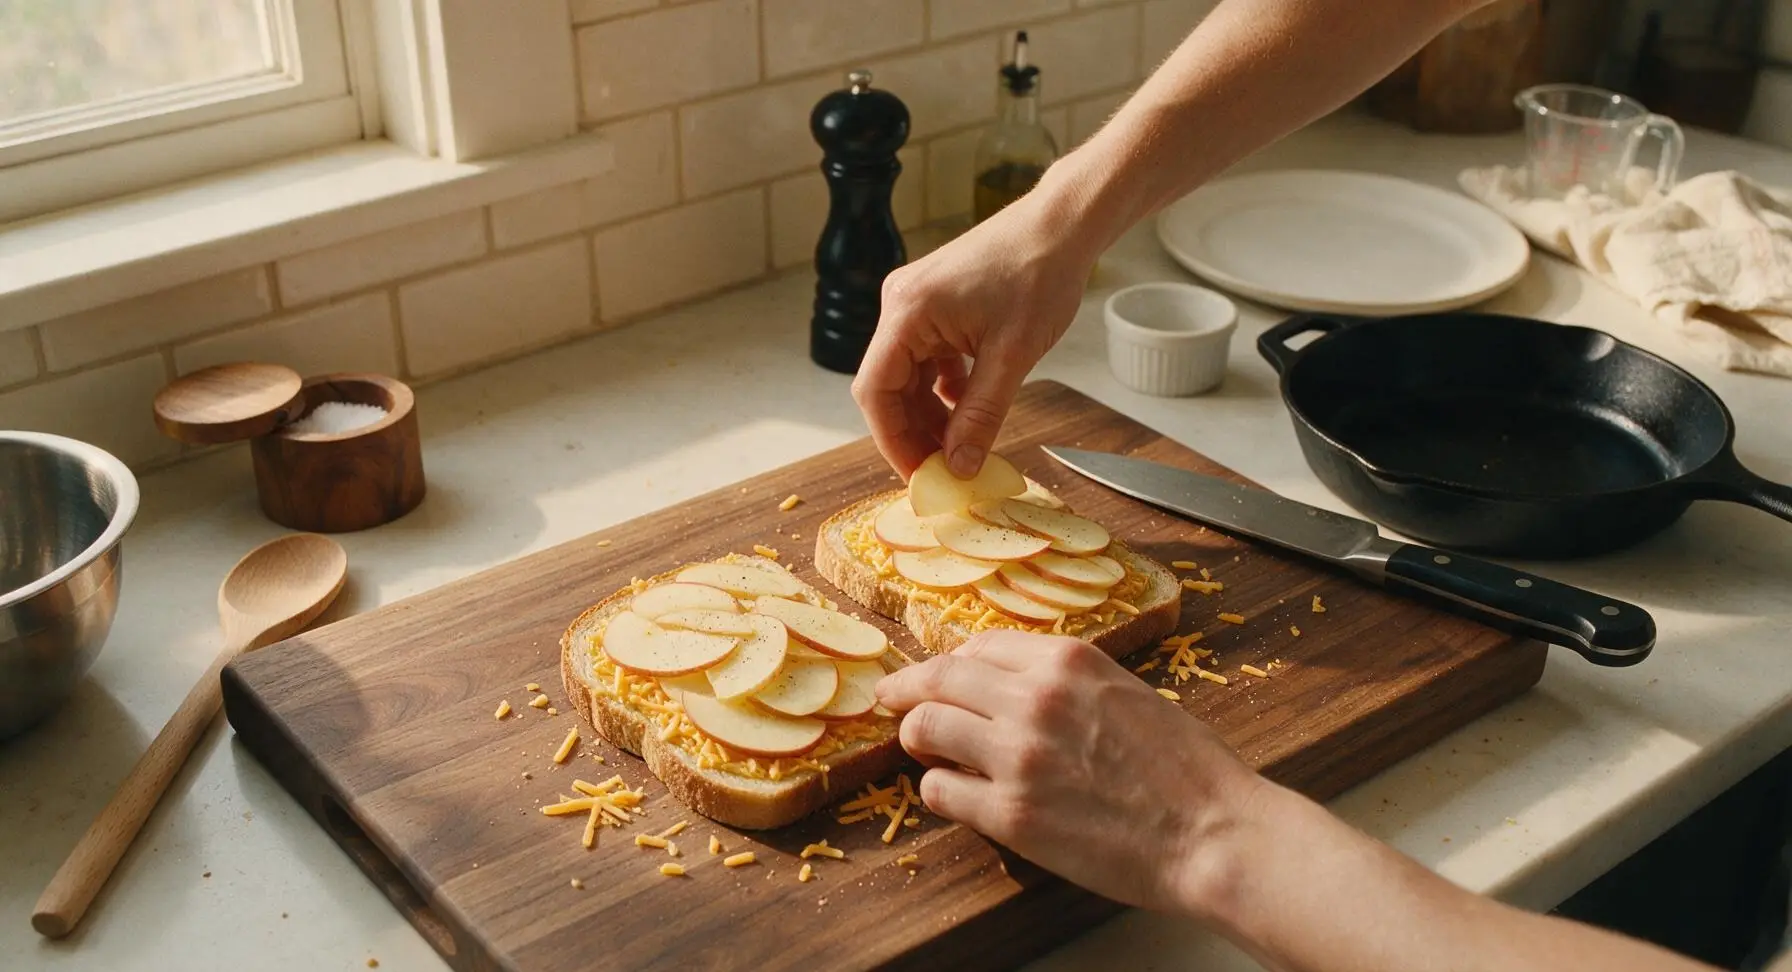
Divide half of the grated cheddar evenly across the mustard-coated side of two bread slices, spreading shreds all the way to the crust edges. Arrange 6 thin apple slices in a single overlapping layer on top of the cheese on each sandwich, then sprinkle apples with a light pinch of black pepper. Top the apple layer with the remaining half of the grated cheddar, spread evenly to the edges. Place the remaining two bread slices on top, mustard-side facing down, to form two full sandwiches. Press down gently on each sandwich to help layers adhere.
Butter Bread Exteriors
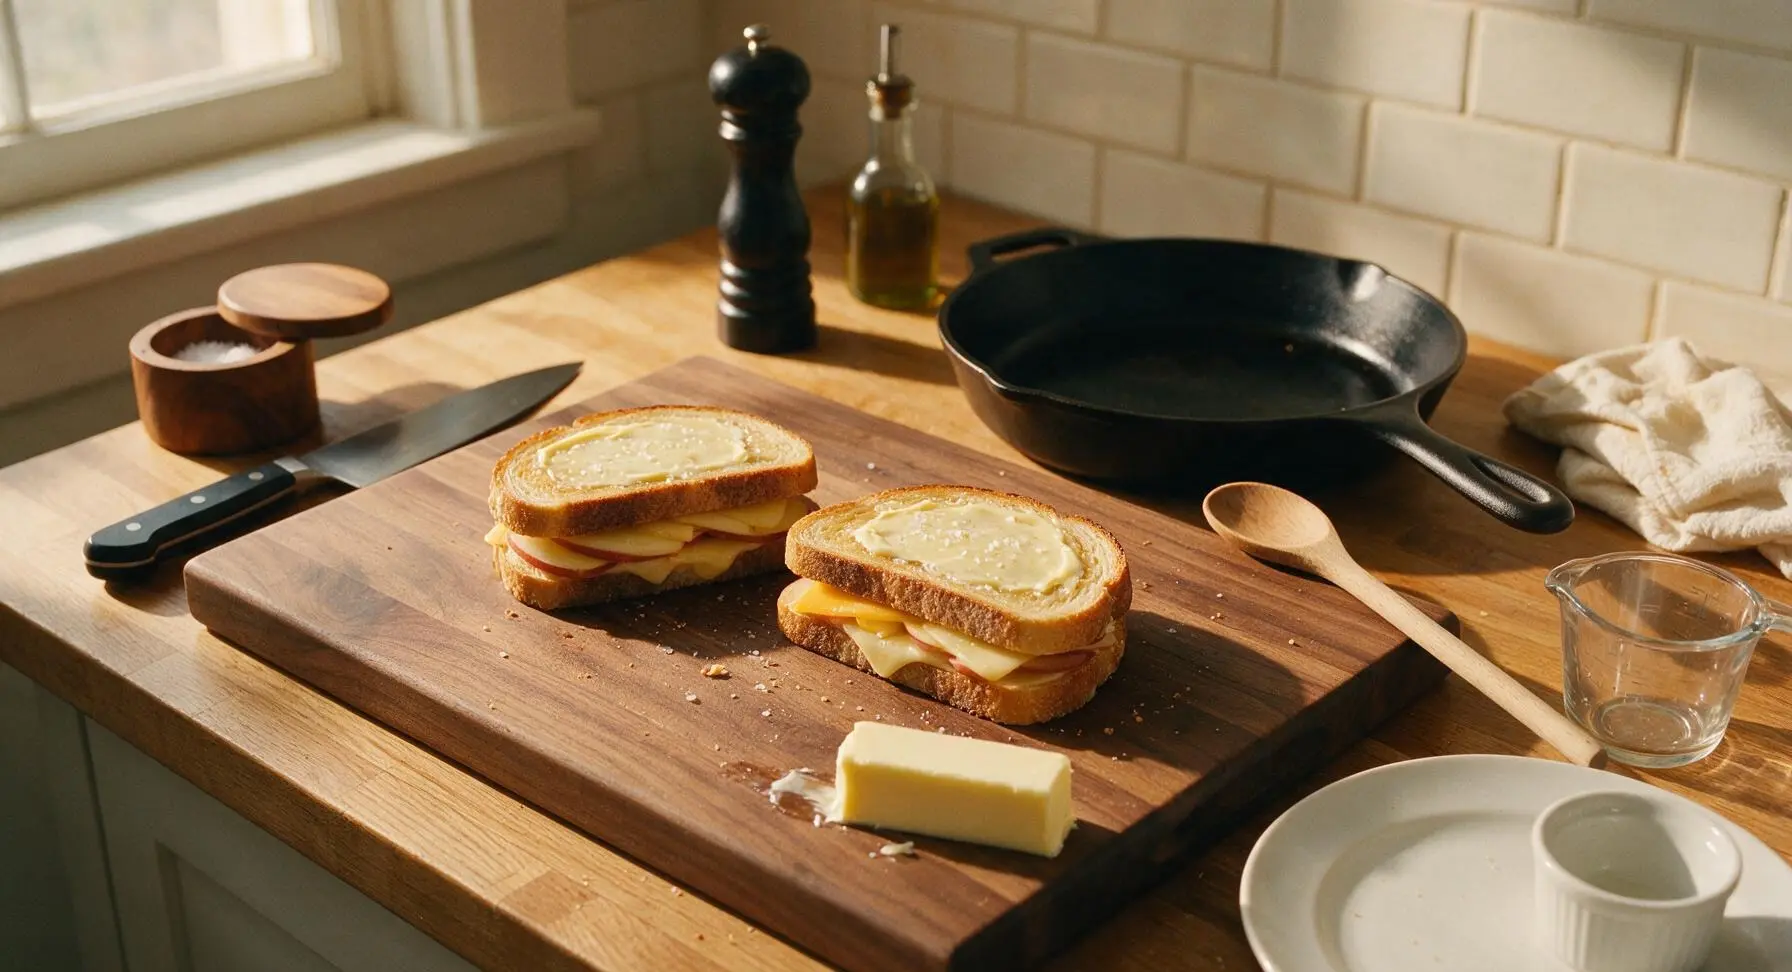
Use room-temperature softened butter to spread a thin, even layer (≈1 tsp per side) across the entire outer surface of both sides of each sandwich, spreading all the way to the crust edges. Sprinkle a tiny pinch of flaky sea salt across the buttered surfaces to add extra savoriness to the crisp crust. Do not use cold butter, as it will tear the soft bread surface when spreading.
Preheat the Skillet
Place the 10-inch matte black carbon steel skillet in the center of the soapstone counter, and preheat to medium-low heat (≈160°C / 325°F) for 2 minutes. Test the pan temperature by dropping a tiny pinch of butter into the center: it is ready when the butter sizzles gently and melts slowly without turning brown immediately. Rest the silicone-tipped spatula on the counter to the right of the skillet.
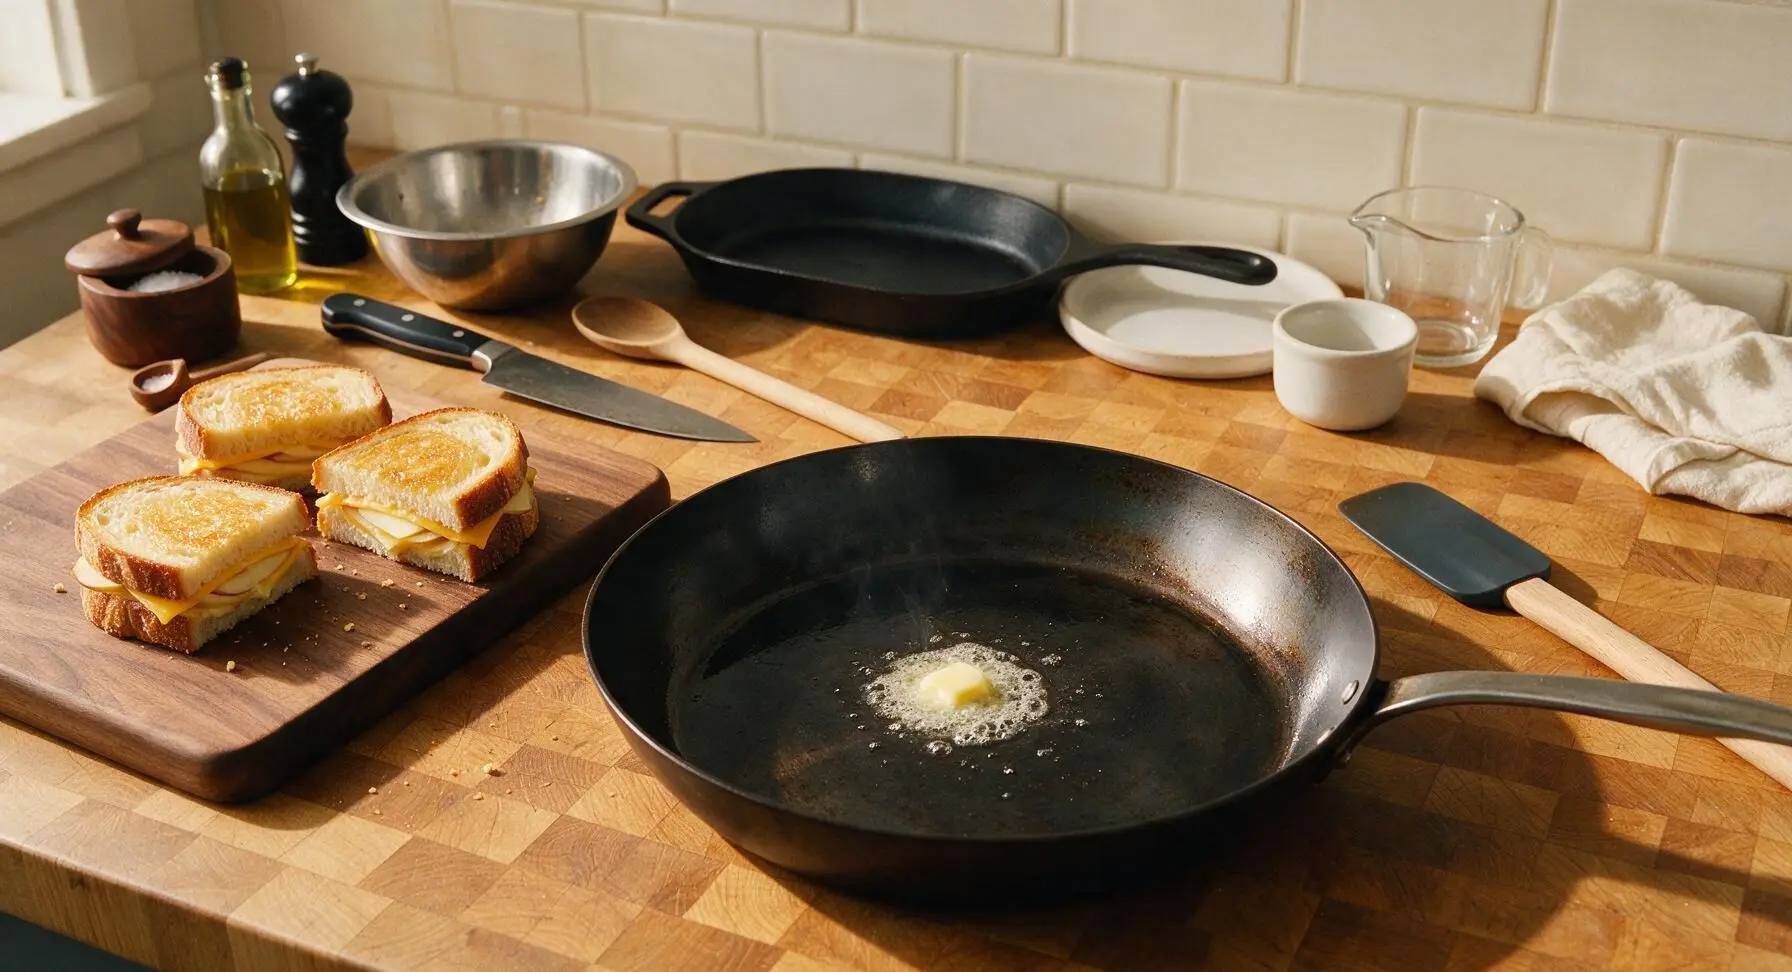
Cook First Sandwich Side
Carefully place one assembled sandwich into the preheated skillet. Cook for 3-4 minutes on the first side, adjusting heat as needed to keep the butter sizzling gently without smoking. The first side is ready to flip when it turns a deep, even golden brown, and the cheese closest to the pan looks soft and slightly melted around the edges. Do not press down hard on the sandwich while cooking, as this will squeeze out melted cheese and make the bread soggy.
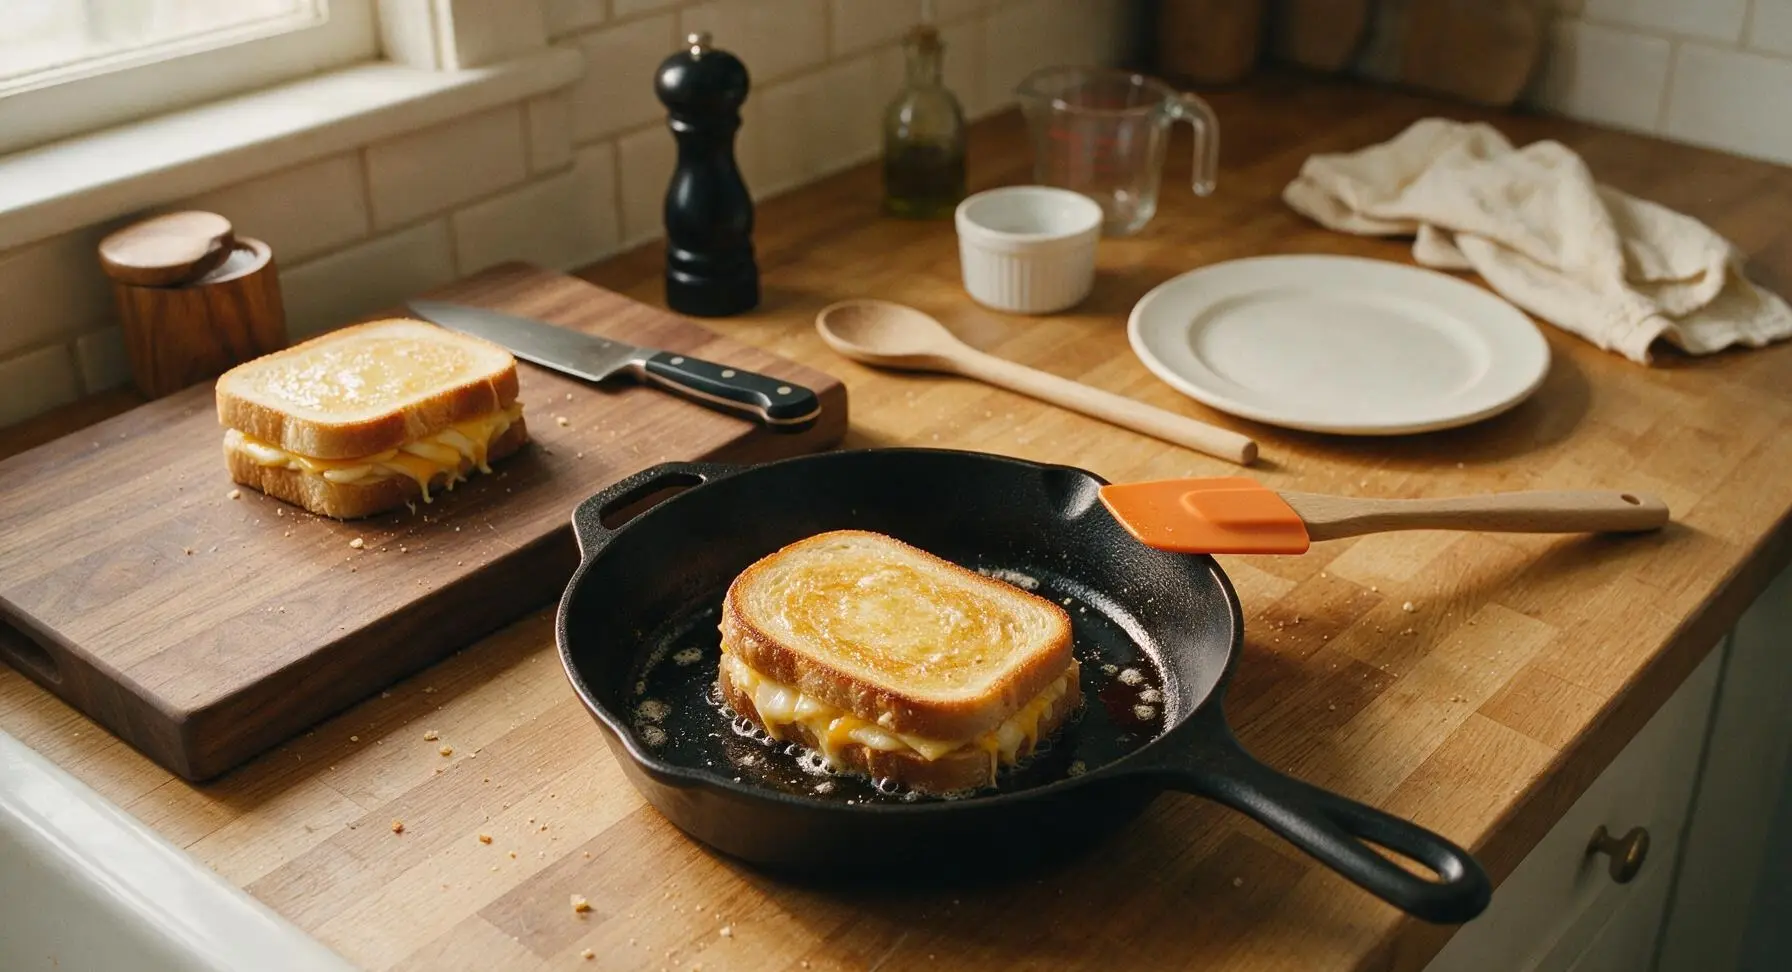
Flip and Finish Cooking
Slide the silicone-tipped spatula fully under the sandwich, and flip it gently in one smooth motion. Cook the second side for another 3-4 minutes, until it is also deep golden brown and crisp, and all the cheddar in the center is fully melted with small amounts oozing slightly at the crust edges. If the bread browns too quickly before the cheese melts, turn heat to low and cover the pan for 1 minute to trap heat and speed cheese melting. Repeat the cooking process for the second sandwich.
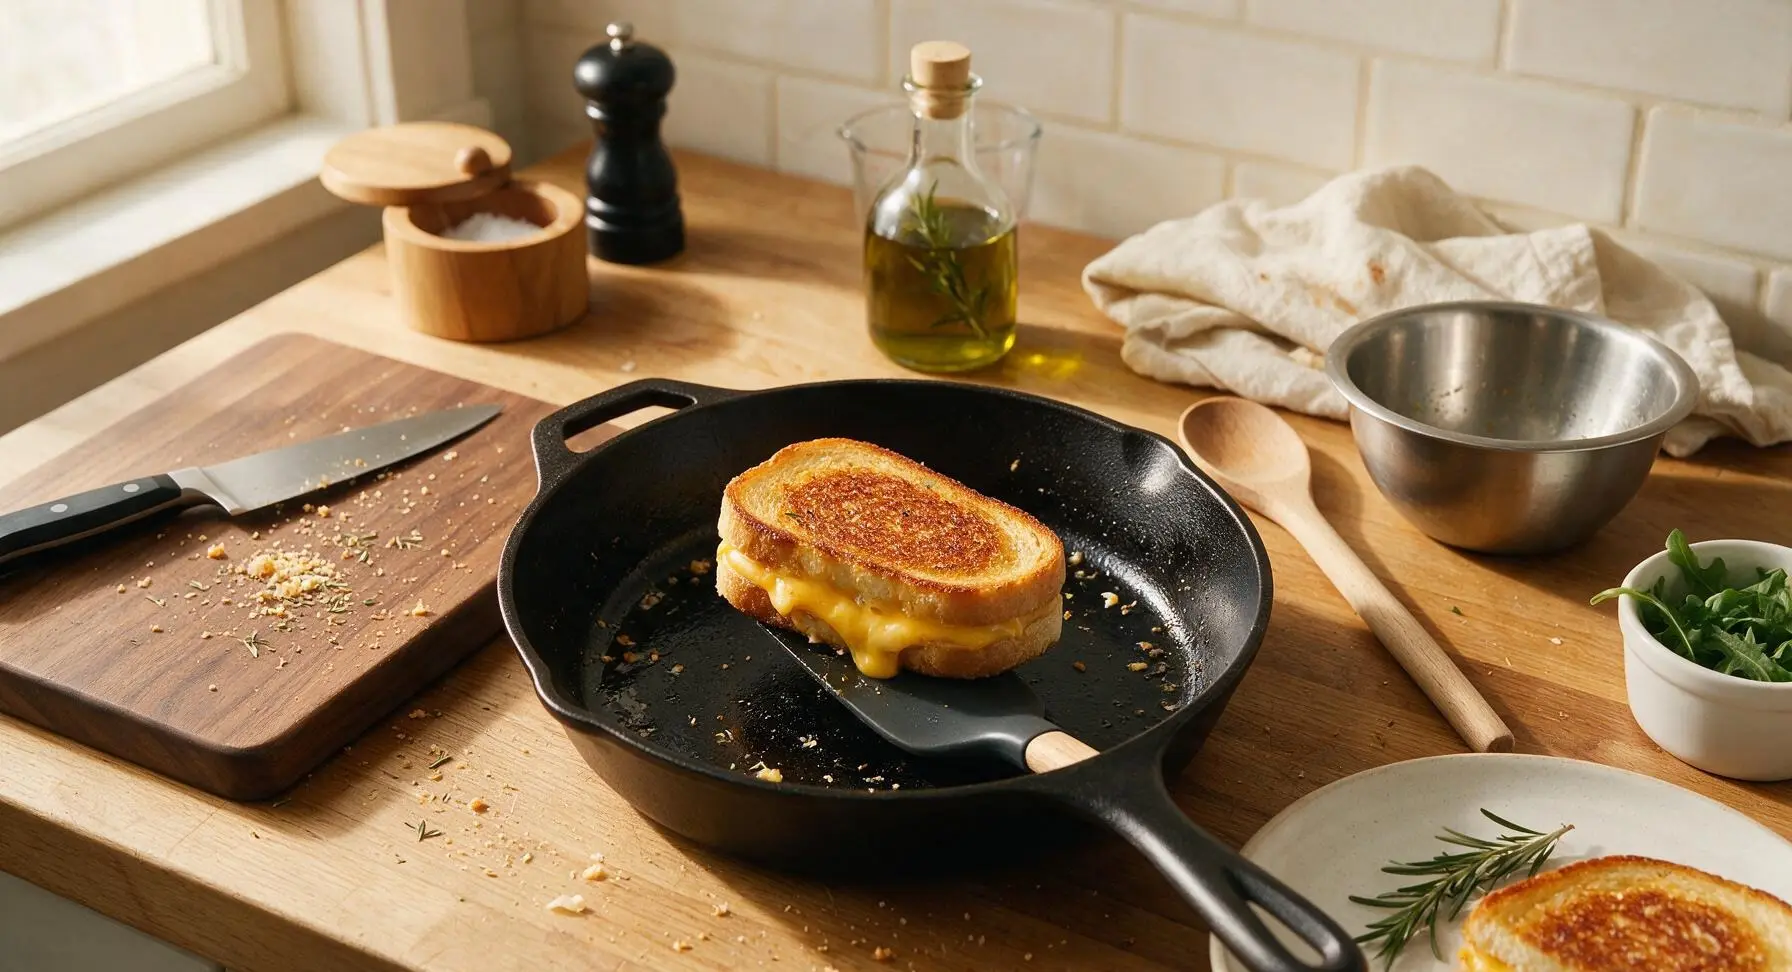
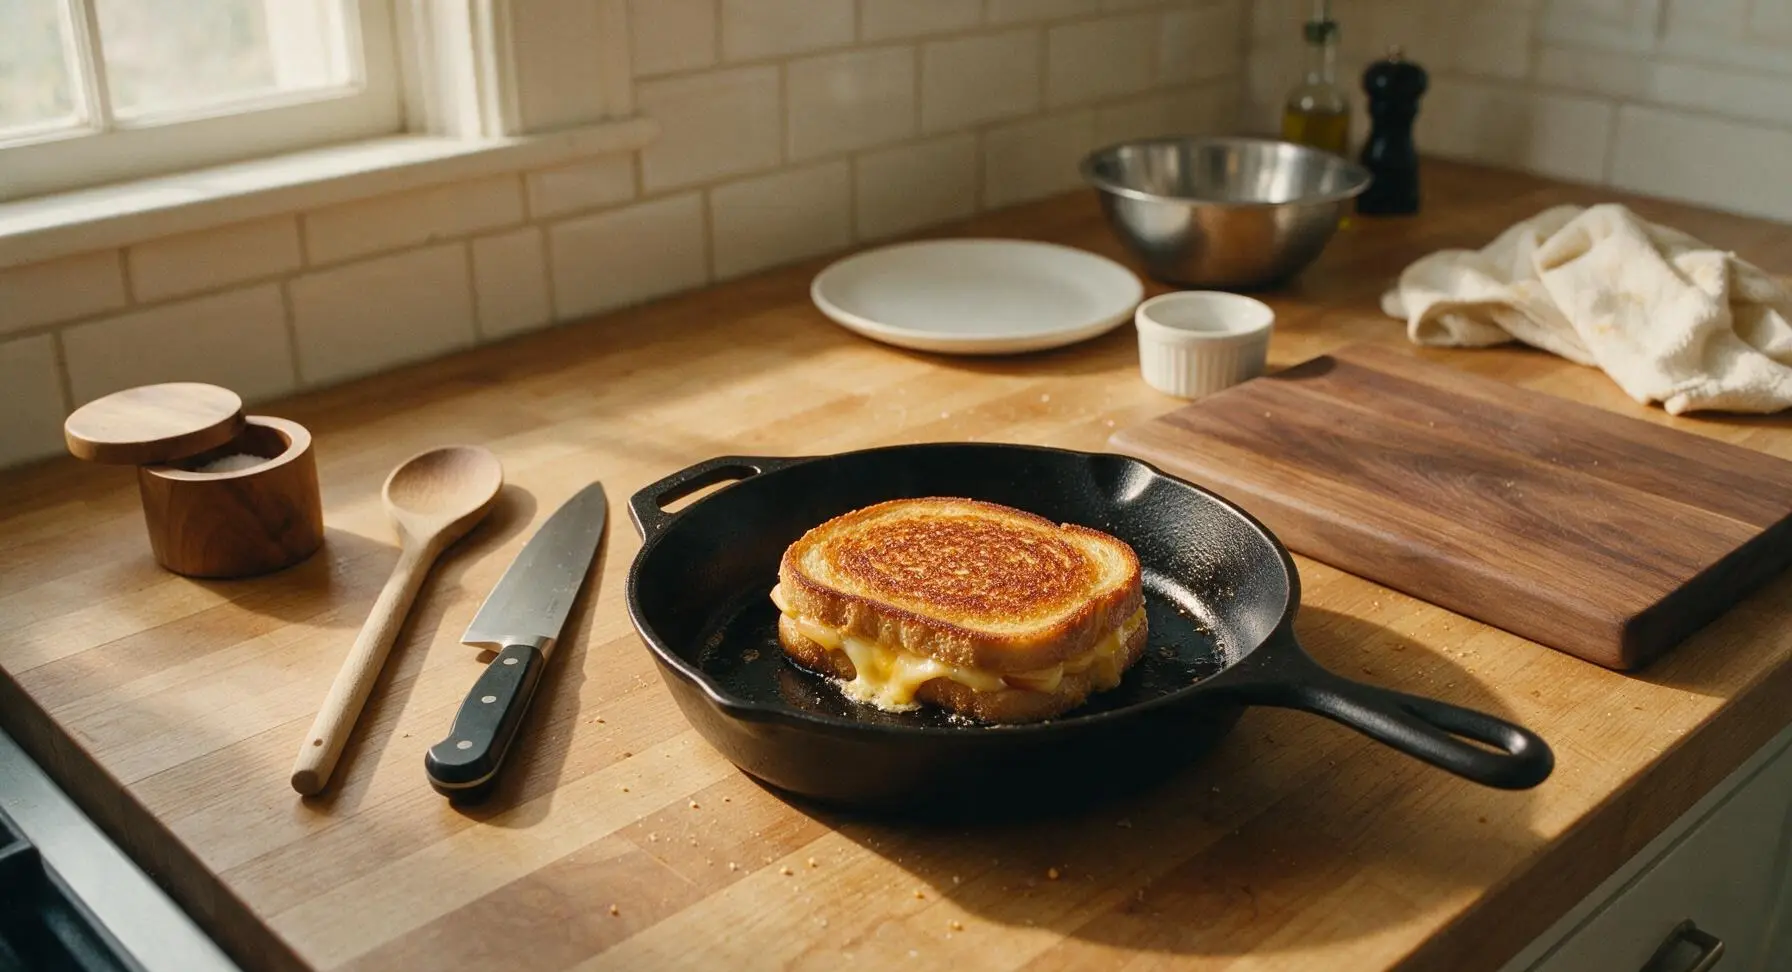
Rest and Plate Sandwich
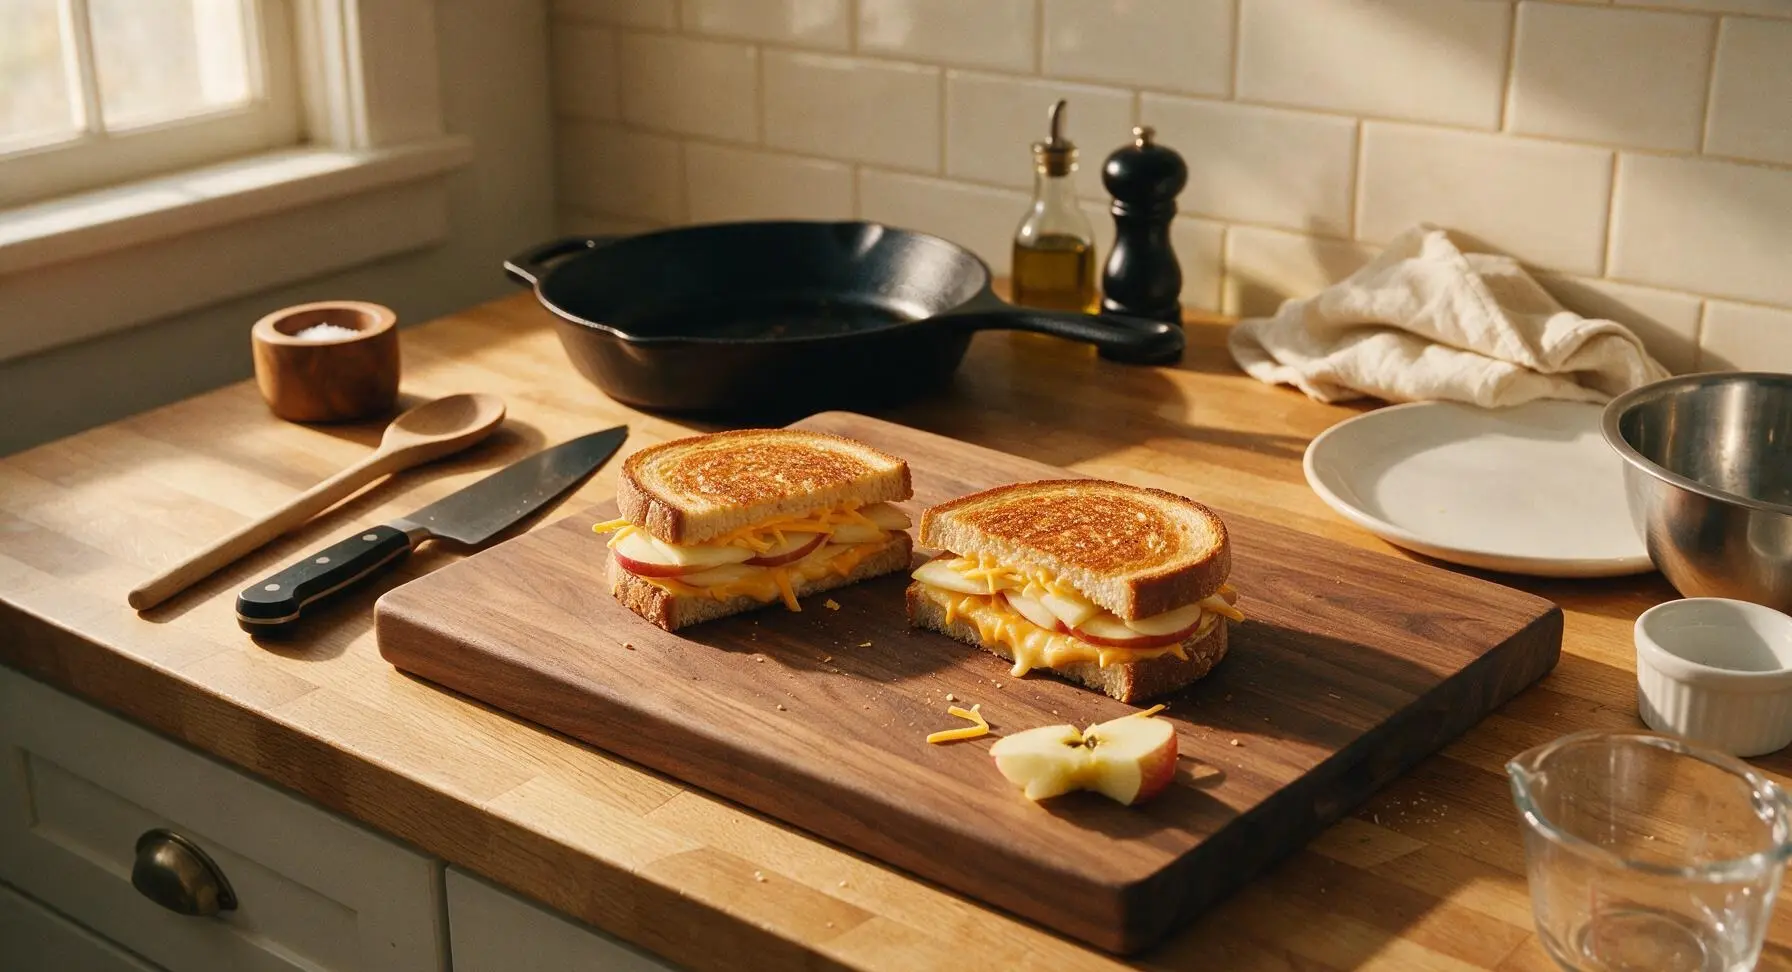
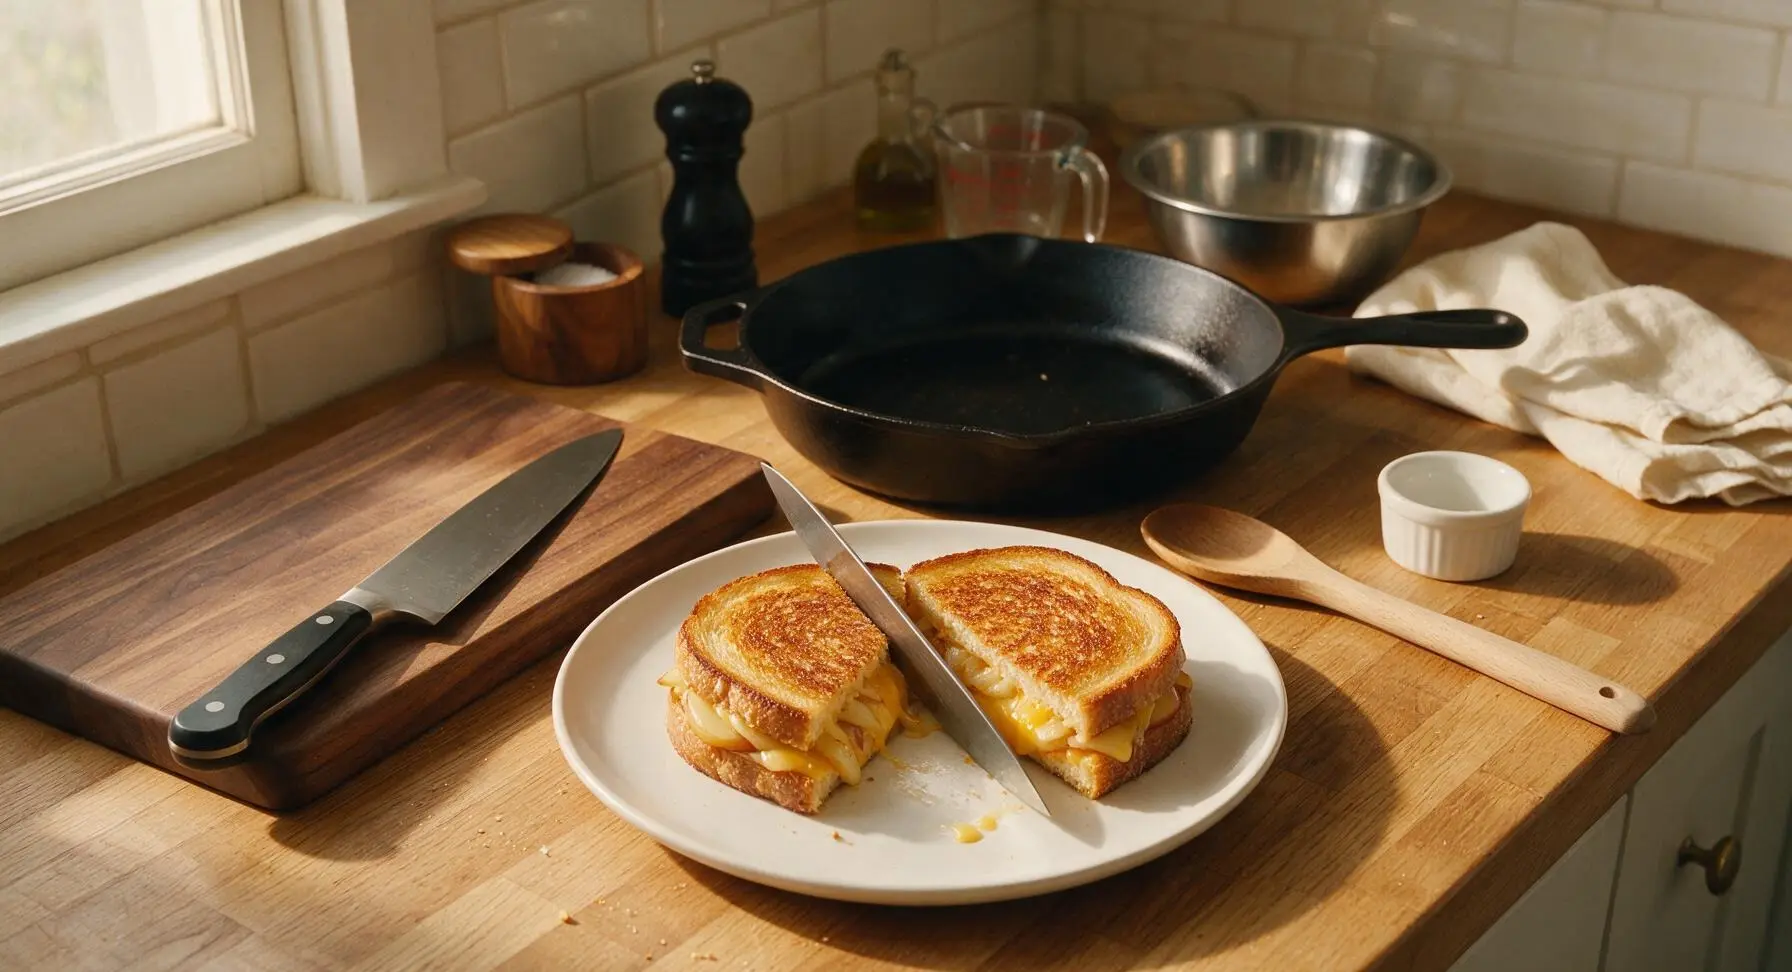
Once both sides are crisp and golden and cheese is fully melted, transfer the cooked sandwich to the cream white ceramic lunch plate. Let it rest for 1 minute to allow the melted cheese to set slightly, so it does not run out when sliced. Cut the rested sandwich diagonally into two triangular halves with the chef knife. Serve immediately.
Tips
2.Cook over medium-low heat instead of high heat: high heat will burn the butter and bread crust before the cheddar fully melts and the apple slices soften slightly, resulting in a bitter, burnt exterior and cold, unmelted center.
3.Pat cut apple slices dry with a kitchen towel before layering: excess juice from fresh apples will soak into the bread and turn the crisp crust soggy, so removing surface moisture ensures every bite stays crunchy on the outside and tender in the center.






OMG, this apple cheddar grilled cheese is a total game changer! I made it for my kids’ after-school snack yesterday and they begged for seconds before they even finished their first sandwich. I used Honeycrisp apples and sharp white cheddar, it was the perfect mix of sweet and savory. 10/10 will be making this weekly for meal prep!
SO good. I was skeptical about fruit in my grilled cheese but my roommate convinced me to try this and wow. The cook time is actually only 10 minutes like it says, which is perfect for my lazy weeknight dinners. I added a little dijon mustard on the bread and it slapped.
I brought these to my neighborhood block party potluck last weekend and they were gone in 10 minutes flat! I cut them into little bite-sized triangles and people kept coming back to ask for the recipe. Total crowd pleaser, even for the picky eaters!
Wait this is so easy even I can’t mess it up? Tried making it last night in my dorm between study sessions and it turned out perfect. I used pre-sliced cheddar and a Fuji apple I had in my mini fridge, no fancy ingredients needed. Only thing is I burned the first slice of bread a little oops, but the second one was chef’s kiss.
My kids loved it! We had this with a side of tomato soup for family dinner last night and even my super picky 7 year old ate every bite. I didn’t have fancy sourdough, just regular whole wheat sandwich bread, and it still tasted amazing. Love that it comes together so fast on busy soccer practice nights.
Added a handful of arugula to mine for a little peppery kick and it was chef’s kiss! The peppery greens go so well with the sweet apple and salty cheddar. Will definitely be adding this to my regular lunch rotation.
Made a batch of these for my weekly meal prep and they hold up way better than I thought! I wrapped them individually in parchment paper and reheated them in the toaster oven at work all week, the bread stayed crispy and the apple didn’t get all mushy. Total win for easy work lunches.
Tried this for brunch last weekend with my girlfriends and we were all obsessed! I drizzled a tiny bit of hot honey on mine before closing the sandwich and it was unreal. The sweet, spicy, salty, crispy combo is unmatched. 100% making this for my next girls’ night.
As a dad who can barely cook without setting off the smoke alarm, this was foolproof. 10 minute cook time is no joke, I threw it together while my kid was doing their homework and it came out looking just like the recipe photo. Win in my book.