
Apple Gouda Grilled Cheese
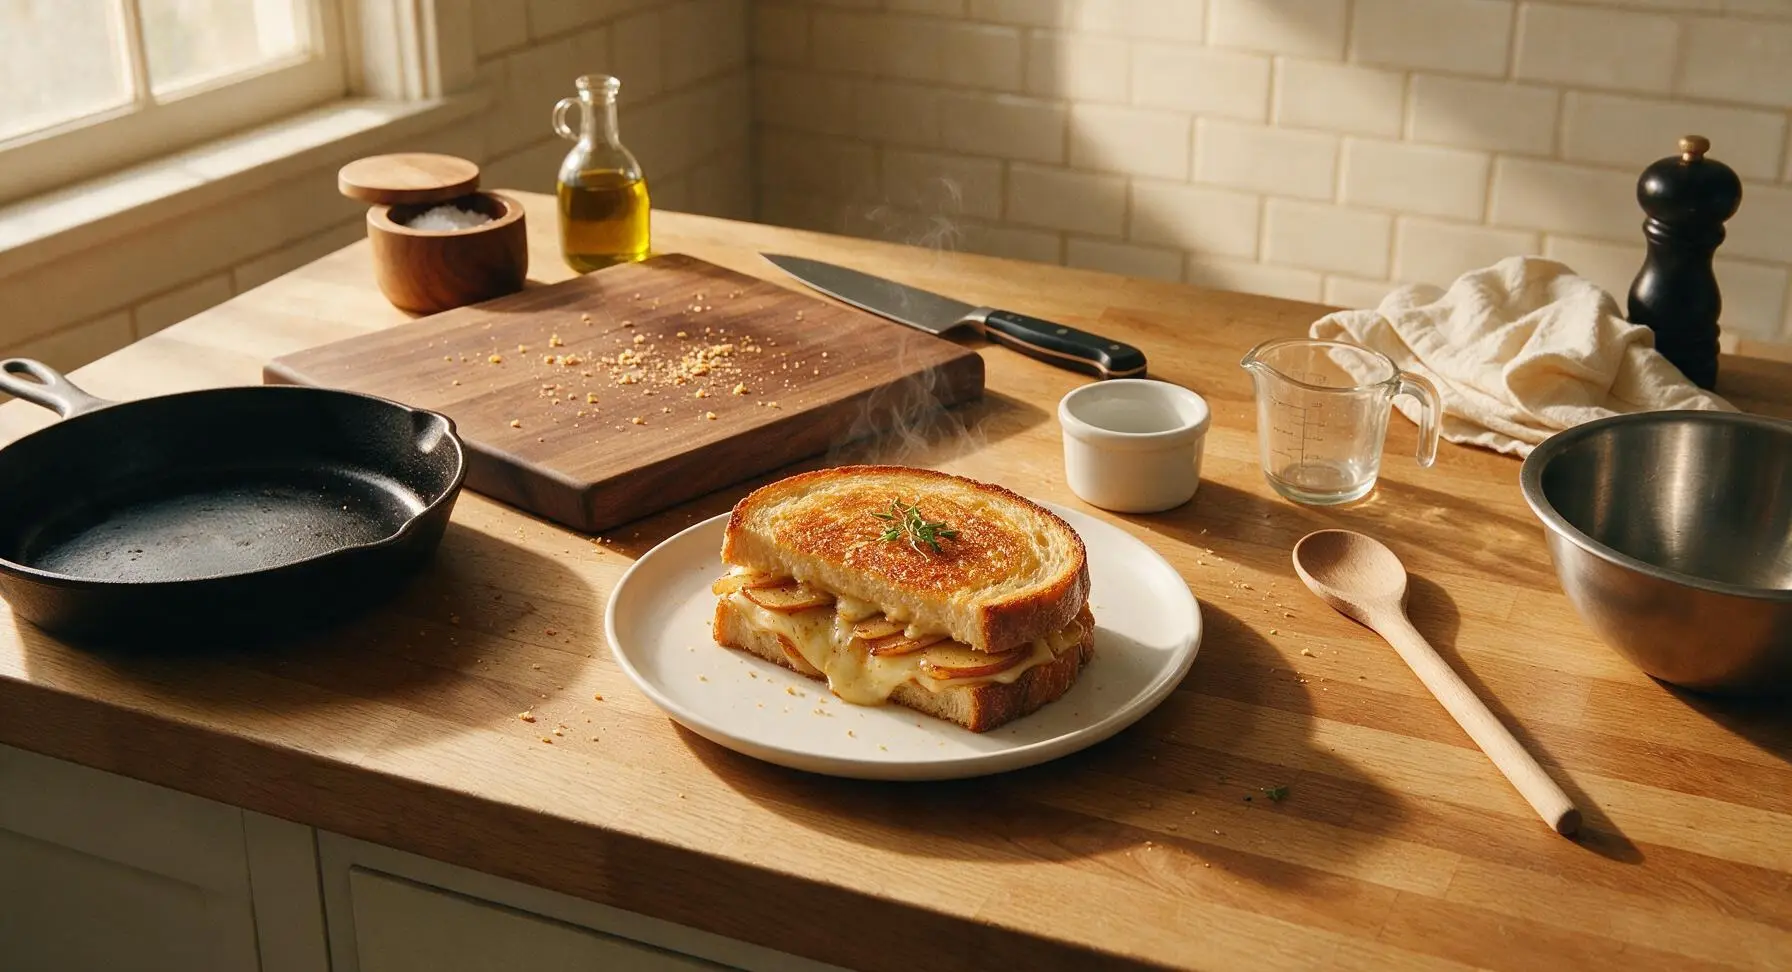
intro
Crispy buttery sourdough, melted smoky Gouda, and thin spiced apple slices combine for a sweet-savory, cozy grilled cheese perfect for cool fall days.
Ingredients
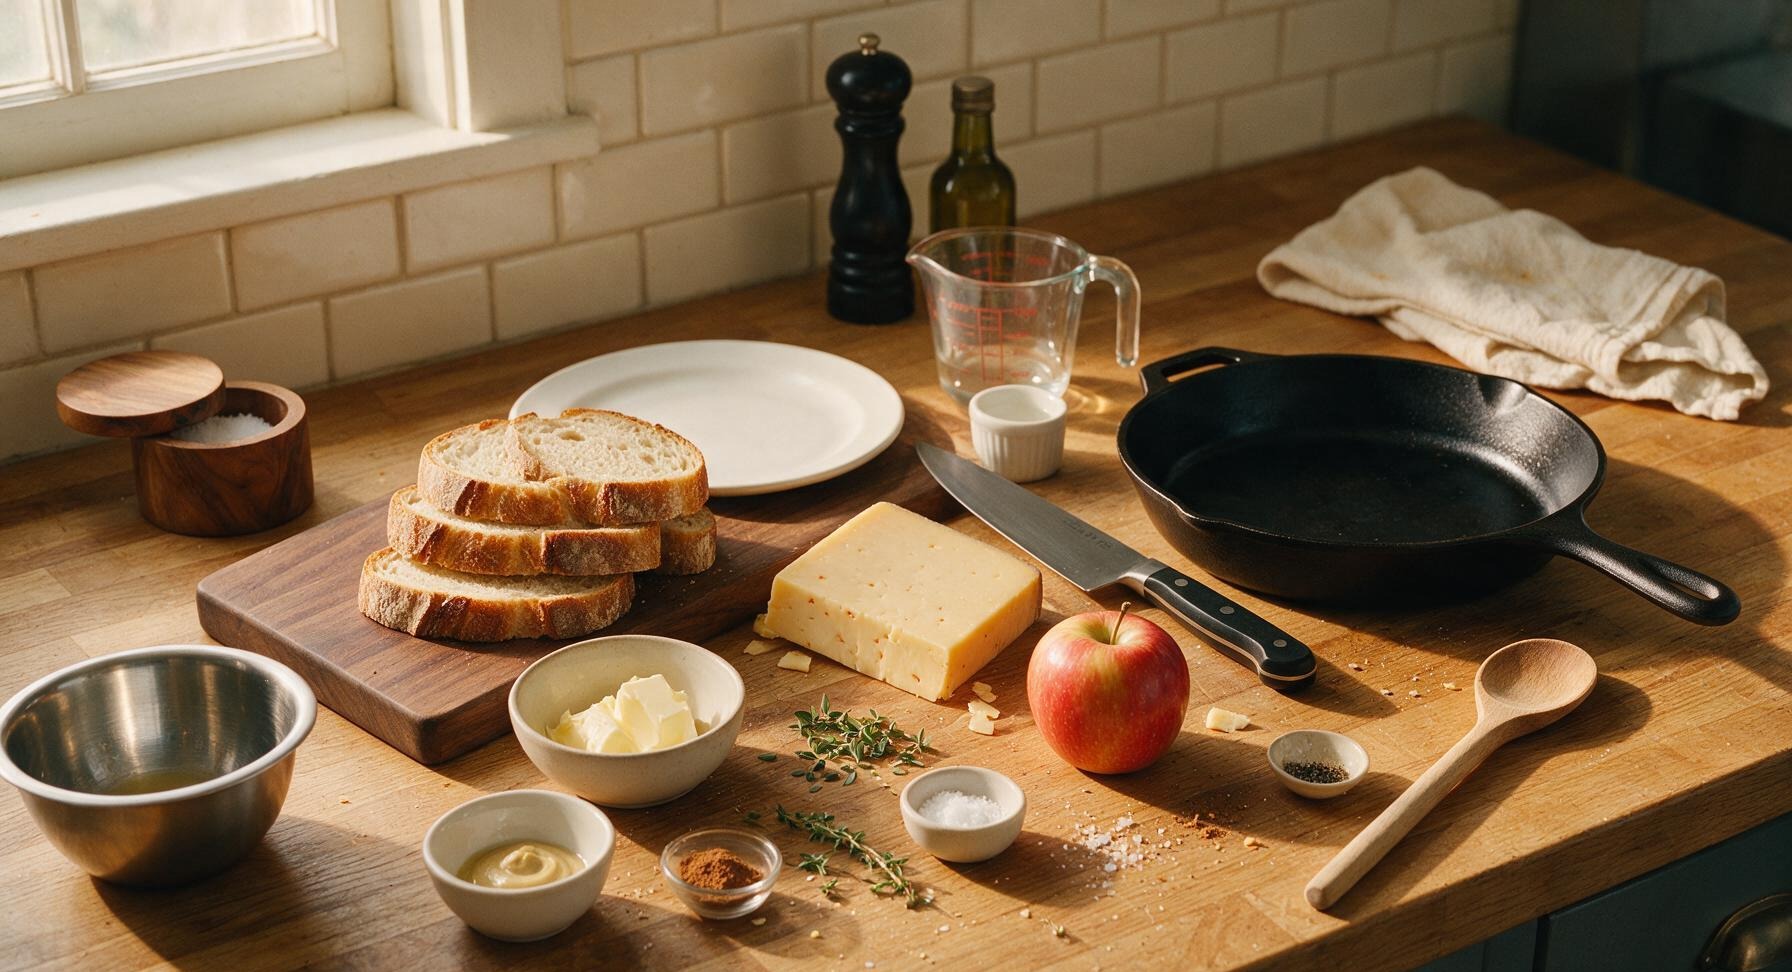
Steps
Prep Core Ingredients
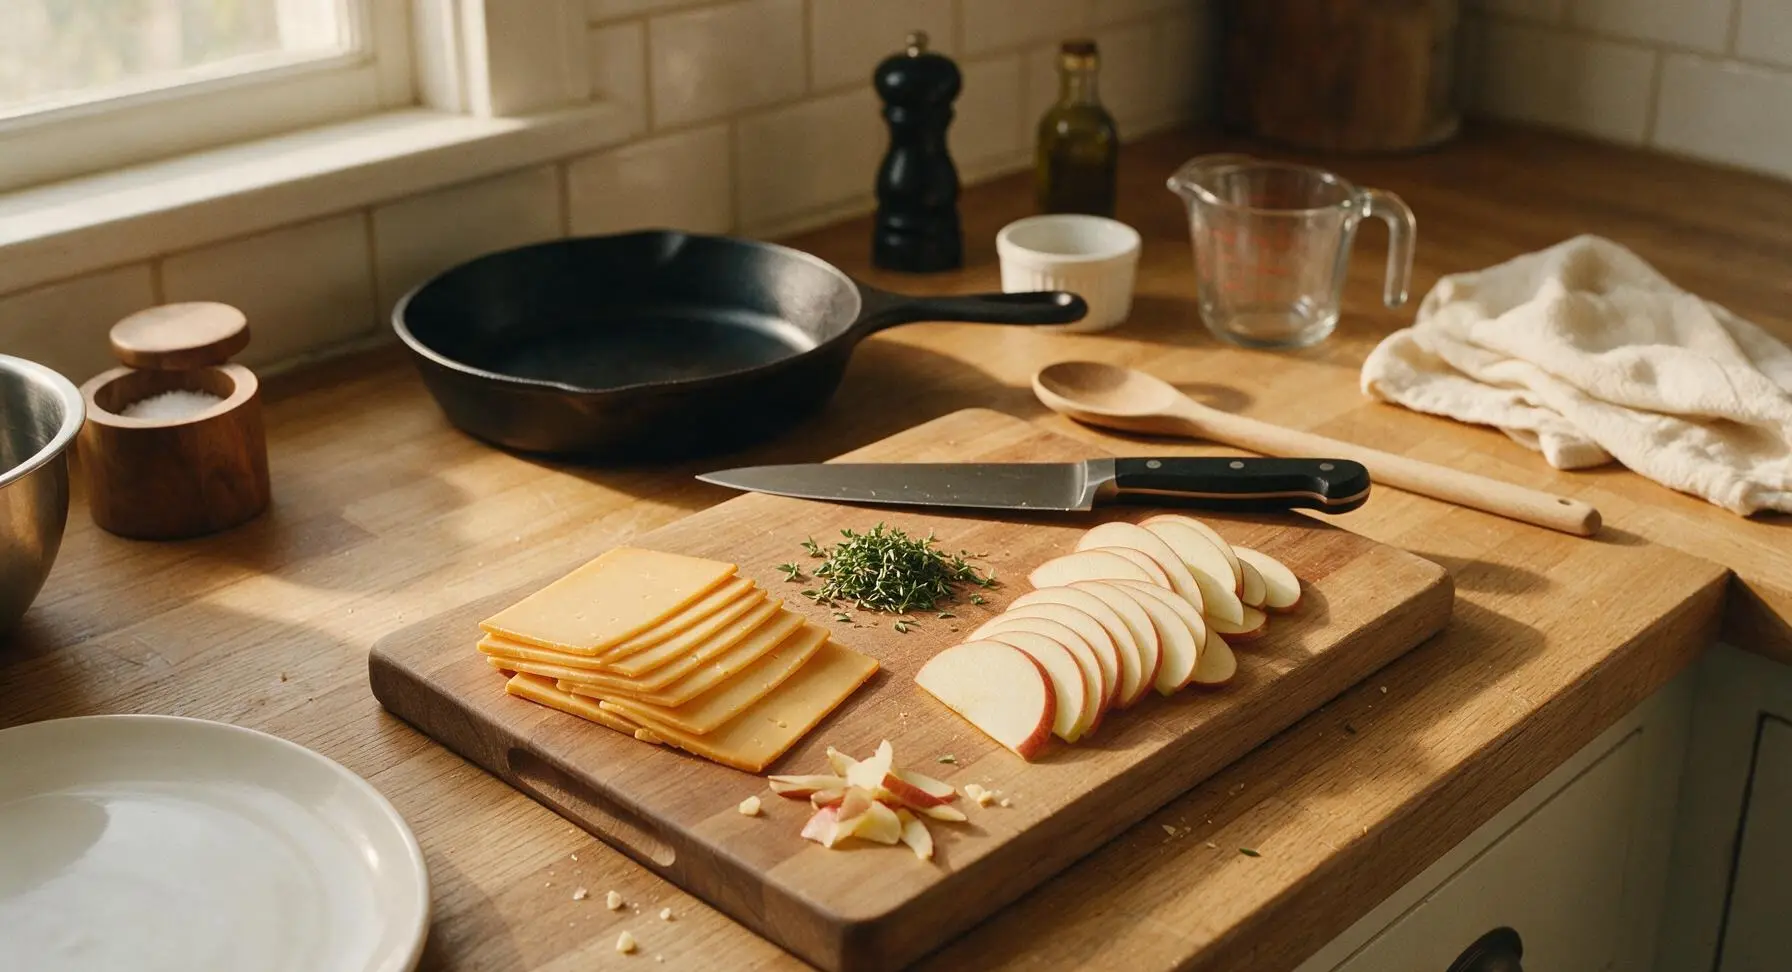
Place the maple cutting board at center counter. Using the chef knife, slice the smoked Gouda into 3mm thick slices, discarding any tough wax rind. Core the Honeycrisp apple, then slice into 2mm thin half-moon slices (no need to peel for extra texture and color). Pick fresh thyme leaves from stems, discarding woody stems. You should have enough cheese to fully cover 2 slices of bread, and enough apple slices to make a single even layer per sandwich.
Spread Dijon Base
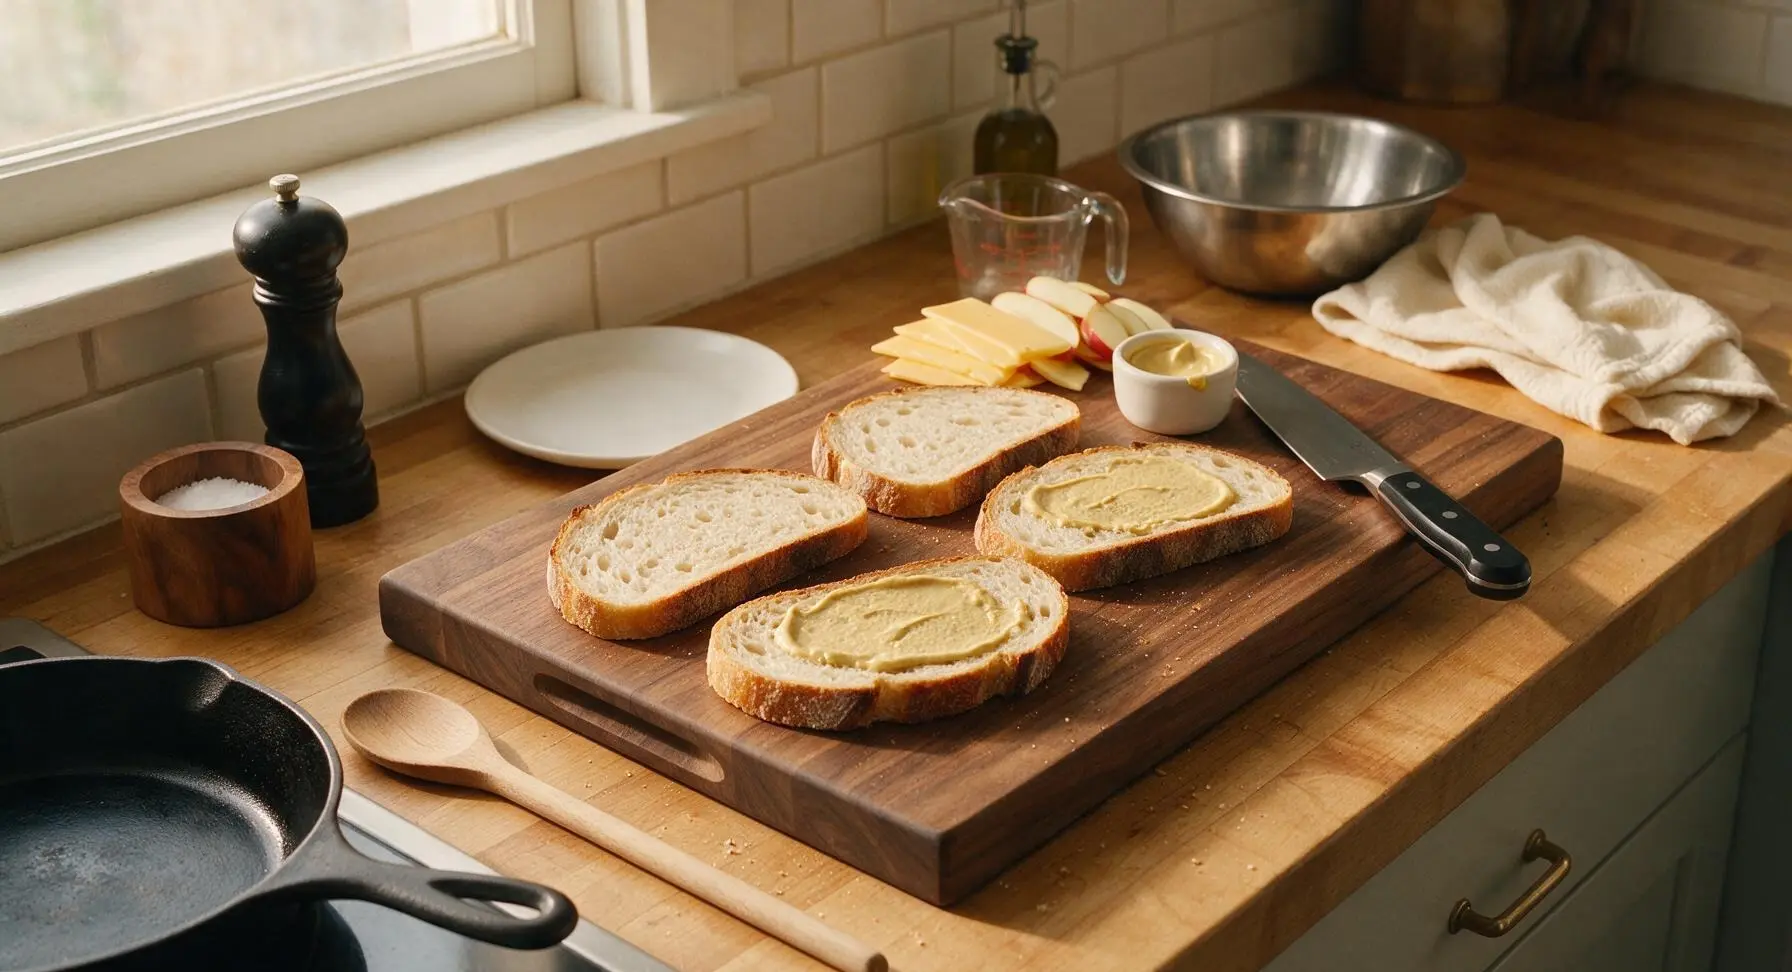
Lay all 4 sourdough slices flat on the cutting board. Spread 1/4 tsp of Dijon mustard evenly across the inner face of each bread slice, leaving a 5mm border from the crust to prevent oozing while cooking. The thin Dijon layer adds a sharp tang that cuts through the richness of the cheese and sweetness of the apple.
Layer Sandwich Fillings
Divide half the sliced Gouda (60g total) evenly across the 2 Dijon-spread bread slices, arranging slices to cover the bread edge to edge. Top the cheese with a single even layer of thin apple slices (6-7 slices per sandwich, overlapping slightly), then sprinkle the apple with the 1/8 tsp ground cinnamon, pinch of freshly ground black pepper, and half the picked thyme leaves. Top the apple layer with the remaining 60g of Gouda slices, then place the remaining 2 bread slices on top to form 2 complete sandwiches, pressing down gently to adhere. The top cheese layer against the upper bread slice ensures the sandwich sticks together while cooking, rather than sliding apart when flipped.
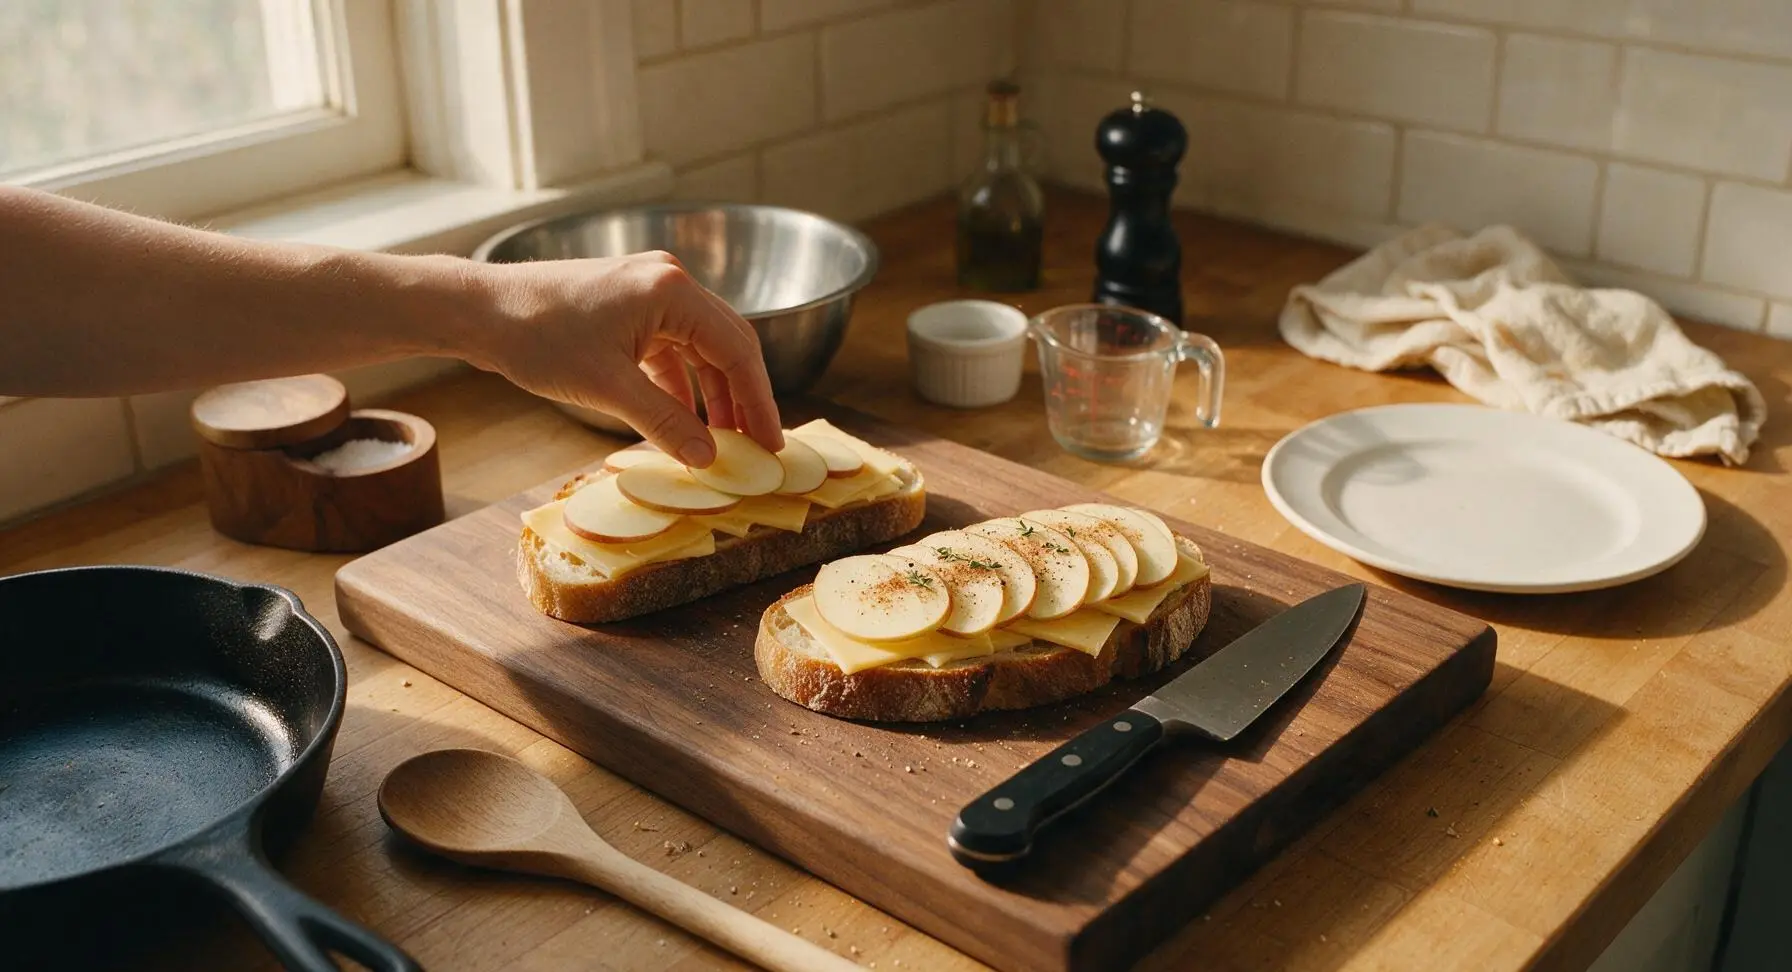
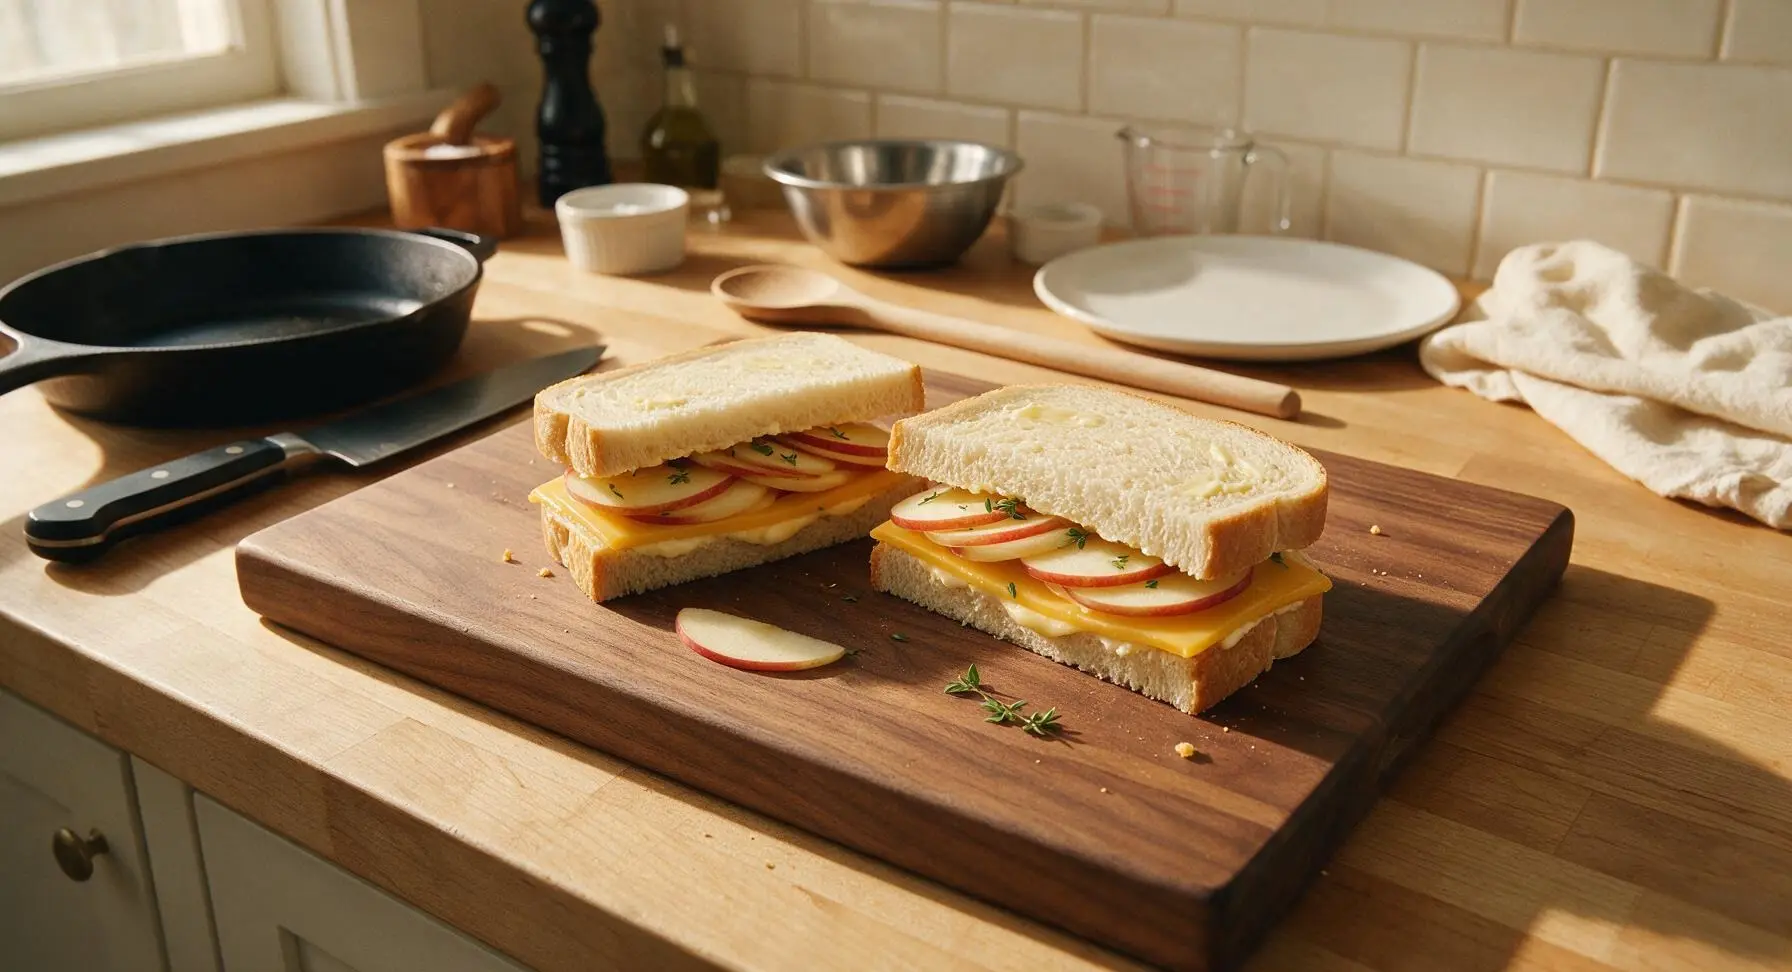
Butter Bread Exteriors
Stir the 2 tbsp softened unsalted butter until smooth and spreadable. Use the silicone basting brush to spread 1/2 tbsp of softened butter evenly across the entire top outer face of each sandwich, making sure to cover all the way to the crust edges. The even butter layer is critical for a uniformly golden, crispy crust without dry, floury burnt spots.
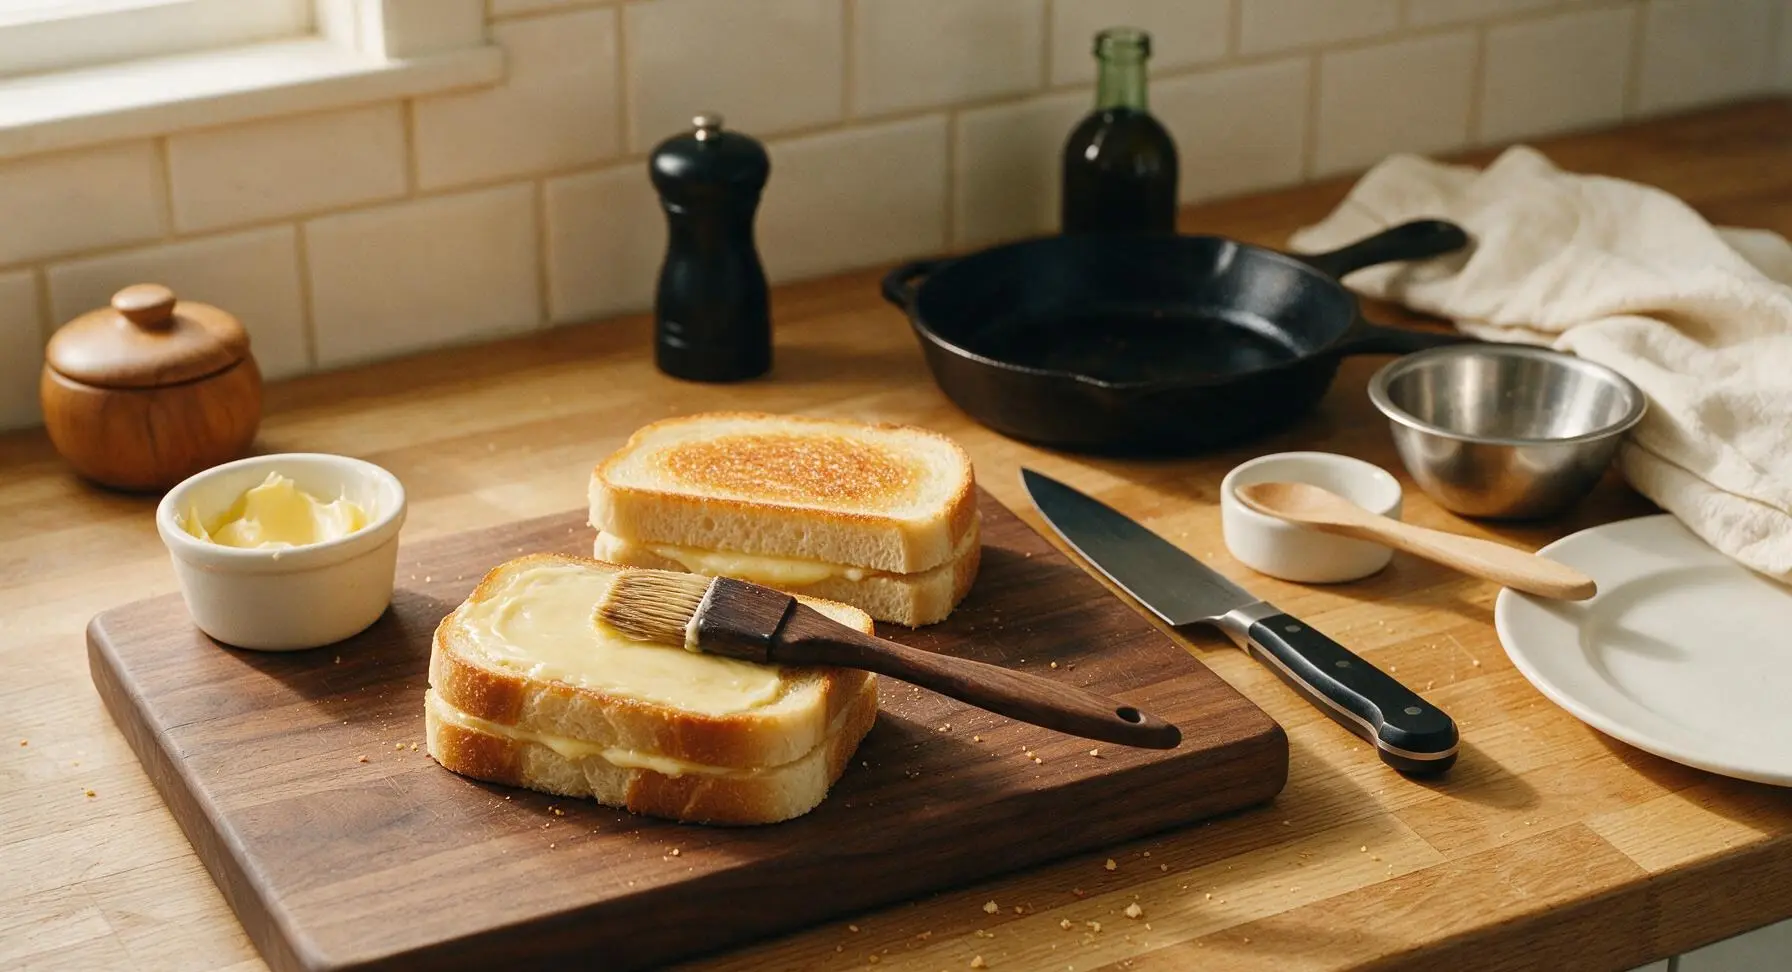
Preheat Nonstick Skillet
Place the 10-inch nonstick skillet on the flush-mount induction burner set to medium-low heat (325°F / 160°C), preheating for 2 minutes. Test the pan temperature by sprinkling a single drop of cold water: it should sizzle gently and dance across the surface, not evaporate instantly (too hot) or sit without bubbling (too cold).
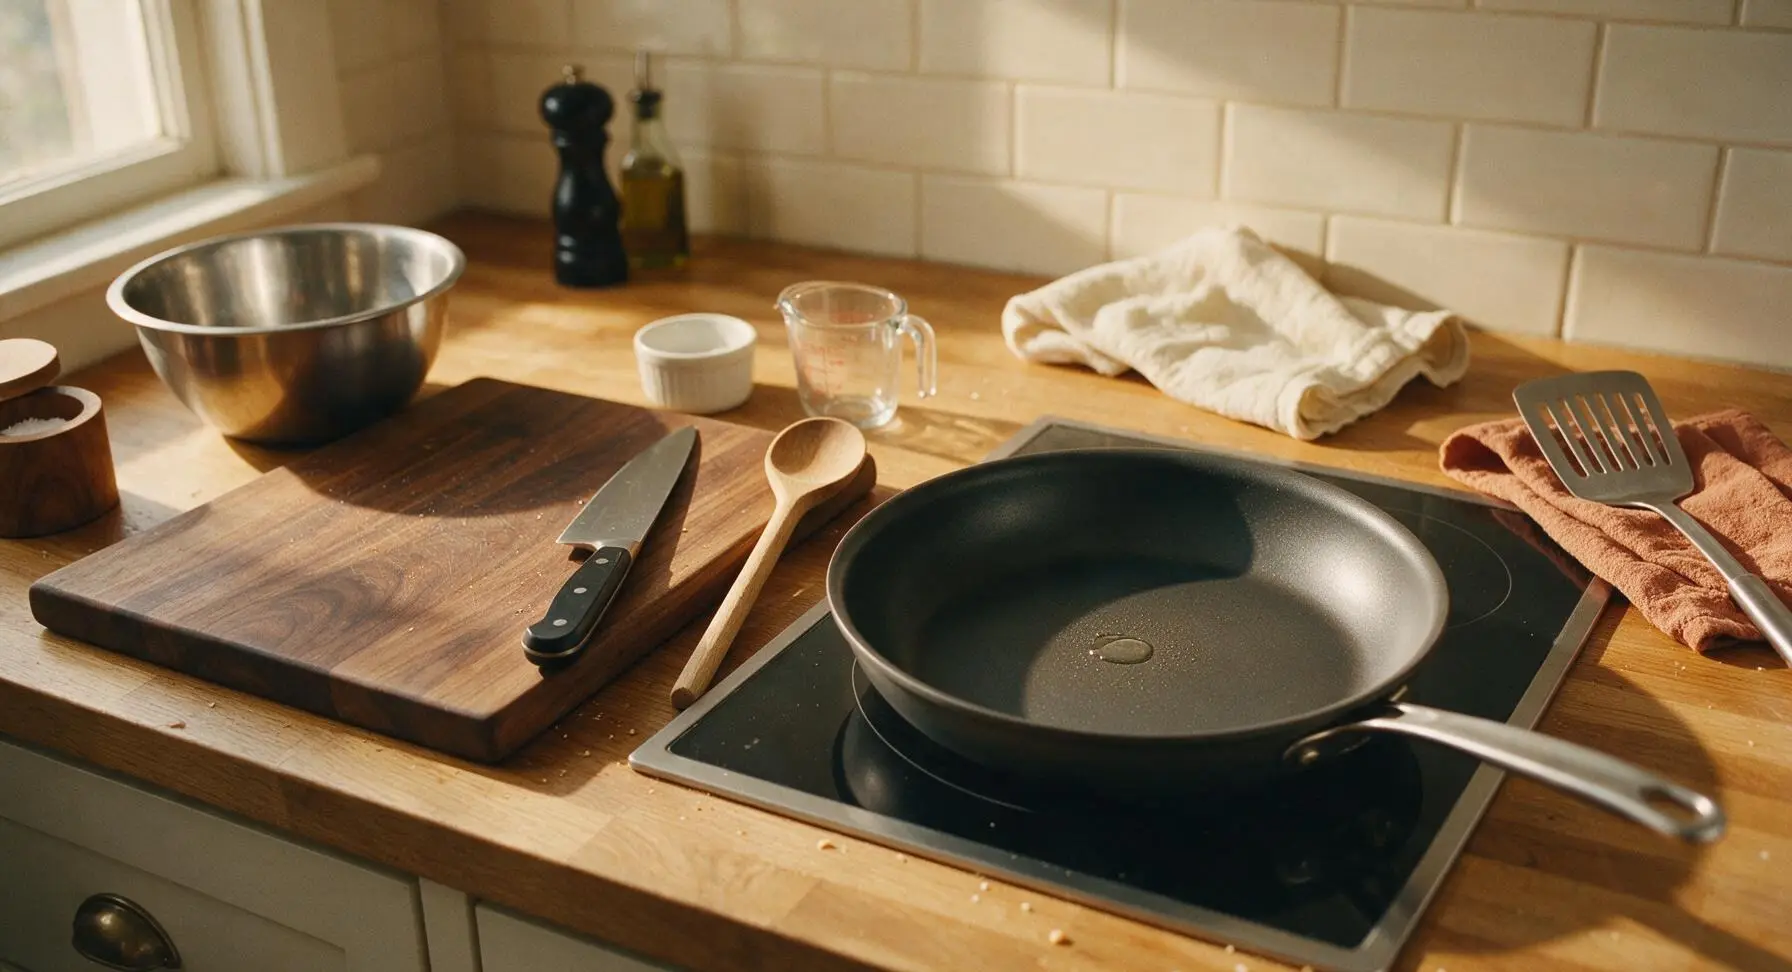
Cook First Sandwich Side
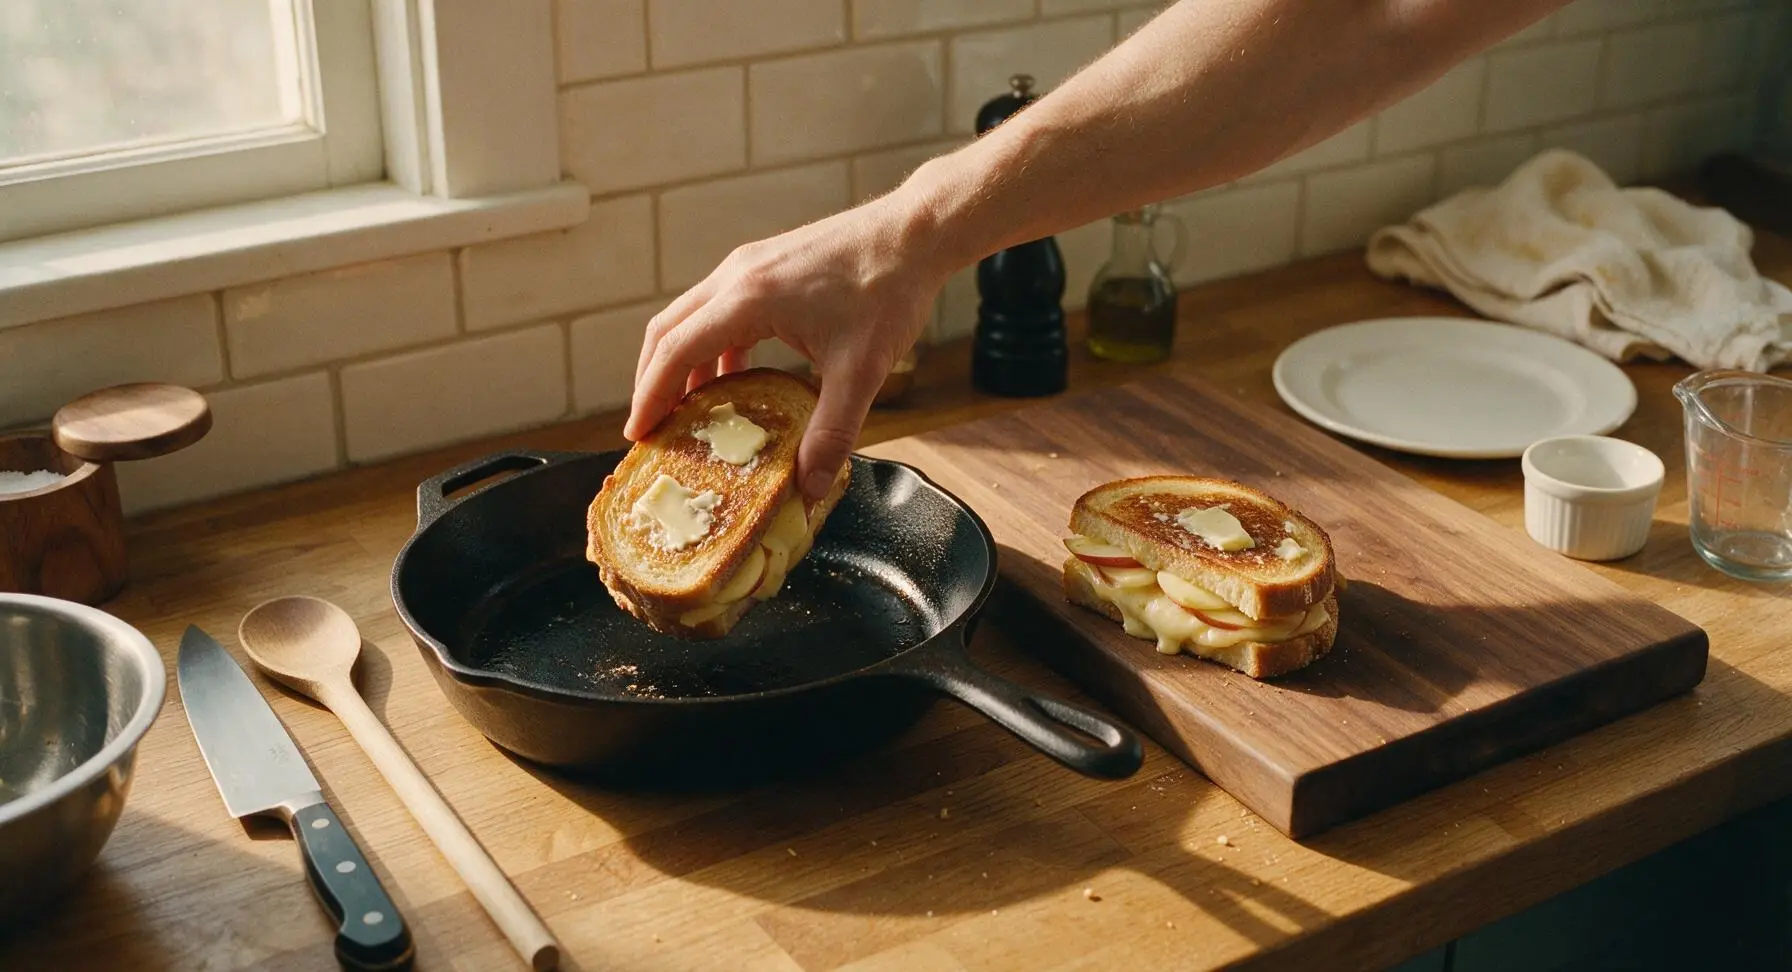
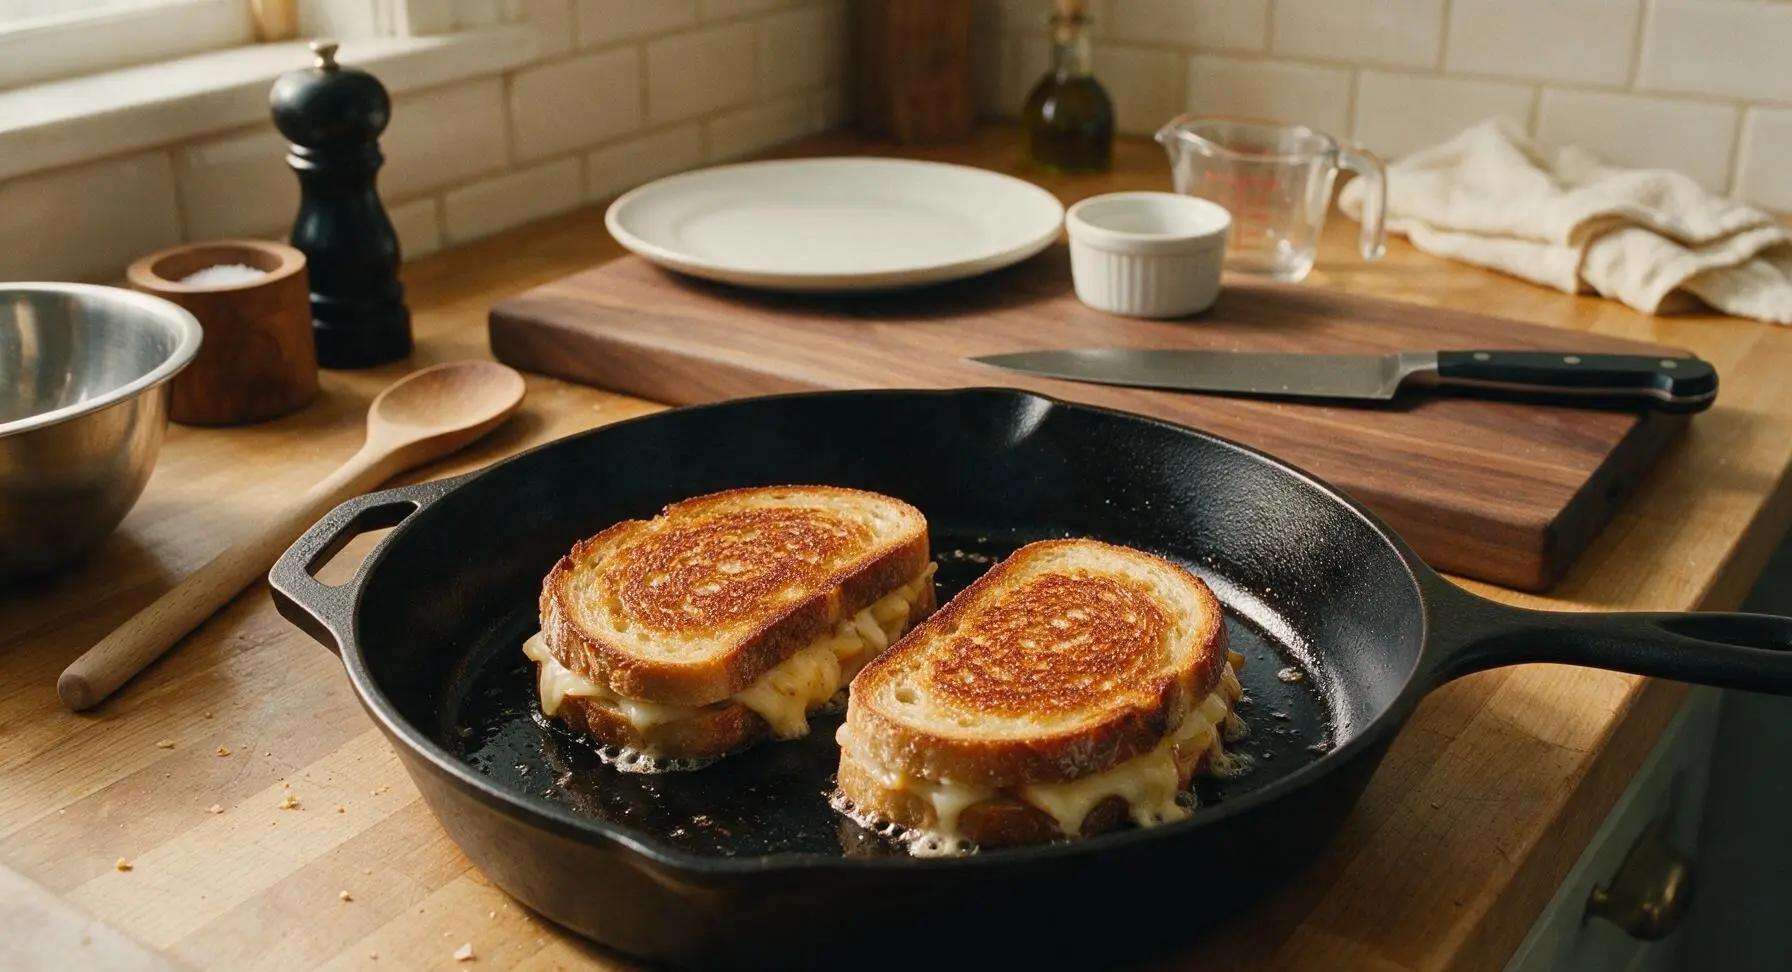
Carefully place both sandwiches butter-side down into the preheated skillet. Use the basting brush to spread the remaining 1 tbsp of softened butter evenly across the now-exposed top outer face of each sandwich, covering to the crust edges. Cook for 3-4 minutes, resisting the urge to press down firmly on the sandwiches, until the bottom bread is deep golden brown and crispy, and the cheese along the edges is just starting to bubble and melt. Pressing the sandwiches squeezes out melted cheese and compresses the bread, leading to a soggy, dense crust.
Flip and Finish Cooking
Use the slotted stainless steel spatula to carefully flip each sandwich in one smooth, steady motion to avoid tearing the bread or spilling fillings. Cook for another 3-4 minutes on the second side, until the bread is equally deep golden brown and crispy, and the Gouda is fully melted and stretchy when you lift a corner of the bread with the spatula. The apple slices will be slightly warmed and tender but still hold a bright crisp bite, not soft or mushy. Turn the heat down to low if the bread browns too quickly before the cheese fully melts.
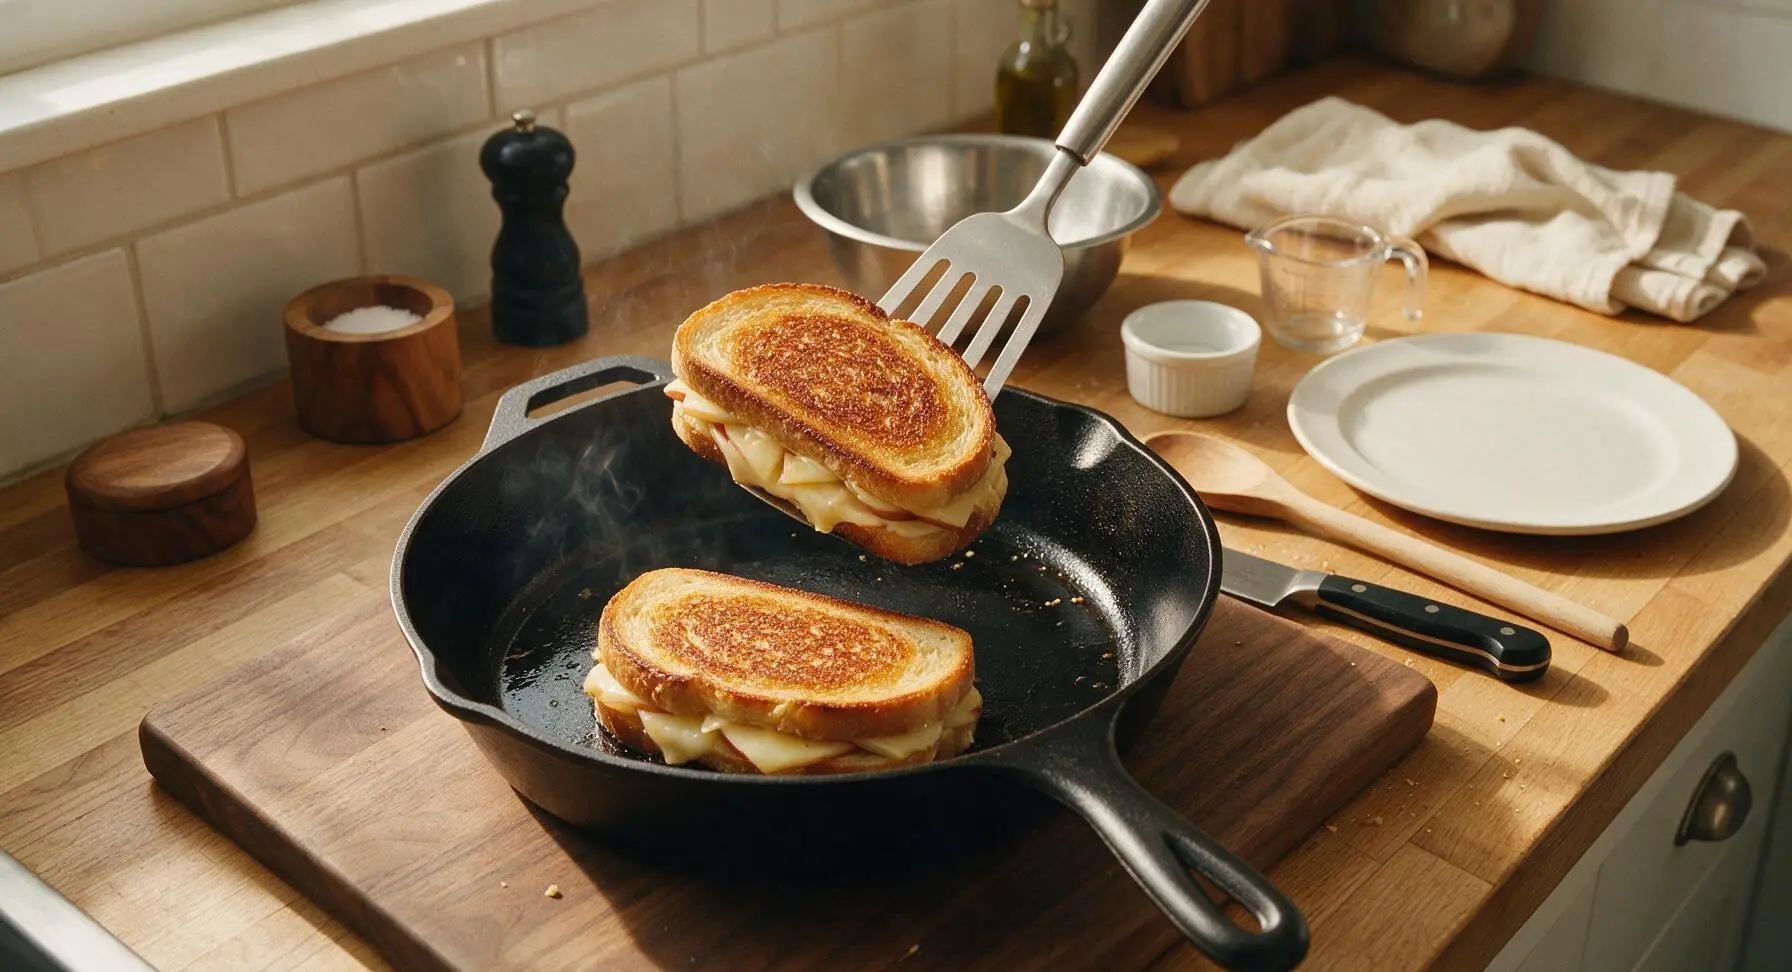
Plate and Rest Sandwiches
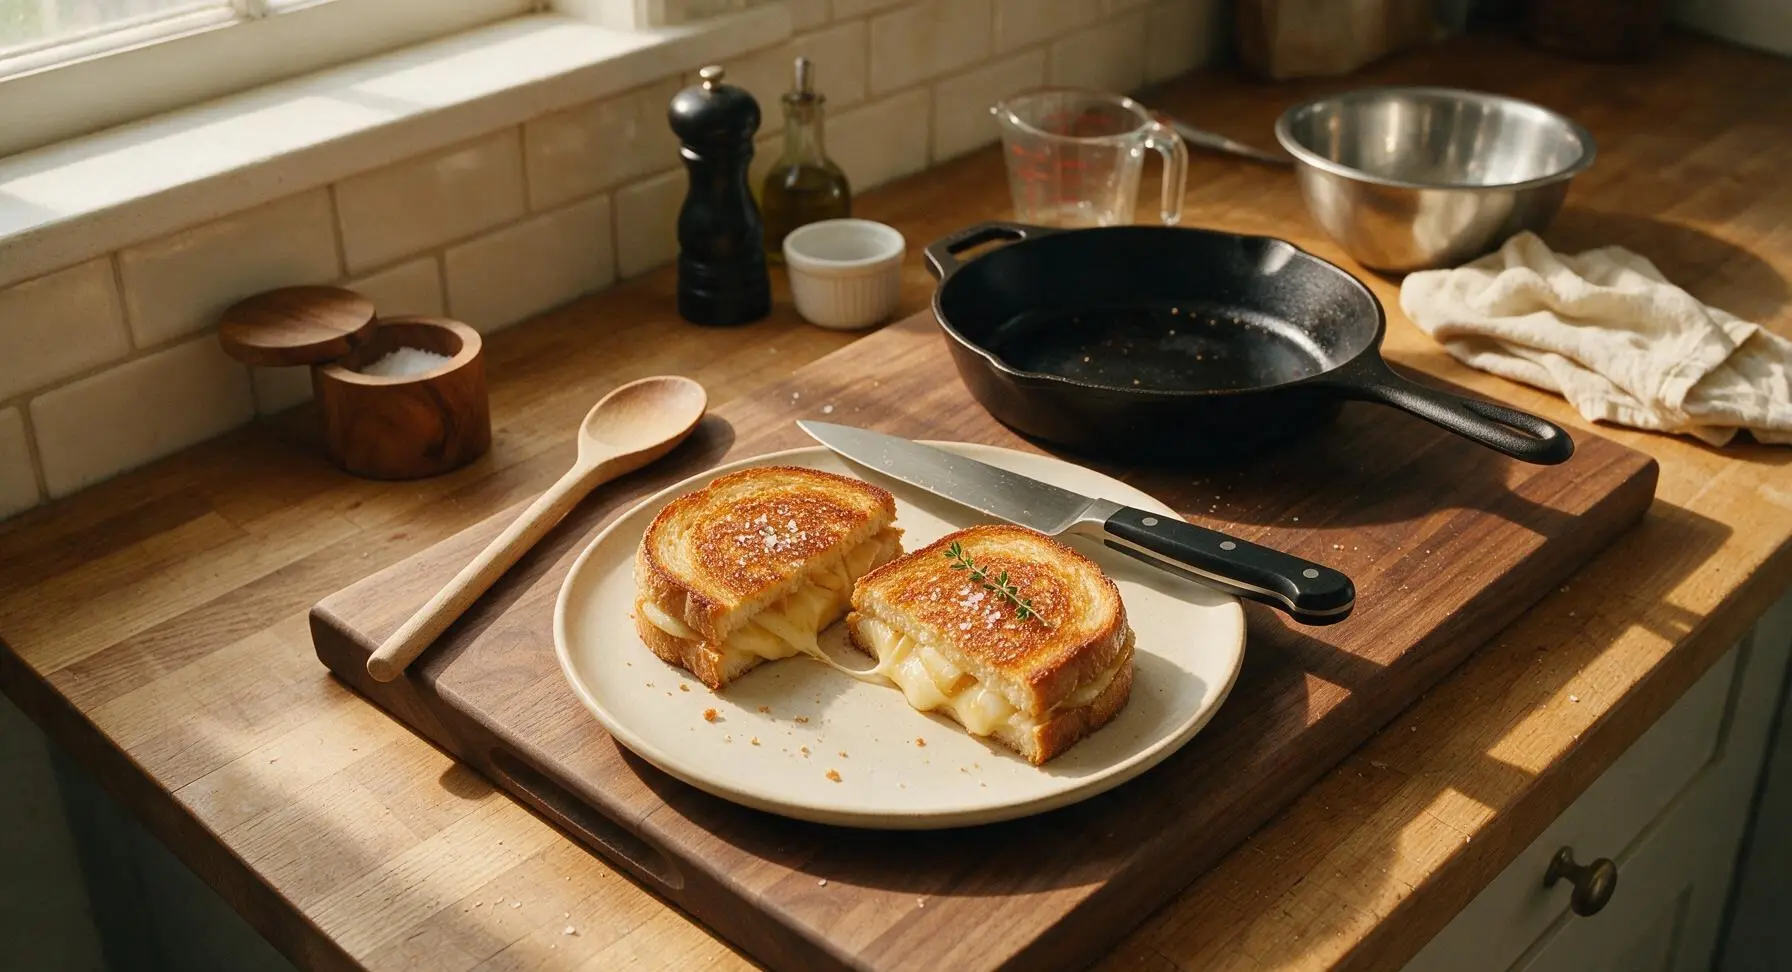
Transfer the cooked sandwiches from the skillet to the front matte cream ceramic lunch plate. Let rest for 1 full minute to allow the cheese to set slightly (this prevents all the melted cheese from oozing out onto the plate when you cut), then cut each sandwich diagonally in half with the chef knife. Sprinkle the cut tops with a tiny pinch of flaky sea salt from the salt cellar, and garnish with a small sprig of fresh thyme before serving.
Tips
2.Choose a firm, crisp-tart apple variety such as Honeycrisp, Granny Smith, or Braeburn: soft, mealy apple varieties (like Red Delicious) will turn mushy when heated and release excess moisture that makes the bread soggy. Leaving the apple skin on adds bright color, extra fiber, and a pleasant textural contrast to the smooth cheese.
3.Skip the urge to press down on the sandwiches while they cook: pressing squeezes melted butter and cheese out of the bread edges, leading to a dry, dense, soggy crust instead of the light, crispy exterior you want. Letting the sandwiches cook undisturbed allows the bread to toast evenly and the cheese to melt uniformly.






Took this to a neighborhood potluck on Saturday and people were hounding me for the recipe all afternoon! I used a sharp aged gouda and thinly sliced gala apples, added a tiny sprinkle of cinnamon on the apple slices before assembling, and it was chef’s kiss. Only heads up: make sure you cook it on medium low so the cheese melts all the way before the bread gets too toasty — I burned the first one a little when I cranked the heat too high trying to rush it!
This is my new go-to quick lunch when the kids are at school! 8 minutes start to finish is no exaggeration, I can toss this together while my coffee brews in between work Zoom meetings. I tried it with smoked gouda last time and it was SO good, but I think next time I’ll add a little arugula for some greens. My kids all snuck bites when they got home from school, and my oldest said it’s better than the grilled cheese we get at our favorite local diner — total win!
As someone who basically lives off easy dorm meals, this was so simple to make with just the tiny sandwich press I keep under my bed! I didn’t have gouda at first so I tried it with regular cheddar and it was fine, but once I picked up some gouda from the campus grocery store? Total game changer. The sweet crisp apple pairs so perfectly with the creamy cheese, I’ve already made it three nights in a row. Only reason it’s not a 5/5 is I wish the recipe mentioned you can totally make this in a sandwich press too, not just a stovetop pan! 10/10 once you use the right cheese, no fancy skills needed.
OMG, made this for my partner and I for a lazy Sunday brunch alongside some creamy tomato soup, and we both cleared our plates before we even thought to save leftovers! I used a crusty sourdough loaf from the local bakery down the street instead of regular sandwich bread, and it added such a nice tang that balanced out the sweet apple and nutty gouda perfectly. Super easy to throw together, no fussy steps, will absolutely be adding this to our regular weekend meal rotation. I’m even planning to prep the apple slices and shred the gouda ahead of time for quick weeknight dinners too!