
Apple Grilled Cheese
intro
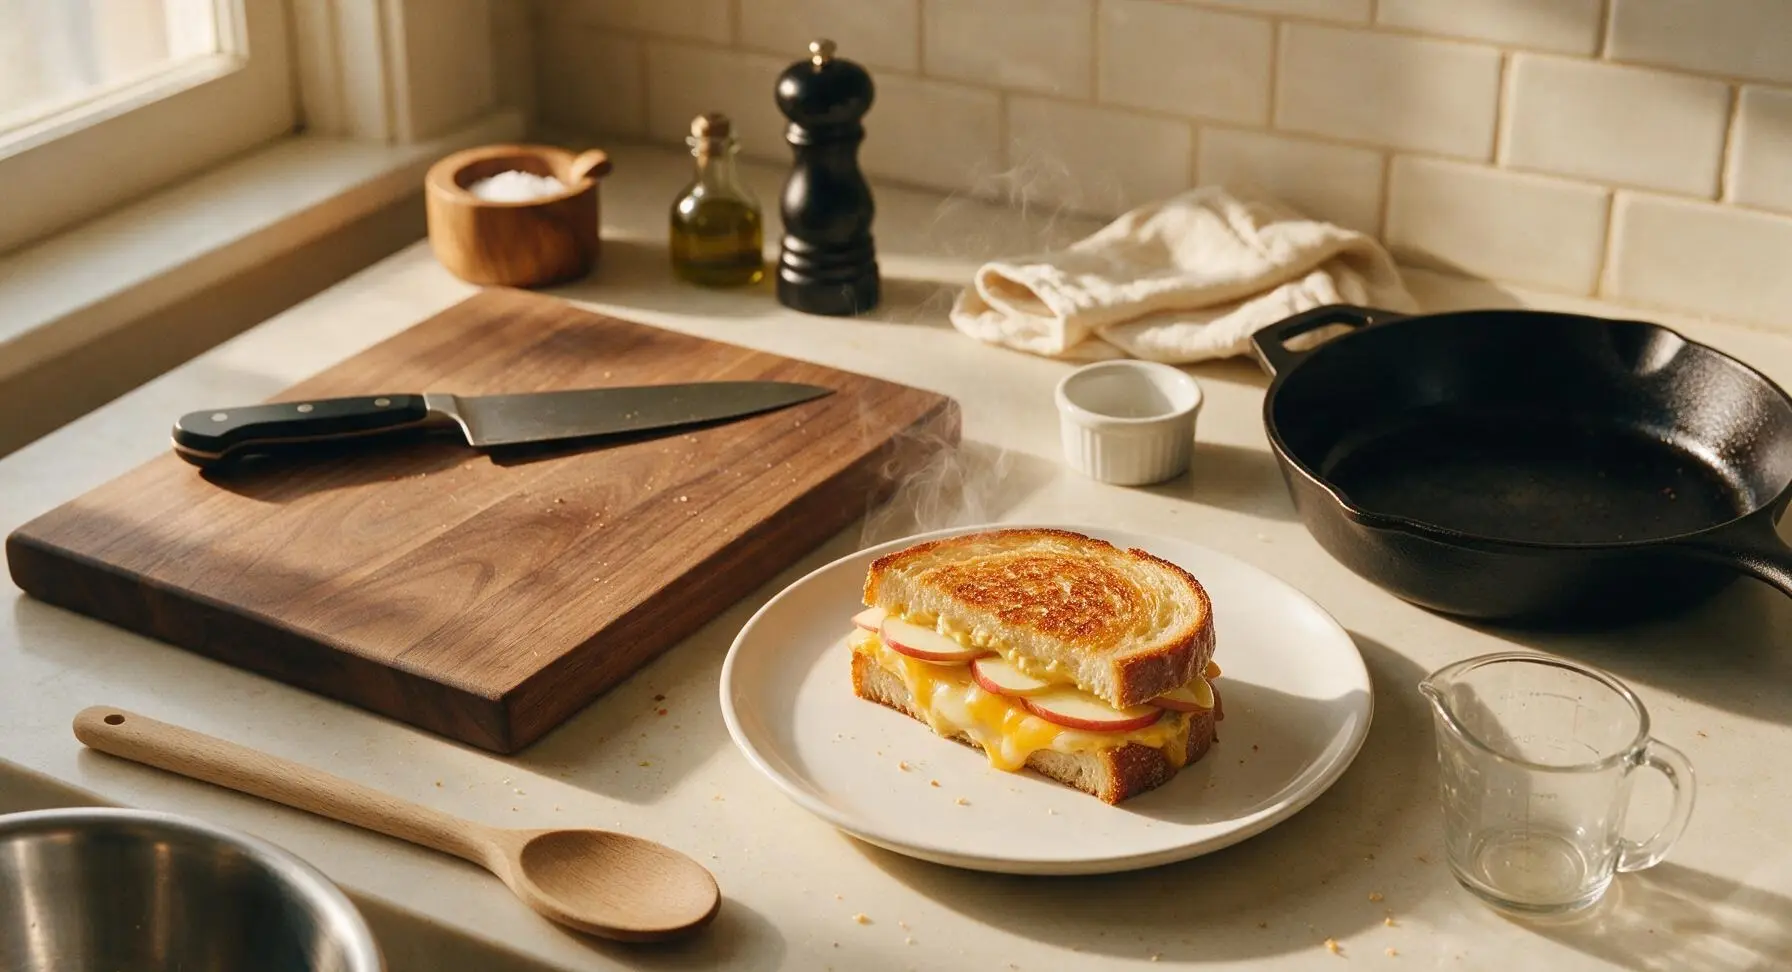
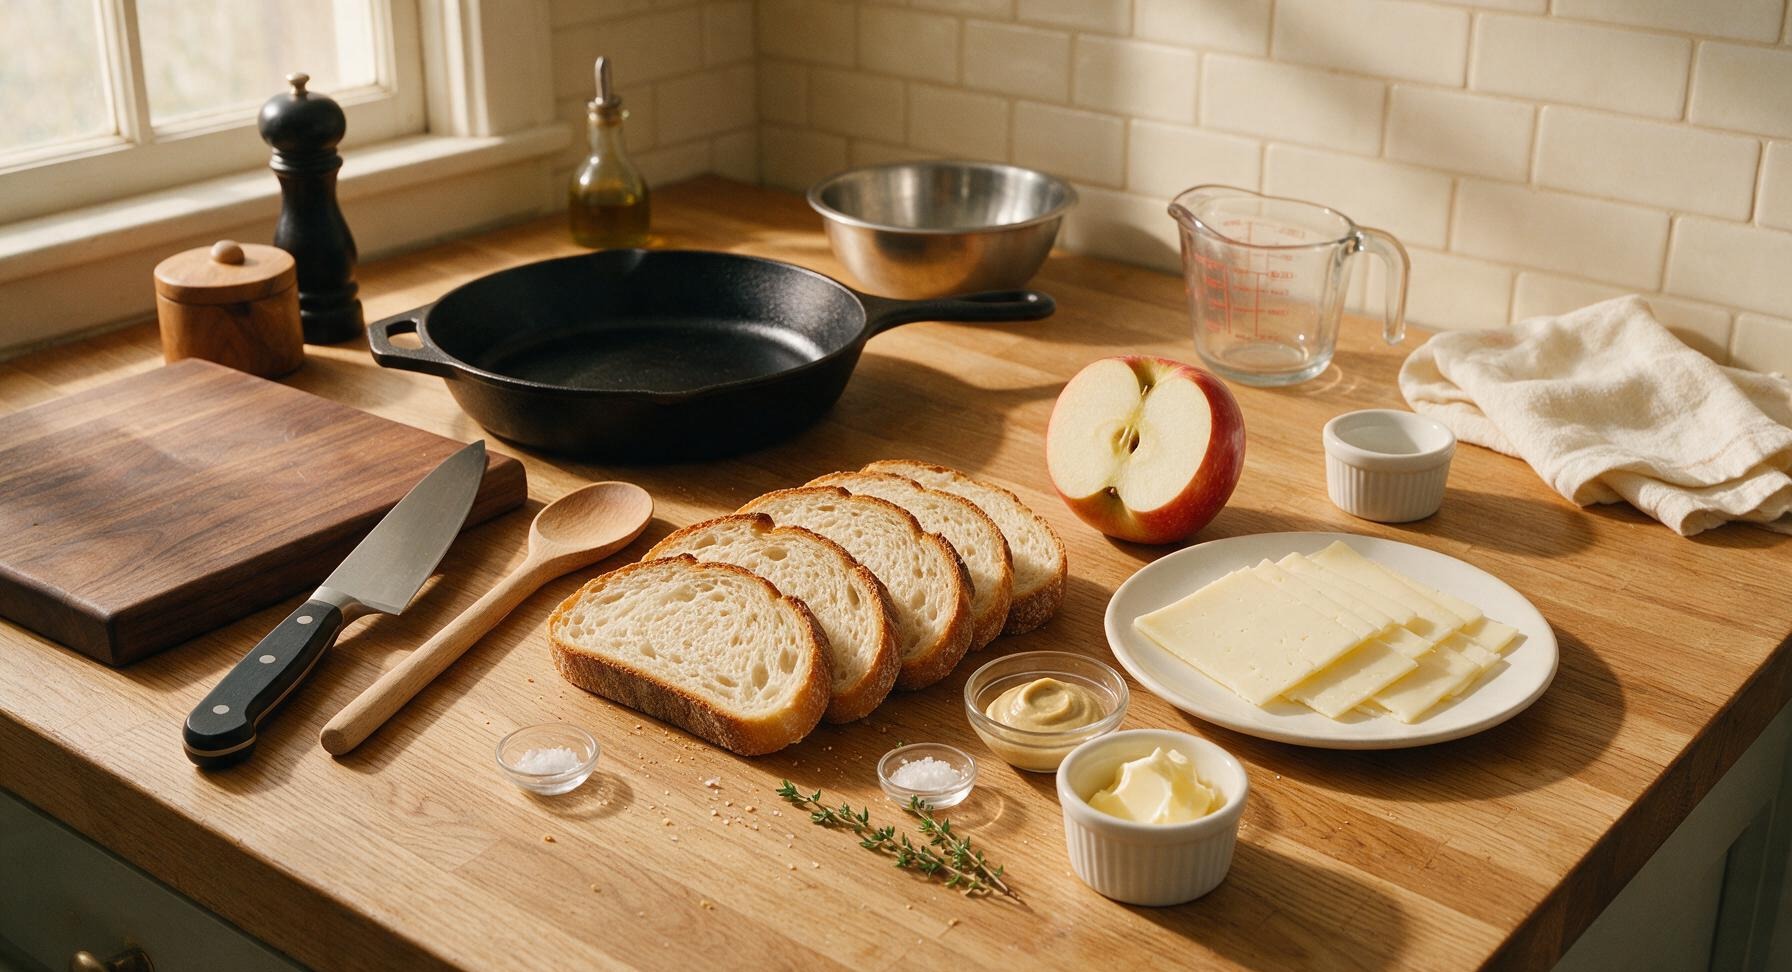
Crispy buttery sourdough encases melted sharp cheddar, thin sweet-tart Honeycrisp apple, and a hint of Dijon for a cozy, perfectly balanced fall comfort sandwich.
Ingredients
Steps
Slice Apple Thinly
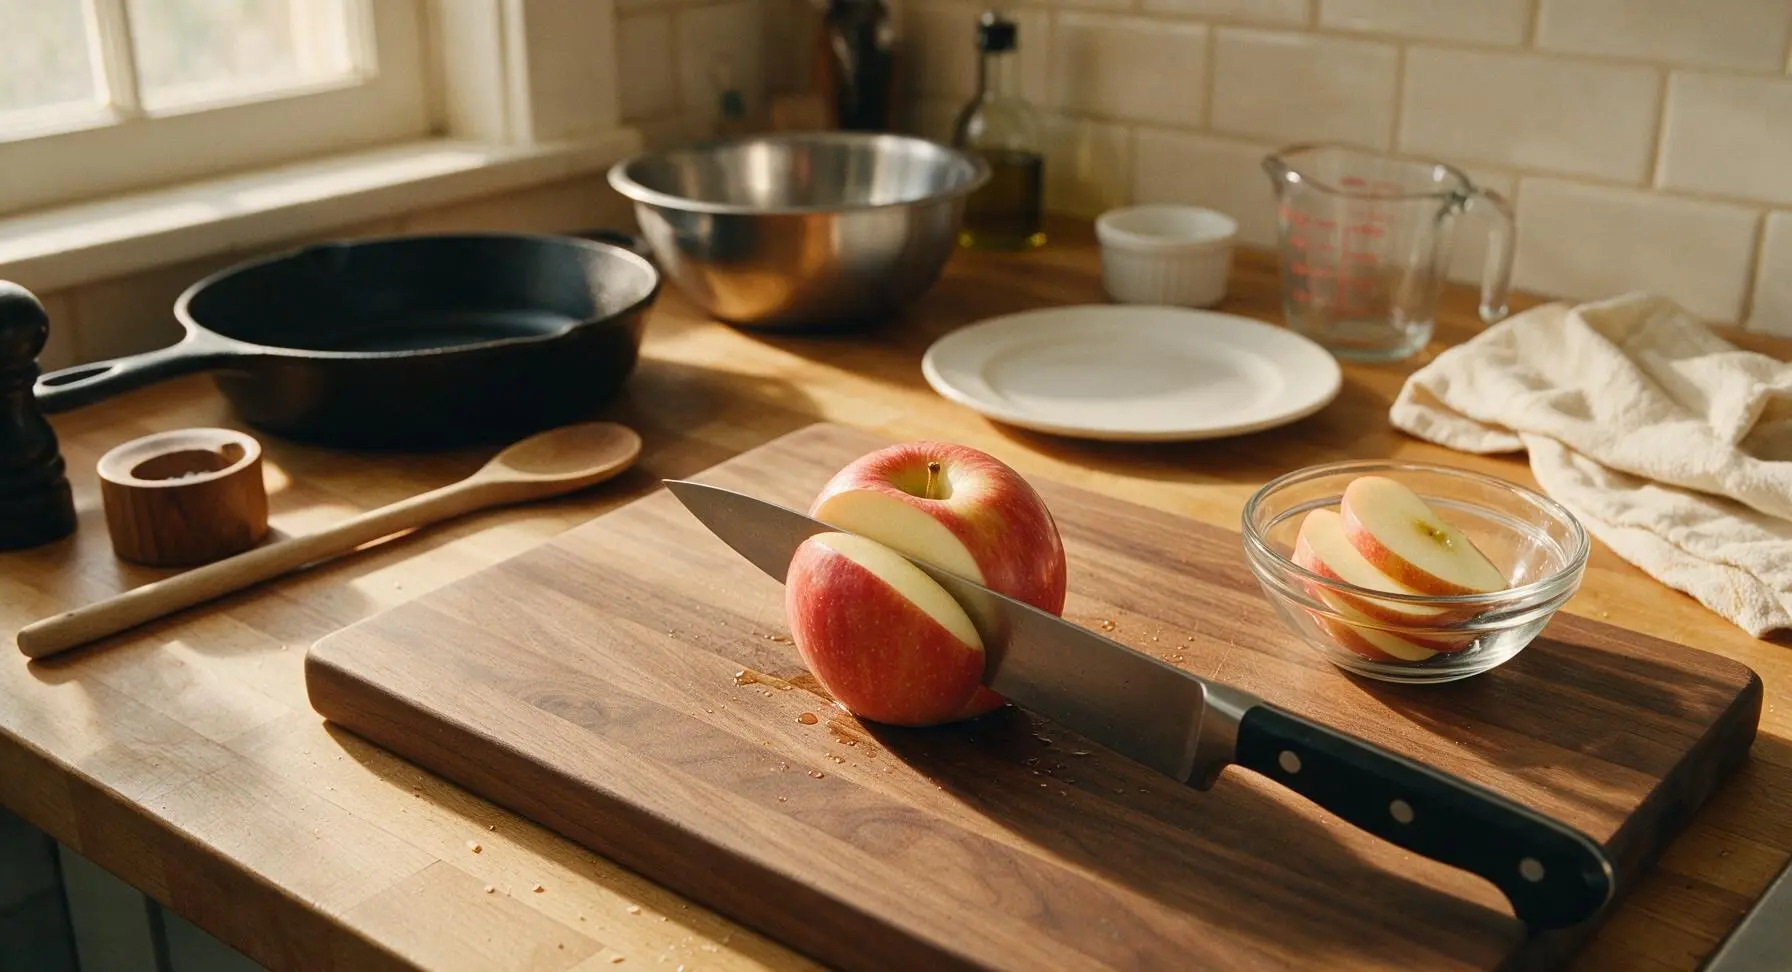
Place the whole Honeycrisp apple on the honey maple cutting board. Use the 8-inch chef knife to core the apple, then cut it into uniform 3mm (1/8-inch) thick unpeeled slices, transferring finished slices to the small clear glass prep bowl as you work. Pat apple slices lightly with a clean paper towel to remove excess surface juice, which prevents sogginess in the finished sandwich. Discard the core and any seeds.
Slice Cheddar Thinly
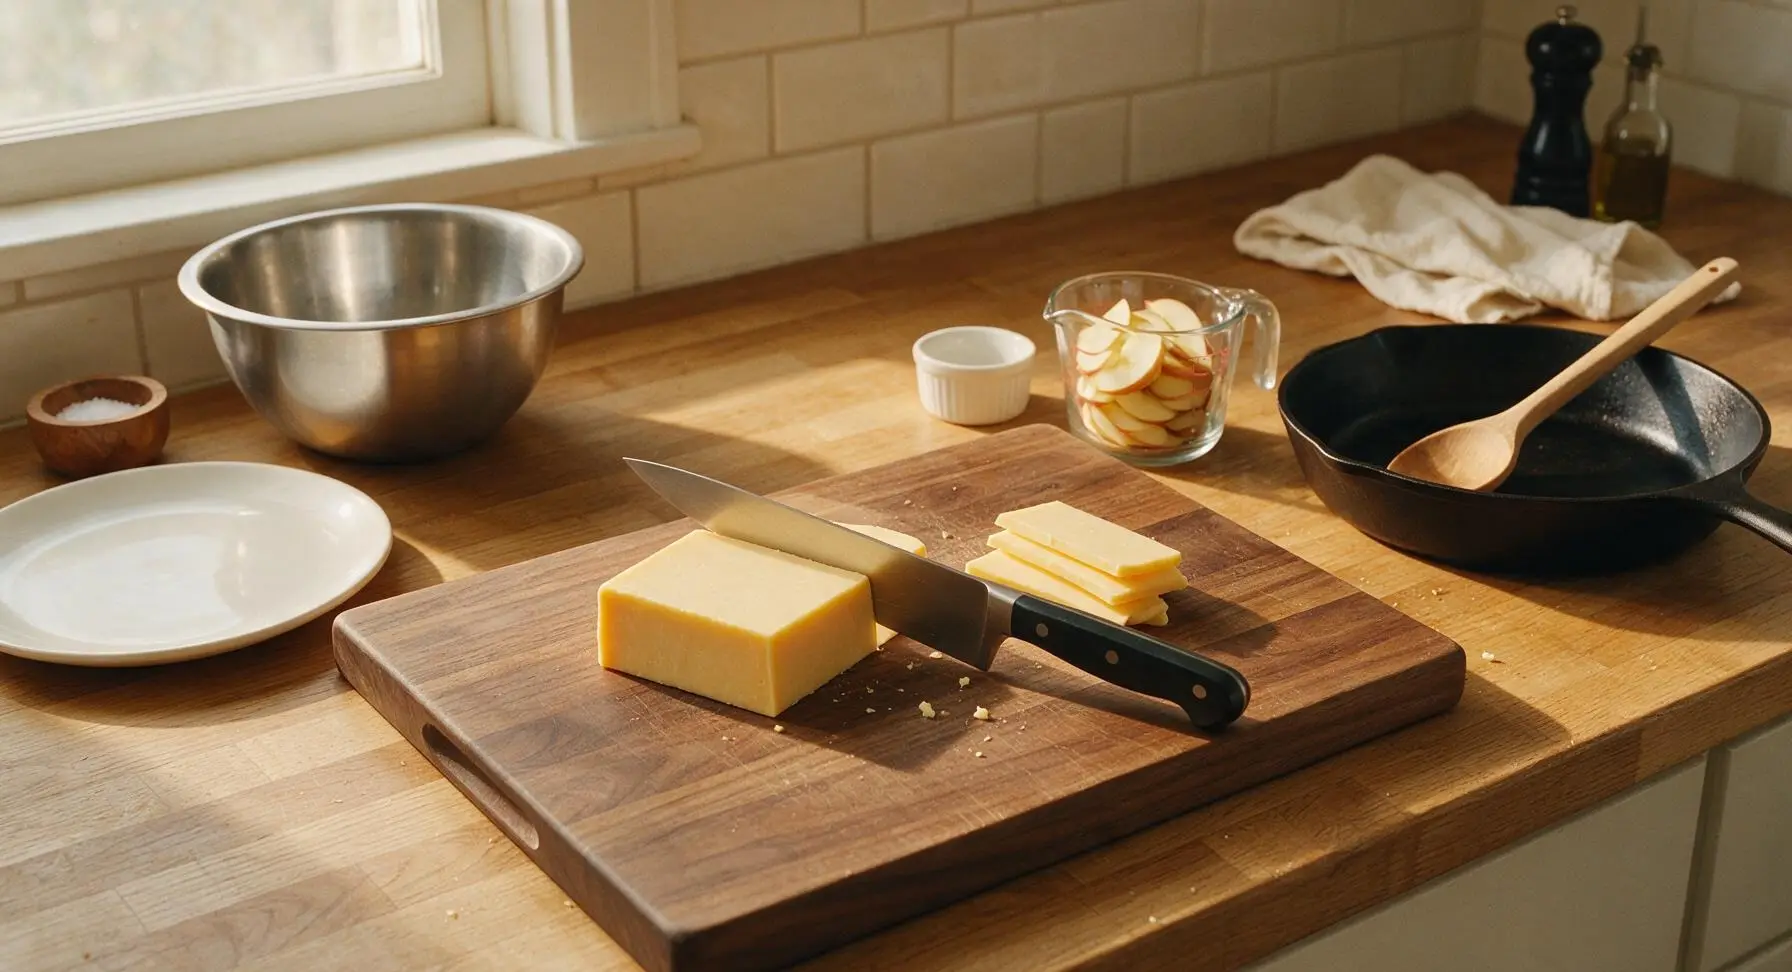
Place the block of sharp white cheddar on the same cutting board. Use the chef knife to cut uniform 3mm (1/8-inch) thick slices, enough to fully cover two slices of bread without cheese hanging more than 5mm over the bread edges (overhanging cheese will burn and make a mess in the skillet). Set sliced cheese in a small stack next to the bowl of apple slices.
Build Sandwich Layers
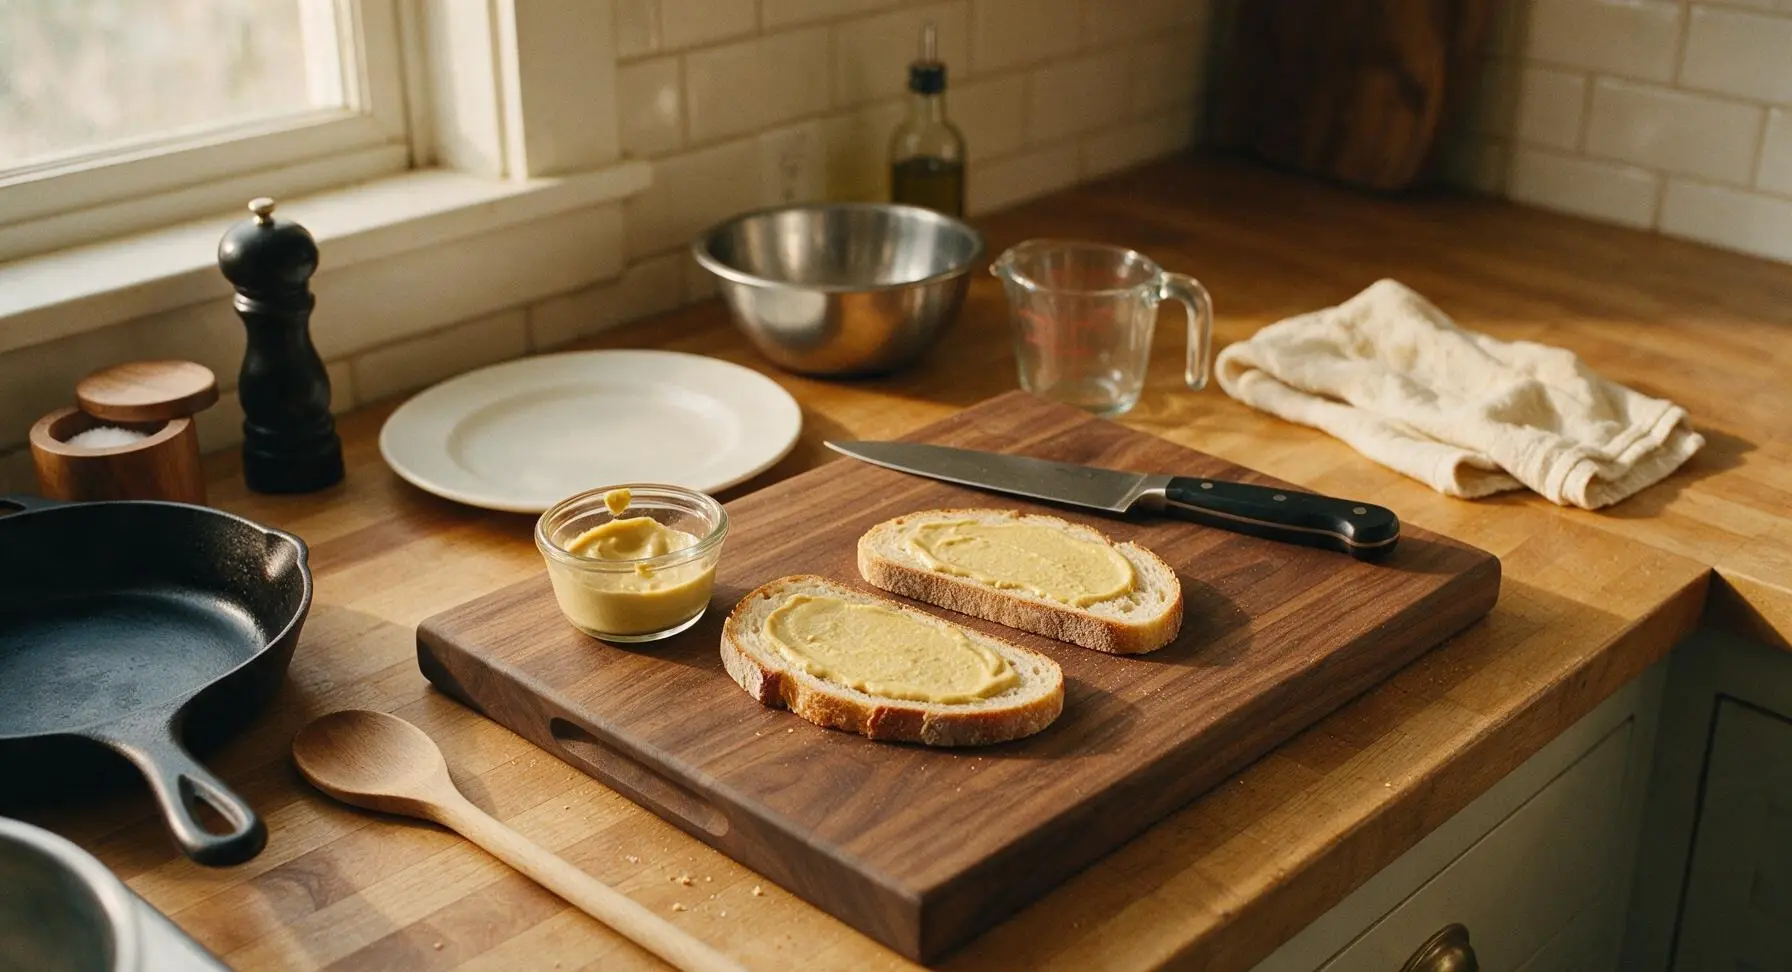
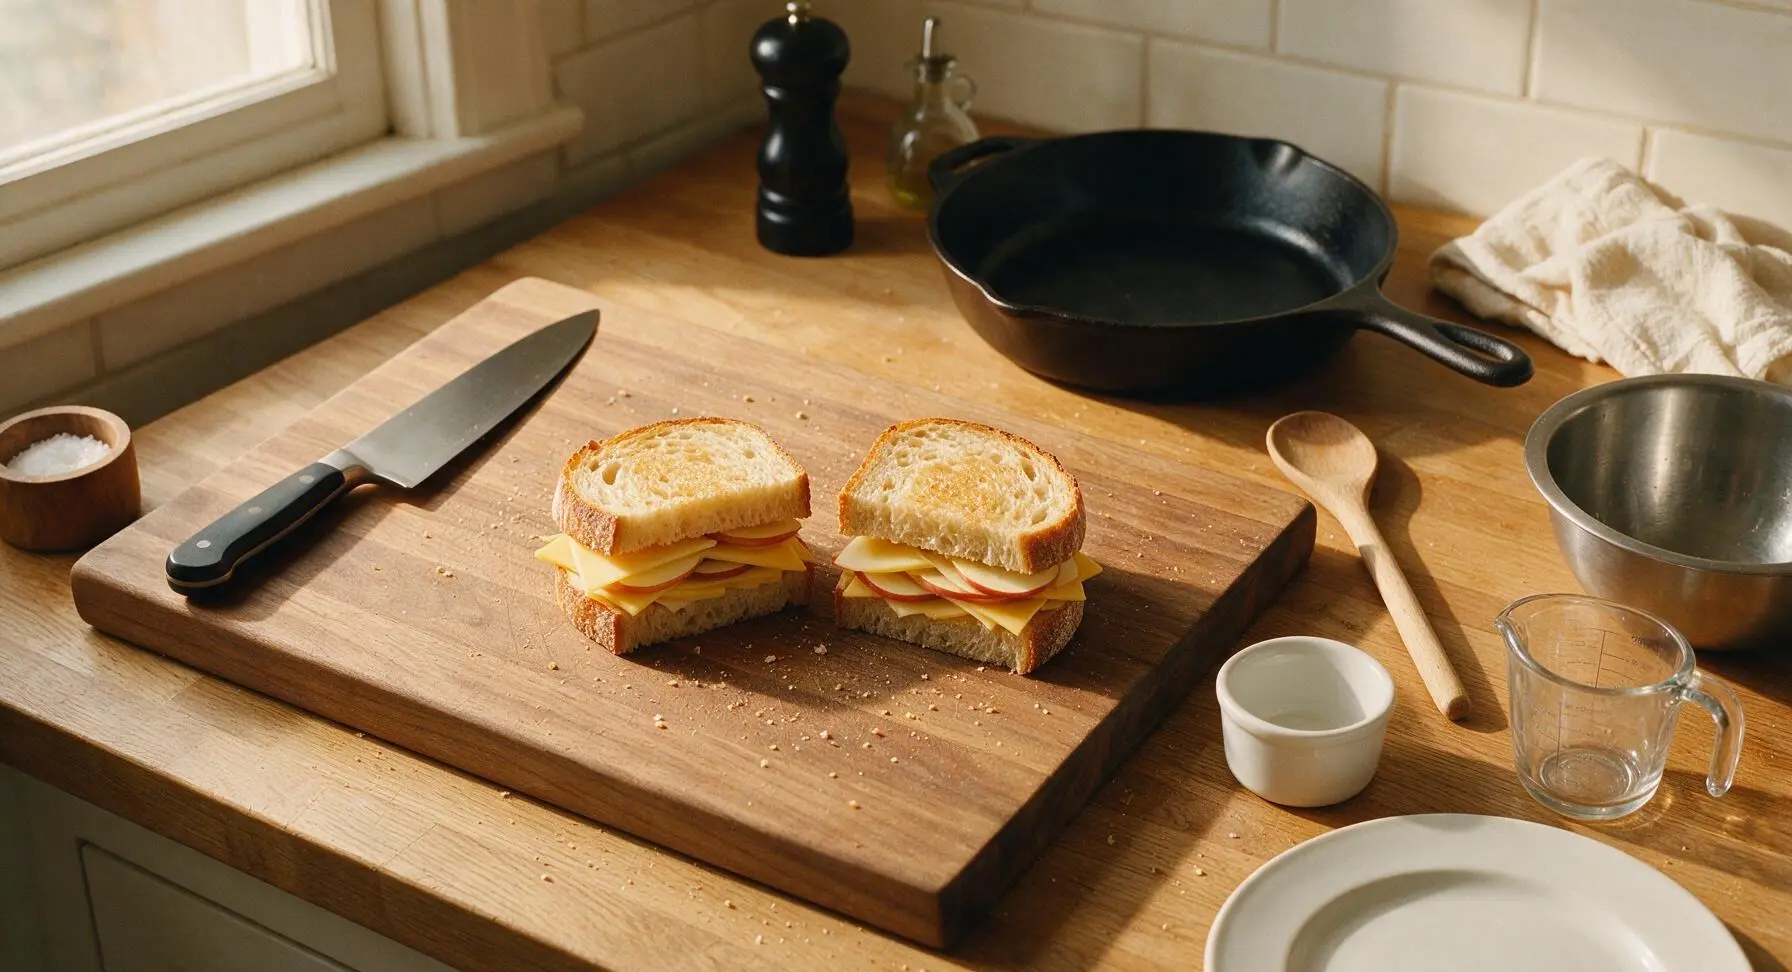
Lay all 4 sourdough slices flat on the cutting board. Scoop Dijon mustard from the 6cm glass ramekin, spreading 1/4 teaspoon evenly across the inner face of each bread slice—this adds a subtle sharp tang that cuts through rich cheese and sweet apple. Layer half the cheddar slices across 2 of the bread slices, top cheese with a single even layer of thin apple slices (overlap slightly, no thick clumps), then top apples with the remaining cheddar slices. Place the remaining 2 bread slices Dijon-side down on top to form 2 complete sandwiches. Press down gently on each sandwich with the palm of your hand to compact layers slightly, so fillings do not slide apart while cooking.
Butter Bread Exteriors
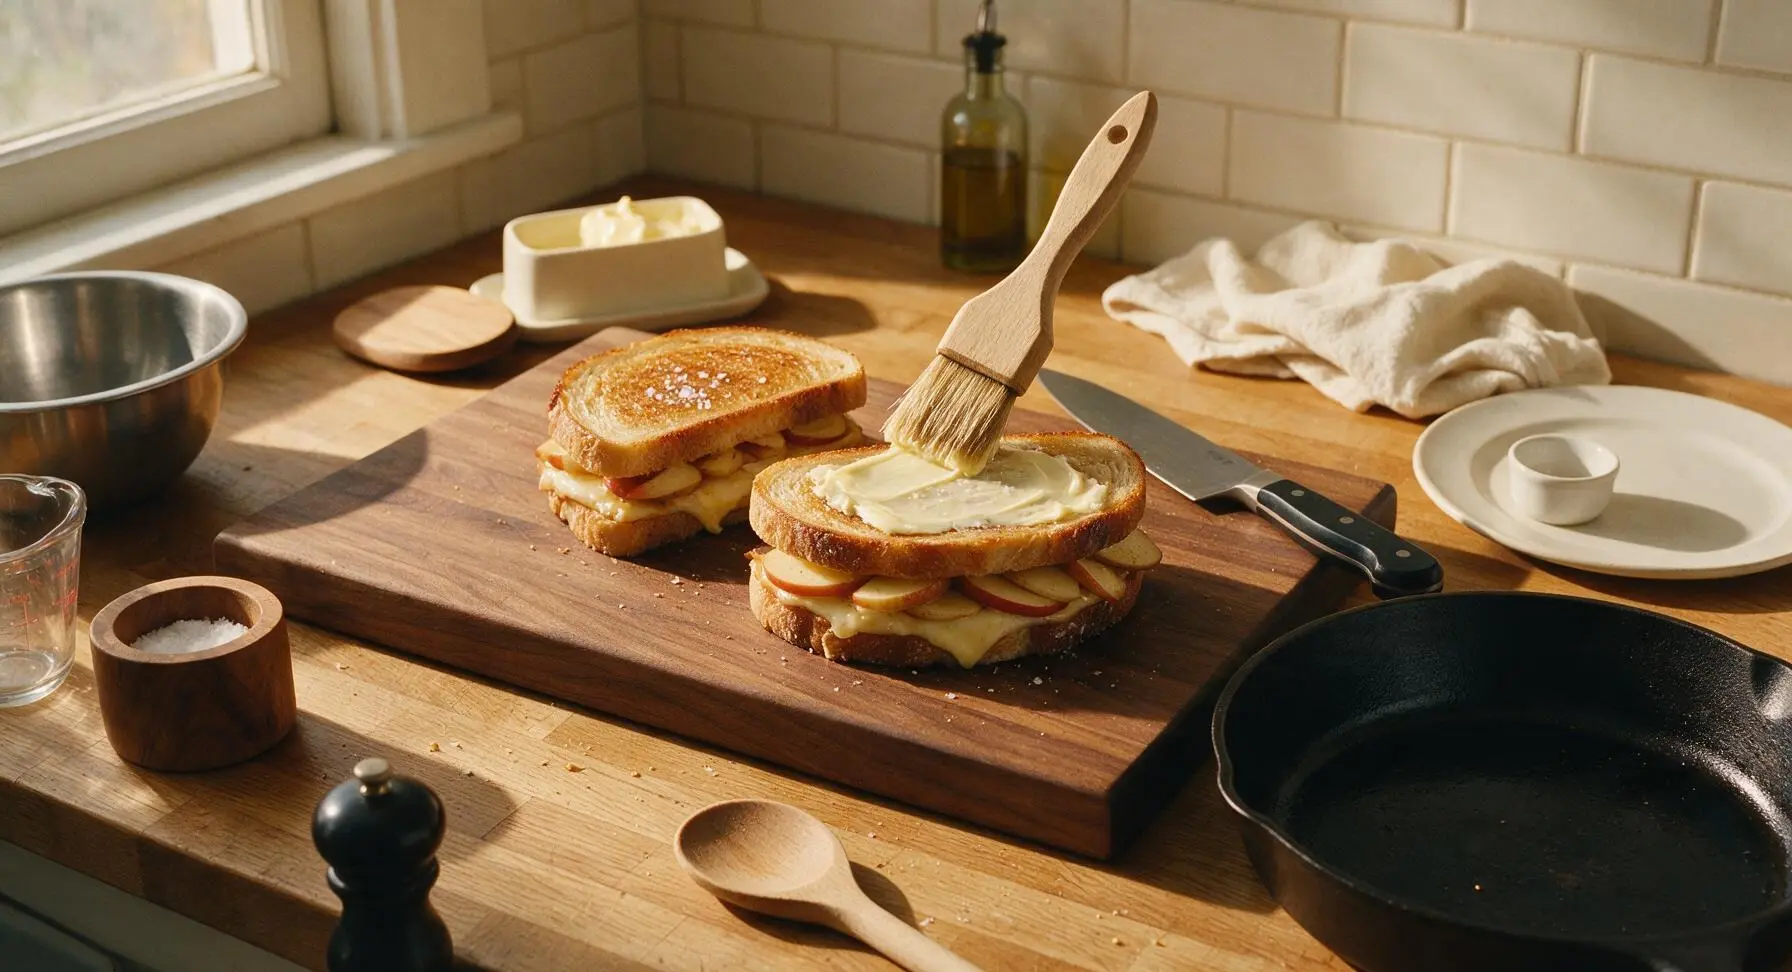
Retrieve softened butter from the fixed cream glass butter dish. Use the natural boar bristle pastry brush to spread 1/2 tablespoon of butter evenly across the top outer surface of each assembled sandwich, making sure to cover every edge of the bread all the way to the crust. Sprinkle a tiny pinch of flaky sea salt across the buttered surfaces for extra crunch and depth of flavor.
Preheat Skillet Gently
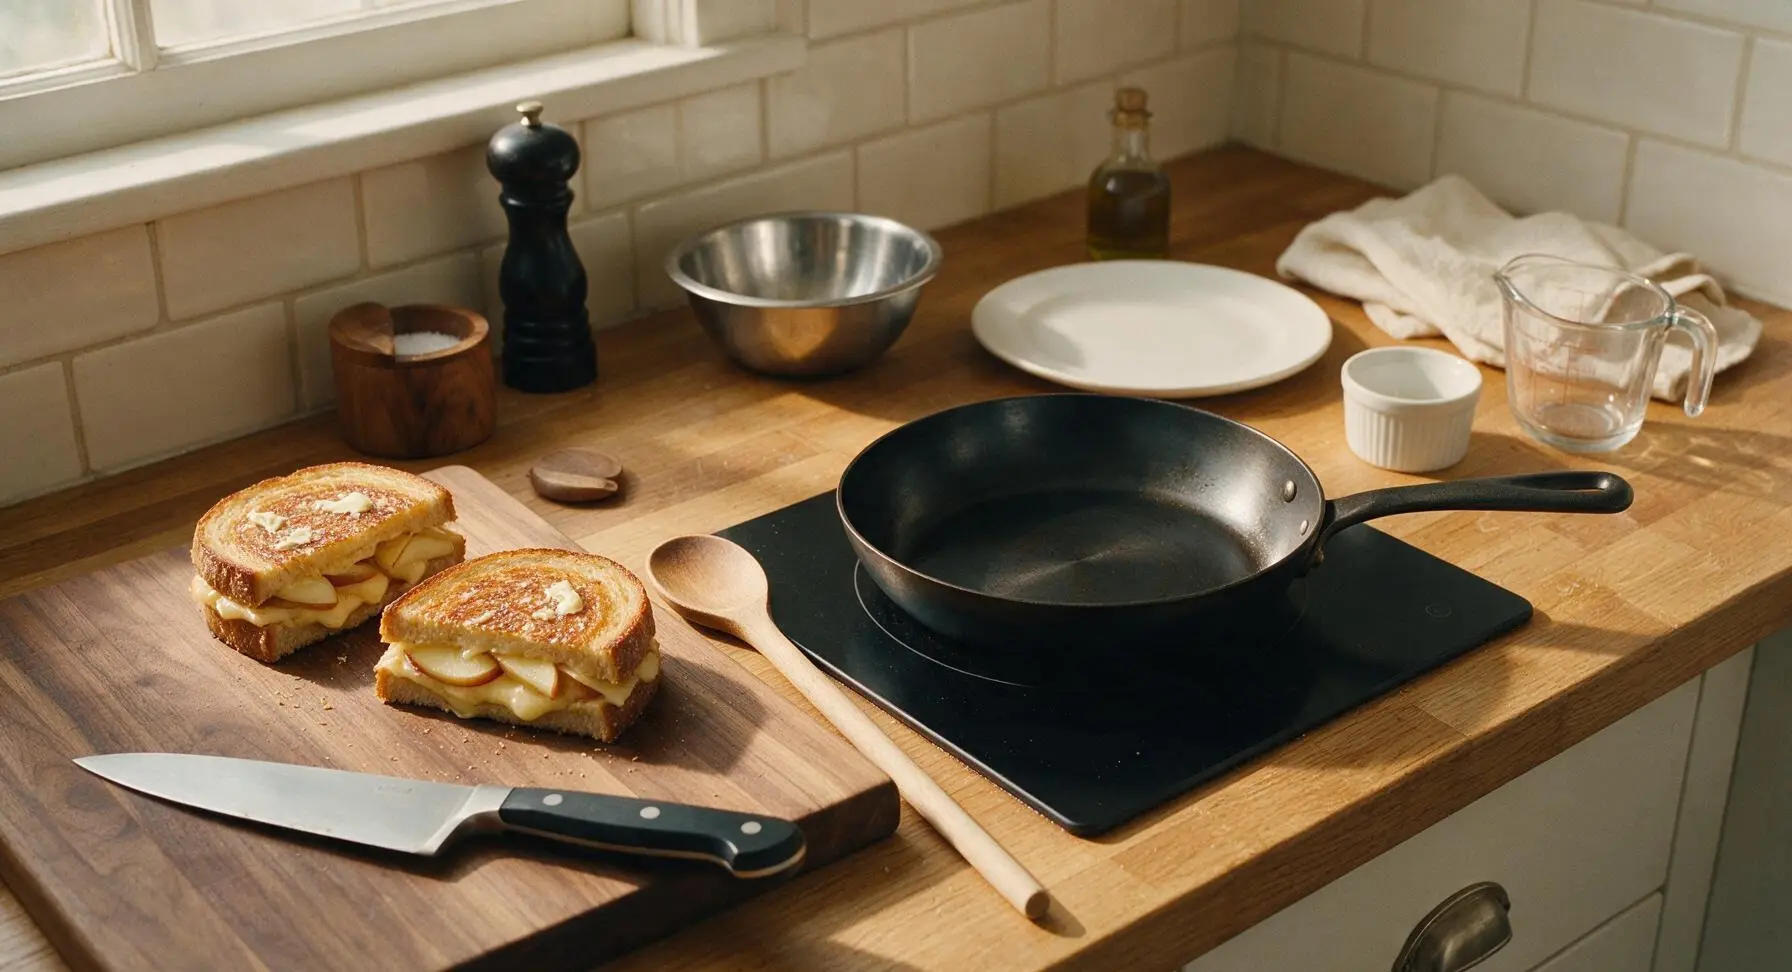
Place the 10-inch matte black carbon steel skillet on the fixed matte black induction burner set to medium-low heat (325°F / 160°C). Let the pan preheat for 2 full minutes—do not use high heat, as this will burn the bread surface before the cheese has time to fully melt. No extra oil or butter is needed in the pan, since the bread exteriors are already coated in butter.
Grill First Sandwich Side
Carefully place both sandwiches buttered-side down into the preheated skillet. Use the small offset metal spatula to press down gently on each sandwich for 5 seconds to ensure even, full contact between bread and pan surface. Cook for 3-4 minutes, until the bottom bread surface is deep golden brown and crispy, and the cheese closest to the pan starts to bubble and melt. Do not move the sandwiches for the first 2 minutes of cooking to form an even, crisp crust.
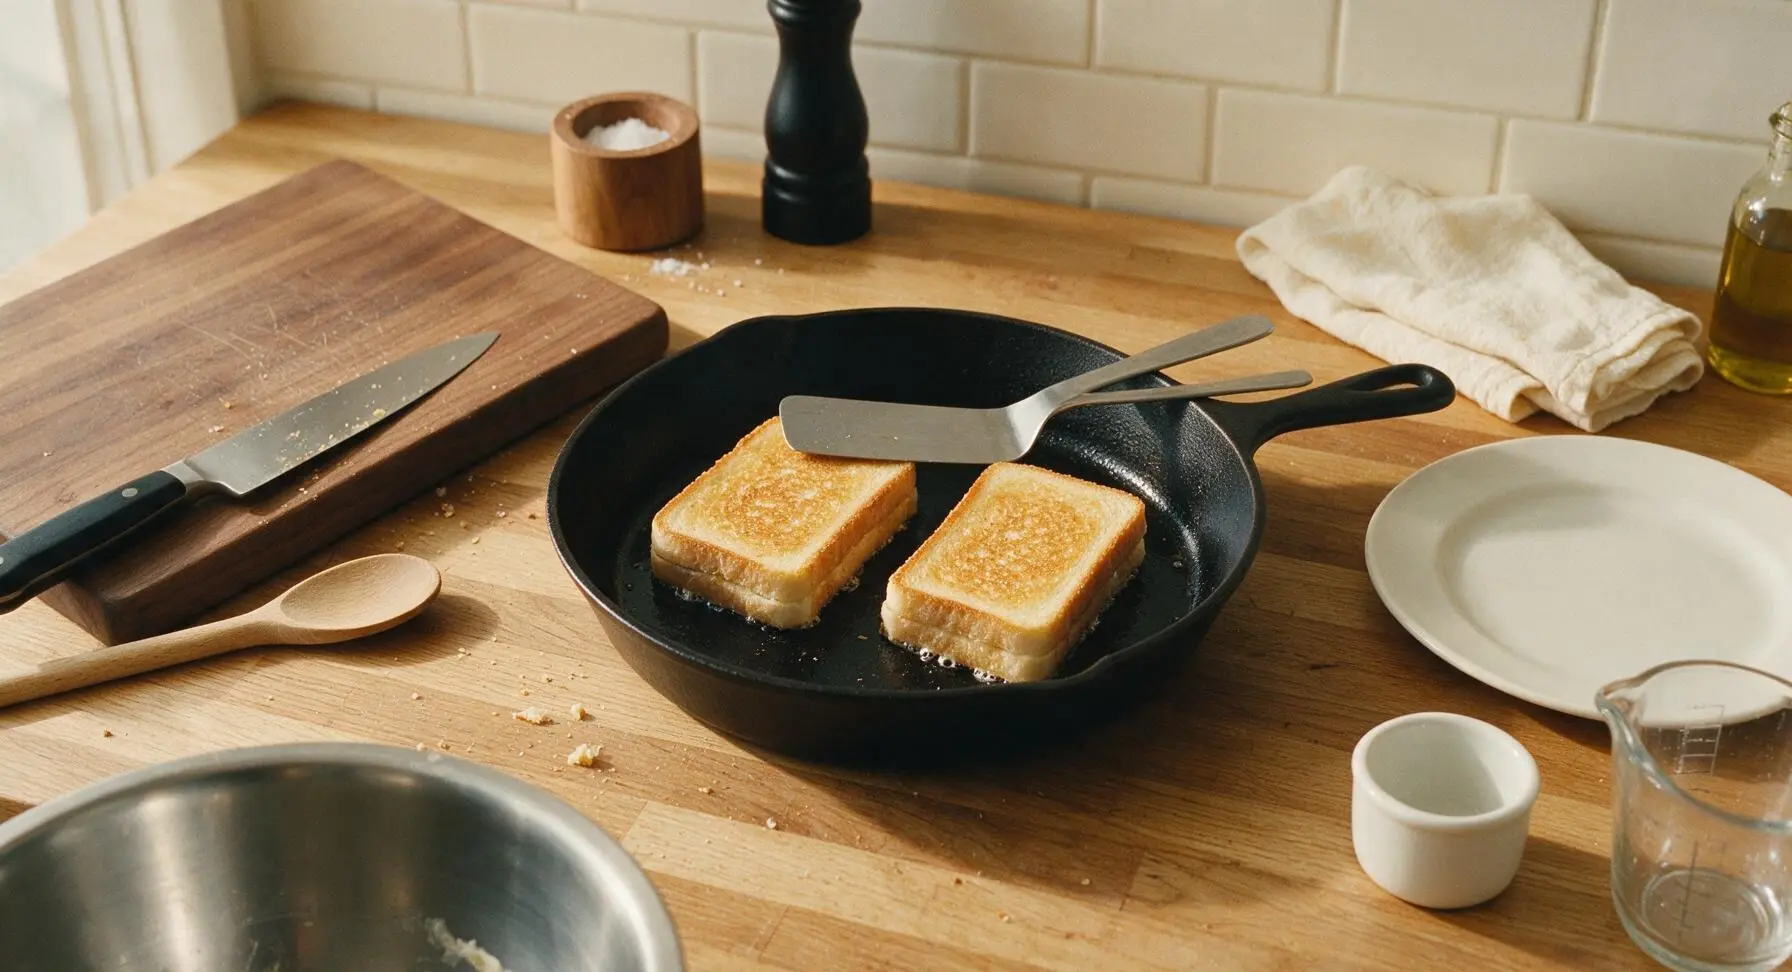
Flip and Melt Cheese
Use the offset metal spatula to carefully slide under each sandwich and flip it in one smooth motion. Press down gently on the newly exposed top surface for 5 seconds, then cook for another 3-4 minutes on the second side, until the bread is equally deep golden brown and crispy, and all the cheddar is fully melted and oozing slightly at the sandwich edges. If bread browns too quickly, turn heat down to low to avoid burning before cheese melts completely.
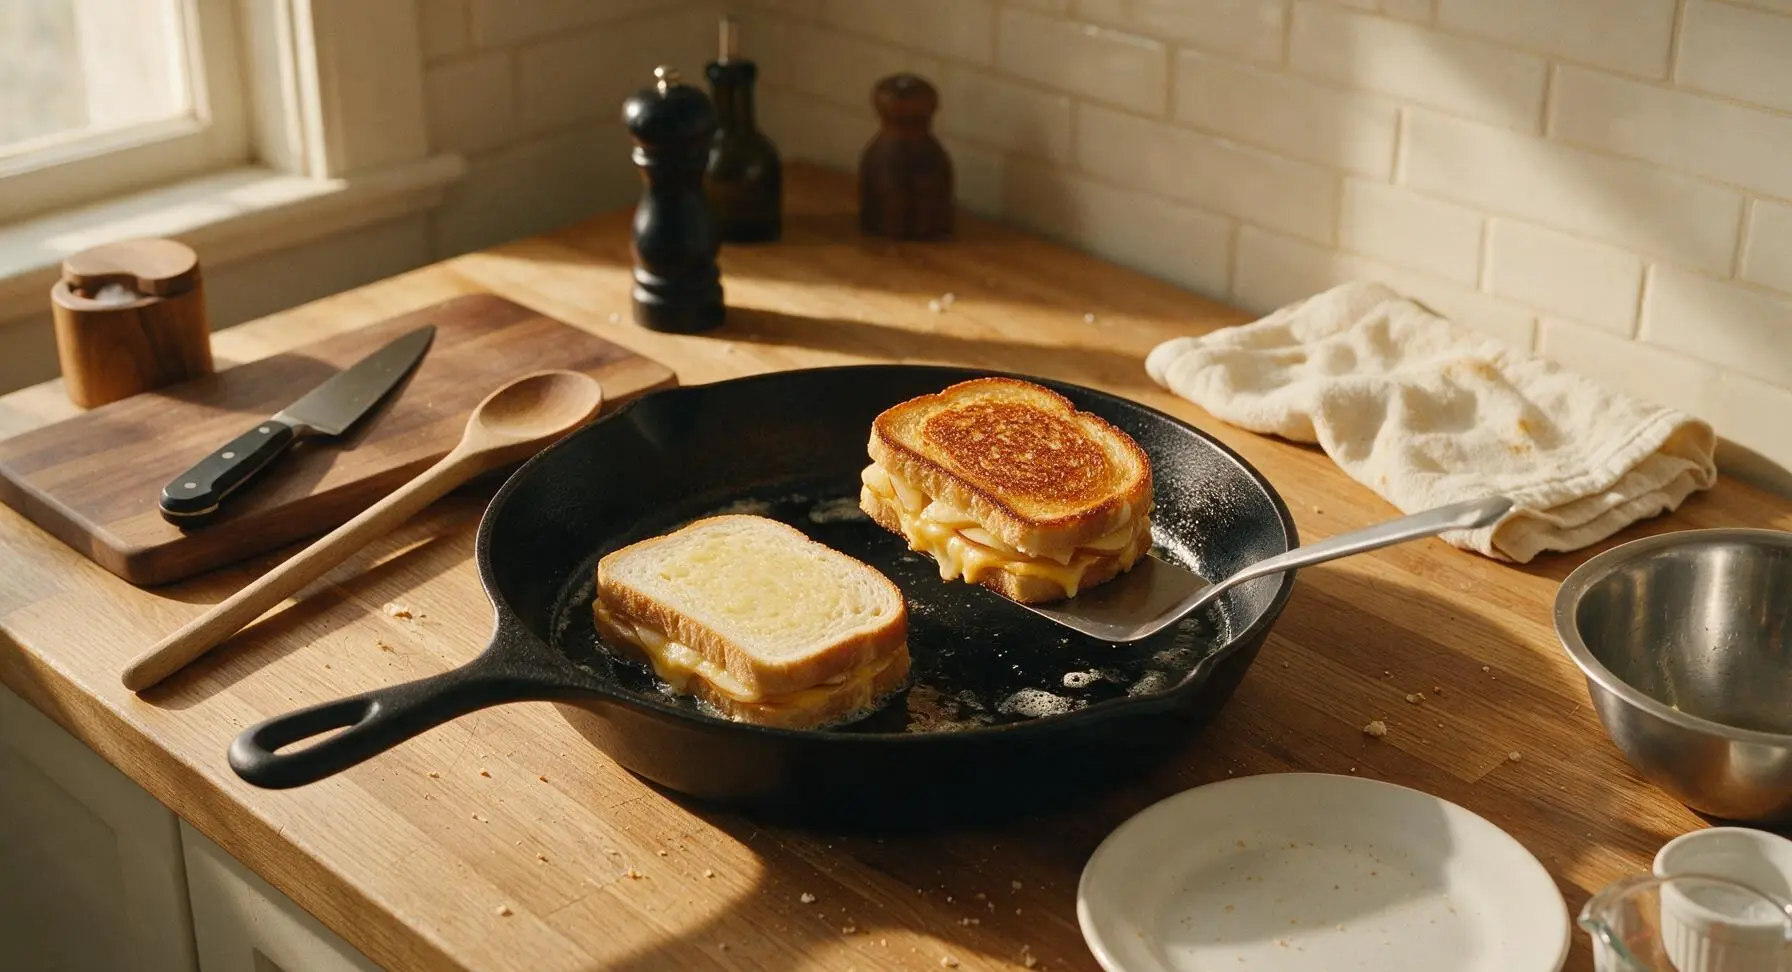
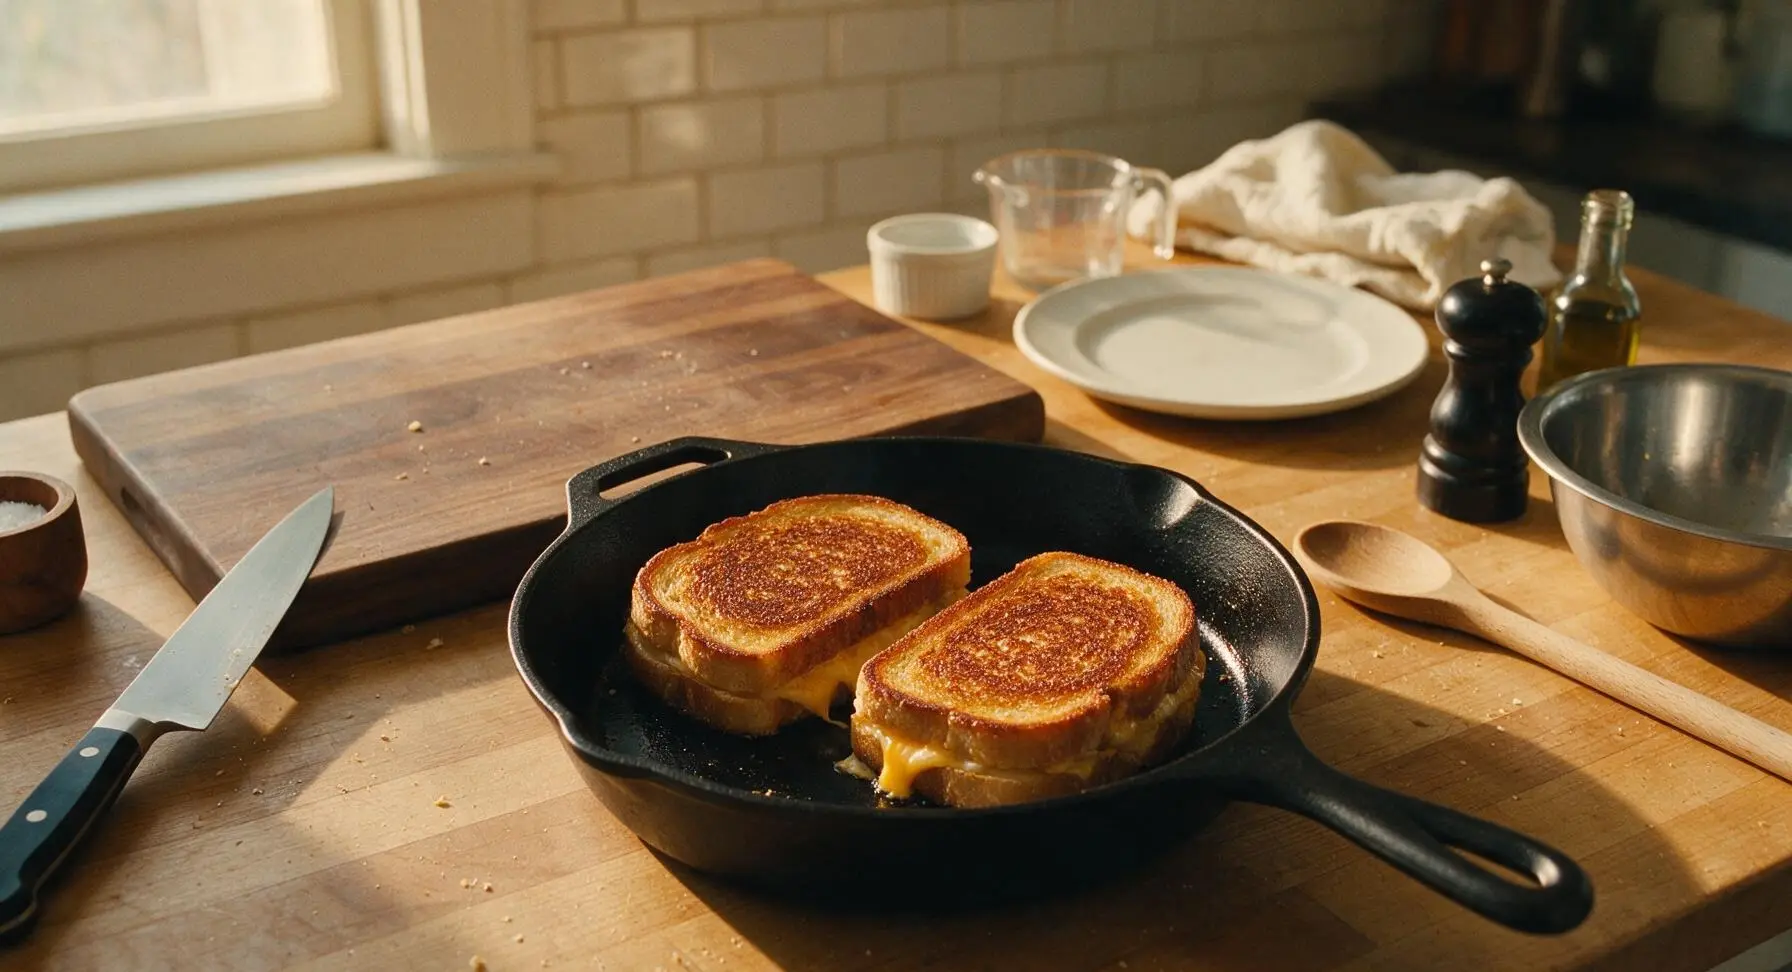
Plate and Rest Briefly
Use the offset metal spatula to transfer both cooked sandwiches from the skillet to the waiting matte cream ceramic lunch plate. Let sandwiches rest for 1 full minute to allow melted cheese to set slightly (this prevents cheese from sliding out when cut). Use the chef knife to cut each sandwich diagonally into two equal triangular halves, then garnish with a light sprinkle of fresh thyme leaves plucked from the fixed thyme bunch.
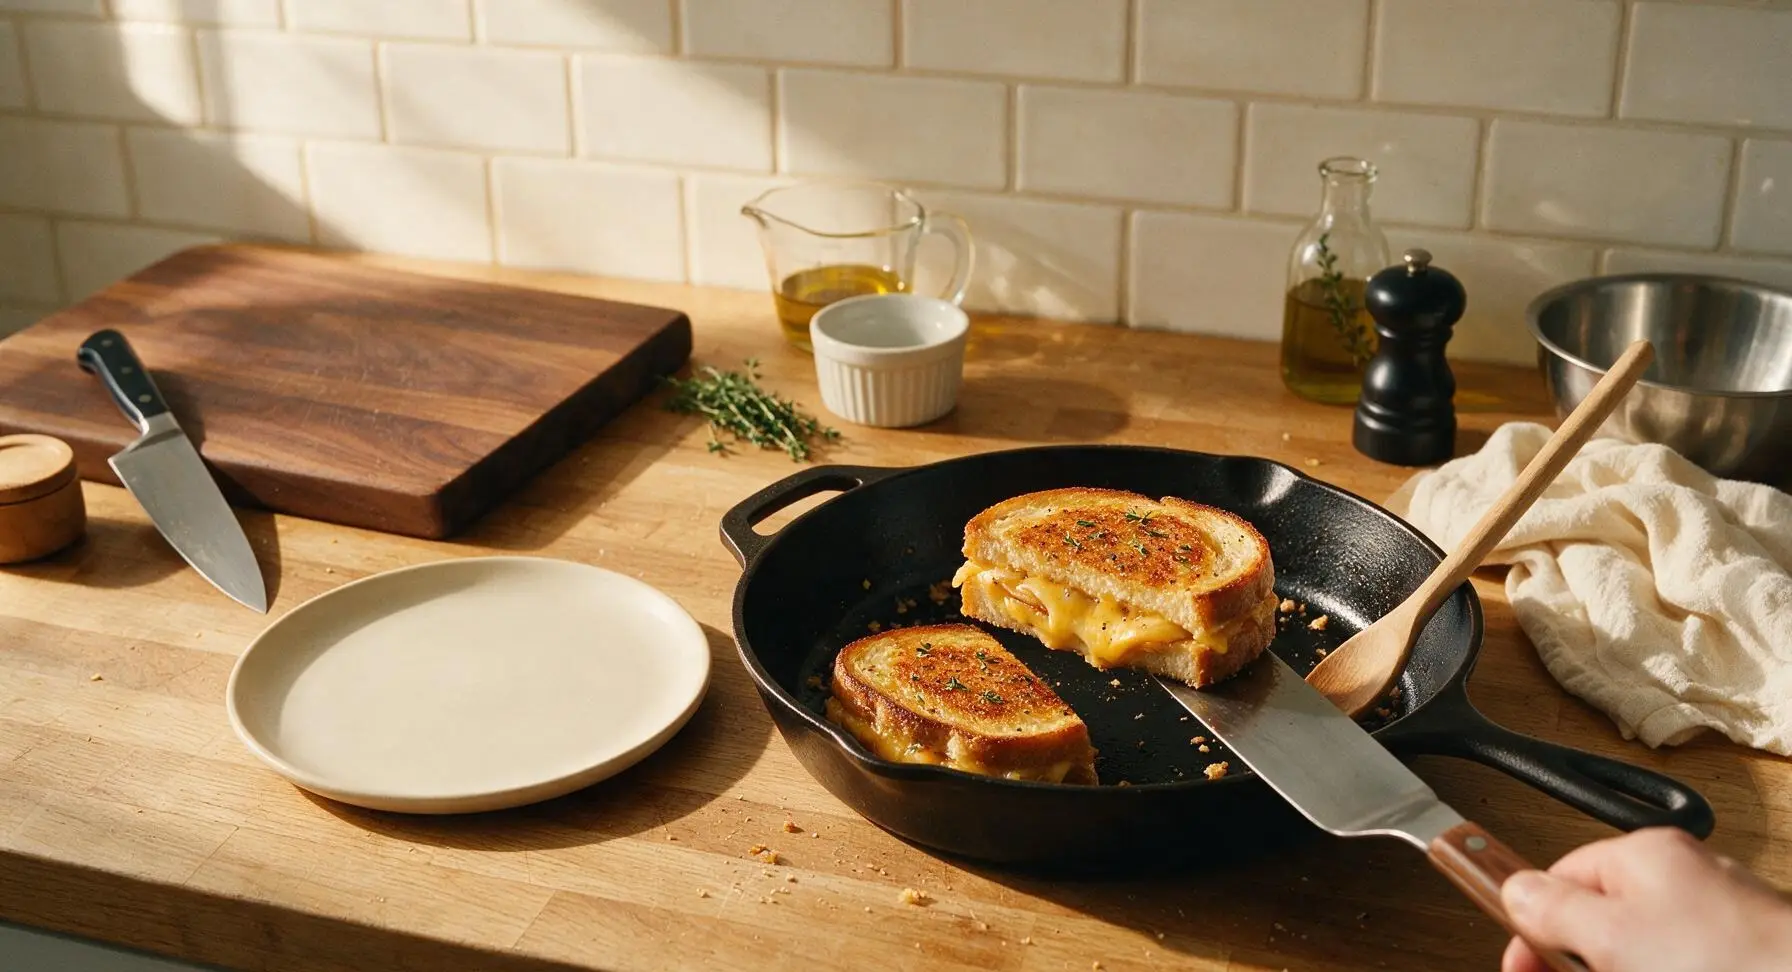
Tips
2.Stick to medium-low heat for grilling: High heat will char the bread to a dark brown in 1–2 minutes, but leaves the cheese solid and un-melted in the sandwich center. Low, steady heat ensures evenly crispy bread and stretchy, fully melted cheese.
3.Always pat apple slices dry before assembling: Apples release sweet juice as they heat, which can soak through the bread and turn your crispy sandwich soggy. A quick pat with a paper towel removes surface moisture without diluting the apple’s bright, sweet-tart flavor.






OMG this apple grilled cheese is a total game changer! I used honeycrisp apples like I had in the fruit drawer and a little sharp cheddar, my kids devoured it in 2 minutes flat for after school snack. Even my super picky 7 year old asked for seconds! 10/10 so easy to throw together too.
SO good. I added a little drizzle of hot honey on mine and it was the perfect sweet/savory combo. Cook time was exactly 8 minutes like the recipe said, no fuss, perfect quick lunch for when I’m working from home.
Made this for a quick weeknight dinner with a side of tomato soup last night and wow, who knew apple and cheese worked this well? I used gouda instead of cheddar because that’s what I had, highly recommend that swap.
Wait this is so easy even I can’t mess it up? I’ve burned every grilled cheese I’ve tried to make since freshman year but this came out perfect. Used granny smith apples and a little dijon on the bread, chef’s kiss. No more sad dining hall food for me!
Brought a batch of these cut into little triangles to my neighborhood potluck last weekend and they were gone in 10 minutes! Multiple people asked me for the recipe, I felt like a fancy cook even though it took me 15 minutes total to make a whole platter.
This was SO good when I made it fresh for lunch yesterday, but has anyone tried making these ahead for meal prep? I’m always looking for quick lunches I can pack for work, but I’m worried the apple will get brown and soggy if I make them the night before. Would be 5 stars if it holds up for prep!
Made this with gluten free sourdough and dairy free cheddar for my dietary needs and it still slapped! The sweet apple cuts through the fake cheese aftertaste so well, I’ll be making this every week now.
Giving this 4 stars only because I overcooked the bread a little when I got distracted taking my dog out, oops. The flavor combo is unreal though, I never thought to add fruit to grilled cheese before. Next time I’m adding bacon too, that would slap.
My toddler usually turns his nose up at anything that isn’t chicken nuggets, but he ate an entire half of this sandwich today! I sliced the apples super thin so they were soft, used mild cheddar, no weird add ins, total win for toddler meal time.
Made these before a day hike last weekend, wrapped them in foil, and they were still warm and delicious when we stopped for lunch at the summit. Way better than the boring peanut butter sandwiches I usually pack. Light, filling, perfect trail food.
Wait I thought this was going to be weird because I don’t like sweet and savory mixes, but my roommate made it and forced me to try a bite and I’m converted. Used brie instead of cheddar, added a little sprinkle of cinnamon? Life changing. I ate two whole sandwiches in one sitting no shame.
This is literally the first thing I’ve ever cooked that didn’t come out burnt or taste like cardboard, lmao. The instructions are so straightforward, 8 minutes total cook time is no joke. I feel like I can actually cook now, thank you!!
Made this for a lazy Sunday brunch with mimosas and my girls, we all agreed it’s the new brunch staple. Paired it with a side of arugula tossed in lemon vinaigrette, so fancy for how little work it took. 10/10 will be serving this at every brunch from now on.
Total budget friendly win! I had stale bread, a couple apples that were starting to get soft, and a block of cheddar I got on sale, turned into the best lunch I’ve had all week. No fancy ingredients required, perfect for when grocery money is tight at the end of the month.
I added a couple slices of pickled jalapeno to mine and oh my GOD, the heat with the sweet apple and melted cheddar? I could eat this every single day for the rest of my life. Don’t knock it till you try it, the flavor combo is insane.
I wanted to love this because everyone raves about it, but I didn’t slice my apples thin enough so they were super crunchy and the cheese slid off every time I picked it up. My husband loved it though, so I’ll give it another shot with thinner apple slices next time.