
apple grilled cheese
intro
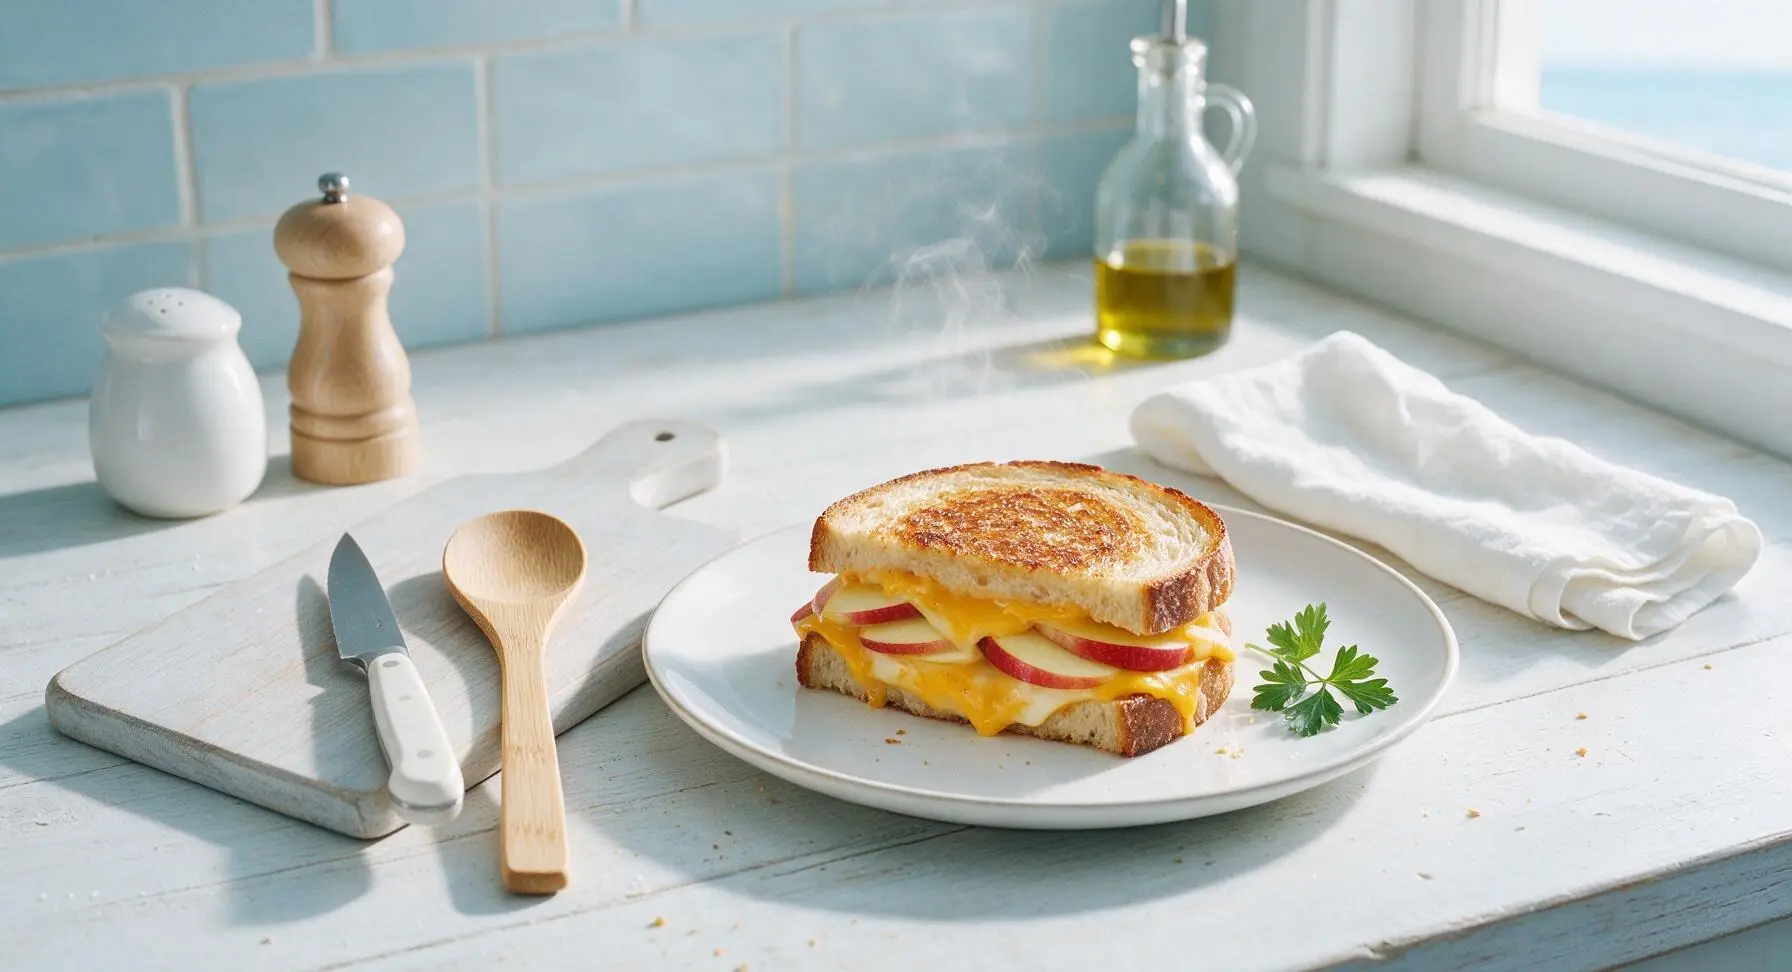
Crisp tart Honeycrisp apple layered between melty sharp cheddar and buttery toasted sourdough, balancing sweet, savory, and tangy notes in every warm, gooey bite.
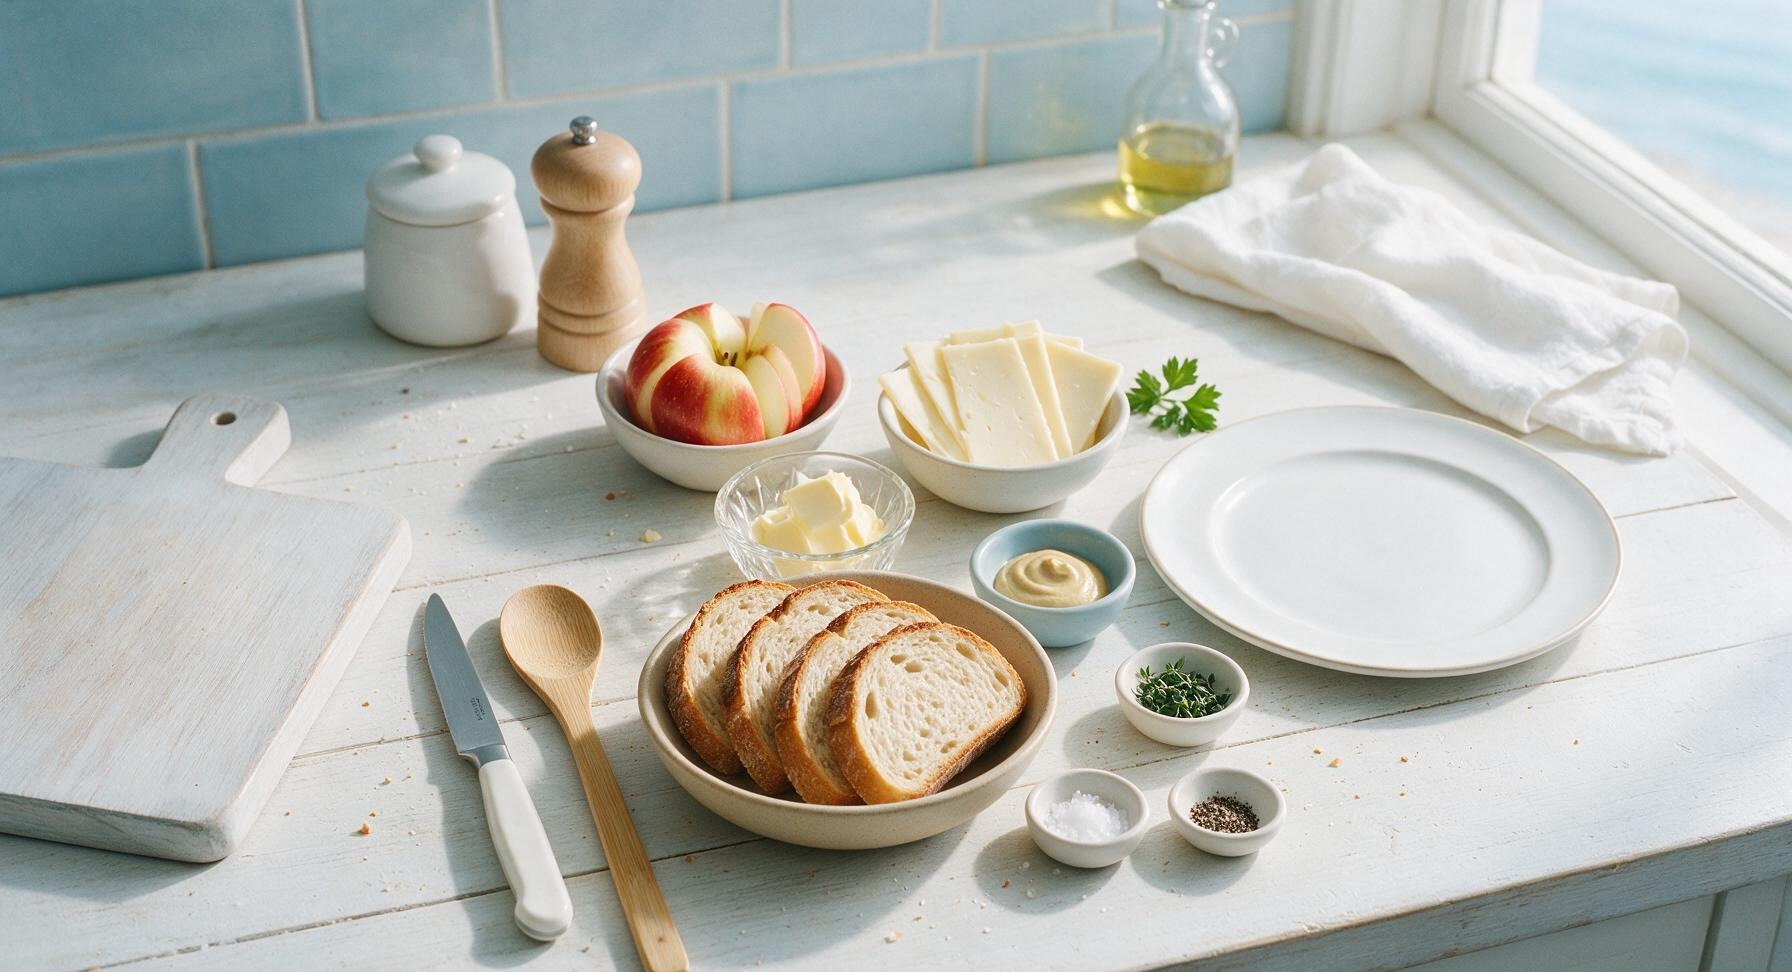
Ingredients
Steps
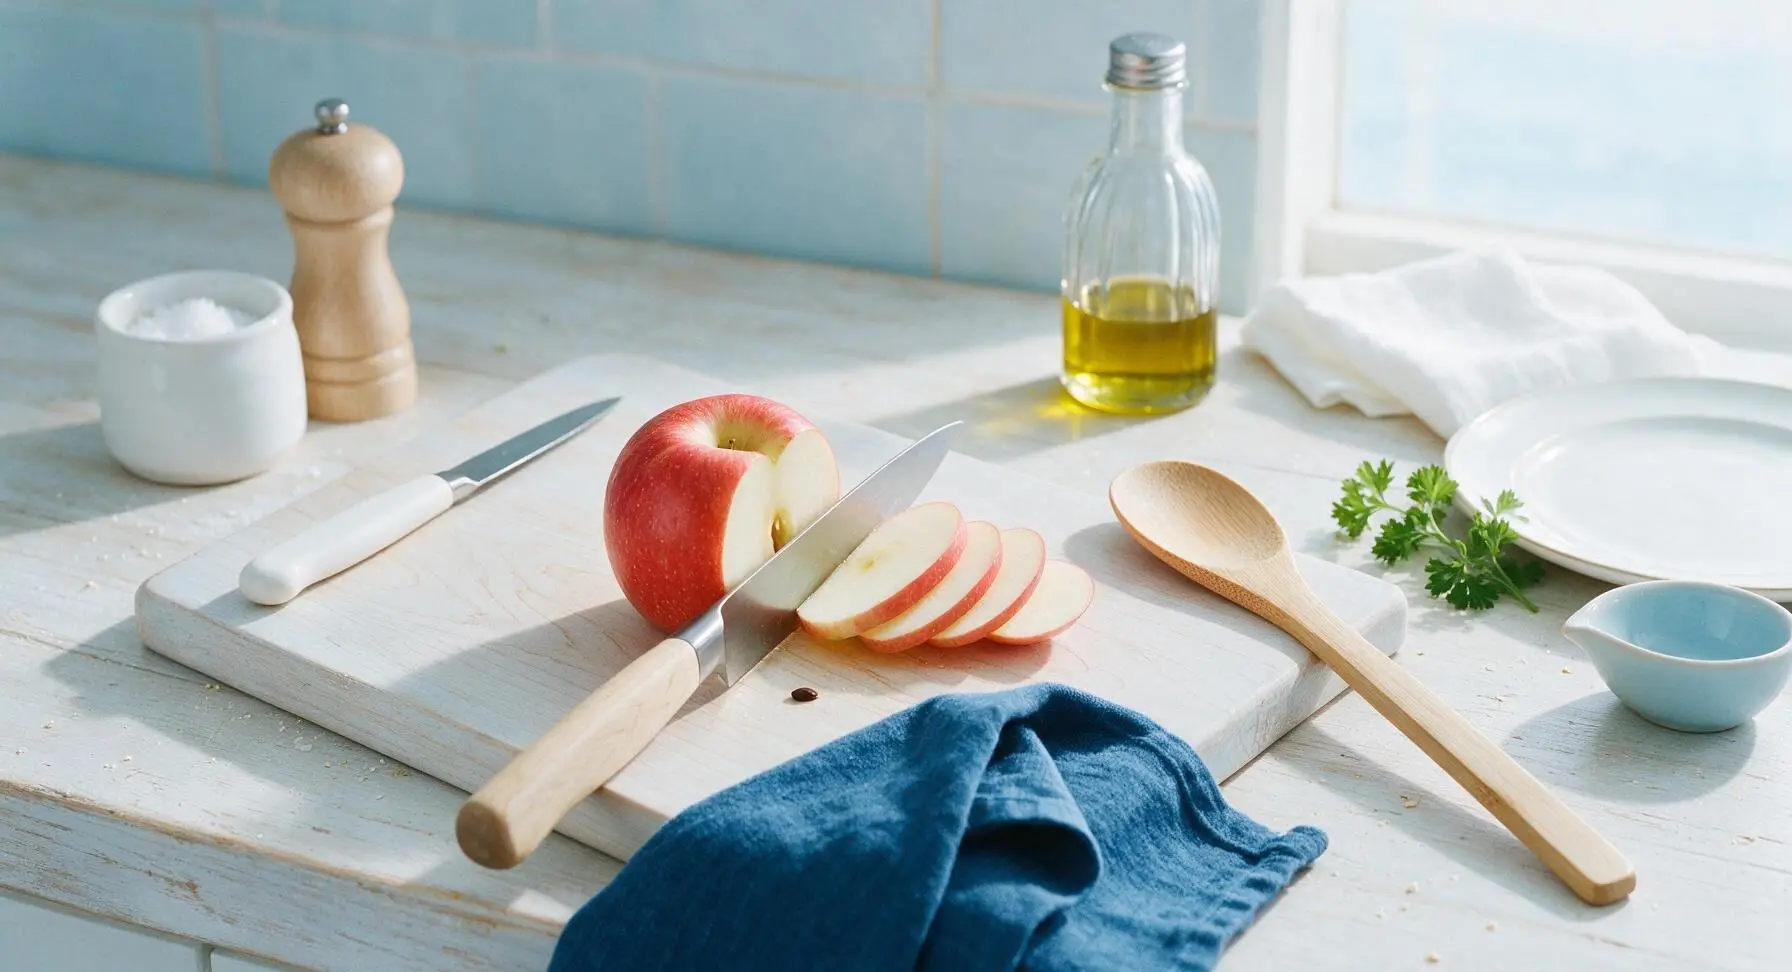
Thinly Slice Apple
Place the light maple cutting board center-left on the counter. Set the cored Honeycrisp apple on the board, and use the chef knife to cut it into 3mm (1/8 inch) thick even slices, discarding any remaining core bits and seeds. Pat the apple slices lightly with a clean corner of the indigo tea towel to remove excess surface moisture, which prevents sogginess in the finished sandwich. You should yield 12-15 thin, uniform slices.
Slice Cheddar Thinly
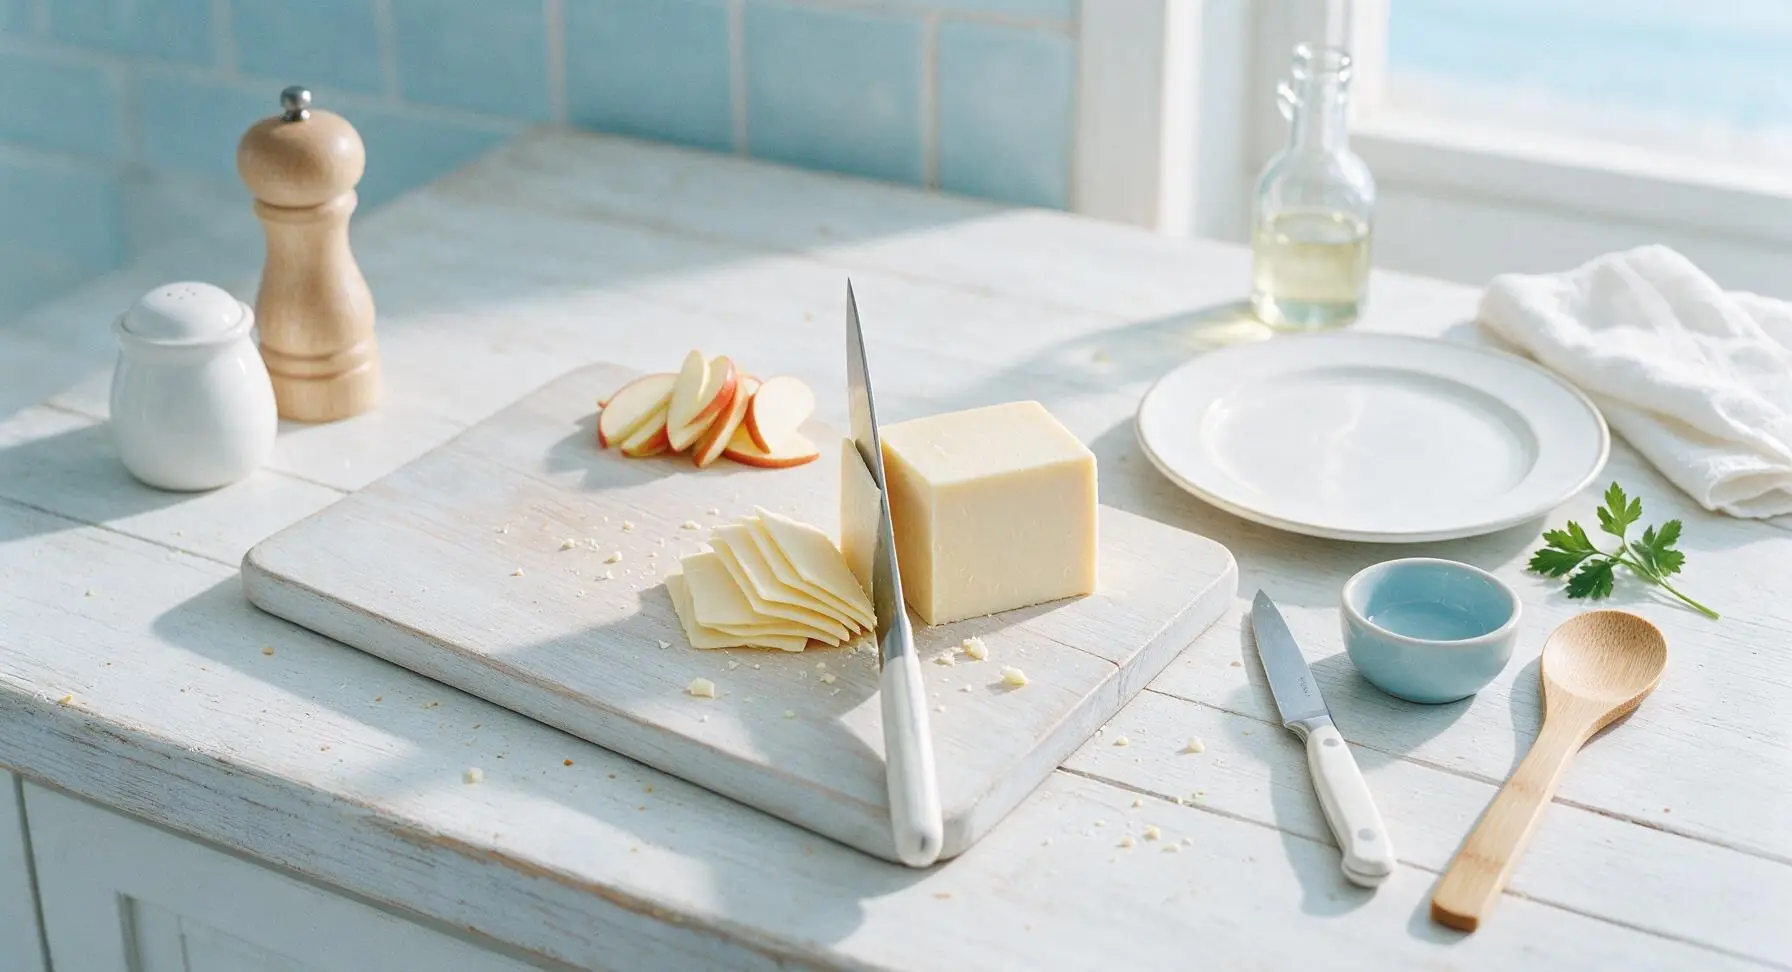
Move the cut apple slices to the top edge of the cutting board to make space. Place the block of sharp white cheddar on the board, and use the chef knife to cut it into 2mm (1/16 inch) thin slices, enough to fully cover two bread slices with a slight overhang. Thin cheese slices melt faster and more evenly than thick chunks, eliminating hard, under-melted spots in the finished sandwich.
Spread Bread Layers
Lay all 4 slices of sourdough bread flat on the cutting board. Use the tip of the chef knife to spread the 1 tsp of Dijon mustard in a very thin, even layer across two of the bread slices. Divide half of the cheddar slices evenly across the two mustard-coated bread slices, arranging the cheese to cover the bread edge to edge for zero bare bread spots.
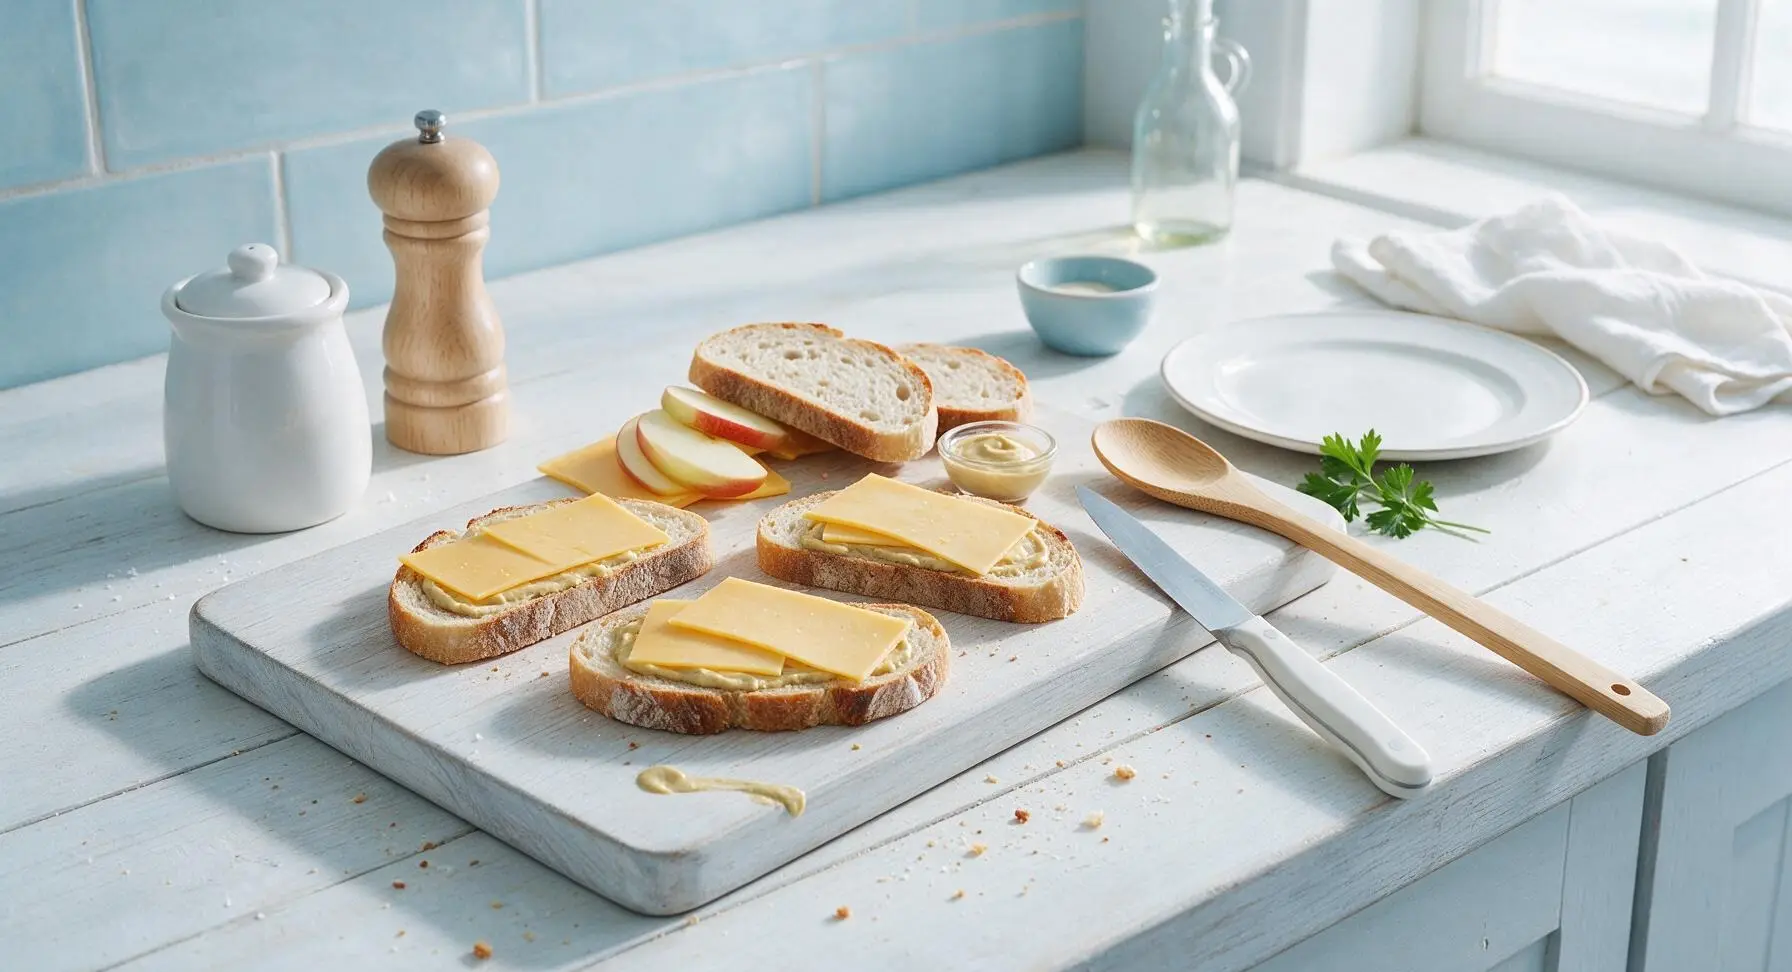
Layer Apple Slices
Arrange the thin apple slices in a single overlapping layer on top of the bottom cheese layer, covering the cheese completely. Sprinkle the apple layers with half the fresh thyme leaves, all of the black pepper, and a tiny pinch of flaky sea salt. Top the apple layers with the remaining cheddar slices, then place the remaining two plain bread slices on top to form two closed sandwiches. Press down gently on each sandwich with the palm of your hand to help the layers adhere.
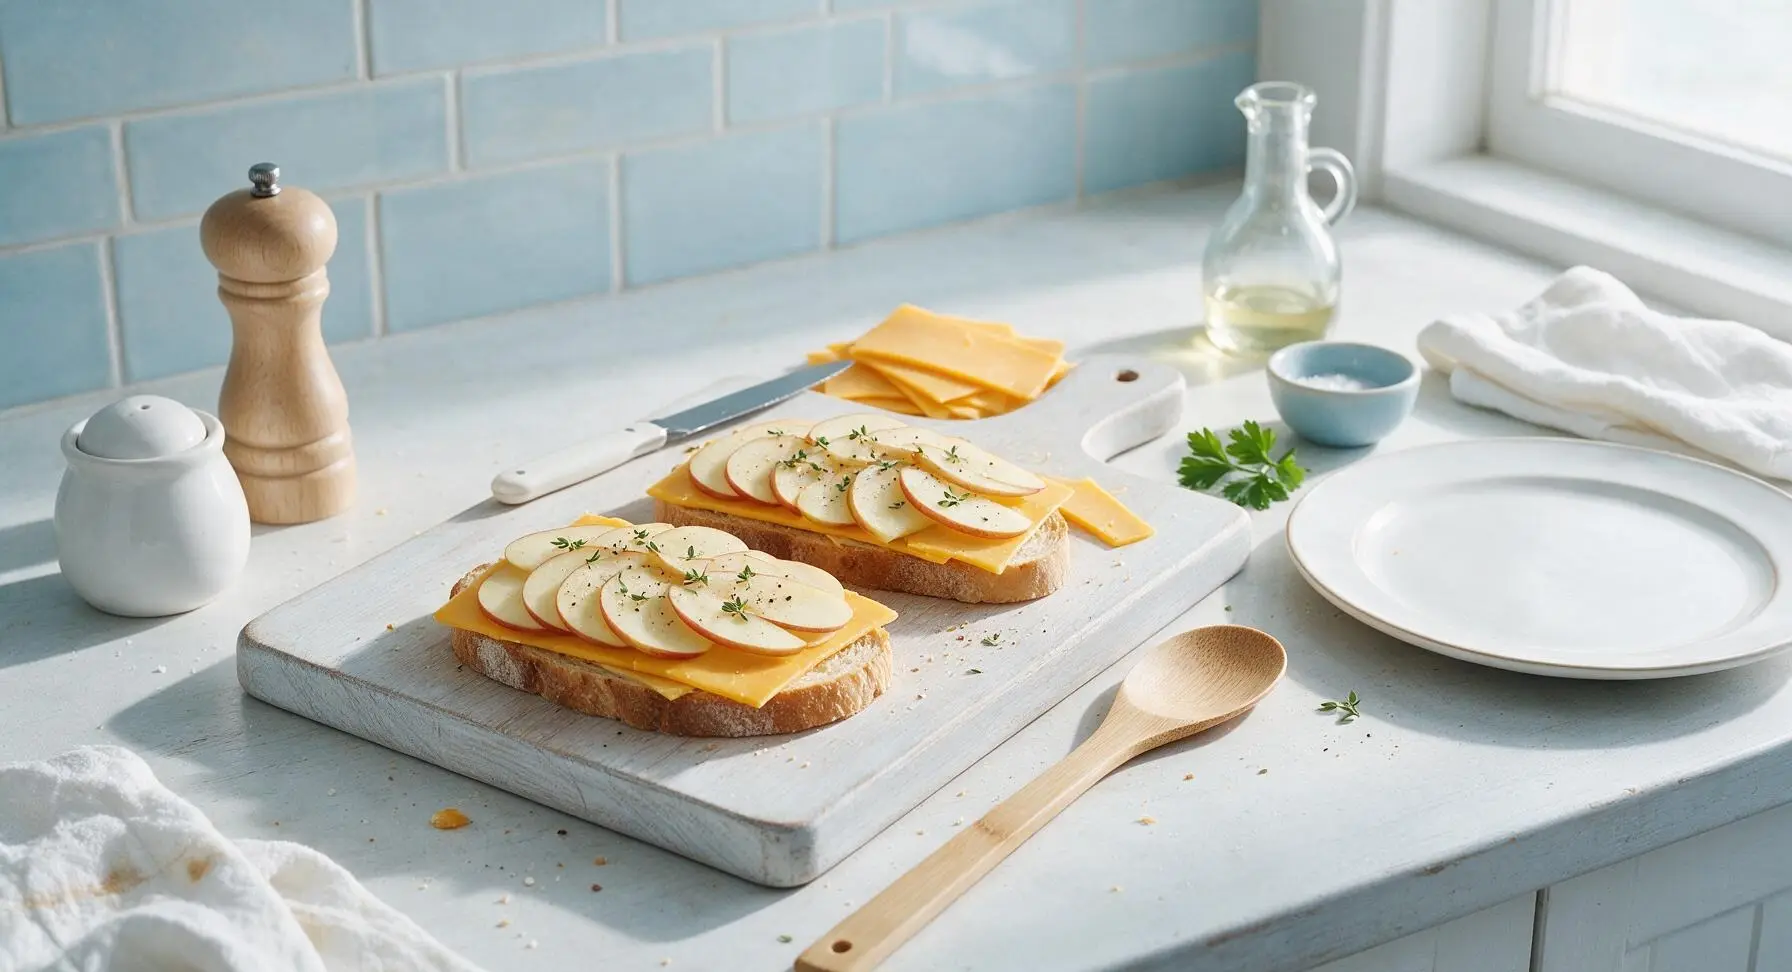
Butter Sandwich Exteriors
Retrieve the pastry brush from the dove gray utensil crock. Use the brush to spread 1 tbsp of the softened salted butter evenly across the top surface of both closed sandwiches, covering every part of the bread crust to the edge for even toasting. The butter layer should be thin enough that it does not drip when the sandwich is lifted, but thick enough to create a crisp, golden crust.
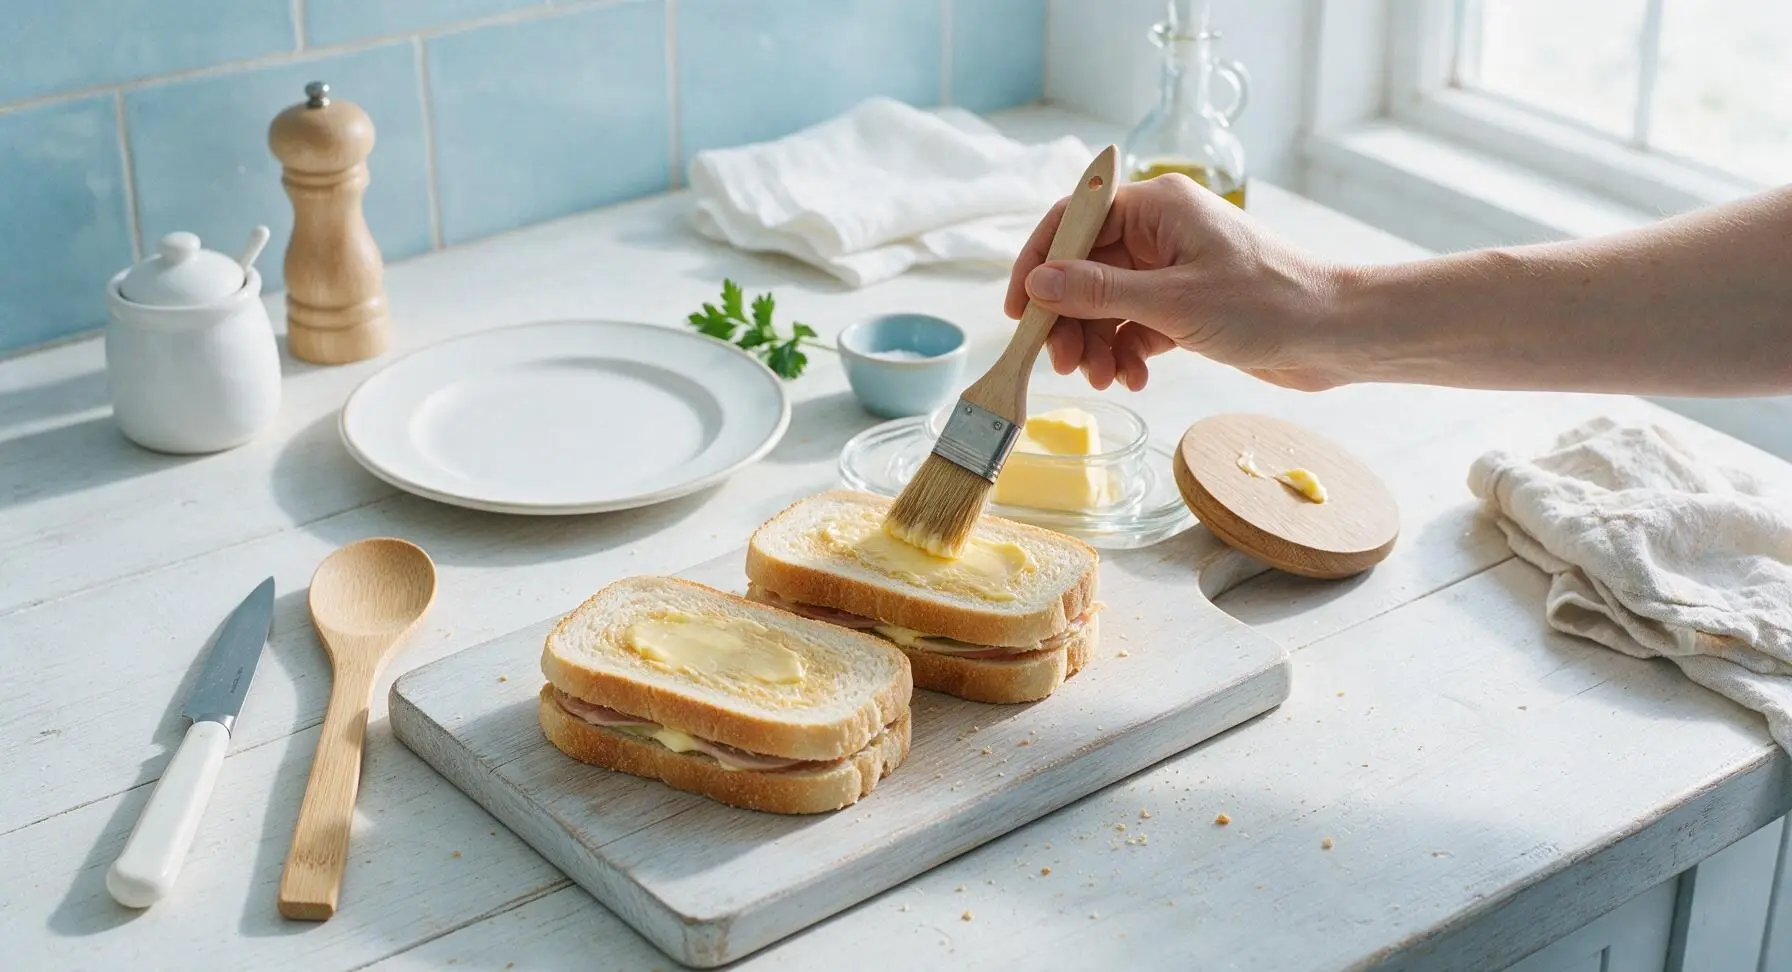
Toast First Side
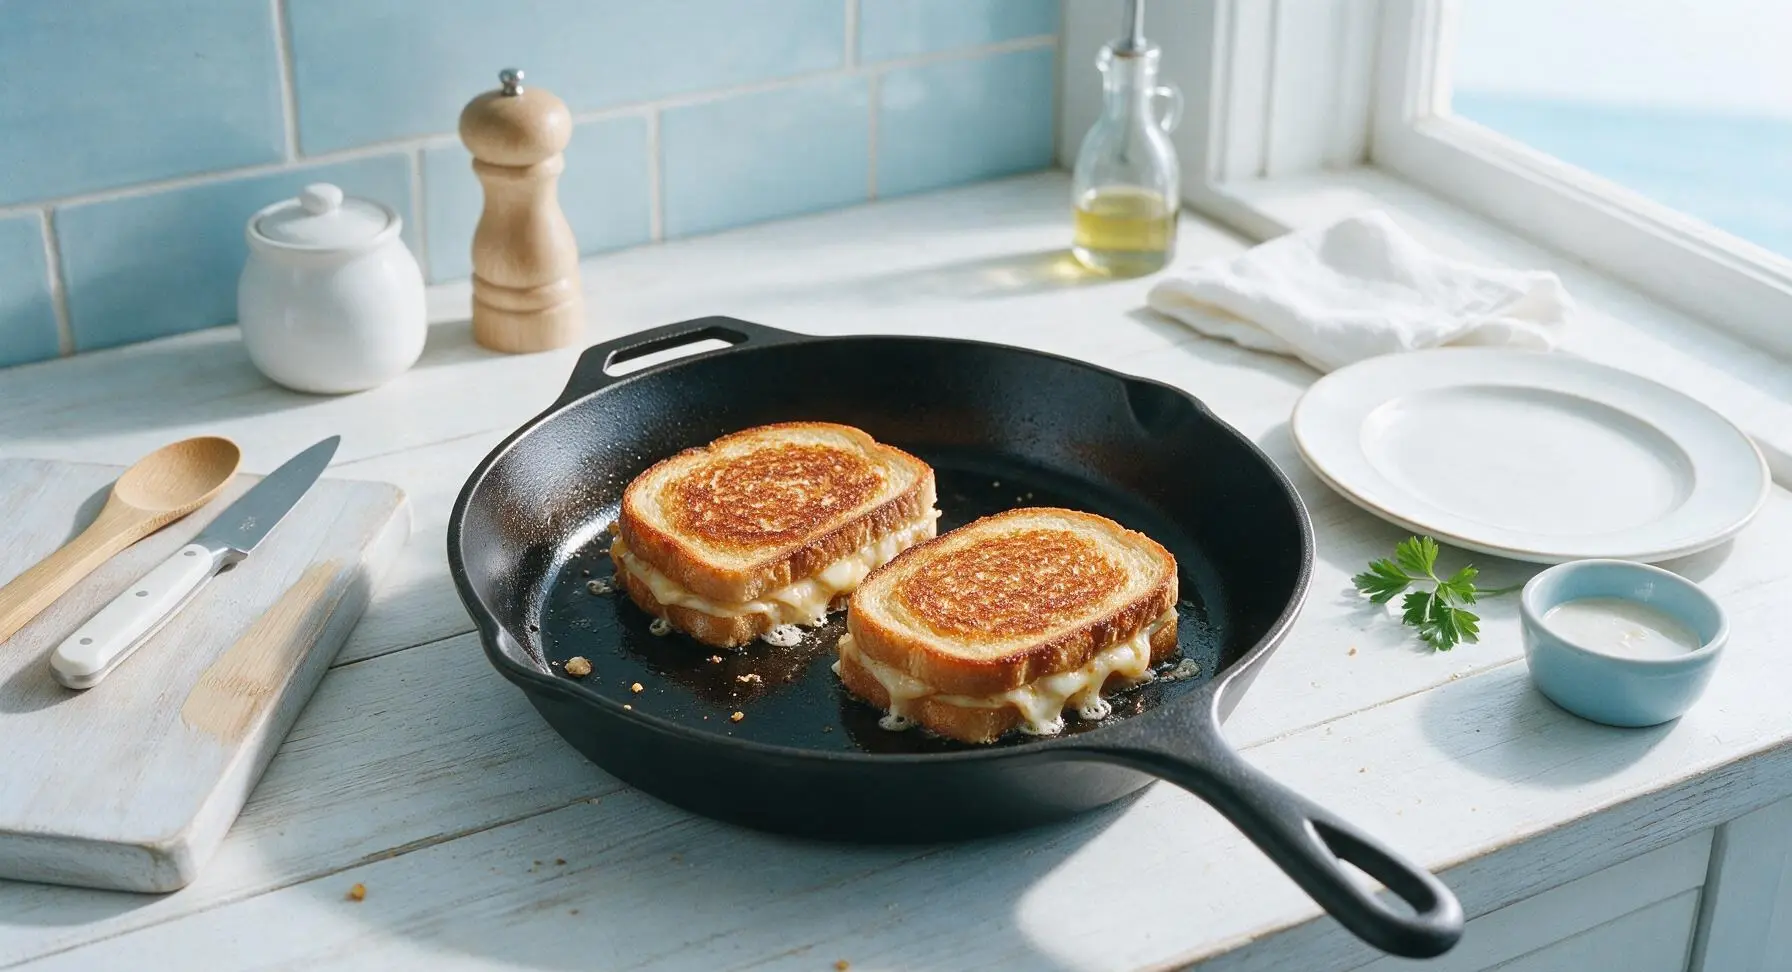
Retrieve the 10-inch carbon steel skillet from the lower cabinet and place it in the center of the work zone, preheating over medium-low heat for 2 minutes. Carefully place both sandwiches butter-side down in the preheated skillet. Use the pastry brush to spread the remaining 1 tbsp of softened butter across the unbuttered top surface of each sandwich. Cook for 3-4 minutes, until the bottom bread is deep golden brown and crispy, and the cheese closest to the pan has started to melt and bubble at the edges. Do not turn the heat higher than medium-low, as this will burn the bread before the cheese melts fully.
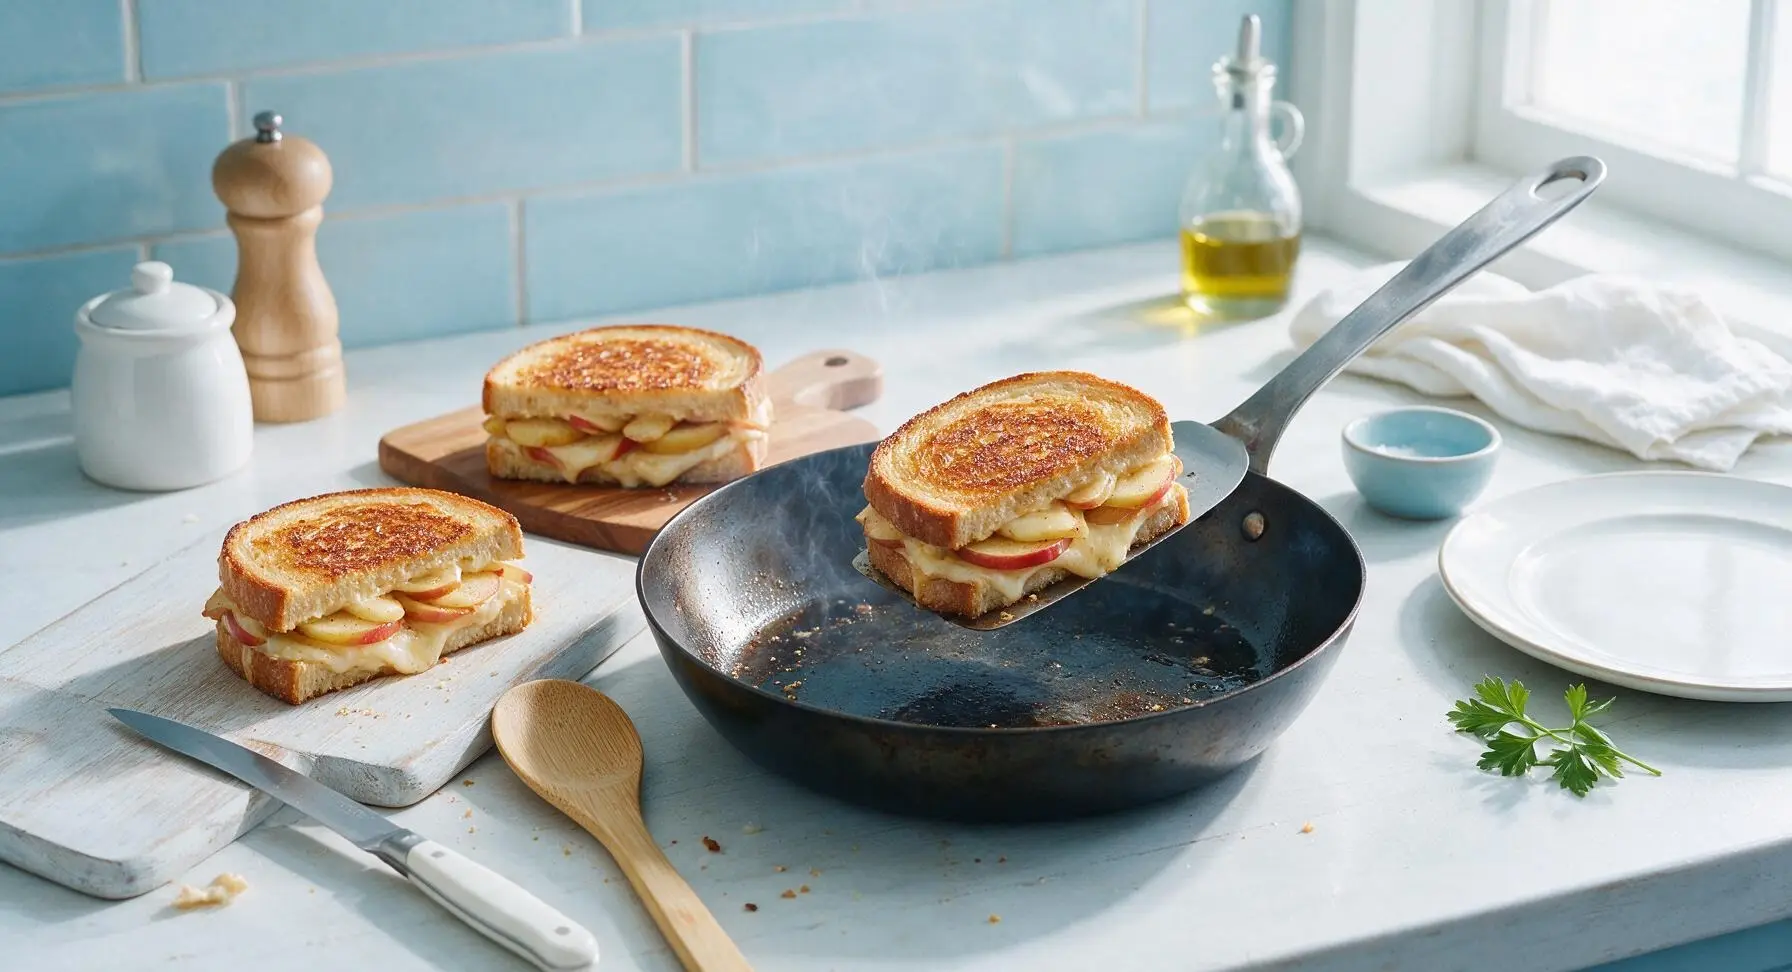
Flip and Finish Cooking
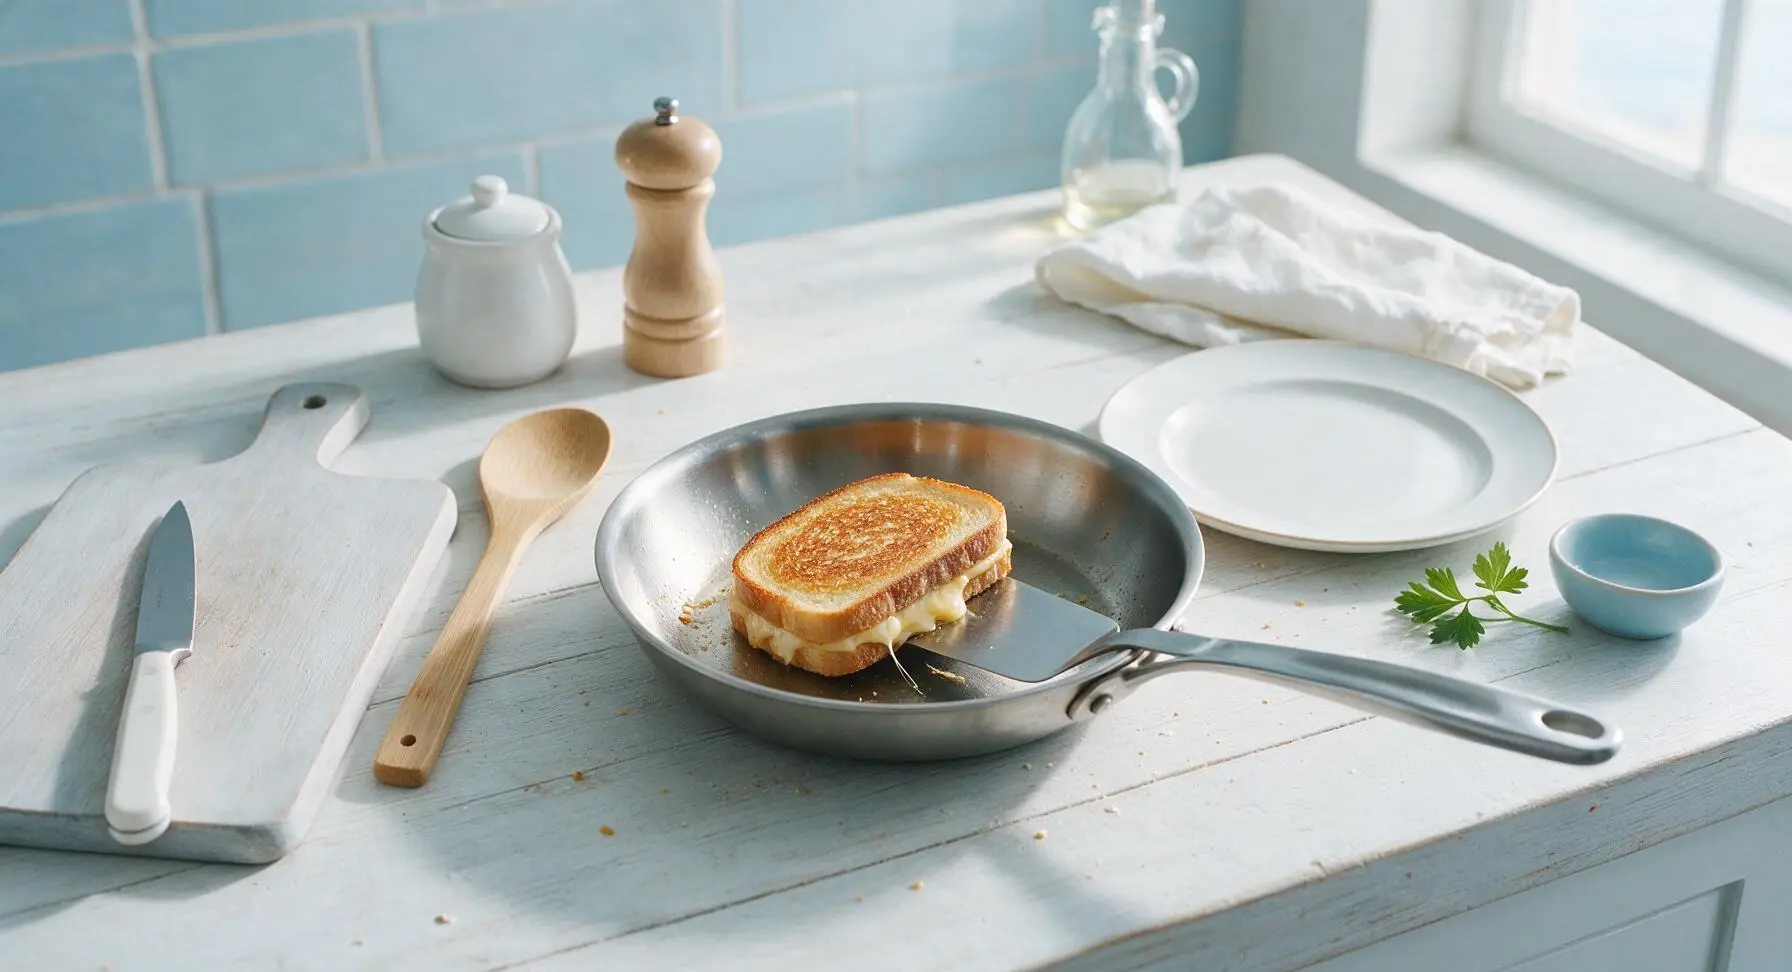
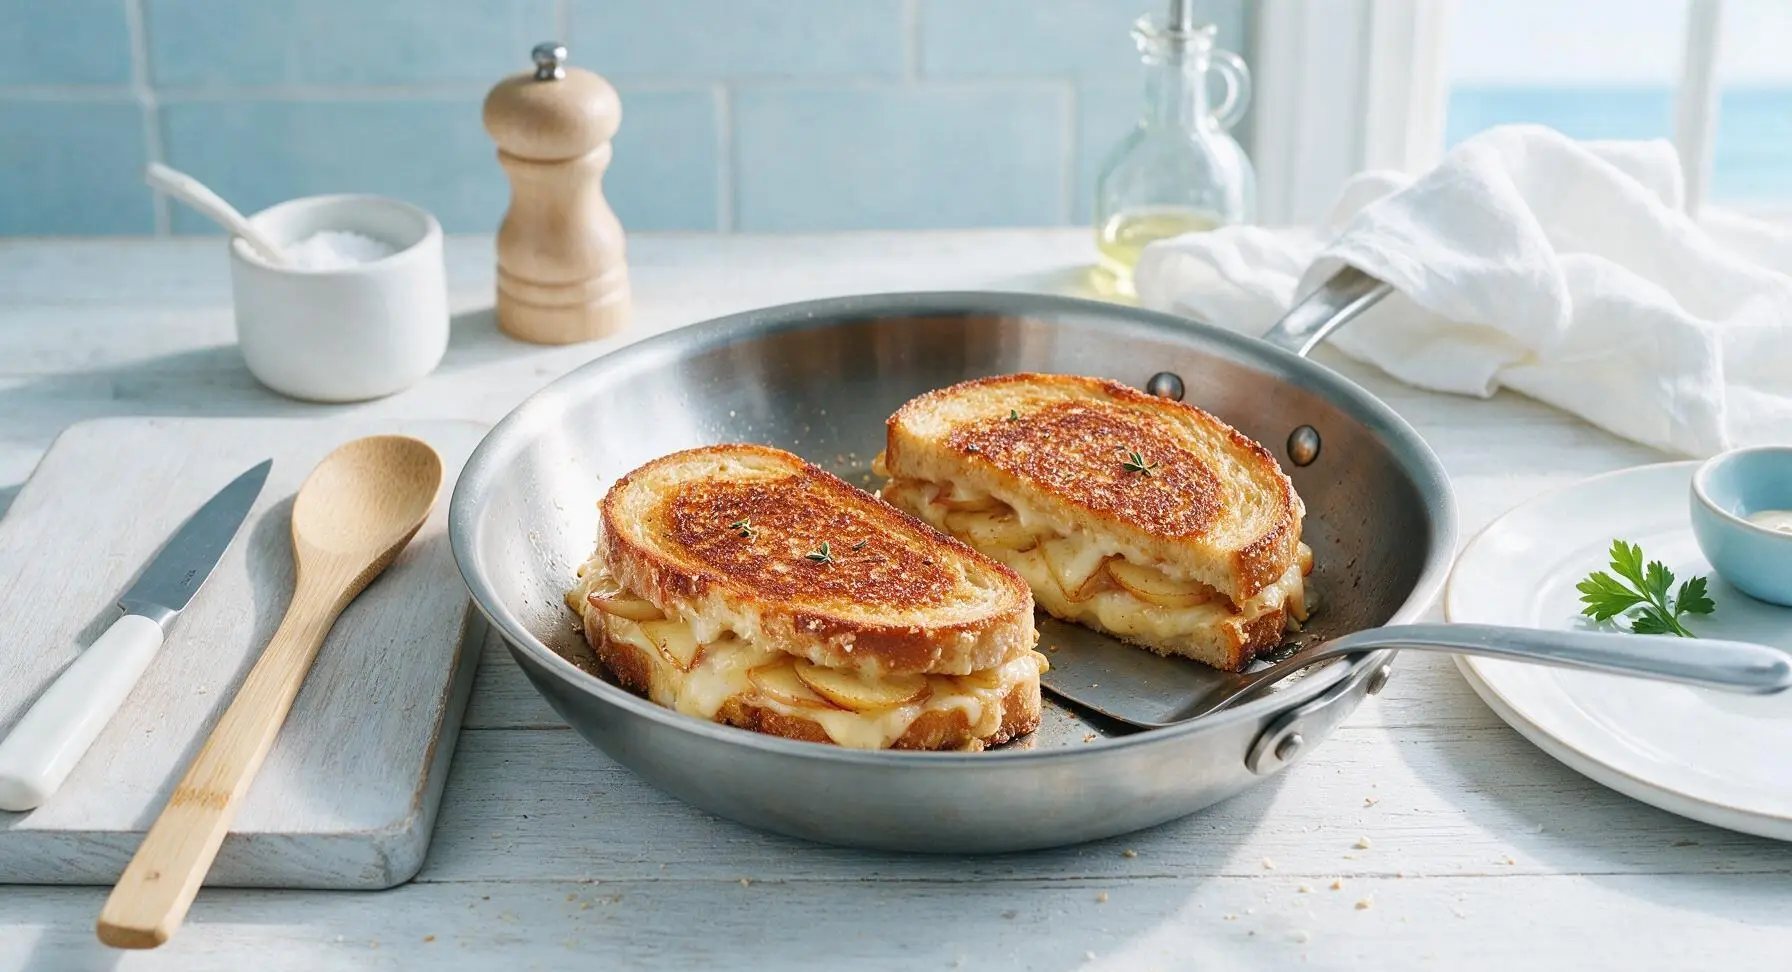
Use the stainless steel offset spatula to carefully flip each sandwich, taking care not to let the filling slide out. Cook for another 3-4 minutes on the second side, pressing gently with the spatula every minute to encourage even cheese melt, until the second side is equally golden and crispy, and the cheese in the center is fully melted and gooey. The apple slices will be slightly warmed and tender-crisp, not mushy.
Rest and Serve
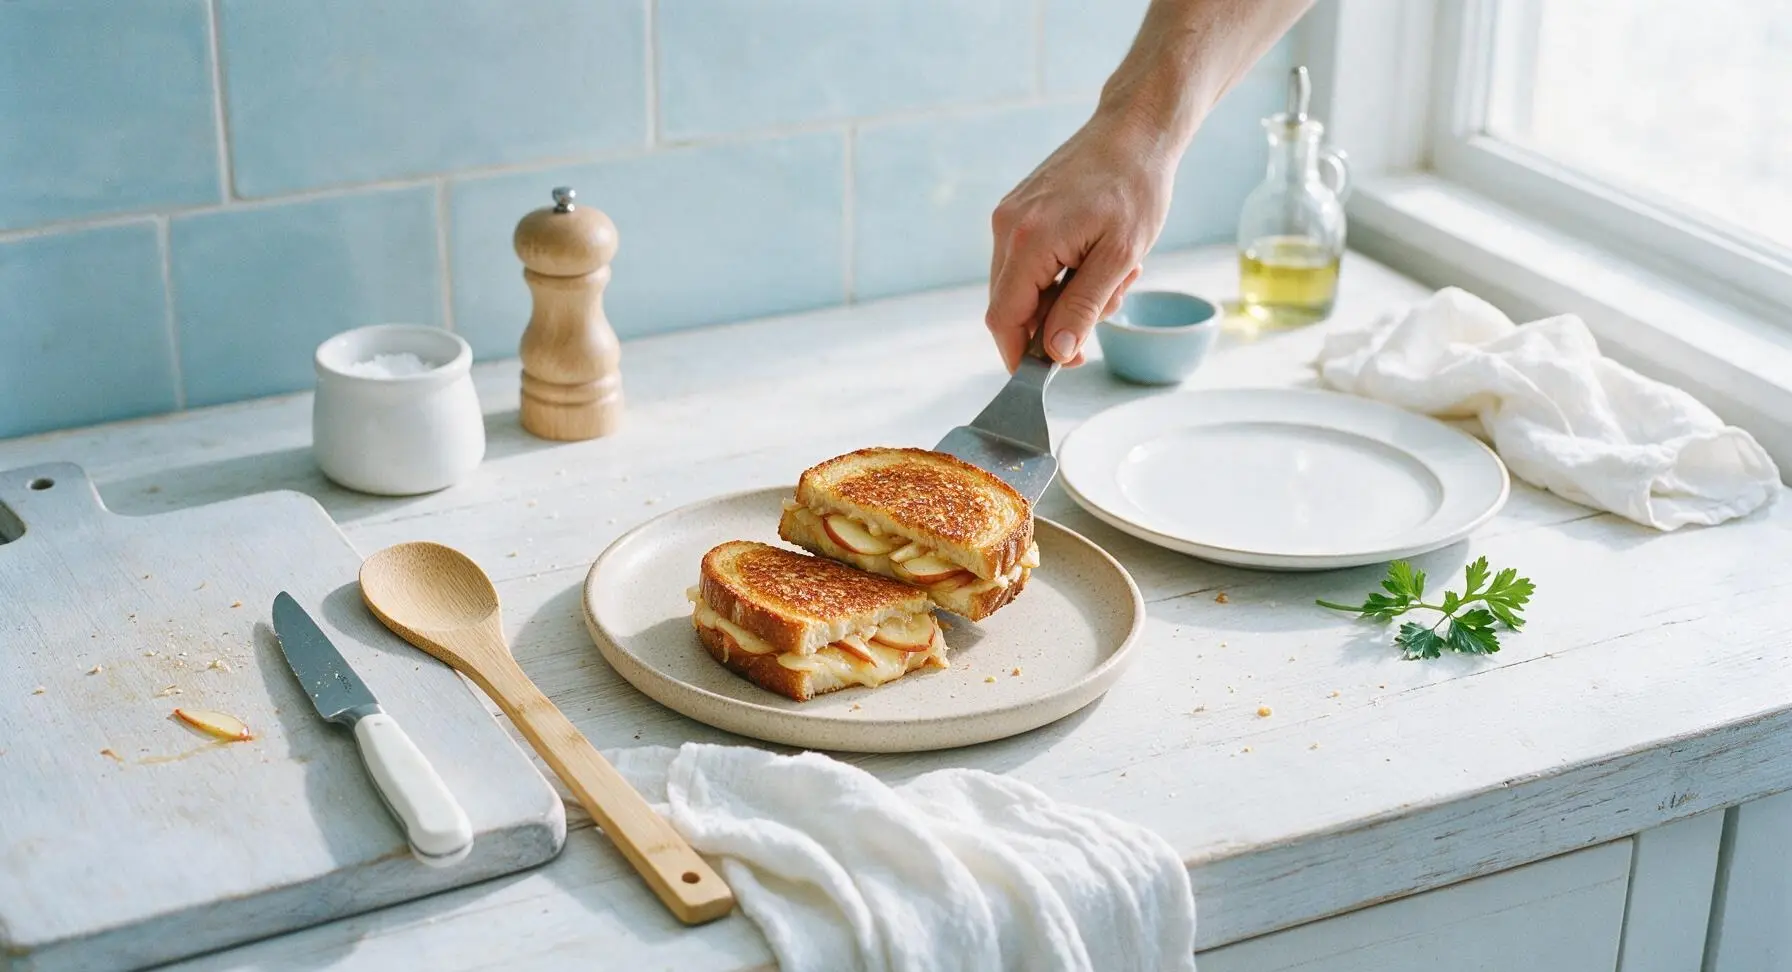
Transfer the cooked sandwiches from the skillet to the top matte oat cream stoneware plate. Let them rest for 1 minute to allow the cheese to set slightly, which prevents it from oozing out when sliced. Cut each sandwich diagonally into two triangles, then sprinkle the tops with the remaining fresh thyme leaves and a light pinch of flaky sea salt. Serve immediately while warm.
Tips
2.Keep heat at medium-low for toasting: high heat will burn the bread exterior before the cheese has time to melt fully and adhere to the apple slices, leading to a sandwich that slides apart when bitten.
3.Don’t skip the 1-minute rest: this short pause lets the melted cheese set slightly so it doesn’t gush out when cut, and gives the apple slices time to warm through without turning soft and mushy.






OMG this is a total game changer! I never thought to add apple to grilled cheese but the crisp sweetness cuts through the rich brie so perfectly. My 7 year old asked for seconds before she even finished her first half!
Wait, what kind of cheese works best here? I have gouda and gruyere in my fridge right now, would those pair okay with the apple?
Made these for my kids’ after school snack today and they went crazy for it! I was worried the apple would be a weird texture for them but they loved the crunch. Even my super picky 10 year old ate every bite.
Made this for a quick lunch between work meetings today, and that 8 minute cook time is NO JOKE. Crispy buttery bread, melty gooey cheese, that sweet apple crunch? No notes, absolute perfect quick meal.
Made this in my dorm room on my tiny little sandwich press and it came out insane. Way better than the sad dining hall grilled cheeses, and it took barely any time to throw together between study sessions for my midterms.
Game. Changer. I added a sprinkle of candied pecans and a drizzle of hot honey on mine and I’m never making a regular grilled cheese again. The flavor combo is insane — sweet, salty, spicy, crunchy? All the boxes checked.
I added a thin spread of fig jam to mine after seeing a similar combo online and WOW. Next level. Highly recommend if you want an extra little pop of deep sweet flavor to go with the cheese and apple.
Brought a whole tray of these cut into bite-sized squares to my neighborhood block party last weekend and they VANISHED. People were asking for the recipe before I even finished setting up my folding table!
Swapped the regular butter for vegan butter and used dairy-free sharp cheddar to make this plant-based, and it came out just as good as the regular version! My non-vegan roommate stole half my sandwich and said he couldn’t even tell the difference.
Made these for my roommate’s fall-themed potluck and they were such a hit! I cut them into little triangles and stuck a toothpick with a tiny caramel apple bite on top for a cute garnish. People were raving all night.
Perfect post-hike snack! I prepped the ingredients ahead and tossed these on our camp grill after a 4 mile trail walk last weekend. Held up great, no sogginess even with the fresh apple slices.
Tried making this last night and my bread got a little too dark before the cheese was fully melted. Any tips for getting that perfect golden crisp without burning the bread?
Wait a second, I had something just like this at a cider mill up in northern Michigan last fall and I’ve been chasing that flavor ever since. Is there a trick to keeping the apple slices from getting too soft while the cheese melts?
Added this to my weekly meal prep rotation! I assemble the sandwiches the night before, then just toss them on the griddle when I get home from work. 8 minutes from pan to plate, zero stress after a long day.
Took me right back to the grilled cheeses my grandma used to make when we’d go apple picking every fall. Cozy, nostalgic, so tasty. Added a tiny sprinkle of cinnamon just like she did, absolute chef’s kiss.
Paired this with a cup of creamy tomato soup for dinner last night and it was the ultimate cozy fall meal. Felt like a fancy cafe lunch but cost, like, $3 total to make at home.
I was skeptical about fruit in a savory sandwich but my husband begged me to try this recipe and I’m so glad I did. The sweet apple with the melty cheddar and crispy bread? SO good. We had it for dinner last night with a side of steamed broccoli.
Used Honeycrisp apples from our local u-pick farm and sharp white cheddar, 10/10. The sweet-savory balance is unreal. Already planning to make this again for our Sunday soup night to pair with roasted butternut squash soup.
I used a crusty sourdough loaf from my local bakery for these and the texture was *perfect*. Chewy, crispy, held all the cheese and apple in without getting soggy at all, even when I added a little extra cheese.
Super easy, even for a total cooking novice like me. I burn toast half the time and these came out perfectly golden on the first try. Total win for a quick weeknight meal.