
ba green bean casserole

title 1
ba green bean casserole
⏱️ cook time 45 minutes
🍽️ servings 8
⚡ Difficulty easy

intro

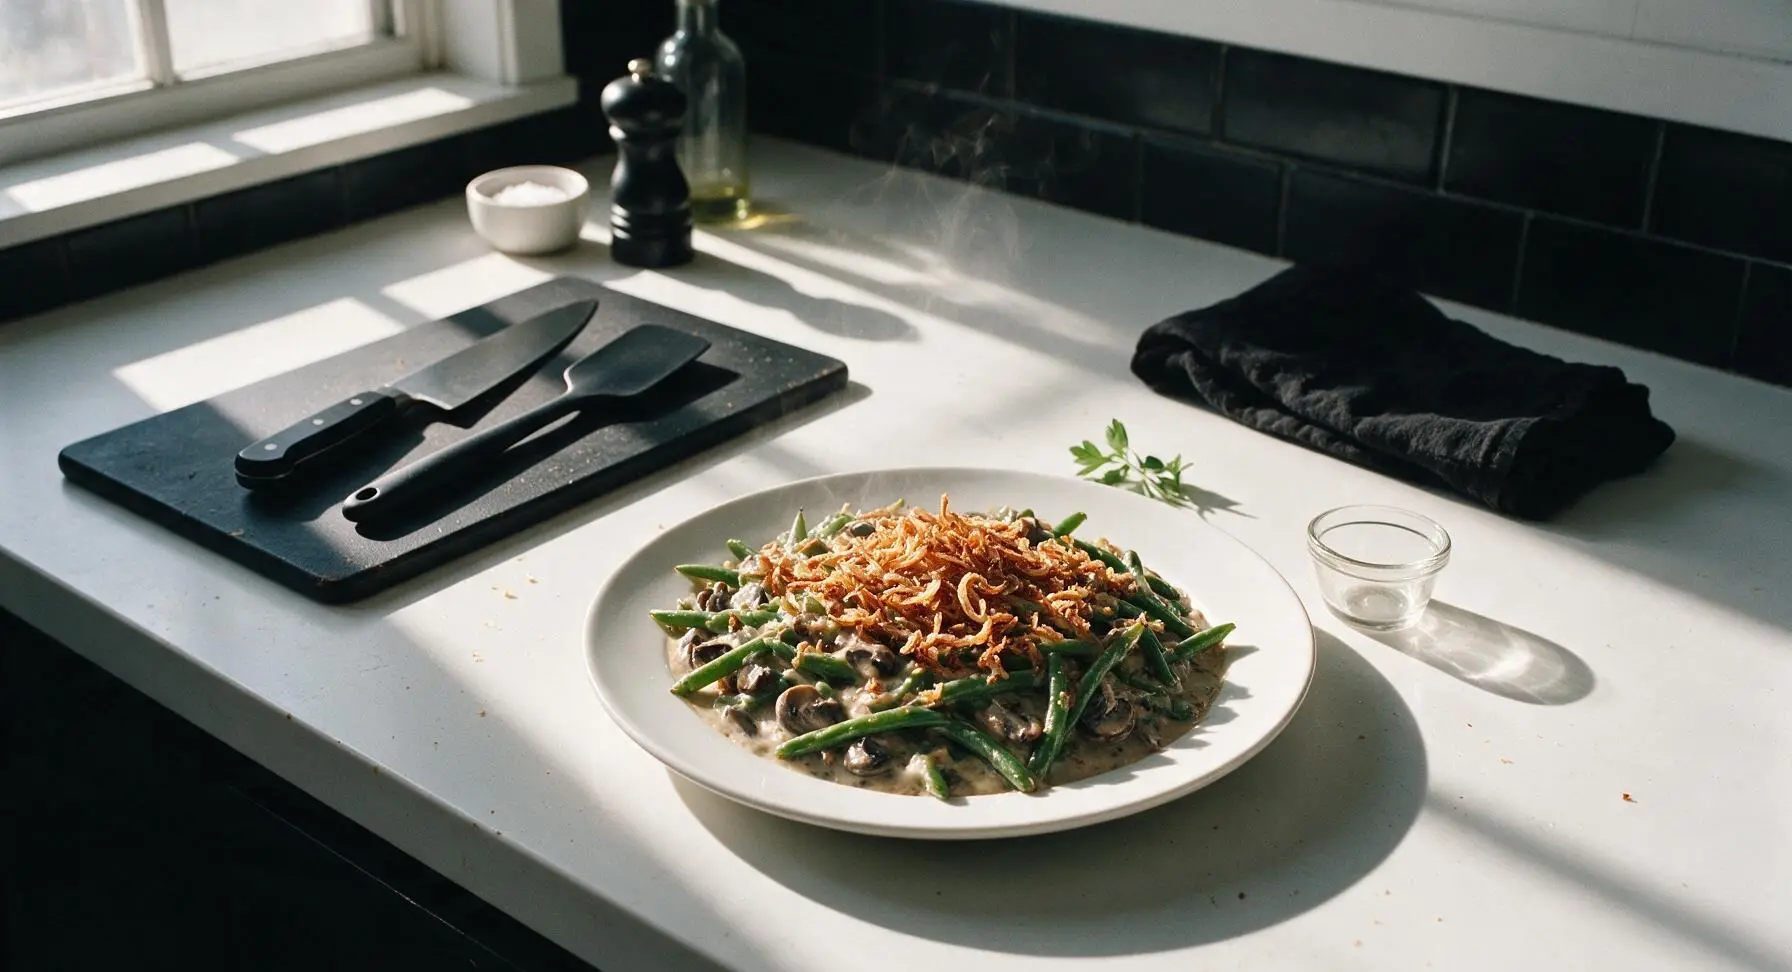
This from-scratch Bon Appétit-style green bean casserole swaps canned soup for rich umami mushroom cream and crispy homemade fried shallots, delivering bright, crisp-tender, deeply savory bites.

Ingredients
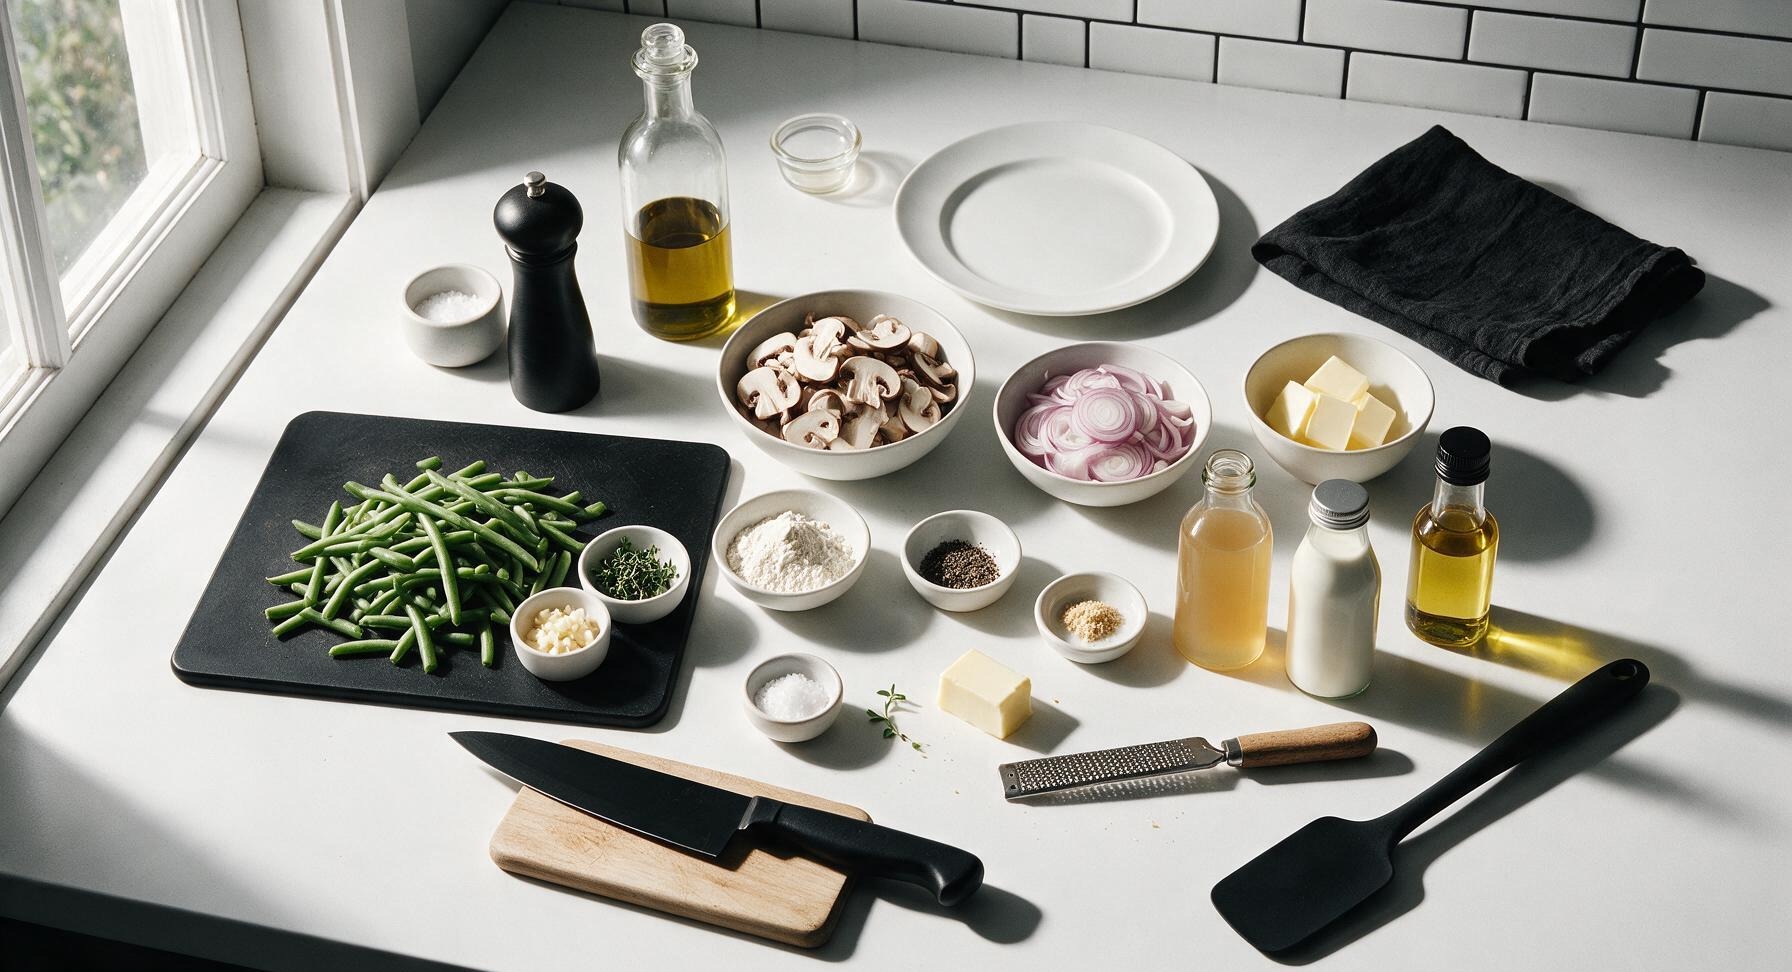
Fresh green beans, trimmed and cut into 2-inch pieces 1.5 lbs (680g)
Cremini mushrooms, thinly sliced 8 oz (225g)
Large shallots, thinly sliced (for topping) 3 (150g)
Unsalted butter 3 tbsp (42g)
Garlic cloves, minced 2 (10g)
All-purpose flour (for sauce and shallot coating) 4 tbsp (32g)
Low-sodium chicken broth (or vegetable broth for vegetarian) 1 cup (240ml)
Heavy cream 1 cup (240ml)
Neutral oil (avocado or canola, for frying shallots) ¼ cup (60ml)
Fresh thyme leaves 1 tsp (1g)
Freshly grated nutmeg ¼ tsp
Kosher salt 1 tsp
Freshly ground black pepper ½ tsp

Steps

1

Blanch Green Beans

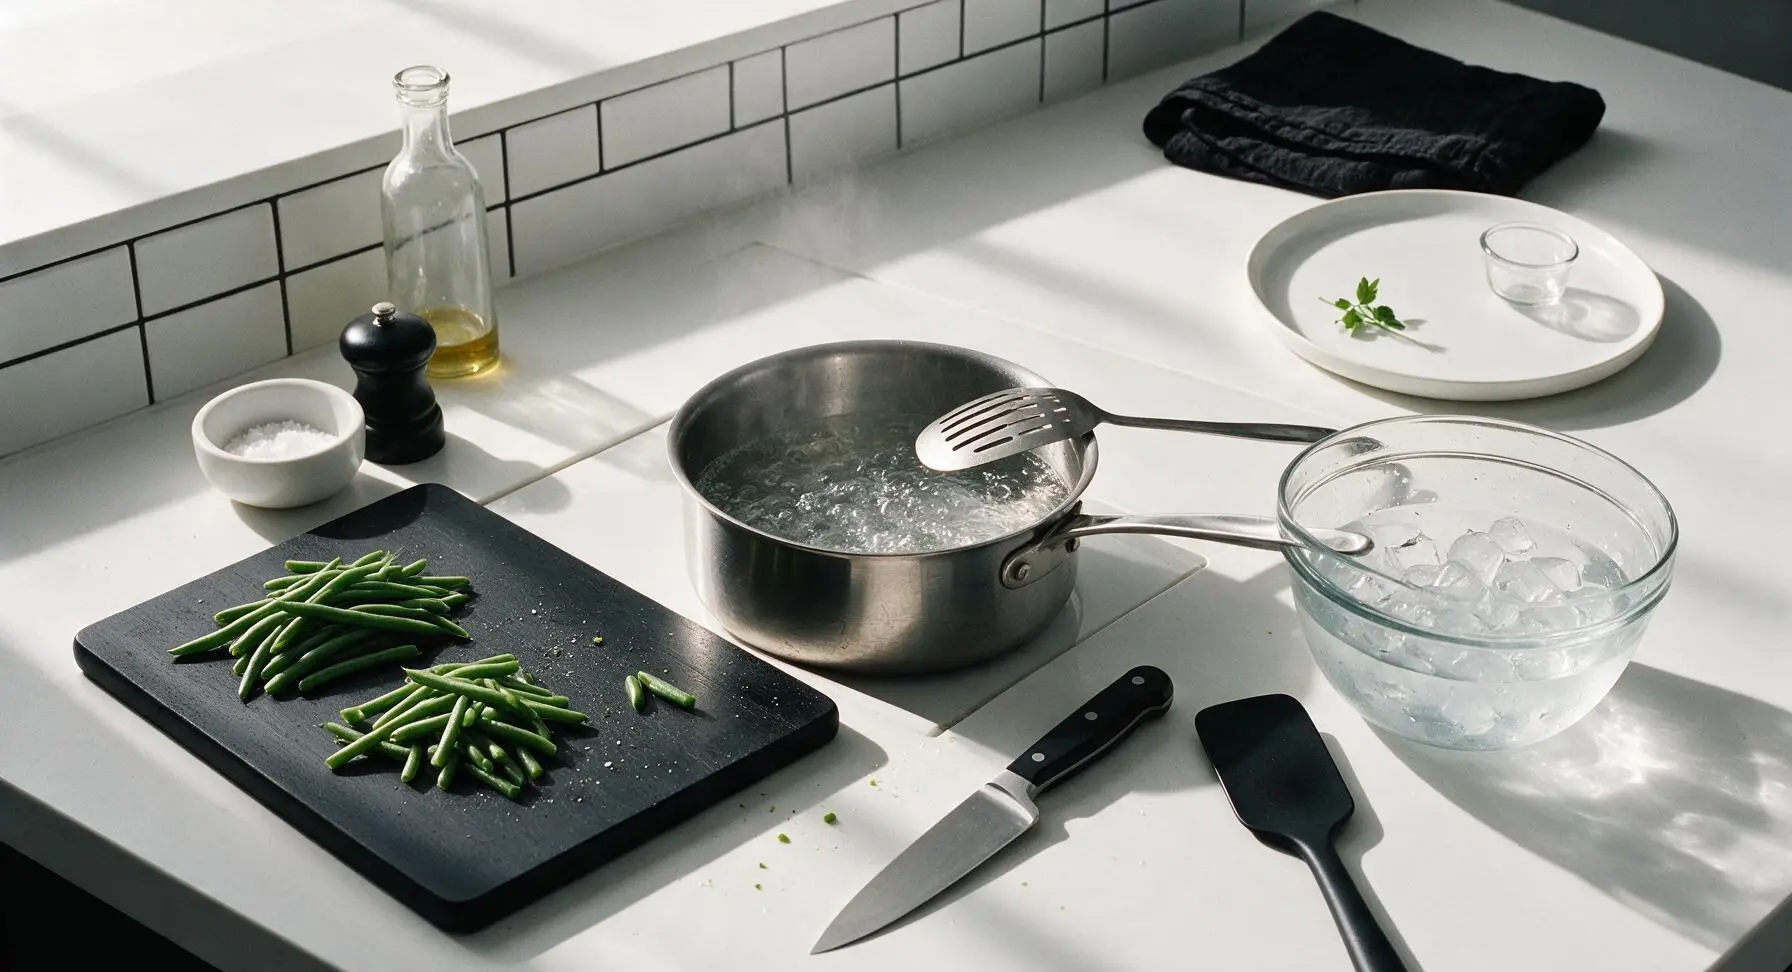
Bring the 3-quart stainless steel saucepan of heavily salted water to a rolling boil over high heat. Add the trimmed, 2-inch cut green beans and cook for exactly 4 minutes, until bright green and crisp-tender (beans will bend slightly when lifted but not go limp). Drain immediately, then submerge fully in the 2L mixing bowl filled with ice water to stop cooking and lock in vivid color. Drain thoroughly once fully cooled and set aside.
Step 1
step1:Blanch Green Beans
2

Fry Crispy Shallots

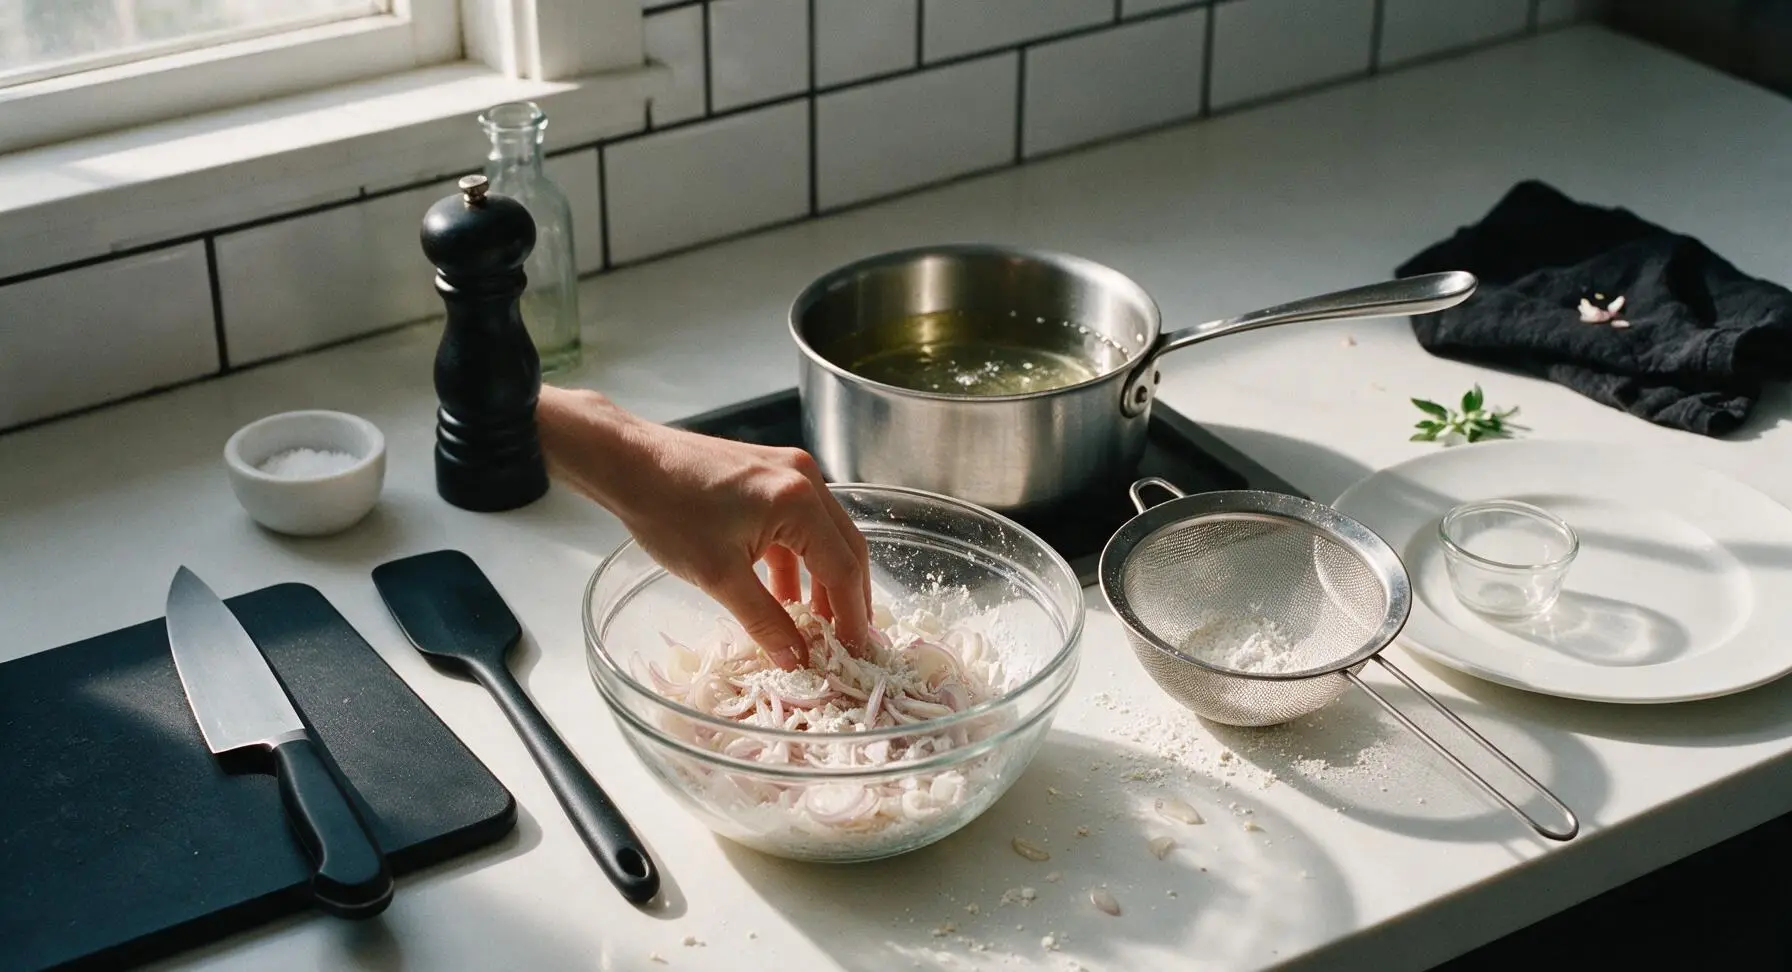
Heat ¼ cup neutral oil in the 3-quart stainless steel saucepan over medium heat to 350°F (175°C). Toss the thinly sliced shallots with 2 tbsp all-purpose flour in the mixing bowl, then shake off excess flour in the fine-mesh sieve to prevent clumping. Fry shallots in 3 small batches for 2-3 minutes per batch, until pale golden brown. Remove with the slotted spoon to a paper-towel lined surface, season lightly with salt. Do not cook to deep brown, as residual heat will darken them as they cool and overcooked shallots turn bitter.
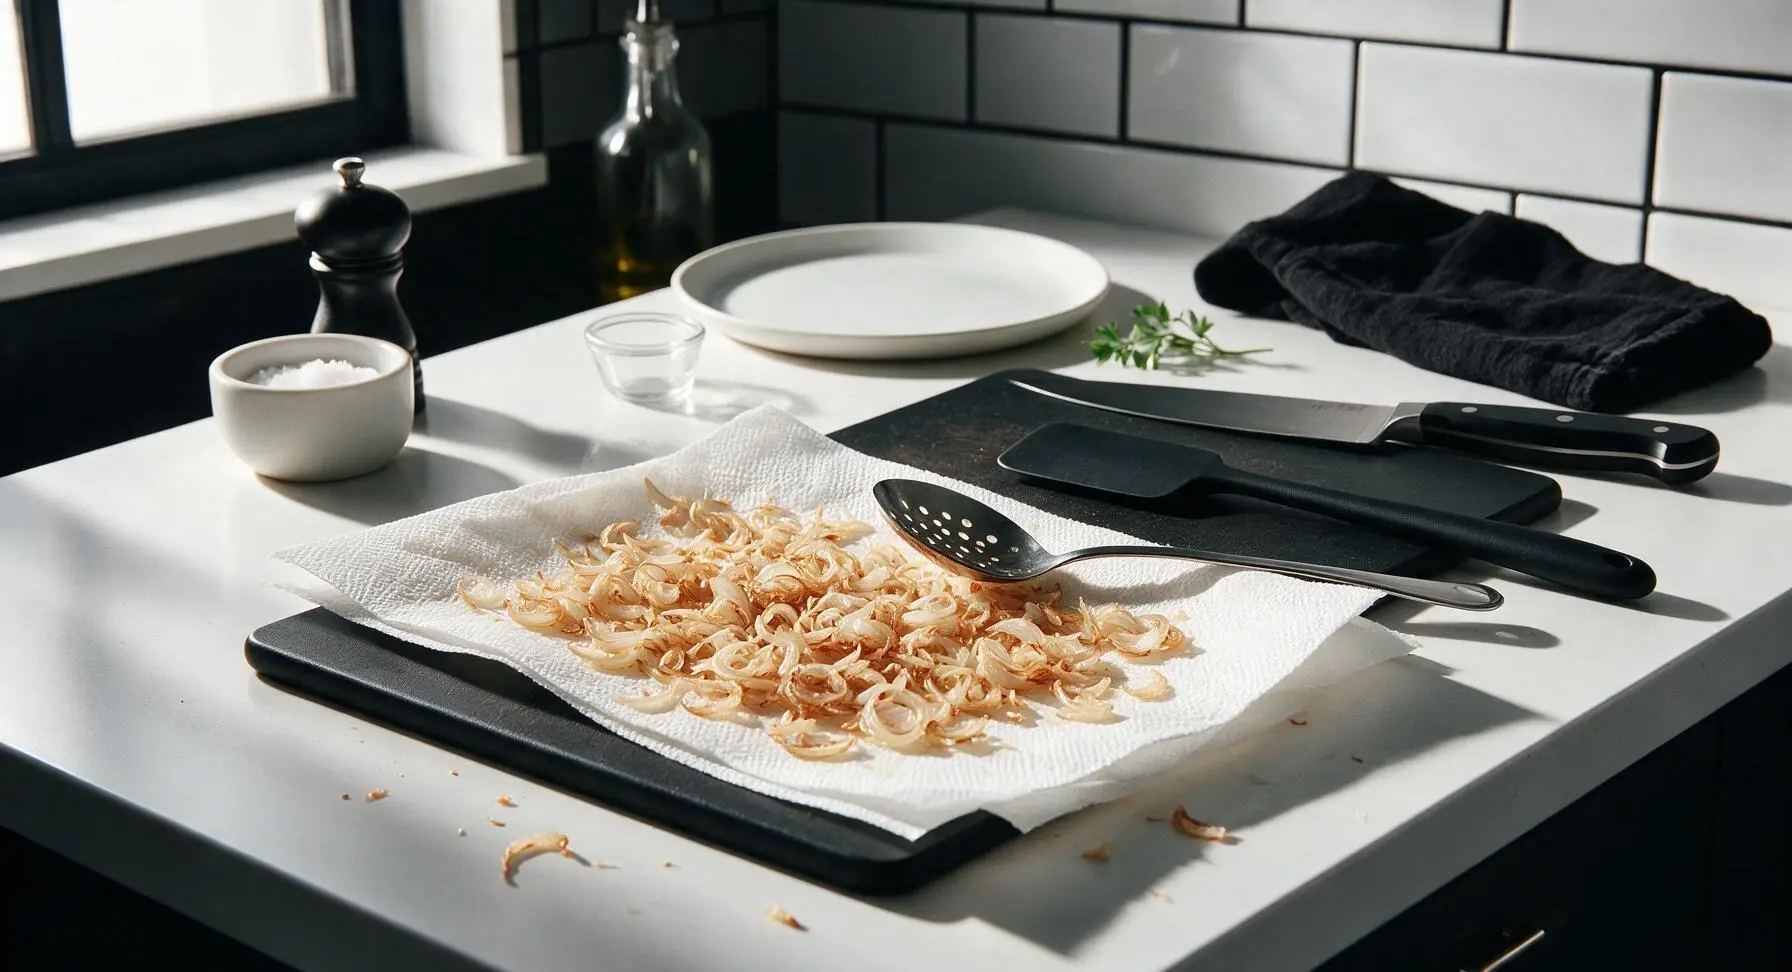
Step 2
step2:Fry Crispy Shallots
Step 2
step2:Fry Crispy Shallots
3

Sauté Cremini Mushrooms

Pour off all but 1 tbsp of frying oil from the saucepan, return to medium heat. Add 2 tbsp unsalted butter, then add the thinly sliced cremini mushrooms. Cook for 6-7 minutes, stirring occasionally with the dark hardwood spoon, until mushrooms are deep golden brown and all their released liquid has fully evaporated. Add minced garlic and fresh thyme leaves, cook for 30 seconds until fragrant, being careful not to burn the garlic.
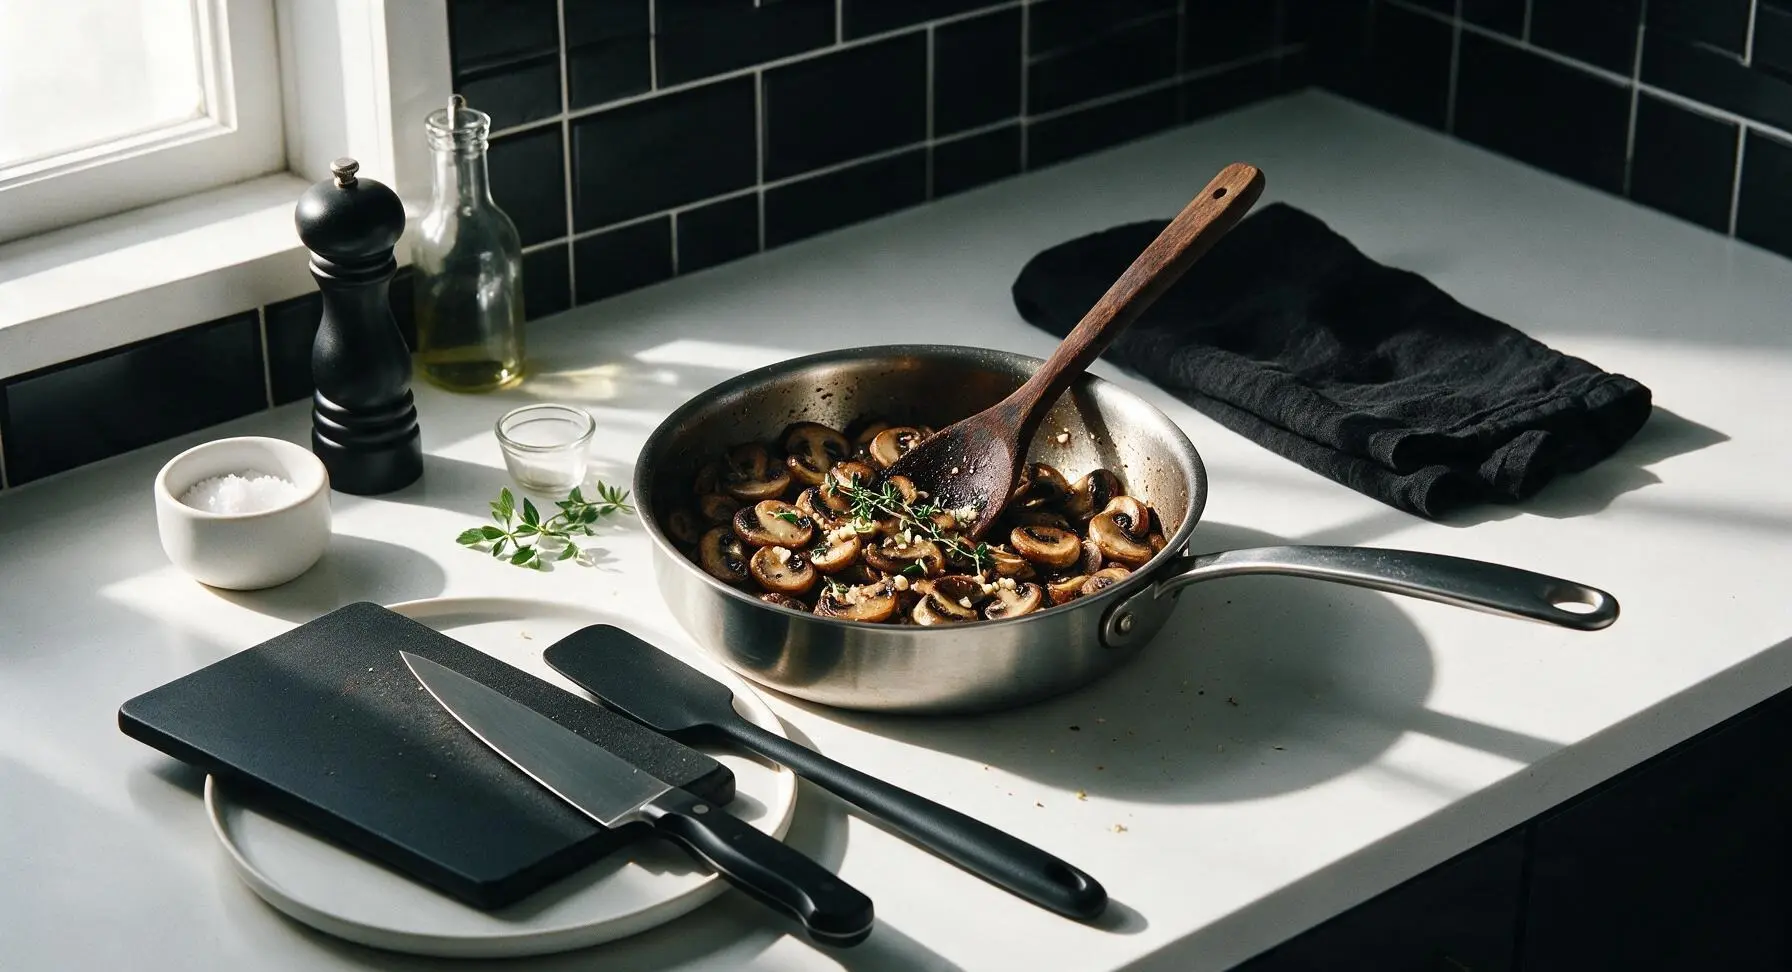
Step 3
step3:Sauté Cremini Mushrooms
4

Build Cream Sauce

Sprinkle the remaining 2 tbsp all-purpose flour over the cooked mushroom mixture, stirring constantly with the wire whisk for 1 full minute to cook out the raw flour taste. Slowly pour in 1 cup low-sodium chicken broth while whisking nonstop to prevent lumps, then stir in 1 cup heavy cream. Bring the sauce to a gentle simmer, cooking for 3-4 minutes until thick enough to coat the back of a spoon (a line drawn through the sauce on the spoon will hold its shape). Season with 1 tsp kosher salt, ½ tsp freshly ground black pepper, and ¼ tsp freshly grated nutmeg.
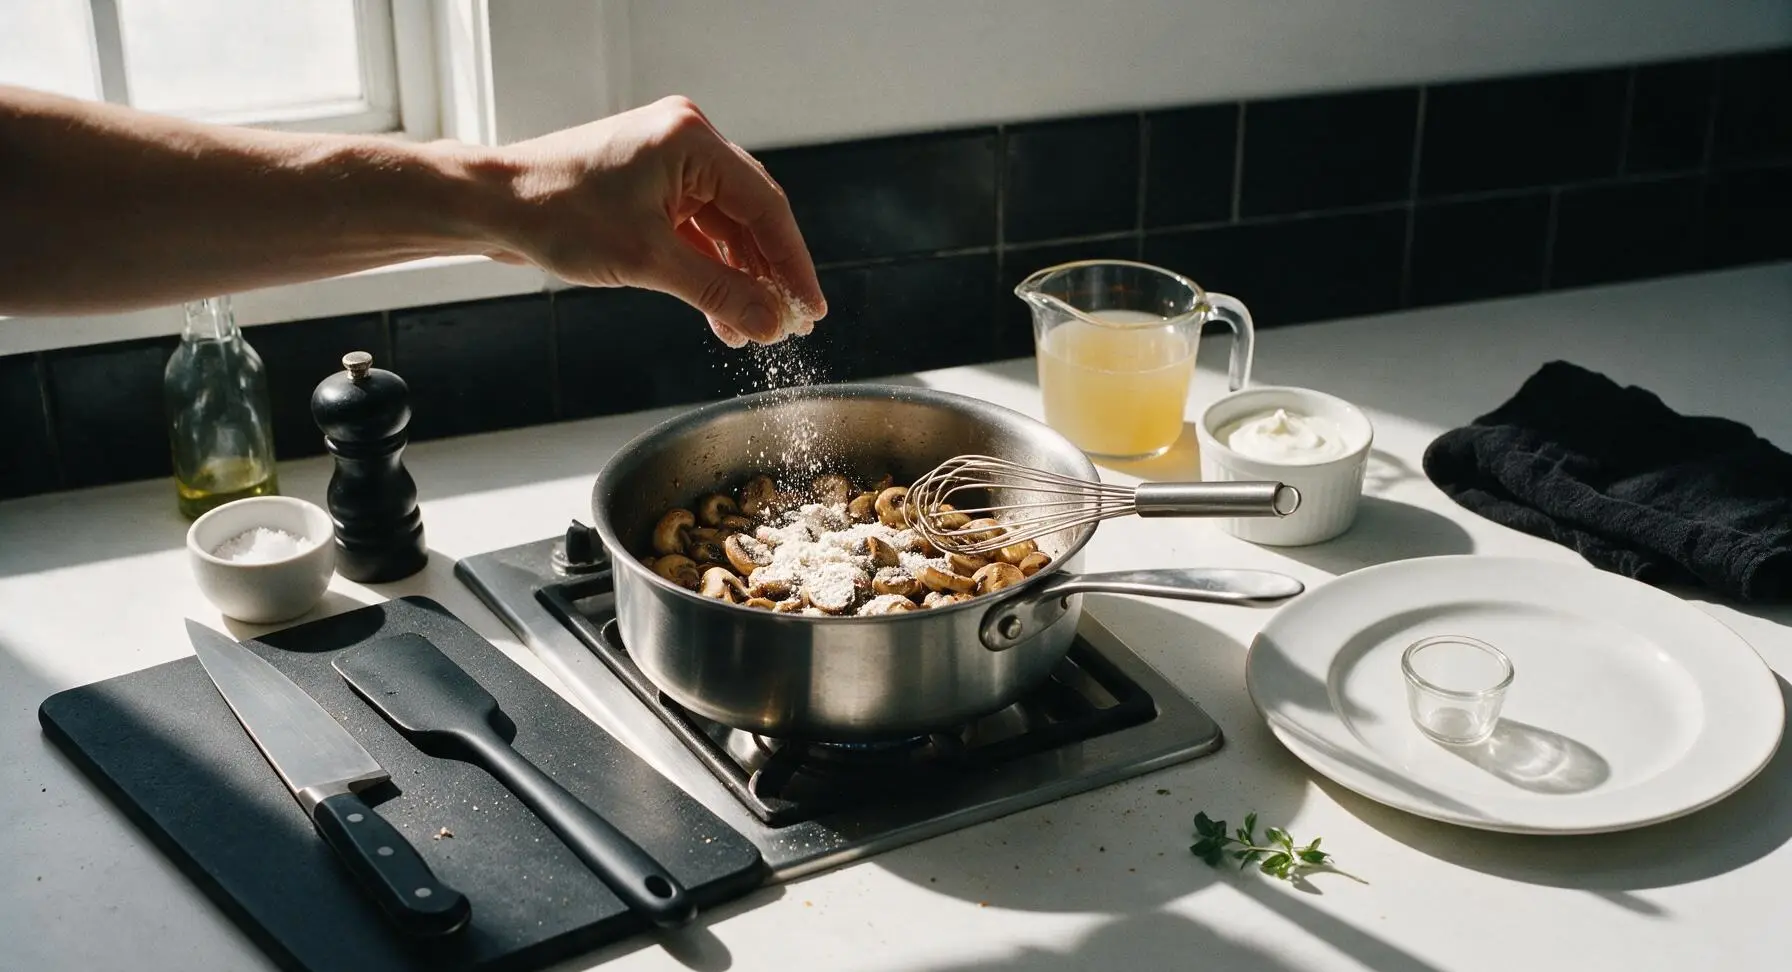
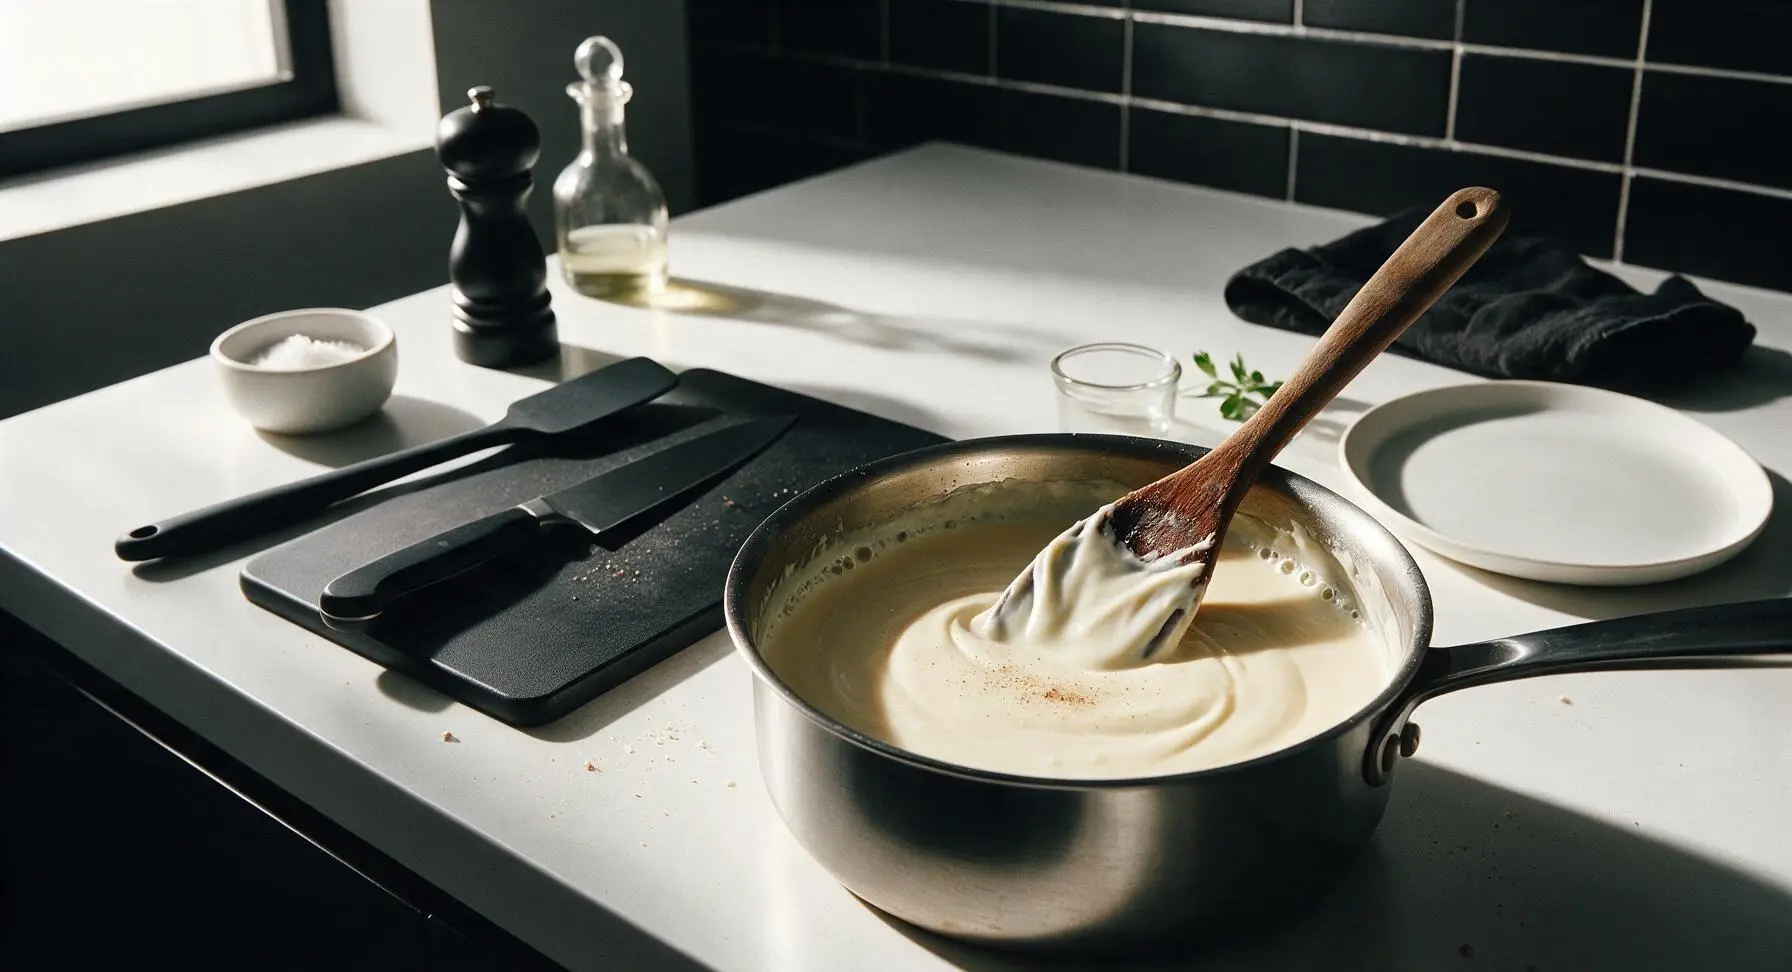
Step 4
step4:Build Cream Sauce
Step 4
step4:Build Cream Sauce
5

Toss Beans in Sauce

Add the fully drained, blanched green beans to the saucepan with the finished cream sauce, stirring gently with the dark hardwood spoon until every bean is evenly coated in a light layer of sauce. Taste and adjust seasoning if needed, adding a small pinch of extra salt or pepper to preference.
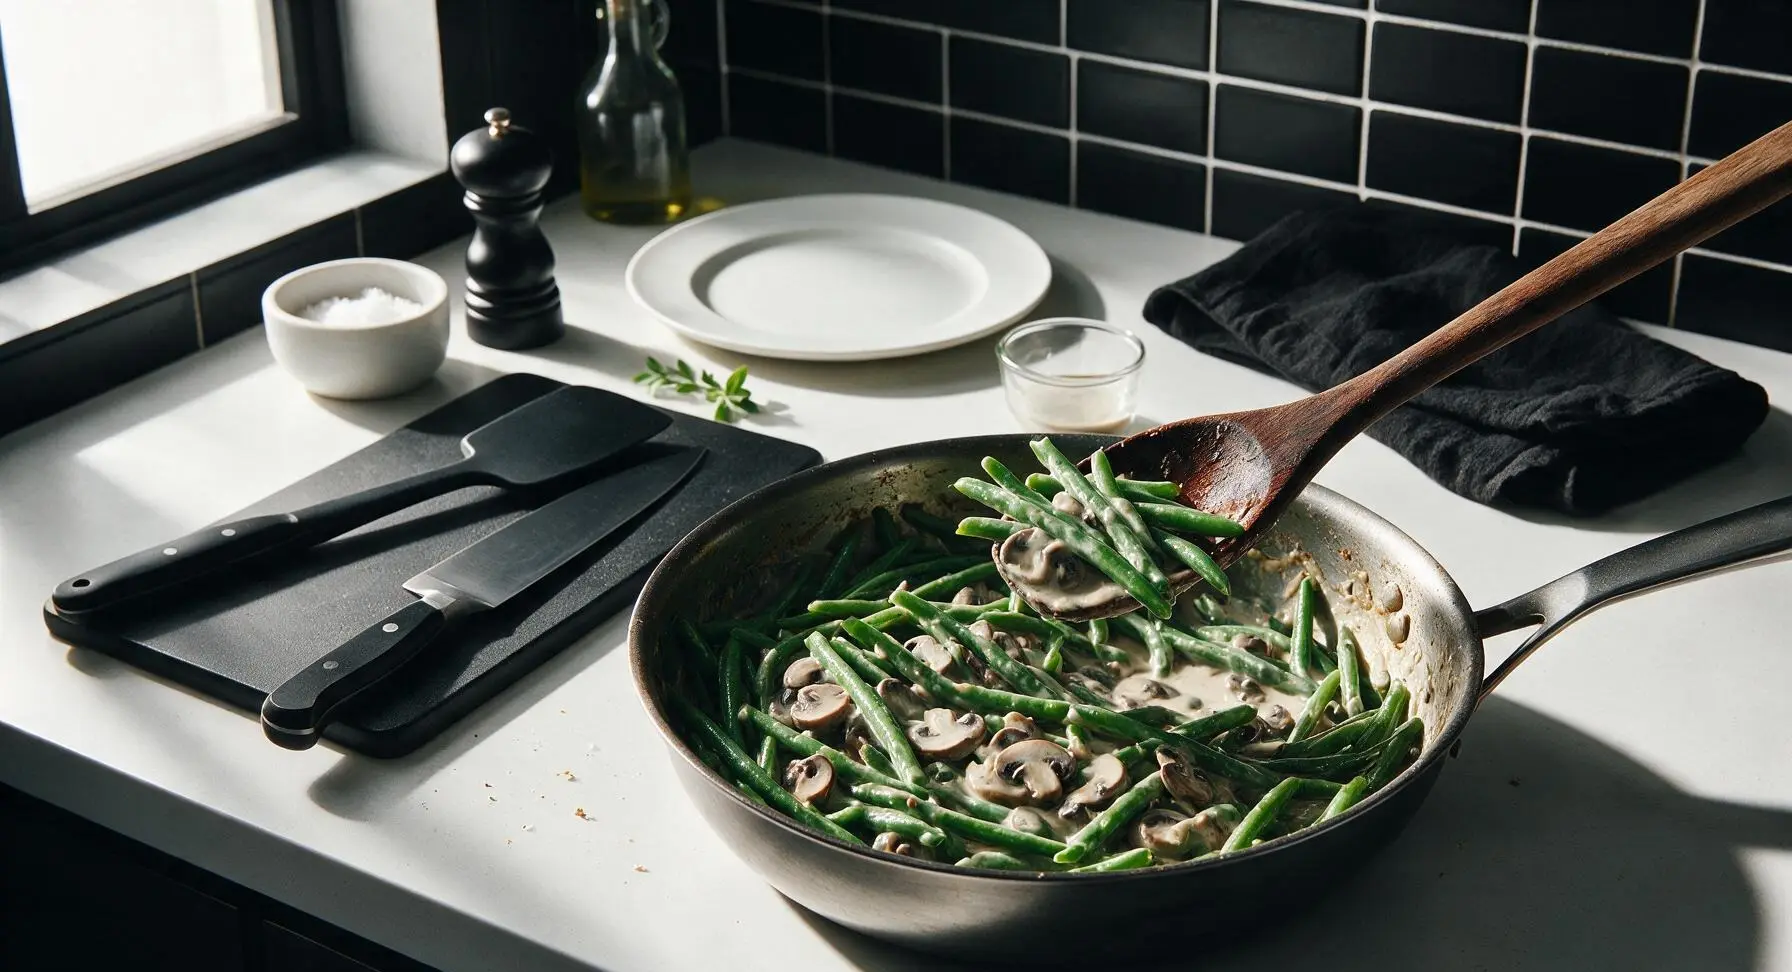
Step 5
step5:Toss Beans in Sauce
6

Fill Baking Dish

Transfer the entire green bean and sauce mixture to the 9x13 inch matte white ceramic baking dish, spreading it into an even layer with the back of the hardwood spoon. Leave the top surface slightly textured, not perfectly smooth, to create crisp spots during baking.
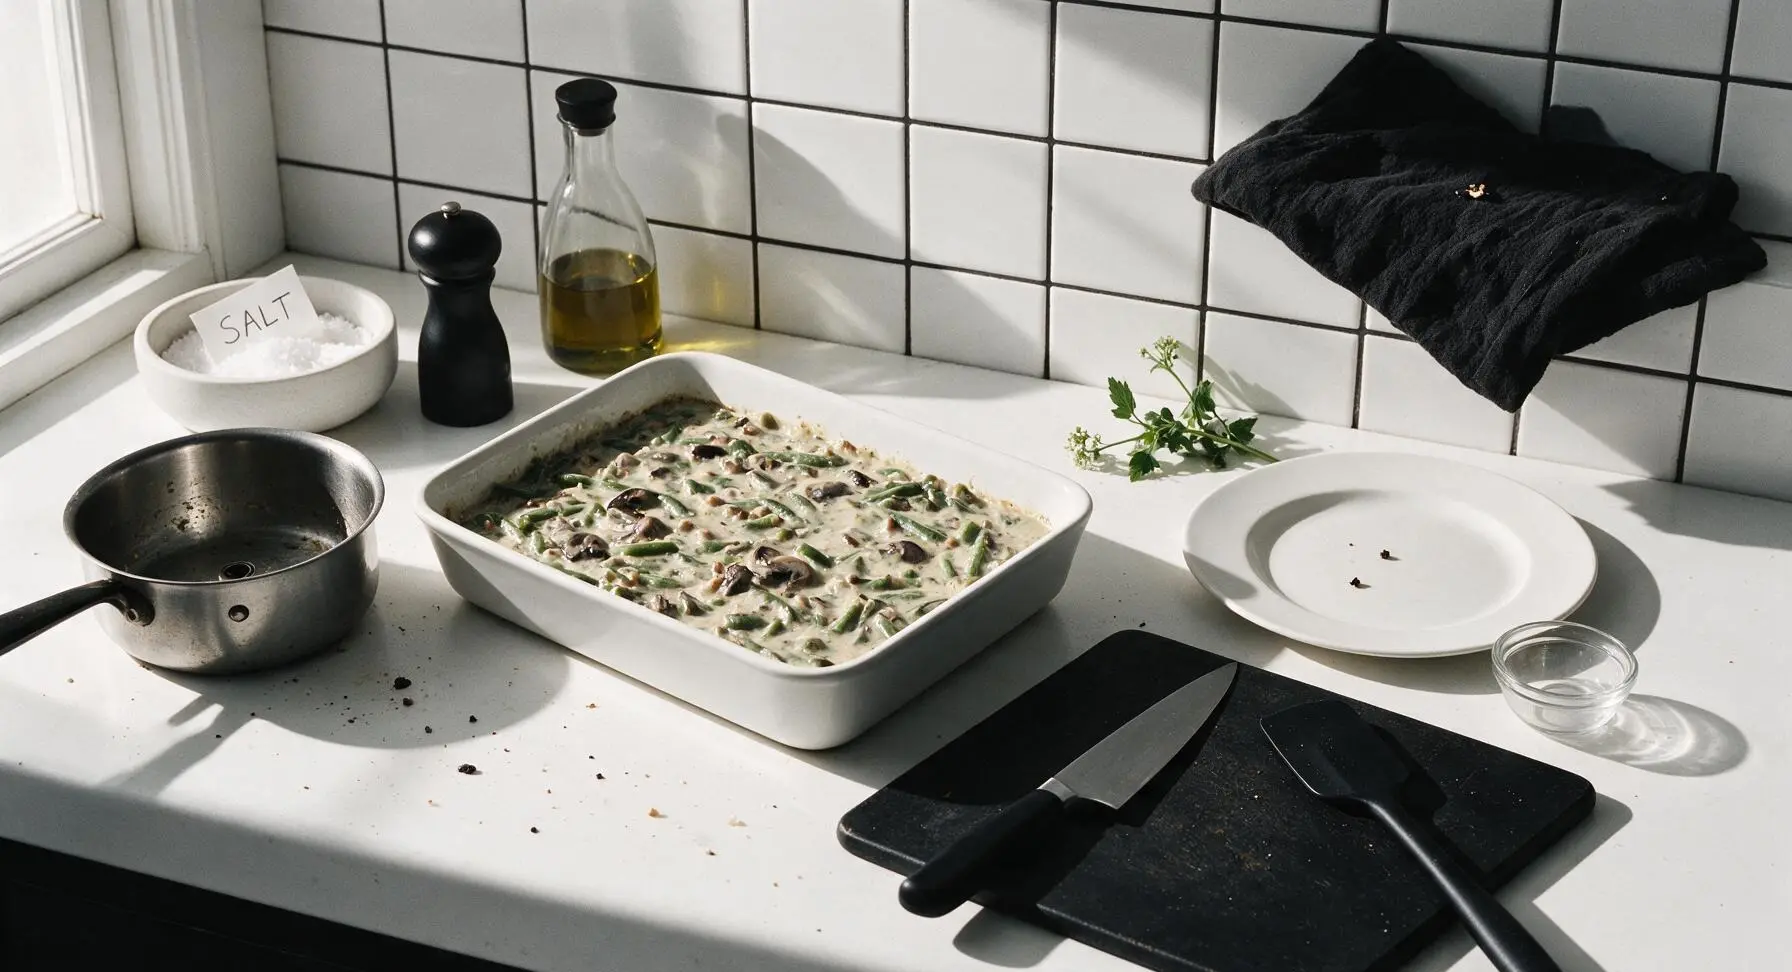
Step 6
step6:Fill Baking Dish
7

Bake Casserole Base

Preheat oven to 375°F (190°C). Place the filled baking dish on the middle oven rack and bake uncovered for 20 minutes, until the sauce is actively bubbling around the dish edges and exposed sauce spots are just starting to turn pale golden.
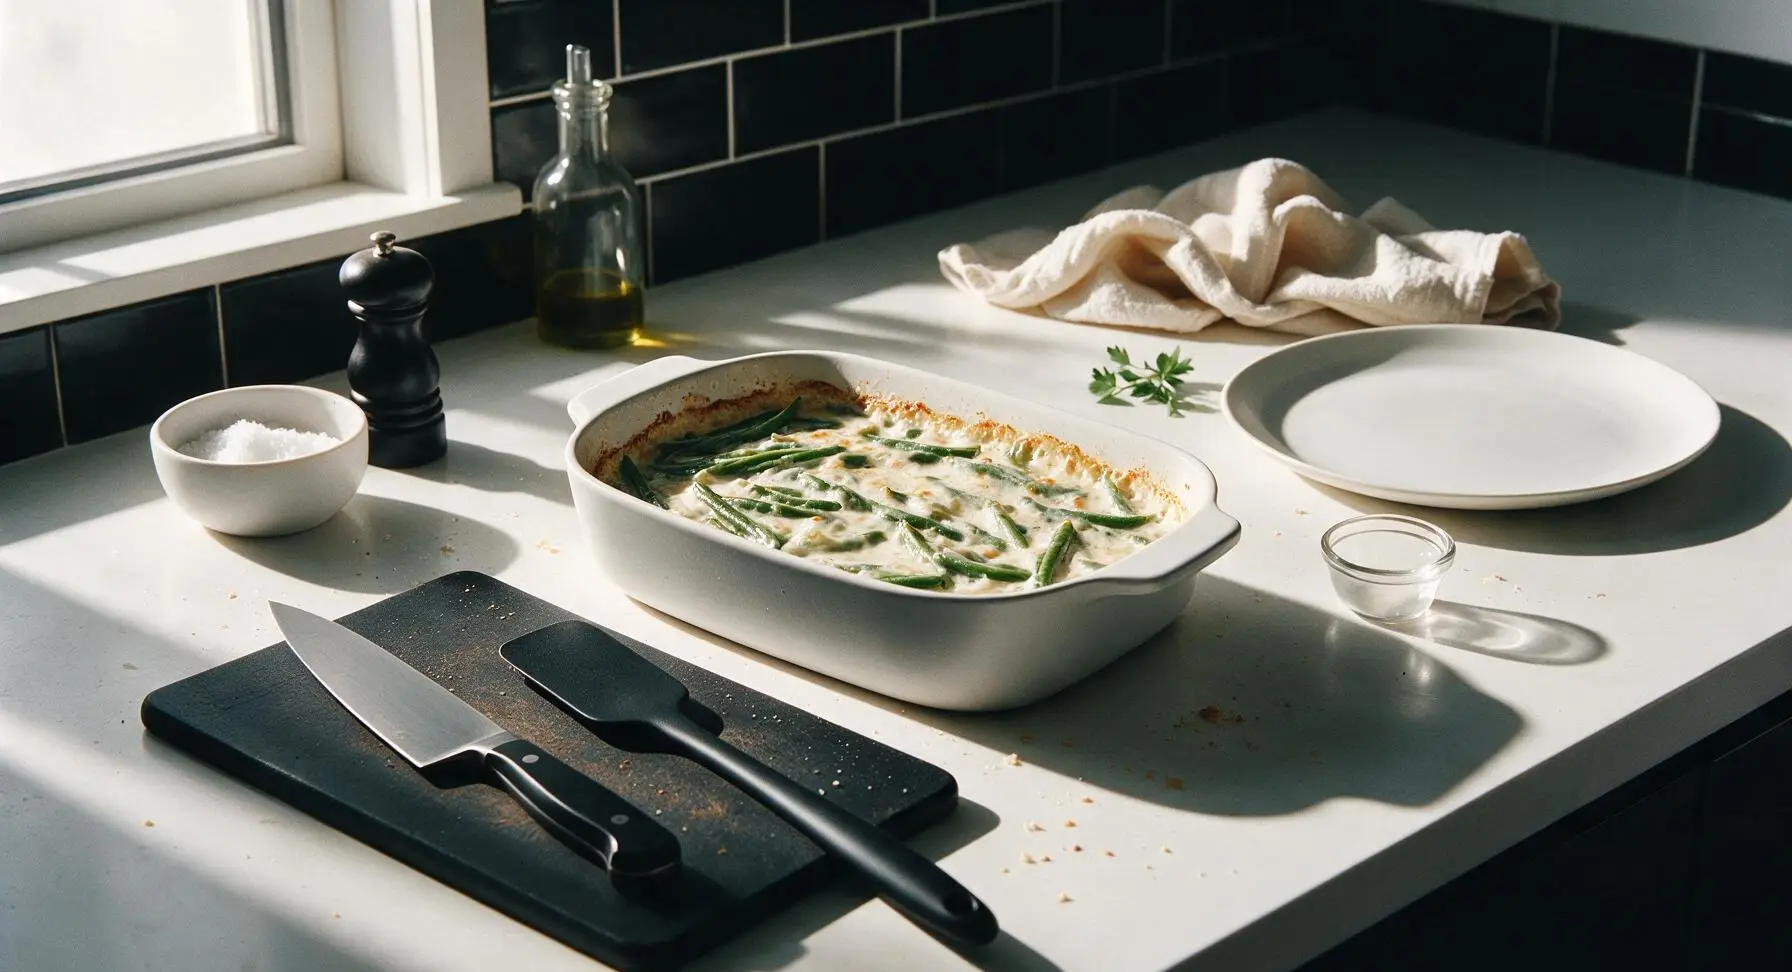
Step 7
step7:Bake Casserole Base
8

Add Crispy Topping

Remove the baking dish from the oven, sprinkle ⅔ of the crispy fried shallots evenly across the top, then return to the oven for 5 more minutes to set the topping. Remove from the oven, scatter the remaining ⅓ of fried shallots across the top for extra fresh crunch, and garnish with a few fresh thyme leaves. Let rest 5 minutes before serving to allow the sauce to set.
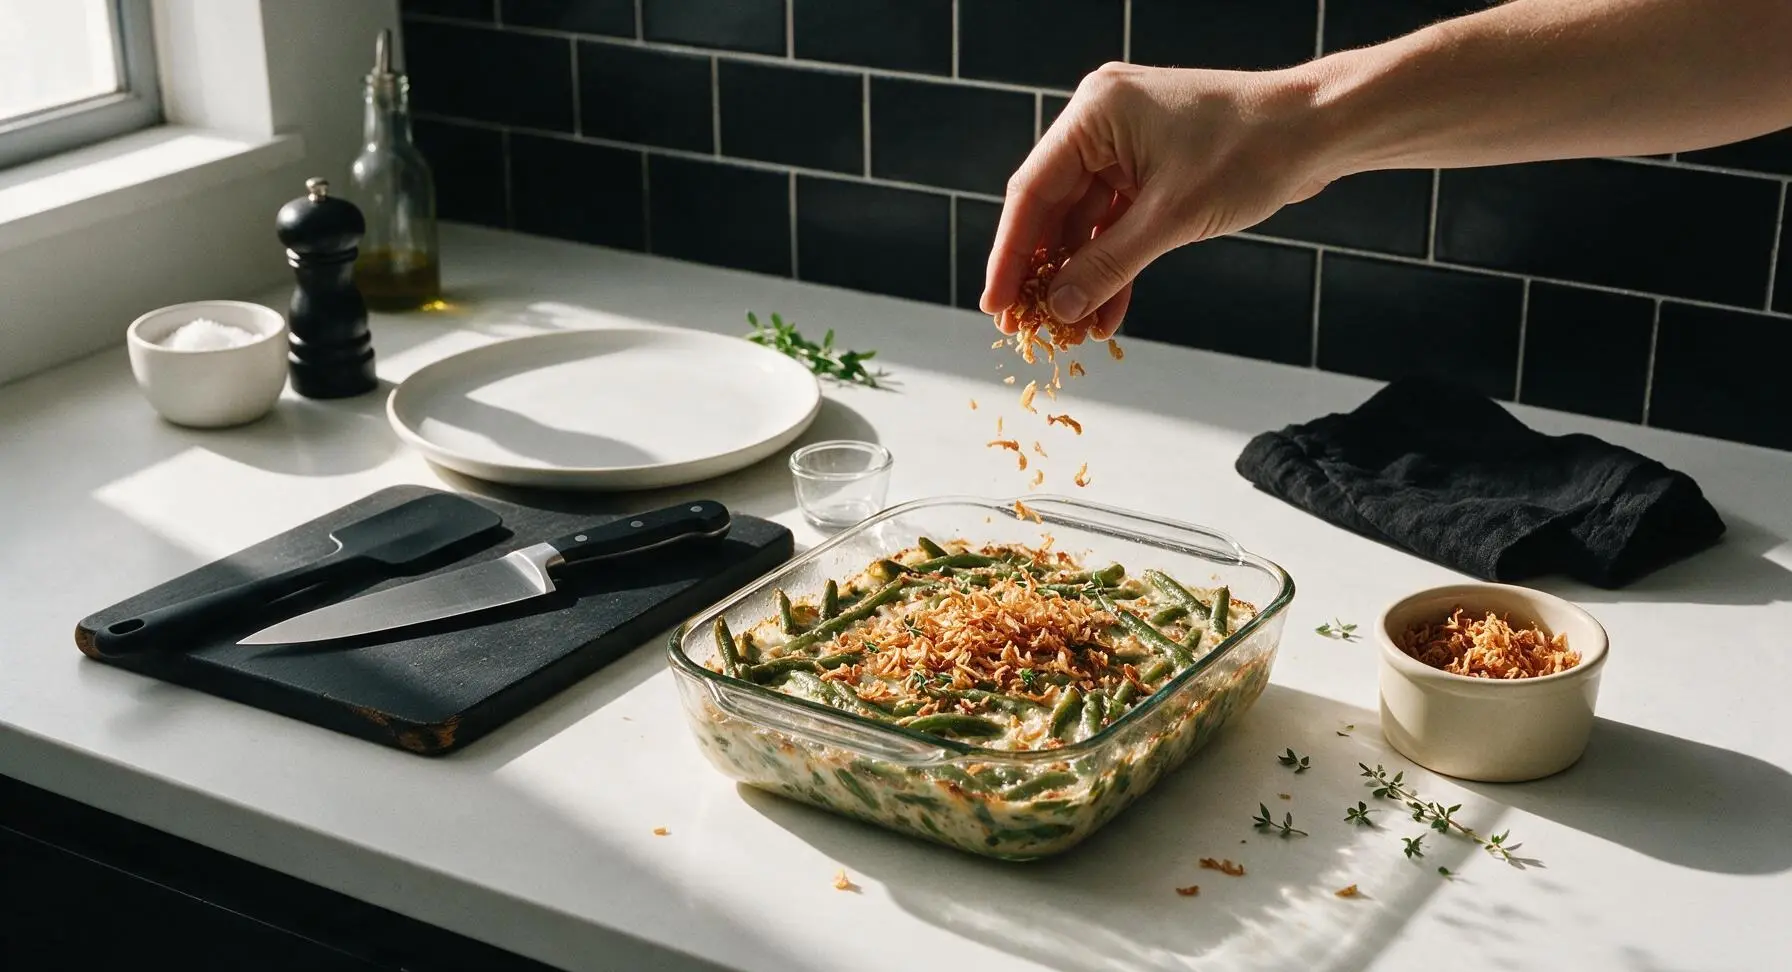
Step 8
step8:Add Crispy Topping

Tips

1.Always shock blanched beans in ice water: this instantly stops the cooking process, locking in bright green color and crisp-tender texture instead of the mushy, dull olive-green beans common in overcooked casseroles.
2.Fry shallots to pale gold, not dark brown: shallots continue to cook and darken for 30 seconds after being removed from hot oil, and over-fried shallots develop a harsh, bitter taste that ruins the dish.
3.Prep ahead for holidays: assemble the bean and sauce mixture in the baking dish, cover, and refrigerate for up to 2 days before baking. Fry the shallots the day of serving to keep them light and crisp, as pre-fried shallots go soggy in the fridge.


✨ You May Also Like

Side Dishes
🍜 India

Velvety, aromatic all-purpose curry sauce perfect for tossing with roasted veggies, grilled protein, or rice for fast, cozy, flavorful meals.

⏱️ 25 minuteSide Dishes ★ 4.8
Side Dishes
🍜 Spain

Tender, starchy boiled yuca tossed in bright, garlicky citrus mojo sauce—an iconic, zesty side that pairs beautifully with roasted pork, grilled meats, and rice and beans.

⏱️ 40 minuteSide Dishes ★ 5
Side Dishes
🍜 United States

Tender, paper-thin potato flatbread, a beloved Norwegian-American Minnesota Christmas staple, griddled until softly spotted and served warm with butter.

⏱️ 1 hour 30Side Dishes ★ 4.6
Side Dishes
🍜 United States

Rich, deeply savory cured salt pork, a long-lasting kitchen staple perfect for frying crispy as a side or adding umami to stews, beans, and chowders.

⏱️ 7 days (2Side Dishes ★ 4.9
Side Dishes
🍜 United States

Crispy, tangy classic Southern fried green tomatoes with a crunchy cornmeal crust, served hot for a nostalgic, comforting summery bite.

⏱️ 25 minuteSide Dishes ★ 4.9
Side Dishes
🍜 United States

Moist, golden-crusted savory muffins with sweet corn, zesty jalapeño, and melted cheddar, perfect for pairing with smoky summer grilled fare.

⏱️ 30 minuteSide Dishes ★ 4.9

ba green bean casserole:Frequently Asked Questions

1.What makes this BA-style green bean casserole different from the classic canned-soup version? ▾
This version skips processed canned cream of mushroom soup and pre-fried canned onions entirely. It builds deep, rounded umami from slowly sautéed cremini mushrooms in a fresh cream base, uses crisp-tender fresh green beans, and tops everything with light, crispy homemade fried shallots for brighter, complex flavor without metallic or overly salty canned notes.
2.Can I use frozen green beans instead of fresh for this recipe? ▾
You absolutely can, no need to thaw first if you’re short on time. Blanch frozen green beans for 1 minute less than the recipe specifies for fresh, since they’re pre-blanched before freezing, and pat them very dry before tossing with the mushroom cream to avoid watering down the final casserole texture.
3.How do I get my fried shallots crispy instead of soggy or burnt? ▾
The key is slicing shallots to a uniform 1/8-inch thickness so they cook evenly, and frying them in 325°F oil in small batches to avoid overcrowding the pan. Pull them when they’re pale golden—they’ll keep darkening as they drain on paper towels—and season lightly with salt right after frying to lock in crunch.
4.Why does the recipe call for cutting green beans into 2-inch pieces? ▾
That 2-inch cut is intentional for the best eating experience: it’s short enough to fit easily on a fork without awkwardly long, stringy bites, but long enough to hold that satisfying crisp-tender snap. It also ensures the beans cook evenly, so you won’t get undercooked thick ends and overcooked mushy tips.
5.Can I prep this casserole ahead of time for Thanksgiving or other holiday meals? ▾
You can prep components up to 2 days ahead: blanch and shock the green beans, make the mushroom cream base, and fry the shallots, storing all separately in airtight containers in the fridge. Assemble the casserole (hold the fried shallot topping) 30 minutes before baking, and add shallots the last 5 minutes to keep them crisp.
6.What if I can’t find cremini mushrooms for the cream base? ▾
Creminis are ideal for their deep, earthy flavor, but you can easily swap in white button mushrooms for a milder taste, or a mix of shiitake and oyster mushrooms for even more umami punch. Just slice them thinly and cook until all their released liquid evaporates to keep the cream base rich, not watery.
7.How do I keep my casserole from turning out watery? ▾
Watery casserole almost always comes from excess unevaporated liquid: cook mushrooms until all their released moisture is gone, pat blanched green beans completely dry before mixing them in, and don’t overbake, which can cause the cream base to separate and release excess water as it sits.
8.What does ‘crisp-tender’ mean for the green beans, and how do I hit that texture? ▾
Crisp-tender means the beans are cooked through enough to lose their raw, grassy bite, but still firm enough to have a gentle snap when you bite into them, not mushy or limp. Test by piercing a bean with a paring knife tip: it should slide in with light resistance, and the bean should stay bright, vibrant green.
9.Can I make this recipe dairy-free? ▾
You can easily adapt this for dairy-free diets: swap the unsalted butter for good quality plant-based butter, and use full-fat unsweetened oat cream or chilled canned full-fat coconut cream (with the watery liquid poured off) in place of dairy cream. The flavor will stay rich and savory with no odd textural issues.
10.How do I keep the garlic from burning when I make the mushroom cream? ▾
Add the minced garlic right after mushrooms finish cooking off their liquid, when you’re just about to build the cream base. Stir it constantly for 30 to 45 seconds, until you smell warm, nutty garlic aroma—if it smells bitter or turns dark brown, you’ve burned it, and it’s best to redo that small step to avoid off-flavors.
11.Do I have to blanch the green beans first before baking them in the casserole? ▾
Blanching is a non-negotiable step for the right texture: it sets that bright green color, partially cooks the beans so they don’t get leathery baking in cream, and lets you shock them in ice water to stop cooking instantly, locking in perfect crisp-tender bite before the casserole even goes in the oven.
12.What temperature and how long should I bake this casserole? ▾
Bake the assembled casserole (without the fried shallot topping) in a 375°F oven for 20 to 25 minutes, until the cream base is bubbling around the dish edges. Toss half the fried shallots over the top for the last 5 minutes of baking, then sprinkle the remaining fresh shallots right before serving for layered crunch.
13.How do I reheat leftover casserole without mushy beans or soggy shallots? ▾
Reheat leftovers in a 350°F oven, covered loosely with foil, for 10 to 12 minutes until warmed through. Skip the microwave if you can—it turns beans mushy and makes the shallot topping chewy. Sprinkle a small handful of extra reserved fried shallots on top after reheating to bring back fresh crunch.
14.Can I use store-bought fried onions instead of making homemade fried shallots? ▾
You can, in a pinch, but the flavor and texture won’t match the classic BA-style profile. Homemade fried shallots are sweeter, lighter, and less heavily breaded than canned fried onions. If you do use store-bought, add them only in the last 3 minutes of baking to keep them from getting soggy.
15.How many servings does this recipe make, and is it easy to scale for a larger crowd? ▾
The standard recipe makes 6 to 8 side dish servings, perfect for a small family holiday gathering. It scales really easily for larger groups—just double or triple all ingredients, use a bigger baking dish, and add 5 to 10 minutes of bake time until edges bubble, taking care not to overcrowd the pan when frying shallots.
16.My mushroom cream base turned out too thick—how do I fix that without diluting the flavor? ▾
If your mushroom cream thickens too much while it sits before baking, stir in 1 to 2 tablespoons of low-sodium chicken or vegetable stock, or a splash of half-and-half, a little at a time until it reaches a rich, gravy-like consistency. Skip plain water, as it will dilute the deep umami flavor you built from cooking mushrooms and garlic.

Comments (8)

2 days ago

OMG y’all, I brought this to my church potluck last Sunday and people were hovering over the dish to get seconds! No gloopy canned soup here— the fresh mushroom gravy is a total game changer, and the crispy fried onion topping from scratch? *Chef’s kiss* My 10 year old who swears he hates green beans asked for thirds. Will absolutely be making this for Thanksgiving this year, no contest. SO good.

yesterday

Wait, did you make it ahead or assemble day of? I’m in charge of sides for my first Friendsgiving and I’m stressing about timing!

yesterday

Great question! You can blanch the green beans and make the mushroom gravy 2 days ahead, store them separately in the fridge, then assemble and bake right before serving for the best texture. So glad you loved the recipe, Pam!

3 days ago

As someone who meal preps 5 days of dinners every Sunday, I was shocked how well this held up! I portioned it out with baked chicken thighs and it was still delicious even on day 4, the green beans didn’t get mushy at all. The only tiny tweak I made was adding a pinch of smoked paprika to the gravy for a little extra depth. 10/10, will add to my regular rotation.

2 days ago

Love that smoked paprika tweak, Mia! That sounds like such a delicious addition, we might even test that for our next recipe update. So happy this works for your meal prep routine!

1 week ago

Full transparency: I’ve made the classic Campbell’s version every Thanksgiving for 15 years and swore I’d never switch. My wife made me test this with her last weekend and… okay, fine, it’s better. The only reason I’m not giving 5 stars is it’s a little more work than opening a can, obviously, but the flavor payoff is insane. Don’t skip the homemade fried onions, trust me. Even my mother in law, who is the pickiest eater on the planet, said it was the best green bean casserole she’d ever had.

5 days ago

Fellow lifelong canned soup stan here! Did you use fresh green beans or frozen? I’ve got a giant bag of frozen in my freezer I’m trying to use up.

3 days ago

I used fresh per the recipe but my neighbor made it with frozen (thawed and patted really dry first) and said it turned out almost identical! Save yourself the trimming time if you’ve got frozen, no judgment here.

5 days ago

Made this for a random Tuesday family dinner because we had a ton of green beans from our backyard garden, and wow. Total weeknight win, it only took 40 minutes total for me even with stopping to help my 3rd grader with math homework halfway through cooking. The flavors are so rich but not heavy, perfect for when you want comfort food without that post-canned-soup bloat. We paired it with baked pork chops and my kids loved it, even the picky one who usually turns up his nose at veggies! The whole family cleared their plates.

3 days ago

How did you blanch your homegrown green beans? Mine always come out either too crunchy or total mush when I use ones from my garden, would love any tips!

yesterday

Added a handful of pickled jalapeños to the gravy and topped with a little extra crispy fried onion and cayenne, and holy cow it was perfect. The base recipe is so solid you can tweak it a million ways and it still comes out amazing. Made it for my roommate’s birthday dinner and he went back for three helpings. No notes, 10/10.

2 weeks ago

I tested this recipe ahead of my big Thanksgiving dinner for 12 people because I was sick of the same old sides, and it’s officially locked into the menu. The from-scratch gravy doesn’t get that weird congealed texture that the canned soup version gets when it sits out for a while, which is a huge win for holiday meals where people graze for hours. Even my cousin who is vegan was able to eat it when I swapped the butter for vegan butter and used oat milk in the gravy—worked like a charm!

1 week ago

So smart to test it ahead for a big crowd! Love that the vegan swap worked out for you too, that’s such a helpful tip for other folks cooking for mixed-diet groups. Thanks for sharing!

5 days ago

Wait, did the fried onions work with vegan butter too? I’m making this for my vegan sister and want to make sure I don’t mess that part up!

30 minutes ago

Just pulled this out of the oven and snuck a bite before my partner gets home, and OMG. I was worried the from-scratch version would be too fussy for a casual weeknight, but it was so easy! The directions were super clear even for someone like me who burns toast half the time. Can’t wait to dig in for dinner tonight.

5 minutes ago

So happy to hear it came together easily for you! Hope you and your partner love every bite, thanks for giving the recipe a try :)

just now

I’ve been making green bean casserole since the recipe was invented back in the 50s, and this BA-style from scratch version might be the best one I’ve ever made. The depth of flavor from the fresh mushrooms and garlic in the gravy beats the canned stuff by a mile, and it’s easy enough that even my teen grandson could follow the steps when we made it together last weekend. Great recipe, no changes needed.



