
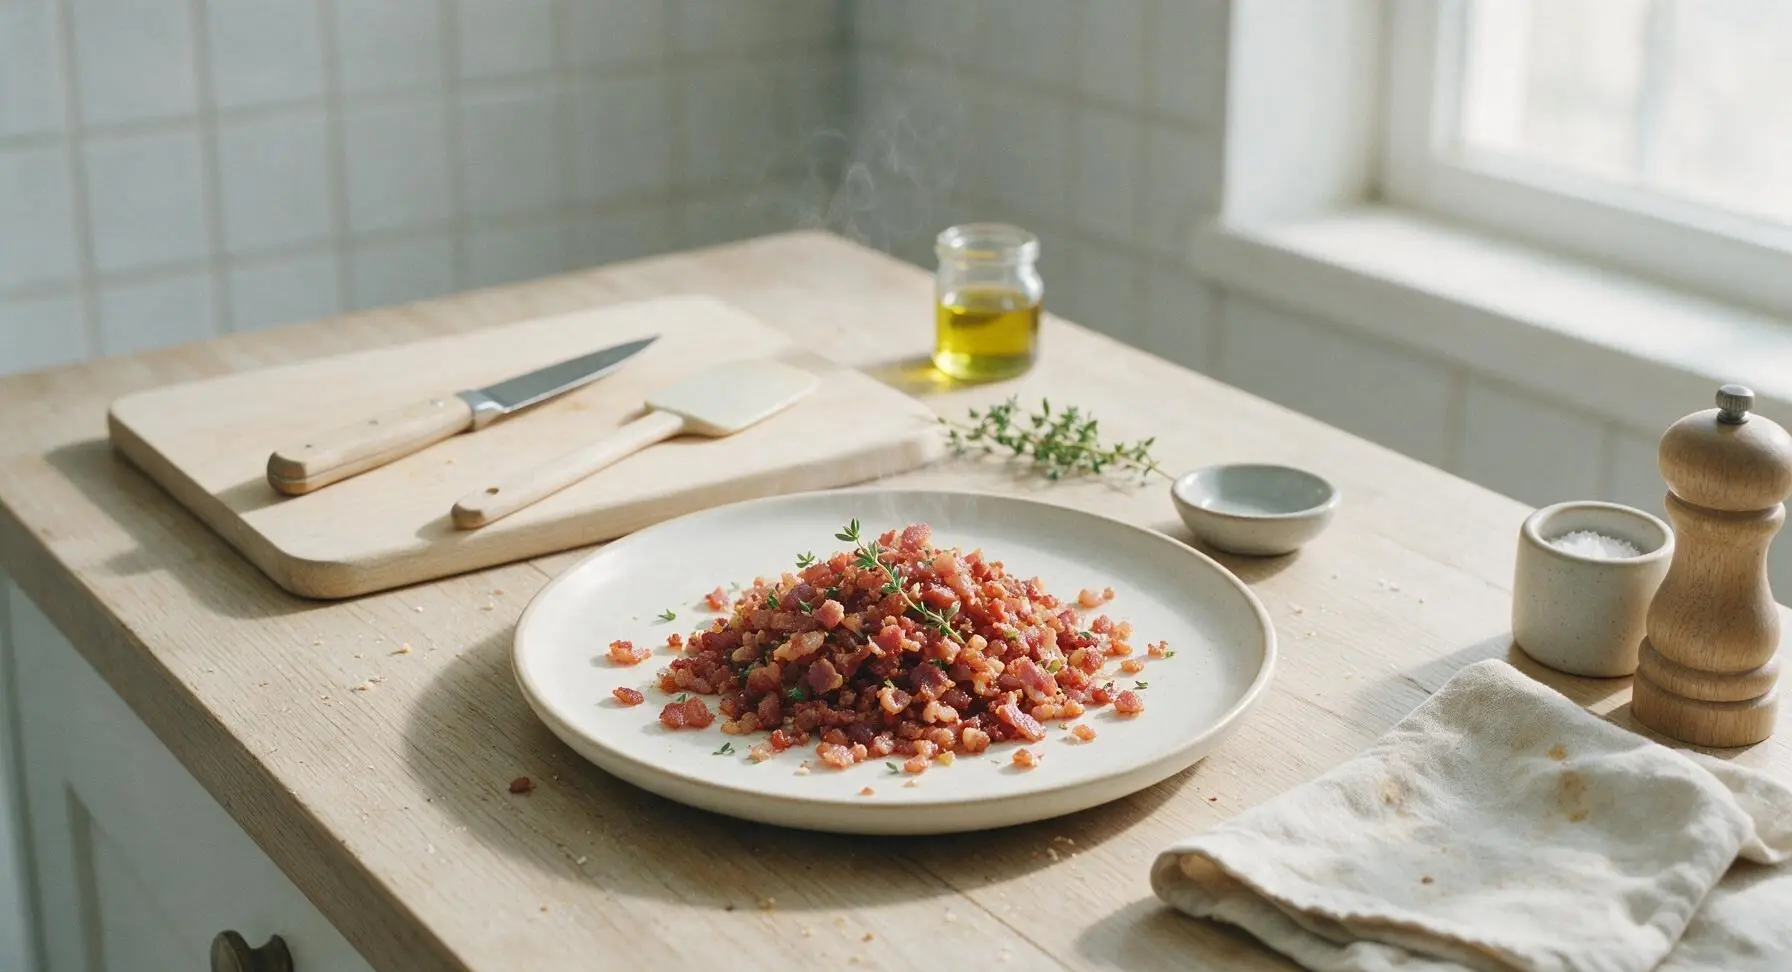
bacon bits recipe

title 1
bacon bits recipe
⏱️ cook time 15 minutes
🍽️ servings 8
⚡ Difficulty easy

intro

Crispy, smoky homemade bacon bits beat artificial store-bought versions every time—perfect for topping salads, baked potatoes, soups, and breakfast bowls with zero preservatives.

Ingredients
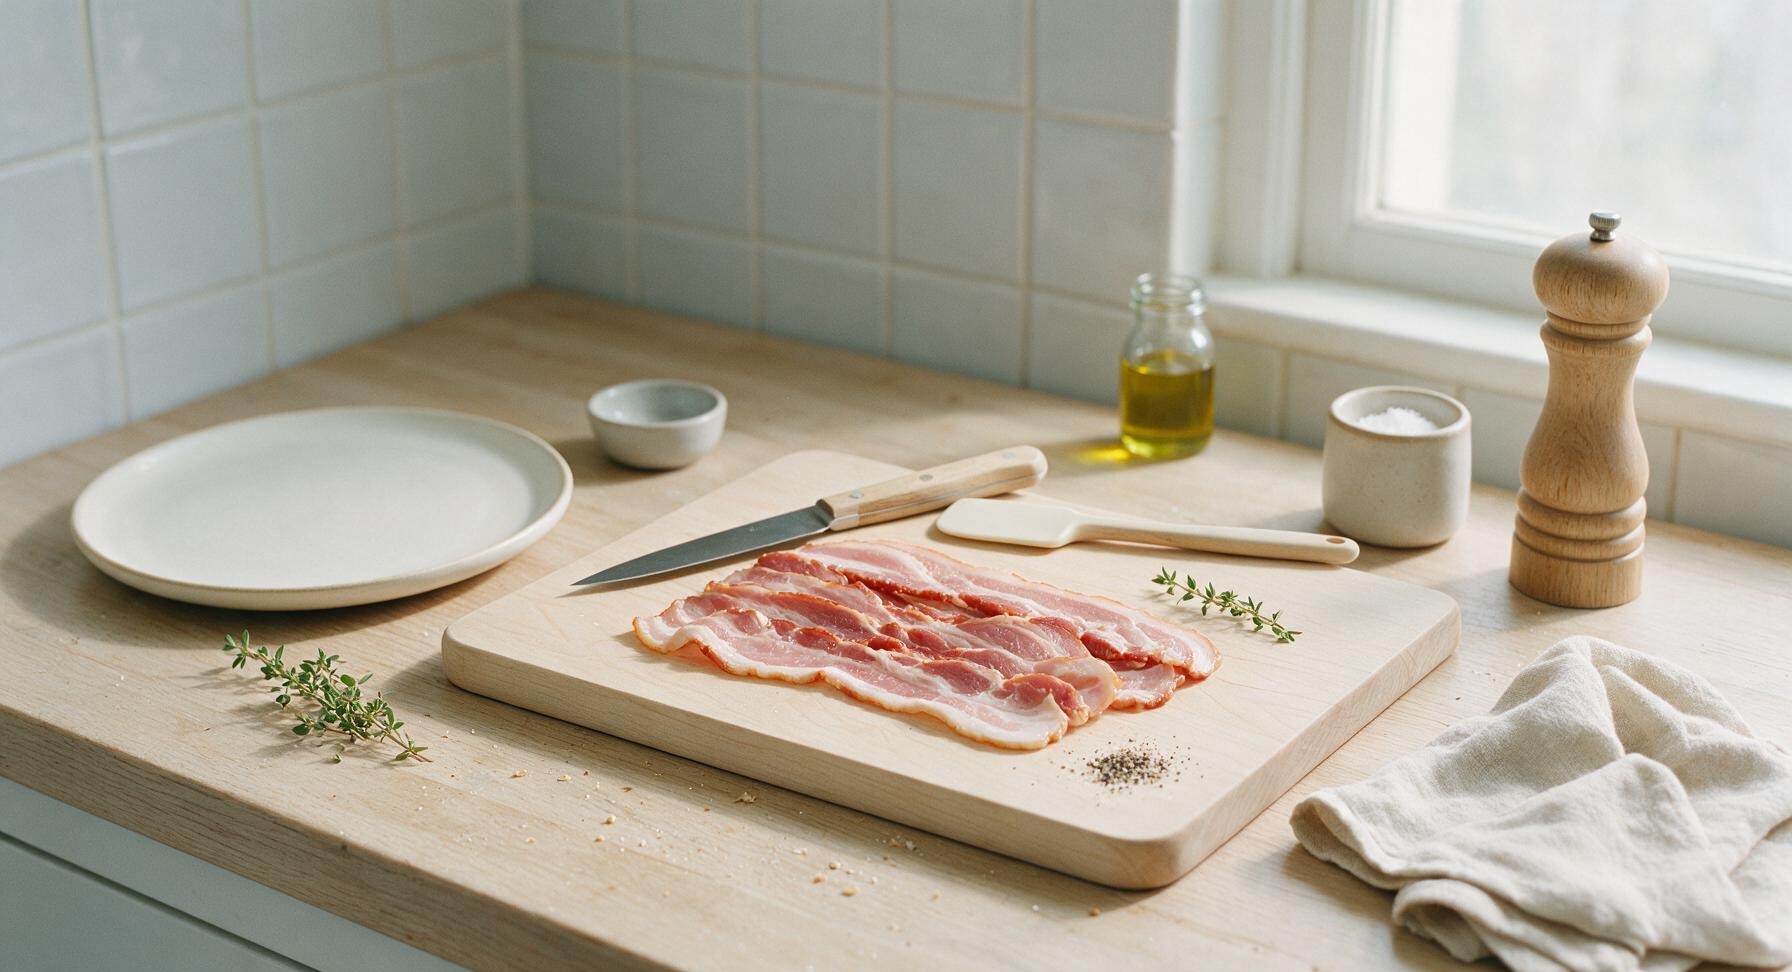
Thick-cut smoked bacon 450g (1 lb)
Freshly ground black pepper 1/4 tsp
Fresh thyme sprig (optional garnish) 1 small sprig

Steps

1

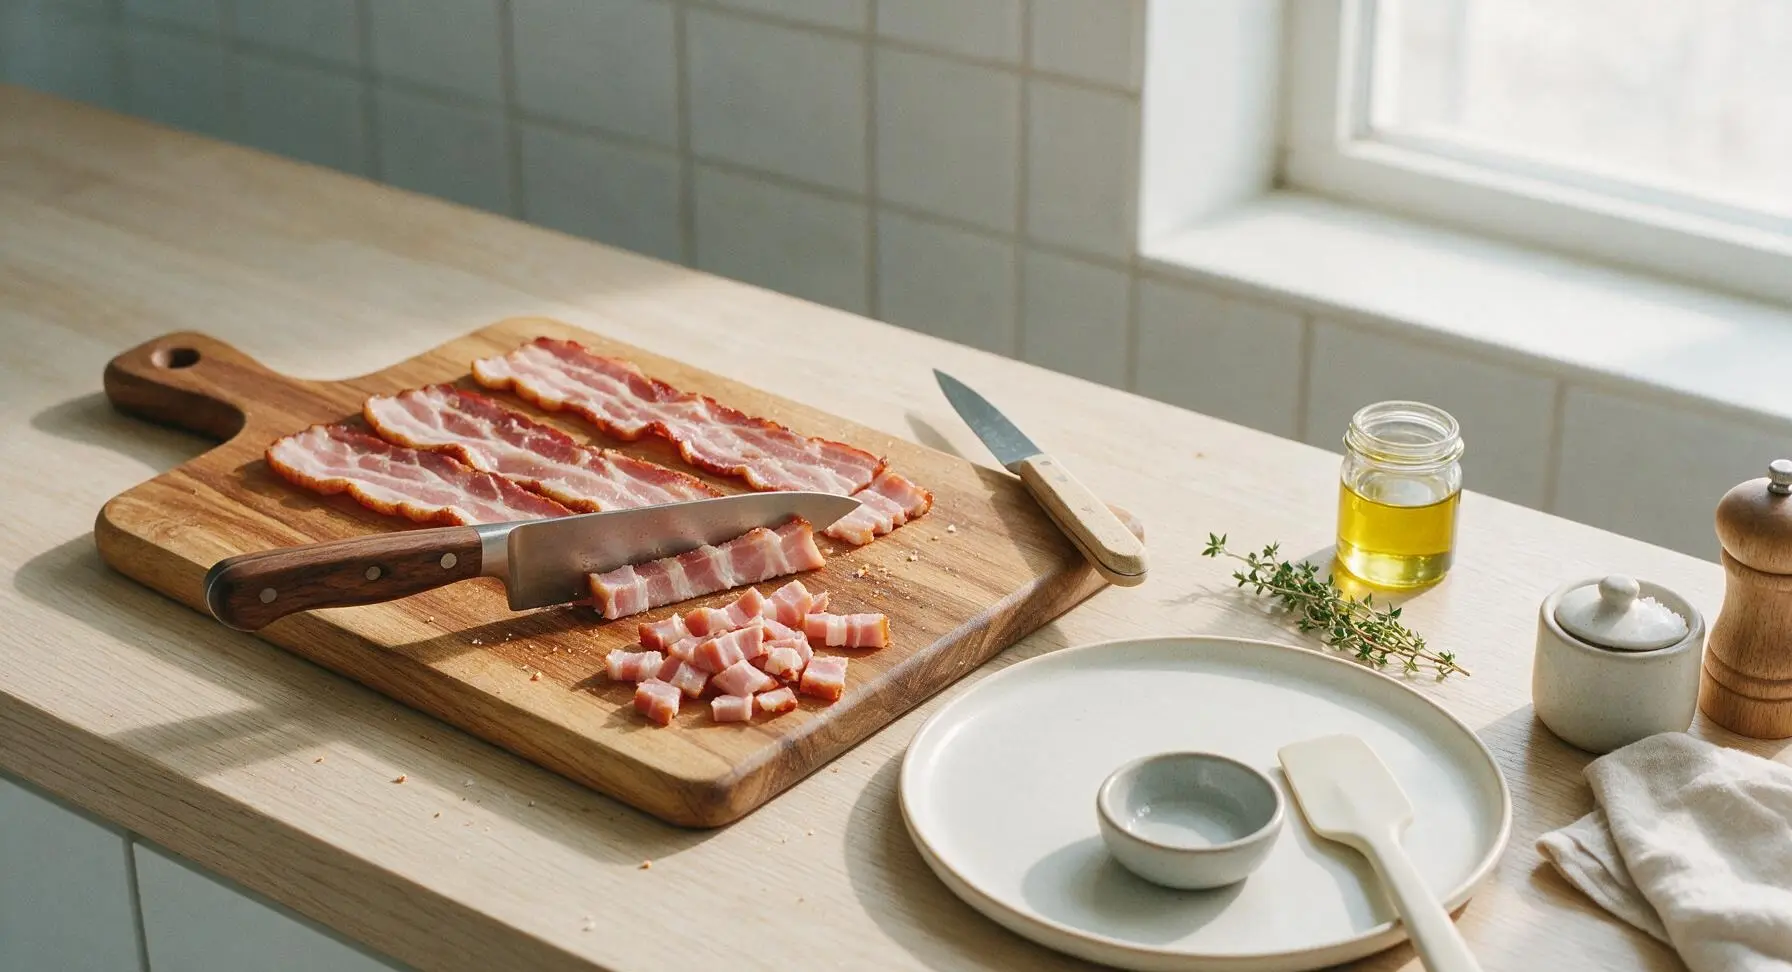
Cut bacon into pieces

Lay the full 450g (1lb) of thick-cut smoked bacon in a single layer on the acacia wood cutting board, positioned center-left on the counter. Using the 7-inch walnut-handled chef’s knife, cut the bacon strips crosswise into uniform 1/2-inch pieces, trimming off any excessively hard, dry rind if present. Keep pieces evenly sized to ensure consistent cooking; do not cut pieces smaller than 1/4 inch, as they will shrink significantly as fat renders. Rest the knife on the top edge of the cutting board once chopping is complete.
Step 1
step1:Cut bacon into pieces
2

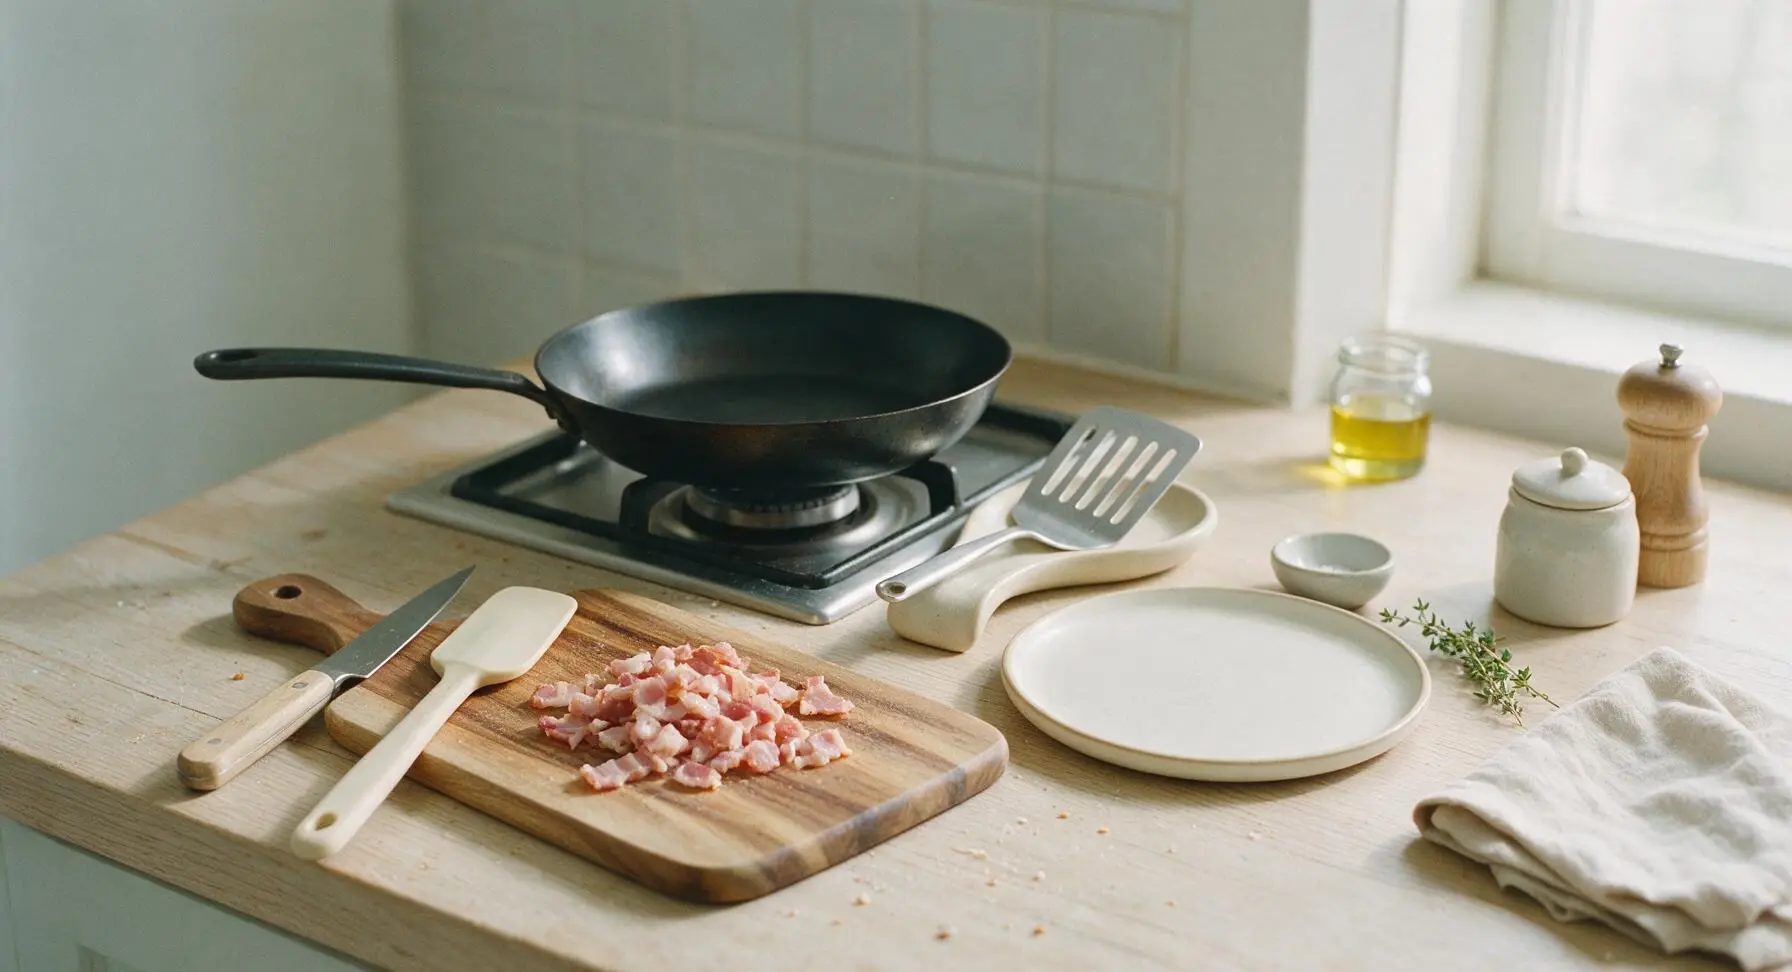
Preheat dry skillet

Place the 22cm matte black carbon steel skillet on the stovetop burner directly behind the cutting board, set to medium heat (350°F / 175°C). Do not add any oil, butter, or cooking spray—bacon will render more than enough fat as it cooks to prevent sticking. Preheat the pan for 2 minutes, until it feels uniformly warm when you hold your hand 2 inches above the pan surface. Place the slotted stainless turner on the matte cream spoon rest to the right of the burner.
Step 2
step2:Preheat dry skillet
3

Add bacon to skillet

Carefully transfer all cut bacon pieces from the cutting board to the preheated skillet, spreading them into a single even layer across the pan bottom. Do not overcrowd the pan; if pieces are stacked more than one layer deep, cook in two separate batches to avoid steaming the bacon instead of crisping it. Let the bacon sit undisturbed for 3 minutes to begin rendering fat.
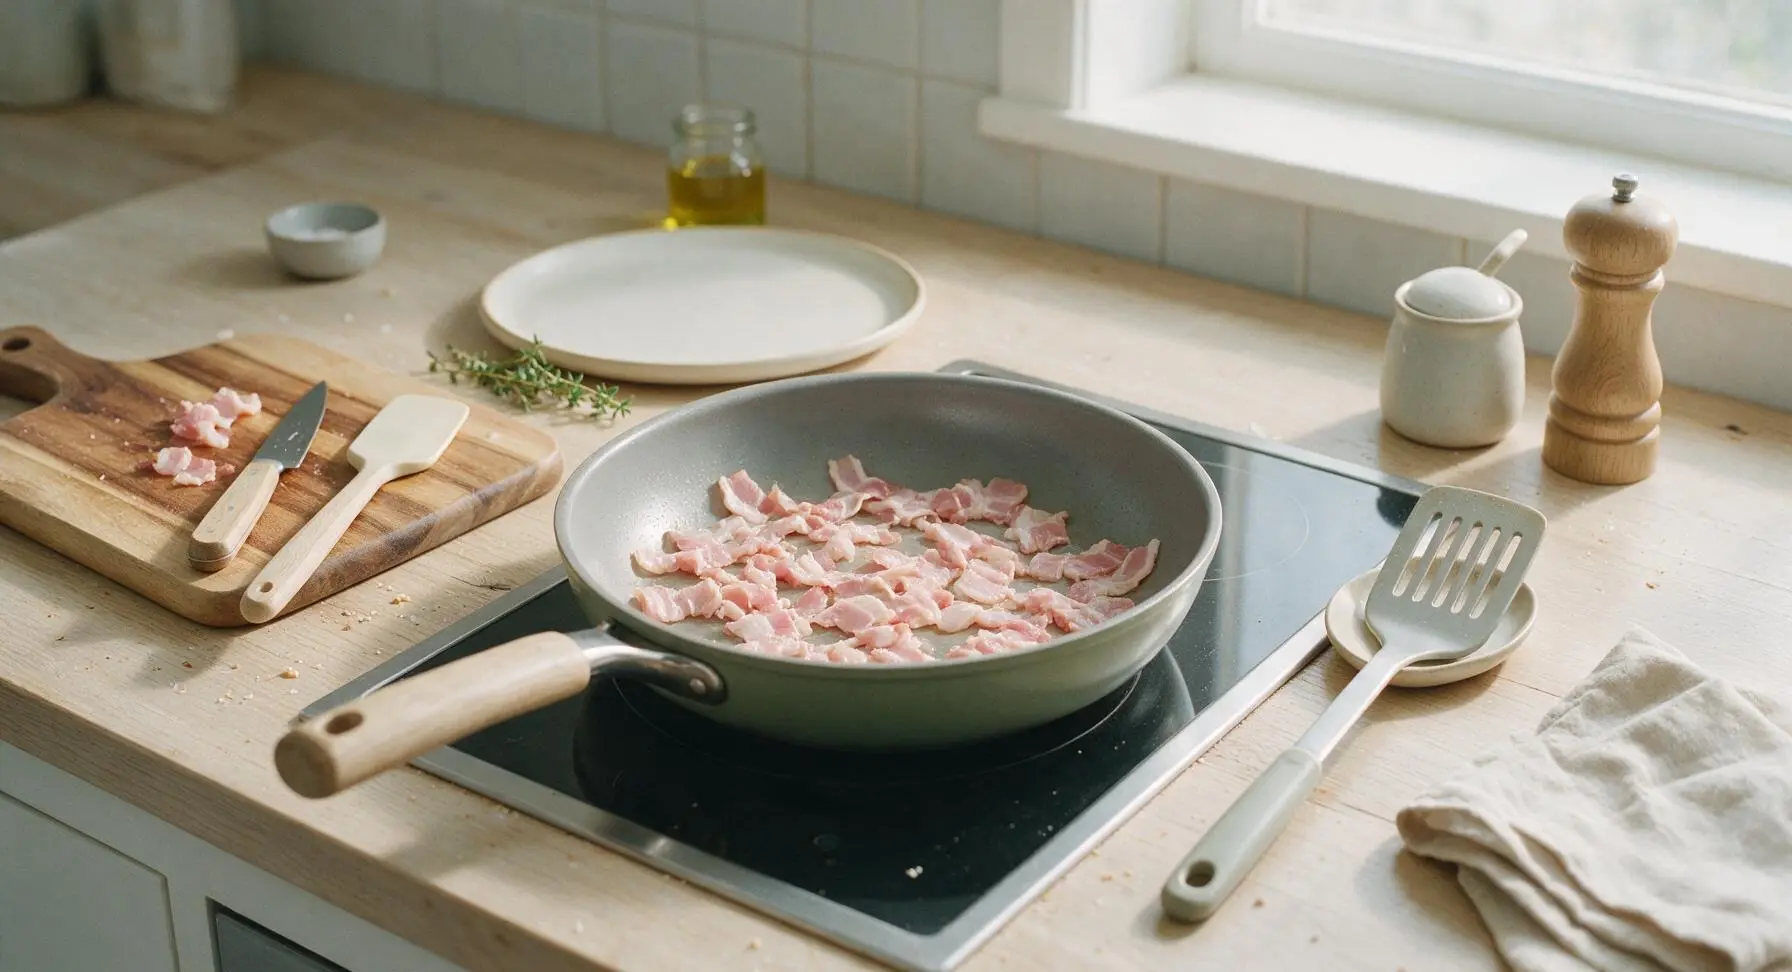
Step 3
step3:Add bacon to skillet
4

Cook bacon until crispy

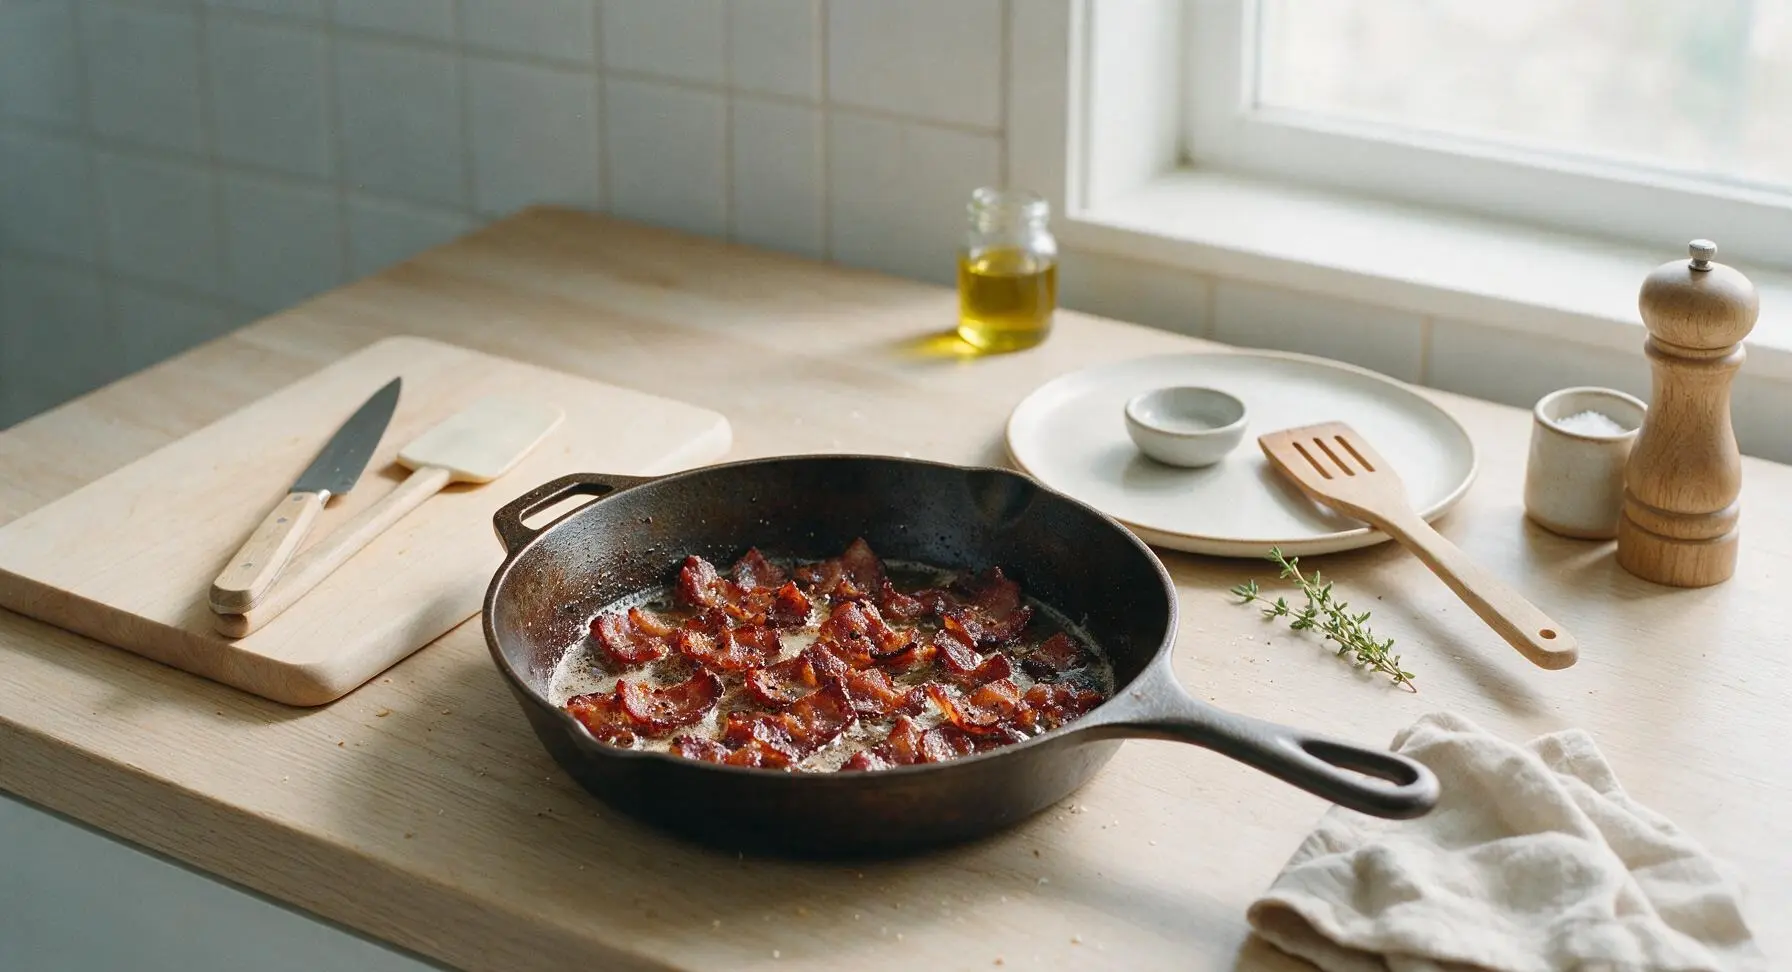
Stir the bacon every 2 minutes with the slotted turner for a total cook time of 10-12 minutes, adjusting heat to medium-low if the rendered fat starts to splatter excessively or send up wispy grey smoke. Cook until pieces are deep golden brown, with no remaining soft, pale translucent fatty sections; the bits will look slightly crisper than your desired final texture, as they will continue to crisp as they cool. Sprinkle the 1/4 tsp of freshly ground black pepper over the bacon during the final minute of cooking, stirring to distribute evenly.
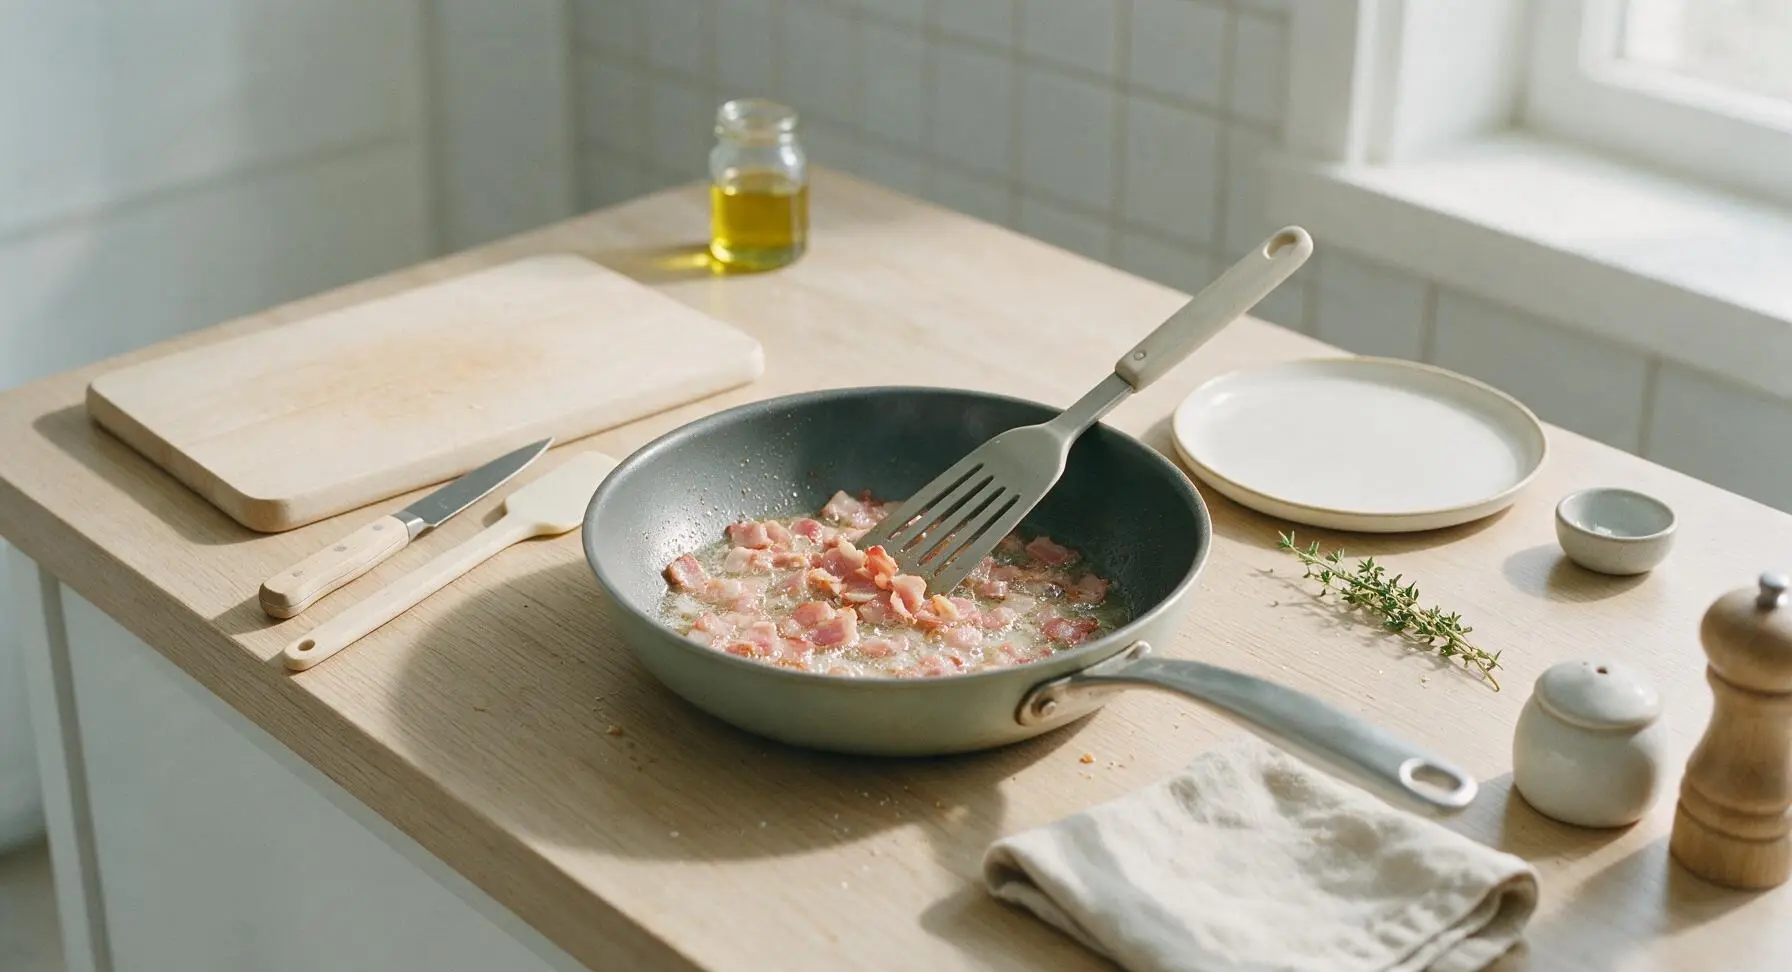
Step 4
step4:Cook bacon until crispy
Step 4
step4:Cook bacon until crispy
5

Drain cooked bacon

Once the bacon reaches the desired deep golden crispness, turn off the stovetop heat. Place a double layer of unbleached light brown paper towels to the right of the acacia cutting board. Use the slotted turner to lift bacon bits out of the skillet, letting excess fat drip back into the pan before transferring the bits to the paper towel stack. Let bits drain for 2 minutes, gently patting the tops with a corner of paper towel to remove excess surface grease; do not press hard, as this will squeeze out flavorful fat and make bits tough.
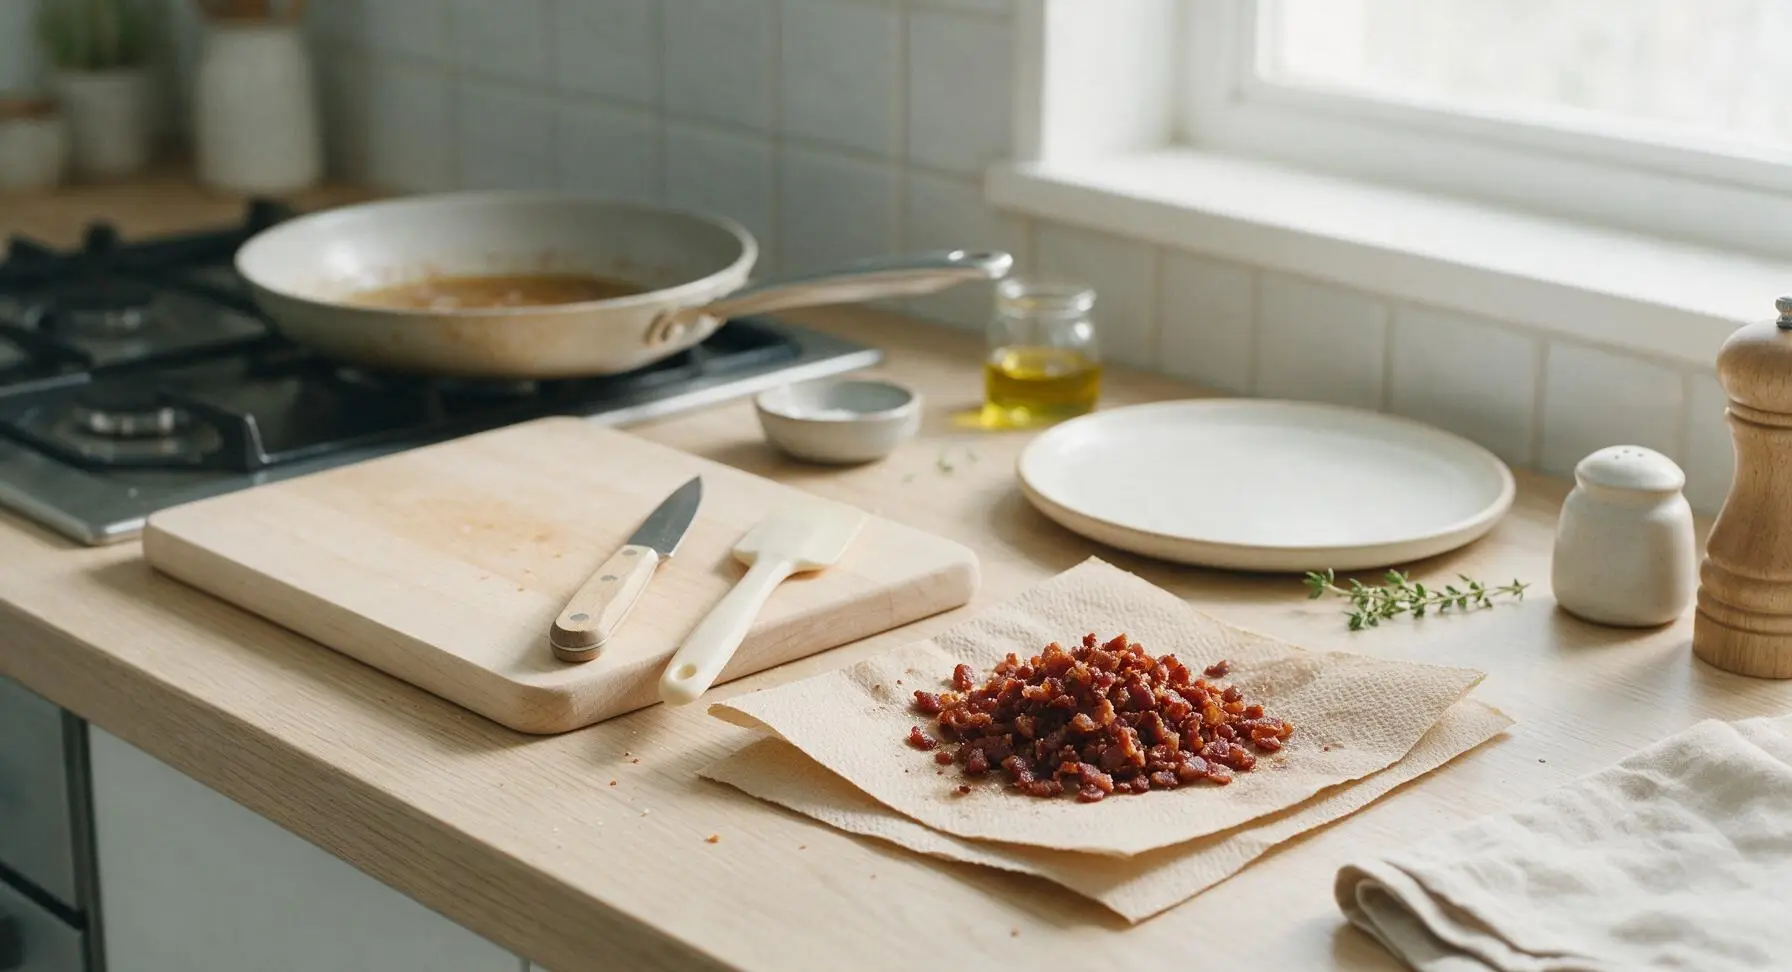
Step 5
step5:Drain cooked bacon
6

Let bits cool fully

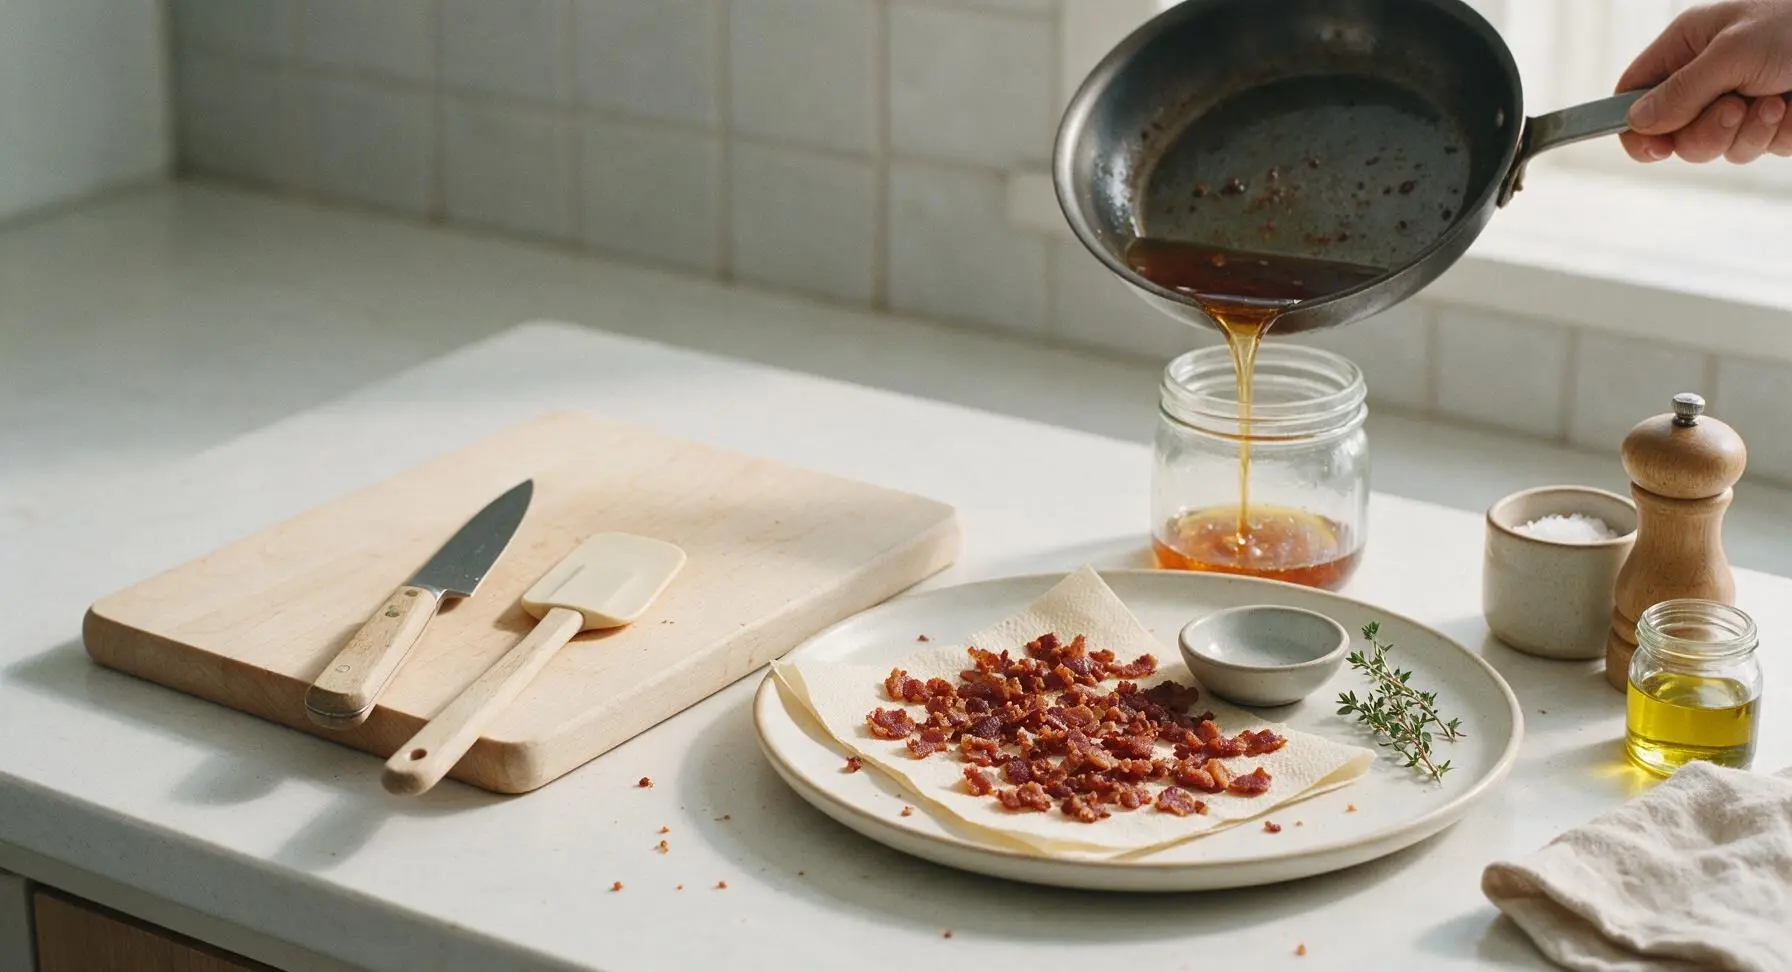
Allow the drained bacon bits to cool completely at room temperature for 5 minutes. As they cool, residual heat will evaporate remaining surface moisture, and the bits will crisp up to the perfect crunchy texture. Do not transfer or store bits while warm, as trapped condensation will make them turn soggy. Once the skillet is cool enough to handle, pour the reserved rendered bacon fat into the glass grease jar for future cooking use.
Step 6
step6:Let bits cool fully
7

Plate finished bits

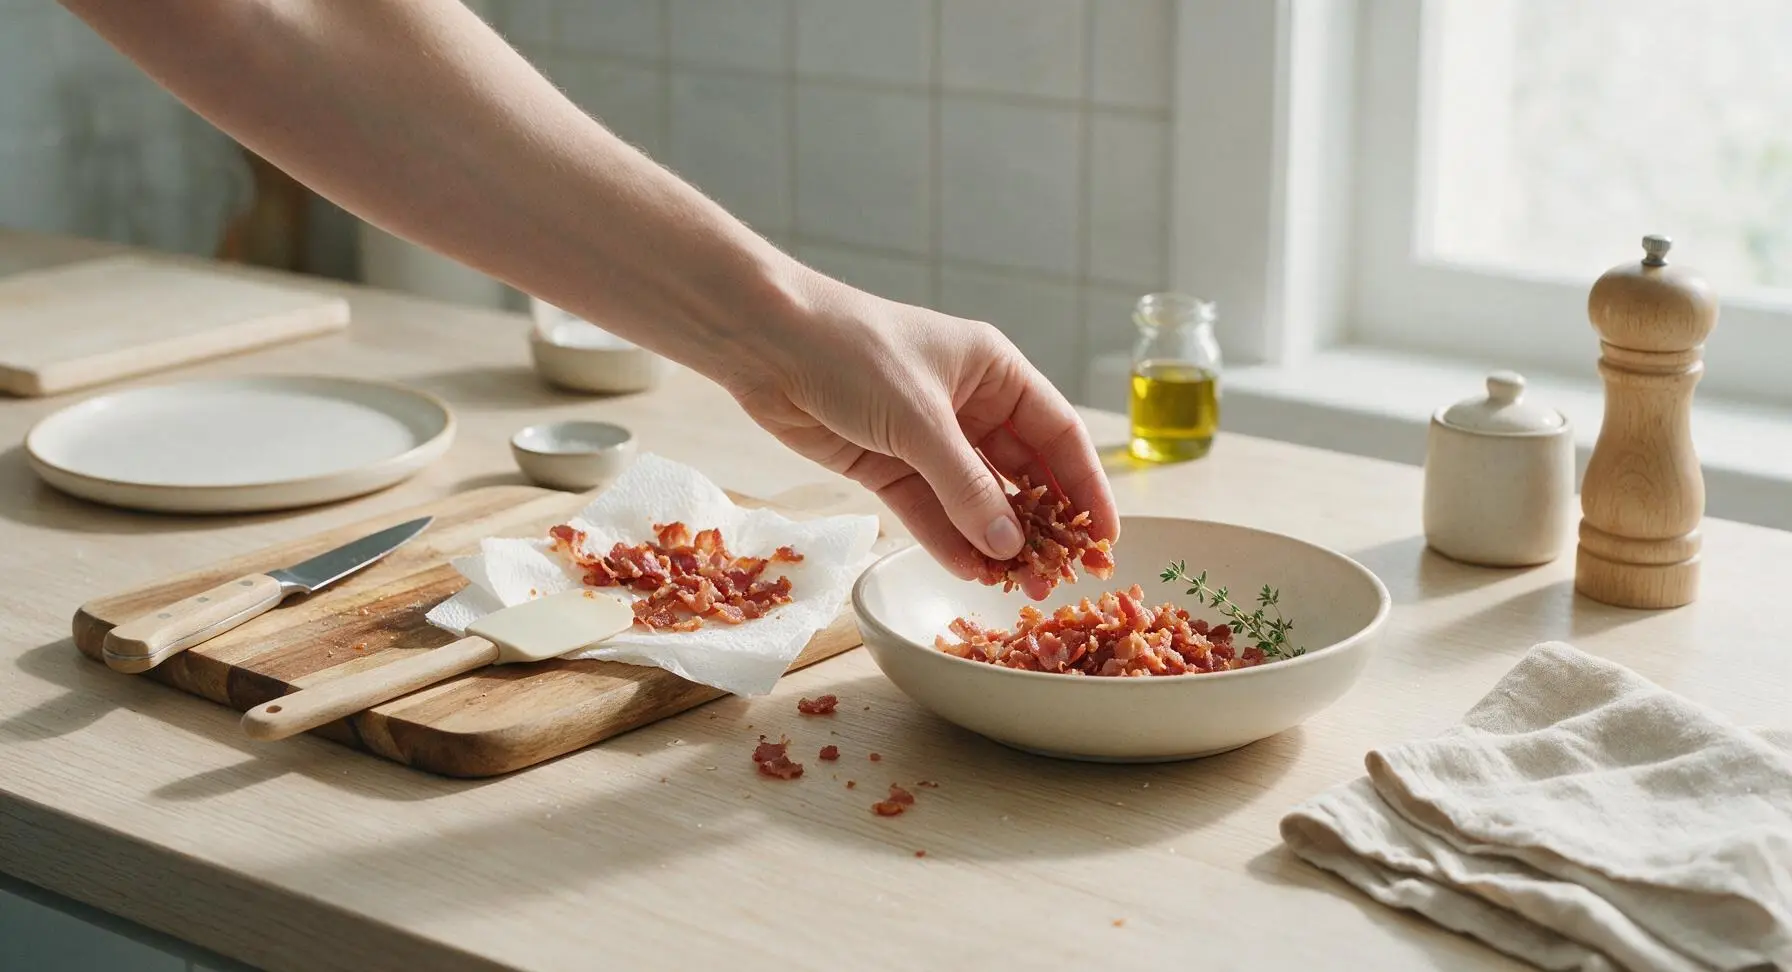
Once fully cooled, transfer the crispy bacon bits to the 20cm matte cream ceramic shallow serving bowl, positioned center-right on the counter. Tuck the small fresh thyme sprig on the bowl rim for garnish, then use your fingers to gently break up any large, stuck-together clumps into uniform bite-sized pieces. The bits are ready to use immediately as a topping for salads, baked potatoes, soups, or breakfast bowls, or can be stored in an airtight container in the refrigerator for up to 1 week.
Step 7
step7:Plate finished bits

Tips

1.Opt for thick-cut smoked bacon over thin-sliced varieties for the best texture: thin bacon burns quickly and turns into hard, dusty crumbs, while thick-cut bacon creates meaty, substantial crispy bits that hold their shape when tossed on salads or sprinkled over soups.
2.Avoid cooking bacon over high heat to prevent bitter, uneven results: high temperatures burn the outer edges of the bacon before the inner fat has time to fully render, leaving you with charred bits surrounding chewy, greasy centers. Medium to medium-low heat ensures slow, even rendering for consistent crispness.
3.Skip added oil or non-stick spray when cooking: bacon releases plenty of its own fat as it heats, and adding extra fat will make the finished bits overly greasy and can cause dangerous stovetop splattering. For a flavor twist, add 1/8 tsp smoked paprika during the last minute of cooking, but avoid adding sugar unless using the bits for sweet-savory dishes, as sugar burns quickly and causes sticking.


✨ You May Also Like

Side Dishes
🍜 India

Velvety, aromatic all-purpose curry sauce perfect for tossing with roasted veggies, grilled protein, or rice for fast, cozy, flavorful meals.

⏱️ 25 minuteSide Dishes ★ 4.8
Side Dishes
🍜 Spain

Tender, starchy boiled yuca tossed in bright, garlicky citrus mojo sauce—an iconic, zesty side that pairs beautifully with roasted pork, grilled meats, and rice and beans.

⏱️ 40 minuteSide Dishes ★ 5
Side Dishes
🍜 United States

Tender, paper-thin potato flatbread, a beloved Norwegian-American Minnesota Christmas staple, griddled until softly spotted and served warm with butter.

⏱️ 1 hour 30Side Dishes ★ 4.6
Side Dishes
🍜 United States

Rich, deeply savory cured salt pork, a long-lasting kitchen staple perfect for frying crispy as a side or adding umami to stews, beans, and chowders.

⏱️ 7 days (2Side Dishes ★ 4.9
Side Dishes
🍜 United States

Crispy, tangy classic Southern fried green tomatoes with a crunchy cornmeal crust, served hot for a nostalgic, comforting summery bite.

⏱️ 25 minuteSide Dishes ★ 4.9
Side Dishes
🍜 United States

Moist, golden-crusted savory muffins with sweet corn, zesty jalapeño, and melted cheddar, perfect for pairing with smoky summer grilled fare.

⏱️ 30 minuteSide Dishes ★ 4.9

bacon bits recipe:Frequently Asked Questions

1.Why is thick-cut bacon recommended instead of thin-cut for homemade bacon bits? ▾
Thick-cut bacon holds its shape beautifully as it renders fat, so you get meaty, uniformly crisp bites instead of tiny, burnt, overly greasy crumbs. It also delivers that satisfying, substantial smoky bite that flimsy thin bacon can’t match, even when chopped down to small bit size.
2.Do I need to add extra cooking oil when making these bacon bits? ▾
Nope, no extra oil is required at all! As the chopped bacon heats, it will render plenty of its own natural fat to cook in. Adding extra oil will leave your finished bits greasy instead of light and crisp, and can dilute that rich, smoky bacon flavor we’re aiming for.
3.How small should I chop the bacon before cooking it for bits? ▾
Aim for ¼-inch, uniformly sized pieces before you start cooking. Consistent chopping ensures every bit cooks at the same rate, so you won’t end up with a frustrating mix of undercooked chewy chunks and overdone, ashy burnt crumbs. Don’t chop too fine, or pieces will shrink to almost nothing as fat renders.
4.Can I make these crispy bacon bits ahead of time for meal prep? ▾
Absolutely! Let the cooked bits cool fully after draining, then store them in an airtight container in the fridge for up to 1 week, or in the freezer for up to 3 months. They reheat in 30 seconds in the microwave or a quick toss in a dry skillet when you’re ready to top a dish.
5.How do I get my bacon bits extra crispy instead of chewy? ▾
Cook them over medium-low heat, stirring occasionally, to let fat render slowly instead of cranking heat to high. High heat burns the outside before interior fat melts, leaving chewy, charred bits. Drain really well on paper towels immediately after cooking, and they’ll crisp more as they cool.
6.What’s the best method to drain cooked bacon bits to avoid sogginess? ▾
After pulling bits from the pan with a slotted spoon, spread them in a single layer on a plate lined with two layers of paper towels. Pat the tops gently with another paper towel to soak up surface grease, and let them rest 2 minutes—they’ll crisp up even more as they cool, instead of sitting in pooled fat.
7.Do I have to use smoked bacon to make these bacon bits? ▾
Thick-cut smoked bacon delivers that classic, familiar bacon bit flavor that beats preservative-heavy store-bought versions, but it’s not strictly required. You can use unsmoked bacon for a milder, less smoky taste; just add a tiny pinch of smoked paprika if you want that classic smoky profile.
8.Can I add other seasonings besides black pepper and fresh thyme? ▾
Definitely! Fresh black pepper and the optional fresh thyme garnish are a perfect base, but you can toss in a pinch of garlic powder, smoked paprika, a light sprinkle of brown sugar for sweet-savory kick, or a tiny dash of cayenne for heat right after draining. Just skip extra salt—bacon is already plenty salty on its own.
9.How do I keep stored bacon bits from getting soft and soggy? ▾
Make sure bits are completely cooled to room temperature before sealing them in an airtight container, and tuck a small piece of paper towel in the top of the container to absorb any residual moisture. Never store them while warm, as trapped condensation will turn them soft and mushy within a day.
10.What are the best ways to use these homemade bacon bits? ▾
They’re endlessly versatile! Toss them on green salads, loaded baked potatoes, creamy soups, and breakfast bowls just like you would store-bought bits, but with zero preservatives and far better flavor. They also work great on mac and cheese, avocado toast, or deviled eggs.
11.Can I cook these bacon bits in the oven instead of on the stovetop? ▾
Absolutely! Spread your chopped bacon in a single layer on a foil-lined baking sheet, and bake at 400°F for 15 to 20 minutes, stirring once halfway through, until deeply golden and crisp. Oven cooking is extra hands-off and makes it easy to cook big batches for meal prep without constant stirring.
12.Why do my bacon bits burn before they get fully crispy? ▾
This almost always happens if your stovetop heat is too high, or if your bacon pieces are chopped to uneven sizes. High heat sears the outer edge of bacon instantly, trapping fat inside so bits stay chewy, then burn before fat can render. Turn heat to medium-low and chop pieces uniformly to fix this.
13.Can I use budget bacon ends and pieces instead of full thick-cut slices? ▾
Bacon ends and pieces work perfectly for this recipe, and they’re often a much more budget-friendly pick! Just sort through the pieces to discard large chunks of pure fat with no meat, and trim any tough, rubbery rind bits before chopping them to the same ¼-inch size as regular slices.
14.What should I do with the leftover rendered bacon fat from cooking? ▾
Never pour leftover bacon fat down the drain, as it can clog pipes! Let it cool slightly, then strain it into a heatproof glass jar and store it in the fridge for up to 3 months. Use it to fry eggs, roast vegetables, make salad dressings, or sauté greens for an extra rich, smoky kick.

Comments (7)

3 days ago

Game changer!! I’ve been wasting money on those overpriced pre-made bacon bits for years and had no idea how quick and easy these are to make at home. Crispy, perfectly salty, no weird preservatives. I tossed a handful on my Cobb salad for meal prep this week and it made every bite feel fancy. 10/10 will make again every week.

2 days ago

Wait do these stay crispy in the fridge if you meal prep them? I’ve tried making bacon bits before and they got all soggy after a day, would love to make a big batch!

2 days ago

Great question! If you store them in an airtight container lined with a paper towel to soak up excess grease, they’ll stay crispy in the fridge for up to 5 days. Just give them a quick 30 second zap in the pan or microwave before using if they soften a little!

5 days ago

My kids loved it! I made these to top our homemade mac and cheese for our neighborhood potluck over the weekend and every single parent asked me for the recipe. They’re so crispy even when they cool down, I thought for sure they’d get chewy sitting out on the potluck table but they held up perfectly. So easy even my teen could help make them without burning the house down haha.

3 days ago

So happy these were a hit at the potluck! They hold up so much better than store-bought for events because there’s no weird coating that gets gummy as they cool. Love that your teen got to help out too!

5 minutes ago

Super solid recipe! I used turkey bacon instead of regular pork bacon because that’s what I had in the fridge, and it still got nice and crispy. Only knocked off a star because I think I cut my pieces a little too big so some of the fattier bits didn’t render all the way, but that’s 100% user error. Will dice smaller next time for sure.

just now

I did the same thing with turkey bacon last week! Dicing them to about 1/4 inch pieces makes all the difference, they crisp up so much faster that way. I also pat them with a paper towel after cooking to get rid of extra grease, game changer!

1 week ago

Wait why did I never think to make these from scratch before??? I added a tiny sprinkle of smoked paprika and a pinch of black pepper when they were almost done cooking and OMG, the flavor is out of this world. Put them on loaded nachos for movie night with my partner and we ate the entire pan before the movie even started. No cap, these are better than any bacon bit I’ve ever had from a restaurant.

5 days ago

The smoked paprika add is genius! I usually toss a little maple syrup in for a sweet-savory vibe when I’m putting these on pancakes or waffles, I’ll have to try the paprika for savory dishes next time.

3 days ago

Love that customization! The smoked paprika adds such a great depth of flavor, and the maple syrup idea sounds incredible too – this recipe is the perfect base to tweak with your favorite seasonings.

2 weeks ago

So easy I could make this half asleep before my morning coffee. 15 minutes total, no fancy equipment, just a cutting board, knife, and skillet. I make a big batch every Sunday and toss them on eggs, salads, soups, you name it. Saves me so much time during the work week when I don’t feel like cooking. Absolute staple recipe now.

30 minutes ago

Taste was great! But I had issues with them burning really fast even on medium heat like the recipe says. I think my stovetop runs hotter than most, so I had to turn it down to medium-low and stir constantly the last 5 minutes. Ended up with about 70% perfectly crispy bits and 30% slightly charred ones, which was a bummer, but the ones that turned out were amazing.

5 minutes ago

So sorry to hear some bits got charred! Stovetops can vary a ton in actual temperature, so your call to turn it down to medium-low was exactly right. Next time, keep a close eye once they start turning golden, since they can go from perfect to burnt super quickly once the grease gets hot!

yesterday

SO good! I made these to top my loaded broccoli cheddar soup last night and the crunch was exactly what the soup needed. I saved the rendered bacon fat in a jar to cook eggs in later, which is such a nice bonus from this recipe. Zero weird ingredients, zero fuss, total win. I’ll never buy the fake shelf-stable bacon bits again.



