1.Why do you recommend using day-old French baguette instead of a fresh loaf?
▾
Day-old baguette has lost excess surface moisture, so it toasts up shatteringly crisp instead of turning soggy or chewy in the middle when coated with oil and garlic. Fresh baguette is too soft and high in residual moisture, which leads to limp, uneven toast that loses its signature golden crunch just minutes after coming out of the oven.
2.Can I use regular sandwich bread instead of baguette if I don’t have one on hand?
▾
You can, but you won’t get the same light, crisp texture. Opt for a crusty artisan sandwich loaf cut into ½-inch thick slices, rather than soft pre-sliced white bread. Soft commercial sandwich bread absorbs too much olive oil, turns greasy, and lacks that sturdy, crisp edge that makes this toast so satisfying. Adjust bake time by 1-2 minutes for thickness.
3.How thick should I slice the baguette to get the perfect crisp texture?
▾
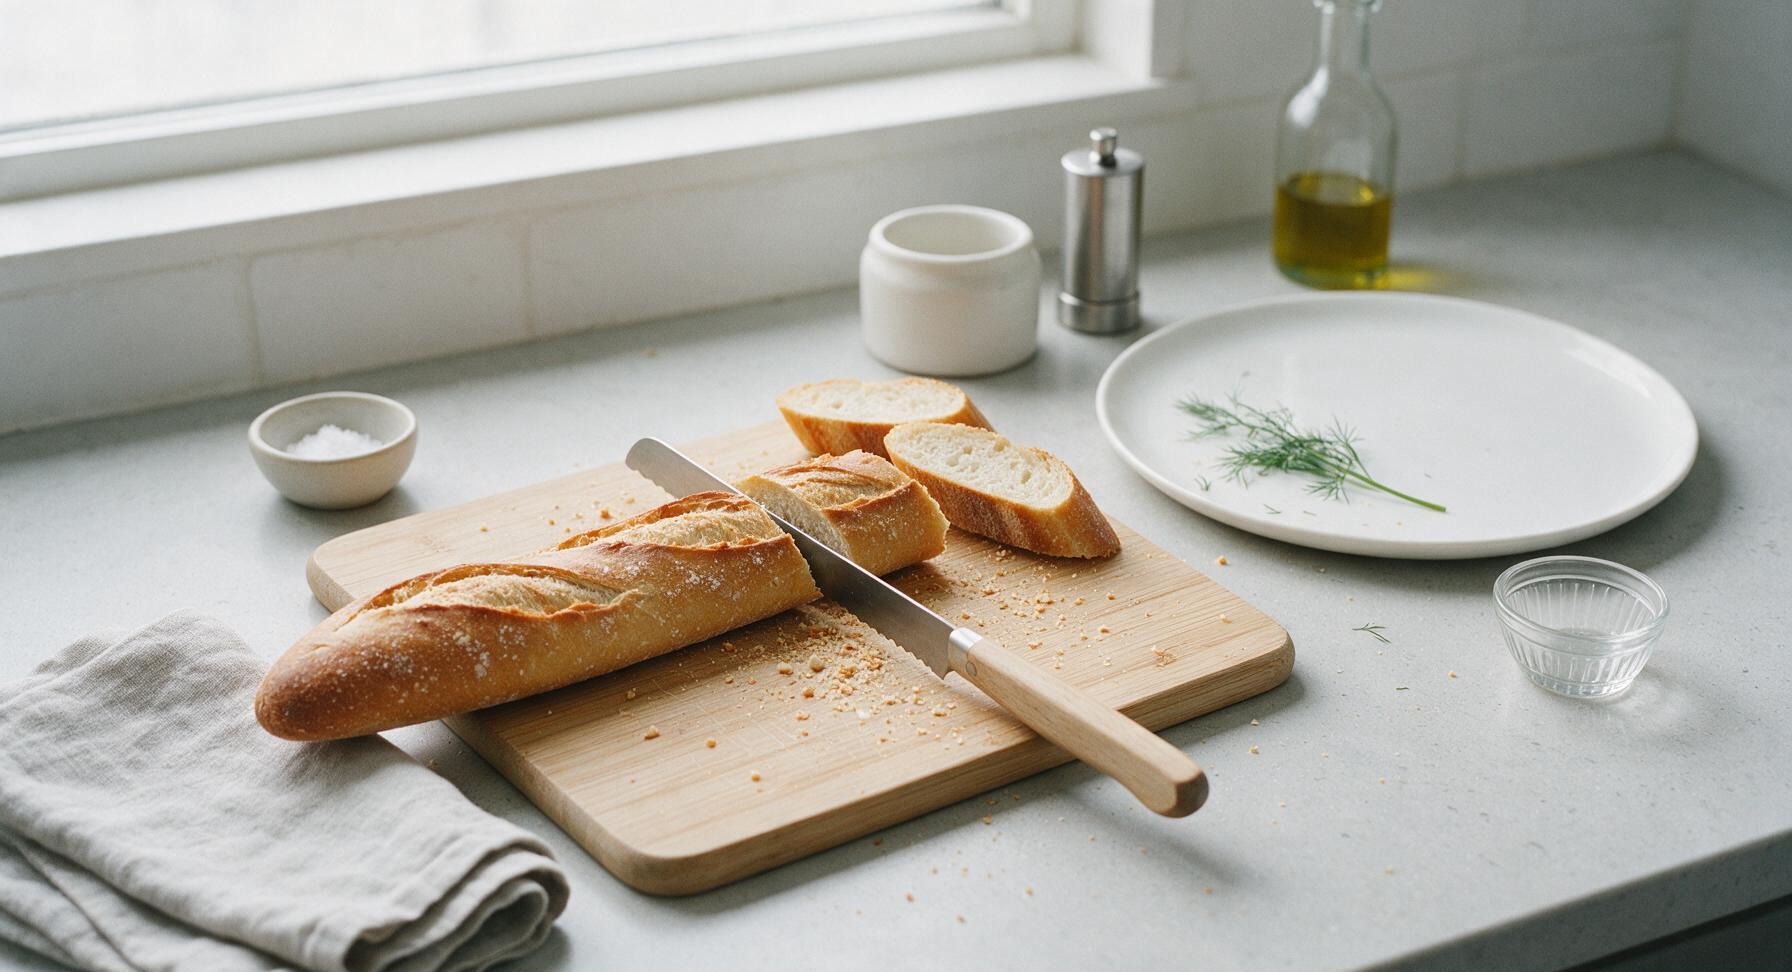
Aim for uniform ½-inch thick slices, cut on a slight bias for more surface area and a nicer presentation. Slices thinner than ¼ inch will burn easily and turn overly brittle before the garlic flavor mellows, while slices thicker than ¾ inch will stay soft and doughy in the center even after the edges turn deep golden brown.
4.Do I have to use extra-virgin olive oil, or can I substitute a different fat?
▾
Extra-virgin olive oil adds that signature fruity, peppery base that pairs perfectly with garlic, but you can substitute it if needed. Melted unsalted butter works for a richer, more decadent toast, or neutral avocado oil works if you prefer a milder flavor. Avoid strongly flavored oils like toasted sesame or walnut, which will overpower the delicate garlic notes.
5.How do I keep the garlic from burning and turning bitter while the toast bakes?
▾
Burnt garlic turns unpleasantly bitter fast, so take two simple steps to avoid it. First, grate garlic very finely so it distributes evenly across the oil instead of sitting in thick, clumpy piles that scorch. Second, bake on a middle oven rack, and keep a close eye on slices during the last 2 minutes of cooking, since edges brown very quickly.
6.What oven temperature gives the crispiest toast without ending up soggy?
▾
400°F (200°C) is the ideal sweet spot. This temperature is hot enough to rapidly evaporate surface moisture from the bread and crisp the edges fast, without burning the garlic or outer crumb before the center sets. Lower temperatures make bread soak up oil slowly and turn tough, while temps over 425°F burn garlic before toast cooks evenly.
7.Can I make this garlic toast in a toaster oven instead of a full-size oven?
▾
Absolutely! Toaster ovens work perfectly for this recipe, especially if you’re making a small batch. Use the same 400°F temperature, arrange slices in a single layer on the toaster oven tray, and cut bake time by 1 to 2 minutes, since toaster ovens have smaller heating cavities that cook food faster than most full-size home ovens. Check frequently to avoid burning.
8.When should I add the parmesan and fresh thyme so they don’t burn?
▾
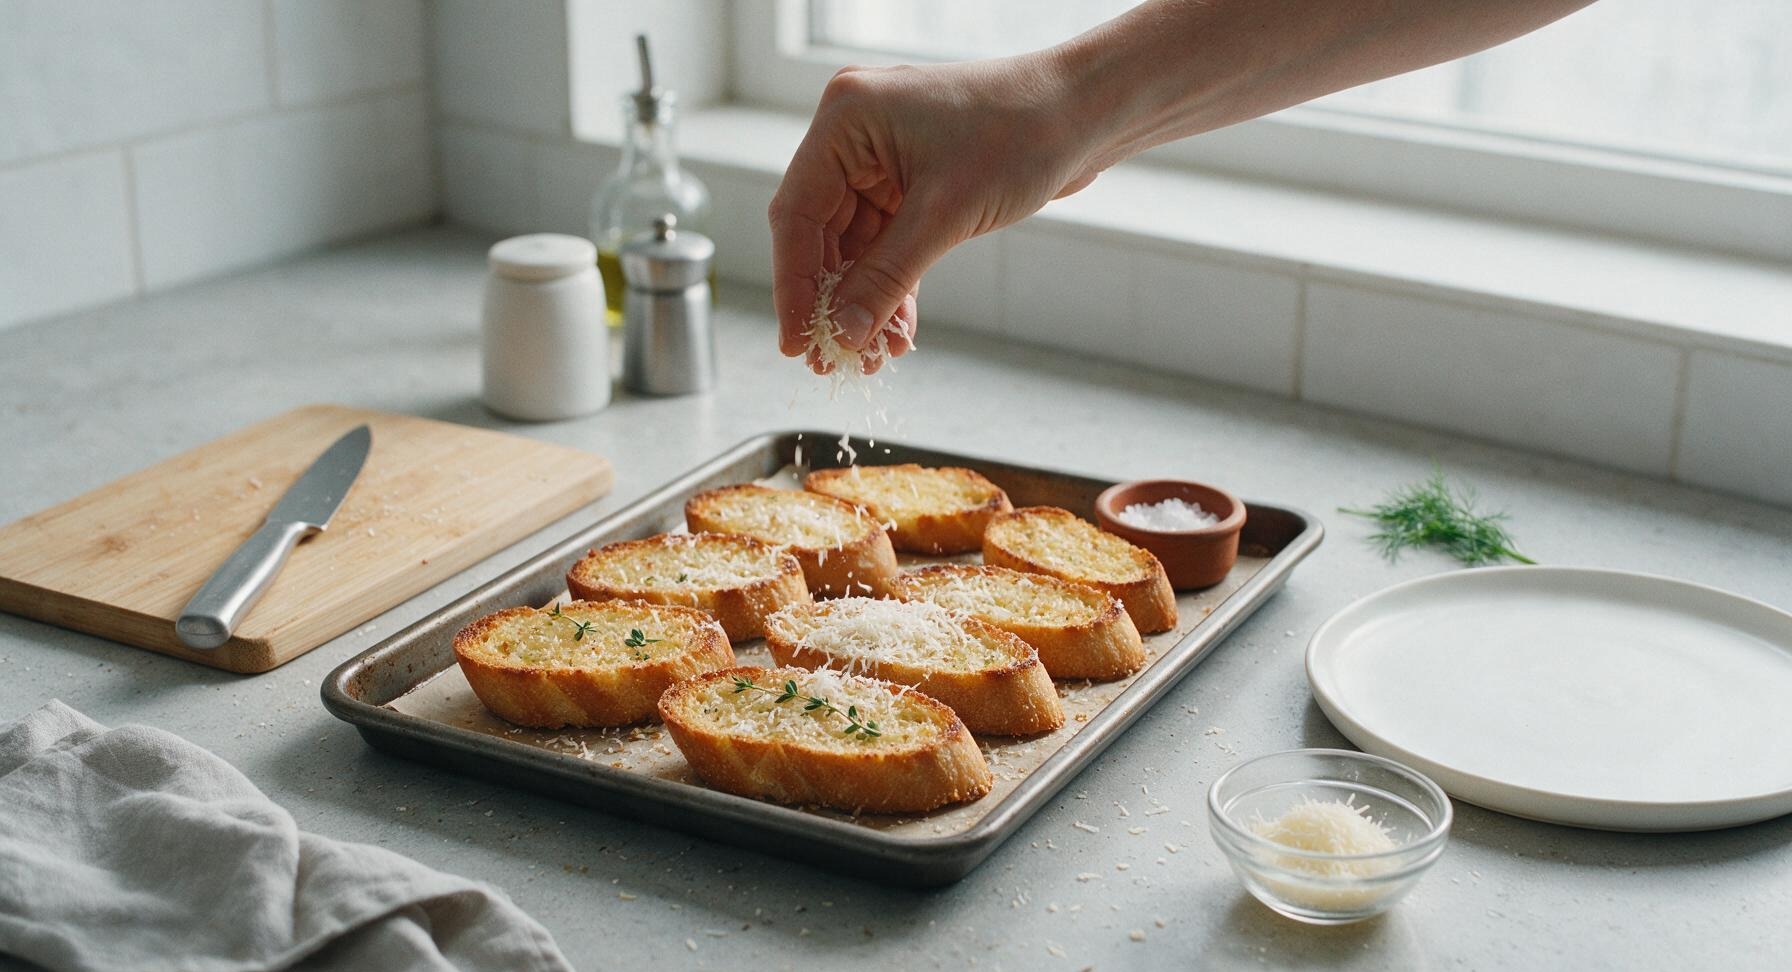
Sprinkle finely grated parmesan and fresh thyme leaves over the oiled slices during the last 2 minutes of baking. This gives the cheese just enough time to melt and turn lightly golden around the edges without turning crispy and bitter, and keeps the thyme bright and aromatic instead of charred. Adding these toppings too early leads to harsh, burnt flavors.
9.Why use flaky sea salt instead of regular table salt for this recipe?
▾
Flaky sea salt has a light, crisp texture and bright, clean salty flavor that hits your tongue first when you take a bite, rather than dissolving completely into the oil and bread. Regular table salt is much denser and more sharply salty, so it’s easy to over-salt the toast, and it won’t give that satisfying little pop of texture on each slice. If using table salt, cut the amount in half.
10.How long do I need to bake the toast for it to be perfectly crisp all over?
▾
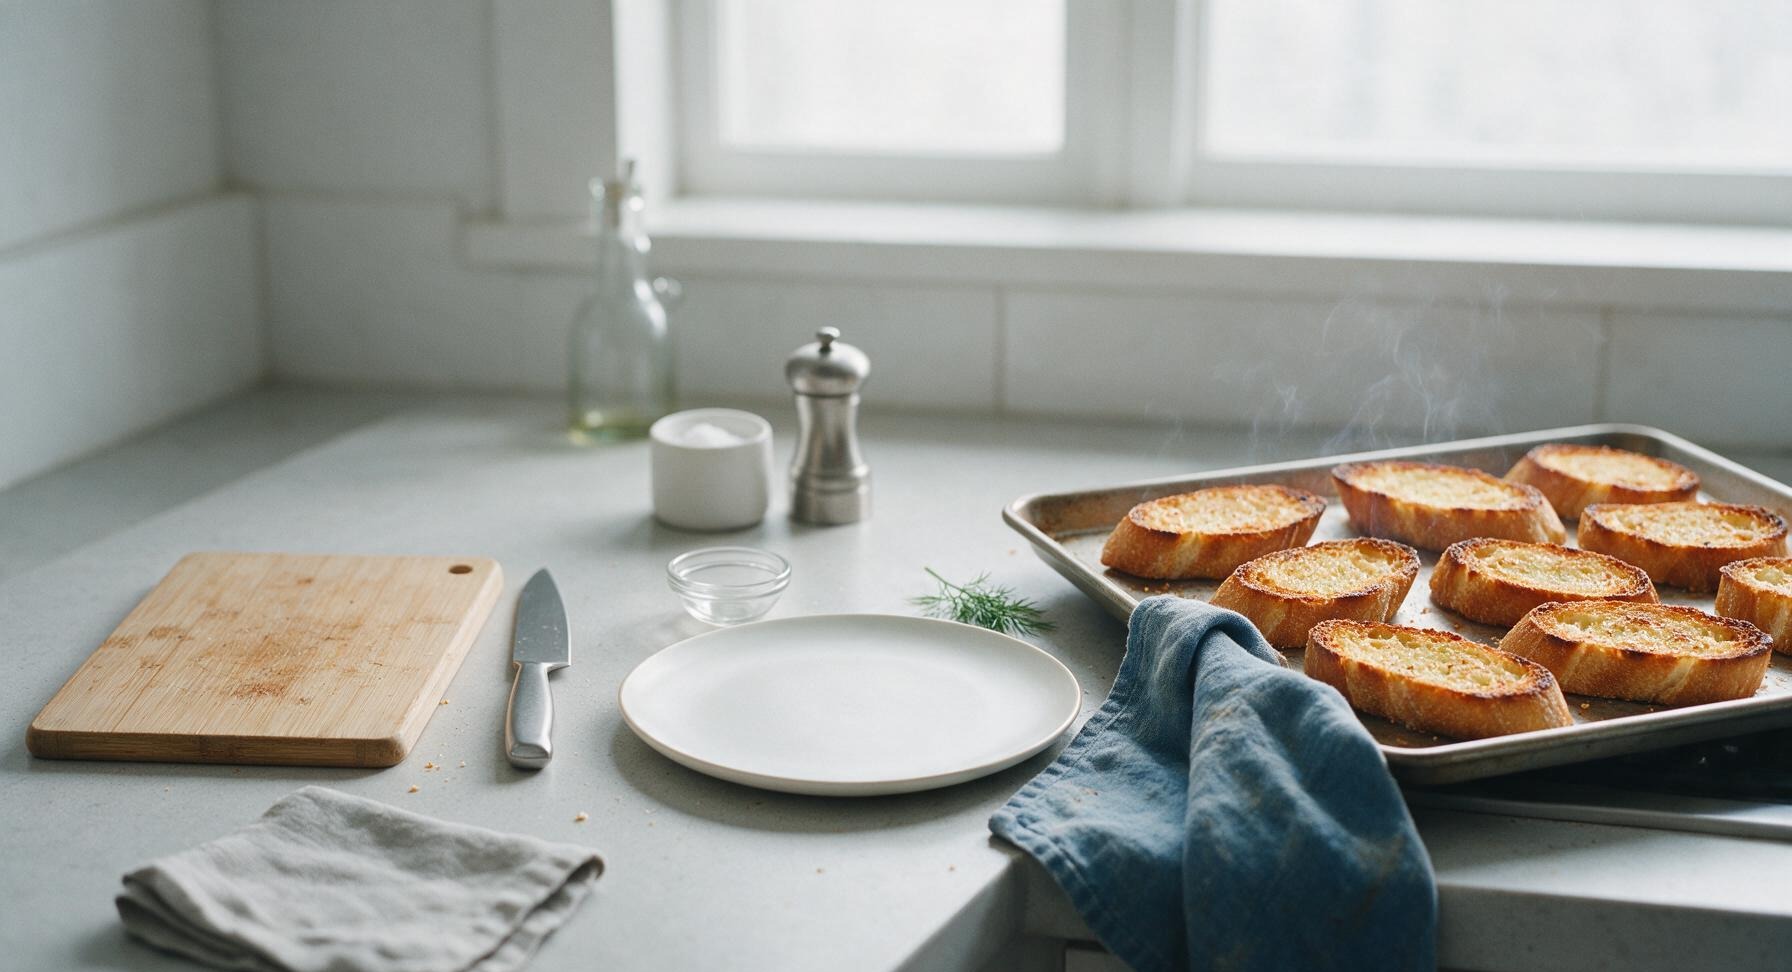
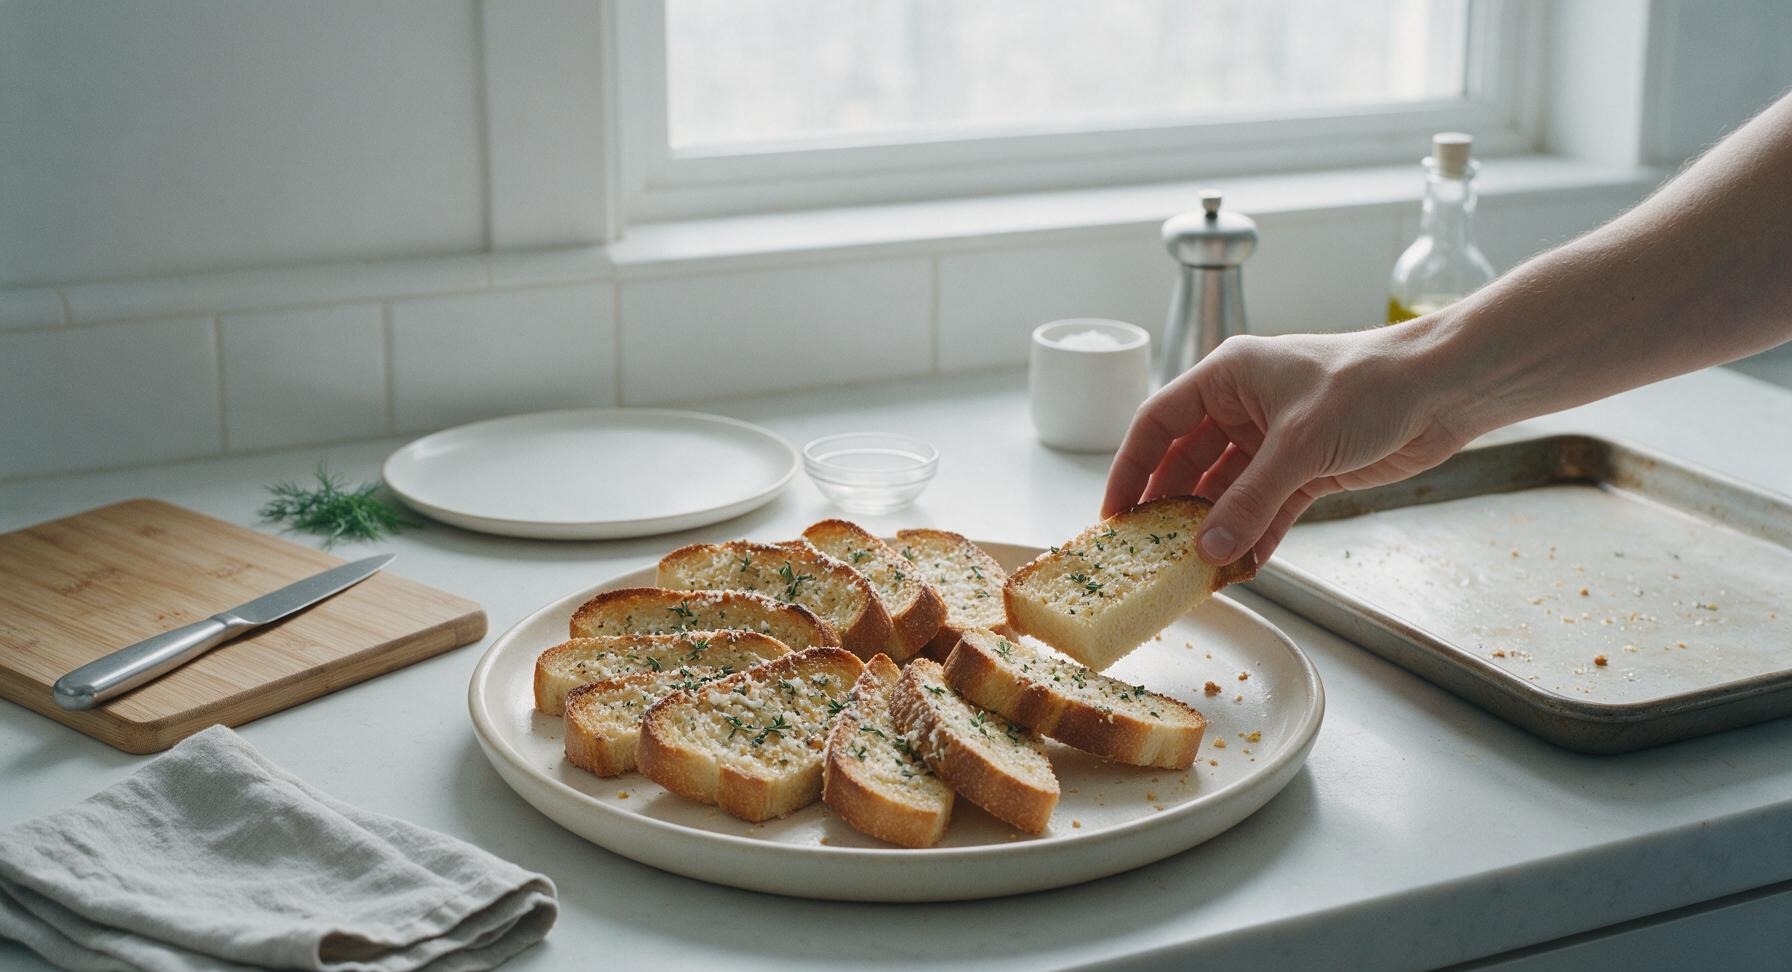
For standard ½-inch bias-cut slices, bake for 8 to 10 minutes total, flipping the slices halfway through at the 4-minute mark to ensure both sides crisp evenly. The toast is done when edges are deep golden brown, the center of each slice feels dry and crisp to the touch, and the garlic smells fragrant and mellow with no raw sharp bite.
11.Should I add the freshly ground black pepper before or after baking?
▾
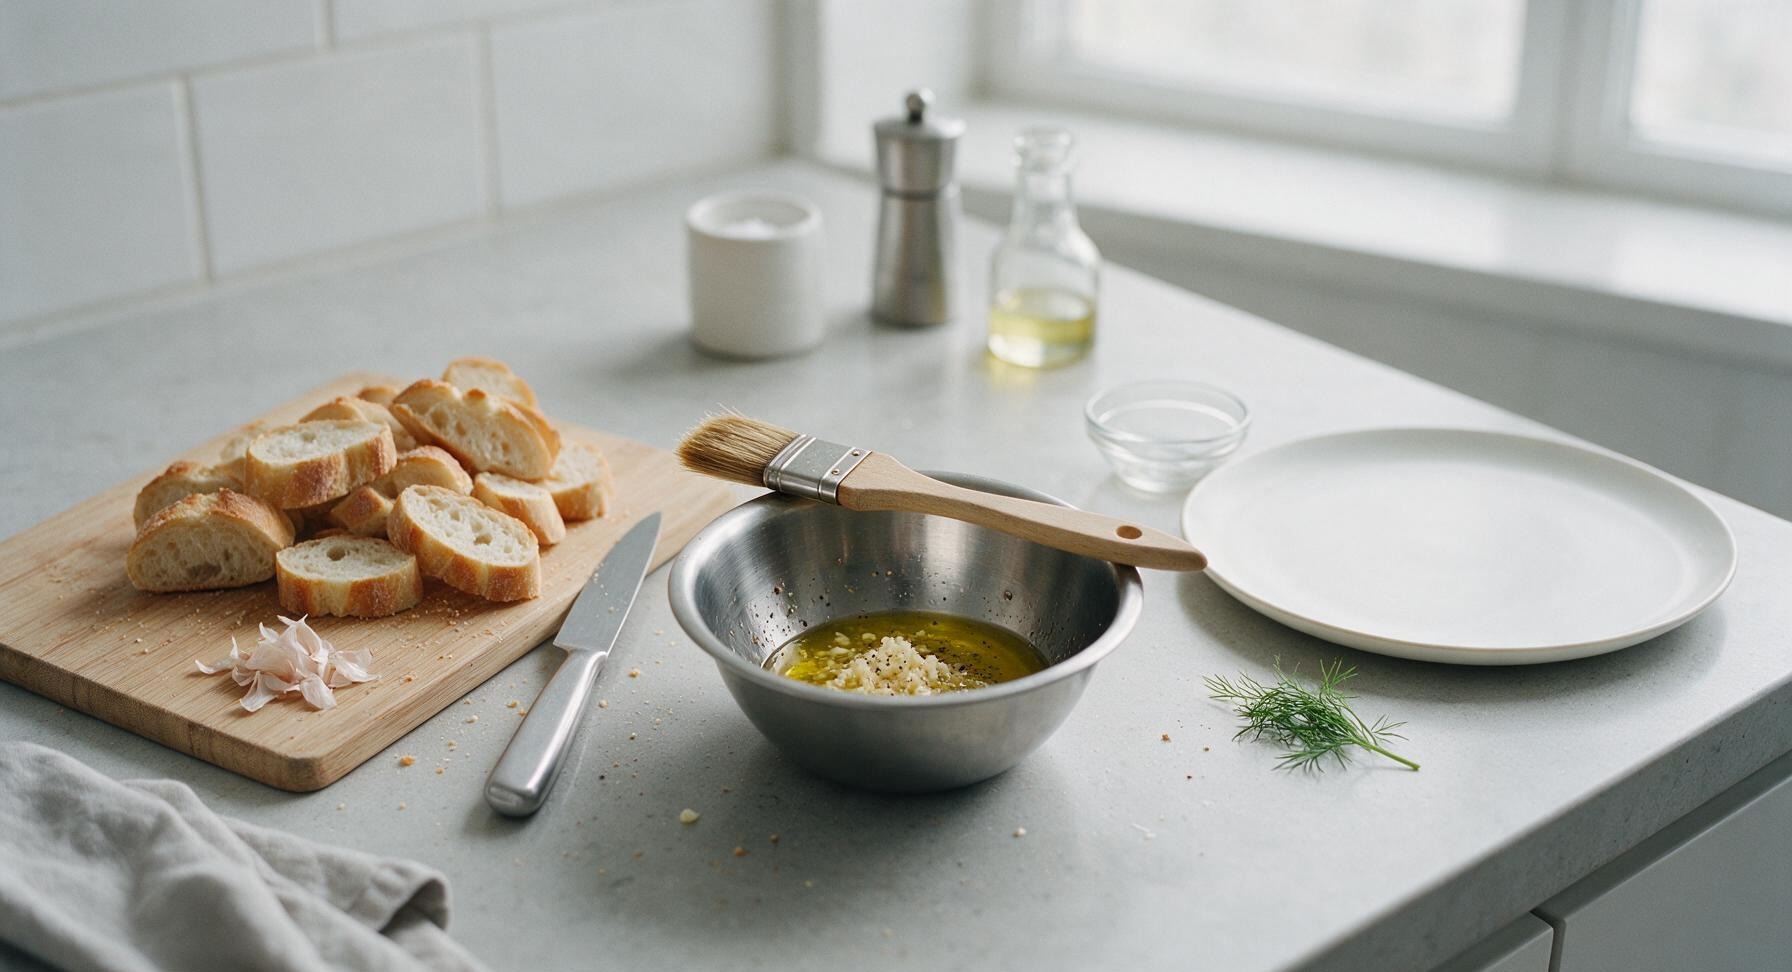
Add a light crack of freshly ground black pepper to the garlic-oil mixture before brushing it on the bread, so the pepper’s warm, aromatic oils have a chance to infuse into the oil as the toast bakes. Skip pre-ground black pepper if you can—it has a flat, dusty flavor that doesn’t compare to the bright, sharp kick of freshly cracked pepper.
12.Can I prep these toasts ahead for a party, or do they have to be served immediately?
▾
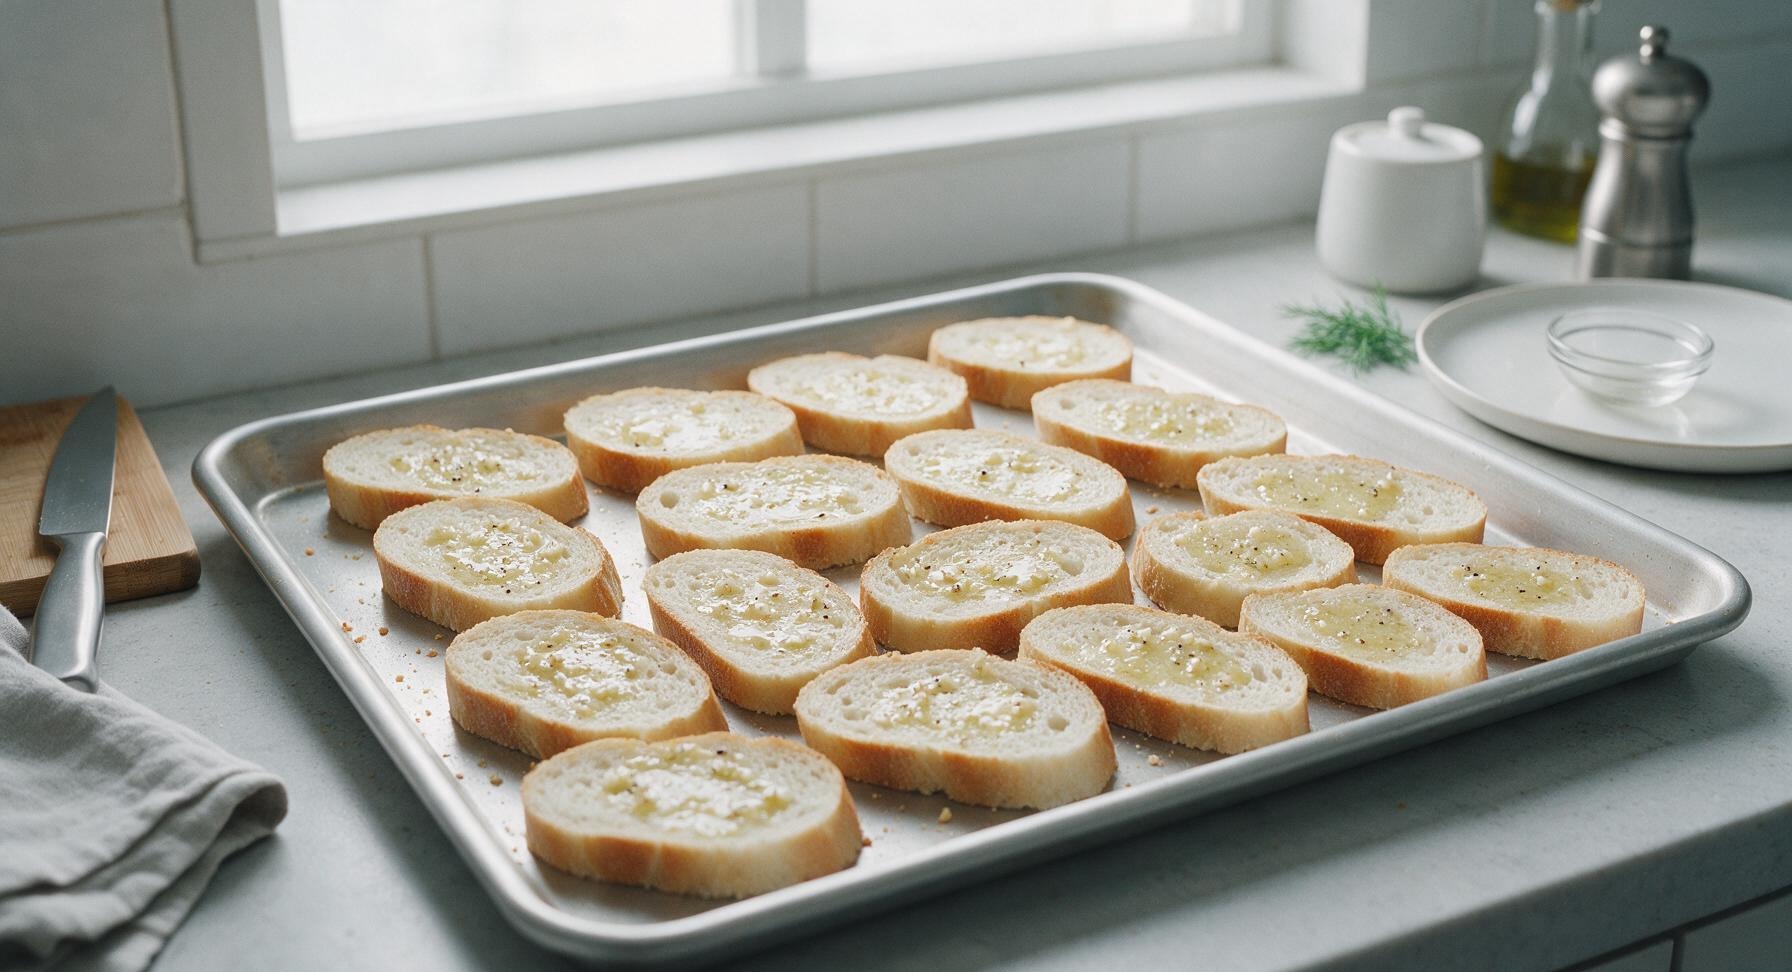
These are best served within 15 minutes of coming out of the oven, when they’re at their crispiest. If prepping for a party, you can slice the baguette and mix the garlic-oil mixture up to 24 hours ahead, stored separately in airtight containers in the fridge. Don’t oil the slices until right before baking, as pre-oiled bread will get soggy if left to sit.
13.My last batch came out greasy instead of crisp—what did I do wrong?
▾
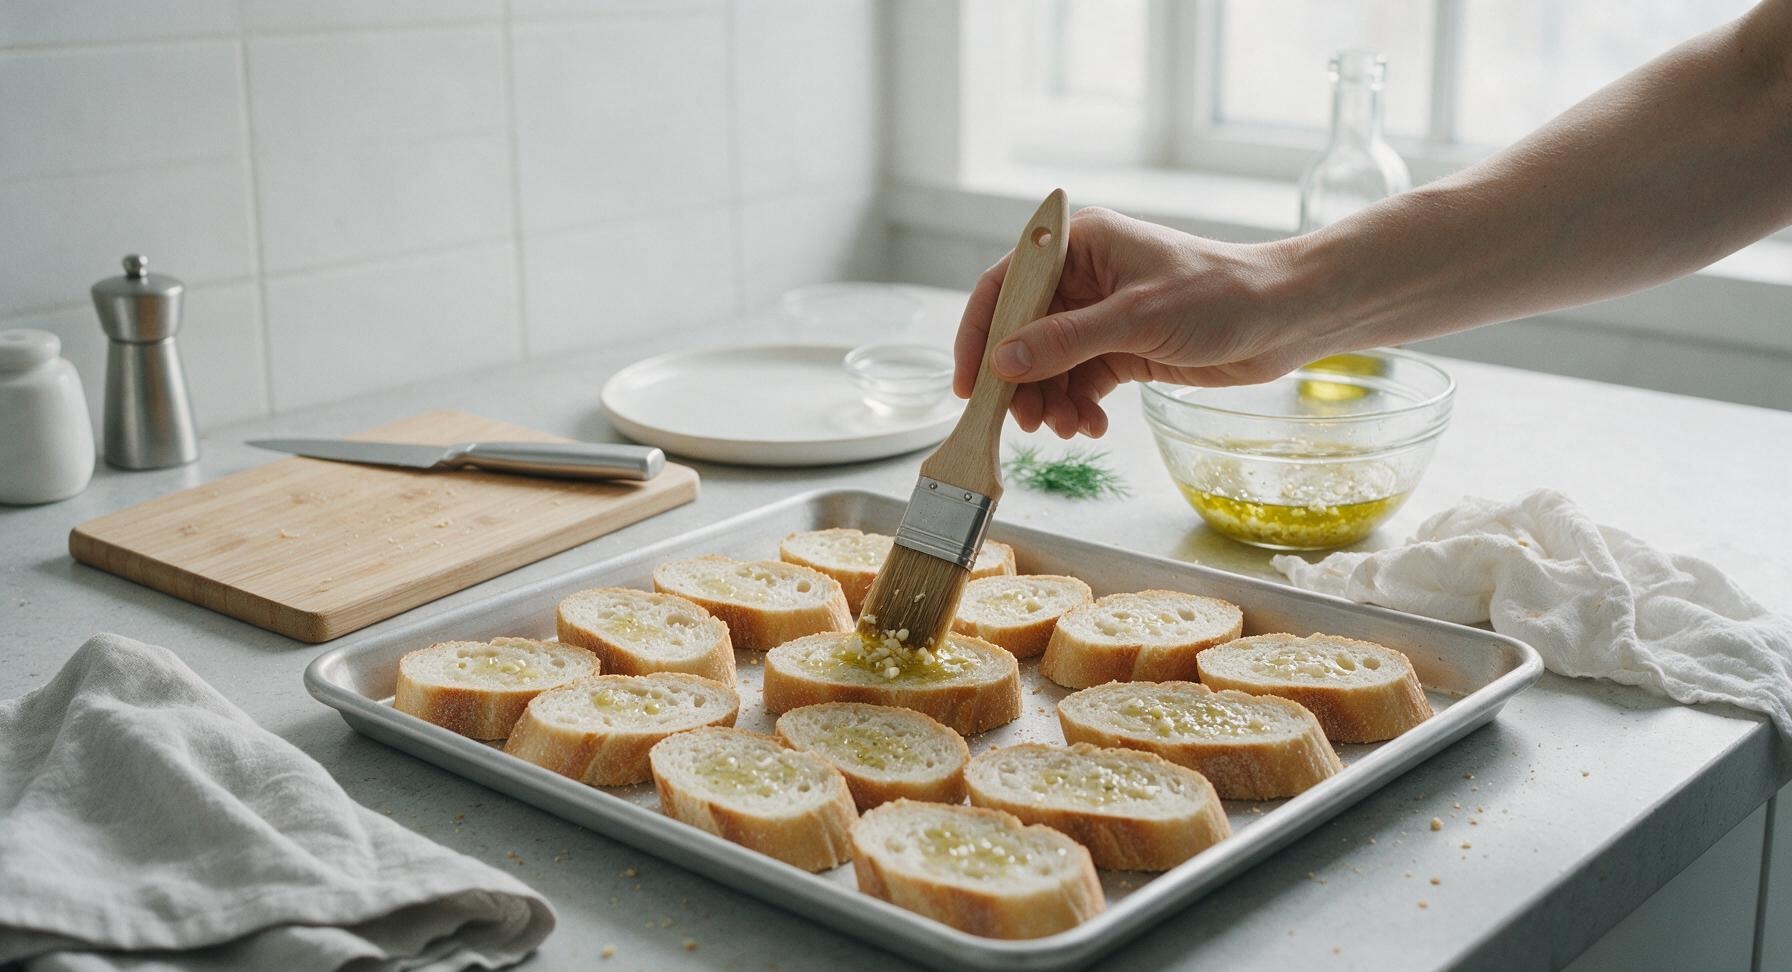
Greasy toast almost always comes from using too much olive oil, or baking at too low a temperature. You only need about 1 teaspoon of oil per baguette slice, brushed thinly and evenly across the cut surface, not soaked in. If your oven runs cold, use an inexpensive oven thermometer to confirm it hits 400°F, as low heat lets oil sink into the crumb instead of crisping the surface fast.
14.Can I add other toppings to this garlic toast to switch up the flavor?
▾
Absolutely! This base recipe is incredibly versatile. Try adding a light sprinkle of red pepper flakes for a little heat, a thin slice of fresh tomato and basil for a quick bruschetta-style bite, or a crumble of soft goat cheese right after it comes out of the oven. Just avoid heavy, wet toppings that will make the crisp toast soggy before serving.
15.Do I really need to flip and toast both sides of the baguette slices?
▾
Yes, flipping slices halfway through baking ensures both cut sides crisp up evenly, so you don’t have one perfectly golden side and one soft, pale, under-toasted side. If you prefer extra-crunchy toast, you can place slices directly on the oven rack instead of a baking sheet for the last 2 minutes, just watch closely to prevent crumbs from burning on the oven floor.
16.I don’t have fresh garlic—can I use garlic powder or jarred minced garlic instead?
▾
Fresh garlic gives the best, brightest flavor, but garlic powder works well in a pinch. Use ¼ teaspoon of garlic powder per 2 slices of baguette, mixed directly into the olive oil before brushing it on the bread. Skip jarred pre-minced garlic if you can, as it has a sharp, preserved, slightly sour flavor that doesn’t mellow as nicely as fresh garlic when baked.
17.How should I store leftover garlic toast, and how do I re-crisp it?
▾
Store completely cooled leftover toast in an airtight container at room temperature for up to 2 days—don’t refrigerate it, as that will make it go stale much faster. To re-crisp, place slices on a baking sheet in a 375°F oven for 3 to 4 minutes, until edges crisp back up. Never reheat it in the microwave, as that will turn it chewy and rubbery.
18.Can I make this garlic toast on the stovetop instead of baking it in the oven?
▾
Yes! Heat a dry cast iron or heavy-bottomed skillet over medium heat, brush the baguette slices with the garlic-olive oil mixture, and toast for 1 to 2 minutes per side until golden and crisp. Keep the heat at medium, not high, so the garlic doesn’t scorch before the bread toasts through. This method works great for small, quick batches when you don’t want to heat the whole oven.

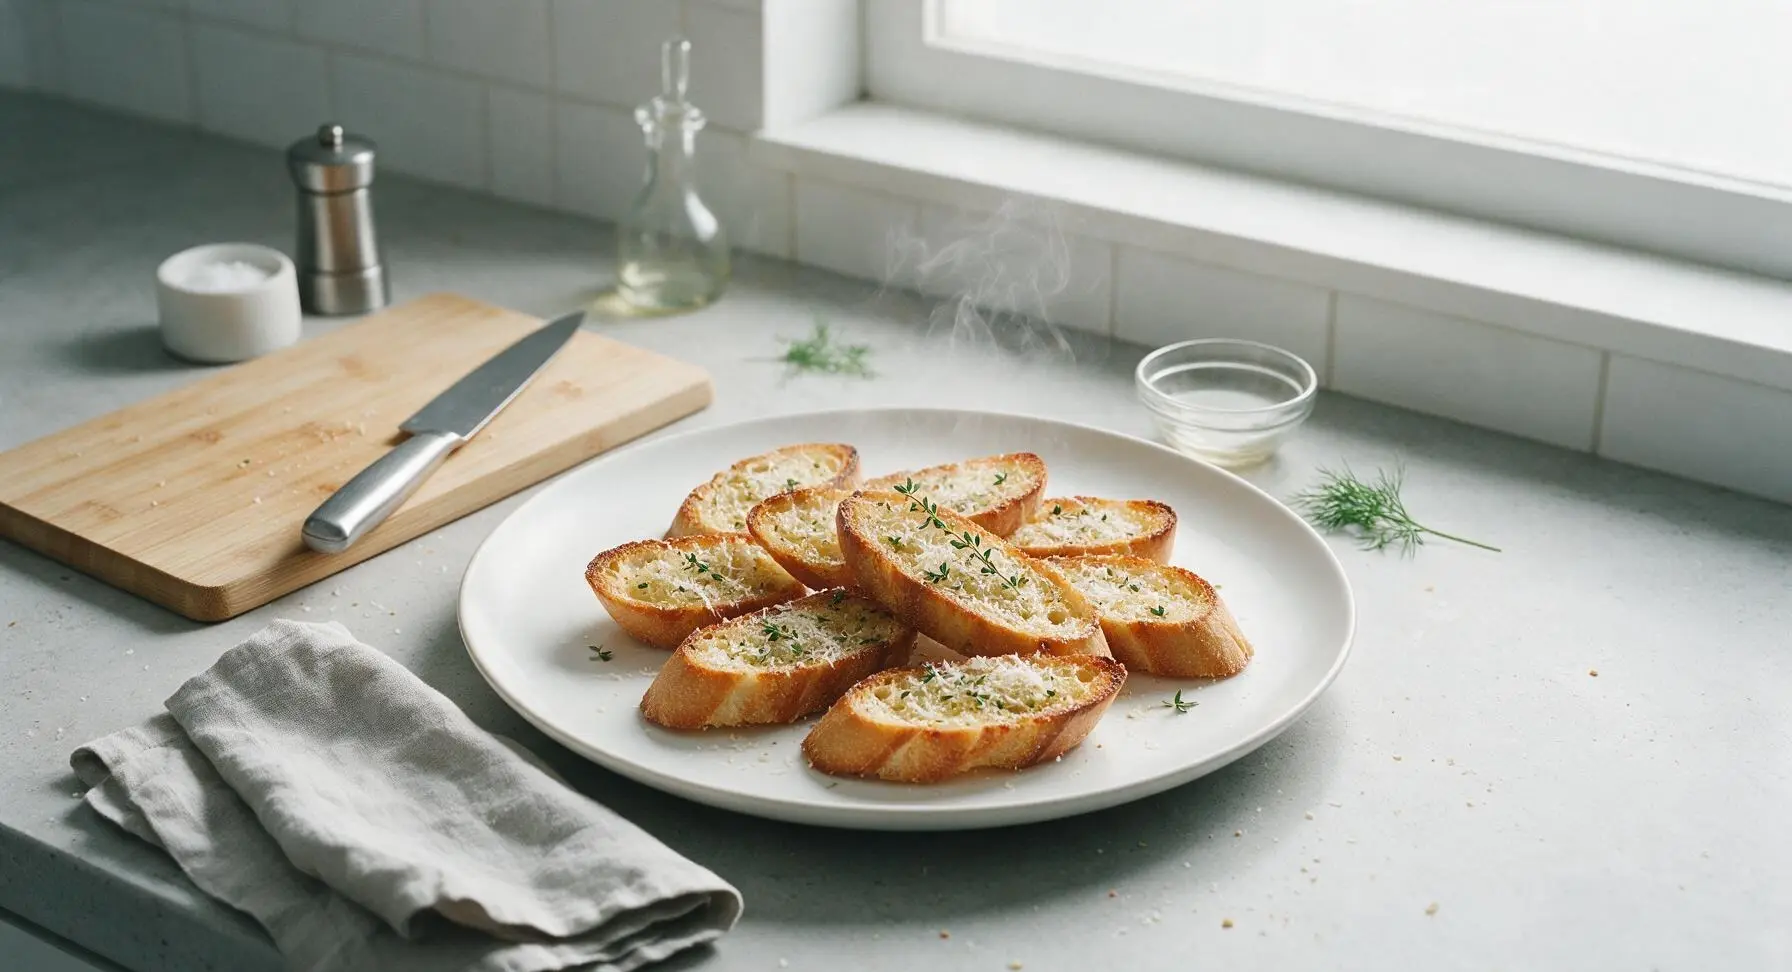
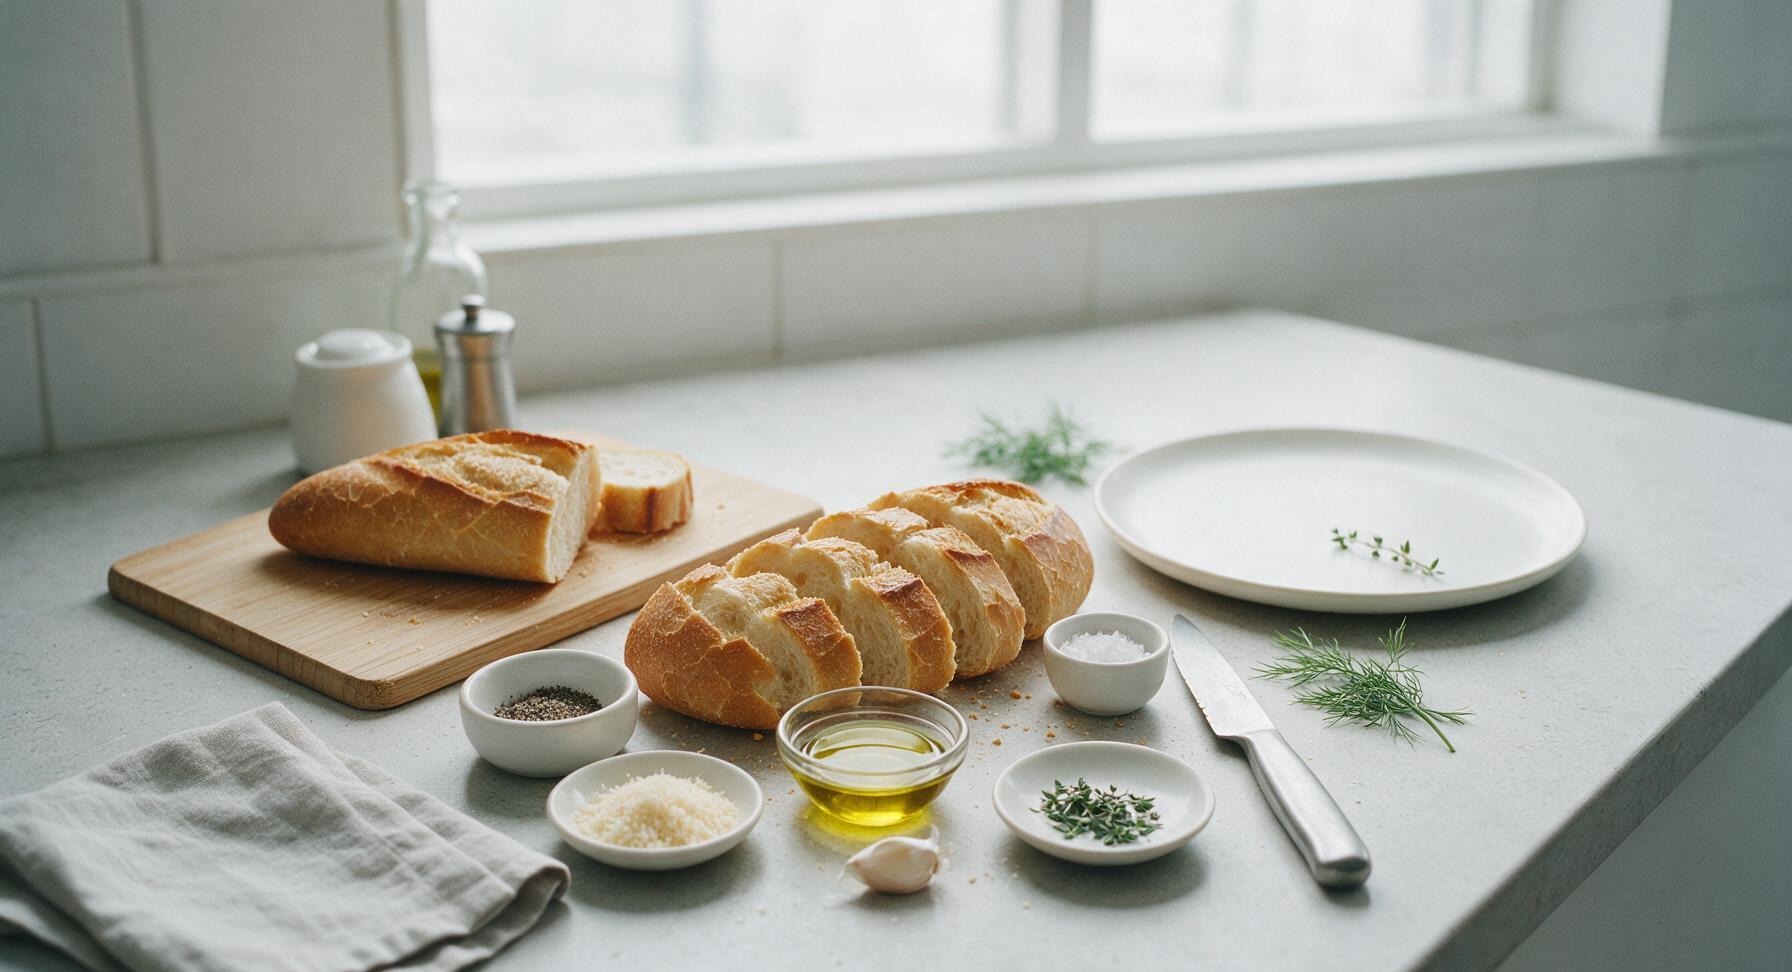






OMG this is SO good! I threw this together last night for our family pasta night and everyone went back for seconds. 8 minute cook time? Total game changer for busy weeknights, no more sad store-bought garlic bread for us.
Made a big batch of these for meal prep this week to pair with soups and salads! Did anyone else tweak the garlic butter to add a little parmesan? Curious if that messes with the crispiness?
My kids devoured these after practice yesterday! I didn’t even have to nag them to eat their dinner side, which is basically a miracle in my house. Will be making these every single week.
Brought these to our neighborhood block party potluck last weekend and people were asking me for the recipe before I even set the platter down! Pro tip: cut the baguette slices a little thinner for extra crunch.
Wait, how do you keep these from getting rock hard after they cool? I made my first batch last night and they were amazing right out of the oven but turned really tough 10 minutes later 😅
Made this for my at-home date night with my boyfriend to go with our charcuterie board and he thought I ordered it from our favorite French bistro! So easy even someone who burns toast can nail this (read: me).
Made these in my tiny RV oven on our last camping trip and they came out perfect! No fancy equipment needed, just a baking sheet and the simple garlic butter mix. 10/10 for easy camp cooking.
Has anyone tried this with vegan butter? I’m dairy free and dying to make these for Sunday brunch with my roommates!
I tripled the garlic amount because I am a garlic fiend and let me tell you… zero regrets. My whole house smelled like a delicious Italian restaurant for hours, 10/10.
Wait, do you use salted or unsalted butter for this? I have both in my fridge and don’t want to mess up the salt level!
This is the easiest thing I’ve made all semester in my dorm toaster oven! Way cheaper than getting garlic bread from the pizza place down the street, and tastes 10x better. Perfect for late night study sessions.
Paired these with tomato soup last night for the coziest fall dinner ever. The crunch of the toast against the creamy soup? *Chef’s kiss* I will never eat soup without a side of this again.
Has anyone tried making these in the air fryer instead of the oven? I don’t want to heat up my whole kitchen in this Texas heat!
Testing sides for my Thanksgiving appetizer spread and these are 100% making the cut! I’m going to add a little sprinkle of fresh parsley and red pepper flakes for a pop of color and heat, can’t wait.
Used leftover stale baguette I had sitting on my counter to make this and it turned out even better than using fresh bread! Total game changer for reducing food waste, I’ll never throw out old baguette again.
My three picky toddlers ate these without complaining! I cut them into little stick shapes so they could dip them in marinara, and they thought it was the most fun snack ever. Win for mom!
8 minutes from start to finish? I thought that had to be too good to be true but nope! Whipped the butter up while the oven preheated, popped them in, and had a perfect side ready before my pasta even finished boiling. Unreal.
Added a tiny pinch of red pepper flakes to the garlic butter for a little kick and it was chef’s kiss! If you like a little heat with your garlic bread, do not sleep on that addition.
Made these for our football watch party yesterday to go with wings and pizza and they were gone in 10 minutes flat. All my buddies were raving, will be a staple at every game day from now on.