
basic green bean casserole

title 1
basic green bean casserole
⏱️ cook time 30 minutes
🍽️ servings 8
⚡ Difficulty easy

intro

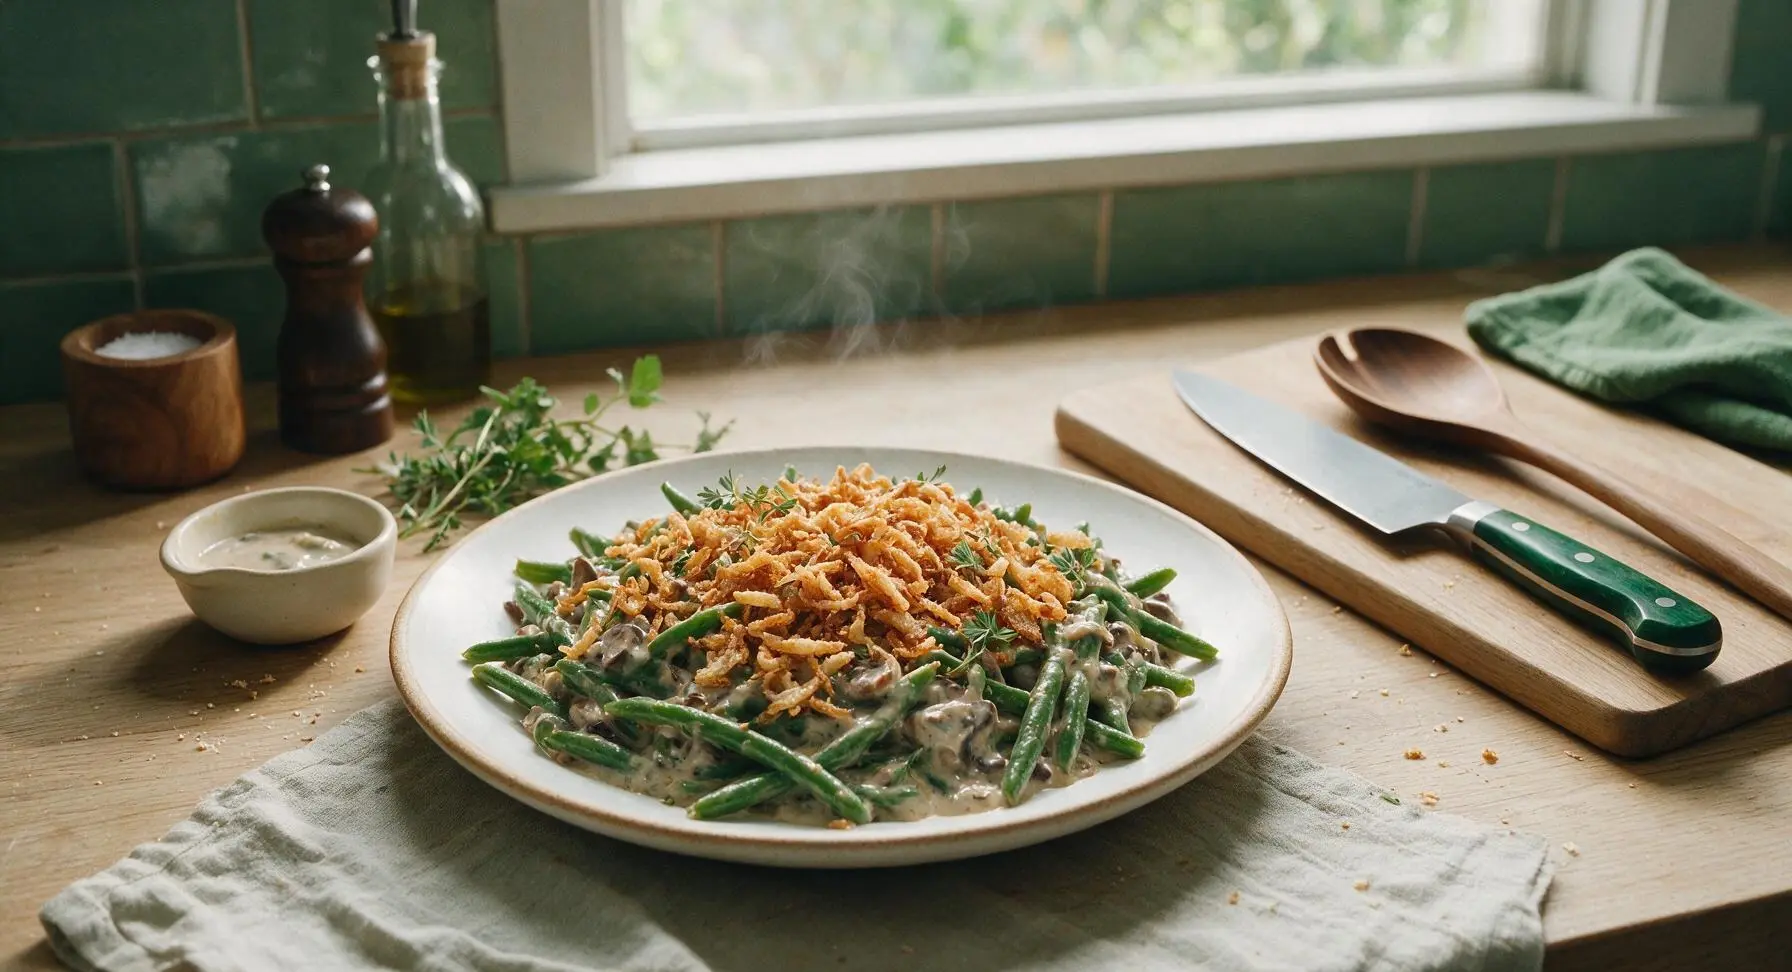
Creamy, crunchy, and endlessly comforting, this classic green bean casserole pairs tender beans with rich mushroom sauce and crispy fried onions, a beloved holiday table staple.

Ingredients
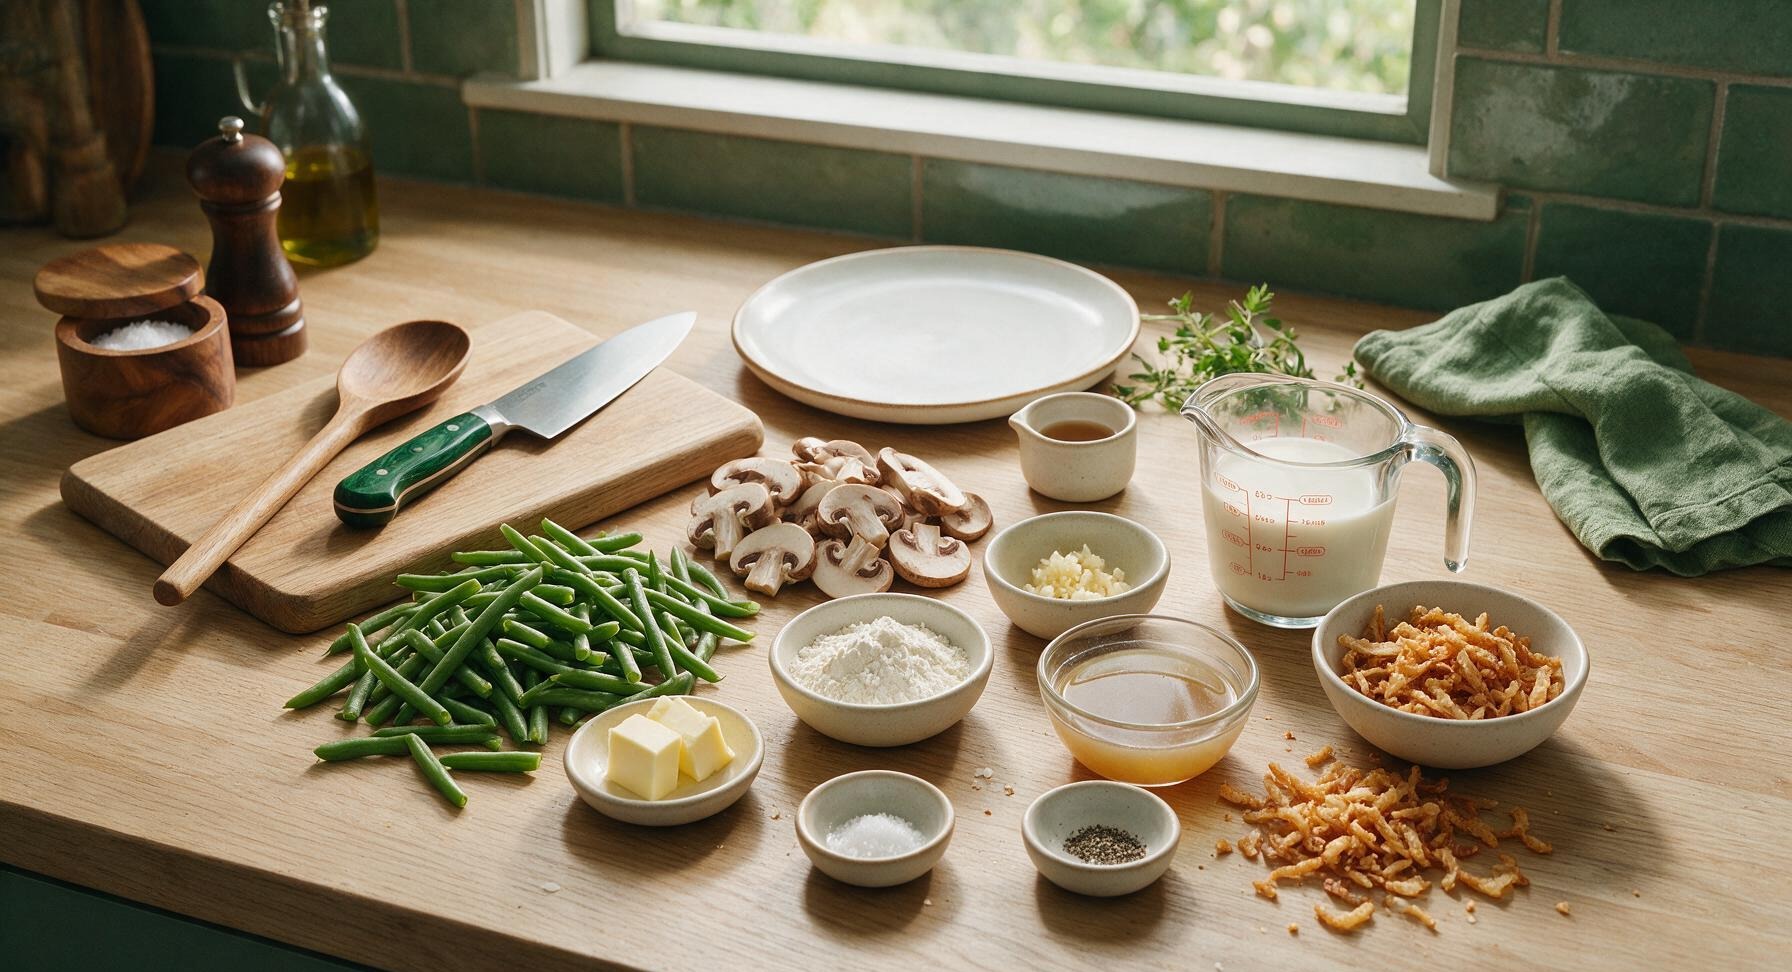
Fresh green beans, trimmed and cut into 1.5-inch pieces 1 lb (450g)
Cremini mushrooms, thinly sliced 8 oz (225g)
Unsalted butter 2 tbsp
All-purpose flour 2 tbsp
Garlic, minced 2 cloves
Whole milk 1 cup (240ml)
Low-sodium chicken or vegetable broth ½ cup (120ml)
Low-sodium soy sauce 1 tsp
Kosher salt ½ tsp
Ground black pepper ¼ tsp
Crispy fried onions, divided 1.5 cups

Steps

1

Blanch Green Beans

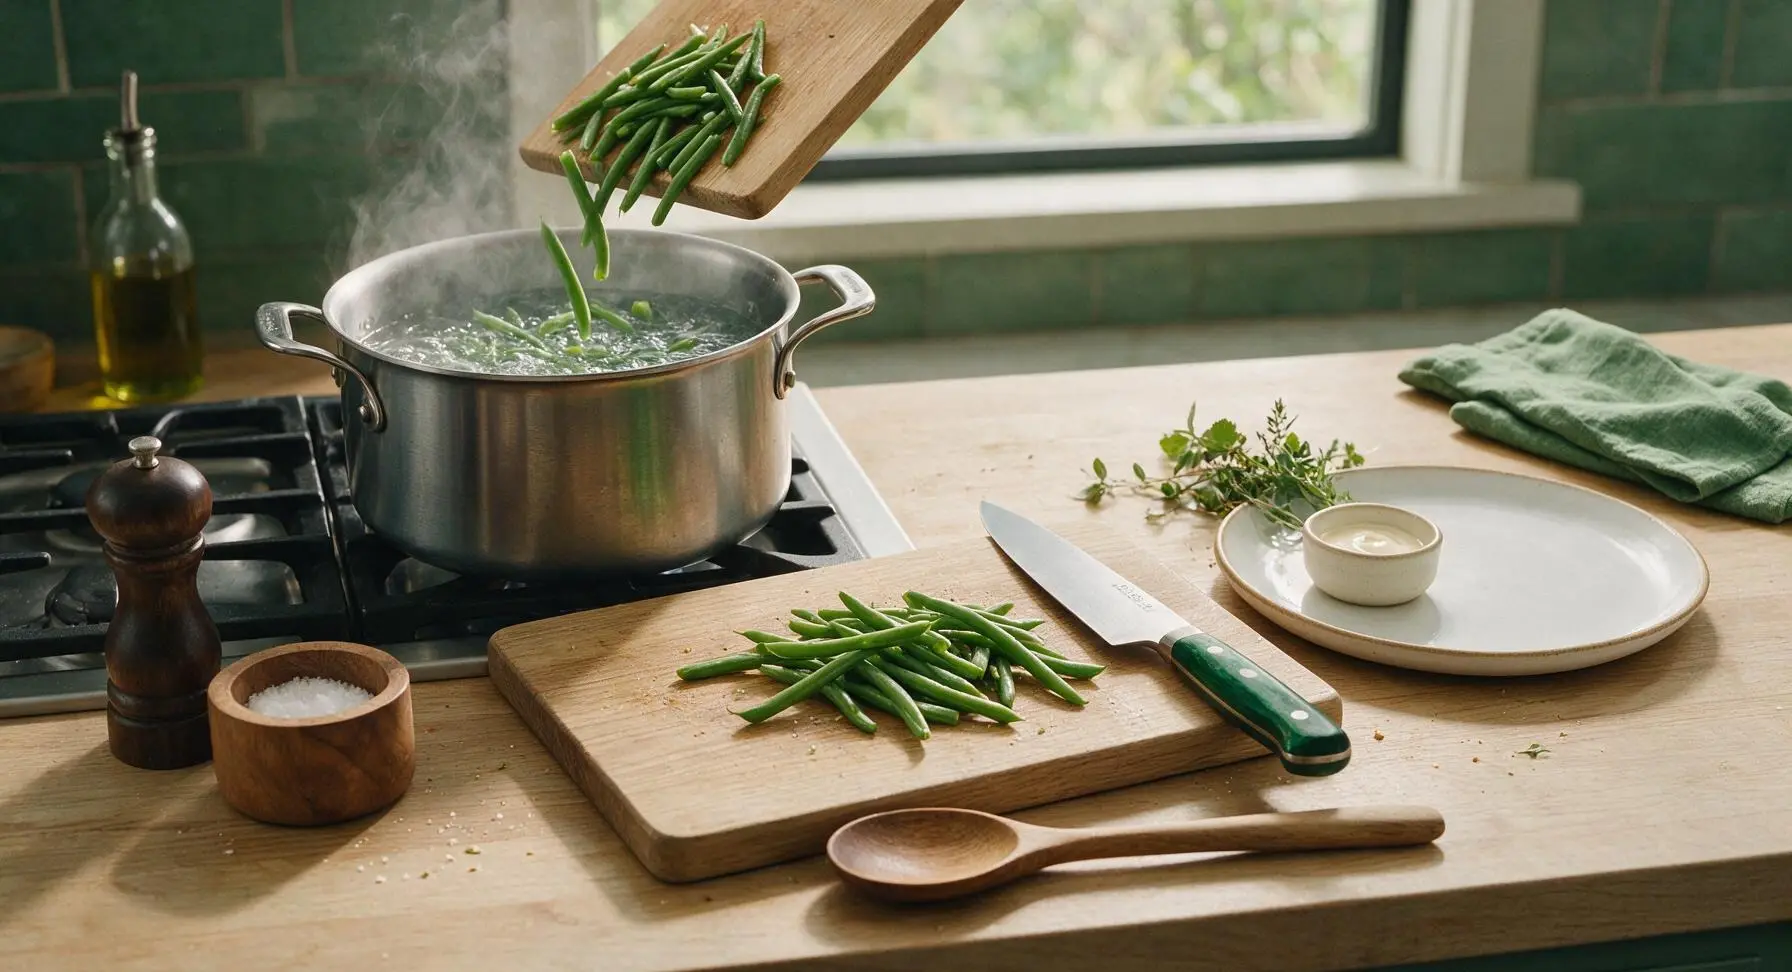
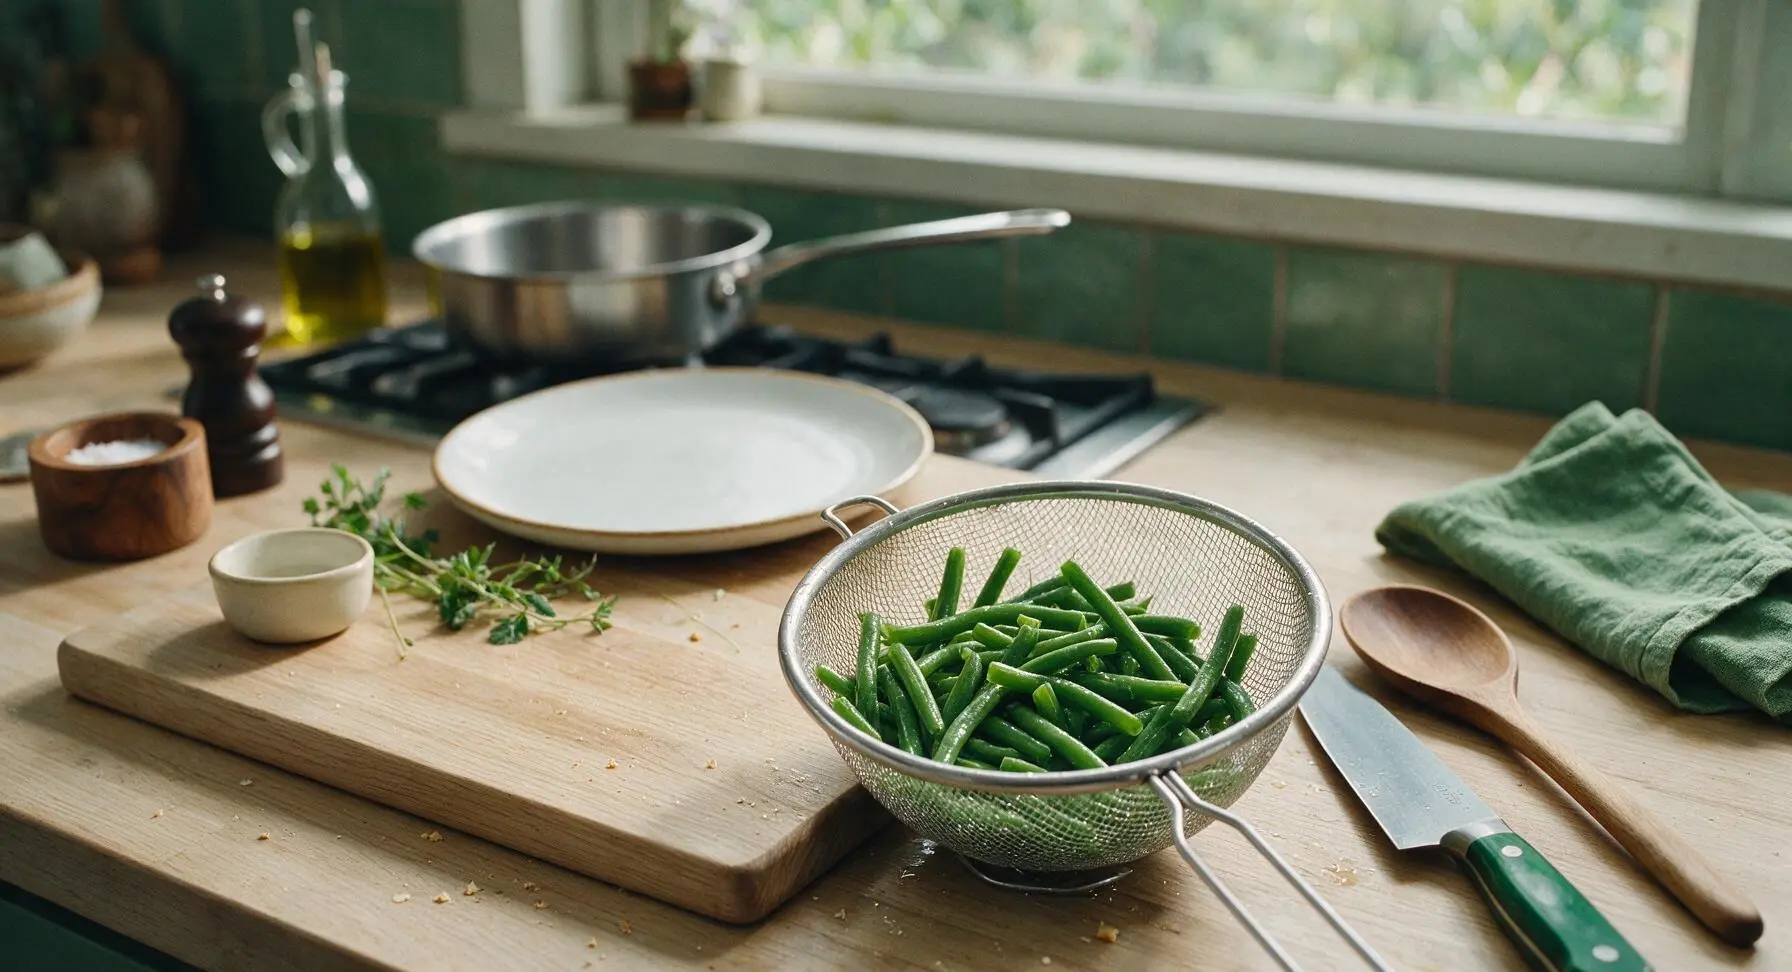
Bring 4 quarts of heavily salted water (it should taste like seawater) to a rolling boil in the 4qt stock pot over high heat. Add trimmed, 1.5-inch cut green beans and cook for exactly 4 minutes, until bright green and crisp-tender (they should still have a slight snap, not soft and mushy). Drain immediately in the wire mesh strainer, then submerge the strainer with beans in a large bowl of ice water for 2 minutes to stop the cooking process and lock in vibrant green color. Lift the strainer, shake off excess water, and set drained beans aside.
Step 1
step1:Blanch Green Beans
Step 1
step1:Blanch Green Beans
2

Sauté Mushroom Base

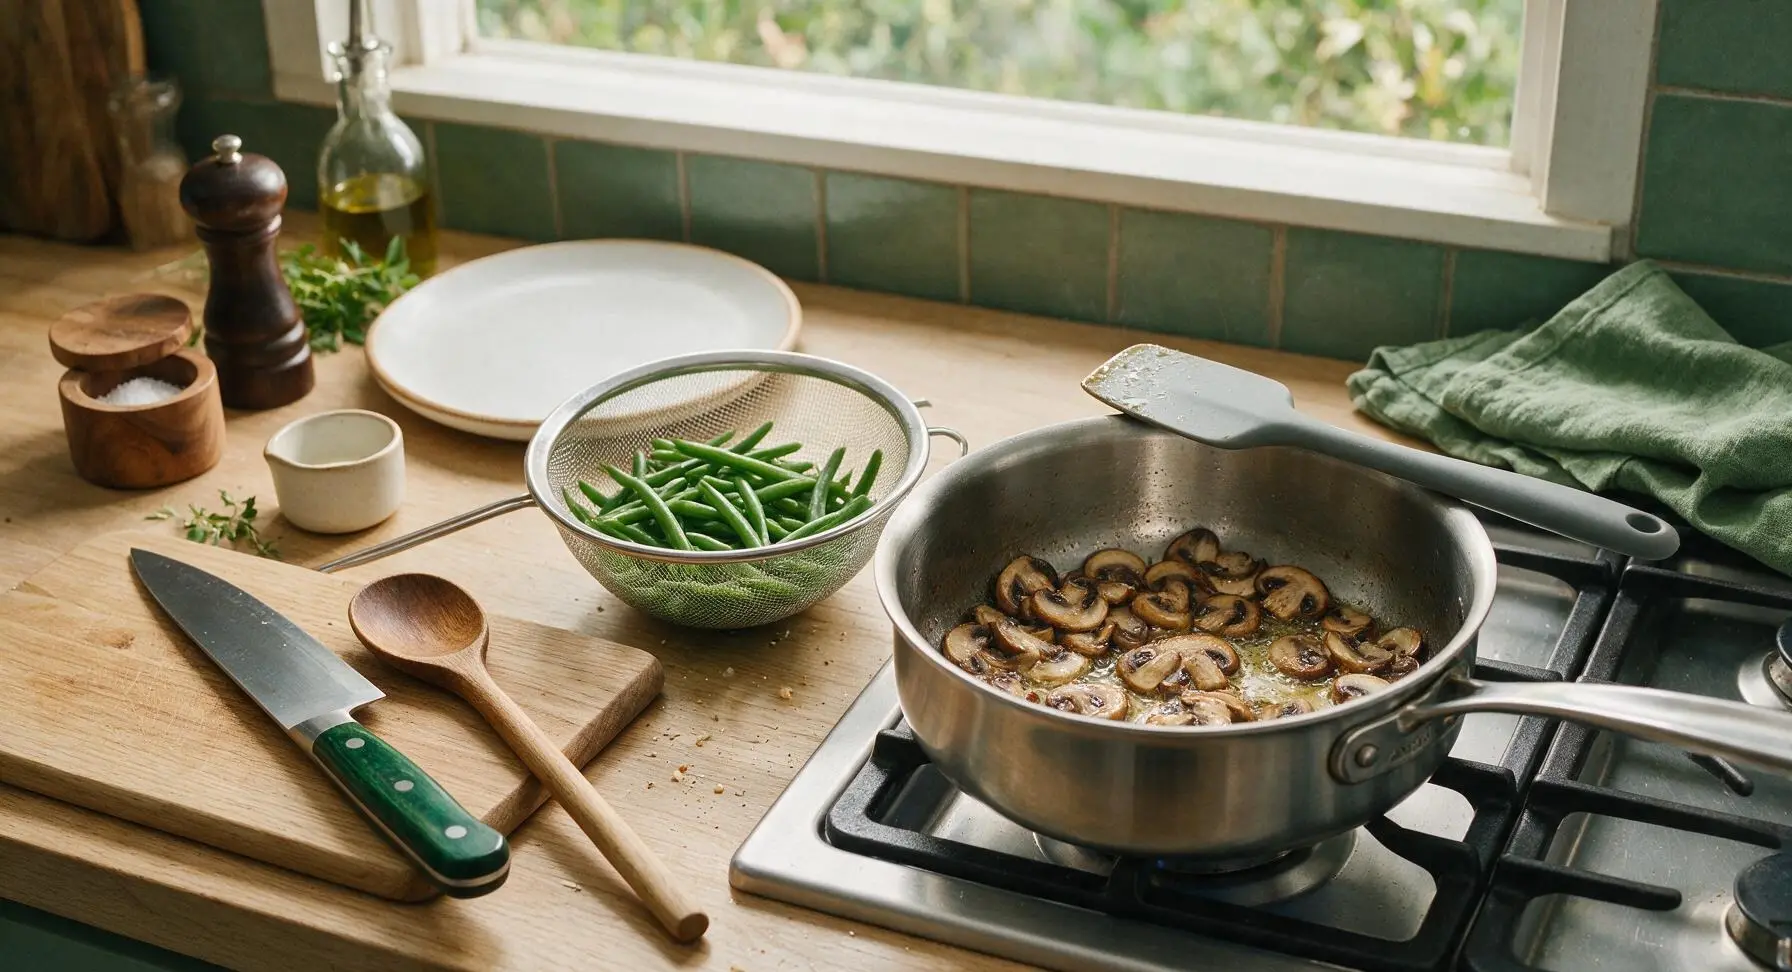
Melt 2 tablespoons unsalted butter in the 3qt stainless steel saucepan over medium heat. Add thinly sliced cremini mushrooms, stirring occasionally with the gray silicone spatula, and cook for 5 minutes until mushrooms are deep golden brown, have shrunk to half their original size, and all released liquid has evaporated. Add 2 cloves minced garlic and cook for 30 seconds, stirring constantly, until fragrant—do not let the garlic turn dark brown, as it will develop a bitter, off flavor.
Step 2
step2:Sauté Mushroom Base
3

Whisk Creamy Sauce

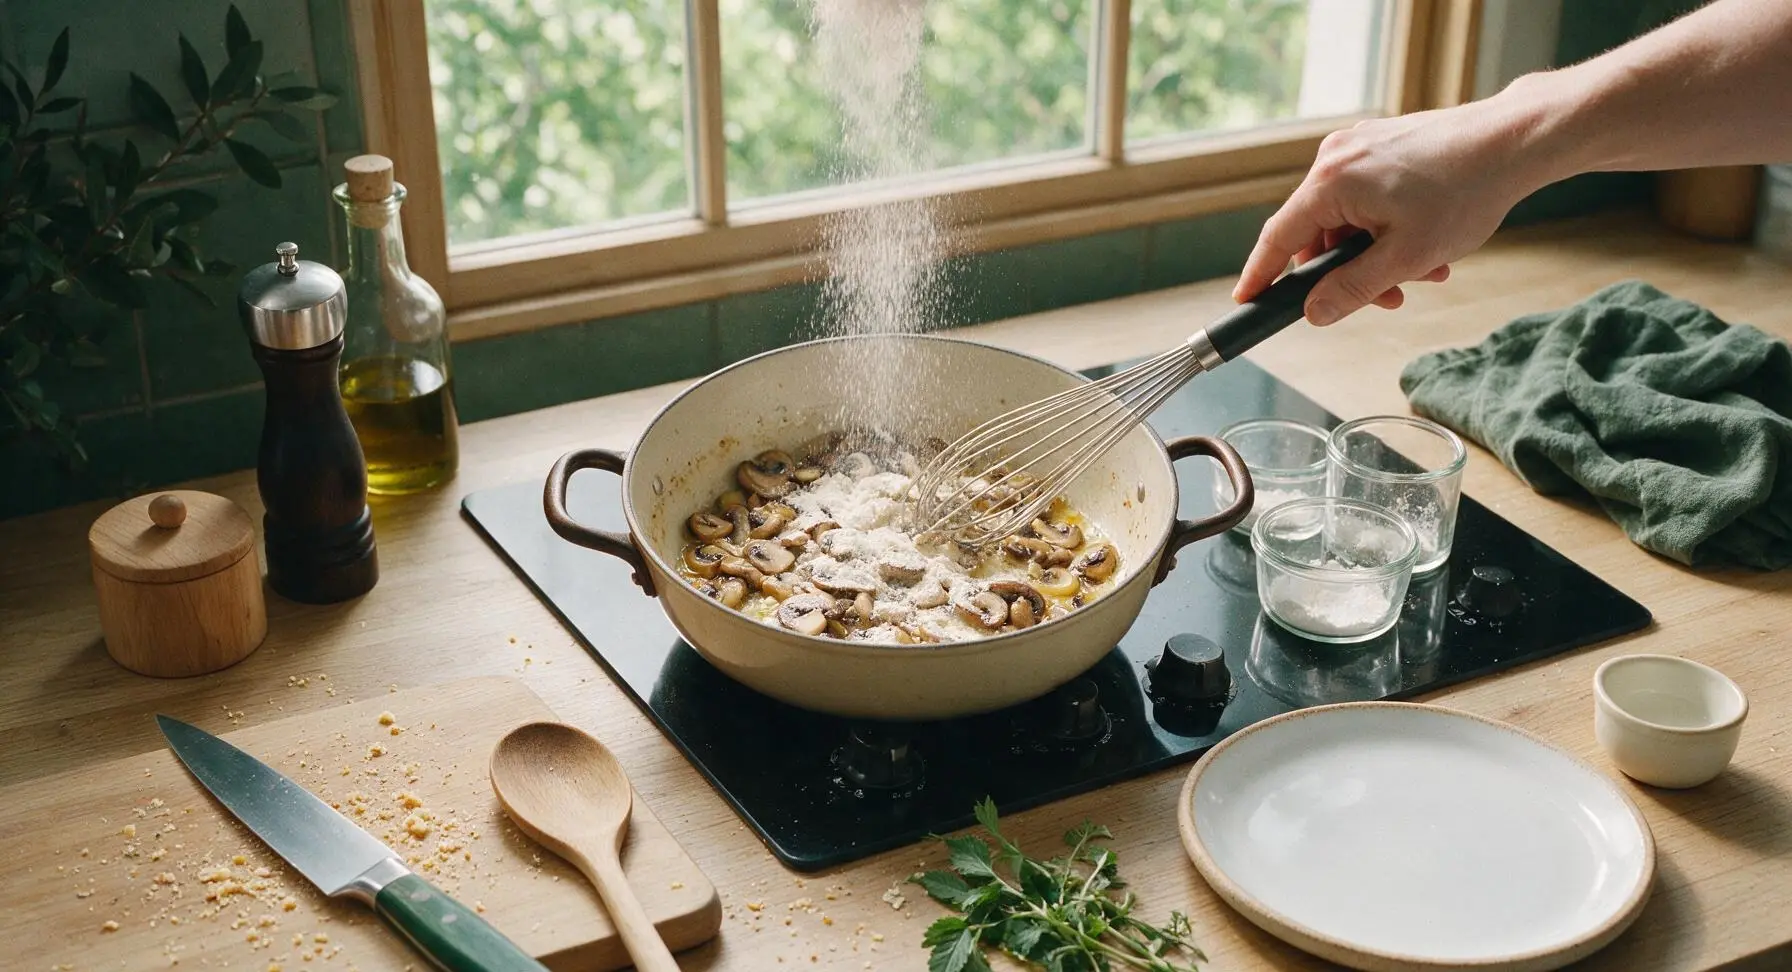
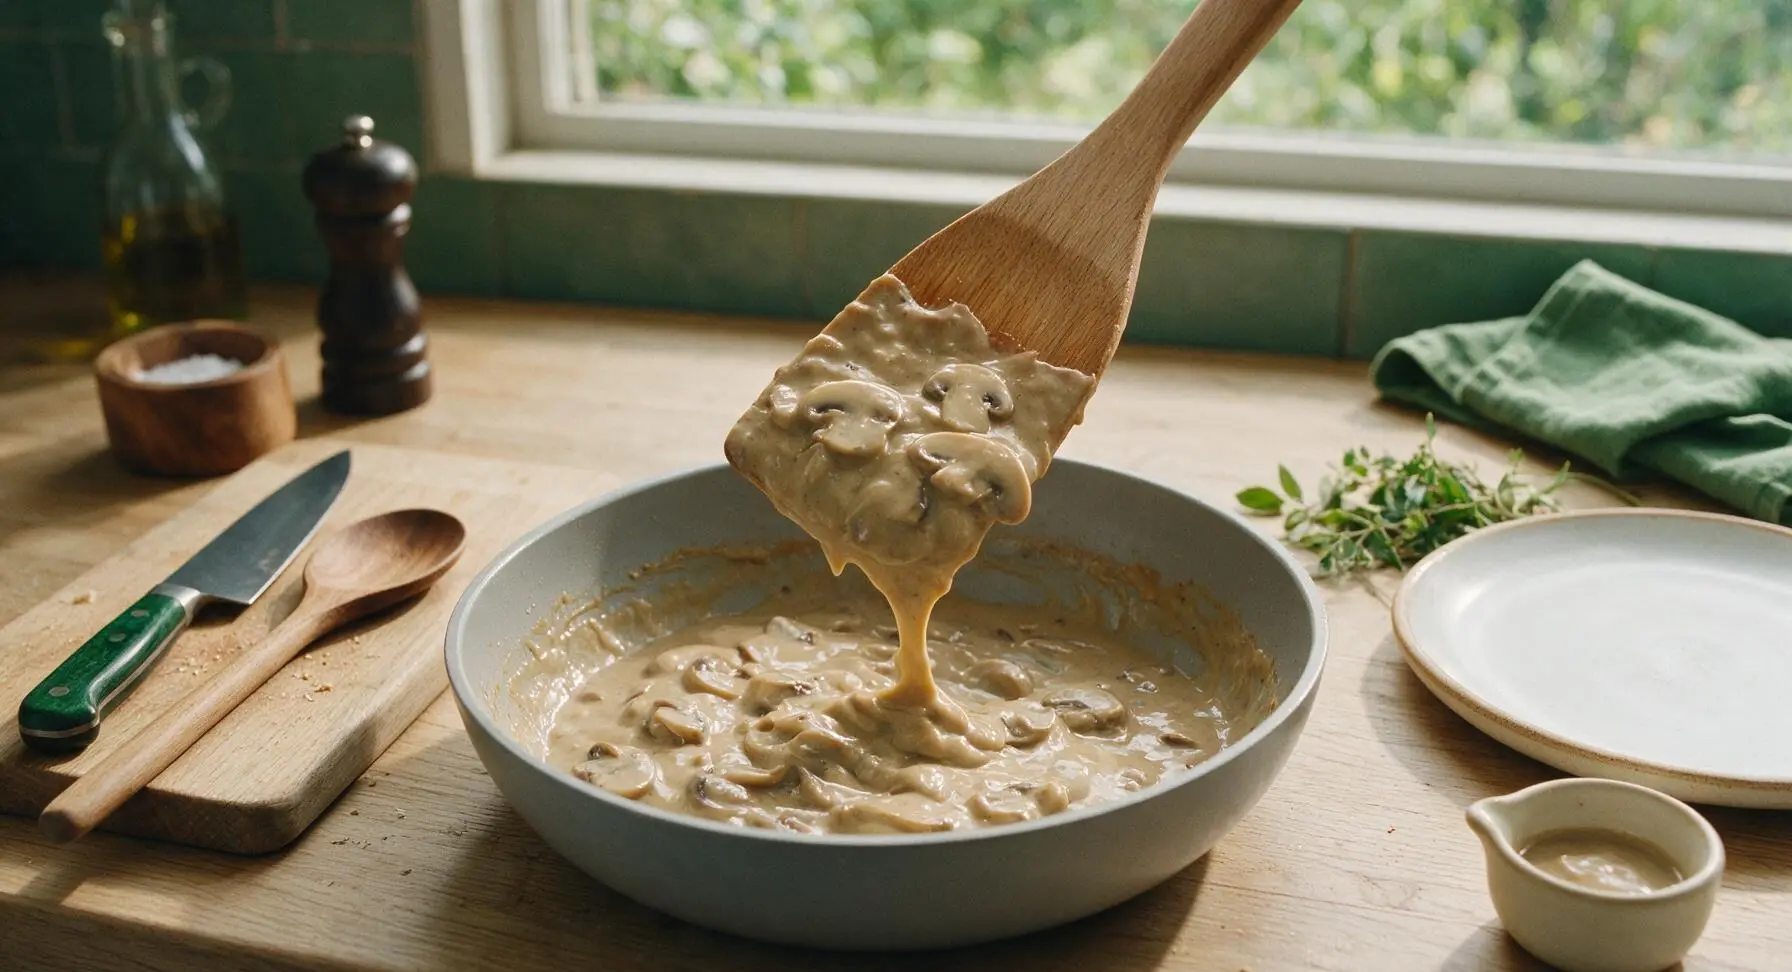
Sprinkle 2 tablespoons all-purpose flour evenly over the cooked mushroom and garlic mixture, stirring constantly for 1 full minute to form a smooth, pale golden roux, cooking out the raw flour taste. Slowly pour in 1 cup whole milk and ½ cup low-sodium broth while whisking continuously to prevent lumps from forming. Stir in 1 teaspoon low-sodium soy sauce, ½ teaspoon kosher salt, and ¼ teaspoon ground black pepper. Bring the sauce to a gentle simmer, and cook for 2-3 minutes, stirring often, until the sauce is thick enough to evenly coat the back of the silicone spatula, leaving a clear line when you run your finger through it.
Step 3
step3:Whisk Creamy Sauce
Step 3
step3:Whisk Creamy Sauce
4

Mix Casserole Base

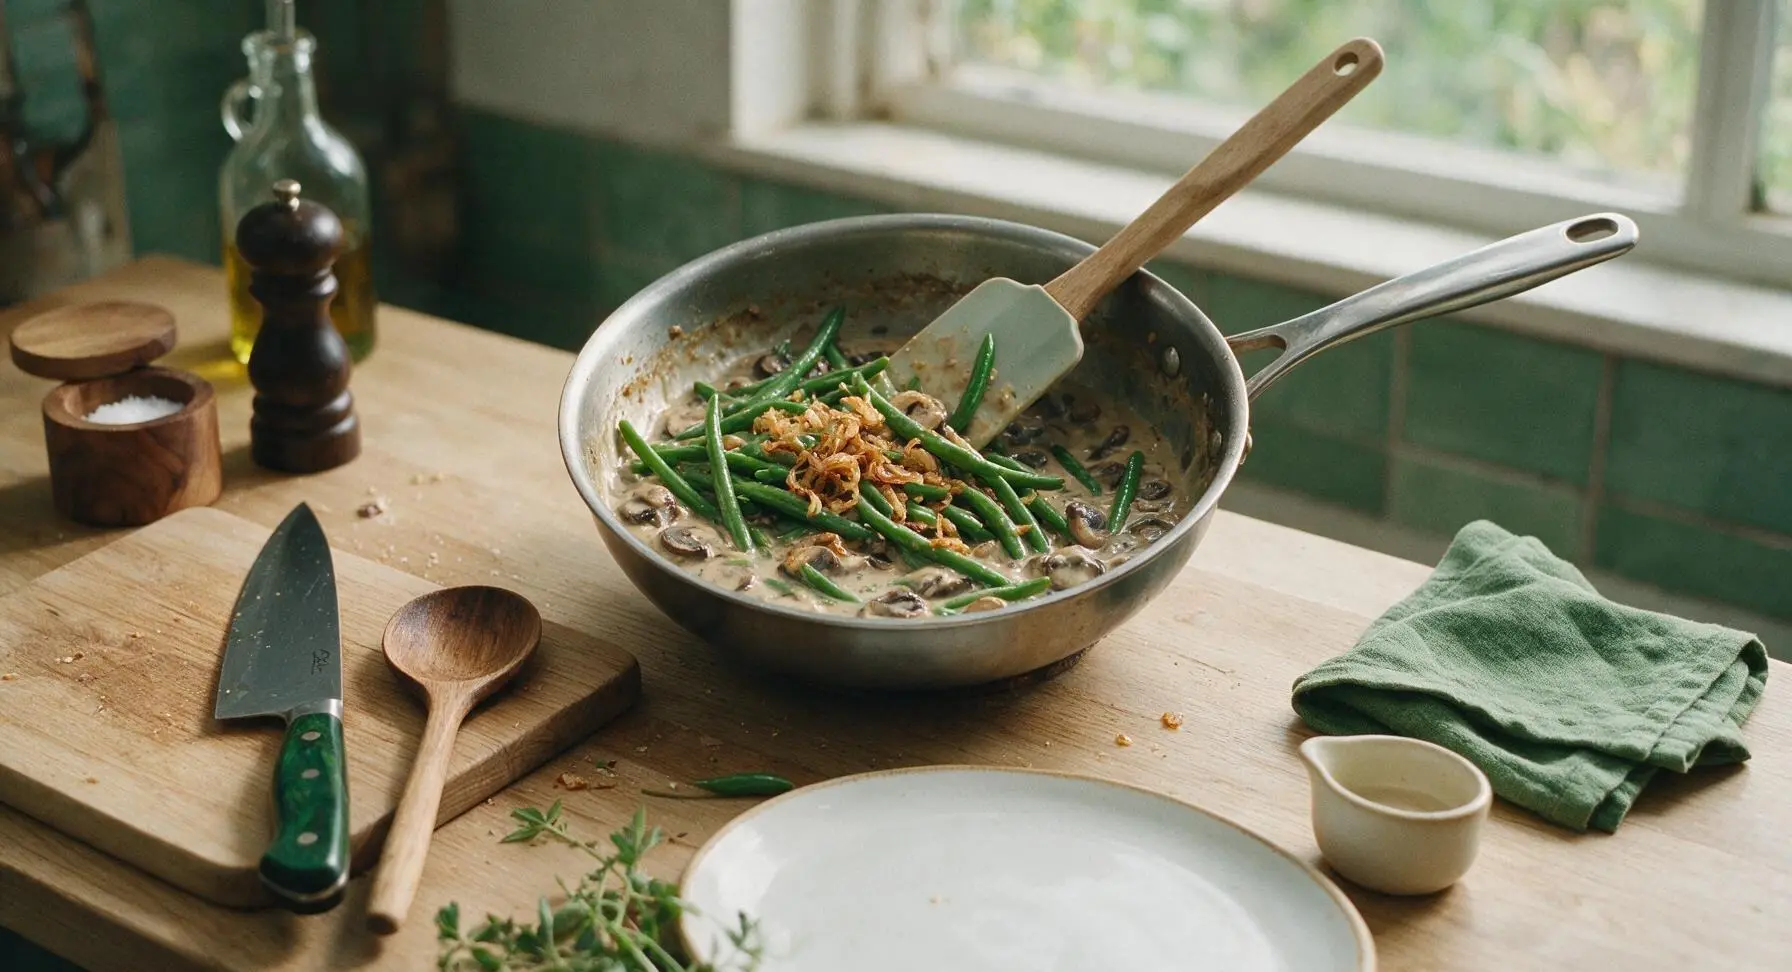
Add the fully drained blanched green beans and ½ cup of the crispy fried onions to the saucepan with the thickened mushroom sauce. Fold gently with the silicone spatula until every green bean is evenly coated in sauce, and the fried onions are distributed evenly throughout the mixture, taking care not to smash or break the tender beans.
Step 4
step4:Mix Casserole Base
5

Assemble in Baking Dish

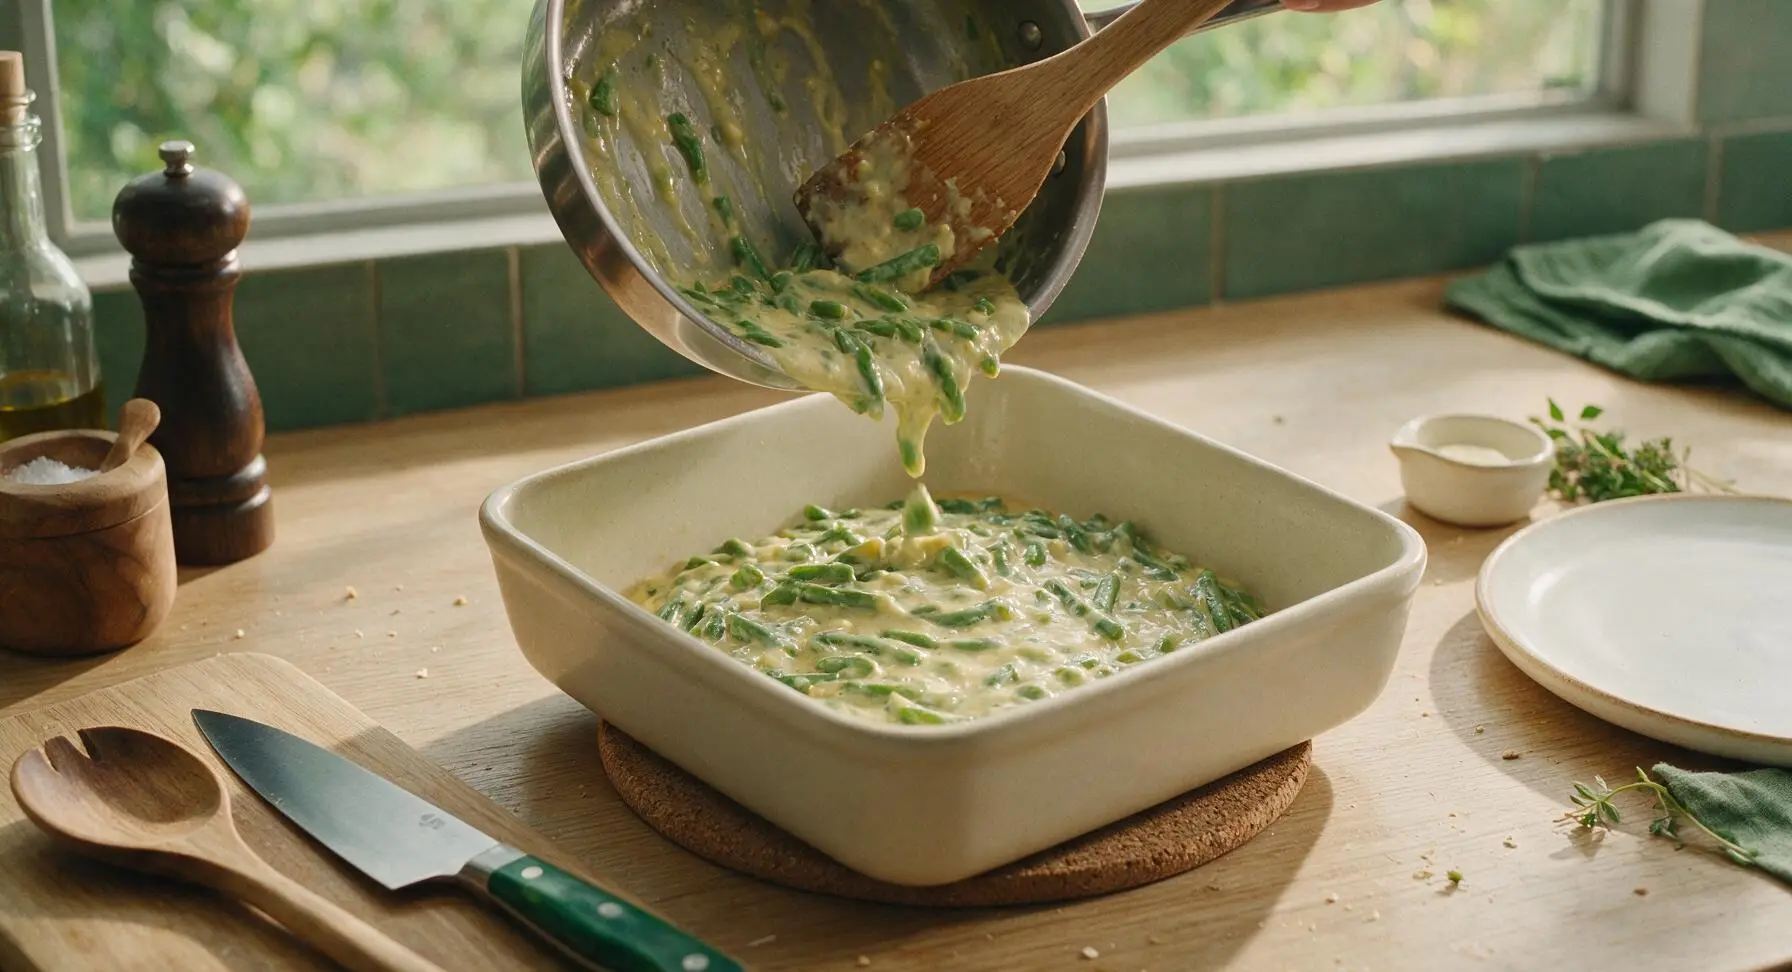
Position the matte cream 9x9 inch ceramic baking dish on the round cork trivet at center counter. Pour the entire green bean and sauce mixture from the saucepan into the baking dish, using the spatula to scrape every last bit of sauce from the pan sides and bottom. Spread the mixture into a flat, even layer across the dish, so it cooks uniformly with no dry spots.
Step 5
step5:Assemble in Baking Dish
6

Top with Fried Onions

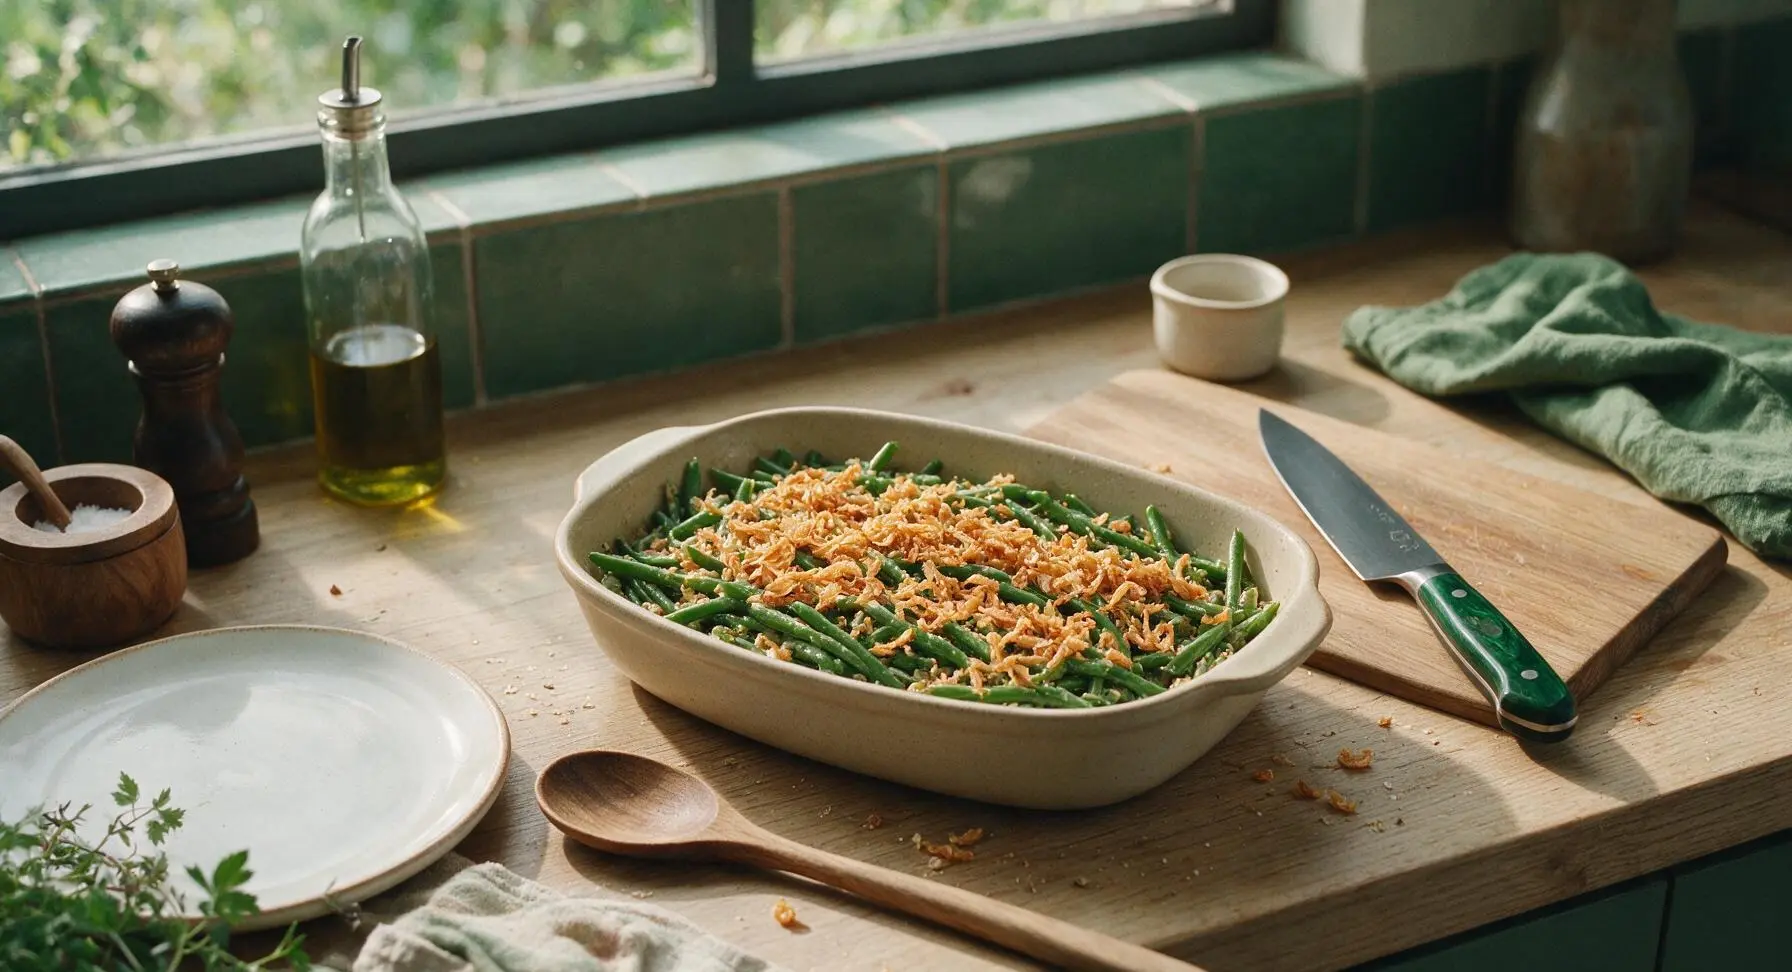
Sprinkle the remaining 1 cup of crispy fried onions in an even layer across the entire top surface of the casserole. Do not press the onions into the sauce, as this will submerge them in moisture and make them soggy during baking; leave them loose to crisp up in the oven heat.
Step 6
step6:Top with Fried Onions
7

Bake Until Bubbly

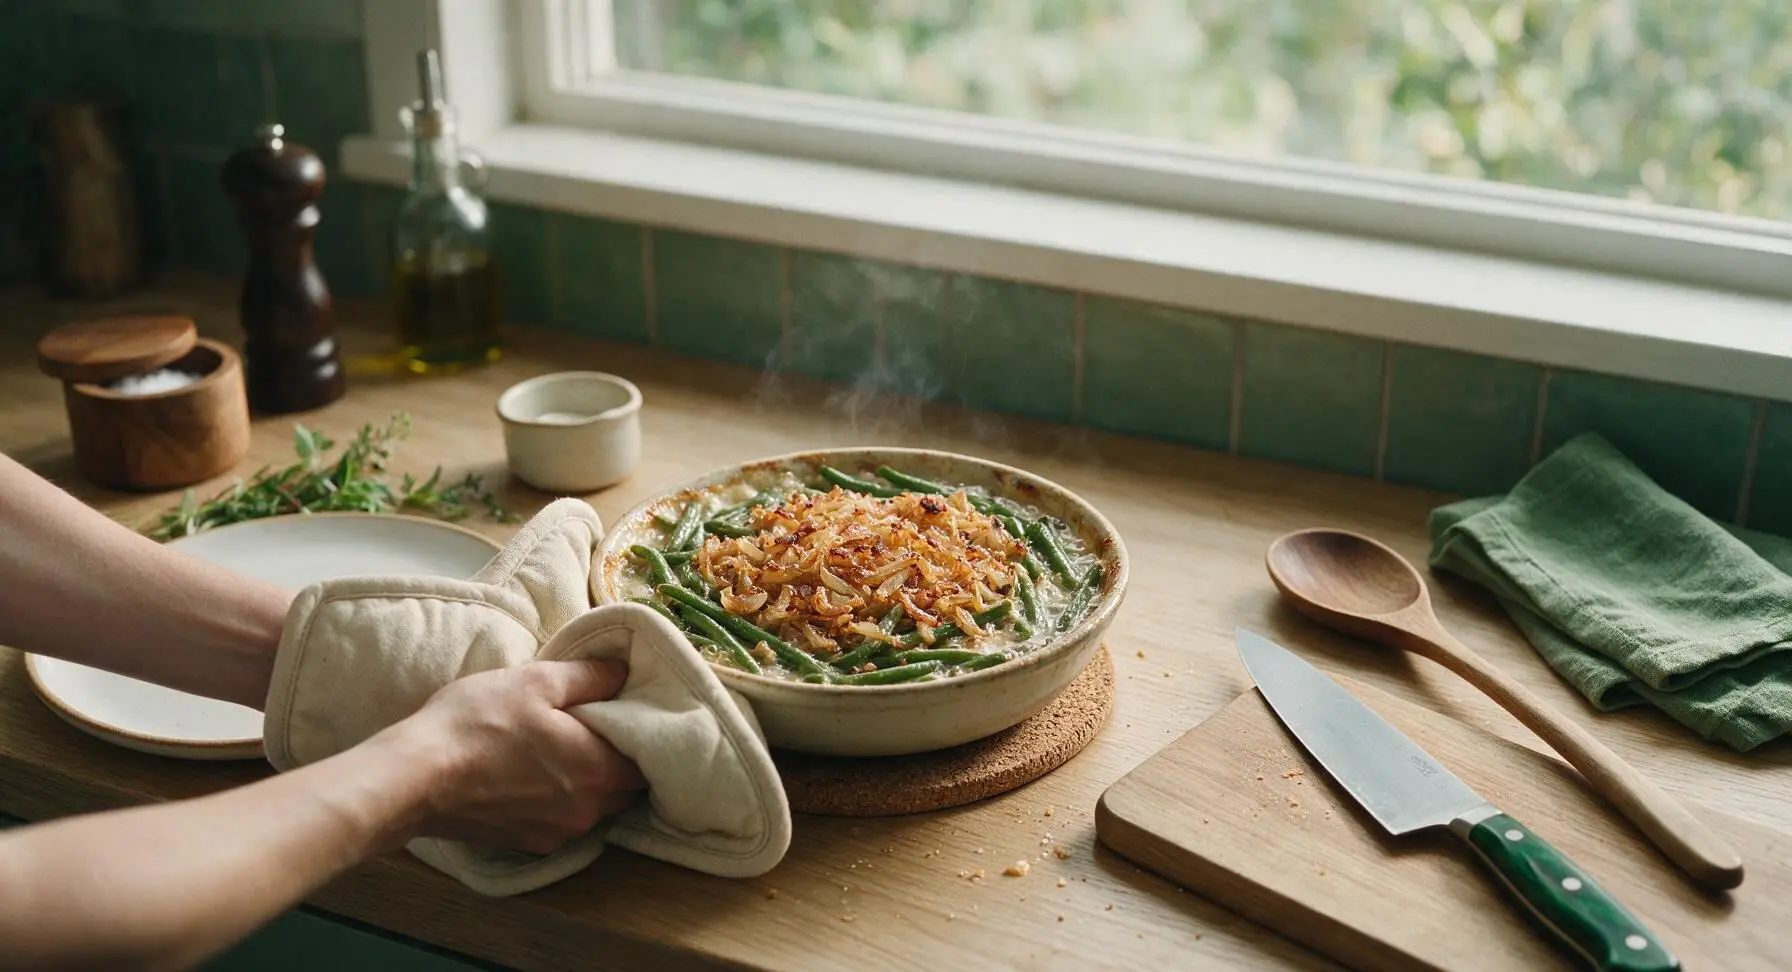
Carefully transfer the assembled baking dish to a preheated 375°F (190°C) oven, and bake for 20 minutes. The casserole is done when the sauce is actively bubbling around the entire edge of the dish, and the fried onion topping is a deep, even golden brown. If the onions begin to darken too quickly before the sauce bubbles, tent the dish loosely with a small sheet of aluminum foil for the final 5 minutes of baking to prevent burning. Remove from the oven and let rest 5 minutes before serving to let the sauce set slightly.
Step 7
step7:Bake Until Bubbly

Tips

1.Shock blanched green beans in ice water immediately after boiling: this stops the cooking process instantly to keep beans crisp-tender (not mushy) and locks in their bright green color, preventing the dull, olive-hued, overcooked beans that ruin many casseroles.
2.Add the small amount of soy sauce to the sauce: it adds deep, savory umami flavor without tasting like soy, replicating the rich savoriness of the classic canned soup version without excess sodium or preservatives.
3.Keep fried onions loose on top of the casserole, never pressed into the sauce: pressing onions submerges them in moisture, making them soggy during baking, while a loose, even layer stays light and crispy for the perfect textural contrast.


✨ You May Also Like

Side Dishes
🍜 India

Velvety, aromatic all-purpose curry sauce perfect for tossing with roasted veggies, grilled protein, or rice for fast, cozy, flavorful meals.

⏱️ 25 minuteSide Dishes ★ 4.8
Side Dishes
🍜 Spain

Tender, starchy boiled yuca tossed in bright, garlicky citrus mojo sauce—an iconic, zesty side that pairs beautifully with roasted pork, grilled meats, and rice and beans.

⏱️ 40 minuteSide Dishes ★ 5
Side Dishes
🍜 United States

Tender, paper-thin potato flatbread, a beloved Norwegian-American Minnesota Christmas staple, griddled until softly spotted and served warm with butter.

⏱️ 1 hour 30Side Dishes ★ 4.6
Side Dishes
🍜 United States

Rich, deeply savory cured salt pork, a long-lasting kitchen staple perfect for frying crispy as a side or adding umami to stews, beans, and chowders.

⏱️ 7 days (2Side Dishes ★ 4.9
Side Dishes
🍜 United States

Crispy, tangy classic Southern fried green tomatoes with a crunchy cornmeal crust, served hot for a nostalgic, comforting summery bite.

⏱️ 25 minuteSide Dishes ★ 4.9
Side Dishes
🍜 United States

Moist, golden-crusted savory muffins with sweet corn, zesty jalapeño, and melted cheddar, perfect for pairing with smoky summer grilled fare.

⏱️ 30 minuteSide Dishes ★ 4.9

basic green bean casserole:Frequently Asked Questions

1.Can I use canned or frozen green beans instead of fresh for this recipe? ▾
You absolutely can, with a few small adjustments to avoid a watery casserole. For canned beans, drain, rinse, and pat them fully dry before mixing into the sauce, and skip the pre-cook step since they’re already tender. For frozen beans, thaw completely and squeeze out excess moisture, then blanch for just 2 minutes instead of the 4 minutes recommended for fresh.
2.Why does my mushroom sauce turn out lumpy or too thin, and how do I fix it? ▾
Lumps usually happen when you add flour too quickly or don’t whisk consistently as you add liquid. Cook the flour in melted butter with mushrooms and garlic for a full minute to remove raw flour taste, then stream in broth or milk slowly while whisking nonstop. If your sauce is too thin, simmer 2-3 extra minutes; if too thick, stir in a splash of half-and-half until it coats the back of a spoon.
3.Can I prep this green bean casserole ahead of time for holiday gatherings? ▾
Absolutely, and it’s a huge time-saver for busy holiday meal prep. Assemble the cooked green beans and finished mushroom sauce in your baking dish 1 to 2 days in advance, cover tightly, and store in the fridge. Wait to add the crispy fried onion topping until right before baking to keep it crunchy, and add 5 to 7 minutes to the bake time if cooking straight from the fridge.
4.I don’t have cremini mushrooms available—what’s a good substitute? ▾
White button mushrooms are the most seamless swap, with a mild, earthy flavor that fits perfectly in this creamy sauce. If you want a deeper umami kick, use a 50/50 mix of button mushrooms and finely chopped shiitakes. Skip canned mushrooms if you can, as their mushy texture and briny preserved flavor will make the sauce taste off and add unwanted extra moisture.
5.My fried onion topping always burns before the casserole is heated through—how do I prevent that? ▾
This is such a common issue, and the fix is simple. Wait to sprinkle the fried onions on top until the final 10 to 12 minutes of baking, rather than adding them before the casserole goes into the oven. If you know your oven runs hot, tent the top loosely with aluminum foil for the first 5 minutes after adding the onions to keep them from charring while the dish finishes warming through.

Comments (8)

2 days ago

OMG this was SO good! I made this for our Sunday family dinner last night and even my super picky 7 year old asked for seconds. I didn’t change a single thing, it came out perfectly creamy with that crispy onion top everyone fights over. Total game changer for my go-to side rotation!

yesterday

So glad your kiddo approved! That crispy onion top is definitely the fan favorite around here too—thanks for giving the recipe a try!

3 days ago

Super easy to throw together for our neighborhood cookout this past weekend. Only reason it’s not 5 stars is I added a little extra shredded cheddar on top because my crew loves cheese, but the base recipe is solid. Took exactly 30 minutes like it said, no fancy ingredients needed. Perfect potluck dish.

2 days ago

Oh the cheddar add sounds chef’s kiss! I’m definitely doing that next time I make this for Thanksgiving

yesterday

Love that cheddar tweak! Adding a handful of sharp cheddar to the mix is such a tasty upgrade, we’re big fans of that hack too.

5 minutes ago

As someone who burns toast 50% of the time, I was shocked how easy this was! I had all the canned goods in my dorm pantry already, no fancy prep, done in half an hour. My roommates devoured the whole pan in like 10 minutes. Will be making this every week for meal prep fr.

1 week ago

It’s a fine basic recipe, but I grew up making green bean casserole from scratch with fresh blanched beans and homemade mushroom sauce. The canned soup version is definitely quick, but it’s a little too salty for my taste. Good for when you’re in a rush though!

5 days ago

I feel you on the from-scratch version, but as a mom of 3 who gets home at 6pm every night, this quick version is a lifesaver for weeknights! I rinse the canned beans a little to cut down on salt, helps a ton.

yesterday

Brought this to my office potluck yesterday and people were asking me for the recipe before we even finished lunch! I topped it with extra fried onions halfway through baking like my mom used to do, and it came out perfect. So simple, no stress, always a crowd pleaser.

2 weeks ago

Great base recipe! I swapped the regular cream of mushroom for the low-sodium version and used fresh green beans instead of canned to make it a little lighter, and it turned out amazing. Only thing is I needed to bake it about 10 minutes longer to get the top crispy since I used fresh beans.

1 week ago

Great call with the fresh green beans! You’re totally right that fresh beans add a couple minutes to the bake time—we’re glad it turned out tasty for you!

3 days ago

Thanks for the low-sodium tip! I’m always watching my sodium intake and was worried this would be too salty, definitely stealing that swap.

30 minutes ago

30 minutes? Easiest side dish ever. I made this to go with our baked chicken last night and my husband said it’s better than the version his mom makes (don’t tell her, lmao). I didn’t even have to run to the store, I had everything in the cabinet already. 10/10.

just now

Haha, your secret’s safe with us! So glad this was an easy, crowd-pleasing win for your dinner—nothing beats a recipe you can make straight from pantry staples.

5 days ago

I was stressing about last minute Thanksgiving sides and stumbled on this recipe. It’s so straightforward I didn’t even mess it up, even while juggling turkey, rolls, and three pies! My whole family raved, even my uncle who swears no green bean casserole is as good as his mom’s. Will be making this every year.

3 days ago

This is exactly why I saved this recipe! Hosting my first ever Friendsgiving next week and I need easy, foolproof sides that don’t require a million steps. So stoked to try it!

2 days ago

We’re so happy this helped make your Thanksgiving less stressful! It’s the perfect low-fuss side for when you’ve got a million other dishes to juggle. Hope your Friendsgiving turns out amazing too!



