
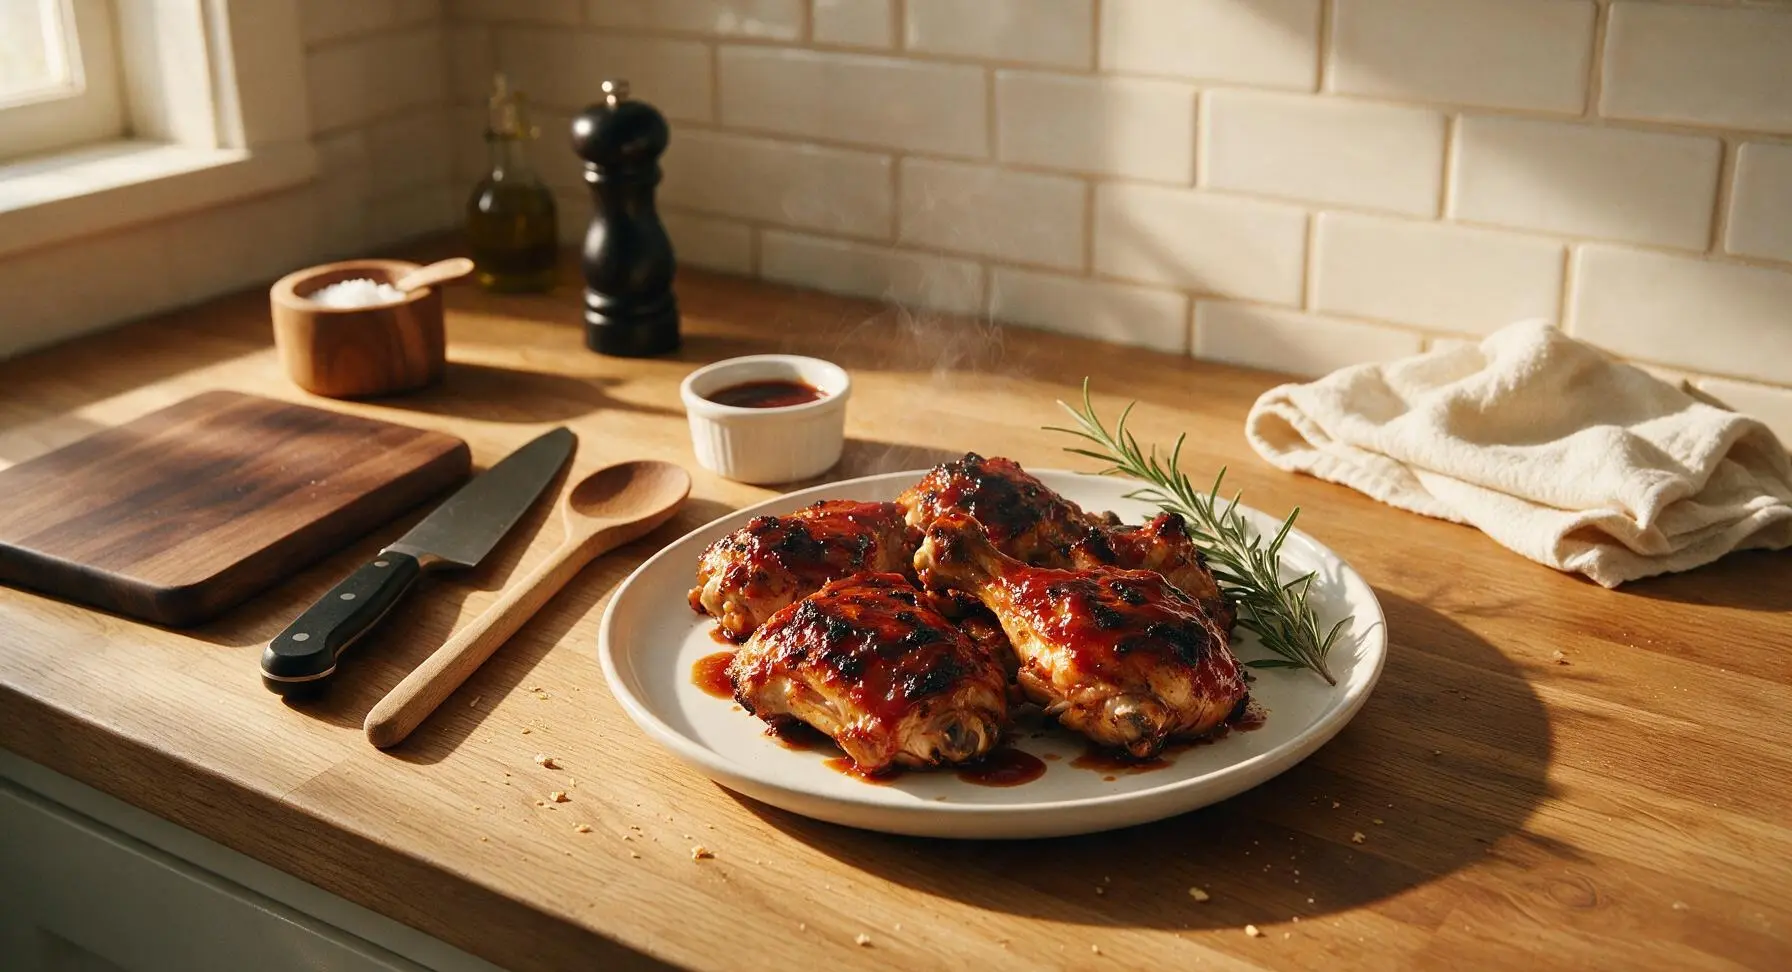
bbq chicken ideas

title 1
bbq chicken ideas
⏱️ cook time 35 minutes
🍽️ servings 4
⚡ Difficulty medium

intro

Juicy, smoke-kissed bone-in chicken coated in tangy-sweet homemade BBQ sauce, with crispy charred edges and tender, flavorful meat — the iconic centerpiece for any summer backyard gathering.

Ingredients
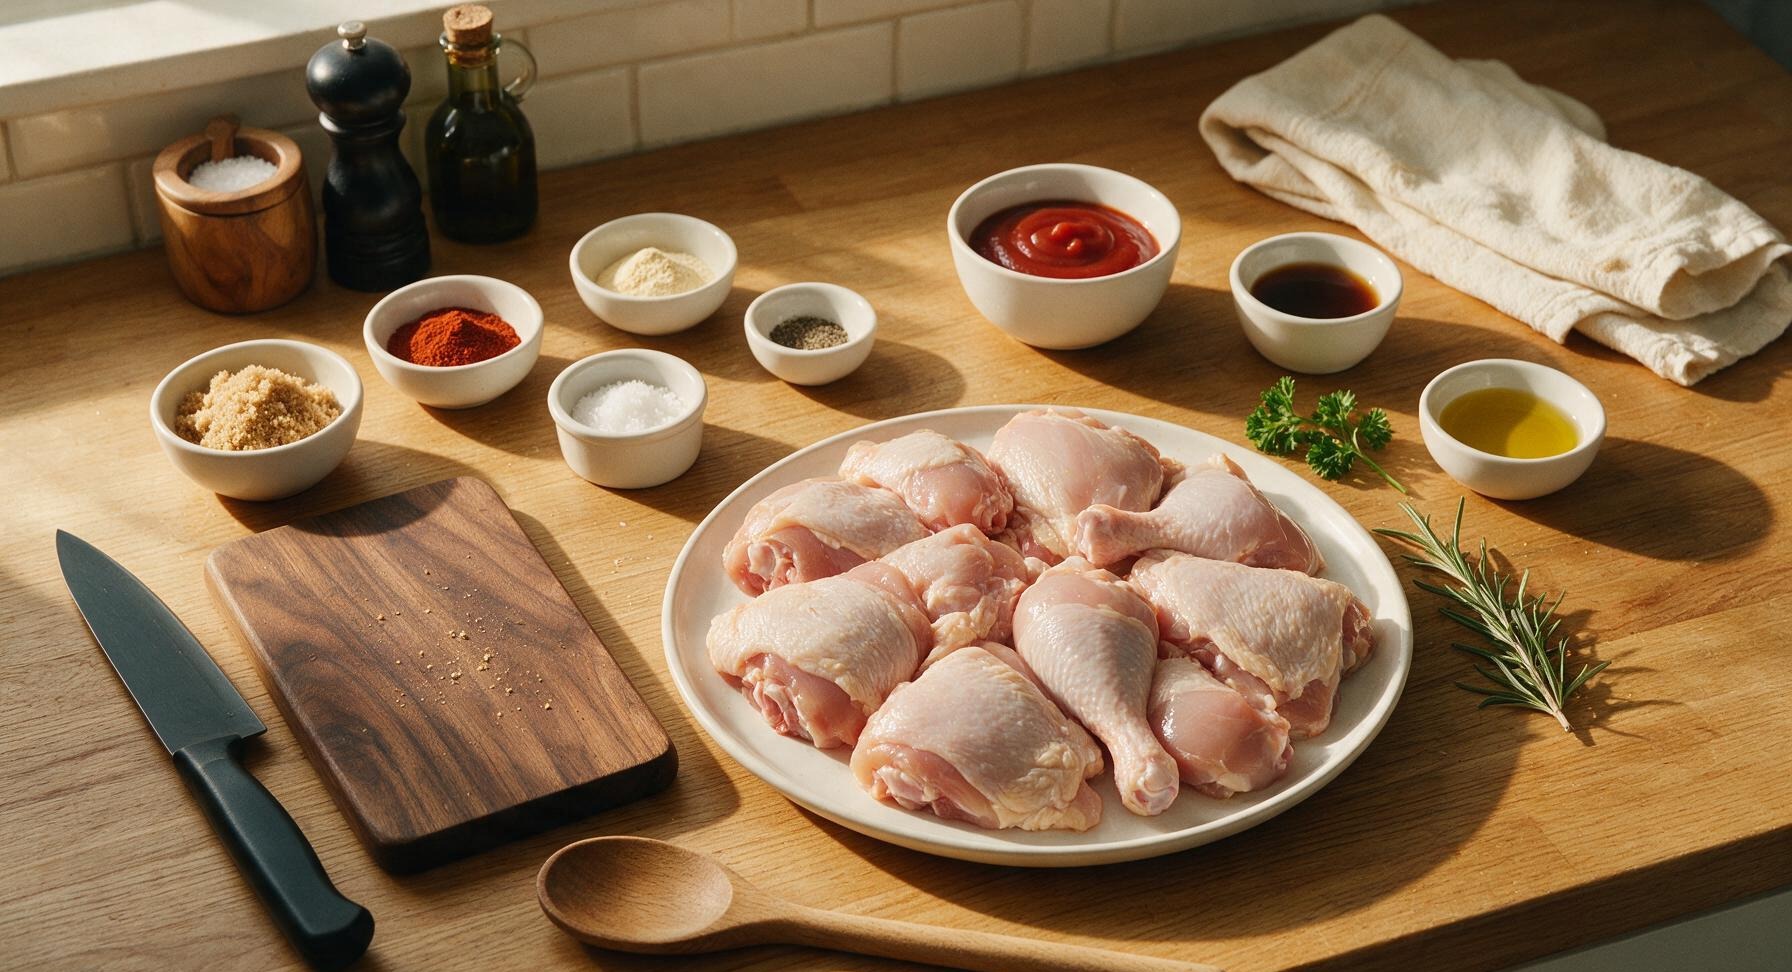
Bone-in skin-on chicken pieces (thighs, drumsticks, split breasts) 1.6kg (3.5 lbs)
Ketchup 1 cup
Light brown sugar 3 tbsp
Smoked paprika 2 tbsp
Garlic powder 1 tbsp
Onion powder 1 tsp
Apple cider vinegar 2 tbsp
Worcestershire sauce 1 tbsp
Honey 2 tbsp
Coarse kosher salt 1.5 tsp
Freshly ground black pepper 1 tsp
Neutral canola oil 1 tbsp
Fresh curly parsley 2 sprigs

Steps

1

Prep and Pat Dry Chicken

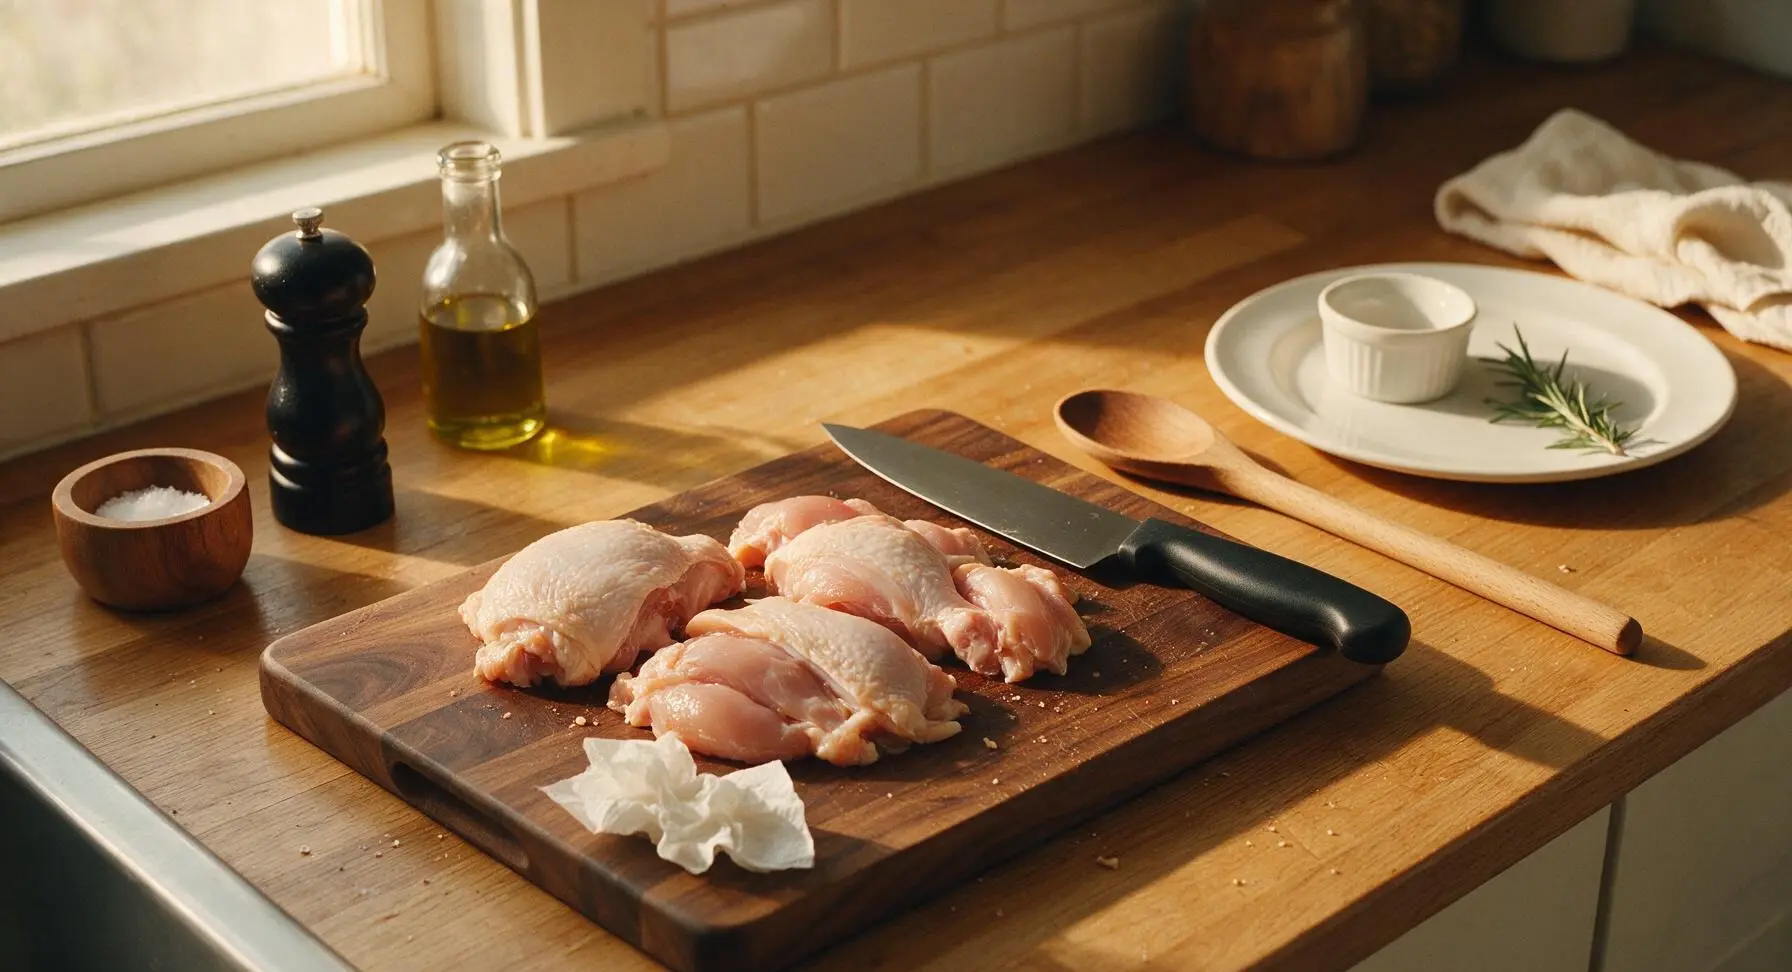
Remove chicken pieces from packaging, place on the maple cutting board. Use the 8-inch chef knife to trim any excess loose skin or thick hard fat deposits from the edges of thighs and breasts. Pat all surfaces of the chicken completely dry with paper towels (discard used towels immediately) — dry skin is critical for crispy, non-stick grilled results. Lightly season all sides with 1 teaspoon of the coarse kosher salt.
Step 1
step1:Prep and Pat Dry Chicken
2

Combine Spice Rub

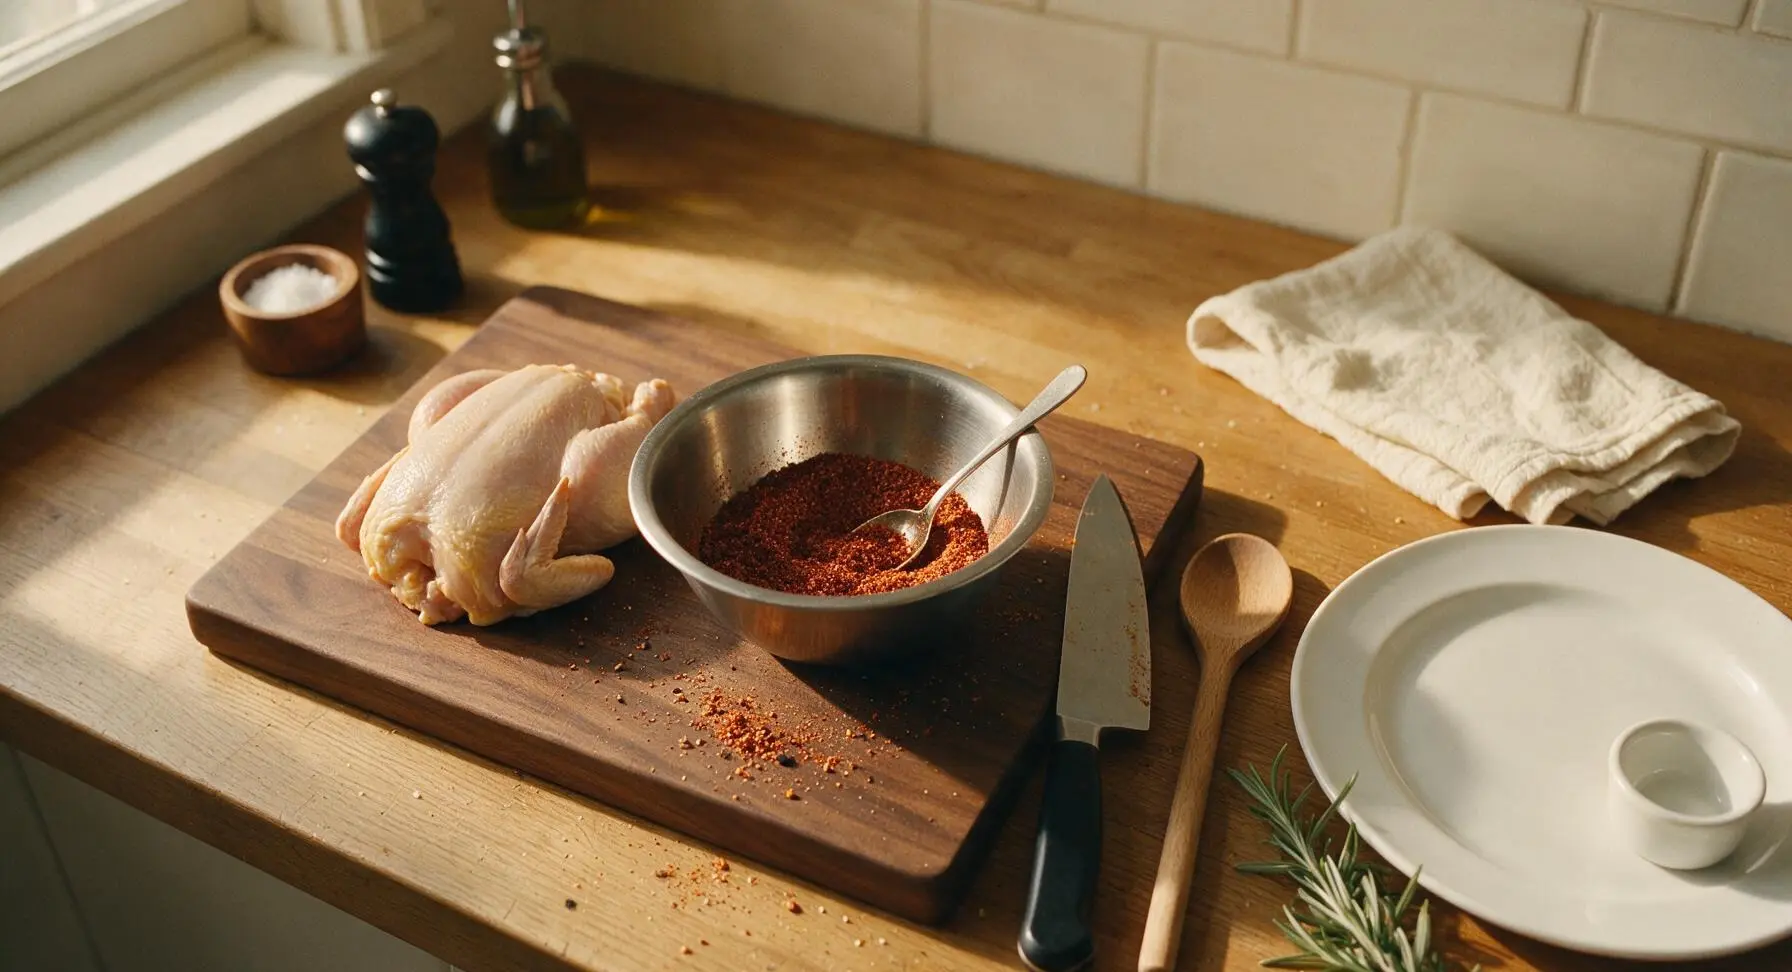
In the brushed stainless steel mixing bowl, combine 2 tablespoons smoked paprika, 1 tablespoon garlic powder, 1 teaspoon onion powder, 1 teaspoon black pepper, 2 tablespoons light brown sugar, and remaining 0.5 teaspoon kosher salt. Stir with a small spoon until fully evenly mixed, breaking up any clumps of brown sugar with the back of the spoon. The finished rub should be a uniform deep reddish-brown with no pale spice streaks.
Step 2
step2:Combine Spice Rub
3

Coat Chicken in Rub

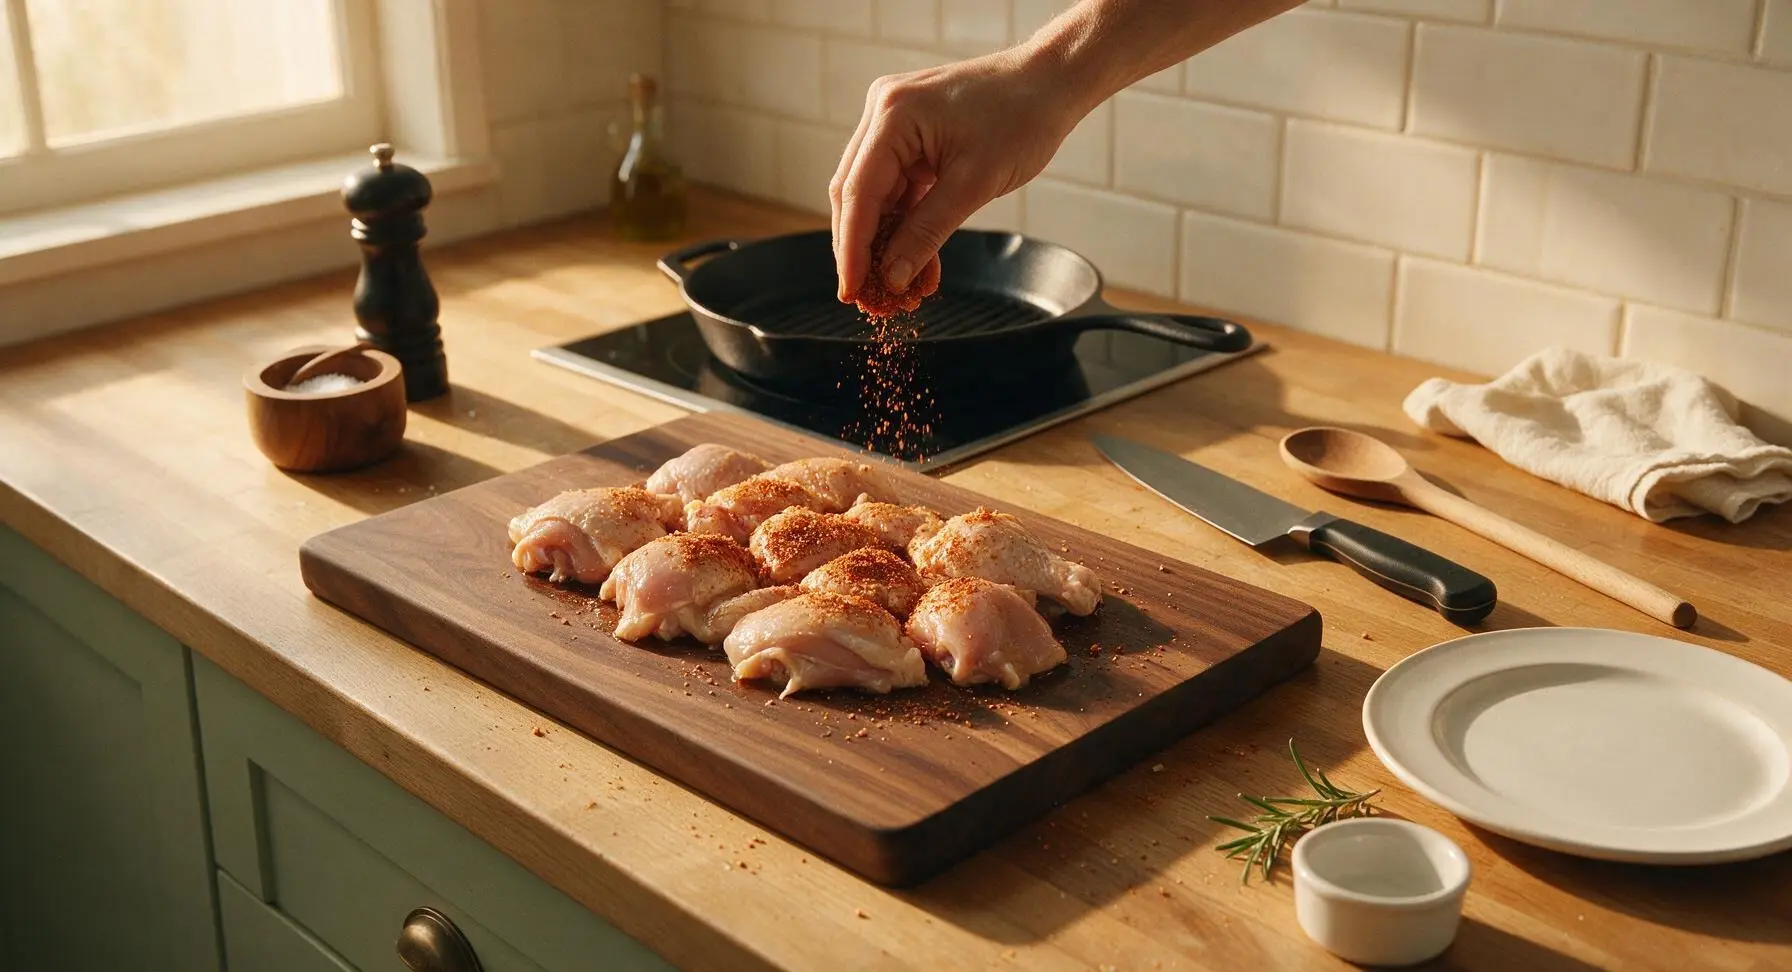
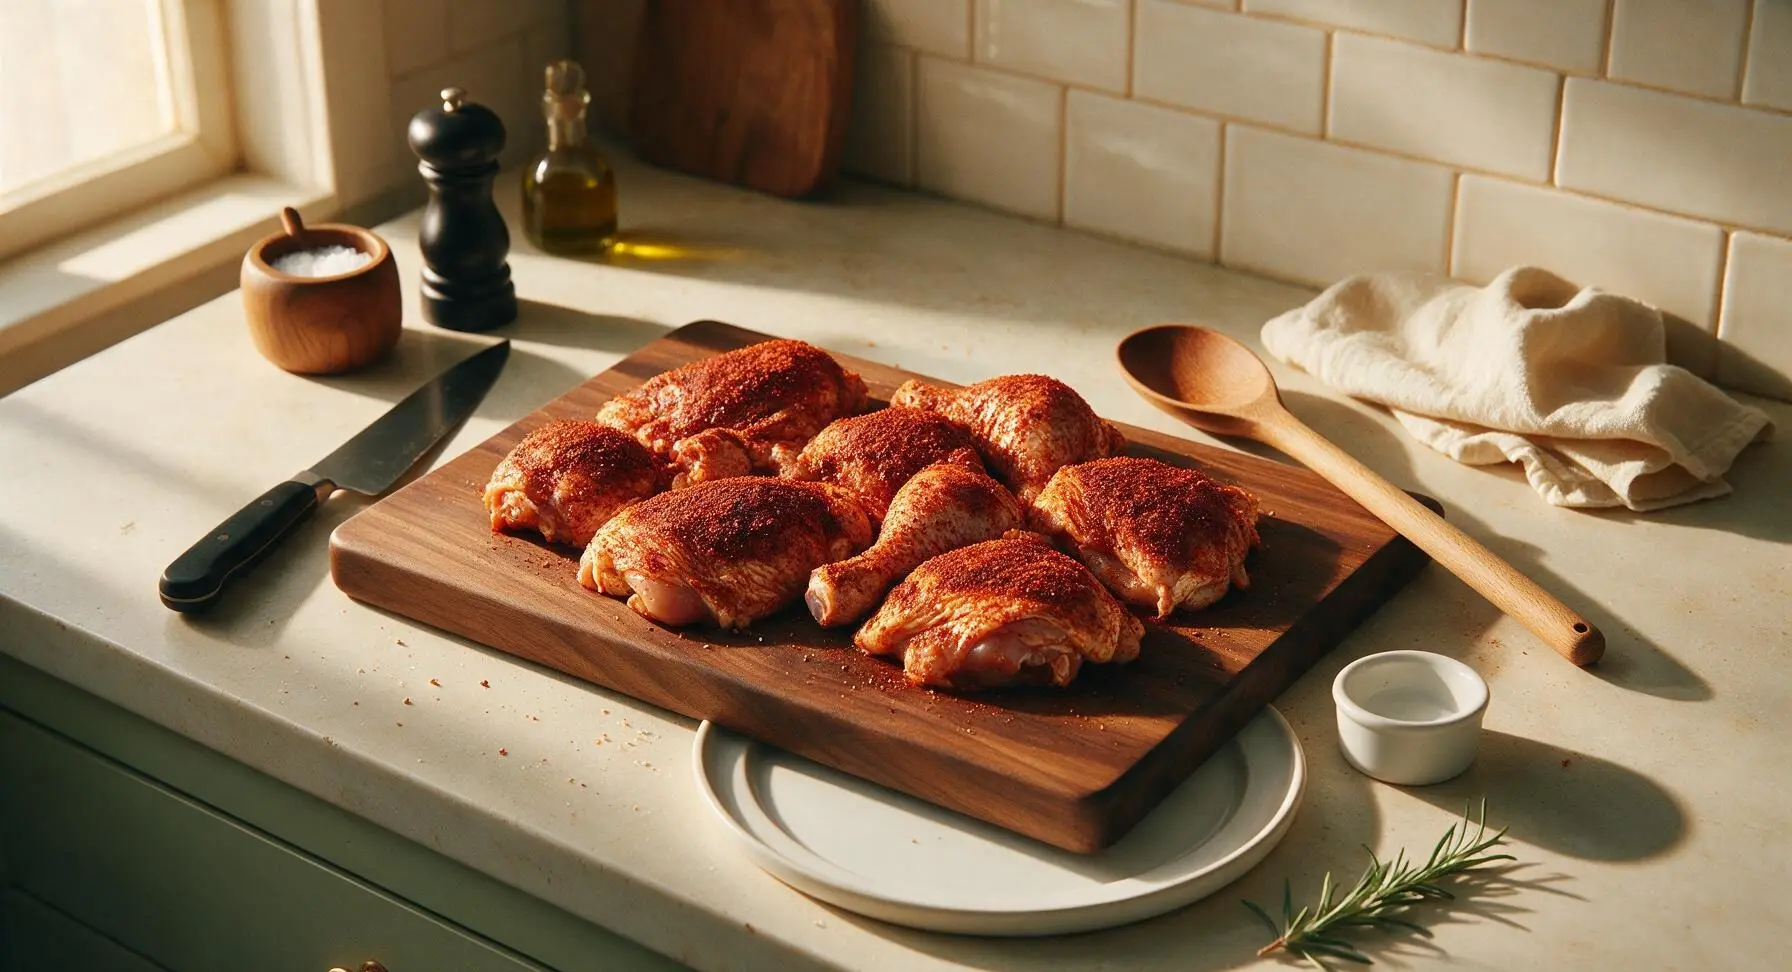
Drizzle 1 tablespoon neutral canola oil over all chicken pieces, toss to lightly coat every surface. Sprinkle the spice rub evenly over all sides of the chicken, including tucking a small amount under loose skin where possible, pressing the rub gently into the meat and skin to help it adhere. Let the rubbed chicken rest at room temperature for 15 minutes while you preheat the cast iron grill pan on the induction cooktop to medium-high (190C / 375F) for two-zone cooking (hot direct heat center, cooler indirect heat edges).
Step 3
step3:Coat Chicken in Rub
Step 3
step3:Coat Chicken in Rub
4

Whisk Homemade BBQ Sauce

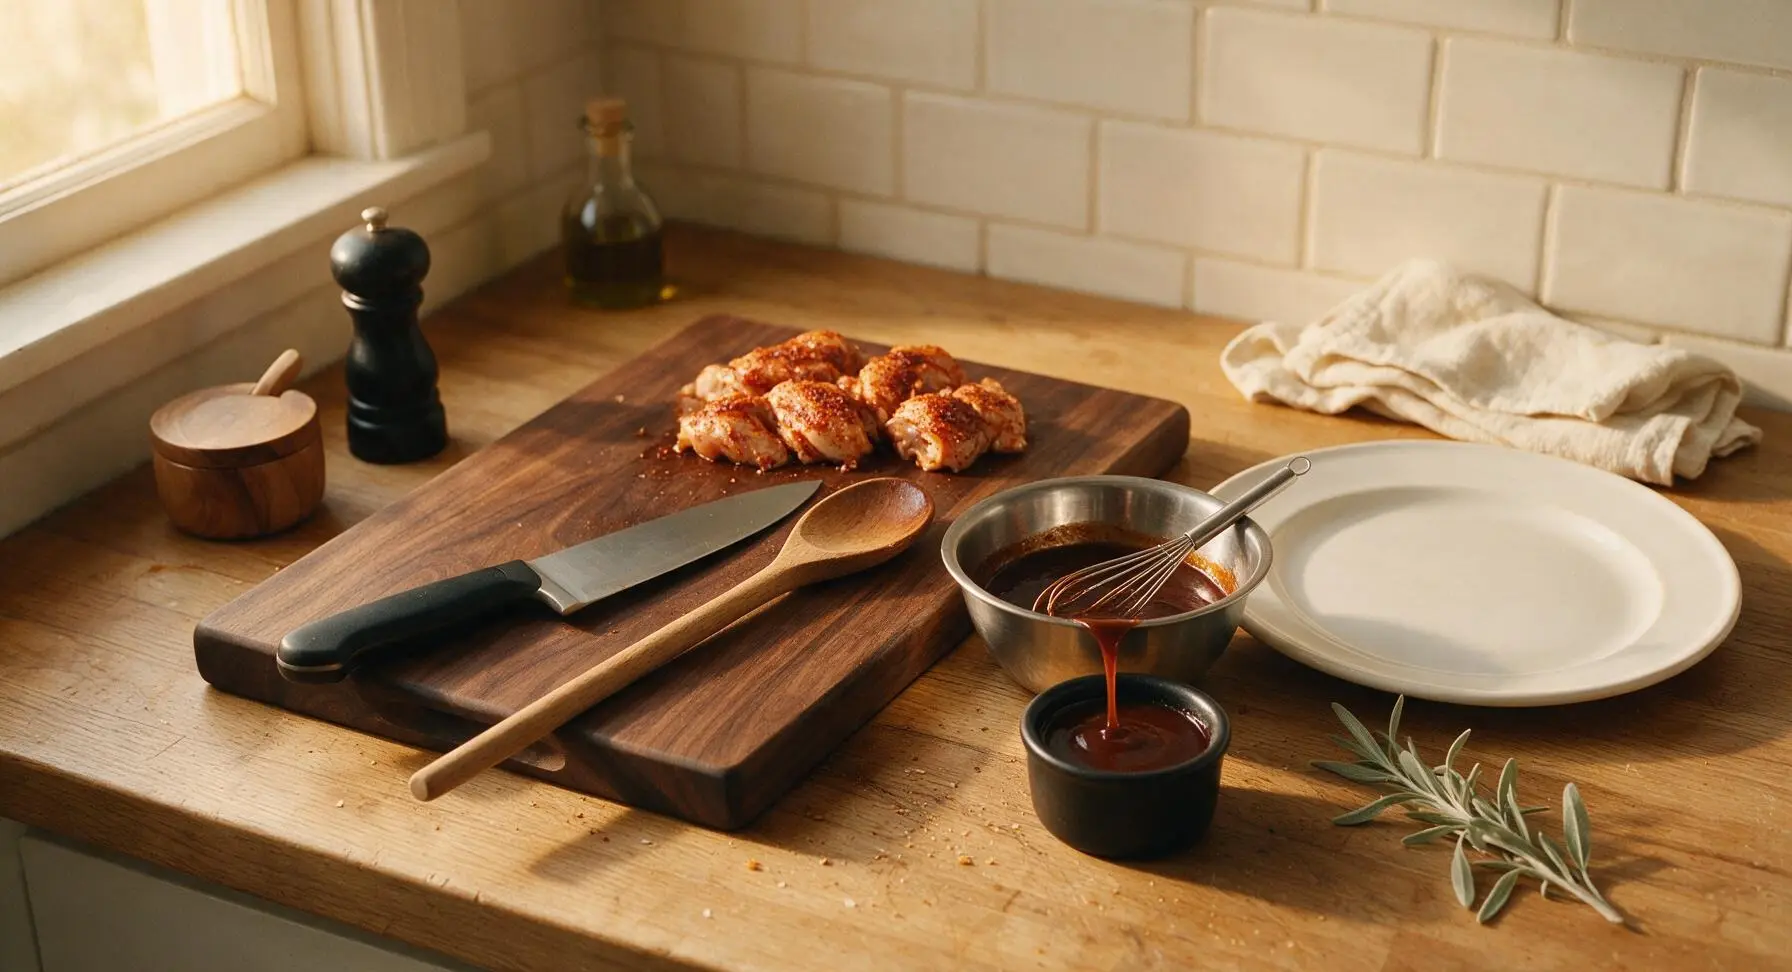
Wipe excess rub from the stainless steel mixing bowl, then combine 1 cup ketchup, 2 tablespoons apple cider vinegar, 1 tablespoon Worcestershire sauce, 2 tablespoons honey, 1 tablespoon light brown sugar, and 1/4 teaspoon black pepper in the bowl. Whisk until completely smooth, with no lumps of brown sugar remaining. Set aside 1/4 cup of sauce in the matte black ceramic ramekin for serving, leaving the rest in the bowl for basting.
Step 4
step4:Whisk Homemade BBQ Sauce
5

Sear Chicken on Hot Pan

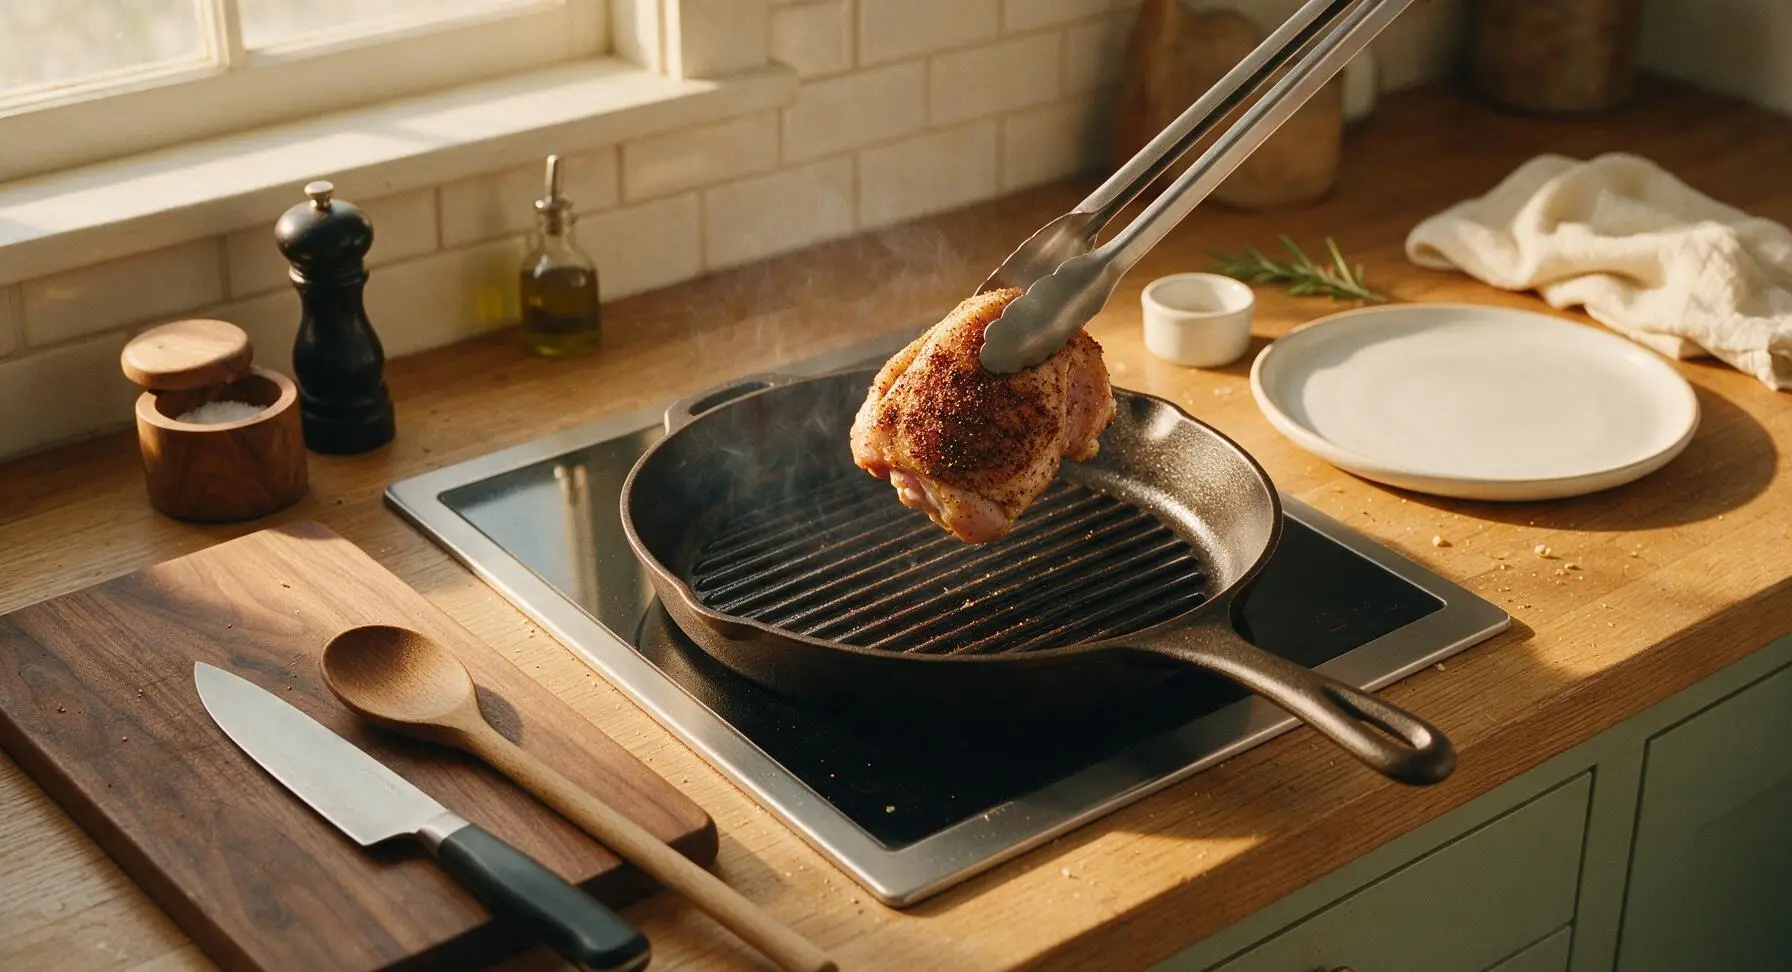
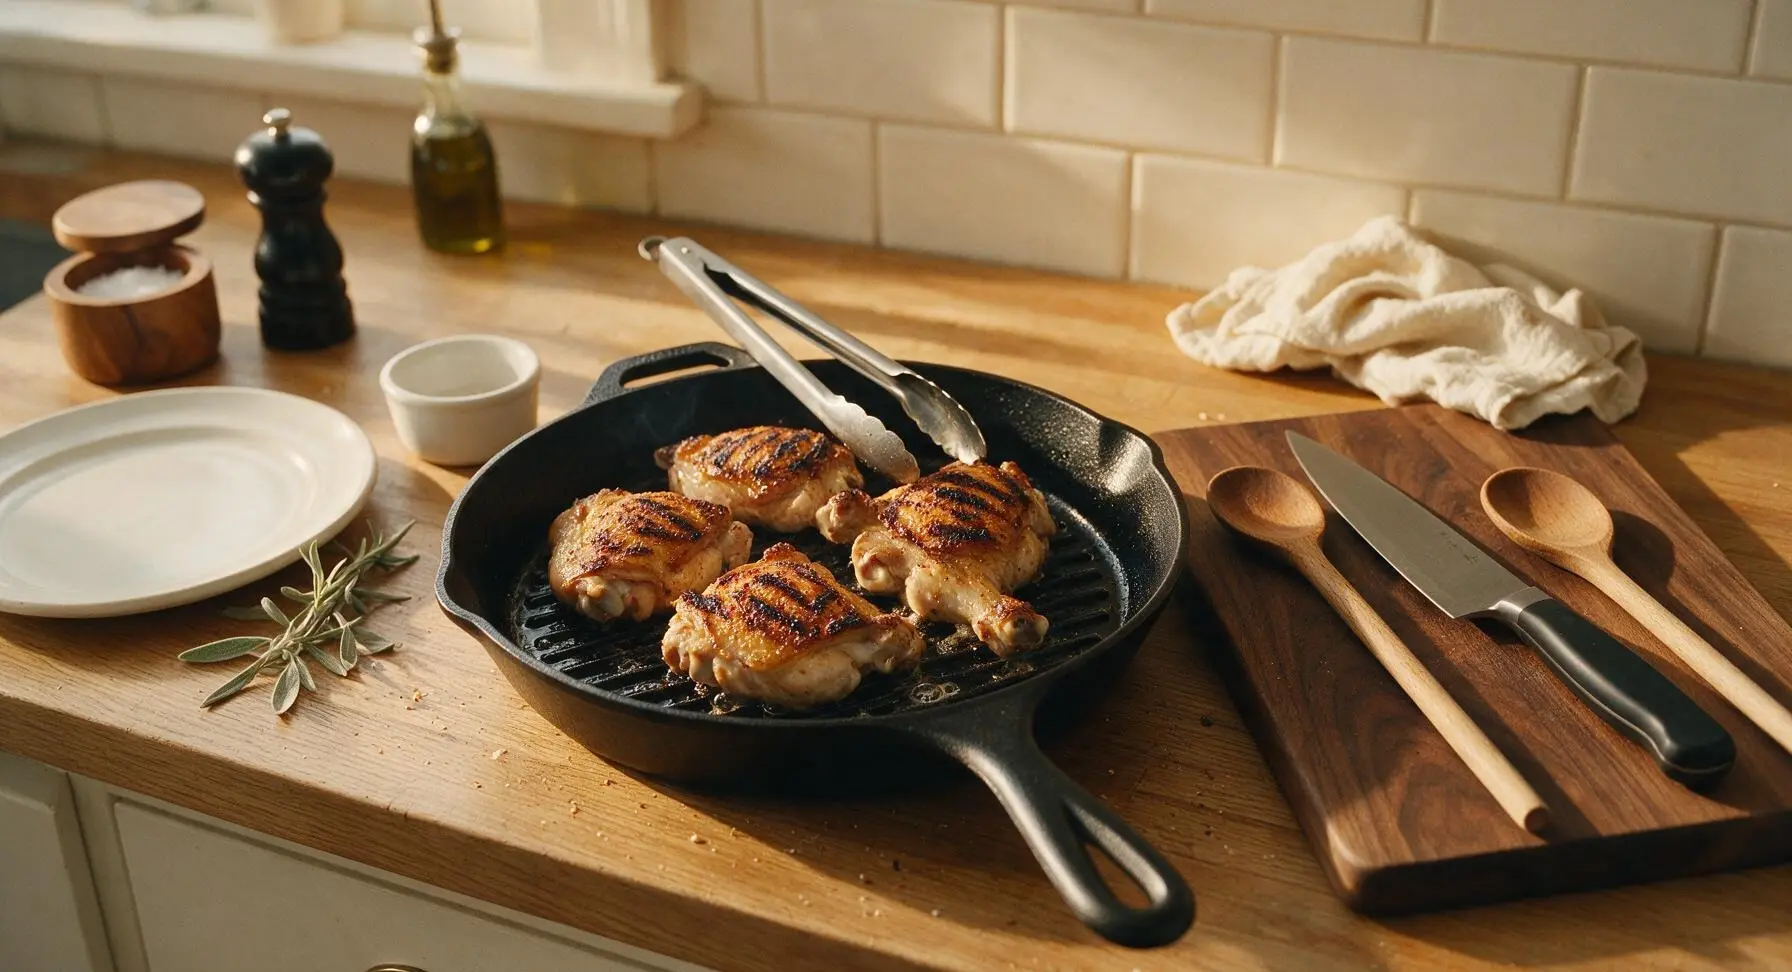
Test that the preheated cast iron grill pan is ready by sprinkling a drop of water: it should dance across the ridges and evaporate in 2 seconds. Use the stainless steel tongs to arrange chicken pieces skin-side down on the hot pan center, working in batches if needed to avoid crowding (crowding causes steaming instead of crisp searing). Sear for 4-5 minutes per side, until deep golden, distinct grill marks form on all surfaces.
Step 5
step5:Sear Chicken on Hot Pan
Step 5
step5:Sear Chicken on Hot Pan
6

Cook to Safe Internal Temp

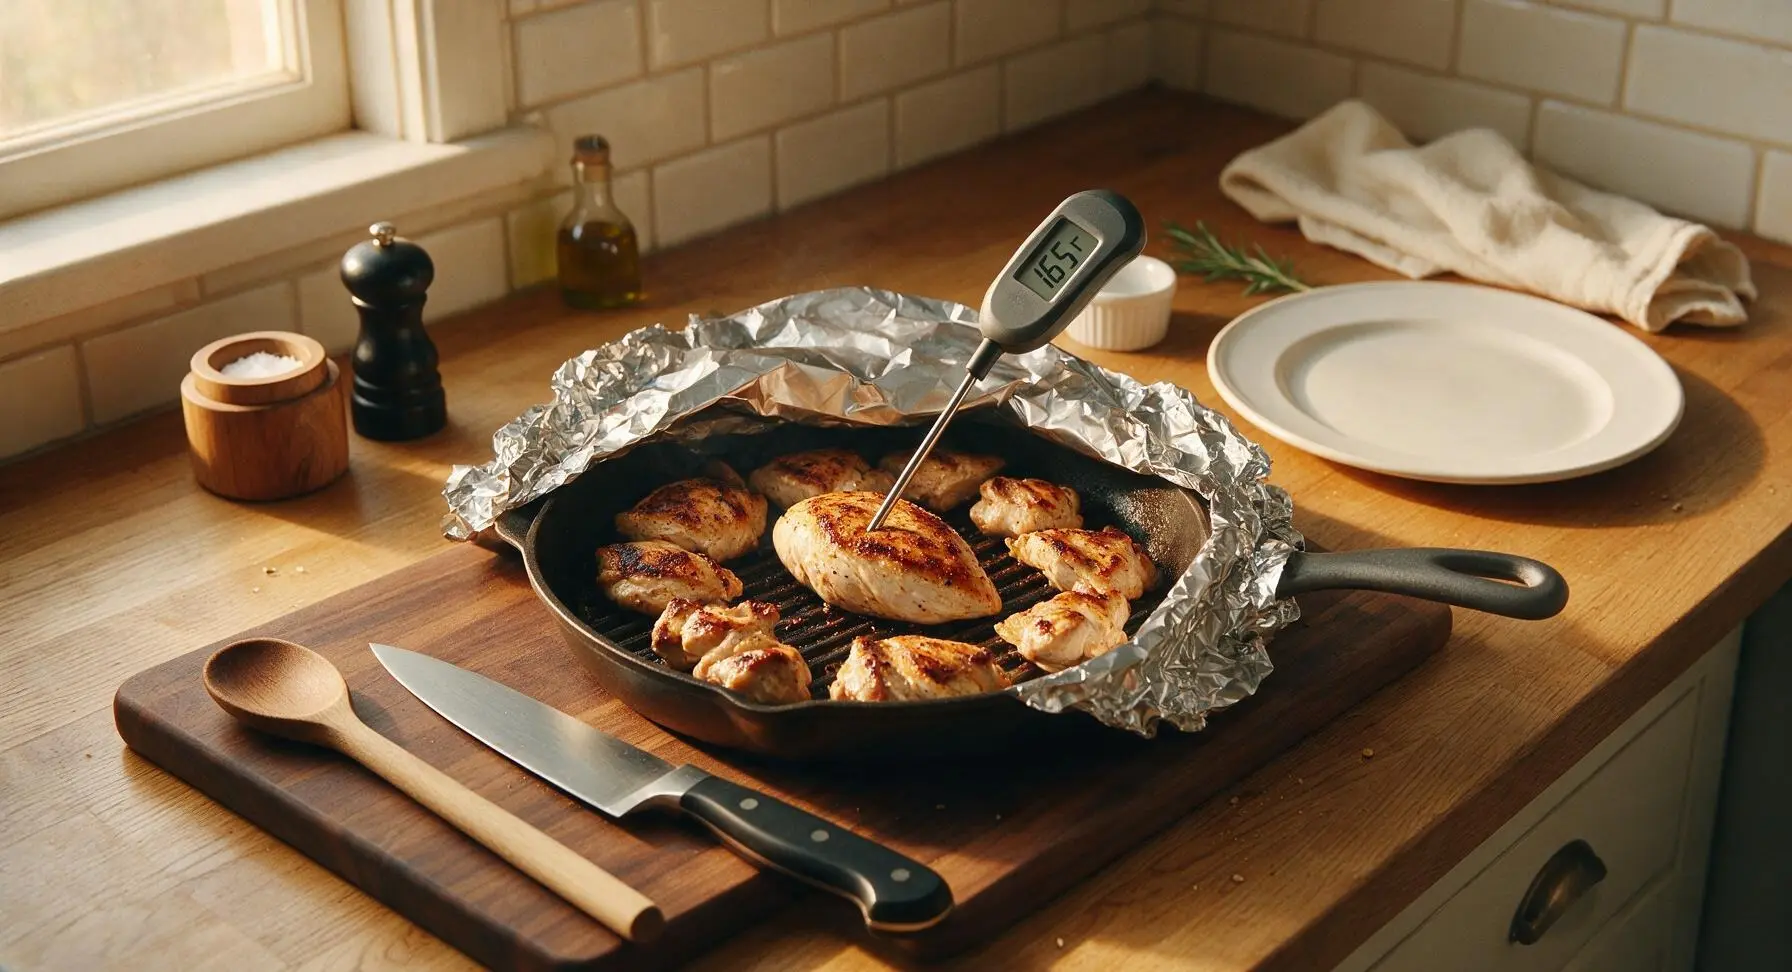
Reduce induction heat to medium (175C / 350F), move seared chicken pieces to the cooler outer edges of the grill pan for indirect heat. Cover the pan loosely with a sheet of crinkled aluminum foil. Cook for 18-22 minutes, flipping once halfway through, until the digital instant-read thermometer inserted into the thickest part of the meat (not touching bone) reads 74C / 165F. Juices should run clear when the meat is pierced.
Step 6
step6:Cook to Safe Internal Temp
7

Baste With BBQ Sauce

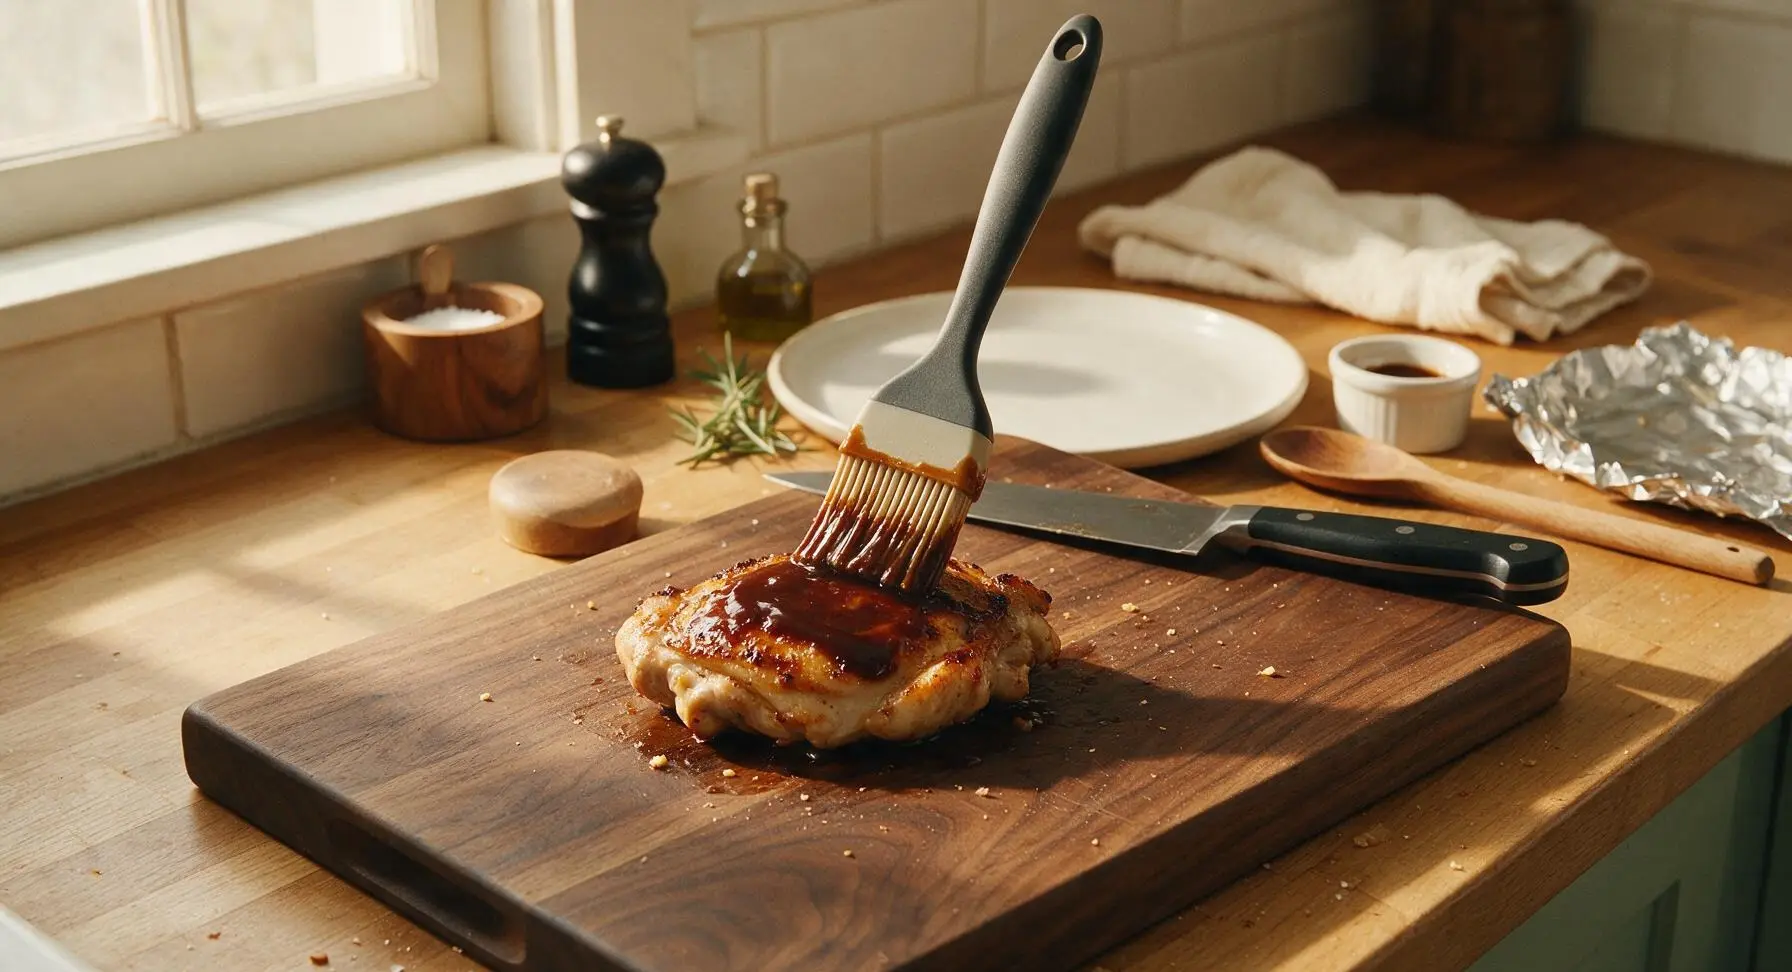
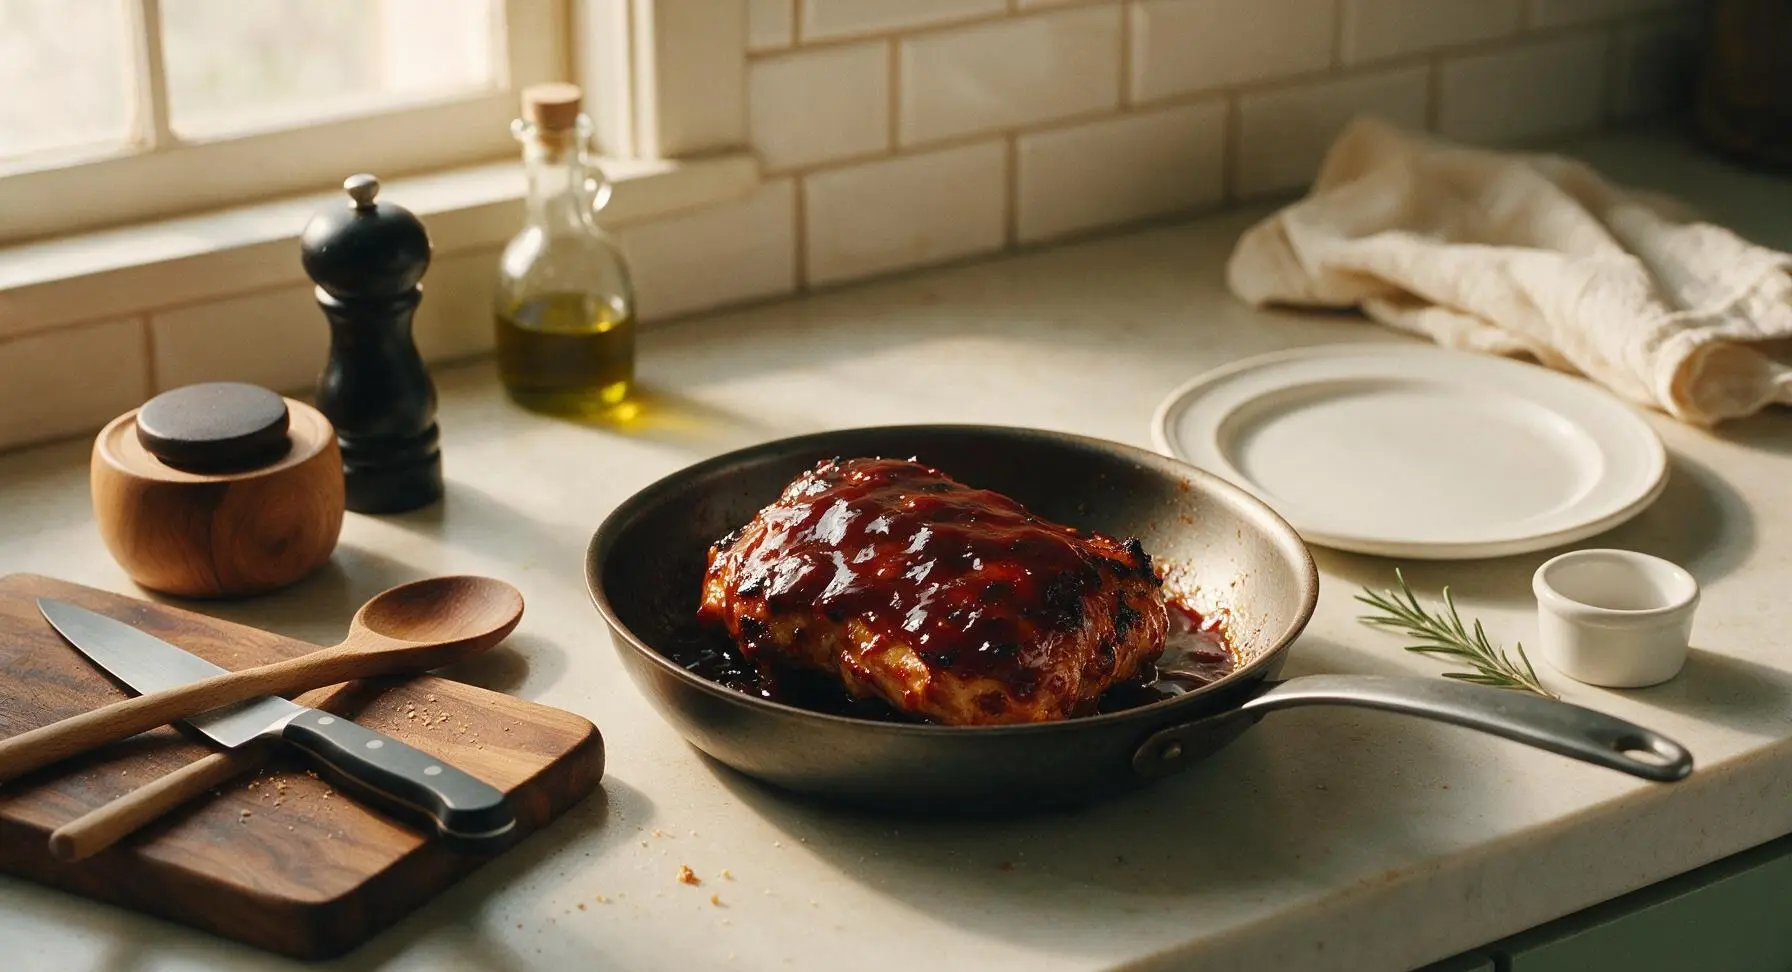
Remove the foil cover from the pan. Use the silicone basting brush to slather a thick, even coat of reserved basting sauce over all surfaces of the chicken. Cook for 2-3 minutes per side, allowing the sauce to caramelize to a glossy finish, taking care not to let it burn (sugar in the sauce chars quickly over high heat). Apply a second coat of sauce immediately after flipping each piece.
Step 7
step7:Baste With BBQ Sauce
Step 7
step7:Baste With BBQ Sauce
8

Rest and Plate Chicken

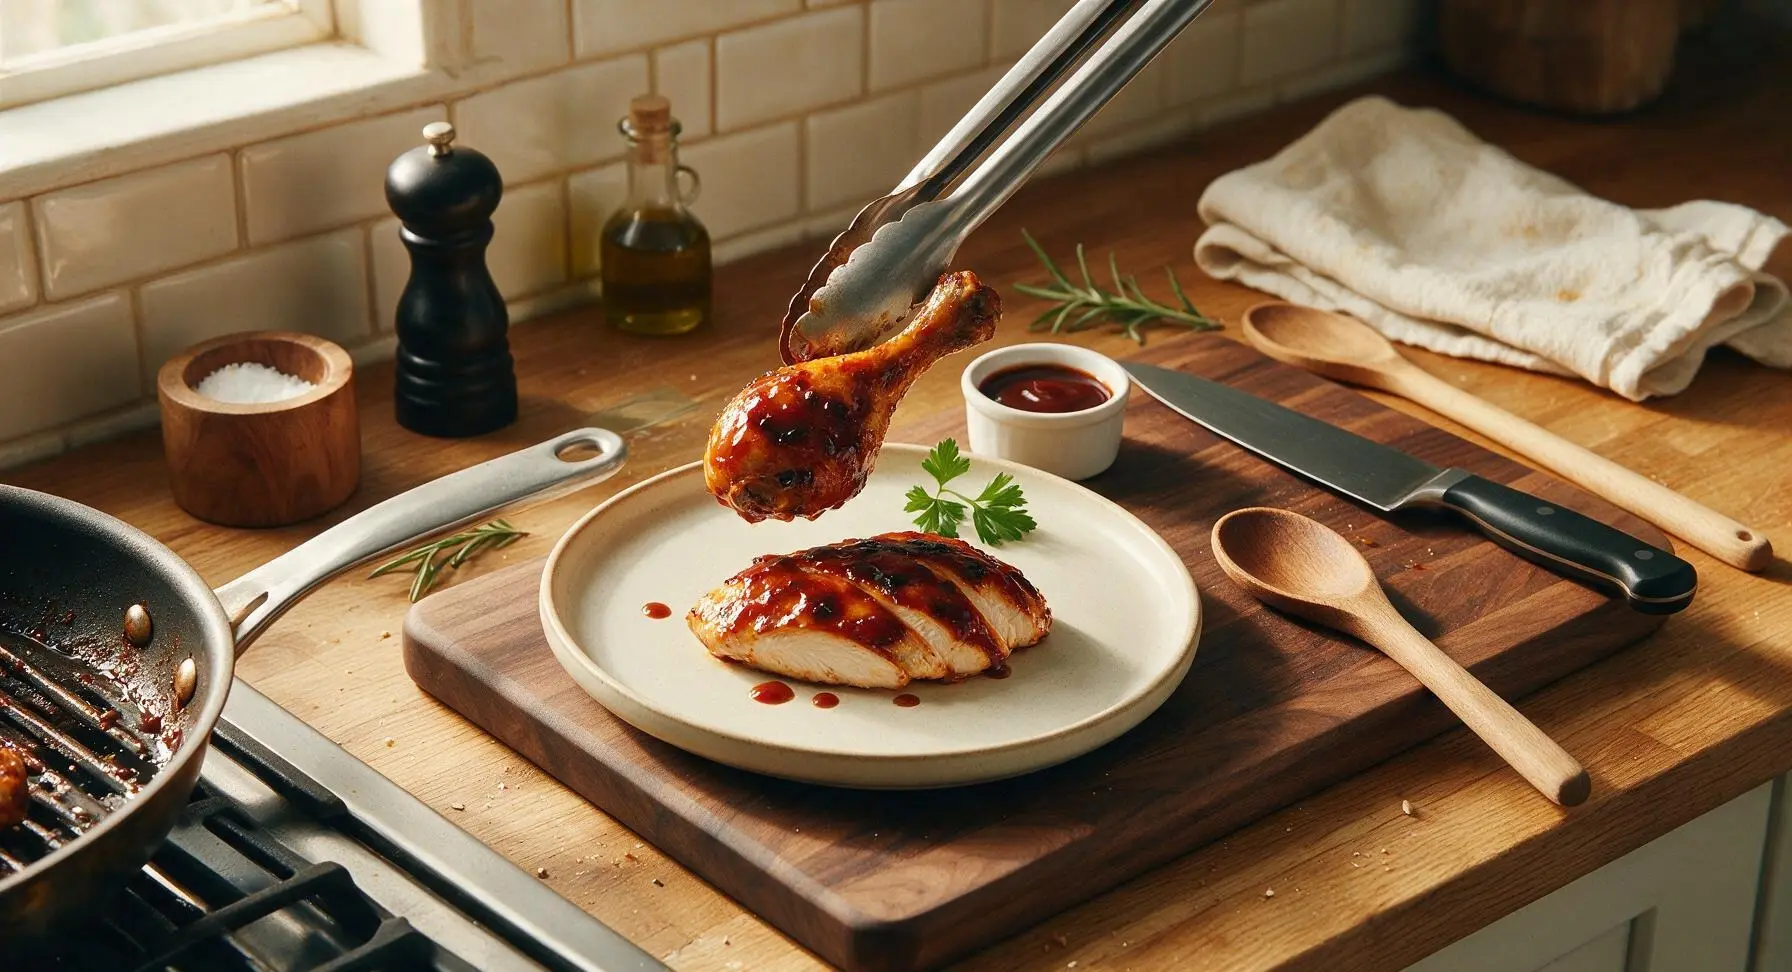
Use the stainless steel tongs to transfer sauced chicken pieces from the grill pan to the matte cream ceramic dinner plate. Let rest for 5 minutes to allow meat juices to redistribute (this prevents juice from running out when the chicken is cut). Slice one breast half against the grain for easy serving, garnish with a sprig of fresh parsley, and serve with the reserved BBQ sauce in the black ramekin on the side.
Step 8
step8:Rest and Plate Chicken

Tips

1.Pat chicken completely dry with paper towels before applying rub: any residual surface moisture will create a steam barrier during cooking, preventing crispy skin and keeping the spice rub from adhering evenly to the meat.
2.Use a two-zone heat arrangement (hot pan center, cooler pan edges) for cooking: this lets you achieve a deep, charred sear on the chicken skin without burning the exterior before the interior reaches a safe 165F temperature.
3.Wait to baste with BBQ sauce until the final 5 minutes of cooking: the high sugar content in ketchup, honey, and brown sugar burns quickly over high heat, leading to bitter, blackened spots instead of a glossy, caramelized sauce coating.


✨ You May Also Like

BBQ & Grilling
🍜 United States

Tender, melt-in-your-mouth beef brisket with a crisp, spiced bark, slow-smoked to deep smoky perfection, the iconic centerpiece of Texas backyard barbecue.

⏱️ 12 hours BBQ & Grilling ★ 4.4
BBQ & Grilling
🍜 Korea

Tender, sweet-savory marinated beef short ribs, a beloved Korean BBQ staple with caramelized, slightly charred edges and deep umami flavor, perfect for outdoor summer gatherings.

⏱️ 4 hours 2BBQ & Grilling ★ 4.8
BBQ & Grilling
🍜 United States

Juicy grilled beef patties topped with smoky homemade chili, melted cheddar, and tangy pickles on toasted brioche buns for a hearty, flavor-packed handheld meal.

⏱️ 40 minuteBBQ & Grilling ★ 4.7
BBQ & Grilling
🍜 United States

A sweet, smoky, tangy BBQ sauce brightened with peak-season dark cherries, ideal for glazing grilled ribs, chicken, pork, or summer roasted veggies.

⏱️ 35 minuteBBQ & Grilling ★ 4.7
BBQ & Grilling
🍜 United States

Rich, smoky, slightly sweet homemade bourbon BBQ sauce with deep caramel notes, ideal for glazing grilled ribs, chicken, and burgers at cookouts.

⏱️ 25 minuteBBQ & Grilling ★ 4.7
BBQ & Grilling
🍜 United States

Iconic Alabama-style BBQ featuring tender hickory-smoked chicken slathered in tangy creamy white sauce, a beloved regional Southern cookout staple.

⏱️ 3 hoursBBQ & Grilling ★ 5

bbq chicken ideas:Frequently Asked Questions

1.Why does this recipe call for bone-in, skin-on chicken instead of boneless cuts? ▾
Great question! Bone-in, skin-on cuts stay far juicier during grilling, and rendered skin creates those craveable crispy, charred edges perfect for backyard BBQ. The bone also adds subtle, deep meaty flavor as it cooks. If you use boneless, skin-on cuts, cut cook time by 10–12 minutes and baste extra often to prevent dryness.
2.Can I make this BBQ chicken if I don’t have an outdoor smoker? ▾
Absolutely! You don’t need a dedicated smoker for that signature smoky kick. The smoked paprika in the homemade sauce delivers that classic smoke-kissed taste right on a standard gas or charcoal grill. For extra smoke, toss a small handful of soaked wood chips on your grill’s heat source right before adding the chicken.
3.When should I brush the BBQ sauce on the chicken to avoid burning it? ▾
Hold off on saucing until the last 8–10 minutes of grilling! The brown sugar in the sauce burns quickly over high direct heat, leading to bitter, charred crust instead of that sticky, glossy coating. Cook the chicken most of the way first over medium heat, then brush on sauce, flipping once, to let it caramelize gently without scorching.
4.Can I substitute dark brown sugar for light brown sugar in the BBQ sauce? ▾
Definitely! Dark brown sugar has a higher molasses content, so it will add a slightly deeper, richer, toffee-like note to the tangy-sweet sauce that pairs beautifully with smoked paprika. The measurement stays exactly the same, so no extra adjustments are needed if you swap it in for the light brown sugar.
5.What internal temperature means the chicken is safe to eat without being overcooked? ▾
Official food safety guidelines call for 165°F measured at the thickest part of the cut, away from bone, but I recommend pulling it at 160°F and letting it rest 5 minutes. Carryover cooking will bring it up to safe temp, and you’ll avoid dry, rubbery meat. Thighs and drumsticks can go a touch higher for extra tender texture.
6.Can I prep the homemade BBQ sauce ahead of time? ▾
You absolutely can, and it actually tastes better if you do! Mix the ketchup, brown sugar, smoked paprika, and garlic powder up to 5 days ahead, store it in an airtight container in the fridge, and let the flavors meld together. Give it a quick stir before brushing it on the chicken—no reheating needed.
7.How do I get those crispy charred edges without drying out the chicken? ▾
The trick is two-zone grilling! Keep one side of your grill on medium-high heat for searing edges, and the other on low for slow, even cooking. Sear chicken 2–3 minutes per side on the hot zone to build char, then move it to the cool zone to cook through without constant high heat drying out the meat.
8.Is it okay to use store-bought BBQ sauce instead of making the homemade version? ▾
No shame in a store-bought shortcut! Pick a tangy, not overly sweet base, and stir in an extra ½ teaspoon of smoked paprika and ¼ teaspoon garlic powder per cup of sauce to match that signature sticky, smoky profile. It will still turn out delicious for your casual backyard gathering.
9.How long should I let the chicken rest after taking it off the grill? ▾
Let it rest 5–7 minutes tented loosely with foil before serving. This lets hot, rushing juices redistribute back through the meat instead of running all over your plate when you cut into it, so every bite stays juicy and flavorful. It also gives the sauce a minute to set into that perfect sticky coating.
10.Can I cook this BBQ chicken in the oven if the weather is bad? ▾
Of course! Preheat your oven to 400°F, arrange chicken on a wire rack set over a baking sheet, and cook 35–40 minutes until nearly done. Brush on sauce during the last 10 minutes, then broil 1–2 minutes per side (watching closely!) to get that charred, caramelized edge you’d get from the grill.
11.What’s the best way to keep the chicken from sticking to the grill grates? ▾
Start with clean, well-oiled grates! Scrub grates thoroughly once they’re preheated, then dip a folded paper towel in neutral oil, hold it with tongs, and wipe a thin coat over the grates before adding chicken. Don’t flip pieces too early—they’ll release naturally once the skin is crisped and seared.
12.Can I adjust the sauce to be less sweet for people who prefer tangier BBQ? ▾
Absolutely! Cut the light brown sugar by 2 tablespoons, and add 1 tablespoon of apple cider vinegar and a pinch of black pepper to the ketchup and spice base. That will tilt the flavor profile to a brighter, tangier Carolina-style sauce that still has that core smoky, sticky finish everyone loves.
13.How should I store leftover BBQ chicken, and how long will it keep? ▾
Let leftover chicken cool completely, then store it in an airtight container in the fridge for up to 4 days. Reheat it gently in a 325°F oven or on low grill heat, covered, until warmed through, to avoid drying out meat or burning the sauce. Skip high-power microwaving, as that makes chicken rubbery.
14.Do I need to brine the chicken ahead of time for extra juiciness? ▾
It’s totally optional, but it does make a noticeable difference! If you have 1–2 hours before grilling, soak chicken pieces in a simple brine of 4 cups water, ¼ cup kosher salt, and 2 tablespoons brown sugar, then pat completely dry before cooking. This locks in extra moisture and seasons the meat all the way through.

Comments (3)

2 days ago

OMG, this sticky smoky BBQ chicken was a total game changer for our Sunday family dinner! I was worried the smoke flavor would be too intense for my picky 7-year-old, but he ate two drumsticks and asked for seconds before my husband even finished his first plate. Cook time was spot on 35 minutes on our charcoal grill, no raw spots near the bone, and the sticky glaze caramelized perfectly without burning. Already added this to our regular summer potluck rotation! Only tiny note: I subbed apple cider vinegar for white vinegar because that’s what I had on hand, worked like a charm.

yesterday

Wait, I did the same apple cider vinegar sub last weekend when I made this! Thought I messed it up but the glaze had that perfect little tangy kick, 10/10 would do that again even if I have white vinegar in the pantry now. Took mine to a neighborhood cookout and people were begging for the recipe.

2 hours ago

So happy this was a hit with your family, Lindsey! The apple cider vinegar swap is such a great call – it adds a lovely fruity tang that pairs so well with the smoky rub. Pro tip for your next potluck: make a double batch of the glaze to toss on grilled corn too, it’s chef’s kiss!

1 week ago

First time grilling chicken that didn’t turn out dry or charred to a crisp! I was intimidated by the medium difficulty rating since I only got my first gas grill last month, but the instructions were so clear. The tip to sauce during the last 10 minutes of cook time kept the glaze from burning, and the little trick with the foil wood chip packet gave it that perfect backyard smoke flavor without needing a fancy smoker. SO good, my roommate said it tastes better than the local BBQ chain restaurant down the street. We crushed half the batch in one sitting, will definitely make this for our Fourth of July cookout.

5 days ago

Love to hear this, Tyler! That foil wood chip packet trick is one of my all-time favorite hacks for gas grill owners to get that classic smoky taste without extra equipment. Hope your Fourth of July cookout is a hit – just make sure to make enough for seconds, everyone always comes back for more!

3 days ago

Made a big batch of this for weekly meal prep and it held up so well all week! I was worried the sticky glaze would get soggy in the fridge, but it stayed flavorful even when I reheated it for lunch at the office. Paired it with coleslaw and roasted sweet potatoes for a filling, tasty meal that didn’t feel like a sad desk lunch at all. My only heads up is if you’re using boneless skinless thighs instead of bone-in, cut the cook time by about 8 minutes so they don’t dry out – learned that the hard way on my first batch before reading the recipe notes properly, oops!



