
beef spare ribs
intro
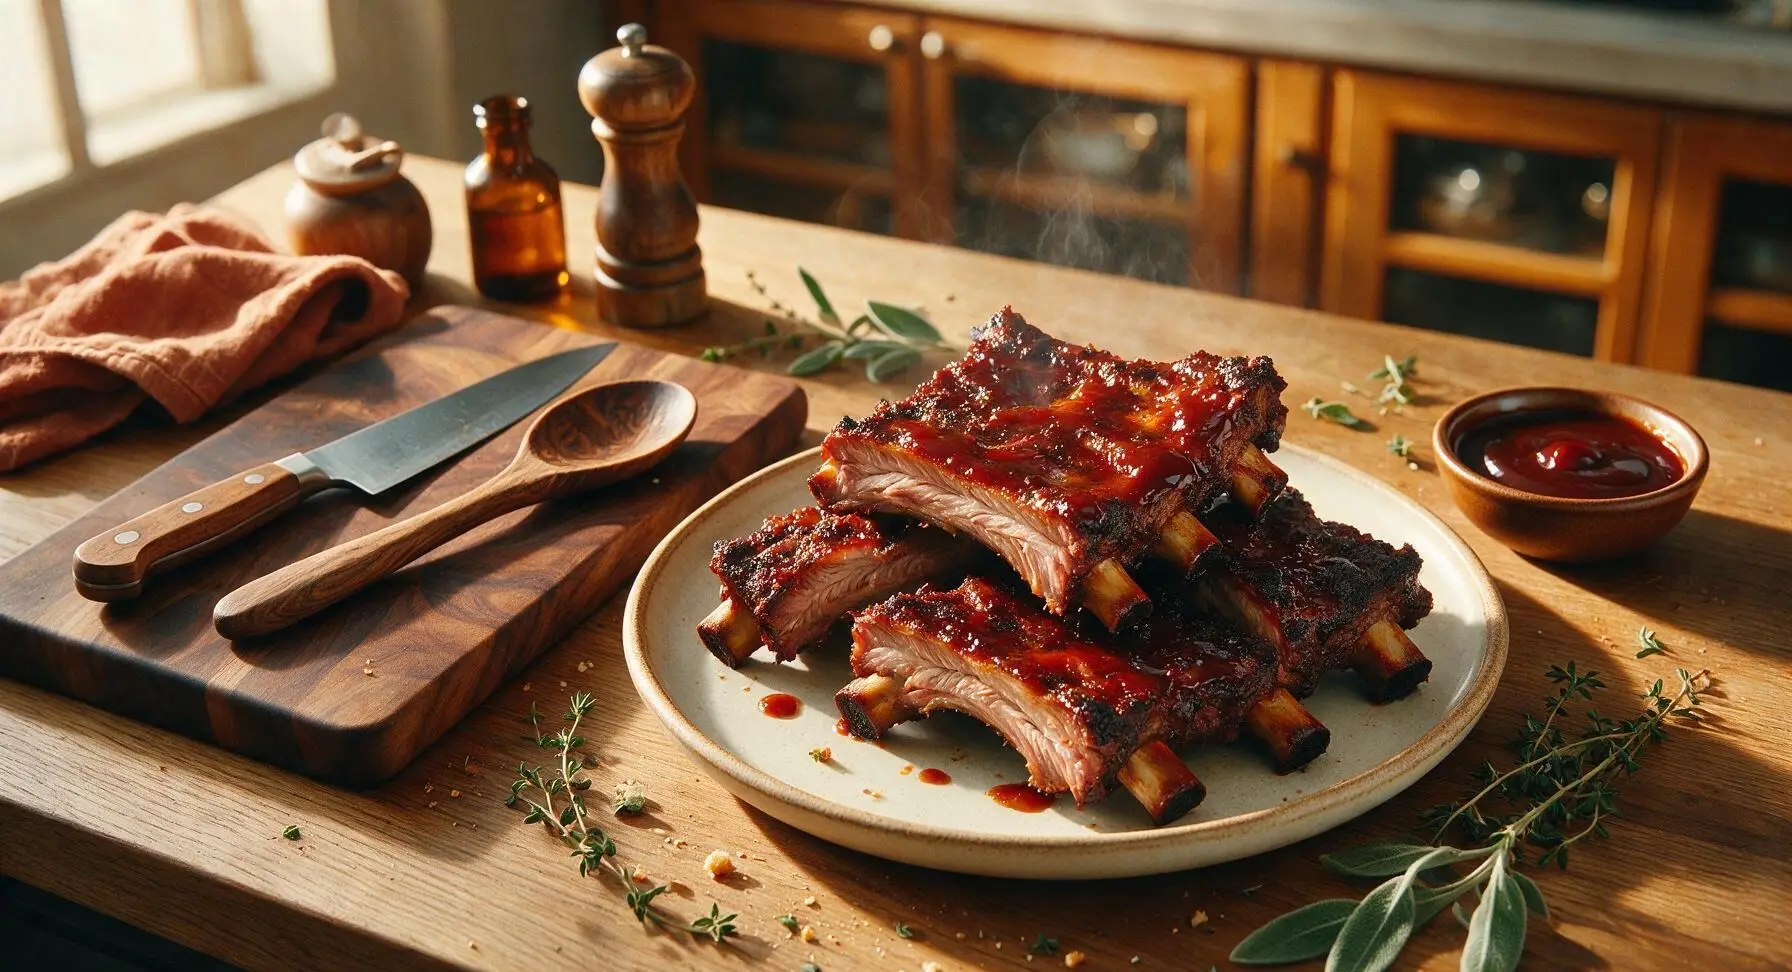
Fall-off-the-bone smoky beef spare ribs with a crispy spiced bark and sticky caramelized BBQ sauce, slow-cooked to tender perfection for classic summer cookouts.
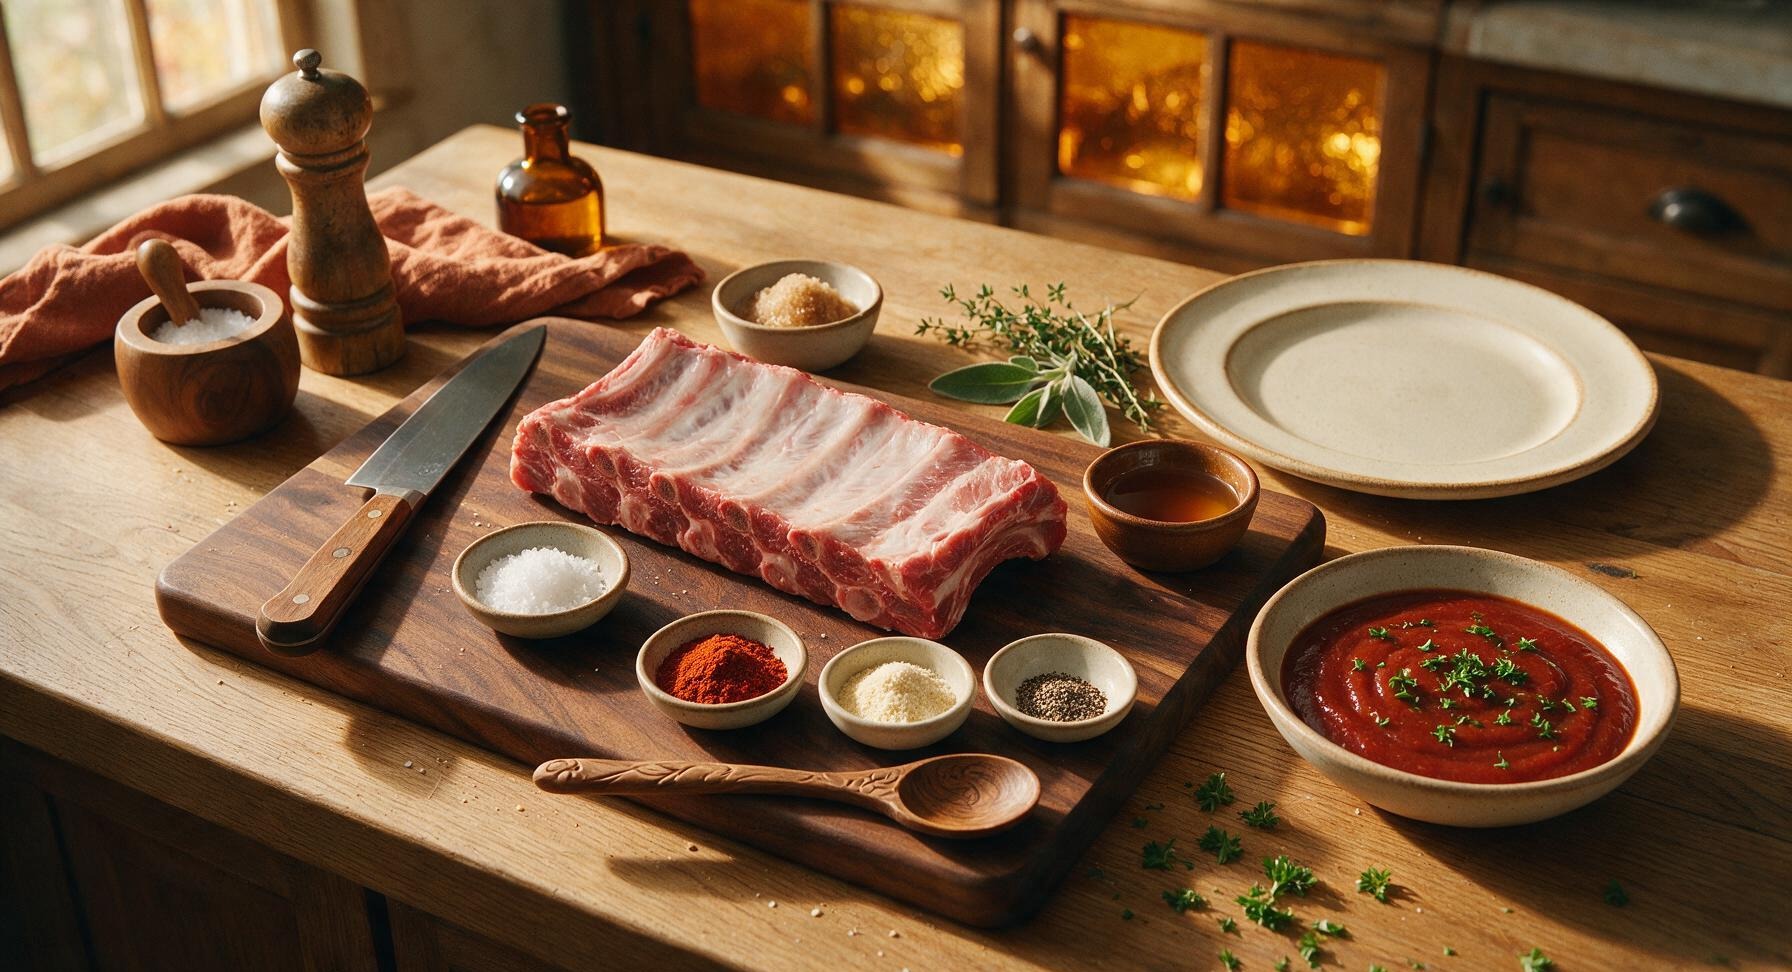
Ingredients
Steps
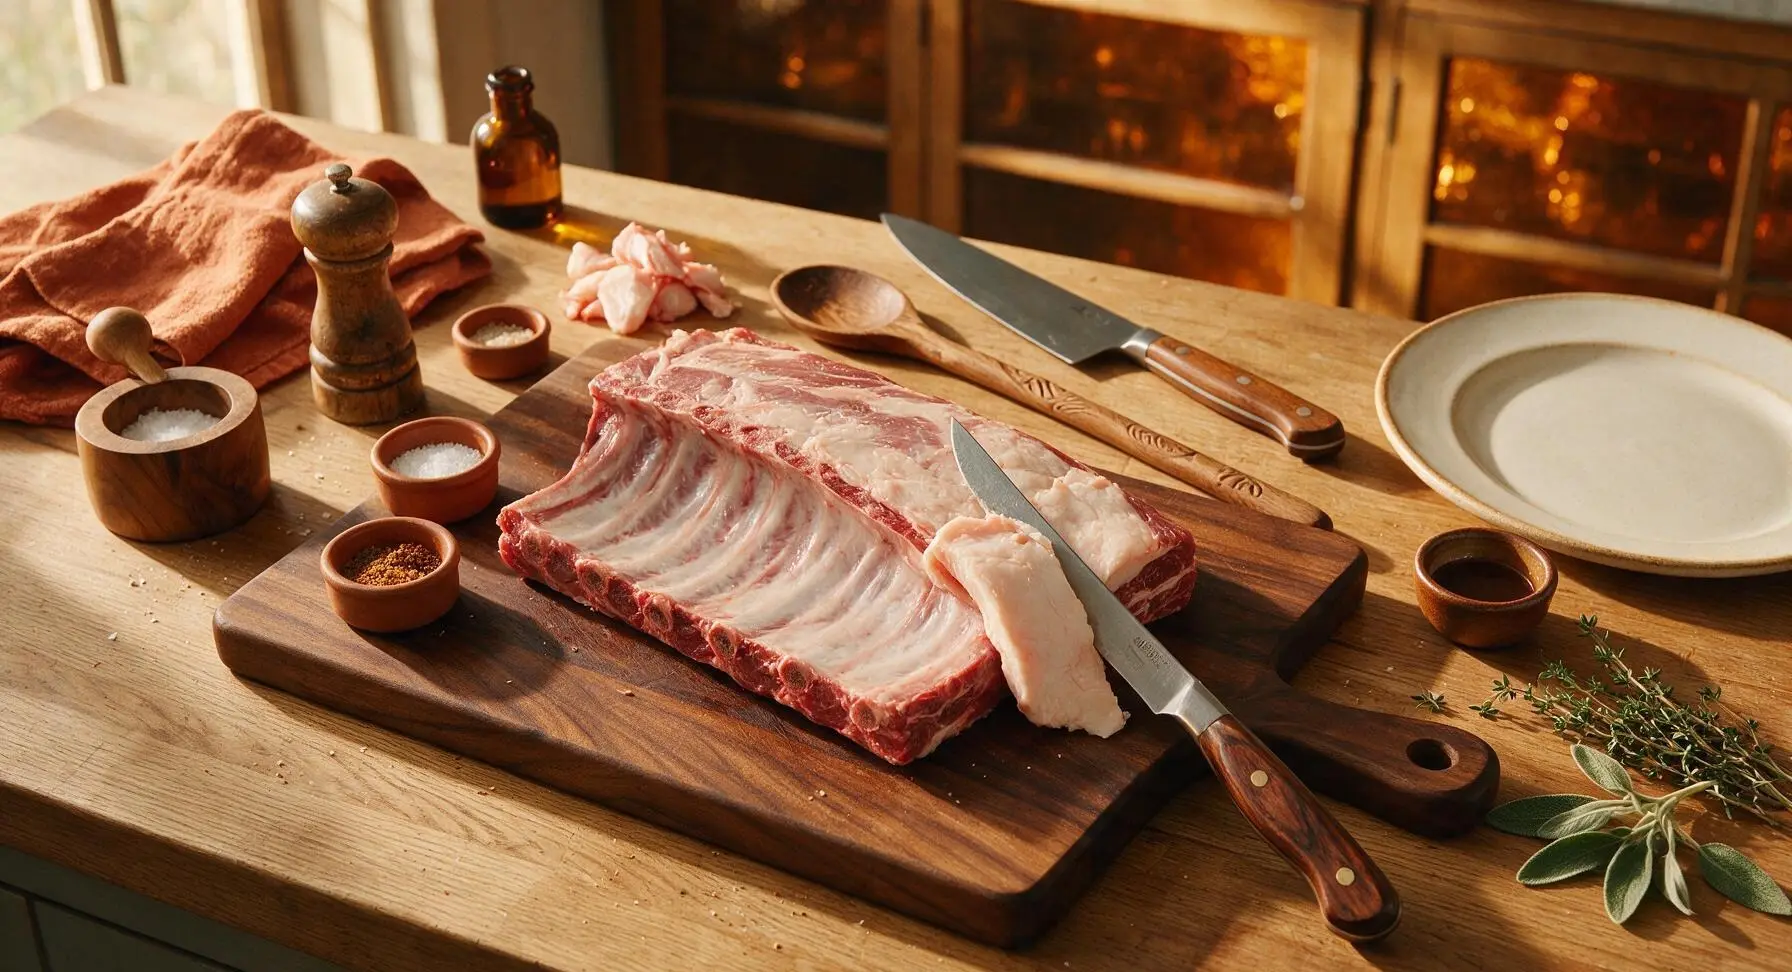
Trim Excess Rib Fat
Place the whole 3lb beef spare rib rack on the dark acacia wood cutting board, bone-side down. Use the 10-inch walnut-handled stainless steel boning knife to trim away any thick, hard fat caps thicker than 1/4 inch, as well as any tough silver skin or loose hanging meat trimmings from the rack. Leave a thin, even layer of fat to keep ribs moist during long cooking; the trimmed rack should sit flat with no protruding hard fat chunks. Pat the entire rack completely dry using the edge of the folded cream cotton kitchen towel to help the dry rub adhere evenly.
Combine Dry Rub
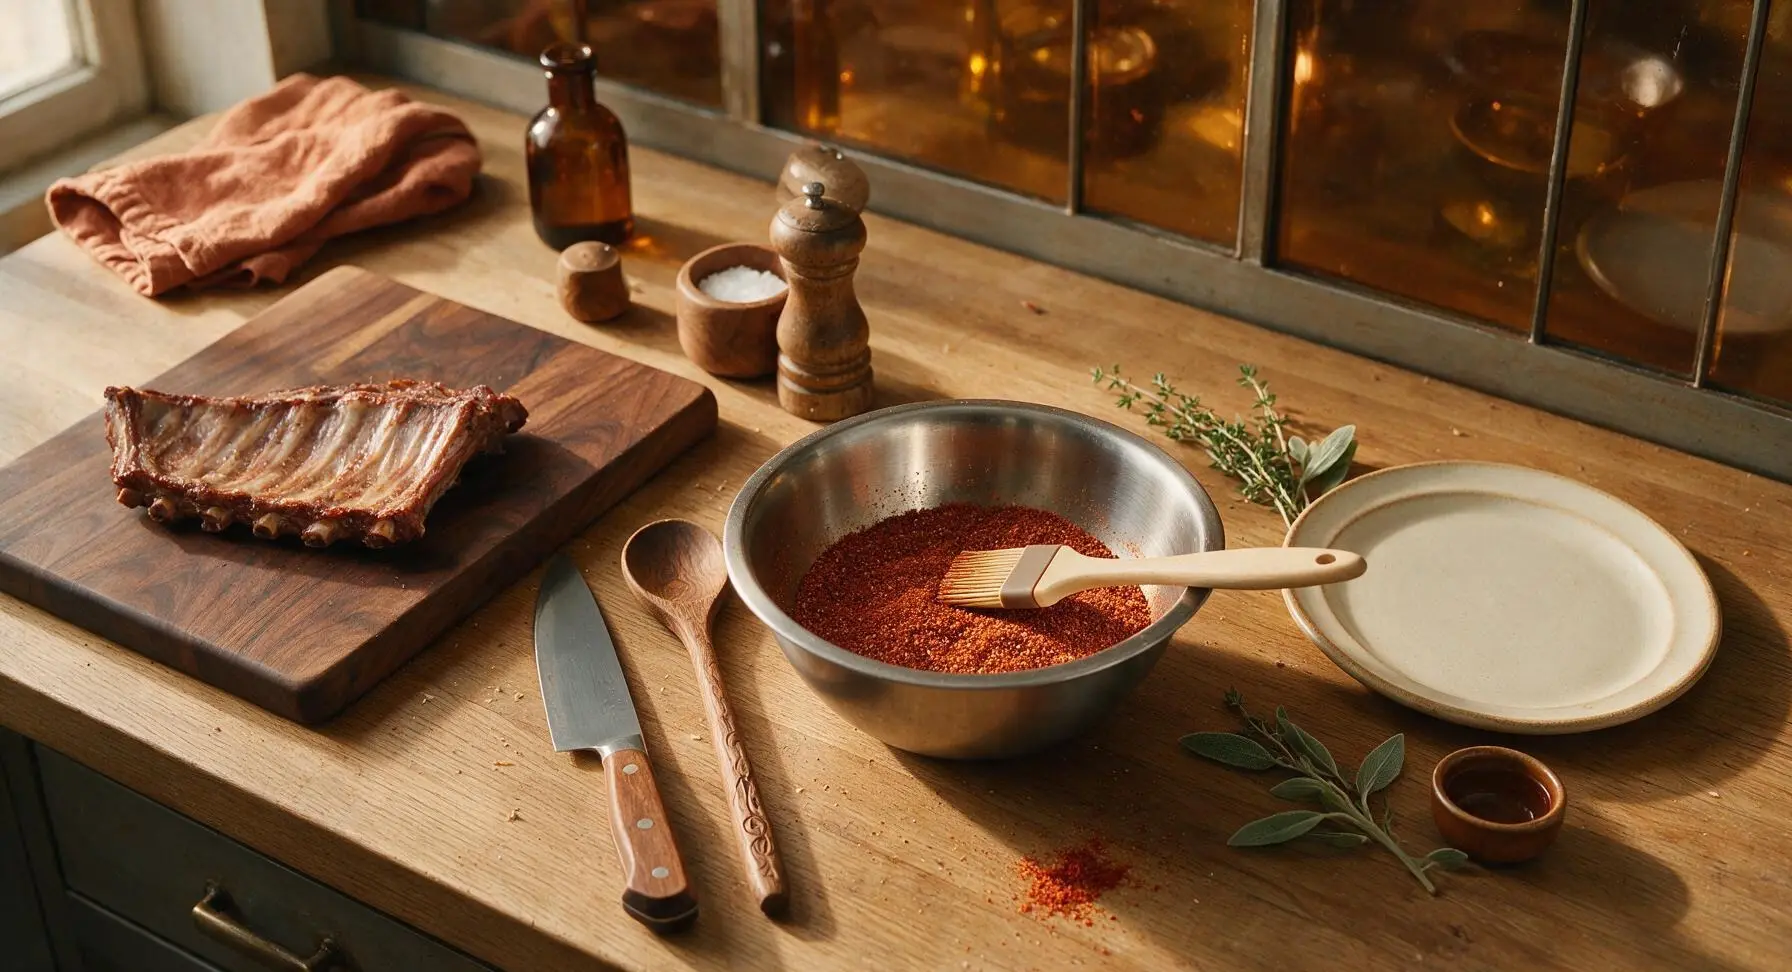
Add 1 tbsp kosher salt, 2 tbsp smoked paprika, 1 tbsp garlic powder, 1 tbsp onion powder, 1 tsp black pepper, and 1 tbsp light brown sugar to the brushed stainless steel mixing bowl. Stir the ingredients together with the handle end of the silicone basting brush until fully combined, breaking up any clumps of brown sugar with the back of the brush to create a smooth, even, reddish-brown spice mixture.
Coat Ribs With Rub
Sprinkle the dry rub evenly over every surface of the trimmed, dried rib rack—top, bottom, and edges—pressing the spice mixture gently into the meat with your fingertips to create a firm, even coating. Do not rub the spices hard enough to tear the meat surface; the entire rack should be covered in a thin, uniform layer of rub with no bare meat spots visible. Let the coated ribs rest at room temperature for 15 minutes to allow spices to penetrate and the meat to warm slightly before grilling.
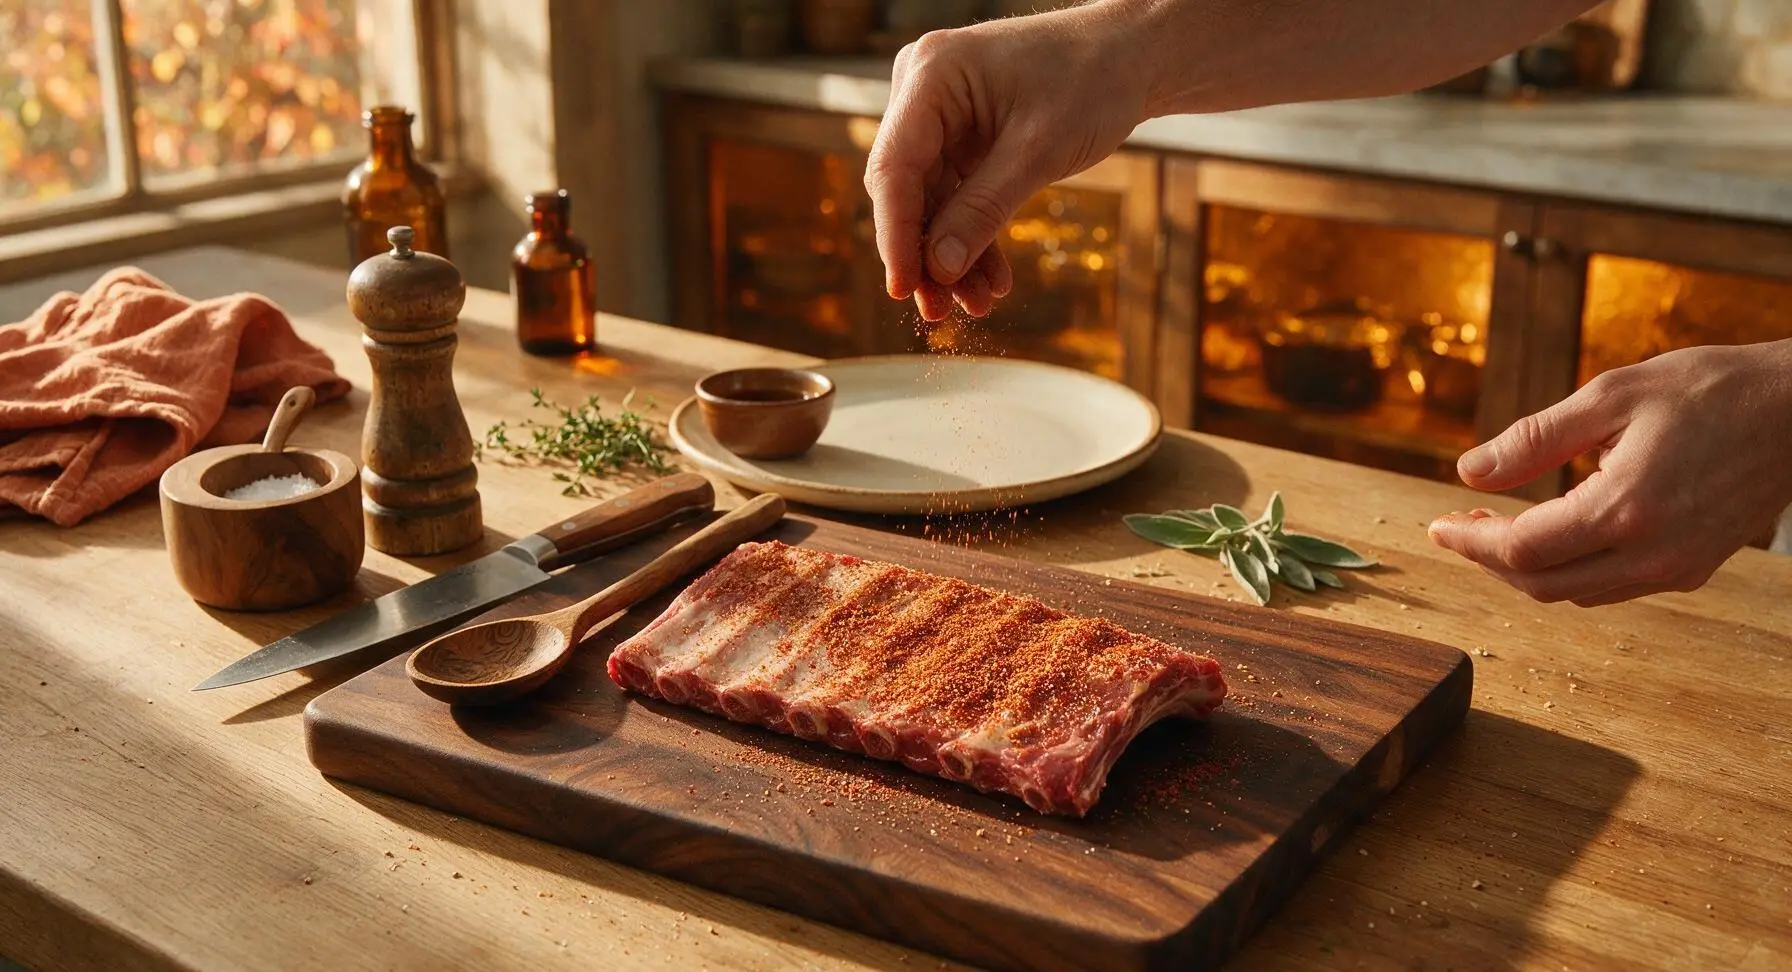
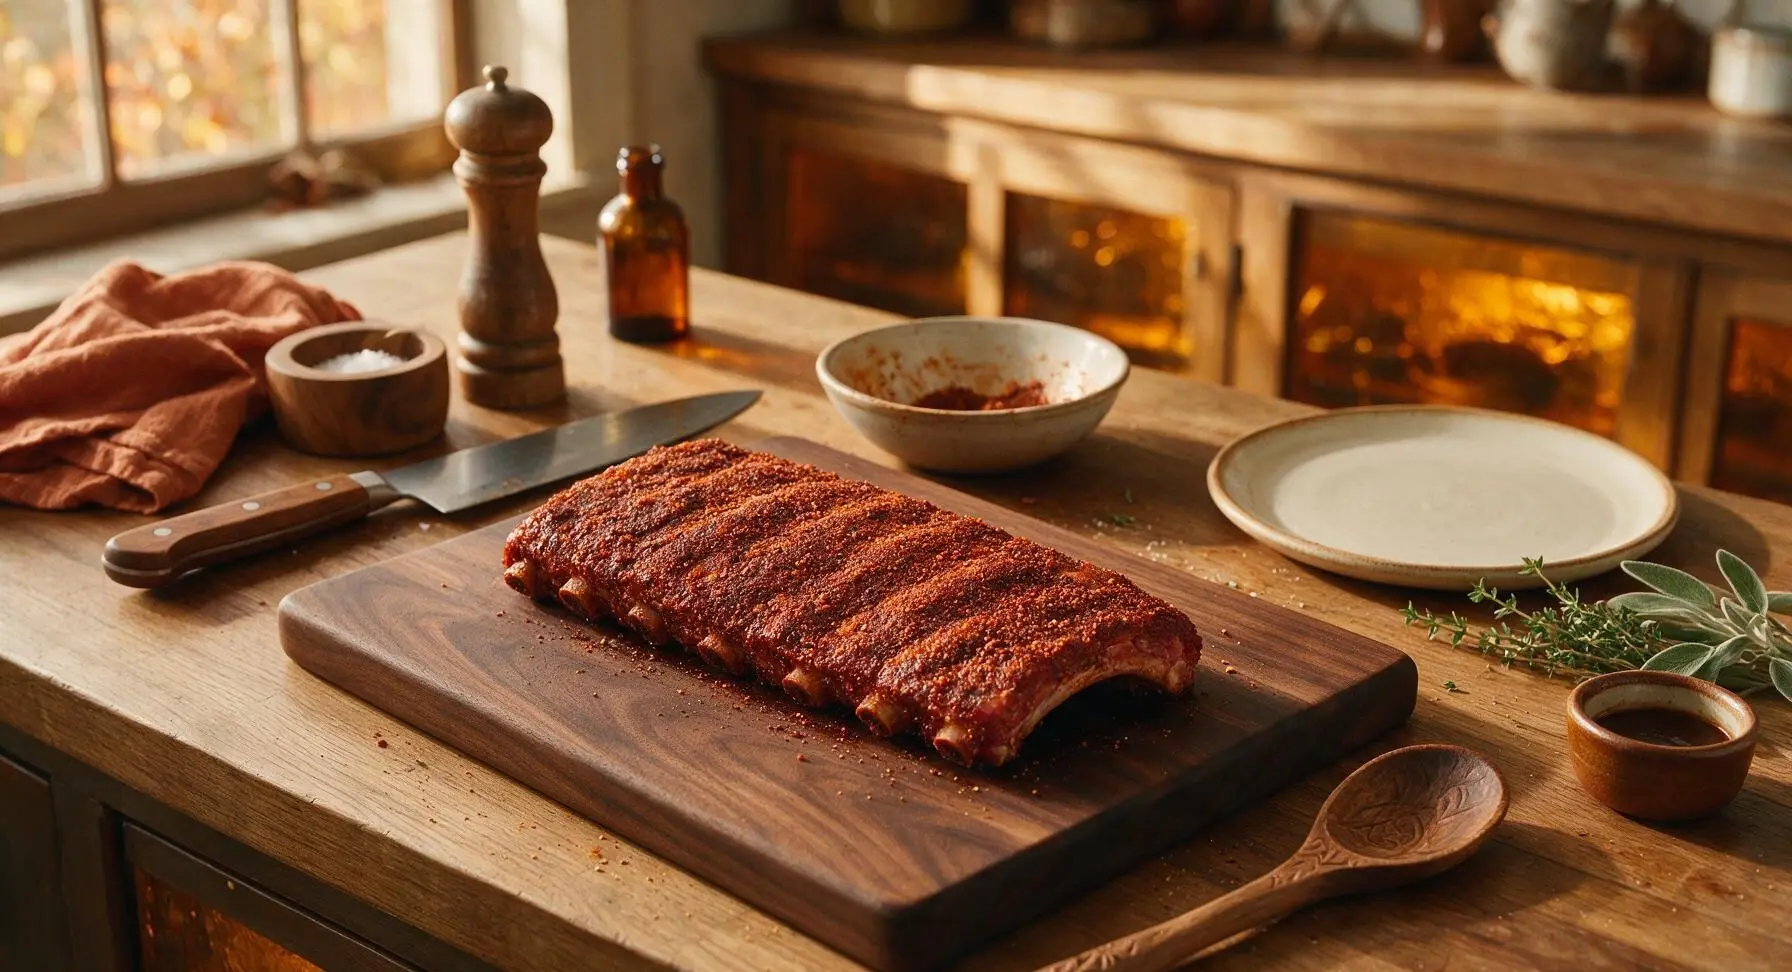
Transfer Ribs to Grill
Once the outdoor grill reaches a steady 275°F (135°C) set for indirect heat, with thin blue smoke rising from added hickory wood chunks (if using), use the long stainless steel BBQ tongs to lift the rubbed rib rack from the cutting board to carry out to the grill. Place the ribs bone-side down on the indirect heat side, close the grill lid, and maintain a consistent 275-300°F temperature for 3 hours, spritzing the ribs with 2 tbsp apple cider vinegar every 45 minutes to keep the surface moist and build a dark, flavorful crust.
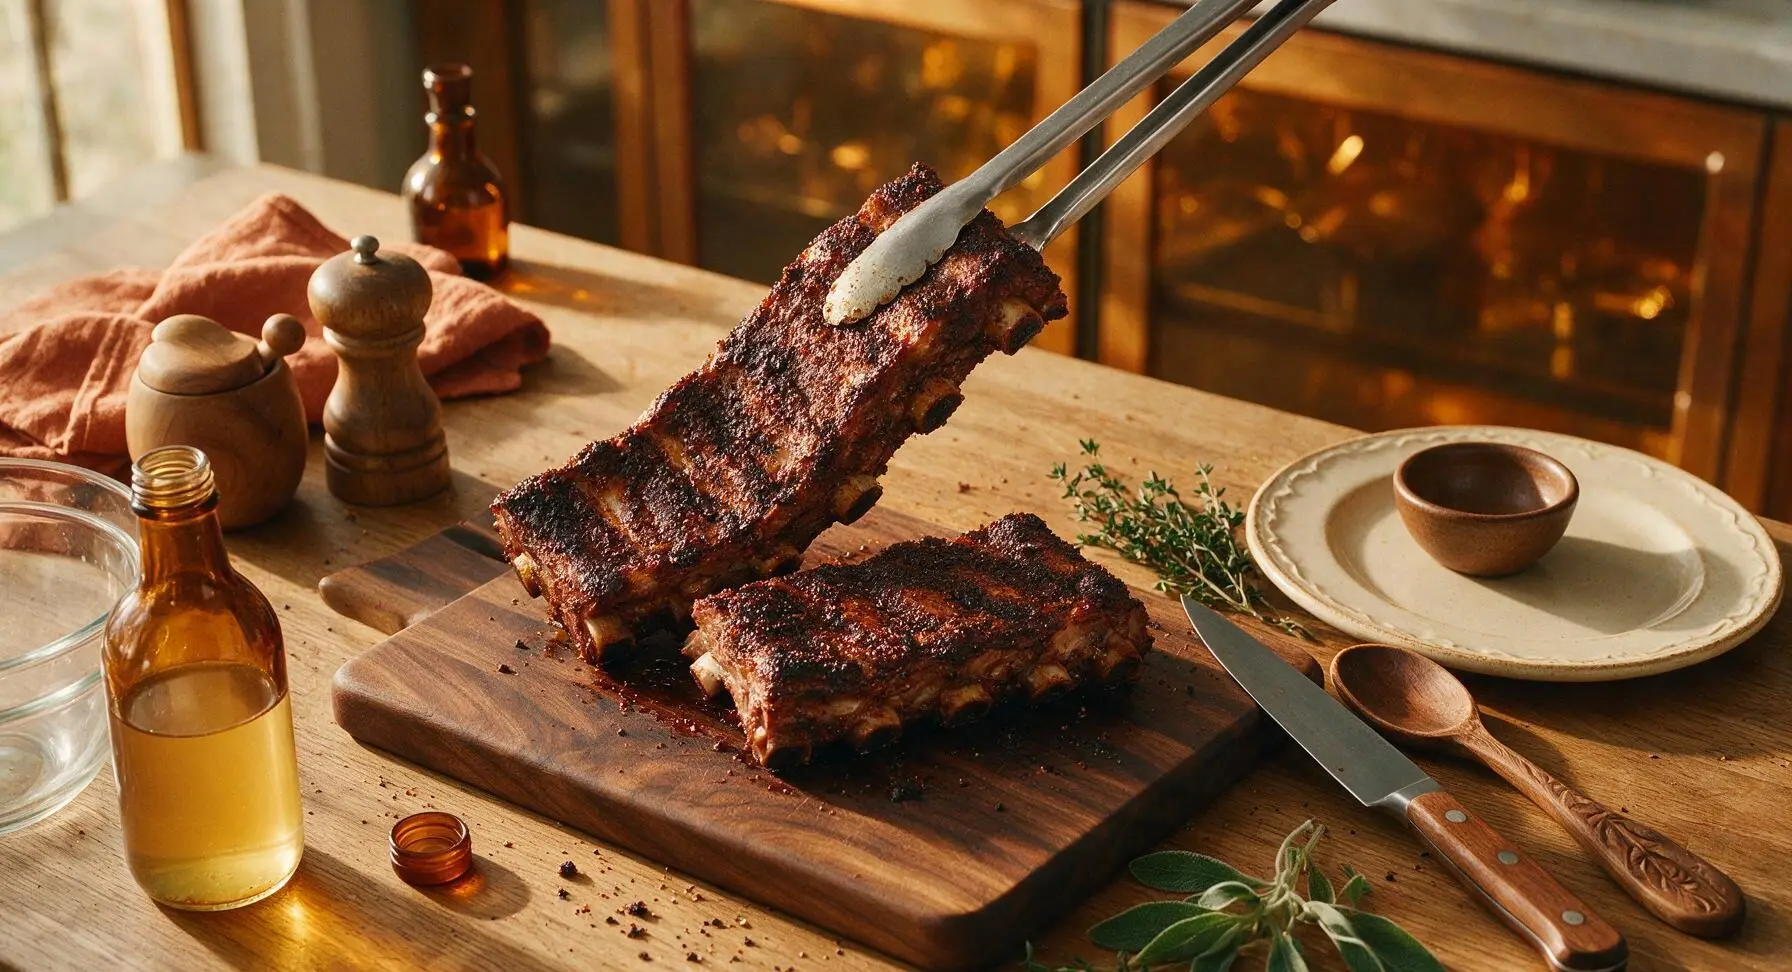
Check Rib Doneness
After 3 hours of cooking, use the BBQ tongs to bring the ribs back into the kitchen to test doneness with the instant-read digital meat thermometer. Insert the probe into the thickest part of the meat, avoiding contact with bone: the internal temperature should read 195-203°F (90-95°C), and the meat should pull back 1/4 inch from the ends of the bones to confirm tender, pull-apart texture. If not yet tender, return the ribs to the grill for 20-30 more minutes before retesting.
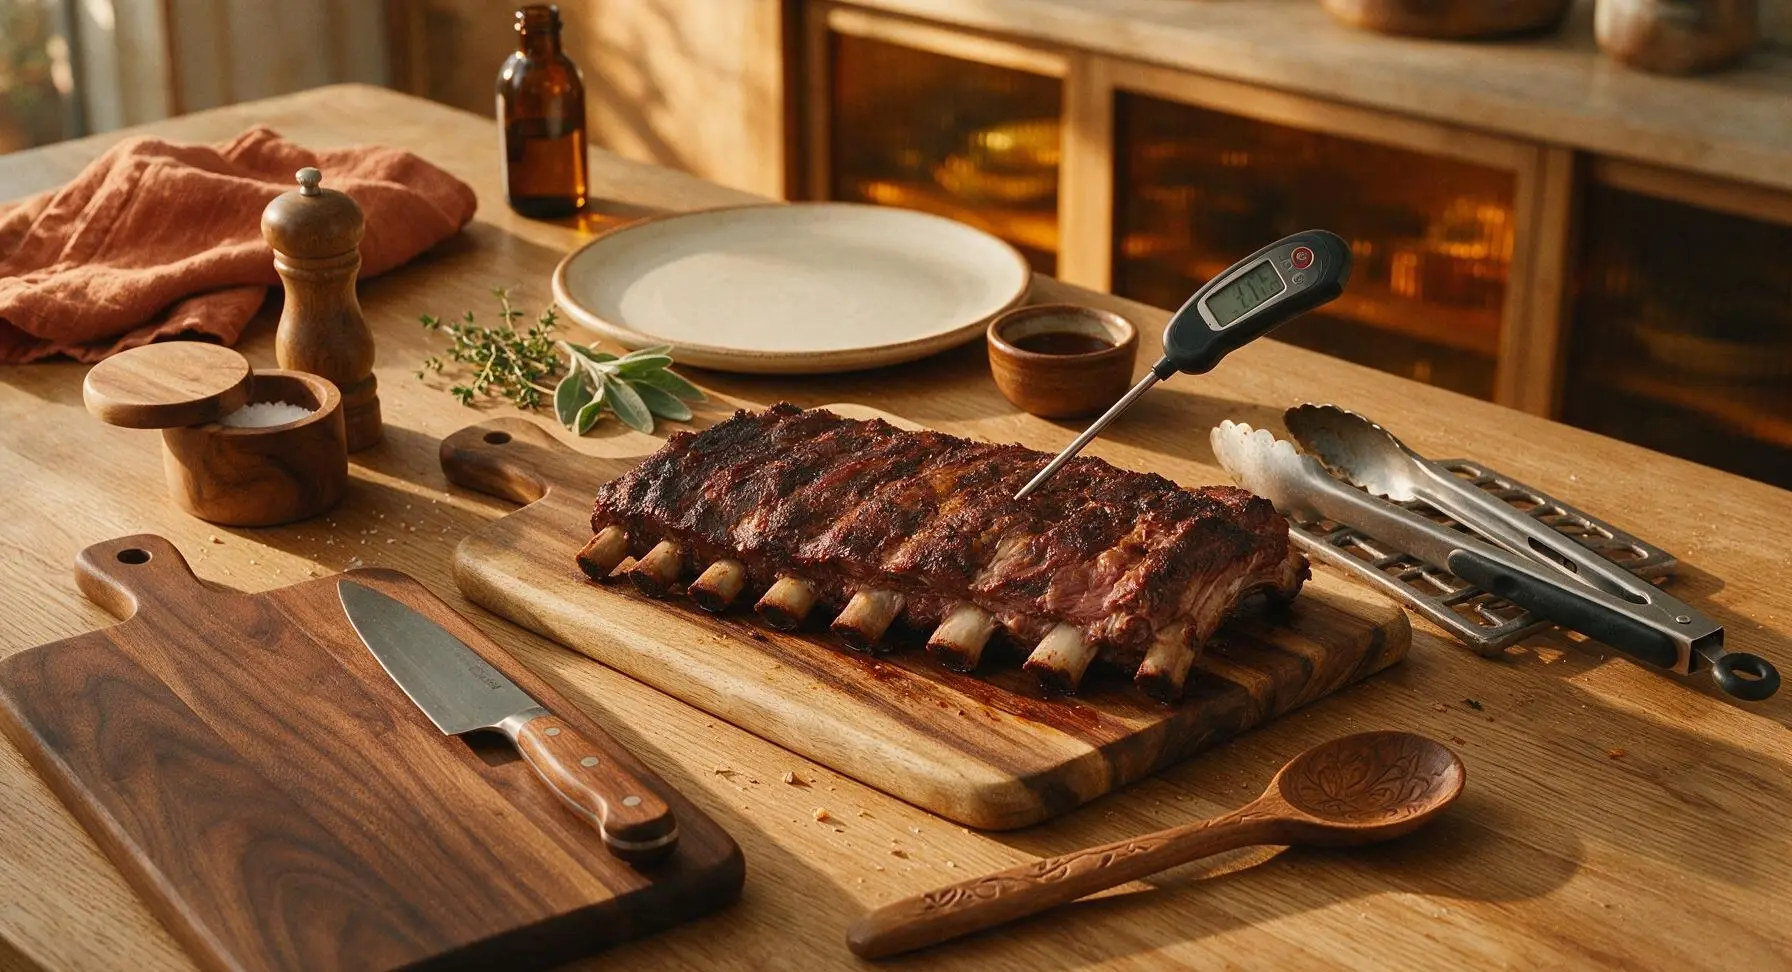
Glaze Ribs With Sauce
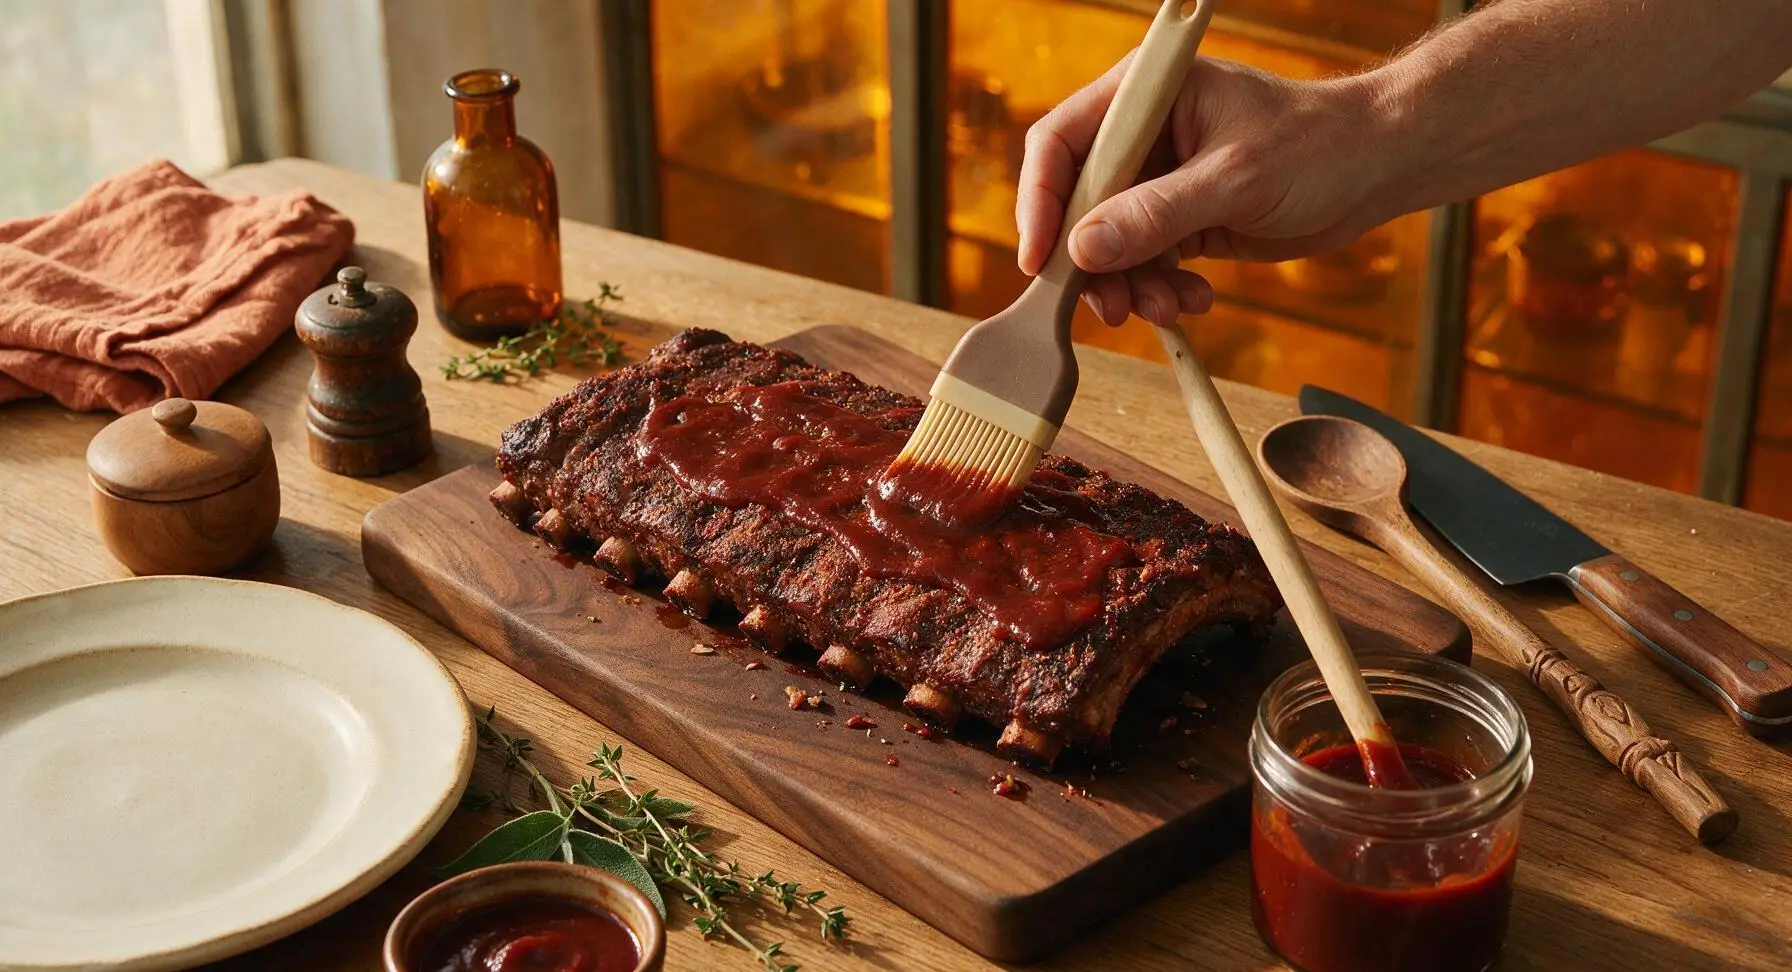
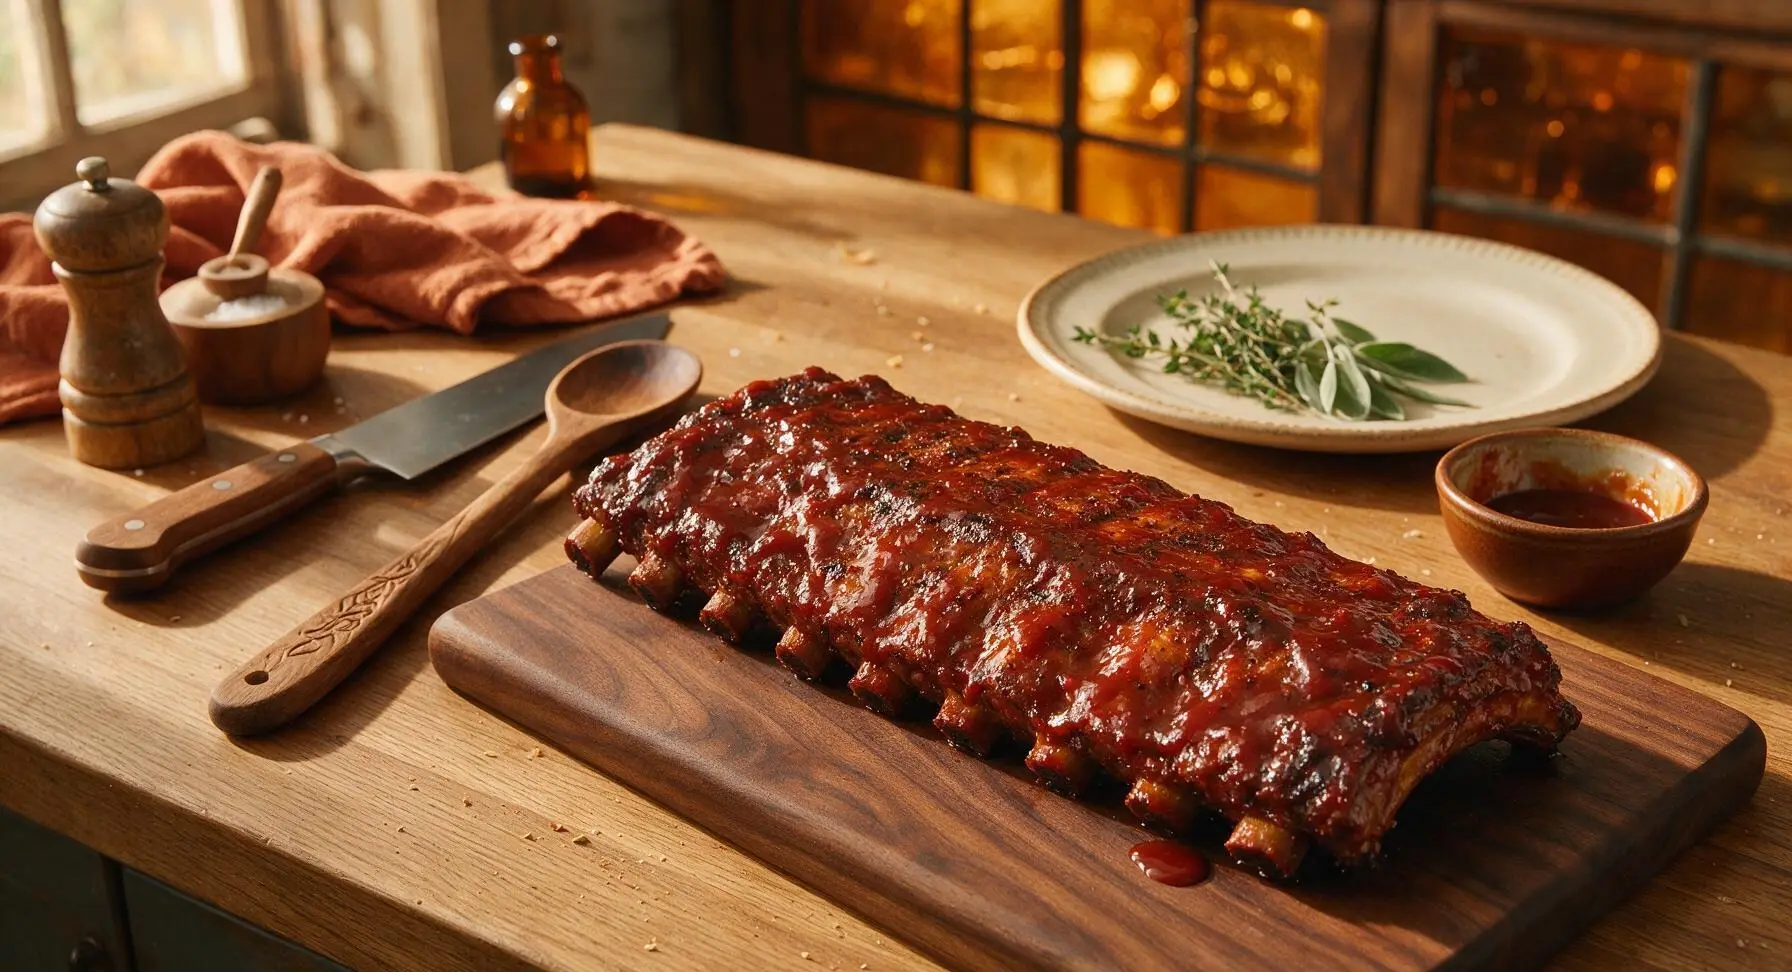
Once the ribs reach the correct internal temperature, use the silicone-bristled basting brush to slather all surfaces of the rib rack generously with 3/4 cup of the tomato-based BBQ sauce, coating every crevice evenly. Return the sauced ribs to the grill (still on indirect heat) for 10-15 minutes, until the sauce is sticky, caramelized, and set into the meat surface, with no runny sauce dripping off the ribs.
Rest and Serve Ribs
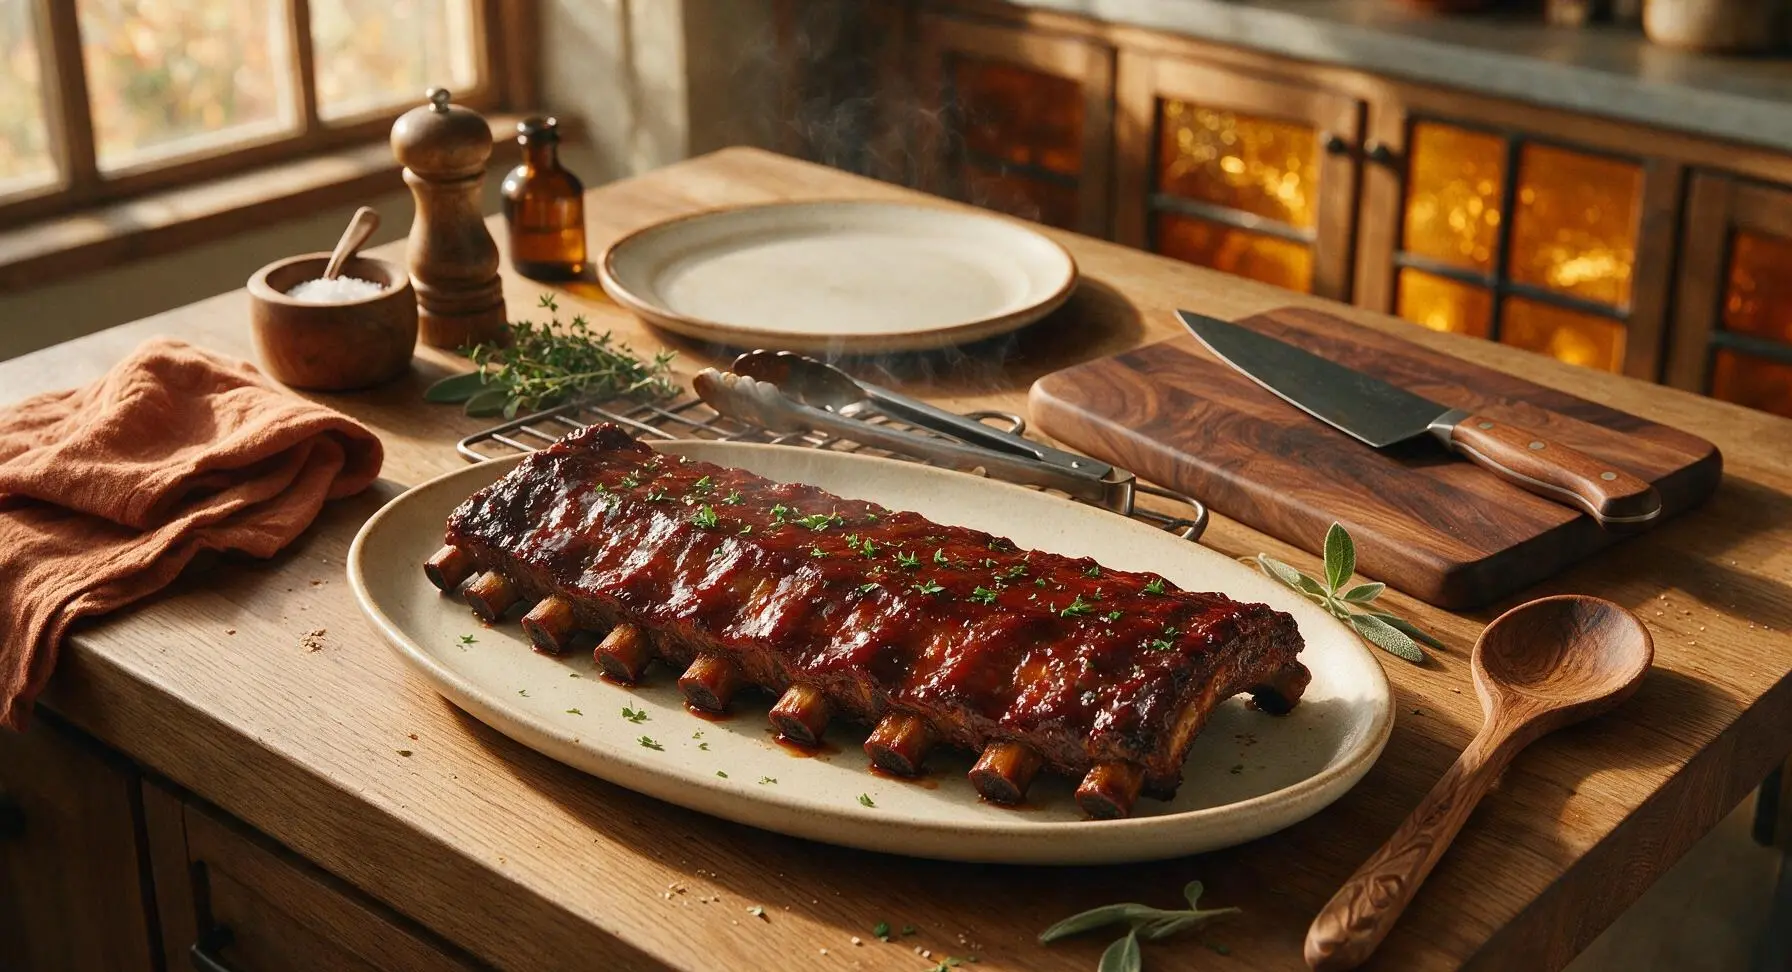
Once the sauce is caramelized and set, use the BBQ tongs to transfer the finished ribs back to the kitchen counter, placing them on the 12-inch matte cream ceramic oval serving platter. Let the ribs rest for 10 minutes to allow juices to redistribute, then cut between the bones into individual portions. Drizzle with the remaining 1/4 cup BBQ sauce, garnish with chopped fresh parsley, and serve immediately.
Tips
2.Resist the urge to open the grill lid frequently while cooking: every lid lift drops the grill temperature by 50-75°F, extending total cook time and reducing consistent smoke penetration into the meat.
3.Let cooked ribs rest for a full 10 minutes after glazing before slicing: cutting into piping hot ribs immediately will cause all the rich, flavorful meat juices to run out onto the platter, leaving the meat dry and less flavorful.






OMG these ribs were the star of our Sunday family cookout! I was a little nervous about nailing the smoke level since I’m pretty new to using my offset smoker, but the 3 hour 15 minute cook time was spot on and the meat pulled right off the bone. My kids loved them so much they asked for seconds before they even finished their first plate. 10/10 will be making these for our next neighborhood potluck!
These ribs turned out SO good, even when I had to adapt the recipe for my tiny apartment electric smoker. Only reason I’m knocking off a star is I had to add almost 30 extra minutes of cook time to get that melt-in-your-mouth tender texture I wanted, probably because my smoker runs a little cooler than the temp gauge says. Either way, the flavor was unreal and I’ve already prepped a second batch to portion out and freeze for quick weeknight dinners.
Brought these slow-smoked ribs to my office potluck yesterday and they were GONE in 10 minutes flat. I followed the dry rub recipe exactly and it had the perfect balance of sweet, salty, and just a tiny kick of heat that everyone was raving about. Even my coworker who swears he “doesn’t like BBQ” went back for a second helping. No notes, this recipe is going straight into my permanent dinner rotation!
First time ever making ribs of any kind, and while the rub flavor was really tasty, I definitely messed up the temperature part and ended up with a few tough, chewy spots on the rack. I think I was too eager to get them done and cranked the smoker heat too high right at the start, which makes sense since the recipe notes it’s medium difficulty! Definitely going to give this another shot next weekend when I have more time to babysit the smoker, I know I can nail it next time!