
Beer Can Chicken (Grill)
intro
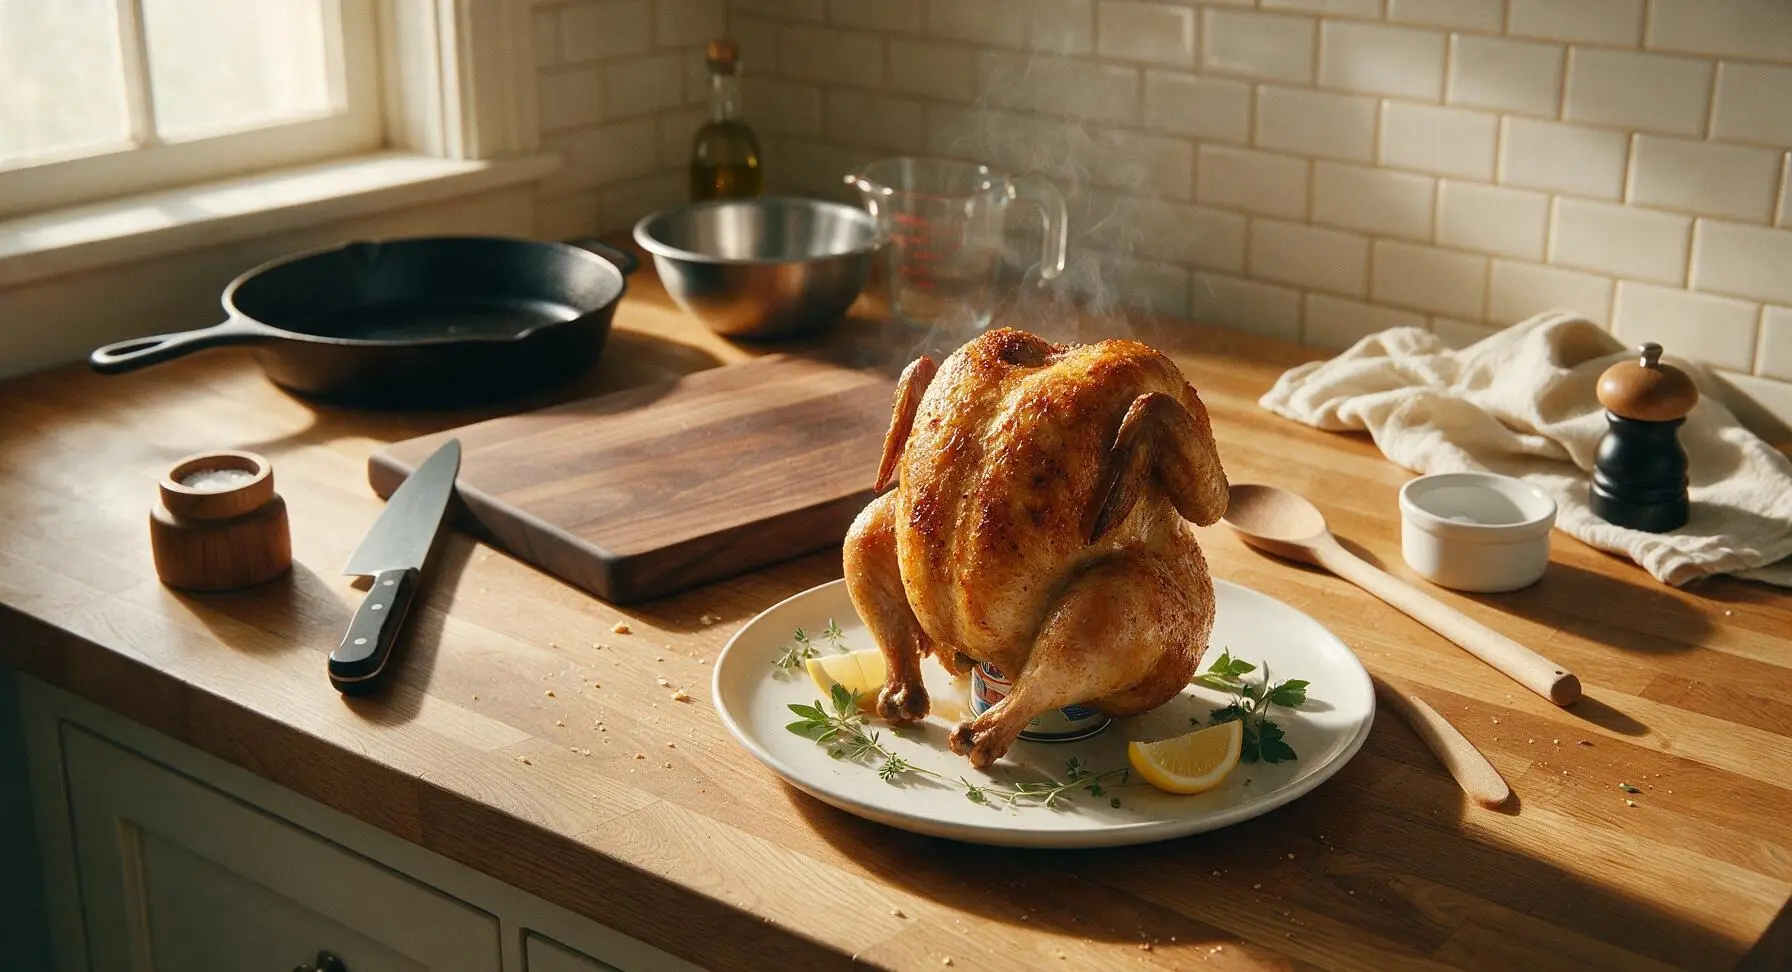
Crispy, golden whole chicken roasted upright on a beer can over smoky grill heat, yielding tender, malty, juicy meat and shatteringly crisp skin—an iconic summer backyard BBQ staple.
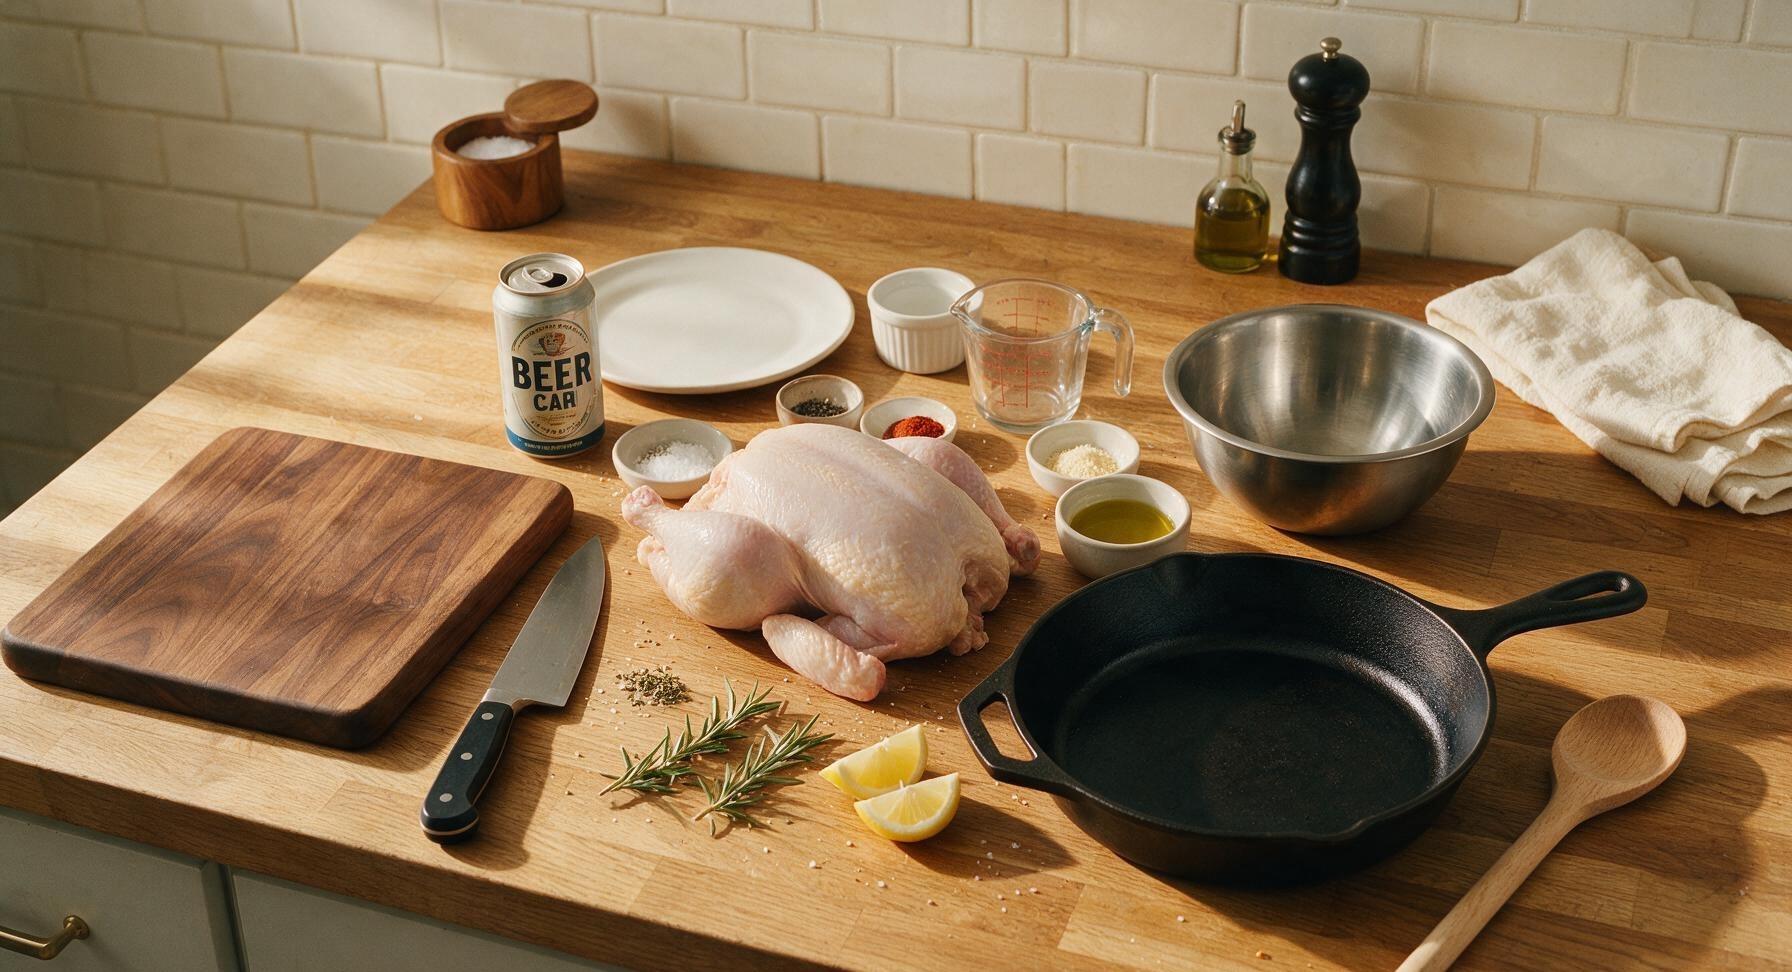
Ingredients
Steps
Prep the Whole Chicken
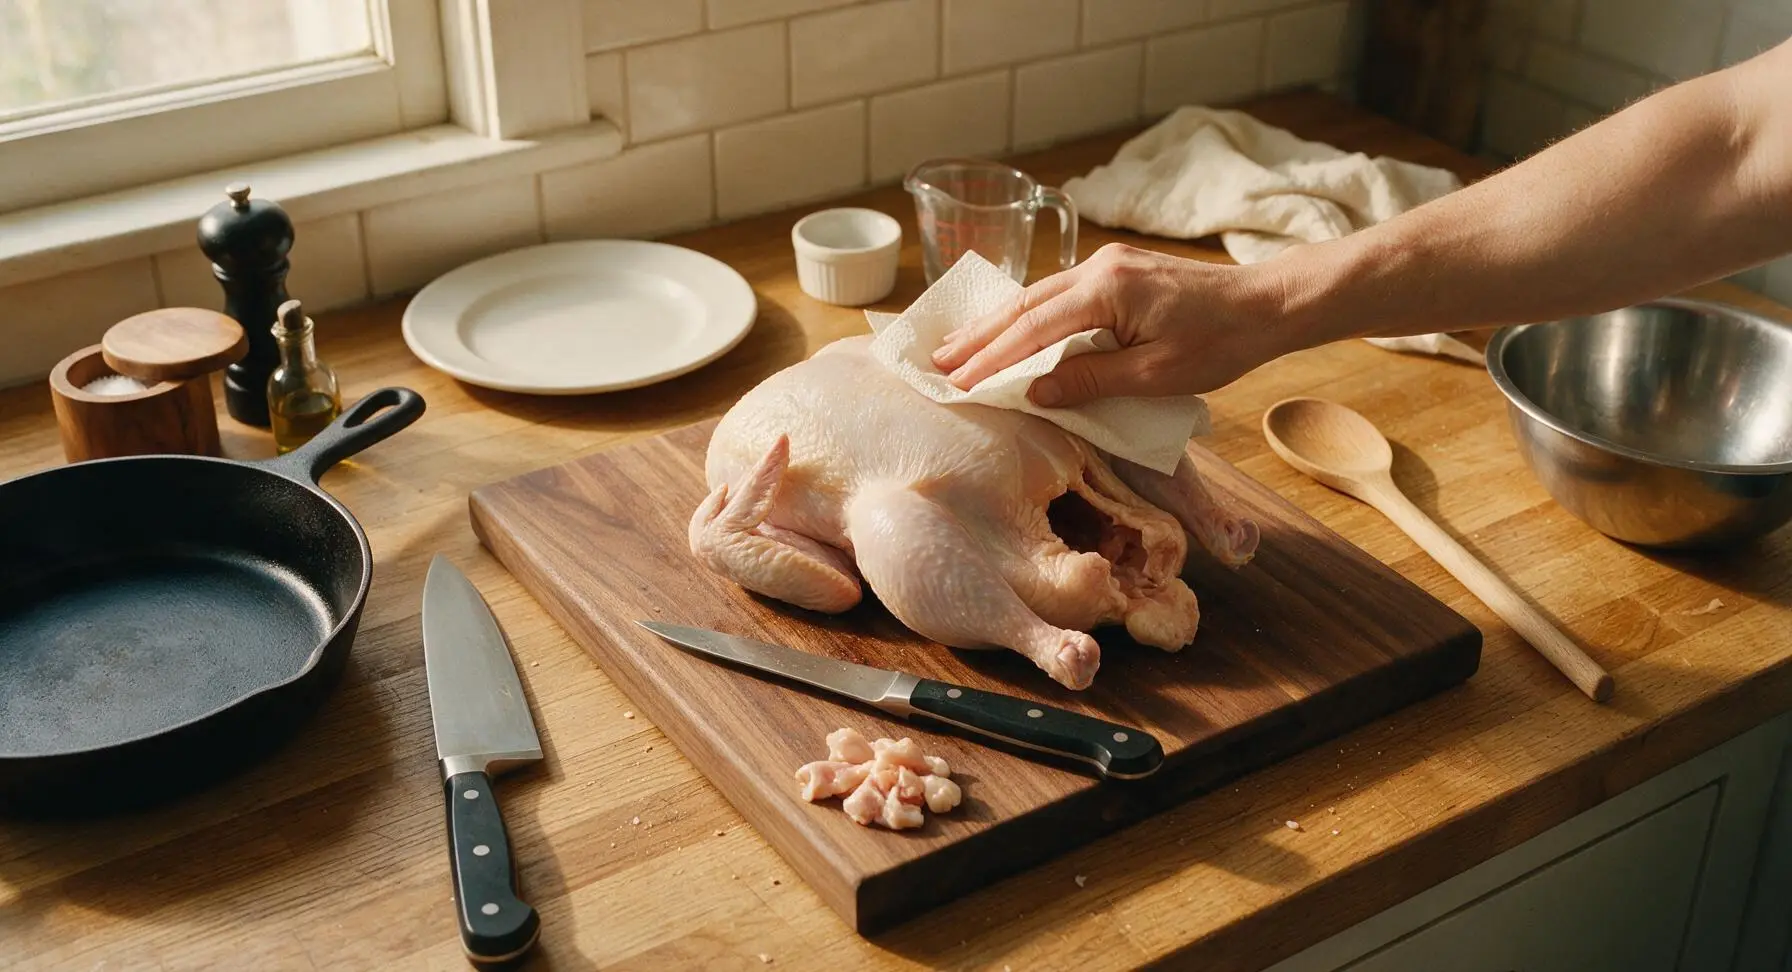
Remove the 4lb whole chicken from packaging, discard giblets and neck from the internal cavity. Place the chicken on the acacia cutting board, use sheets from the paper towel roll to thoroughly pat every surface (skin and cavity) completely dry—this is critical for crispy skin. Trim any excess loose skin or fat from the neck and cavity opening with the 6-inch boning knife. The skin should feel matte and dry to the touch, not damp or slimy.
Mix Dry Spice Rub
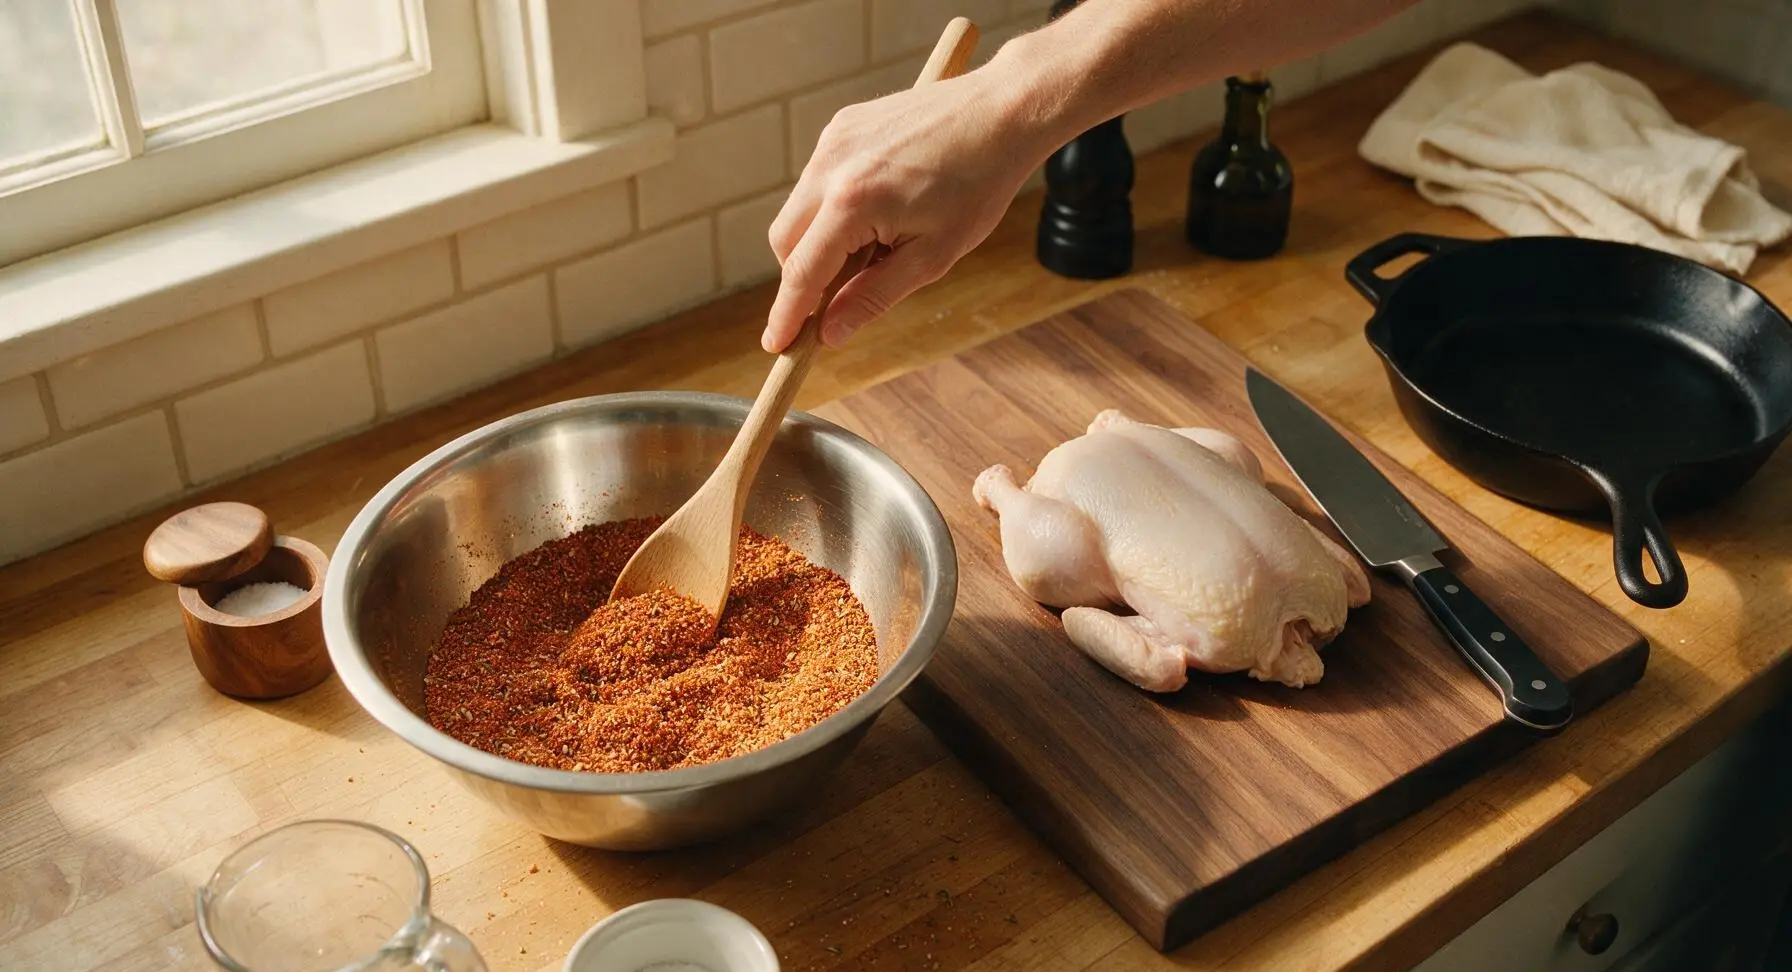
In the stainless steel medium mixing bowl, combine 1 tbsp kosher salt, 1 tsp black pepper, 1 tsp smoked paprika, 1 tsp garlic powder, 1 tsp onion powder, and ½ tsp dried thyme. Stir to fully combine, breaking up any clumps of paprika, until the mixture is an even reddish-tan color with no concentrated spice pockets.
Coat Chicken with Rub
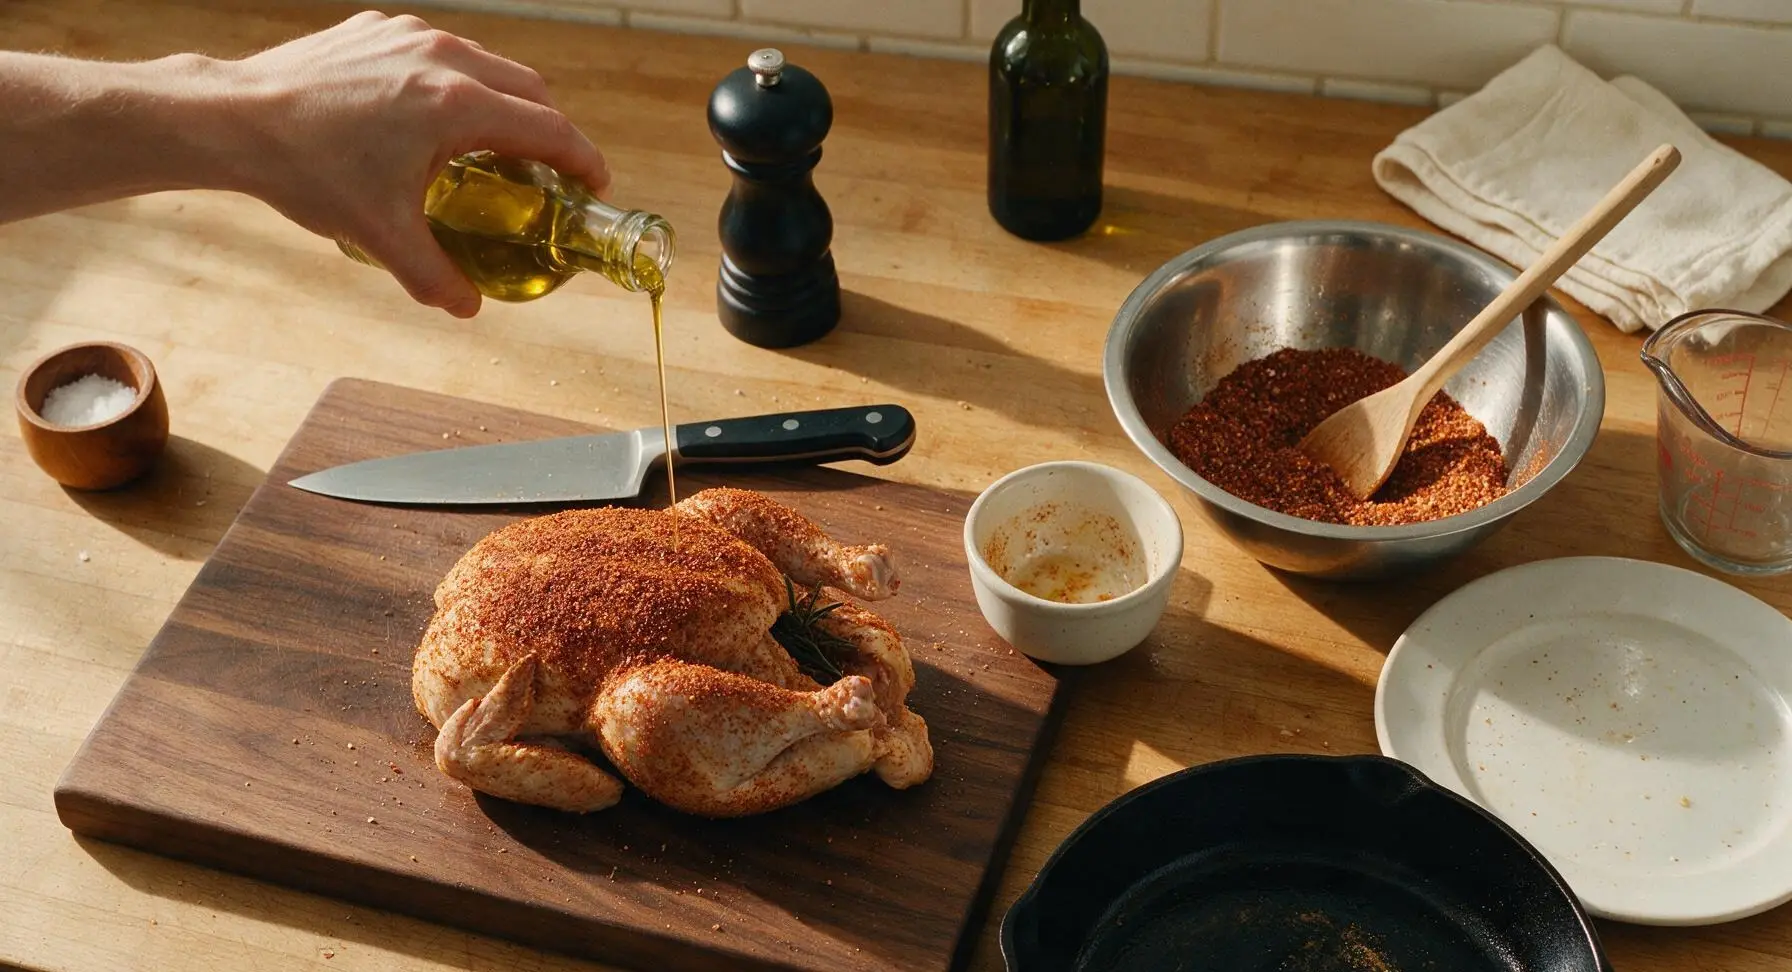
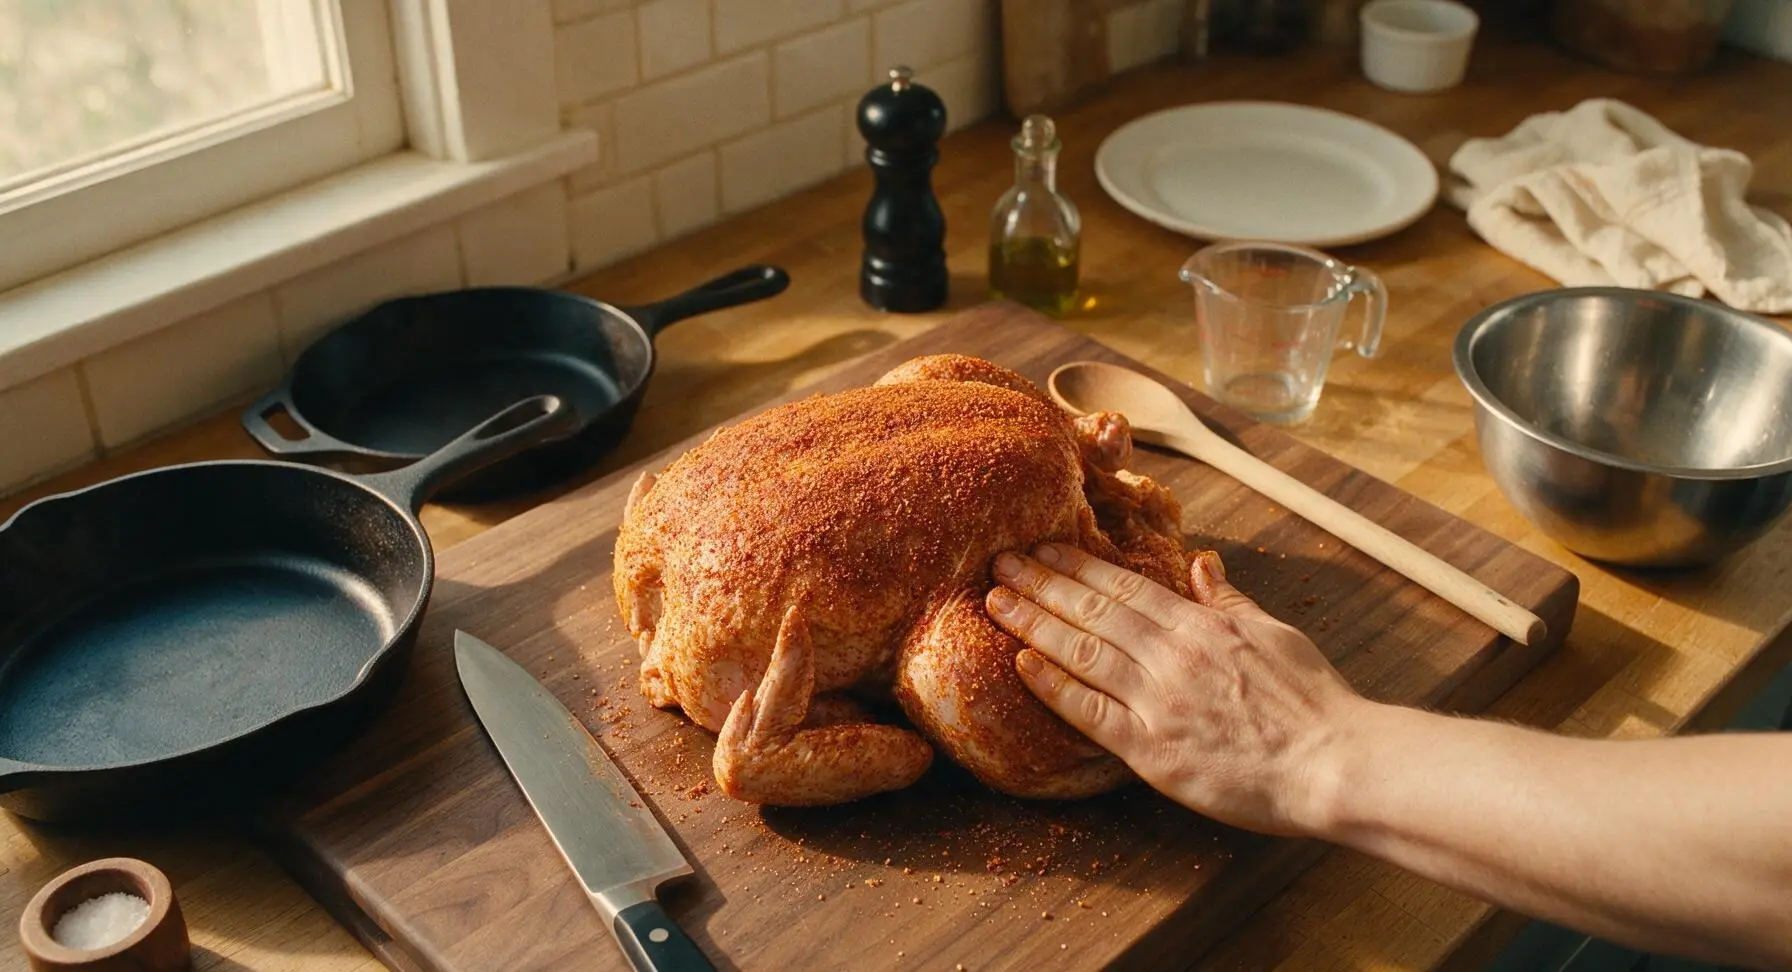
Drizzle 2 tbsp olive oil over the entire surface of the dry chicken, rubbing it evenly over the breast, legs, wings, and inside the cavity. Sprinkle the mixed spice rub generously over every surface, pressing gently so the rub adheres to the oiled skin, including the cavity interior. Tuck one rosemary sprig into the neck cavity. The chicken should be fully coated in an even layer of reddish spice mix, with no bare patches of skin visible.
Prepare the Beer Can
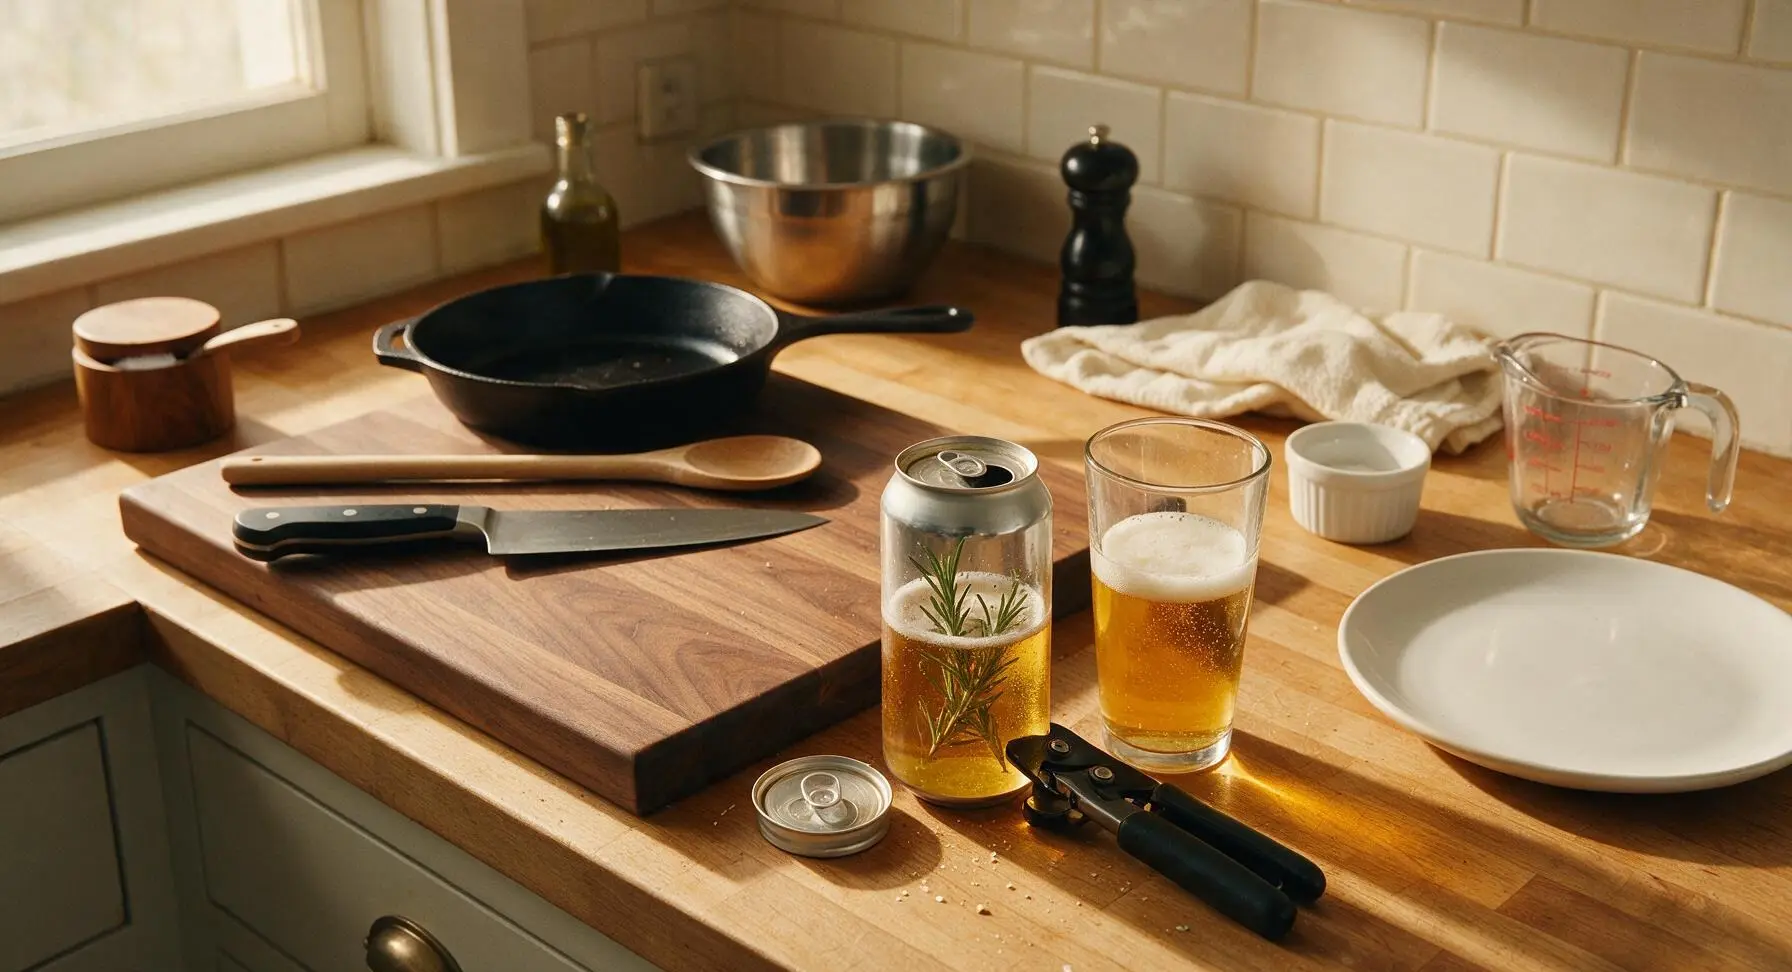
Use the manual matte black can opener to remove the entire top lid from the 12oz lager beer can. Pour out approximately ½ of the beer into the clear glass pint glass (save for drinking or basting). Use the can opener tip to punch two additional small holes in the top rim of the can, opposite each other, to allow even steam flow and prevent pressure buildup during cooking. Drop the remaining two rosemary sprigs into the half-full beer can.
Mount Chicken on Can
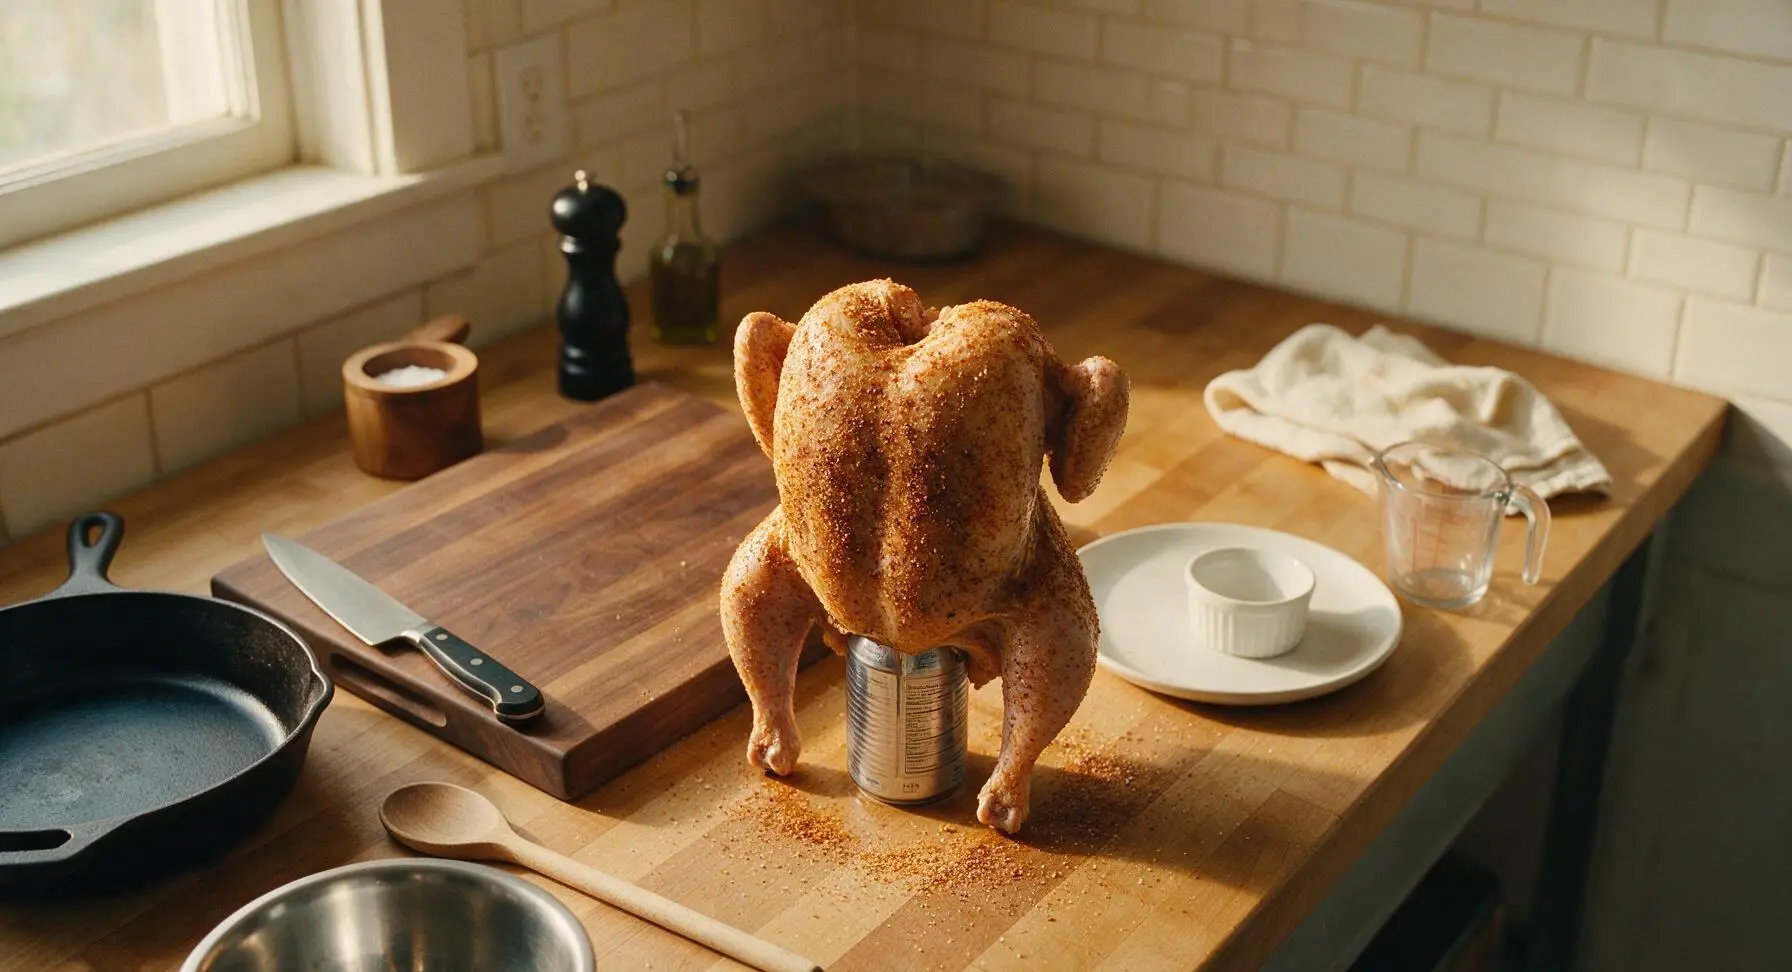
Hold the seasoned chicken upright with the cavity facing down. Lower the chicken cavity directly onto the prepared beer can, so the can slides fully into the cavity, supporting the chicken to stand upright. Tuck the chicken wing tips behind the back to prevent burning, adjust the legs so the chicken stands stably in a tripod position (two legs + can as the third support). The chicken should stand without wobbling when gently nudged.
Prep Grill for Indirect Heat
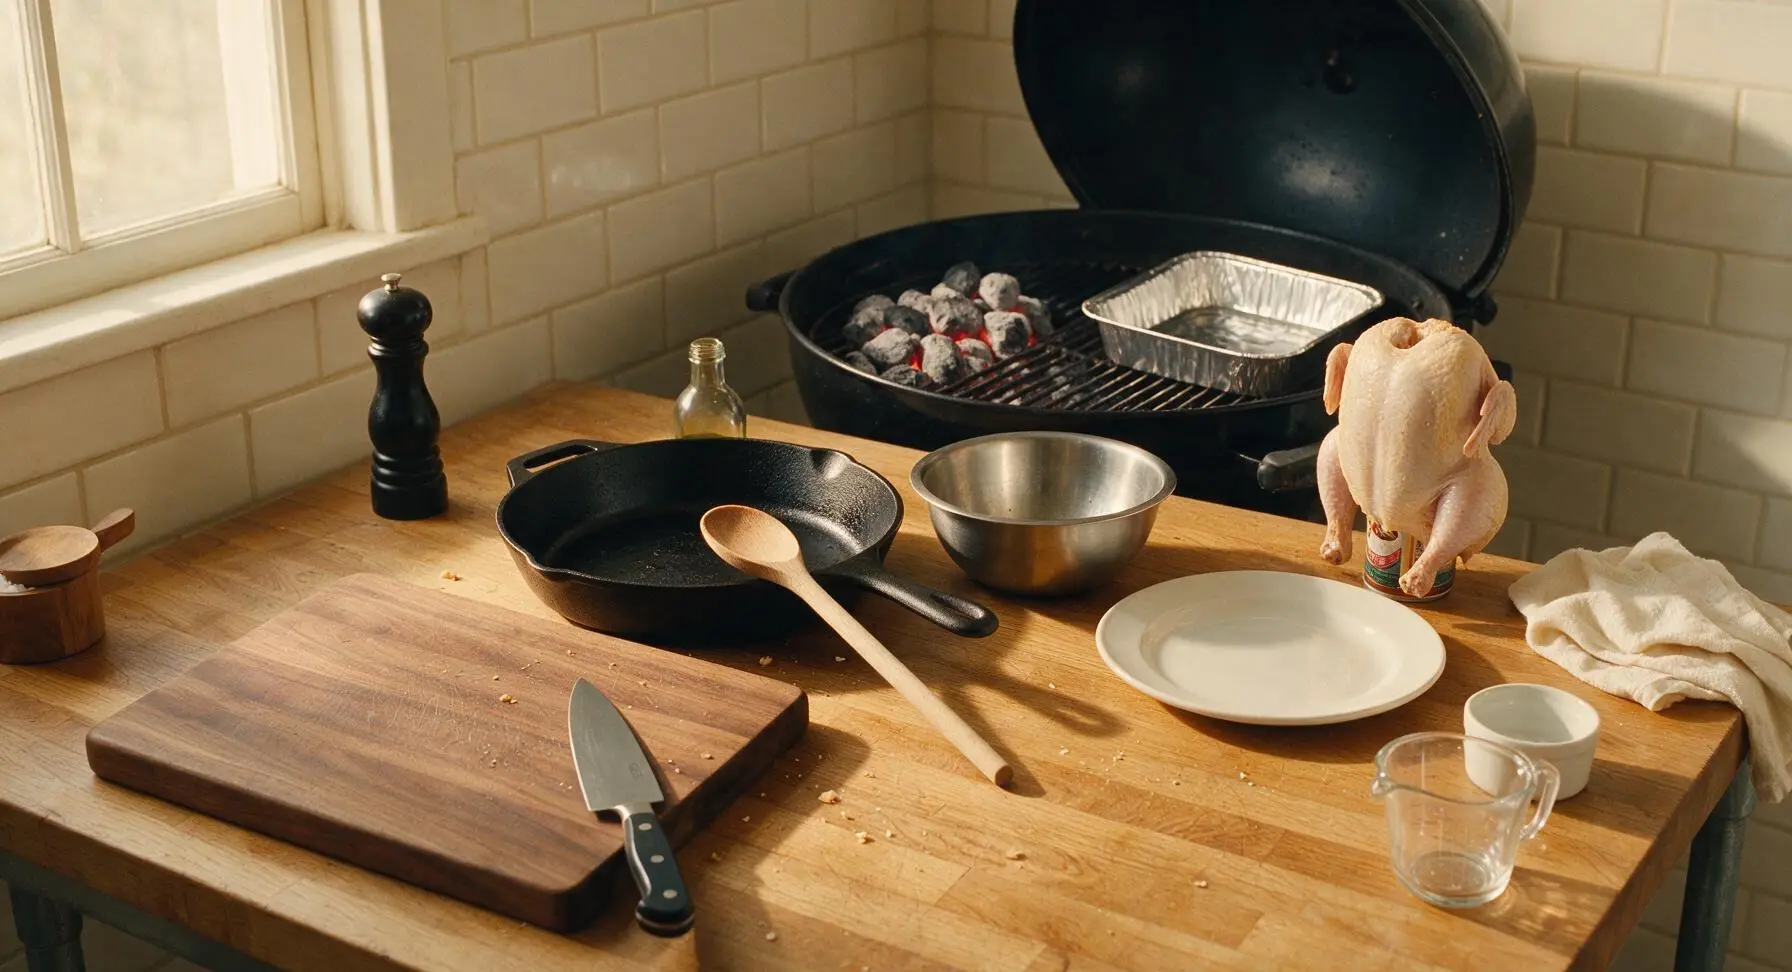
Light charcoal in the chimney starter, let burn until coals are covered in thin gray ash (approximately 15 minutes). Pour coals onto one side of the charcoal grill, leaving the other side completely empty to create an indirect heat zone. Place the disposable aluminum drip pan on the empty side of the grill grates, under where the chicken will sit. Close the lid and preheat the grill to 375°F (190°C), adjusting top and bottom vents to maintain steady temperature.
Grill Over Indirect Heat
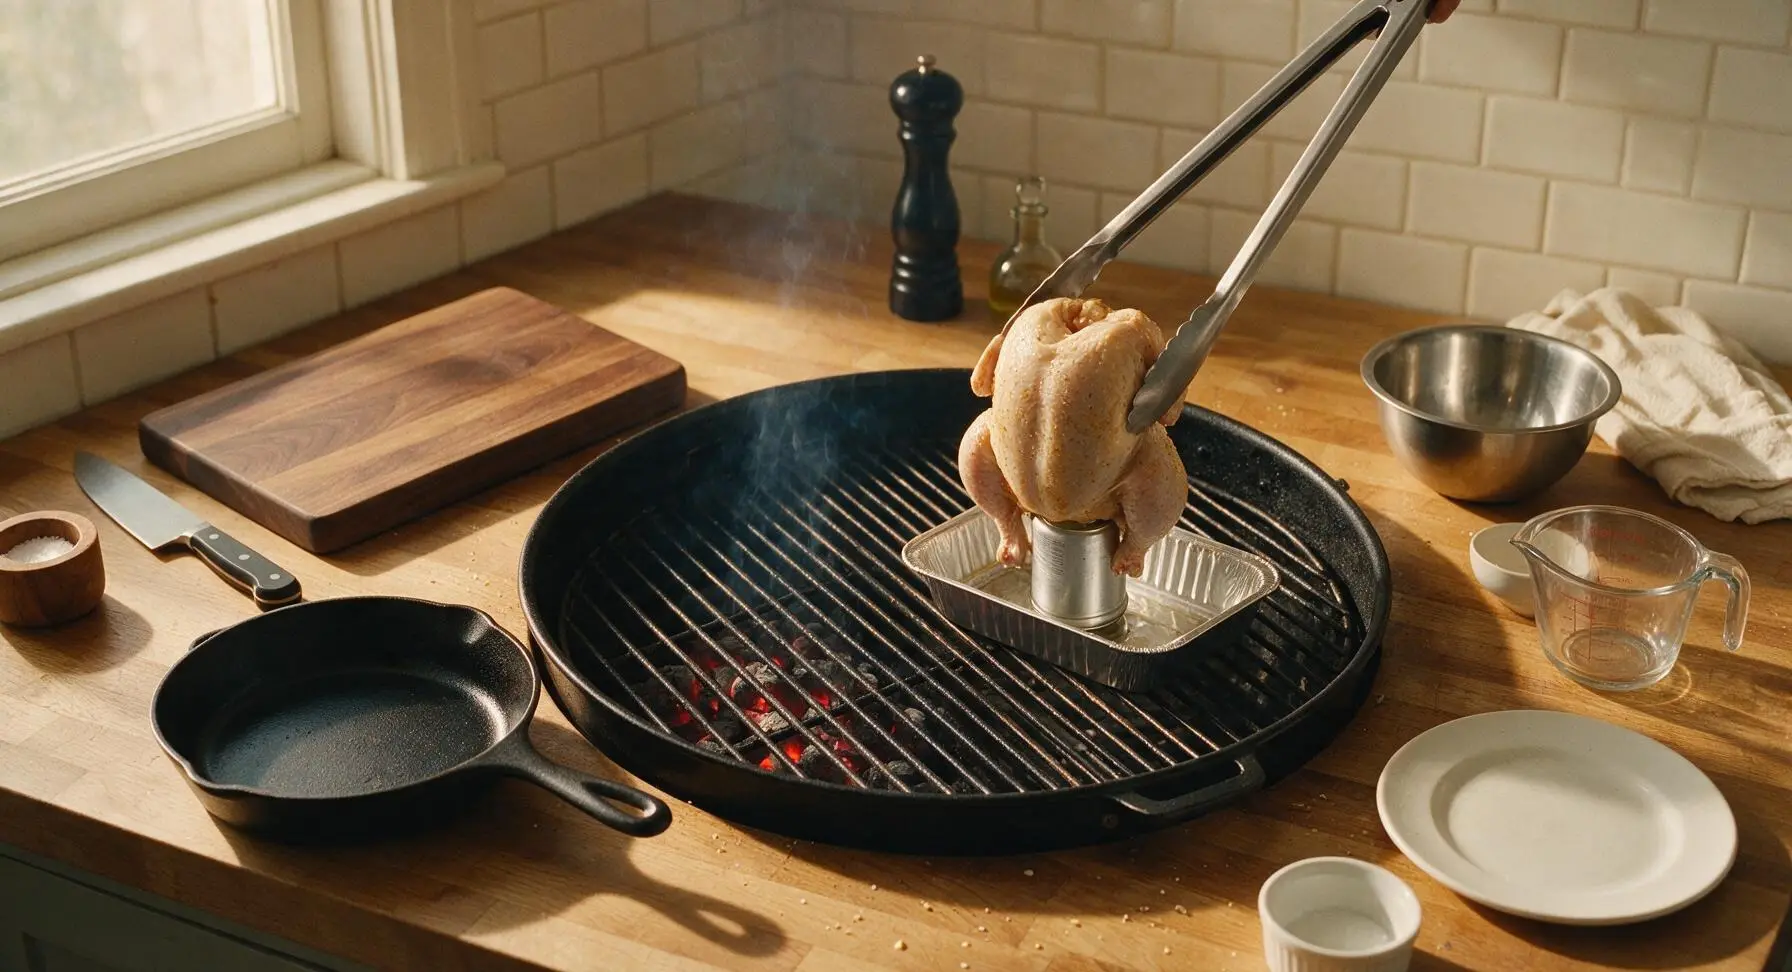
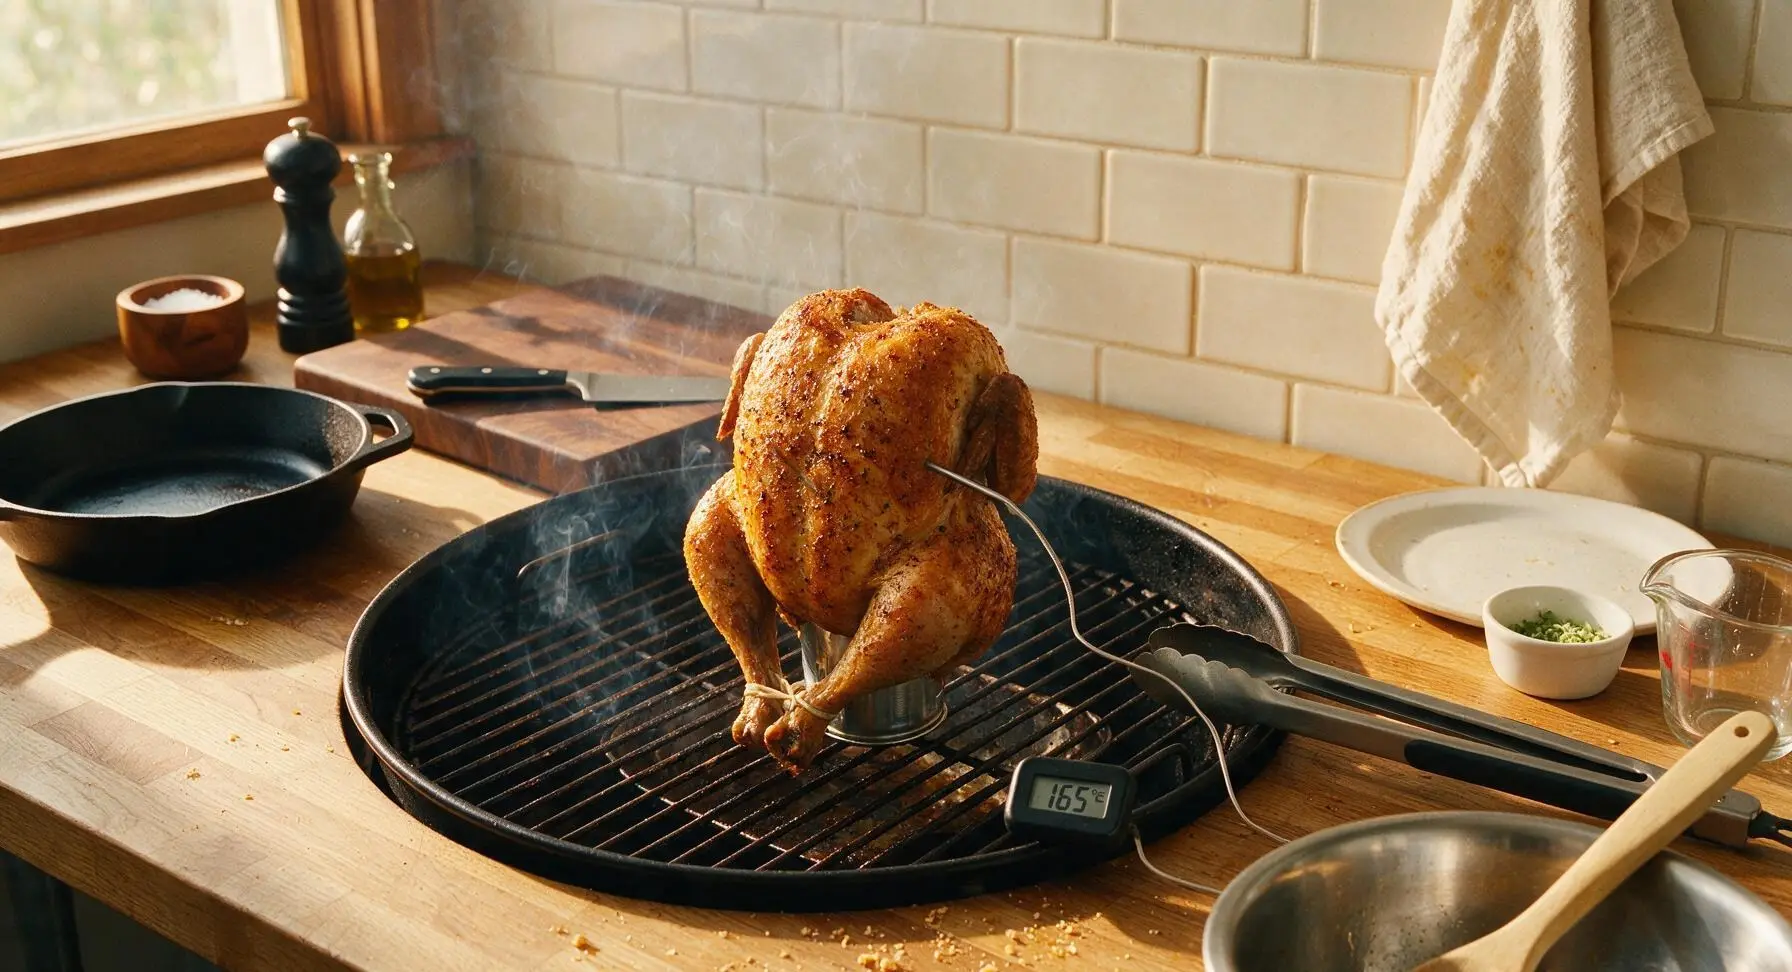
Use the long-handled grill tongs to carefully transfer the upright chicken (still on the beer can) to the preheated grill, setting it directly on the grates over the drip pan, away from direct coals. Close the grill lid, maintain a steady 375°F (190°C) temperature, and cook for 1 hour 15 minutes. Avoid opening the lid unnecessarily to prevent heat loss. The chicken is ready when the skin is deep golden crispy, and the instant-read thermometer reads 165°F (74°C) in the thickest part of the thigh, away from bone.
Rest Chicken Before Serving
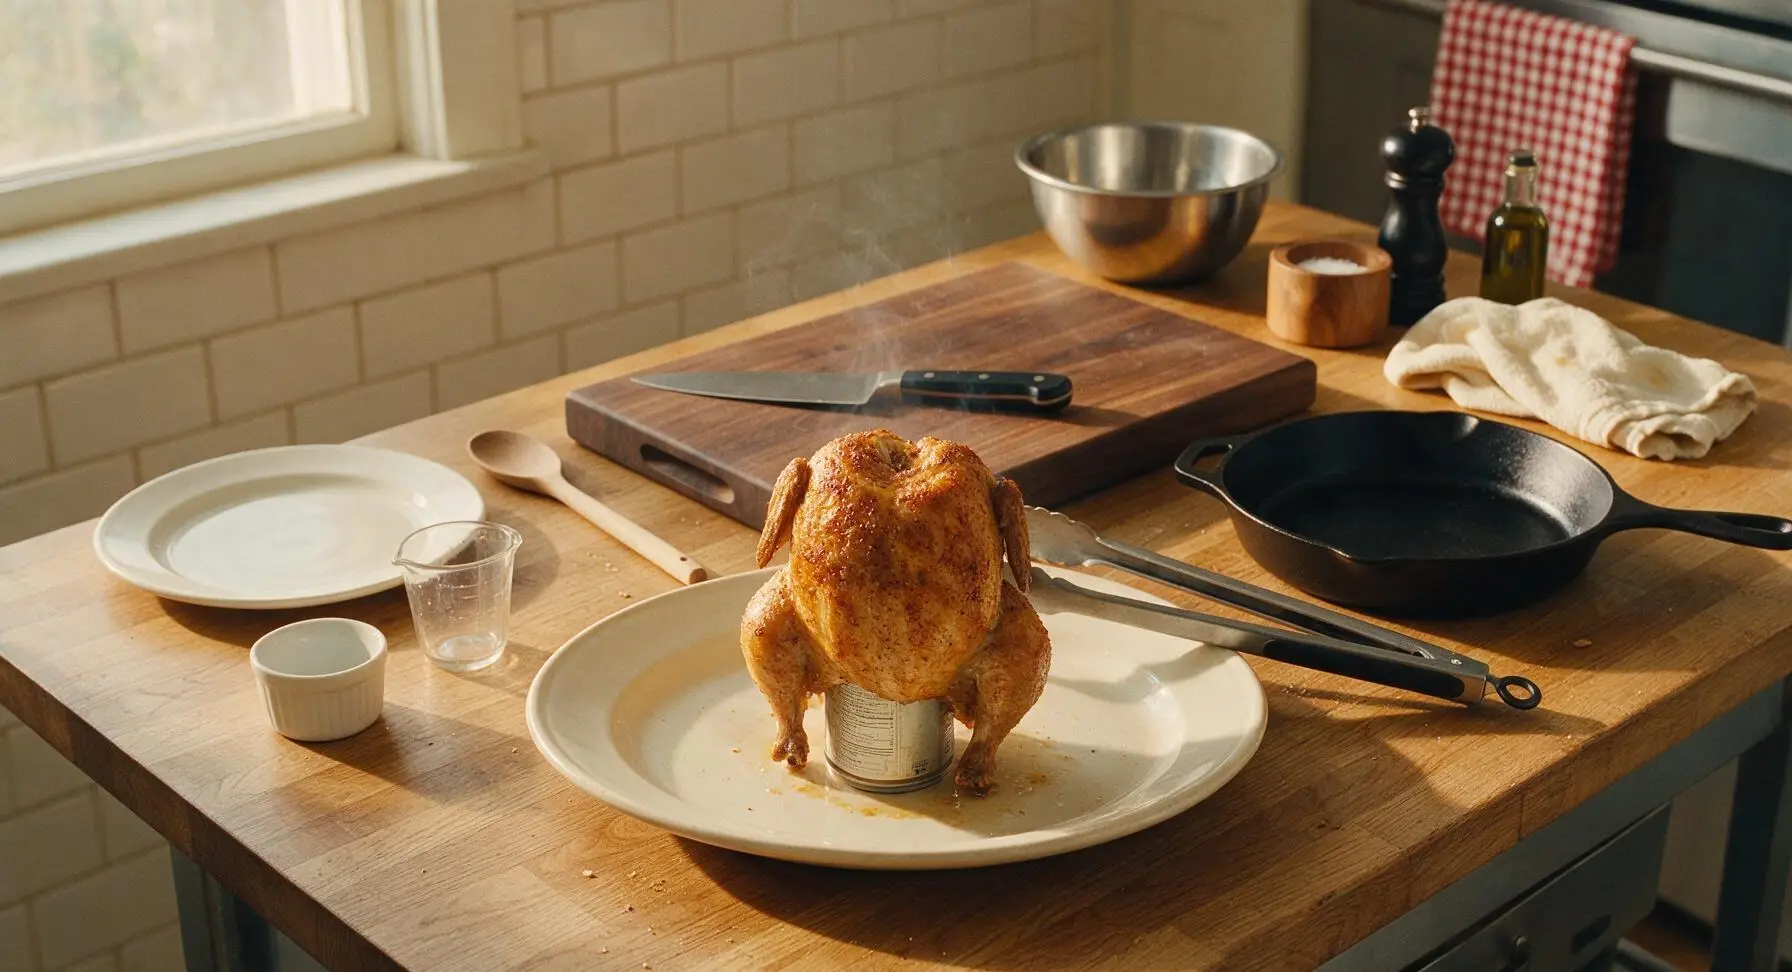
Carefully transfer the cooked chicken (still on the can) from the grill to the large cream white ceramic serving platter, using the tongs. Let rest for 10 minutes to allow juices to redistribute—do not cut into it immediately, or juices will run out. Carefully lift the chicken off the hot beer can (caution: can and remaining beer will be extremely hot), discard the can and remaining beer. Garnish the platter with lemon wedges and extra rosemary before serving.
Tips
2.Always cook over indirect heat, never directly over hot coals: indirect heat circulates evenly around the upright chicken to cook the interior through without burning the skin, and the drip pan catches rendered fat to prevent dangerous flare-ups that can char the chicken.
3.Opt for a mild, inexpensive lager for the can: heavily hopped IPAs, stouts, or flavored craft beers can impart bitter, off-flavors as they steam into the chicken, while a light neutral lager adds subtle malty depth without overpowering the meat.






OMG this grilled beer can chicken was an absolute game changer for our weekend cookout! The skin was perfectly crispy, the meat was so juicy it was dripping, and even my super picky 10 year old asked for seconds. I used a cheap lager I had sitting in the fridge and it worked like a charm. Only note is I had to add 10 extra minutes of cook time because my grill runs a little cool, but no big deal. 10/10 will make this for every tailgate this fall!
Made this for our Sunday family dinner last night and WOW, SO good. I was a little intimidated because I thought grilling a whole chicken would be high difficulty, but the steps were super straightforward. I rubbed it with paprika, garlic powder, and a little brown sugar like the recipe suggested, and the flavor was out of this world. My husband already asked me to put this on the monthly meal rotation!
Took this to our neighborhood potluck last weekend and people were hovering over the platter before I even set it down! Ended up giving the recipe out to like 6 different neighbors. Pro tip: throw a couple cloves of garlic and a sprig of rosemary into the beer can before you set the chicken on it, it takes the flavor up a whole notch. Zero leftovers, zero complaints.
Wait, has anyone tried this with a non-alcoholic beer? I don’t drink but I’ve been dying to make beer can chicken, I just don’t want to buy a whole 6 pack of regular beer for one recipe. Worried it won’t have the same depth of flavor.
Solid recipe, but I docked a star because 1 hour 15 minutes was way too short for my 4.5 lb chicken. Mine took almost an hour and 45 minutes to hit temp, and I had a few undercooked spots near the bone when I first pulled it. Tasted great once it was fully cooked, just wish the cook time note mentioned bigger birds needing more time!
Meal prepped this on Sunday and it’s been perfect for quick lunches all week! I shredded the leftover chicken and tossed it in salads, wraps, and even made a quick chicken salad with it for yesterday’s lunch. The flavor holds up so well even after a few days in the fridge, way better than plain old baked chicken for meal prep. Will absolutely be making this on repeat.
First time ever grilling a whole chicken and I was so nervous I’d mess it up, but this recipe made me look like a total pro! My wife said it’s better than the smoked chicken we get at our favorite local BBQ joint. I used an IPA I had left over from a friend’s visit, and the citrusy hops came through so nicely in the meat. Can’t wait to experiment with different beer flavors next time!