1.What type of beer works best for the beer cheese filling?
▾
Stick with a mild pale lager as the recipe calls for—it’s crisp, lightly malty, and won’t overpower the sharp cheddar. Skip super bitter IPAs, heavy stouts, or fruited sours, as those will throw off the tangy, balanced cheese flavor and can make the filling taste bitter or overly sweet. If you don’t drink alcohol, a non-alcoholic pale lager works just as well here with no flavor or texture loss.
2.Can I use a different bread instead of thick-cut sourdough?
▾
Thick-cut sourdough is ideal for its sturdy crust and tangy crumb that stands up to gooey cheese and caramelized onions without getting soggy, but you can swap in thick-cut rustic white, rye, or ciabatta if needed. Just avoid thin, soft sandwich bread—it will get mushy as the cheese melts, and won’t get that signature crispy, golden crust when pan-fried in butter.
3.How do I keep the bread from getting soggy when making these sandwiches?
▾
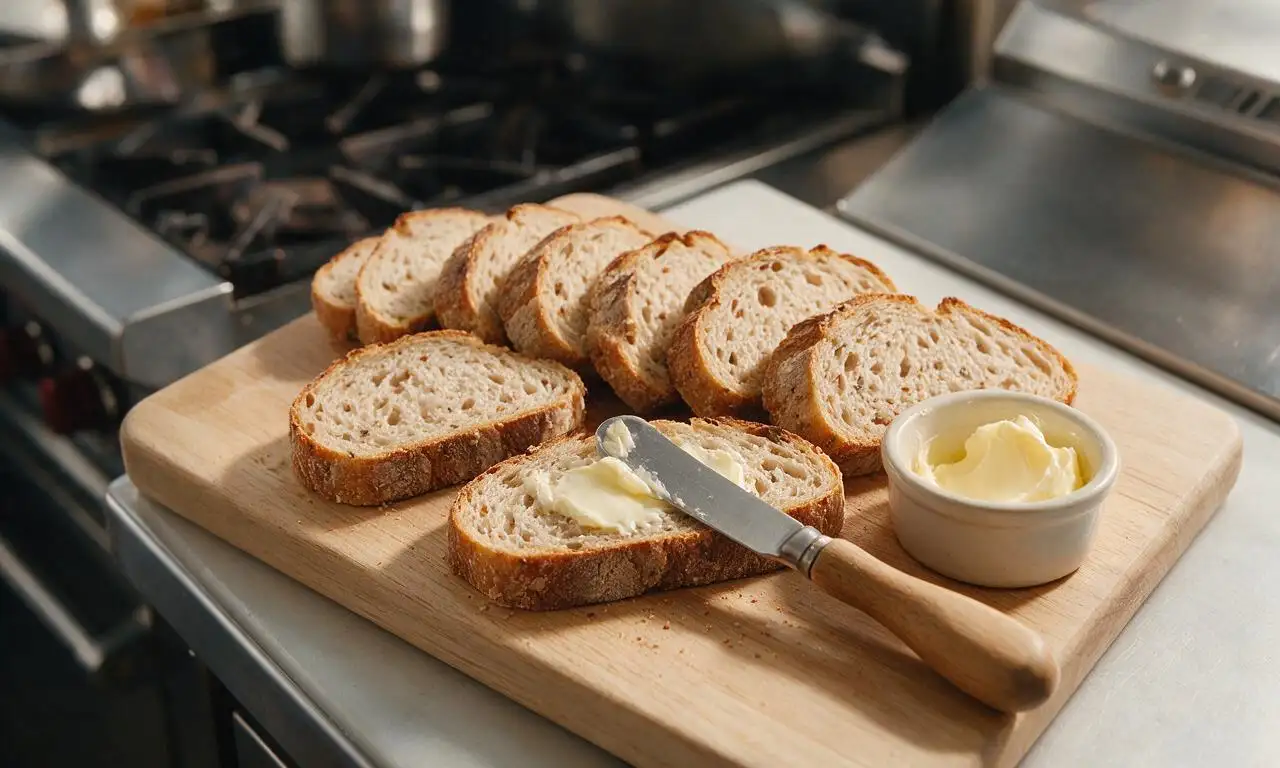
Two easy tricks prevent sogginess: First, spread a thin, even layer of softened unsalted butter all the way to the edges of every bread slice before cooking, which creates a reliable moisture barrier. Second, make sure your caramelized onions are well-drained of excess butter, and don’t overload the sandwich with loose, runny beer cheese that can seep into the crumb.
4.How long does it take to properly caramelize the yellow onions?
▾
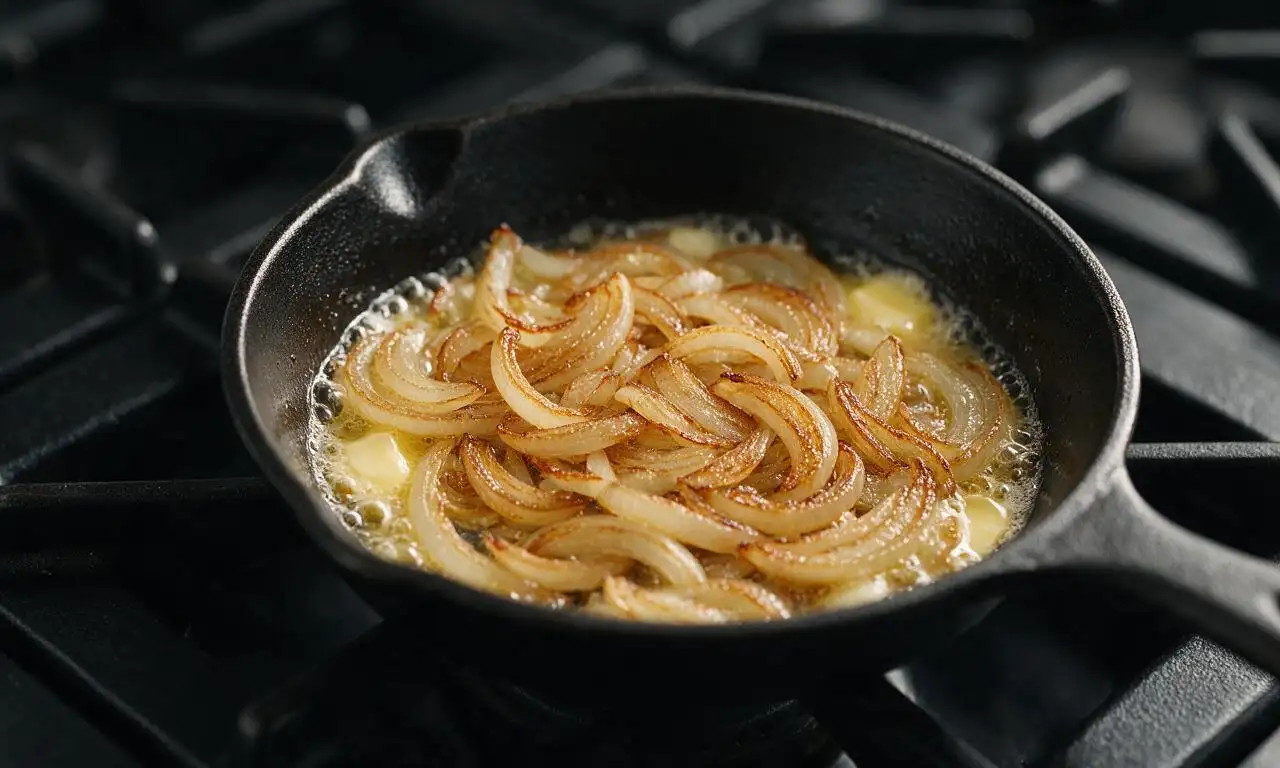
Plan for 25 to 30 minutes over medium-low heat to get perfectly sweet, golden caramelized yellow onions. Don’t rush this by cranking the heat—that will burn the onion edges and leave you with bitter, crunchy onions instead of the soft, sweet, melt-in-your-mouth texture that pairs so perfectly with tangy beer cheese. Stir every few minutes to avoid hot spots.
5.Can I make the beer cheese filling ahead of time?
▾
Absolutely! You can make the beer-infused cheddar filling up to 3 days in advance and store it in an airtight container in the fridge. Let it come to room temperature for 15 minutes before assembling sandwiches, though—cold cheese filling won’t melt evenly, and you’ll end up with burnt bread before the center gets warm and gooey all the way through.
6.How do I get an extra-crispy bread crust without burning the cheese?
▾
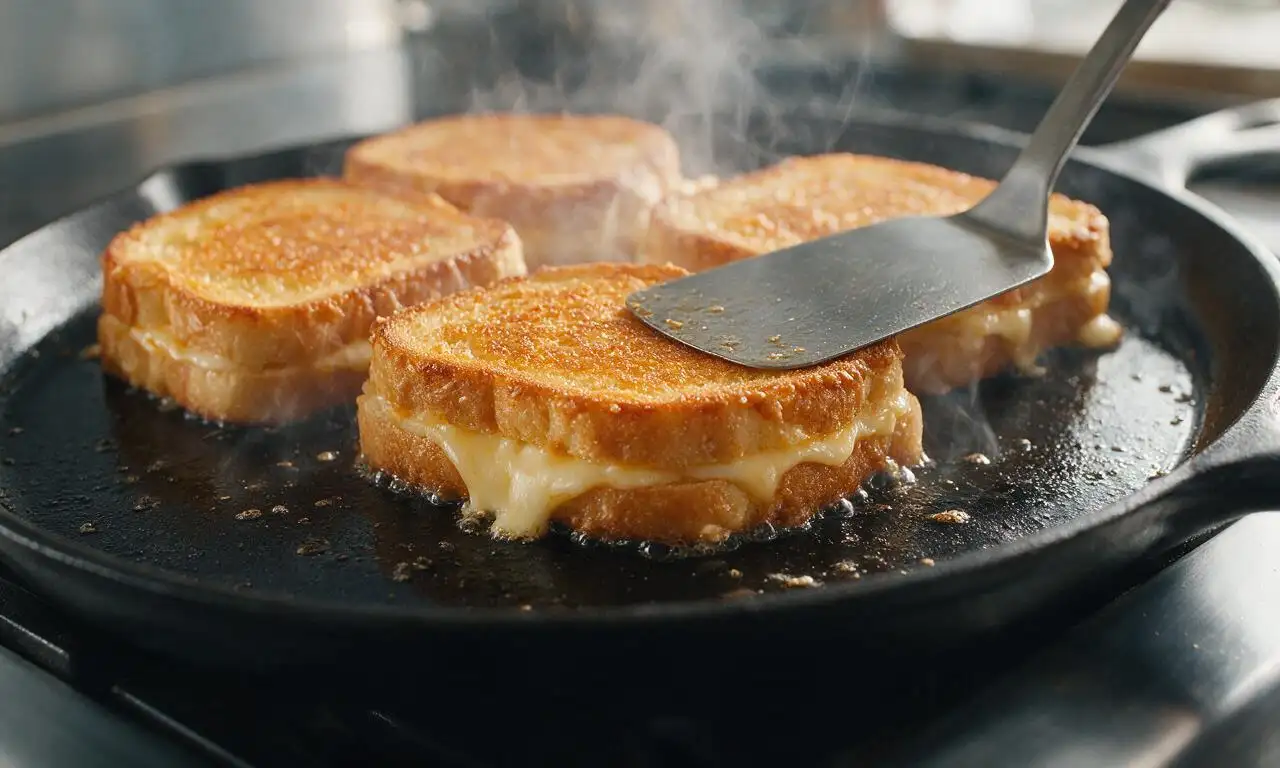
Cook the assembled sandwiches over medium-low heat in a skillet with melted unsalted butter, 3 to 4 minutes per side. Press down gently on the sandwich with a spatula as it cooks to encourage even browning. If the bread browns too fast before the cheese melts, turn the heat down and cover the skillet for 1 minute to trap steam and melt the cheese faster.
7.Can I use a different cheese instead of sharp cheddar?
▾
Sharp cheddar is the classic pick here because its bold, tangy flavor cuts through the malty beer and sweet onions, but you can swap in up to half the cheddar for smoked gouda, pepper jack, or Gruyère for a fun twist. Just avoid super soft, high-moisture cheeses like fresh mozzarella or brie—they’ll make the filling runny and lead to soggy bread.
8.Do I need to cook the beer before mixing it into the cheese?
▾
Yes, always simmer the pale lager for 3 to 4 minutes before mixing it into your shredded cheddar. This cooks off the harsh, raw alcohol taste, reduces it slightly to concentrate its malty flavor, and prevents the cheese from seizing up when you mix in cold, carbonated beer. Let it cool for 2 minutes after simmering so it doesn’t make the cheese separate.
9.Can I make these sandwiches in an air fryer instead of a stovetop skillet?
▾
You totally can! Assemble the sandwiches, butter both outer sides of the bread, and air fry at 375°F for 6 to 8 minutes, flipping halfway through, until the bread is crispy and the cheese is fully melted. Keep a close eye on them for the last minute or two—air fryer heat varies, and the sourdough crust can go from golden to burnt faster than you’d expect.
10.How do I get that perfect stretchy cheese pull when I bite into the sandwich?
▾
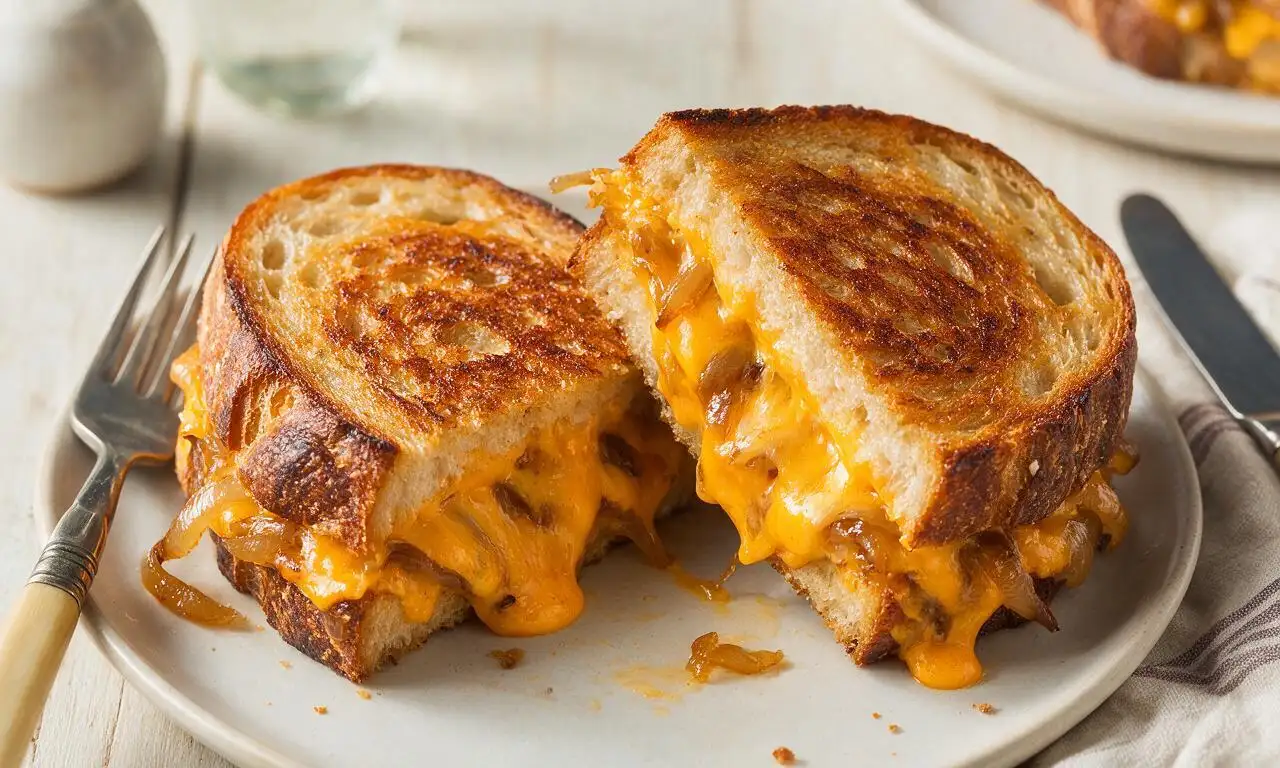
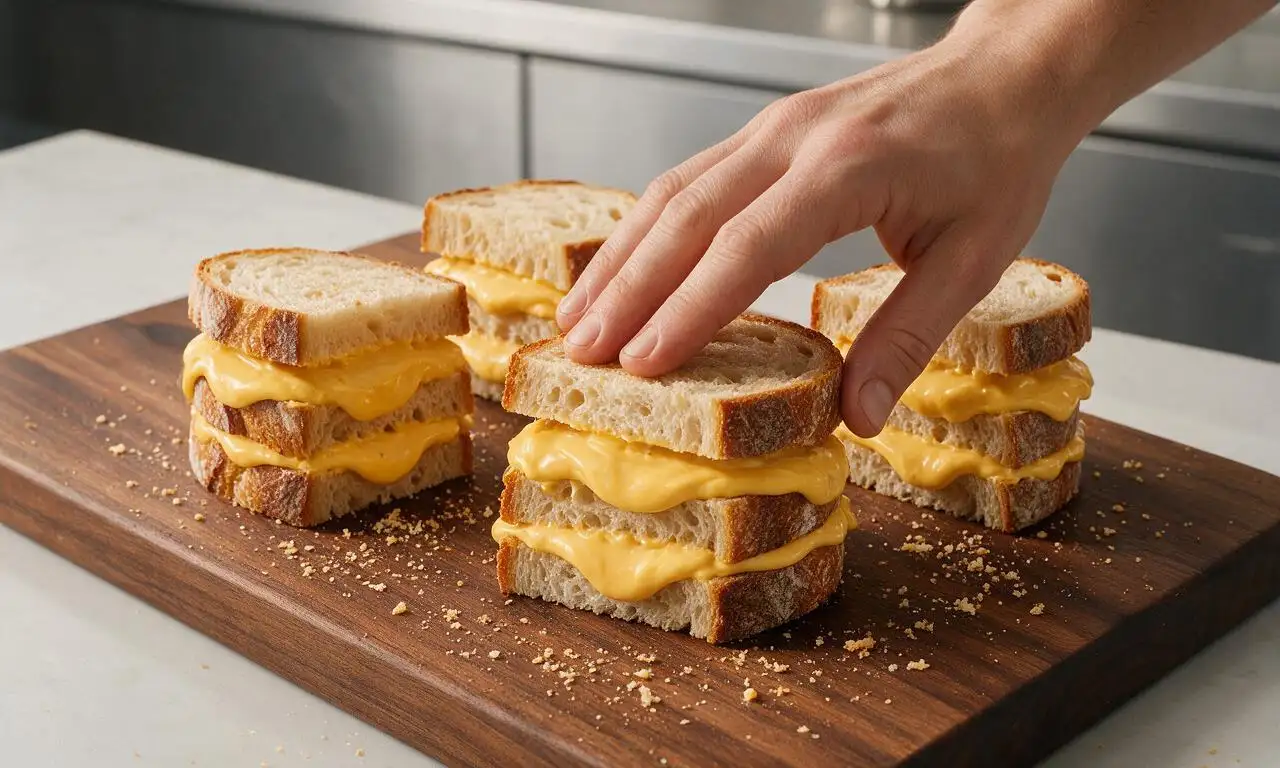
Shred your own sharp cheddar from a block instead of using pre-shredded cheese, which is coated in anti-caking agents that prevent smooth, even melting. Layer the cheese evenly on both slices of bread, with the caramelized onions sandwiched between the cheese layers, so every bite has melted cheese that sticks together instead of sliding out the sides.
11.Can I add extra fillings to customize these sandwiches?
▾
Of course! The base of tangy beer cheddar, caramelized onions, and crispy sourdough pairs great with add-ins like crispy bacon, sliced pickled jalapeños, a smear of whole-grain mustard, thin slices of crisp apple, or cooked bratwurst slices. Just don’t overstuff the sandwich—too many extra fillings will keep cheese from melting evenly and make the sandwich fall apart.
12.Why does my beer cheese turn out grainy instead of smooth?
▾
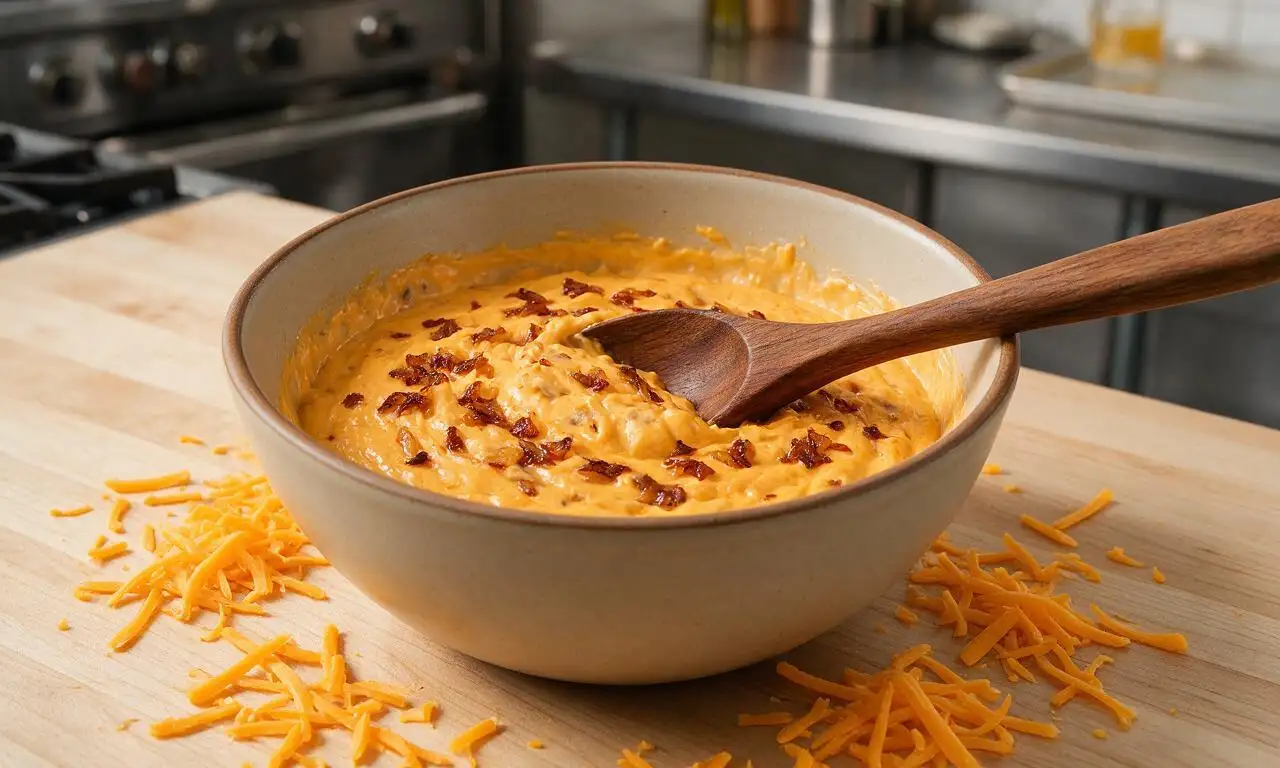
Grainy beer cheese almost always comes from overheating the cheese or adding beer that’s too hot. Make sure your simmered lager has cooled slightly before stirring in shredded cheddar, and heat the cheese mixture over the lowest heat possible, stirring constantly, until it just melts. Never boil the cheese, as high heat will make milk proteins separate and leave a gritty, clumpy texture.
13.Can I make these sandwiches for a crowd and keep them warm without sogginess?
▾
You can easily make a big batch for game days or cozy gatherings! Cook the sandwiches as directed, then set them on a wire rack placed over a baking sheet in a 200°F oven for up to 30 minutes. Don’t stack them or wrap them in foil—trapping steam will make the crispy crust go soft, and the wire rack lets air circulate to keep crunch intact.
14.What’s a good non-alcoholic substitute for pale lager if I don’t have beer?
▾
If you don’t have beer (alcoholic or non-alcoholic), you can swap in ¾ cup low-sodium chicken or vegetable broth mixed with 1 teaspoon of apple cider vinegar and a tiny pinch of brown sugar to mimic the pale lager’s light malty, slightly tangy flavor. It won’t be an exact match, but it will add that same depth that makes the cheese filling taste special.
15.How thick should I cut the sourdough slices for the best texture?
▾
Aim for ¾-inch to 1-inch thick slices of sourdough for these sandwiches. Any thinner, and the bread will get soggy under the weight of the cheese and onions, and won’t develop that satisfying crispy crunch. Any thicker, and the bread will overpower the filling, leaving you with bites that are mostly bread without enough gooey beer cheese and sweet onion.
16.Can I freeze uncooked assembled sandwiches for quick future meals?
▾
You can freeze assembled, uncooked sandwiches for up to 2 months: wrap each tightly in plastic wrap, then stash in a labeled freezer bag. When you’re ready to cook, don’t thaw them—unwrap and cook over low heat in a buttered skillet for 5 to 6 minutes per side, covering the pan for the last 2 minutes to melt the cheese fully without burning the bread.
17.What sides pair best with these crispy beer cheese sandwiches?
▾
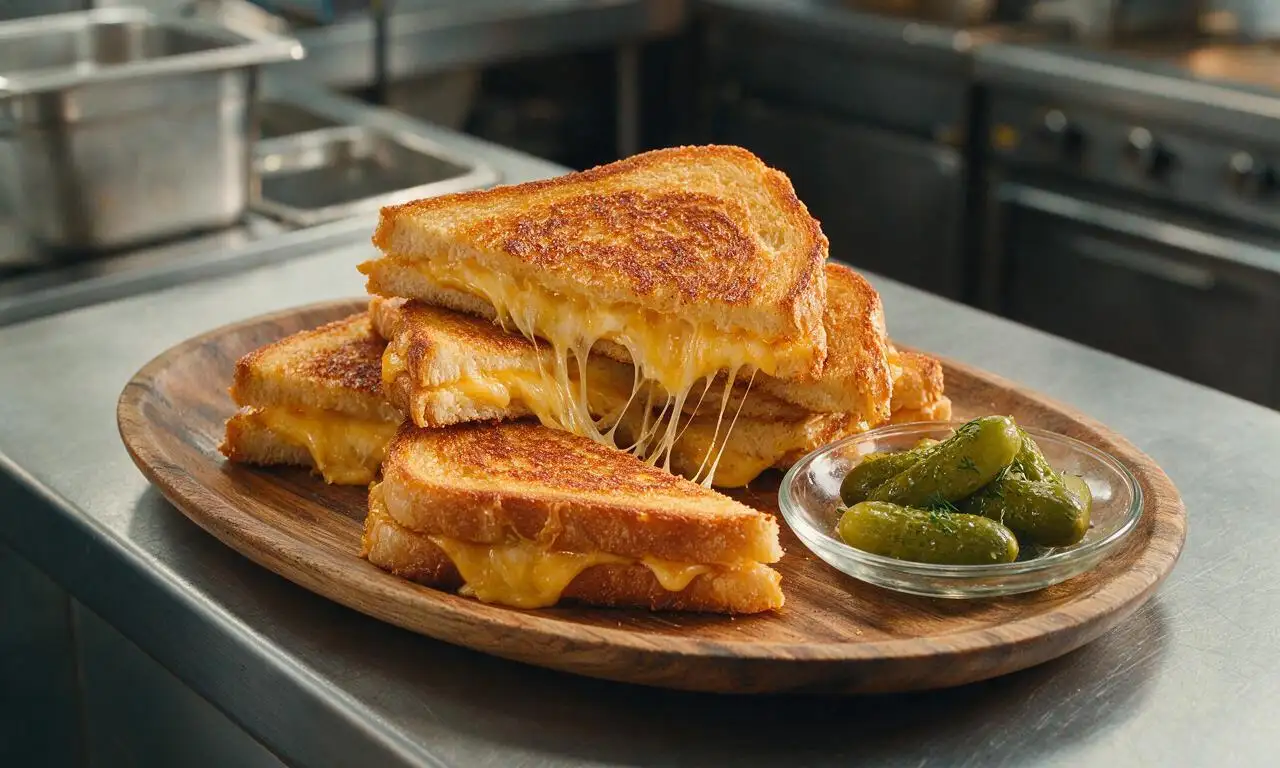
These rich, gooey sandwiches pair perfectly with bright, tangy sides to cut through the richness. Try serving them with dill pickle spears, a simple arugula salad tossed with lemon vinaigrette, crispy oven-baked potato wedges, classic tomato soup, or tangy vinegar-based coleslaw. Skip heavy, creamy sides—they’ll make the meal feel overly rich and weigh you down.
18.How do I stop cheese from oozing out of the sandwich while cooking?
▾
A little cheese oozing out to form crispy, lacy cheese edges is a delicious bonus, but to prevent too much from spilling out, don’t overfill the sandwich, and tuck the cheese and onion filling neatly inside, leaving a ¼-inch border around the bread edges. Press the top slice down firmly before cooking to seal, and cook over medium-low heat so cheese melts slowly instead of bubbling out fast.







OMG, made these for our Sunday football watch party and they were gone in 10 minutes! The crispy outside with that gooey beer cheese? Game changer. Only thing I did was add a couple slices of crispy bacon because why not, right?
Wait this is SO easy and cheap to make? I meal prepped these for my lunch this week and my dorm mates are all jealous. Used a cheap lager I had left over from a party and it still tasted insane. 10/10 will make again.
My kids loved it! I was worried the beer flavor would be too strong for them but it cooks down so nicely, they kept asking for seconds. Served with sweet potato fries on the side, perfect weeknight dinner.
Tried this with a hazy IPA instead of a regular lager and oh my gosh, the little citrusy kick was unreal. Who knew crispy bread and melty cheese could be this good? Only note is make sure your pan is hot enough so the bread gets crispy right away without the cheese oozing out everywhere.
25 minute cook time is no joke! I got home from work, threw this together, and was eating by 6:30. Perfect for nights I don’t feel like putting in a ton of effort but still want something that doesn’t taste like takeout.
Brought these cut into little sliders to our neighborhood block party last weekend and I swear I handed out this recipe to at least 12 people. Everyone thought I spent hours making them, little did they know it was so easy!
I swapped the regular sourdough for gluten-free sourdough and used a gluten-free beer, and it turned out perfectly crispy! So happy to have a new easy sandwich recipe that works for my diet, I’ve been in a dinner rut lately.
Wait is it normal that I ate two of these straight off the pan before I even set the table? The cheese pull on these is INSANE. I used a sharp cheddar and a little gouda mix instead of just cheddar, highly recommend.
I am notoriously bad at cooking, like I burn toast half the time. But this was so easy I actually pulled it off? The bread was crispy, the cheese was melty, my roommate thought I ordered takeout. Win for me!
Added a drizzle of hot honey on top of the cheese before putting the sandwich together and wow, that sweet-spicy kick with the malty beer cheese? I’m never making a regular grilled cheese again.
Made this for my at-home date night with my boyfriend last night and he said it’s better than the fancy beer cheese sandwiches we got at the gastropub downtown for $18 a pop. Served with some pickles and cold beers, total vibe.
Made these for the team after our Saturday game and the teens devoured them. Perfect post-practice food, filling, tasty, and easy to make in big batches. Will be adding this to our regular rotation.
Okay, I was skeptical because every grilled cheese adjacent sandwich I make turns out soggy, but this method for toasting the bread first? Total game changer. Crispy on the outside, no sogginess at all, even when I packed half for lunch the next day.
Used a local stout for the cheese and it gave it that deep, roasty flavor that was so good. Definitely don’t sleep on using darker beers if that’s what you have on hand, it doesn’t have to be lager!
I added some caramelized onions and sautéed mushrooms to mine and it was so hearty I didn’t even miss the meat! This is such a versatile base recipe, you can add pretty much anything you have in the fridge and it works.
Made these for our board game night with friends and everyone was raving. Easy to eat with your hands, not too messy, and pairs so well with whatever beer you’re drinking. 10/10 for group hangs.
Wait, I made these in my air fryer instead of pan frying and they got so crispy! 375 degrees for 6 minutes, flip halfway, perfect melt without all the butter in the pan. Game changer for less mess.
I used Wisconsin sharp cheddar for the beer cheese and it was so rich and flavorful, I wanted to eat the cheese sauce straight out of the pot with a spoon. These sandwiches are dangerous, I could eat them every single day.
Made these over our camp stove last weekend on our camping trip and they were such a hit. Simple ingredients, minimal prep, and that hot crispy sandwich after a long hike? Unbeatable. Will be a camping staple from now on.