
best cuban sandwich
intro
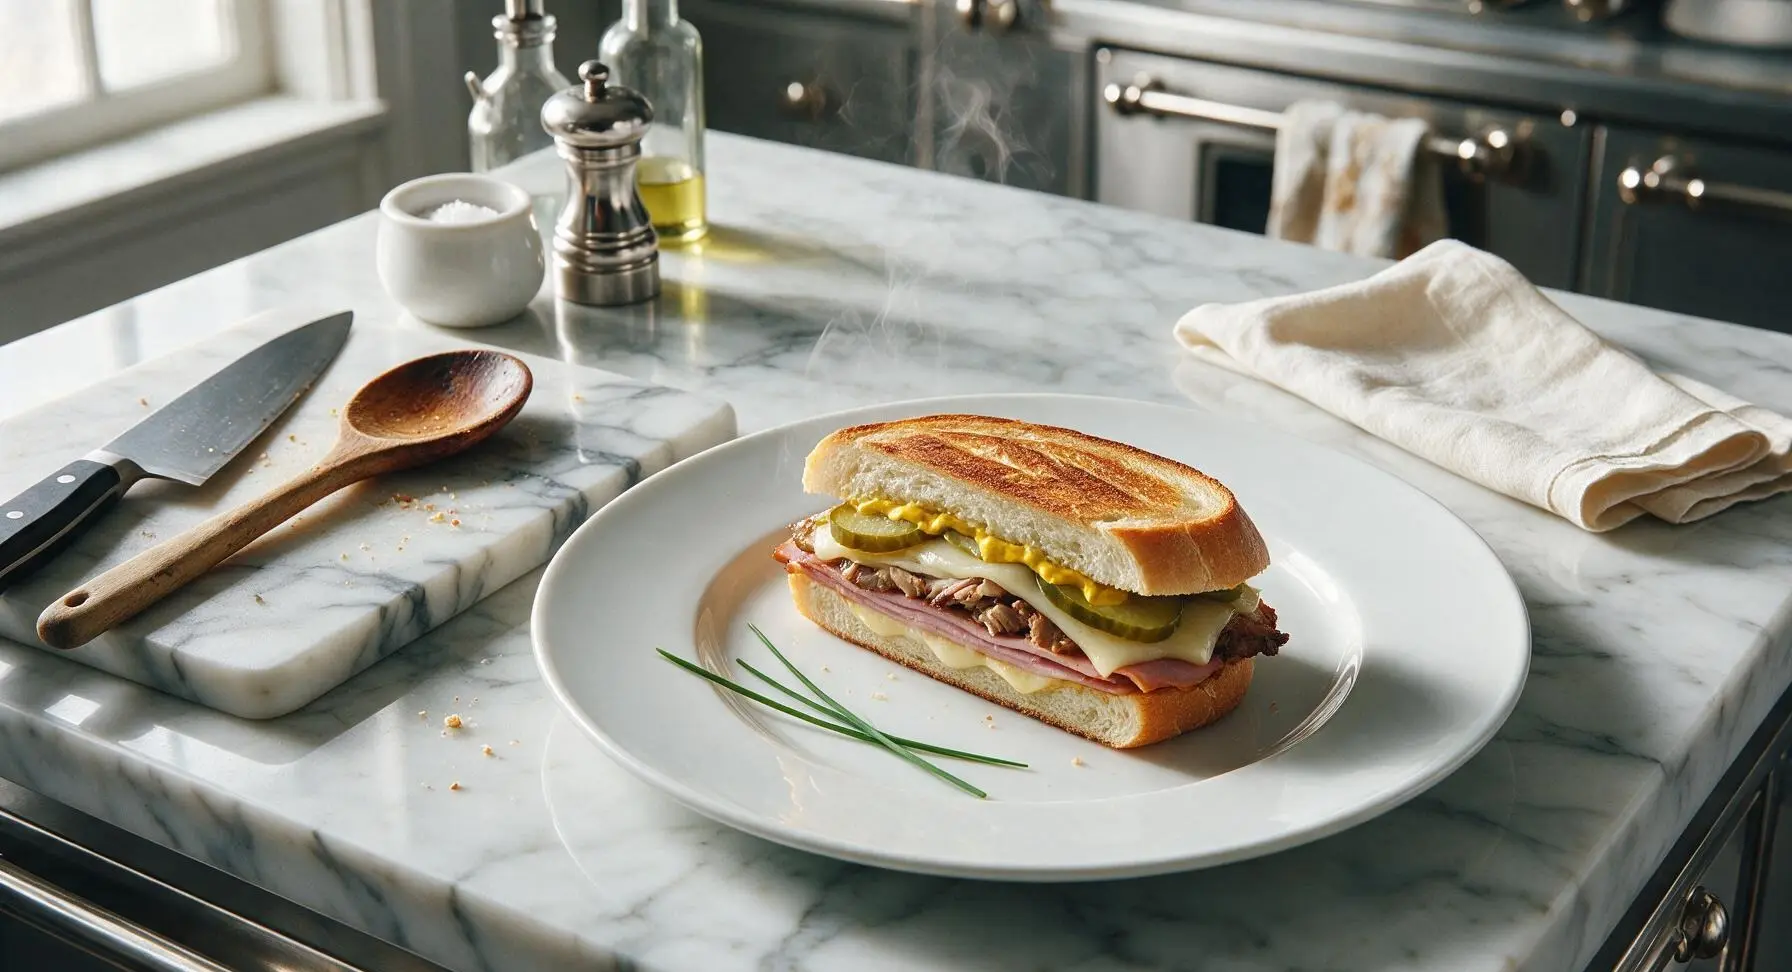
Crisp pressed Cuban bread layered with tangy mojo roast pork, smoky ham, melted Swiss, briny pickles, and bright mustard—crunchy, juicy, perfectly balanced, the iconic warm pressed sandwich.
Ingredients
Steps
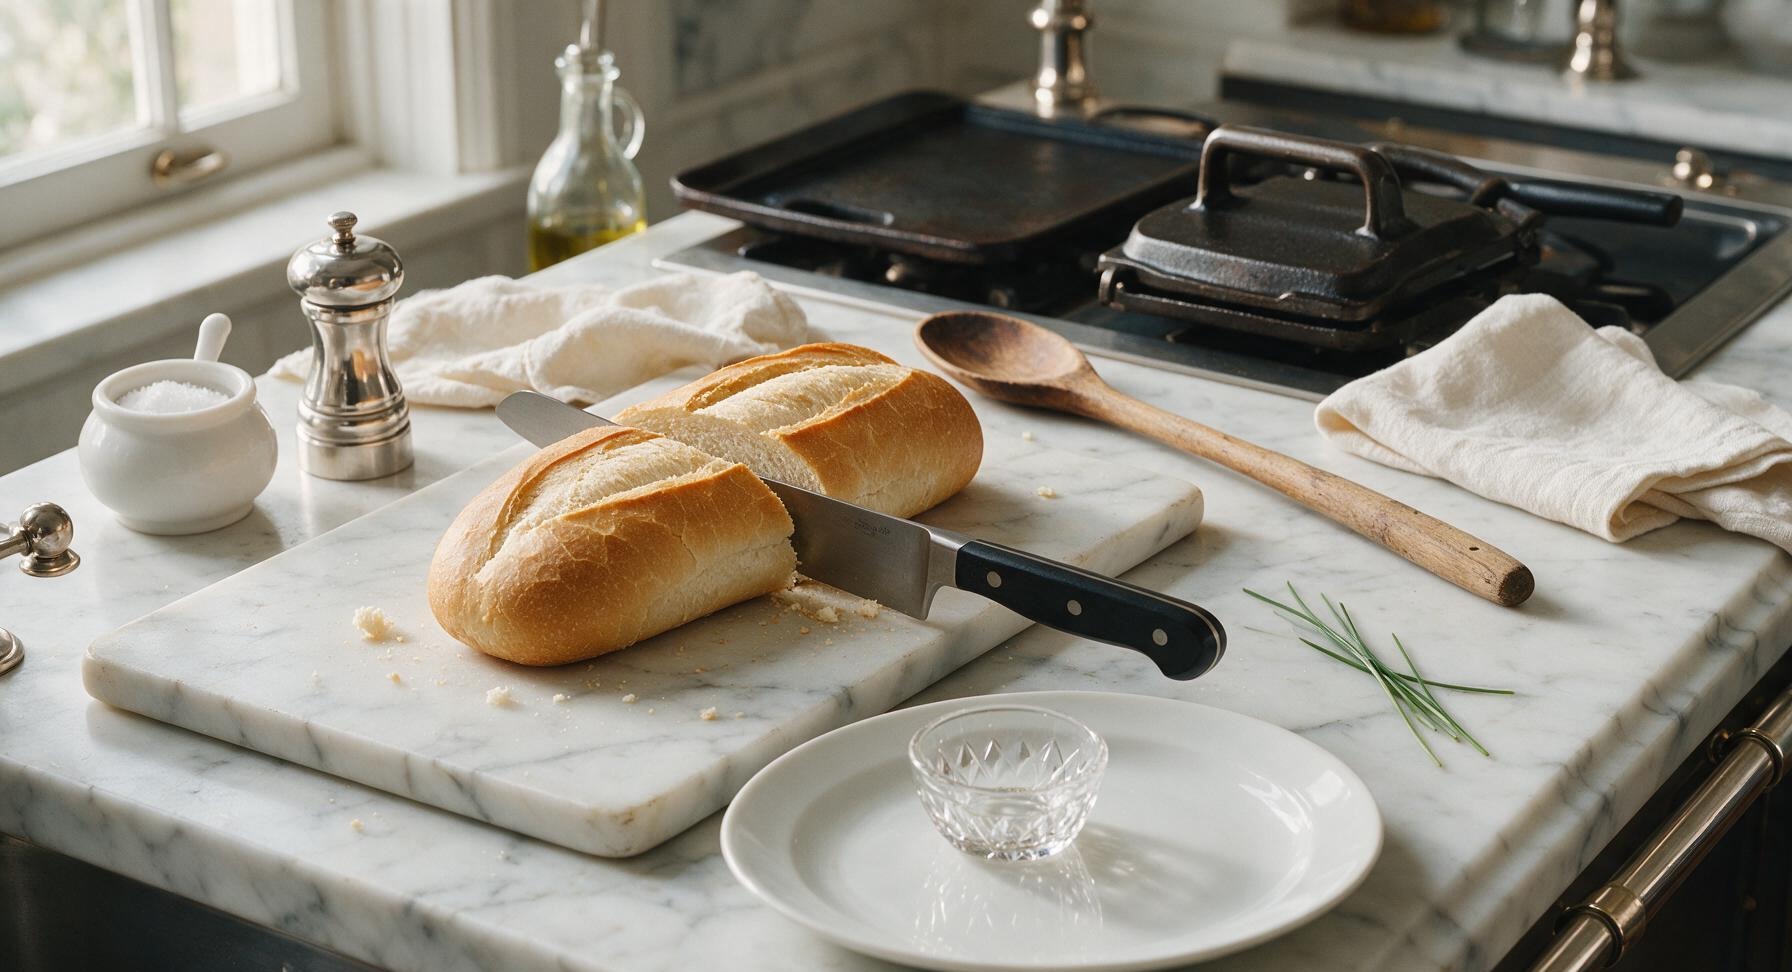
Slice and Prep Bread
Place the Cuban bread loaf on the light maple cutting board. Using the walnut-handled chef knife, slice the loaf horizontally in half lengthwise to create two equal long halves, then cut the whole loaf crosswise into two 6-inch sections to make 4 total sandwich bases. You may leave a small 1/2-inch bread hinge on one side for easier assembly if desired; the inner crumb should be soft and pale, with a thin, crisp golden outer crust. Brush loose crumbs to the edge of the board as you work.
Spread Mustard Layer
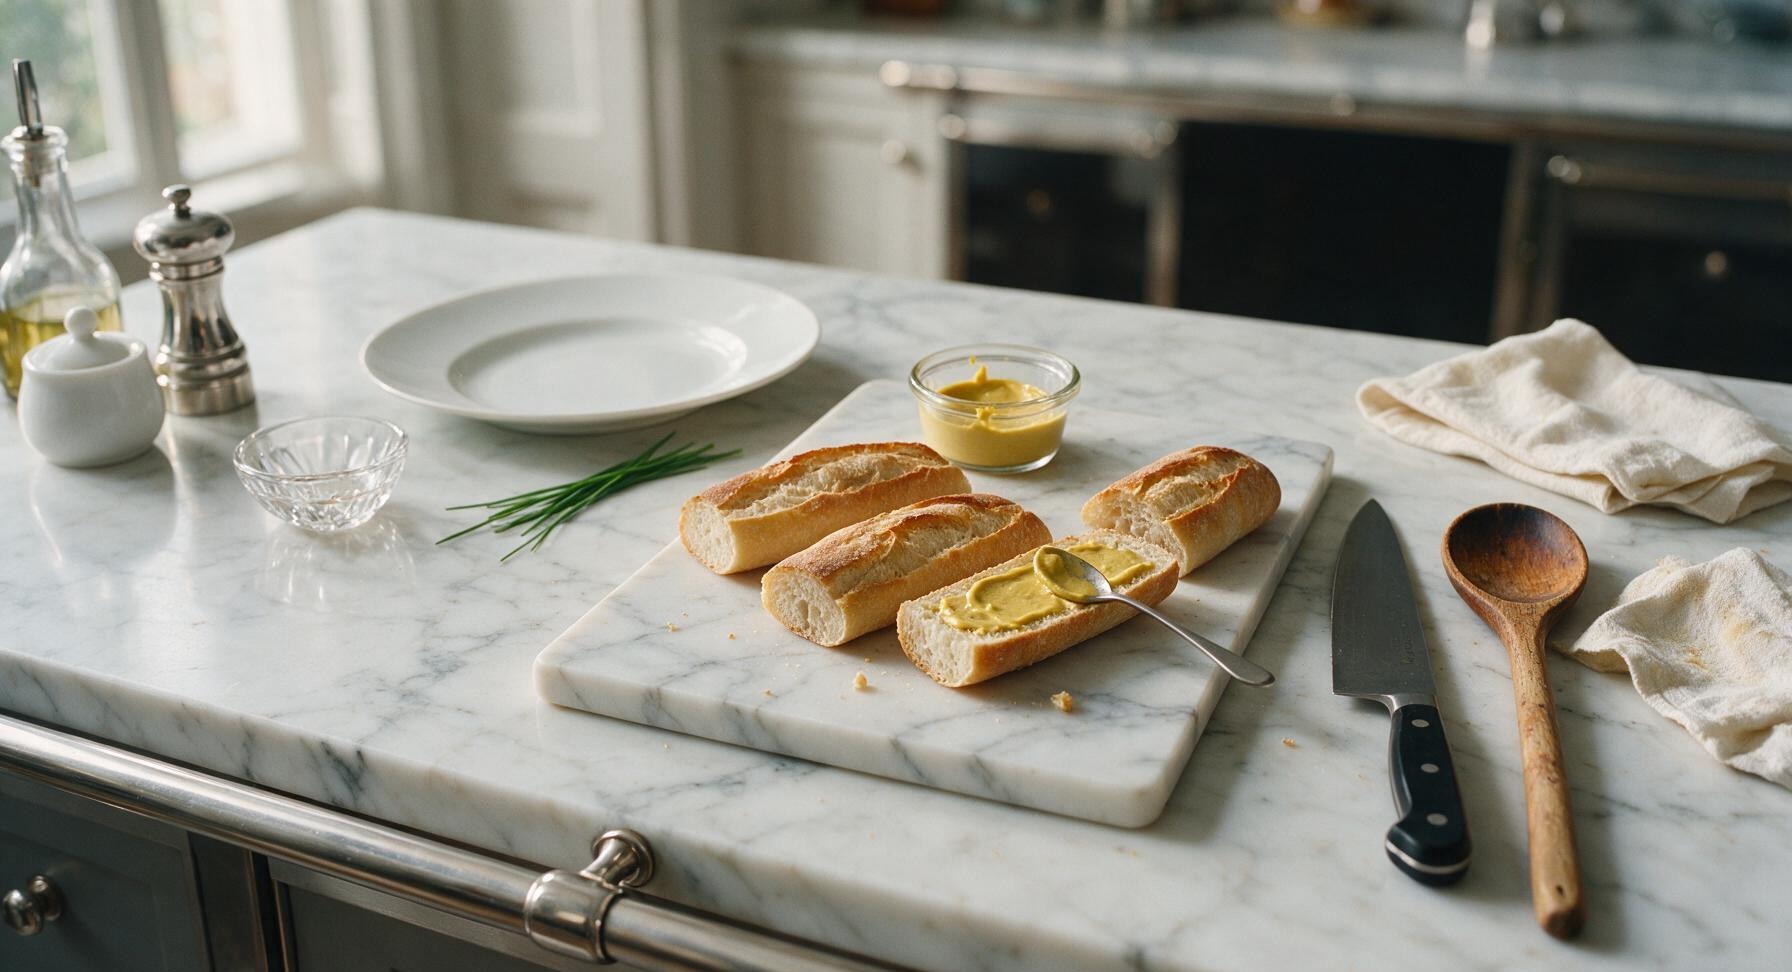
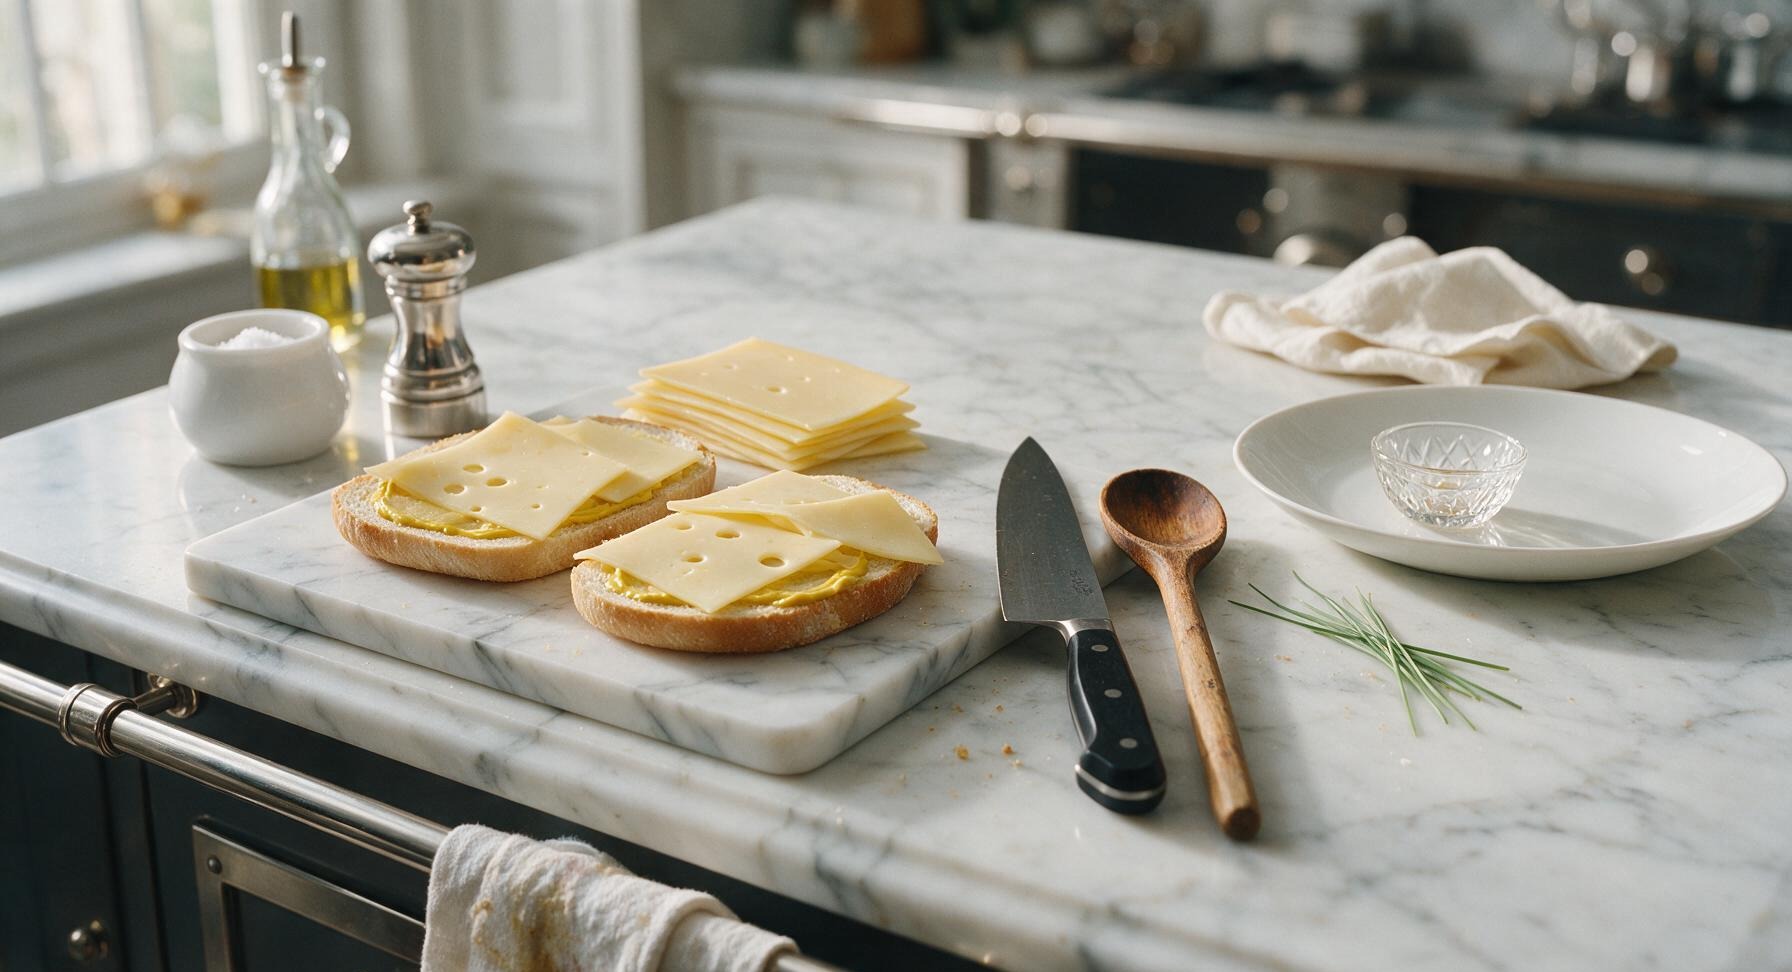
Open each bread section flat with the cut side facing up. Use the back of a small spoon to spread 3/4 tablespoon of yellow mustard evenly across the entire cut surface of both top and bottom bread halves for each sandwich. The tangy mustard cuts through rich pork and cheese, and creates a critical moisture barrier to prevent soggy bread.
Layer Base Cheese
Place one slice of Swiss cheese on the mustard-covered surface of every bottom bread half, tearing slices slightly as needed to cover the bread edge to edge. This first cheese layer acts as a second moisture barrier, blocking juices from soaking into the bread during pressing.
Layer Pork and Ham
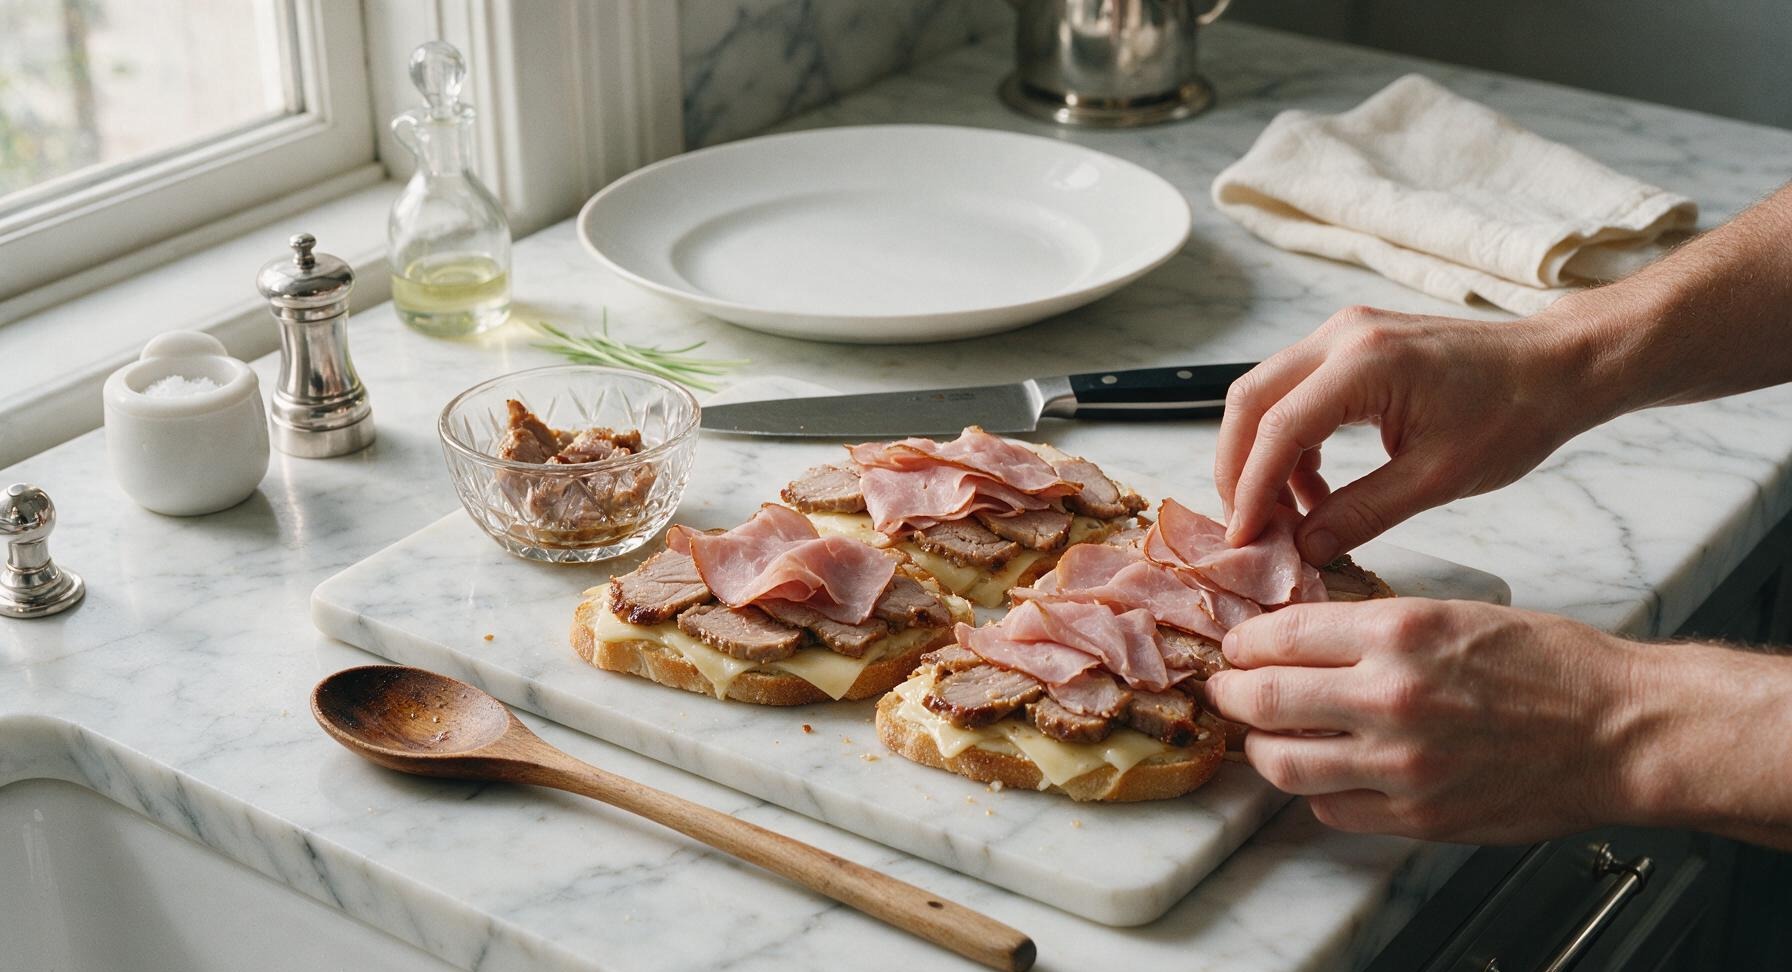
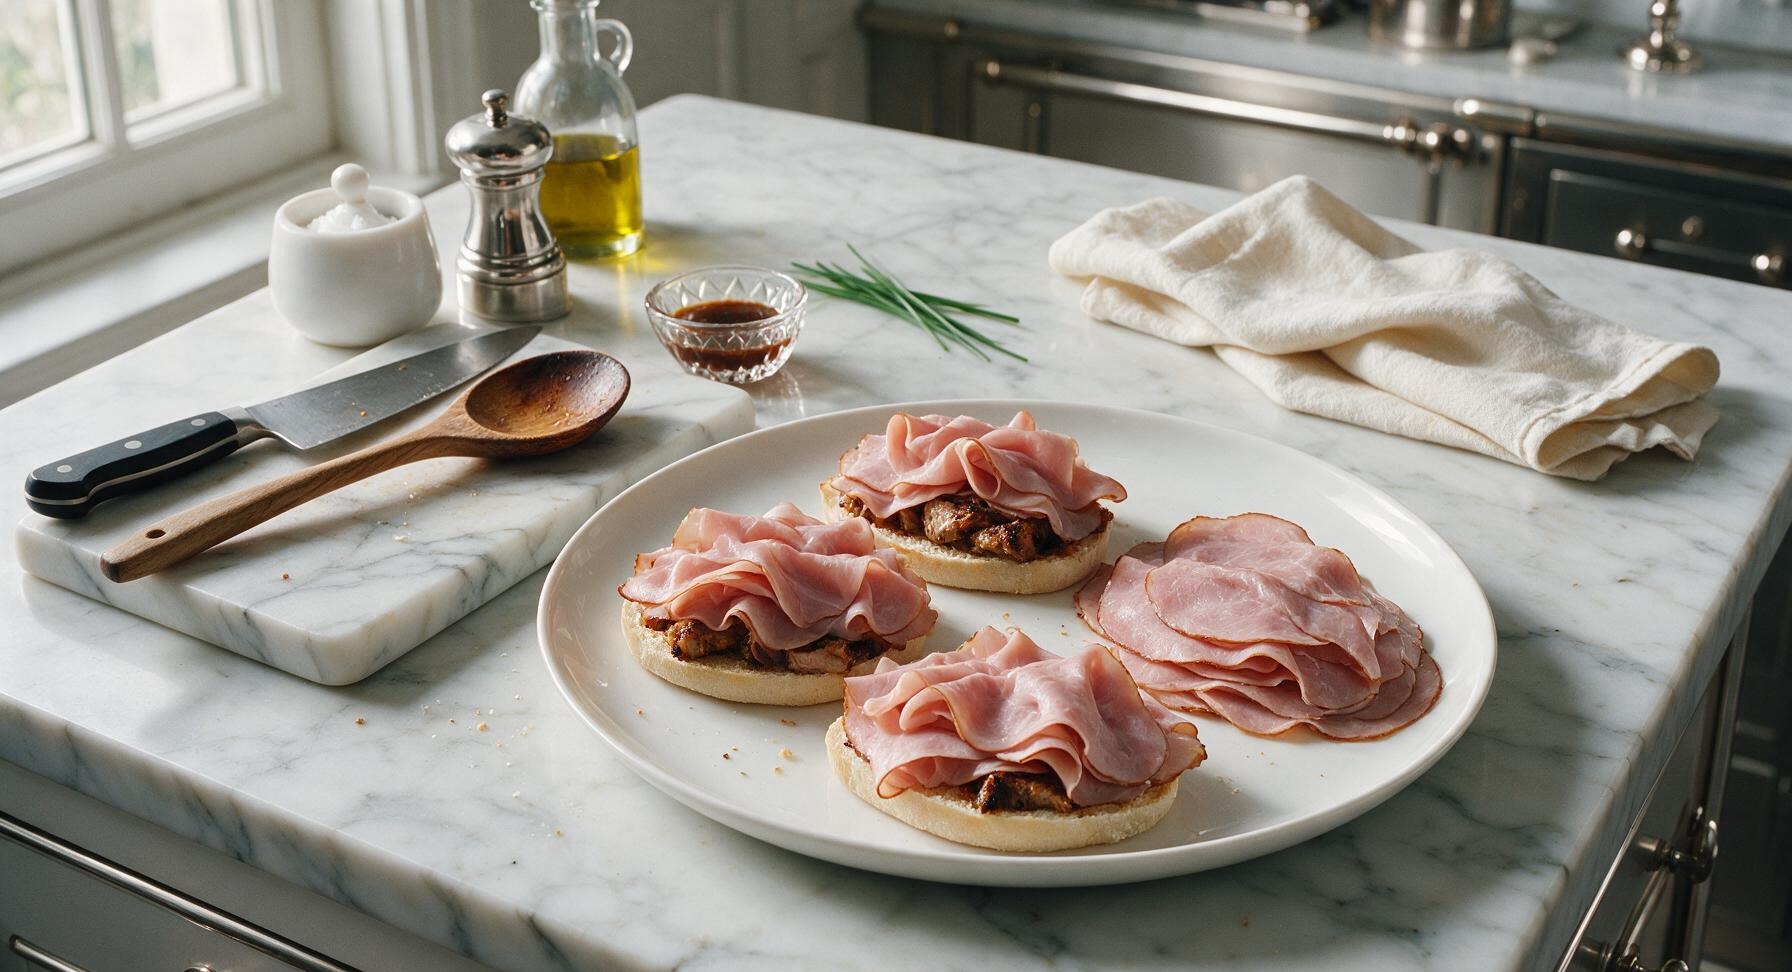
Divide the thinly sliced mojo roast pork evenly across the cheese-topped bottom bread halves, piling it loosely but evenly so every bite has tender pork. Top the pork with equal portions of sliced smoked ham, folding slices slightly to create soft texture rather than laying them completely flat. Do not press layers down yet—loose layers allow cheese to melt evenly between ingredients.
Add Pickles and Top Cheese
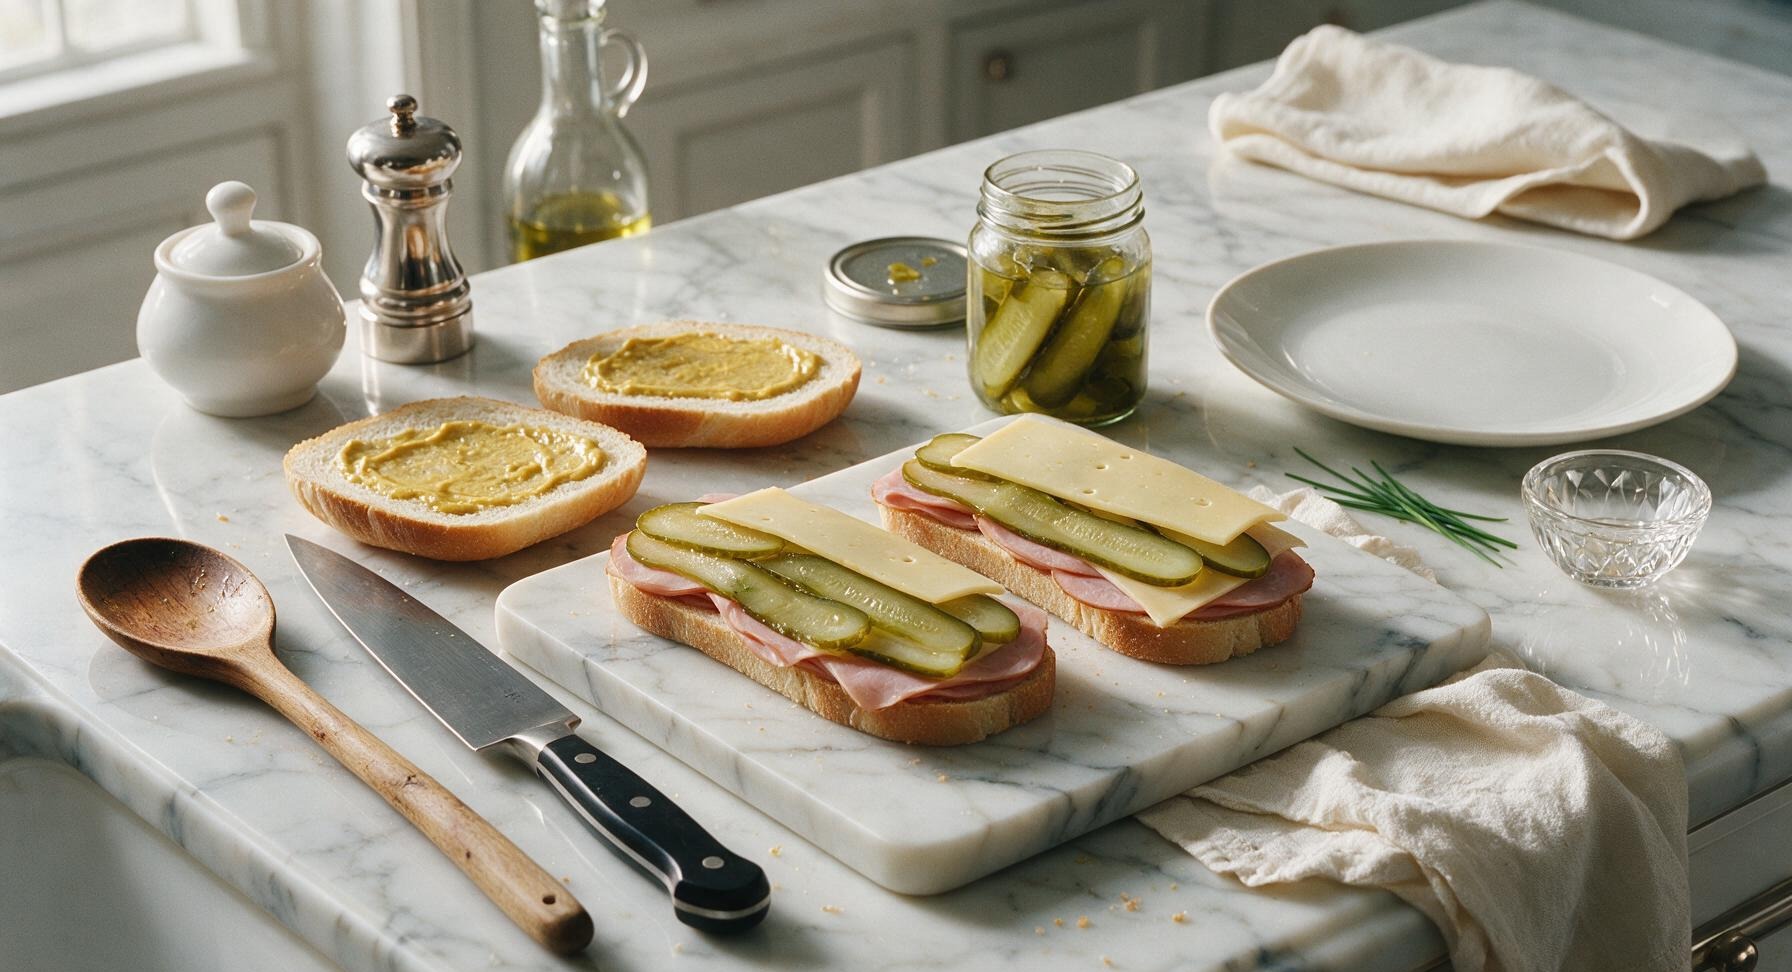
Arrange 2 dill pickle planks across the ham layer on each sandwich, laying them flat to run the full length of the bread. Top the pickles with a second slice of Swiss cheese on each sandwich, matching the base layer, so the cheese will melt and adhere the top bread to the fillings when pressed.
Assemble and Butter Crust
Place the top bread half (mustard side facing down against the top cheese layer) on each sandwich to close them. Press down gently on each sandwich with the palm of your hand to compact layers slightly. Spread 1/4 tablespoon of softened unsalted butter evenly across the entire outer top and bottom crust of each sandwich; this creates the signature golden, shatteringly crisp crust when pressed.
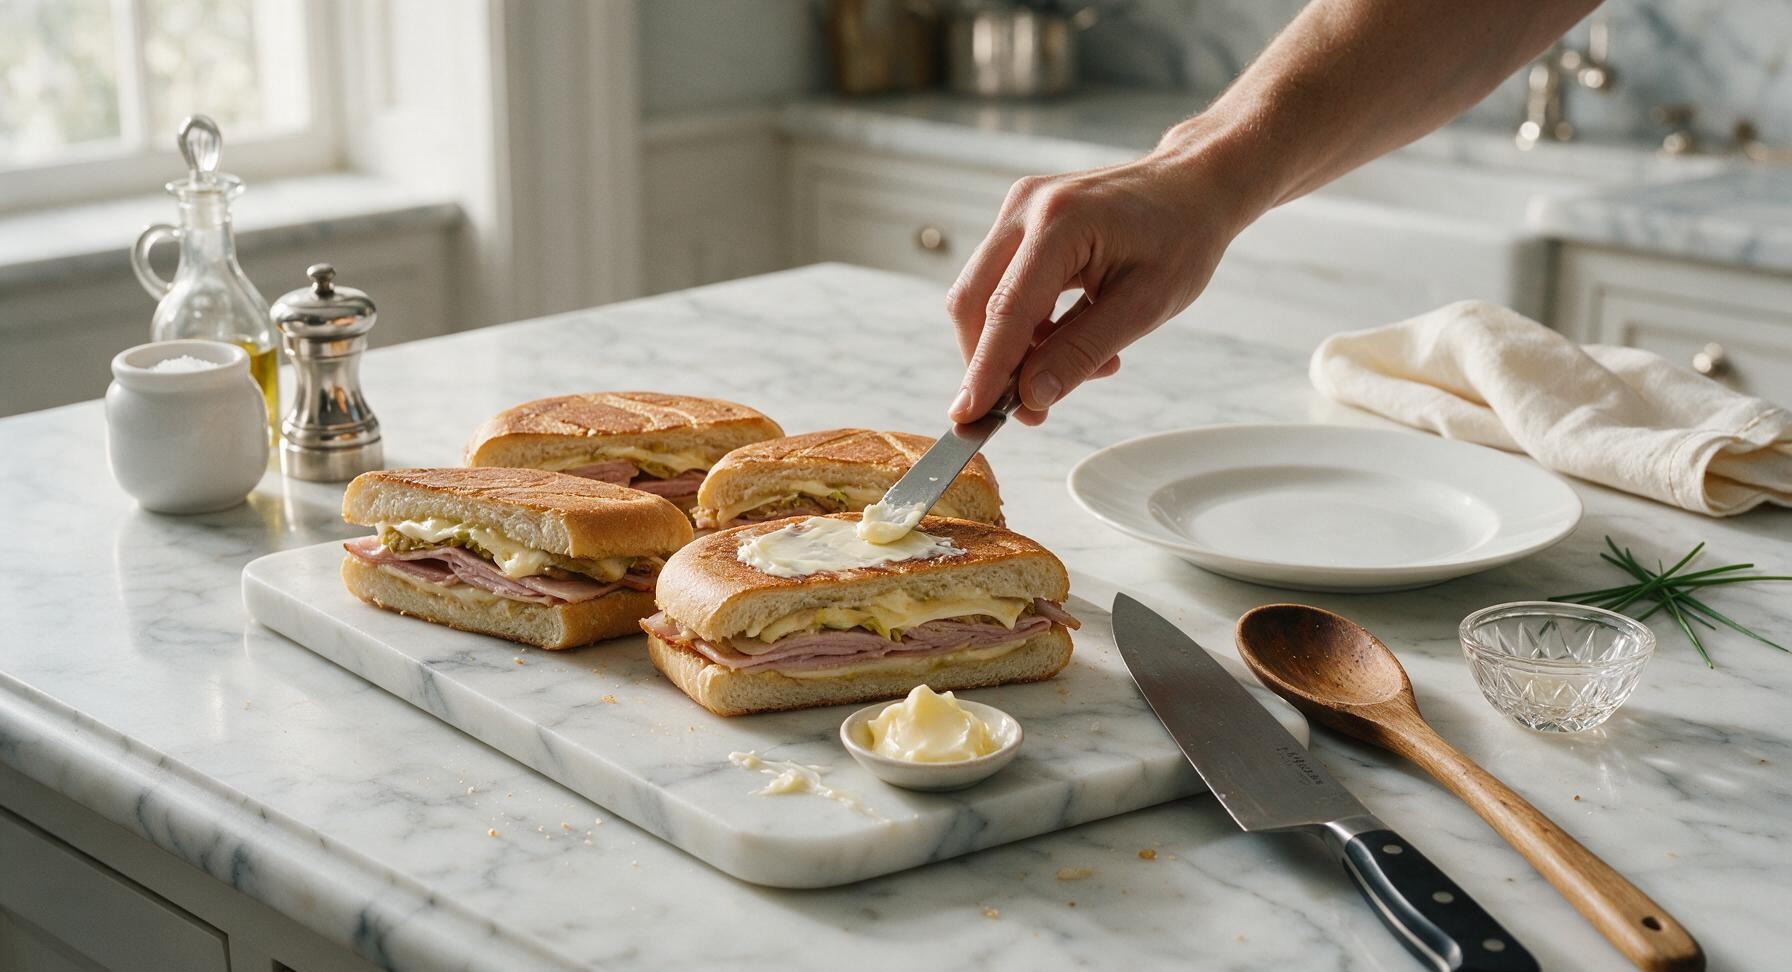
Preheat Griddle and Press
Turn the induction burner under the carbon steel griddle to medium heat, and set the cast iron sandwich press directly on the griddle surface to preheat for 3 minutes. The pan is ready when a drop of water sizzles immediately and dances across the surface; target a surface temperature of 375°F (190°C) to avoid burning the bread before cheese fully melts.
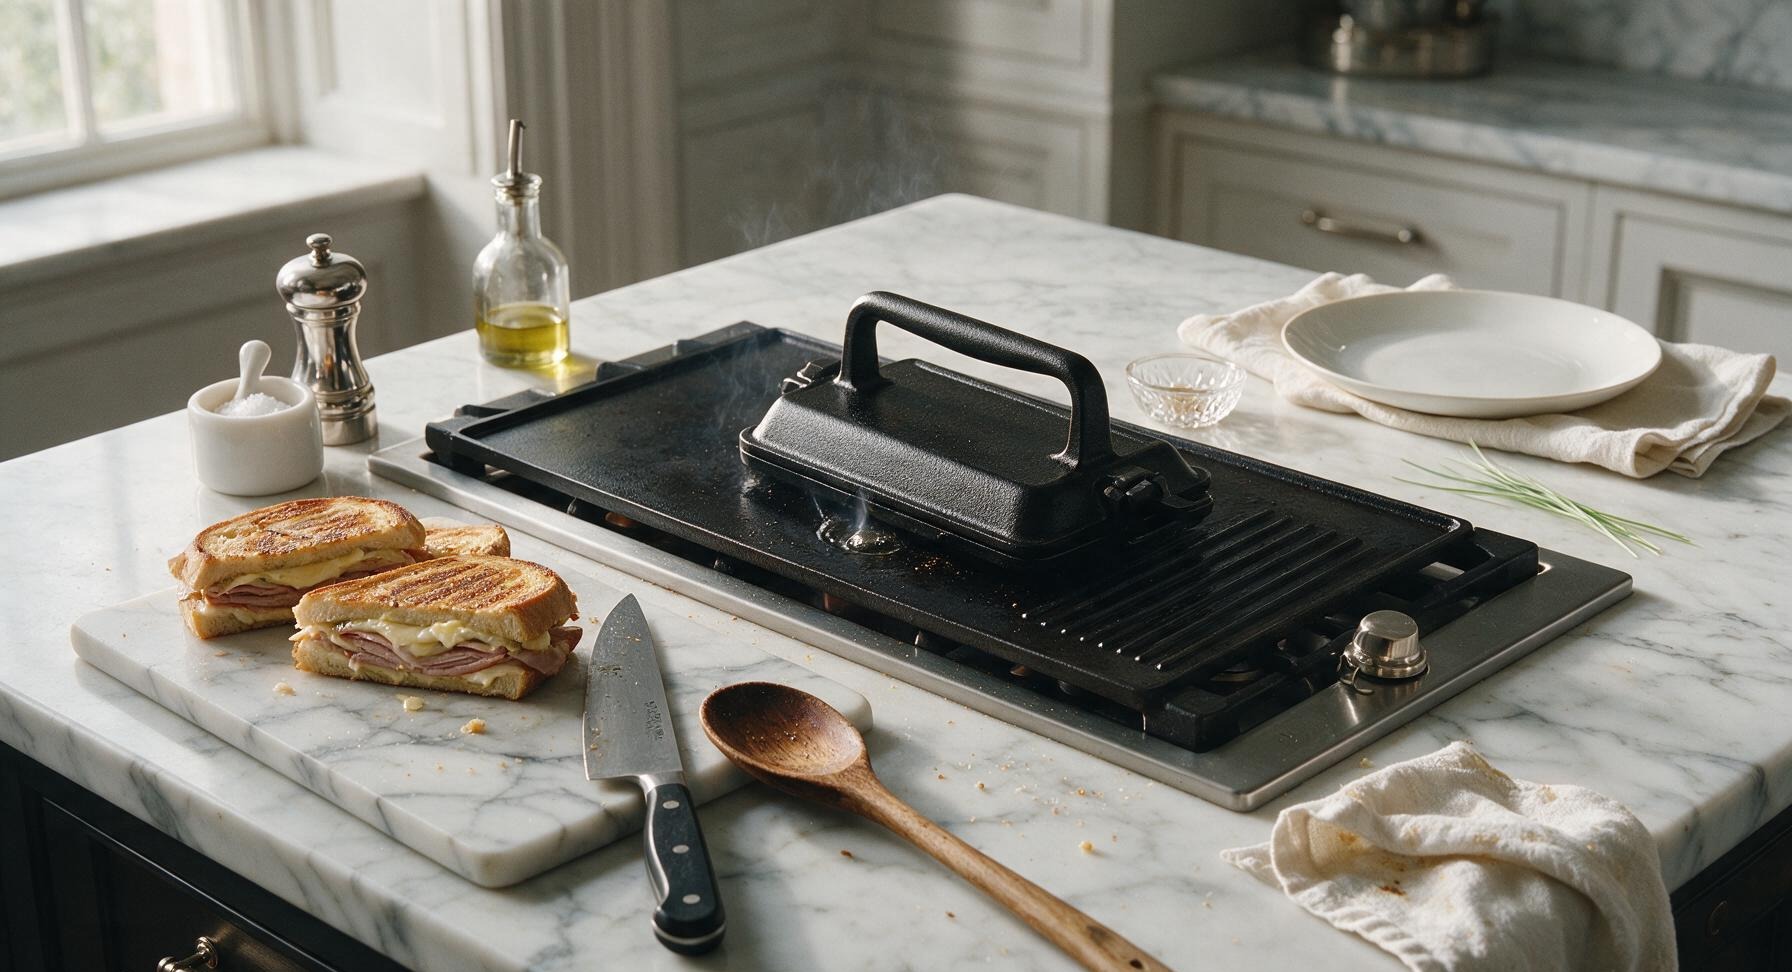
Press and Cook Sandwiches
Place two sandwiches at a time on the preheated griddle. Set the preheated cast iron press directly on top of the sandwiches, applying firm, even pressure. Cook for 3-4 minutes per side, until the outer crust is deep golden brown, crisp to the touch, and Swiss cheese is fully melted and oozing slightly from the sandwich edges. Use the stainless steel tongs to flip sandwiches halfway through cooking, replacing the press after flipping. Cook the remaining two sandwiches the same way.
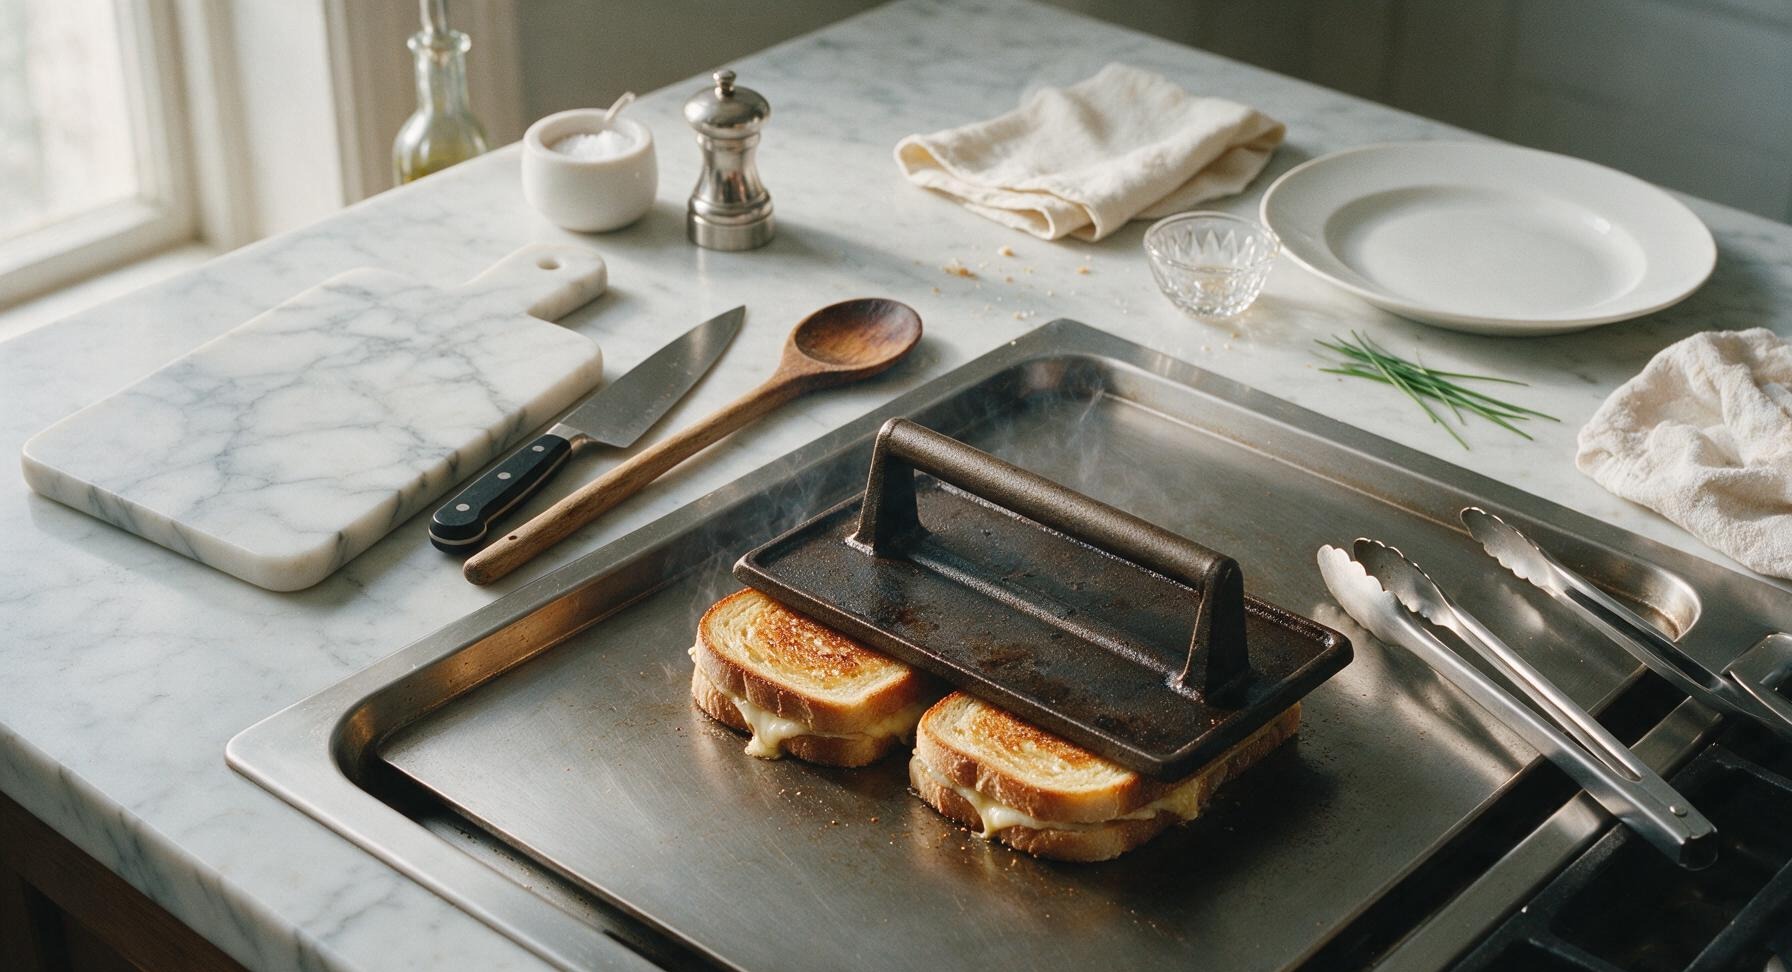
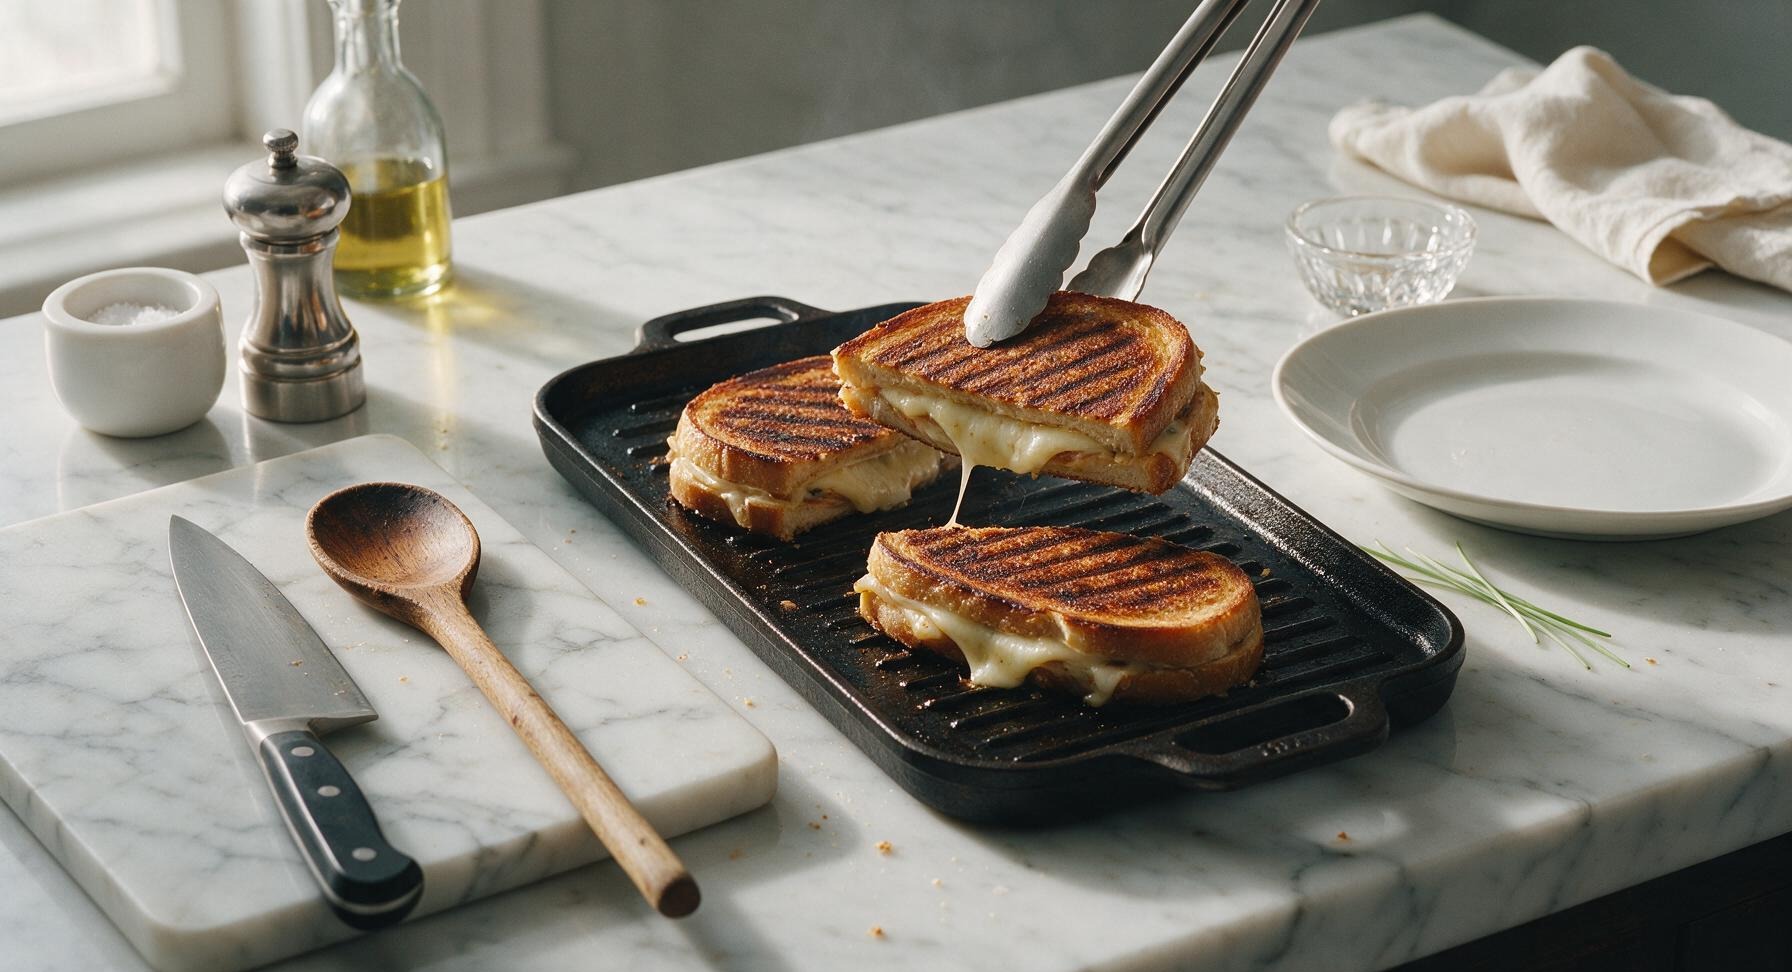
Slice and Plate Sandwiches
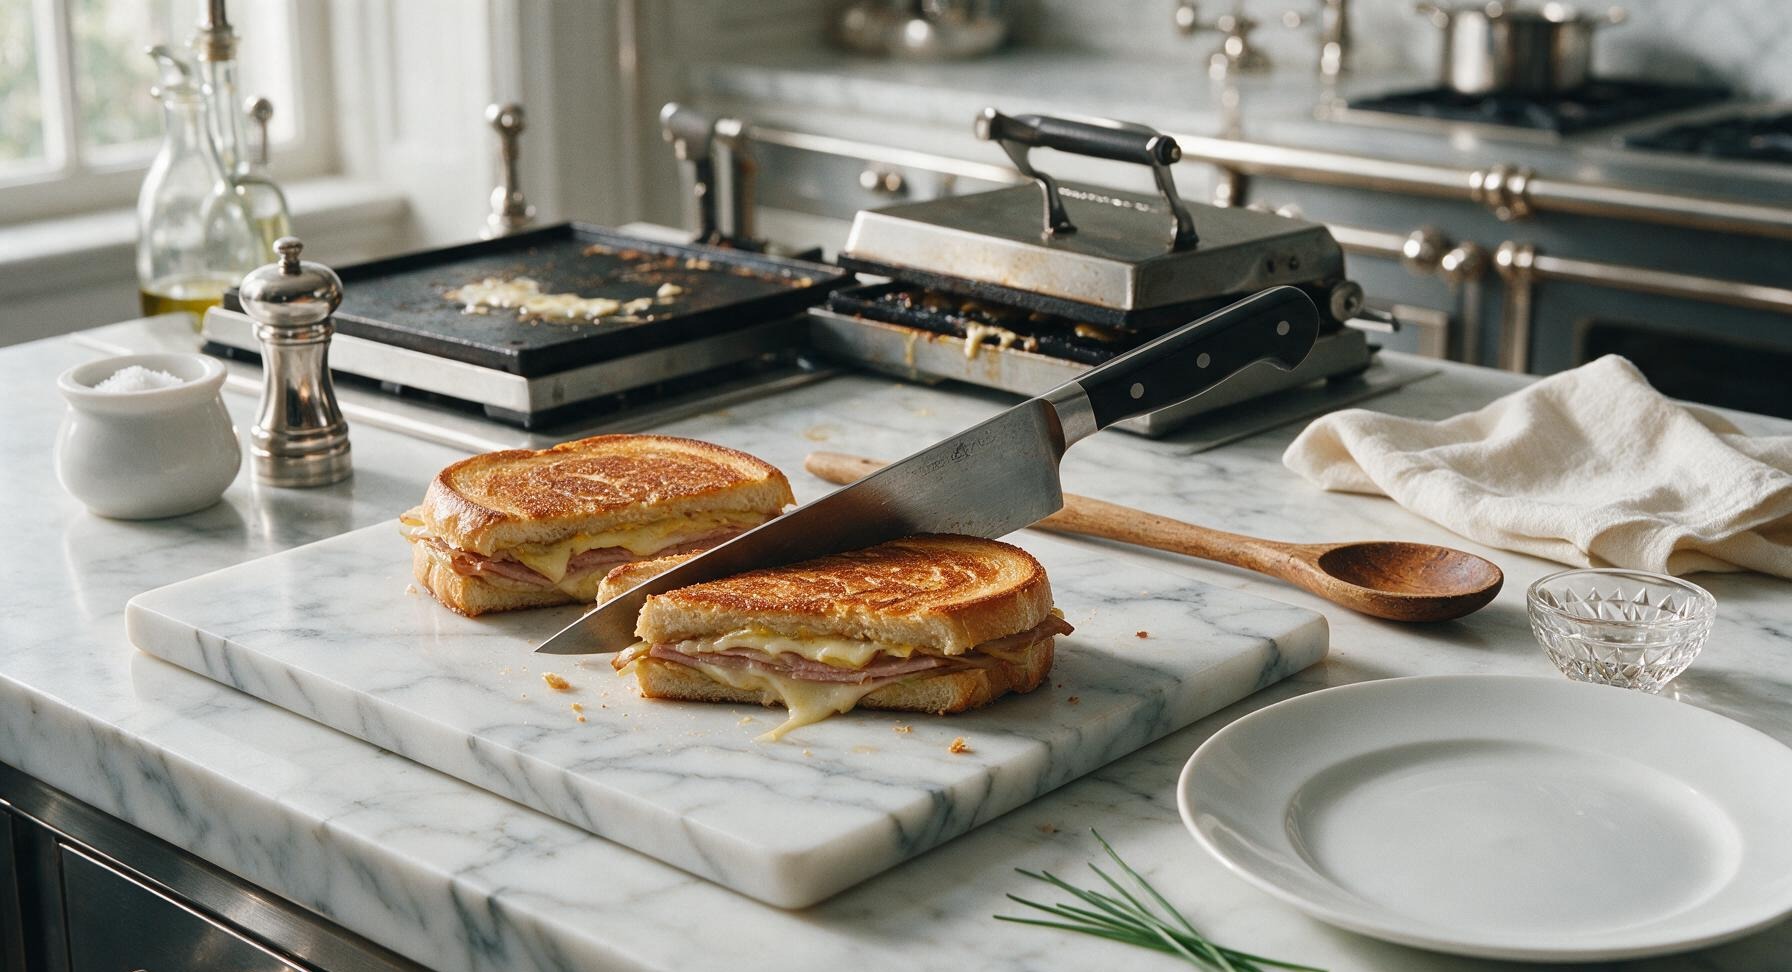
Transfer all cooked, pressed sandwiches from the griddle back to the maple cutting board. Using the chef knife, cut each sandwich diagonally across the middle in one clean, gentle sawing motion—do not press straight down, which will squeeze hot fillings out of the crust. Arrange the cut halves on the matte off-white speckled platter, and let rest for 1 minute before serving.
Tips
2.Preheat the cast iron press directly on the griddle before cooking: this heats the press from both sides, cutting cook time in half, creating an evenly golden crisp crust across the entire bread surface, and melting cheese fully without burning the bread bottom.
3.For regional authenticity: add 3 thin slices of Genoa salami under the pickle layer for classic Tampa-style Cubanos, or skip the salami for traditional Miami-style, adjusting to match your preferred regional version.






OMG, this is the exact Cubano I’ve been craving since I visited Miami last year! The pickle and mustard ratio is chef’s kiss, I didn’t skimp on the ham and roasted pork like some recipes tell you to. My partner ate two in one sitting, no regrets.
Total game changer for our weekly Sunday sandwich night! I’ve tried a handful of Cubano recipes before and they always come out too soggy, but pressing it for the full 4 minutes per side on my cast iron got that perfect crispy crunch. My picky 10 year old asked for seconds, which never happens.
Made these for my office potluck last week and people were hounding me for the recipe all afternoon! So easy to throw together even on a busy work week, I prepped the mojo pork the night before so assembly took 10 minutes tops. Will absolutely be making these again for our next fall tailgate.
Wait, hold up, is it a crime that I used Swiss instead of Gruyère? I grabbed the wrong cheese at the store and almost bailed, but these still came out SO good. My roommate said they’re better than the ones we get at the sandwich shop downtown.
Added these to my weekly meal prep rotation! I wrap them individually in foil and keep them in the fridge, then just throw them in the panini press for 3 minutes when I’m ready for lunch. Way cheaper than buying takeout sandwiches every day, and they taste just as fresh.
Dude, I made these on my camping griddle last weekend and they absolutely slapped. Threw a little extra mojo sauce on the pork for zing, pressed ‘em under a cast iron skillet since I didn’t bring a fancy press, every single person at the campsite wanted a bite. 10/10.
Quick question — can I make these with leftover roasted turkey instead of pork? I have a ton of leftover turkey from Sunday dinner in the fridge and I’m trying to get creative instead of making the same old cold turkey sandwiches all week. This recipe looks too good to pass up!
Made these for my partner’s birthday lunch and he said it’s the best thing I’ve ever cooked. The only change I made was adding a little bit of spicy honey to the mustard, and wow, that sweet heat paired with the salty ham and tangy pickles is unreal.
I’ve been making Cubanos for 40 years since I was a short order cook in Tampa, and let me tell you, this recipe is spot on. No fancy unnecessary ingredients, just the classic flavors done right. Cook time is exactly right too, no burnt bread, no unmelted cheese. Great work.
Bro, I’m a broke college student with only a dorm panini press and zero cooking skills, and I pulled this off! Used deli ham and pre-made roast pork from the grocery store deli so I didn’t have to cook any meat from scratch, and it still tasted restaurant quality. 12 minute cook time is no cap, super fast.
Quick heads up for my GF folks — I used a gluten free crusty sourdough loaf instead of regular Cuban bread, and it worked perfectly! I was worried it would get too crumbly when I pressed it, but it held up great and tasted just like the Cubanos I used to get before going gluten free.
Made these for last night’s family dinner and everyone went back for seconds! I added a thin layer of mayo along with the mustard per my husband’s request, and honestly? It added a little extra creaminess that was chef’s kiss. Even my teen who “hates all sandwiches” ate a whole one.
Packed these for a day hike last weekend and they held up so much better than I thought they would! I pressed them at home, wrapped them tight in foil, and they were still the perfect temperature by lunchtime at the summit. Salty, filling, exactly what we needed after 4 miles of hiking. Will be my new go-to trail lunch.
Tried this for the first time last night! Flavor was incredible, but I burned the first side a little because I had my stove on too high. Turned it down to medium for the rest and they came out great, just a heads up for other new cooks to watch that heat level!
Brought these to our neighborhood block party over the weekend and they were gone in 10 minutes flat! People were asking if I catered them from that fancy Cuban spot downtown, little did they know I made them in my tiny apartment kitchen in under 15 minutes. 10/10, will be making these for every gathering from now on.