
best ham and cheese sandwich

intro
Crispy butter-toasted sourdough, smoky black forest ham, stretchy melted Gruyère, and a tangy thyme-Dijon spread—this elevated take beats any deli counter sandwich.
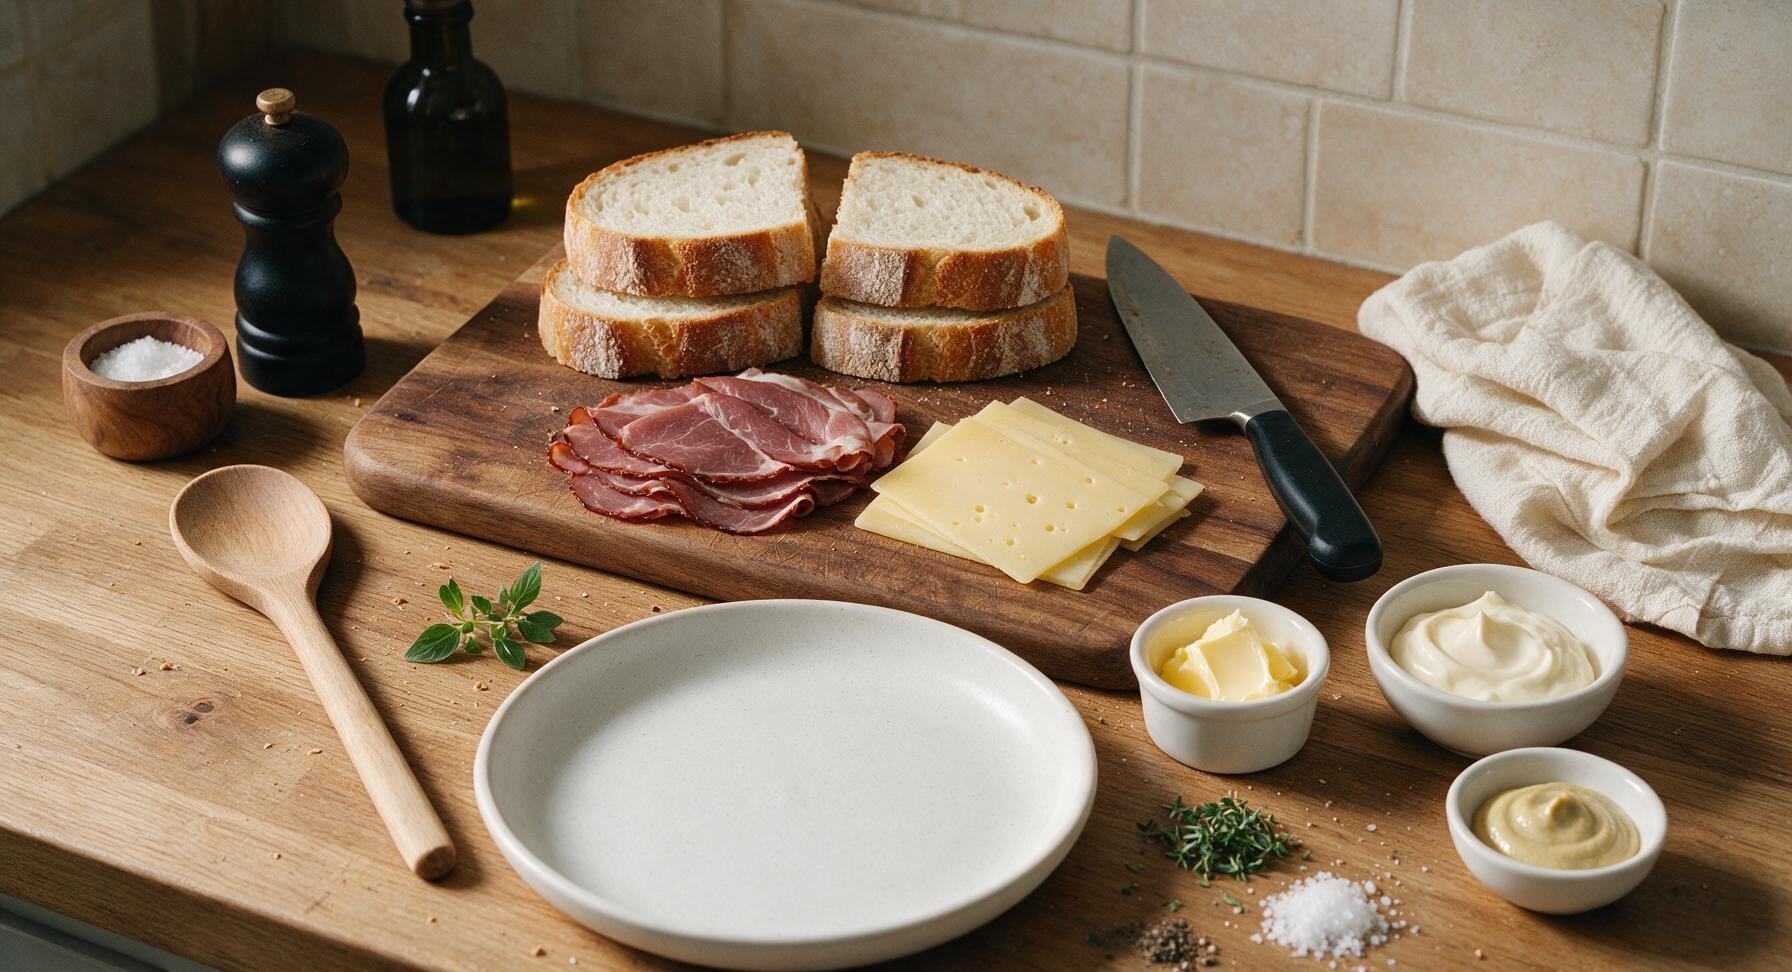
Ingredients
Steps
Mix Tangy Spread
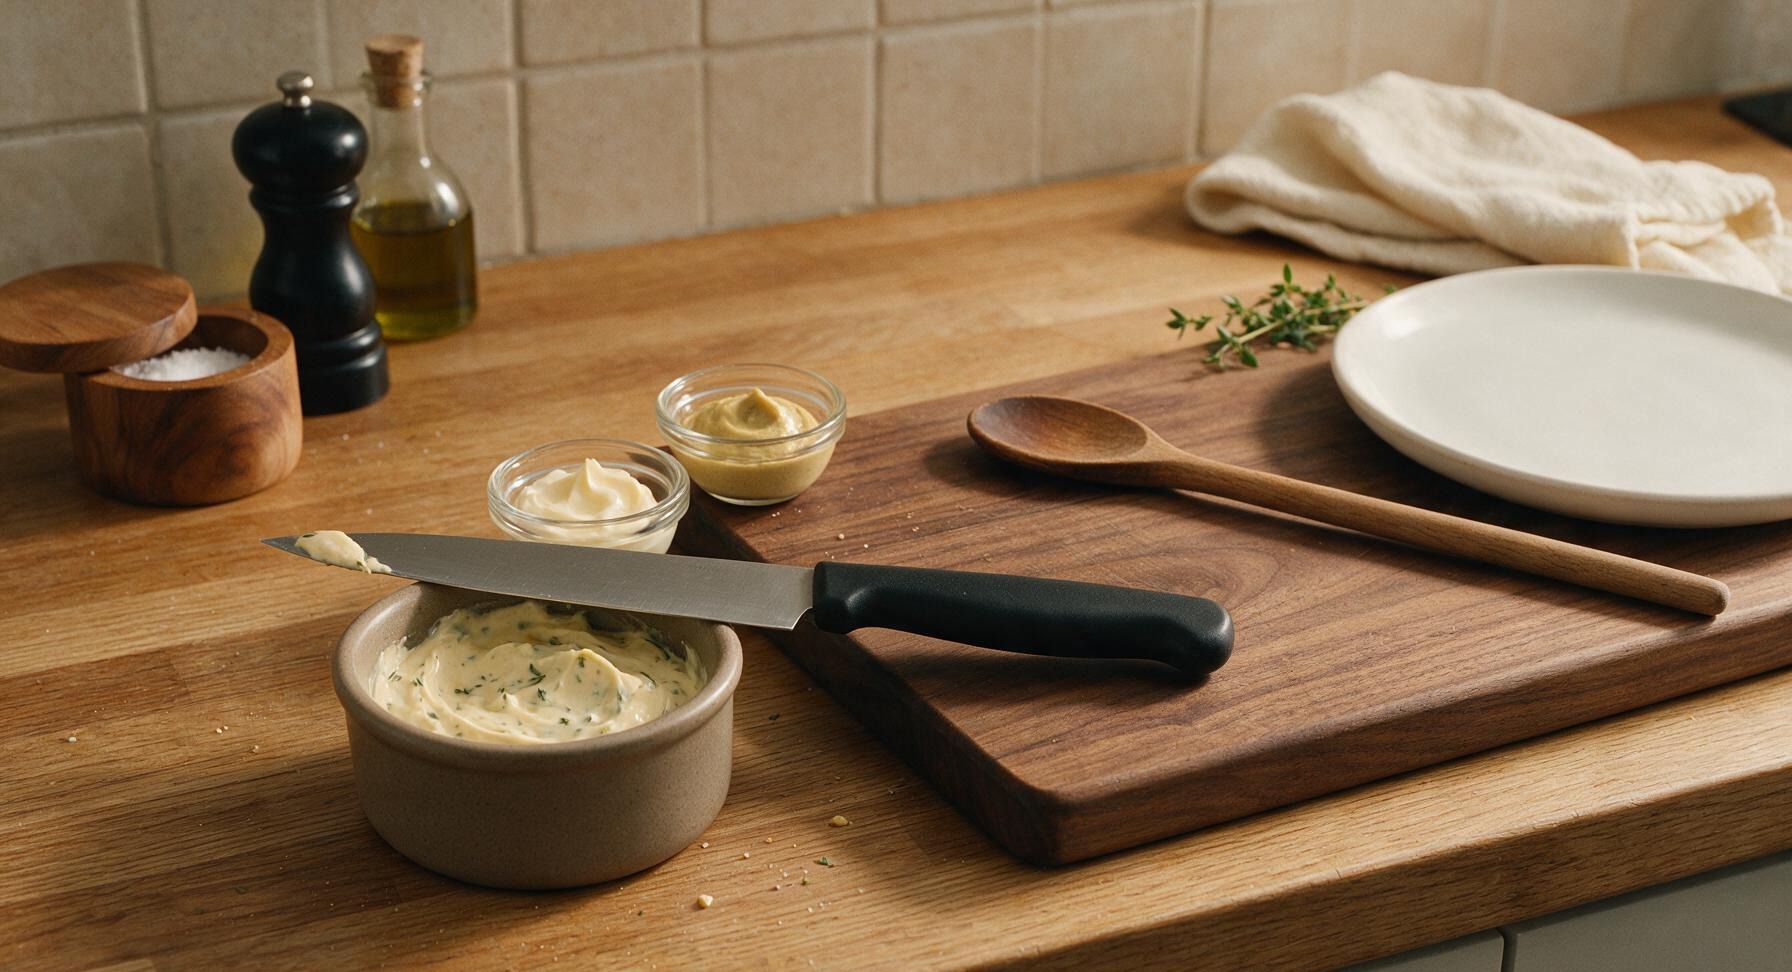
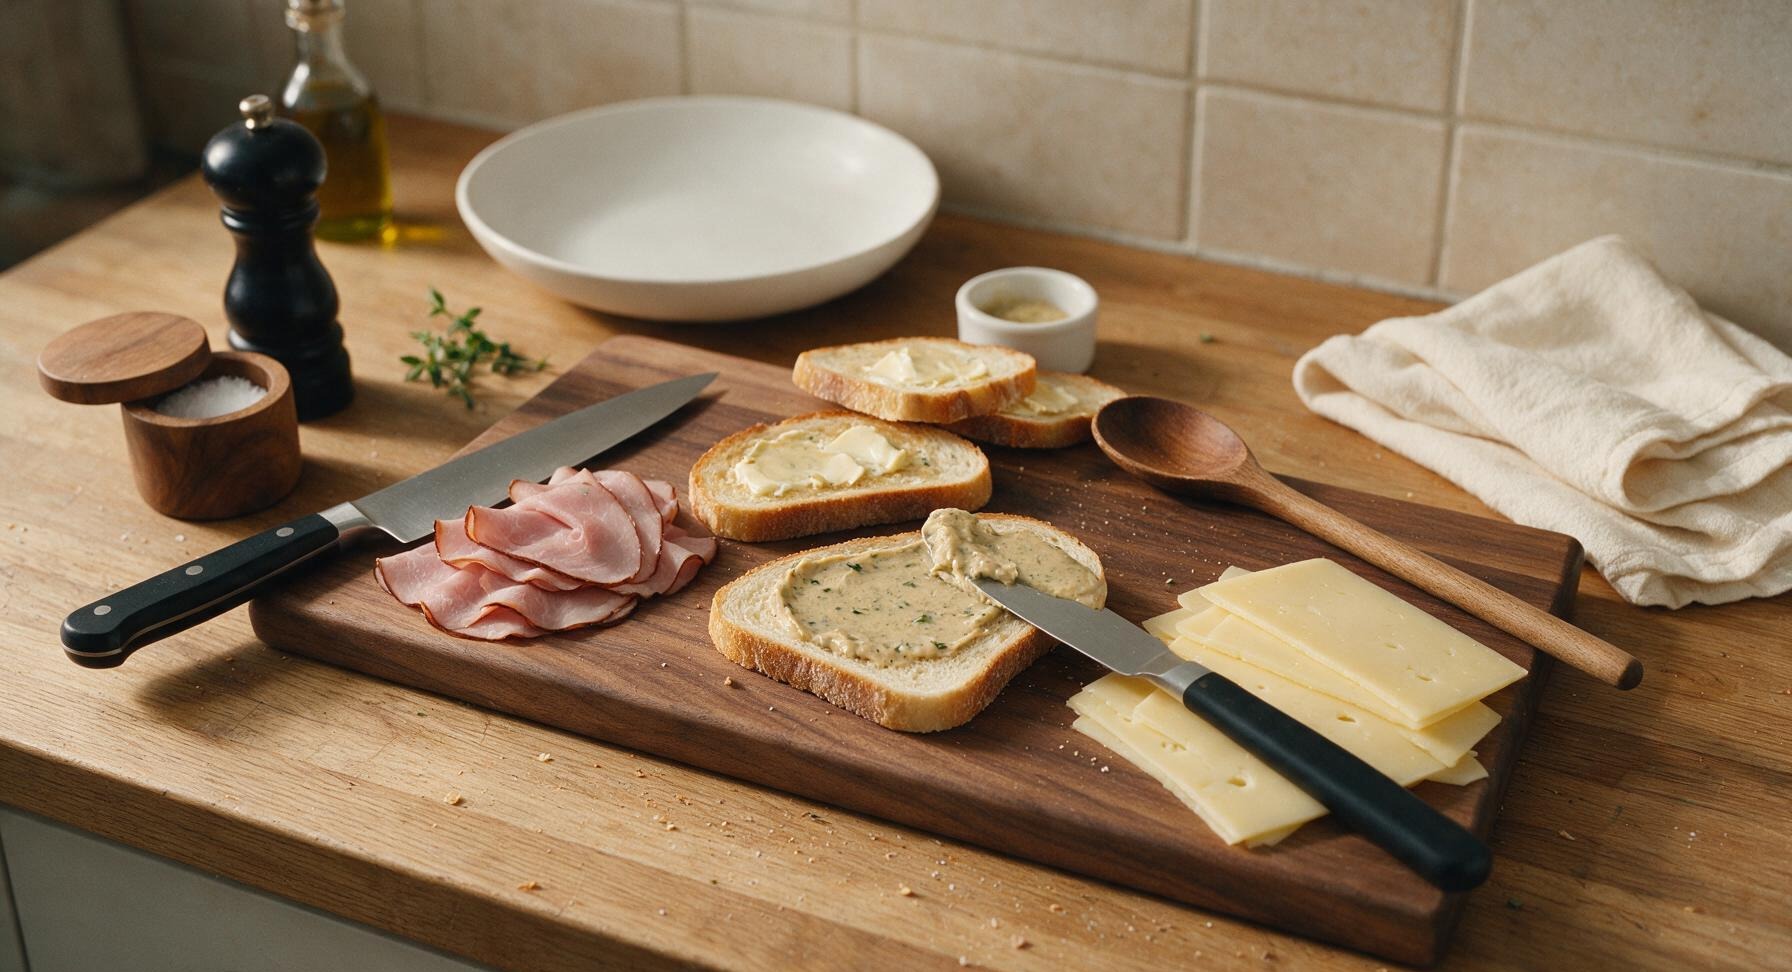
In the matte taupe stoneware ramekin positioned left of the cutting board, combine 2 tablespoons full-fat mayonnaise, 1 tablespoon Dijon mustard, and 1 teaspoon of picked fresh thyme leaves plucked from the permanent thyme bunch. Stir with the tip of the chef’s knife until the mixture is completely smooth, with even flecks of thyme throughout. Season with a tiny pinch of freshly ground black pepper from the acacia pepper mill, then set aside at room temperature to let flavors meld while prepping remaining components.
Butter Bread Slices
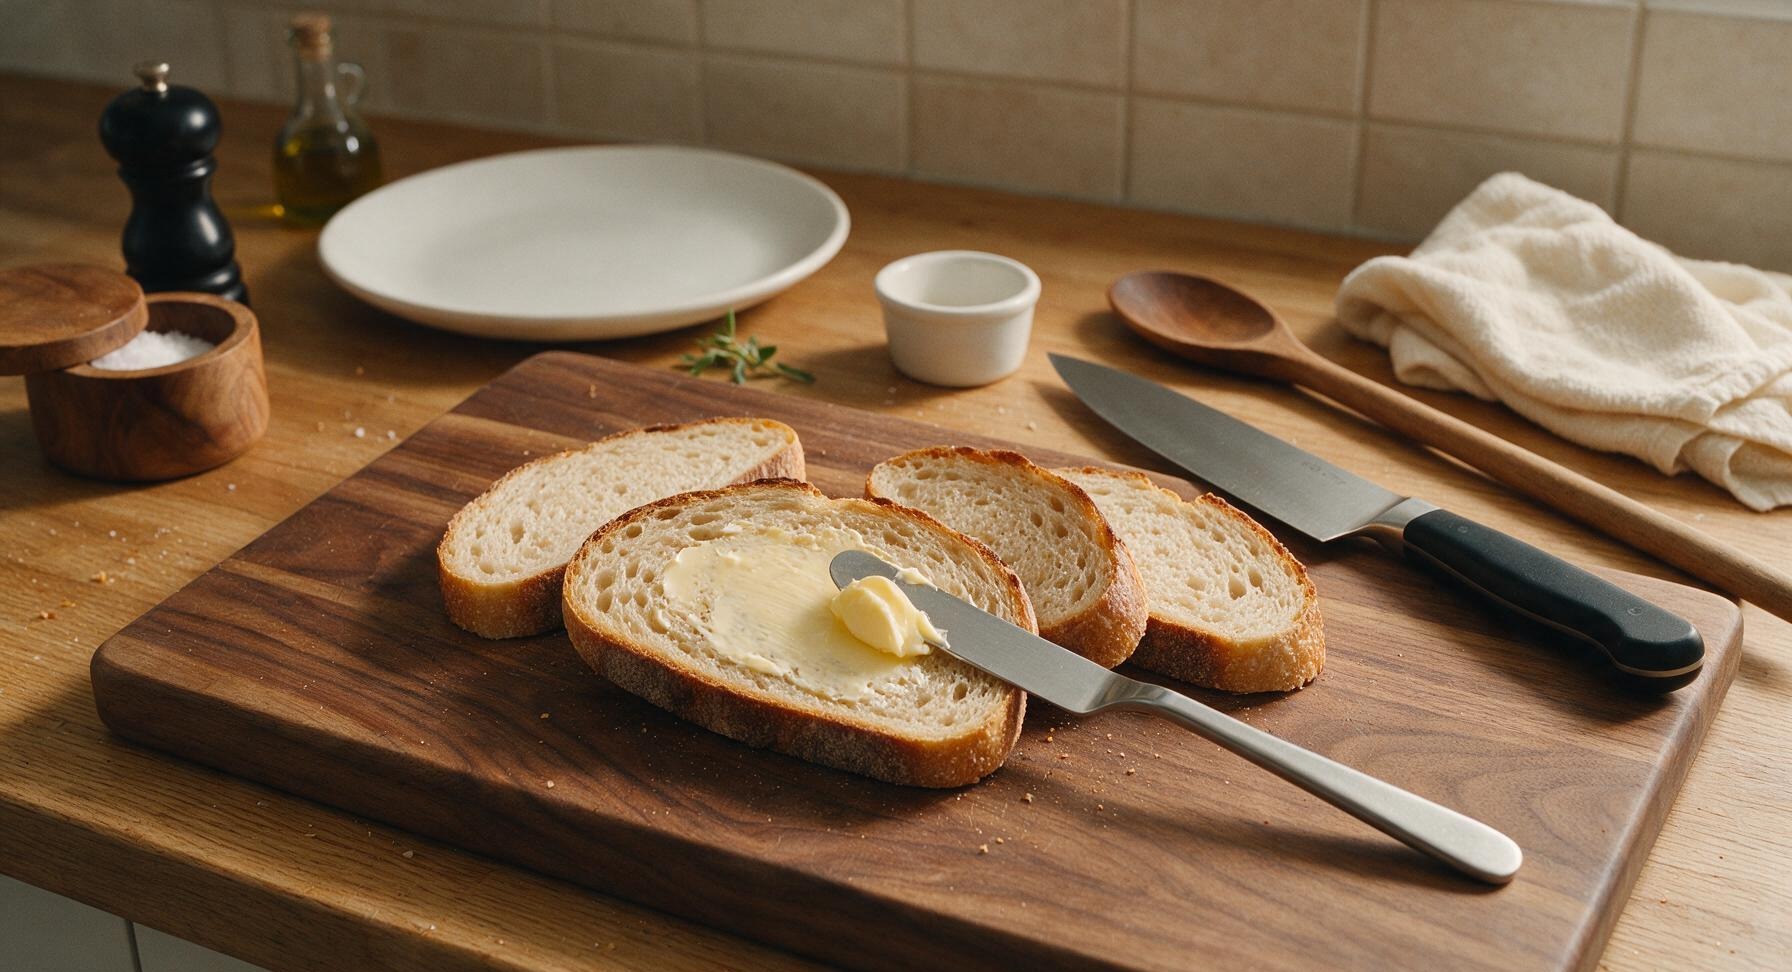
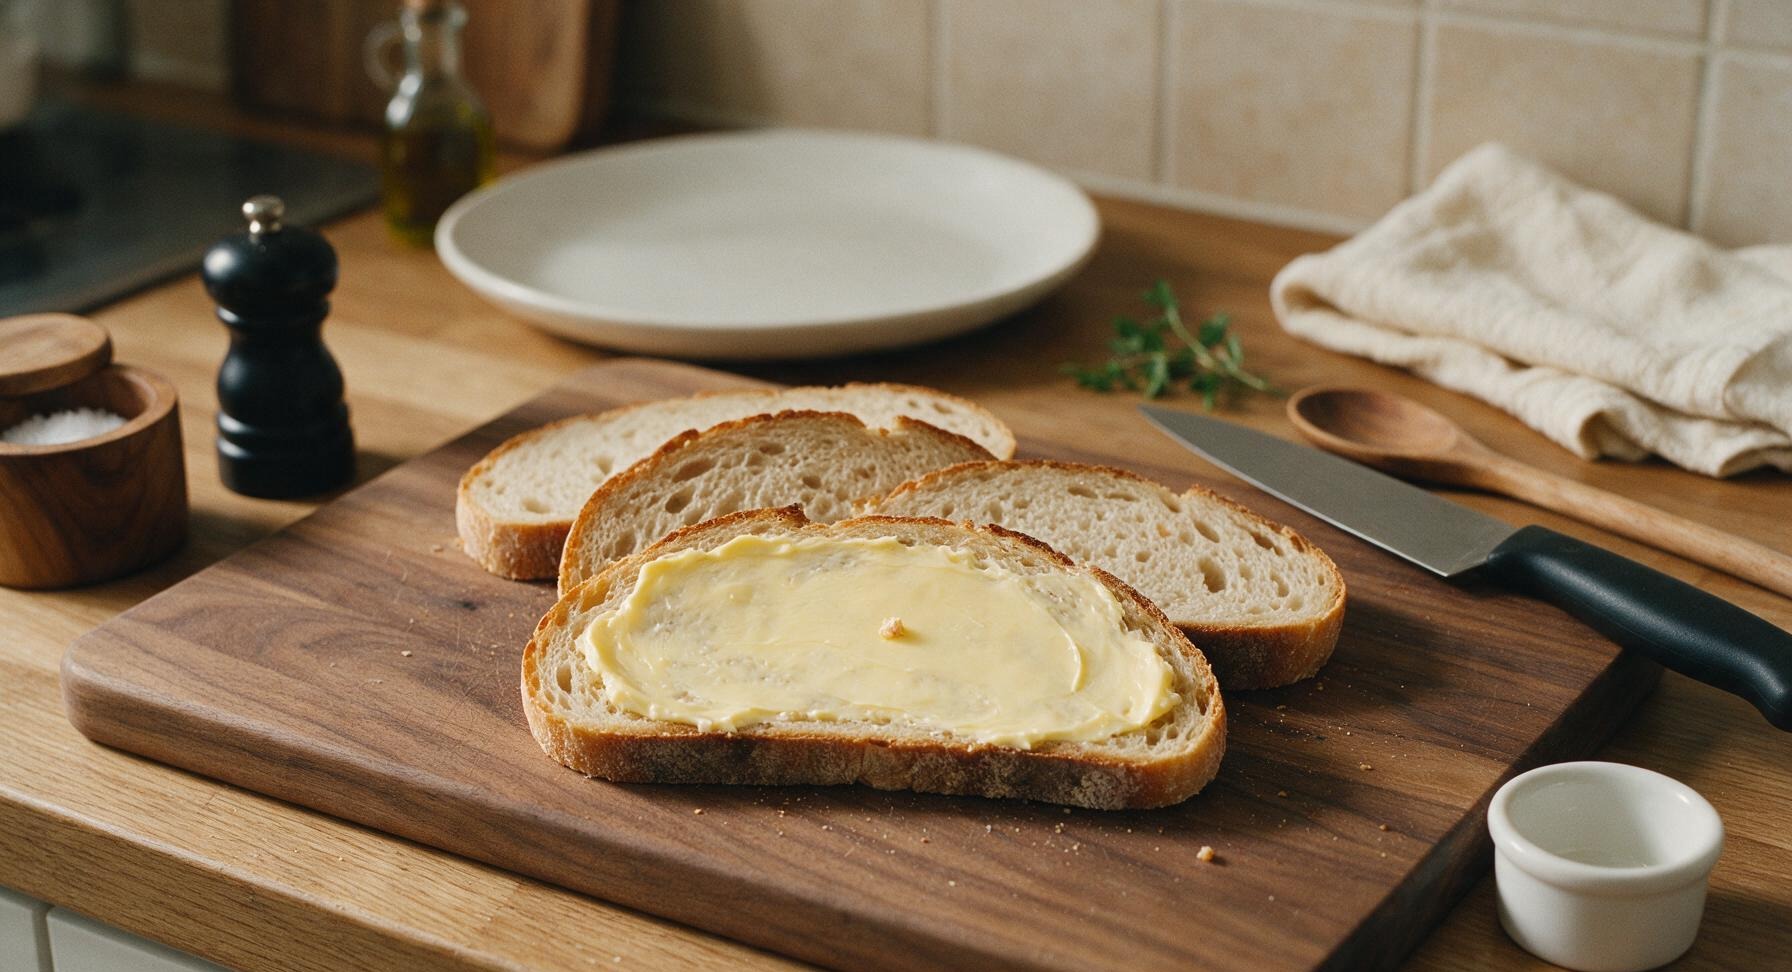
Lay all 4 sourdough slices flat on the center of the acacia cutting board. Use the stainless steel offset spatula to spread ½ tablespoon of softened salted butter evenly across one full side of each slice, spreading all the way to the crust edges. The butter layer should be thin enough that the porous sourdough texture is still visible through the pale yellow butter, not thick enough to clump or slide off.
Layer Sandwich Fillings
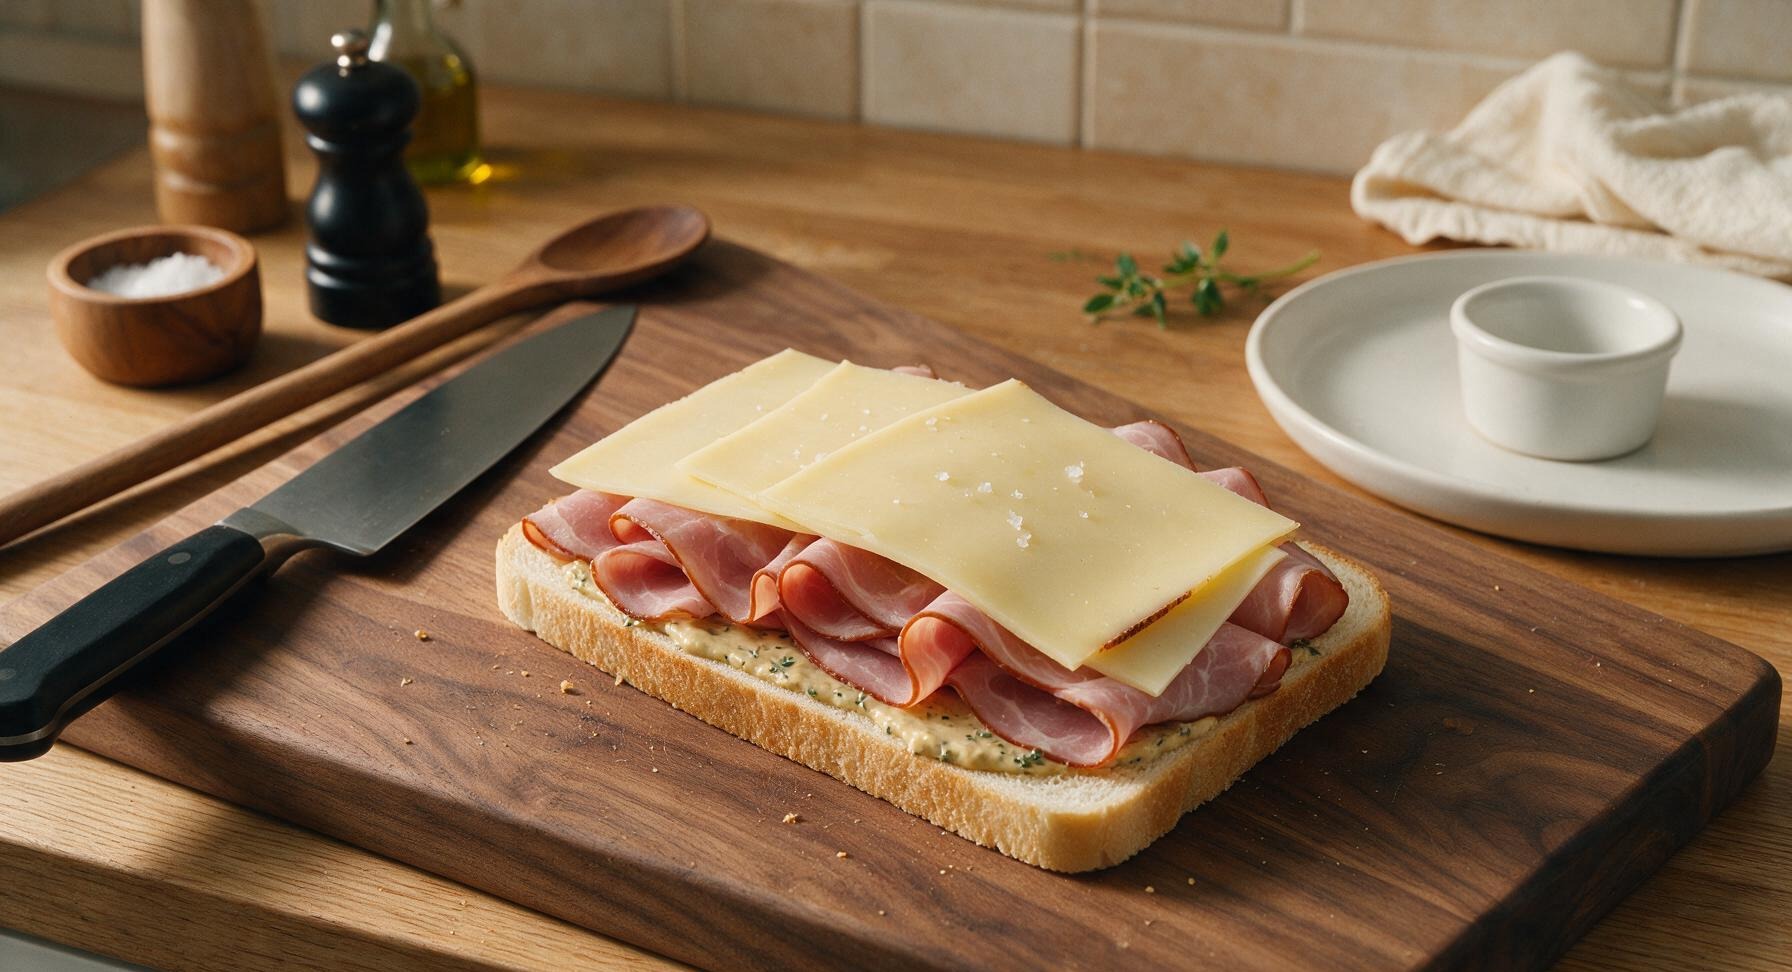
Flip two of the buttered bread slices so the buttered side faces down on the cutting board. Use the offset spatula to spread 1 tablespoon of the prepared Dijon-thyme spread evenly across the unbuttered side of each of these two base slices. Layer 60g of thin black forest ham per sandwich on top of the spread, folding slices into soft ruffs rather than laying them flat to create air pockets for even melting. Top the ham with 40g of thin Gruyère slices per sandwich, covering the ham completely with no gaps, then sprinkle a tiny pinch of flaky sea salt from the black salt cellar over the cheese.
Seal Sandwiches Tight
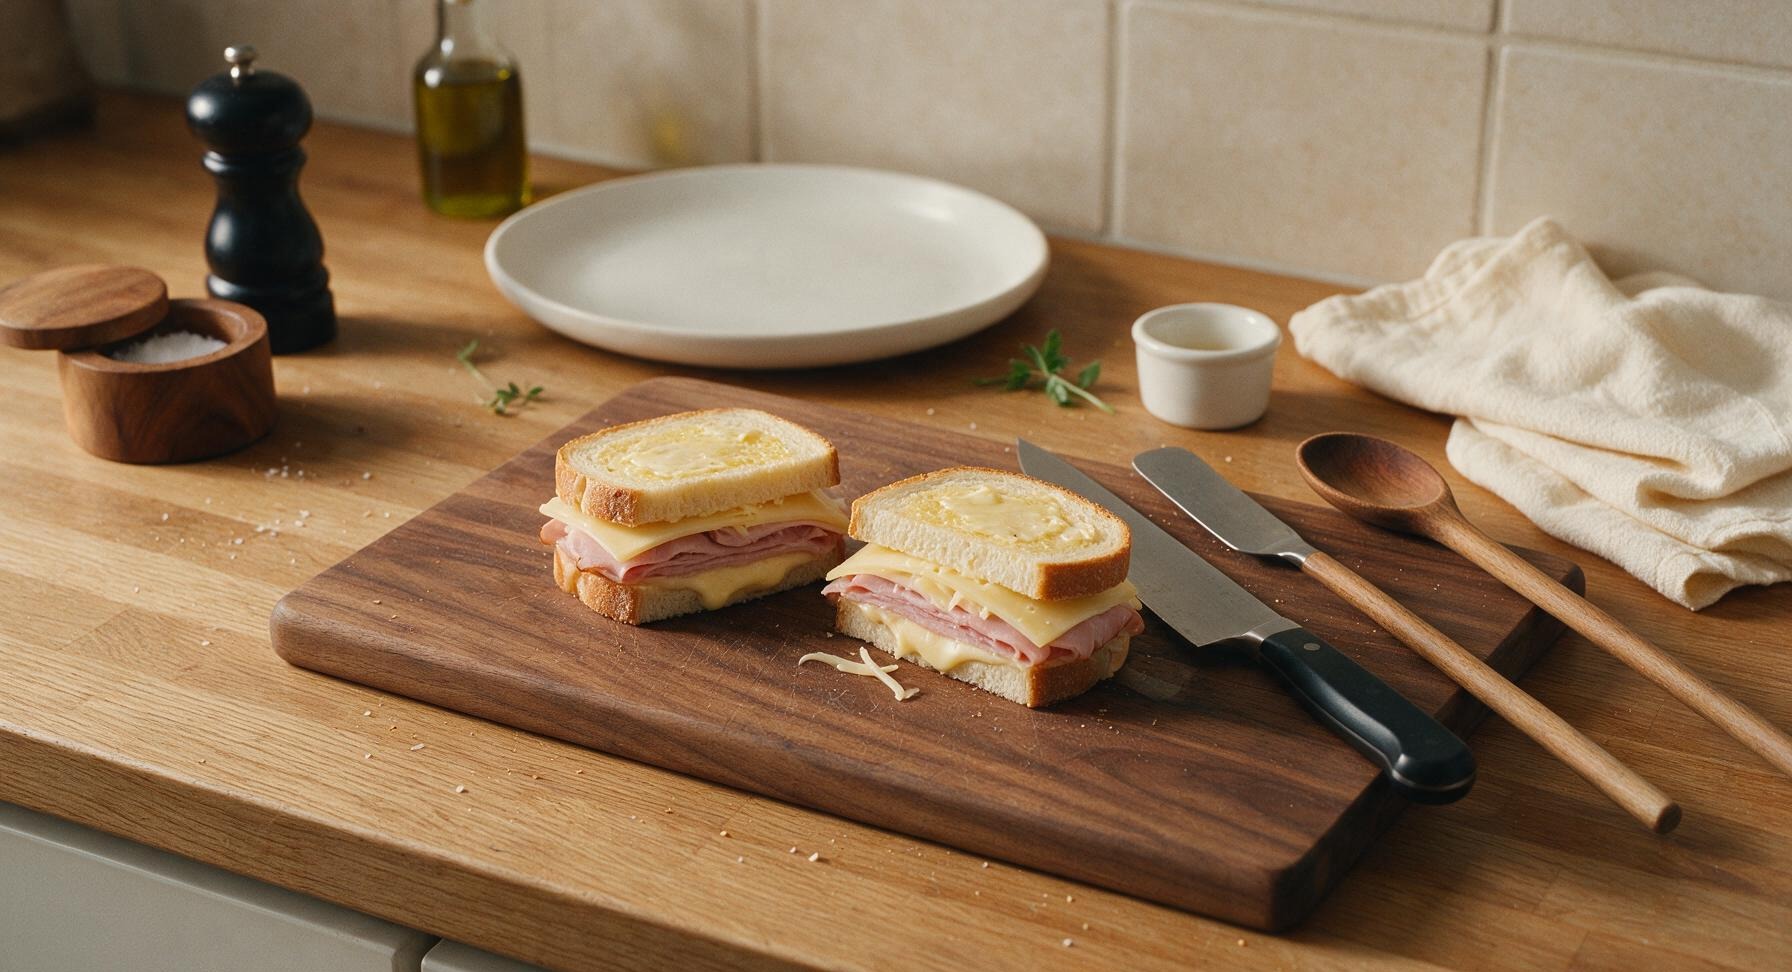
Place the remaining two bread slices on top of the fillings, with the buttered side facing outward to create a crispy exterior. Press down gently on the top of each sandwich with the palm of your hand to compact layers slightly, so fillings do not slide out during cooking. Use the tip of the offset spatula to tuck any stray shreds of ham or cheese that squeeze out the edges back into the sandwich.
Toast First Sandwich Side
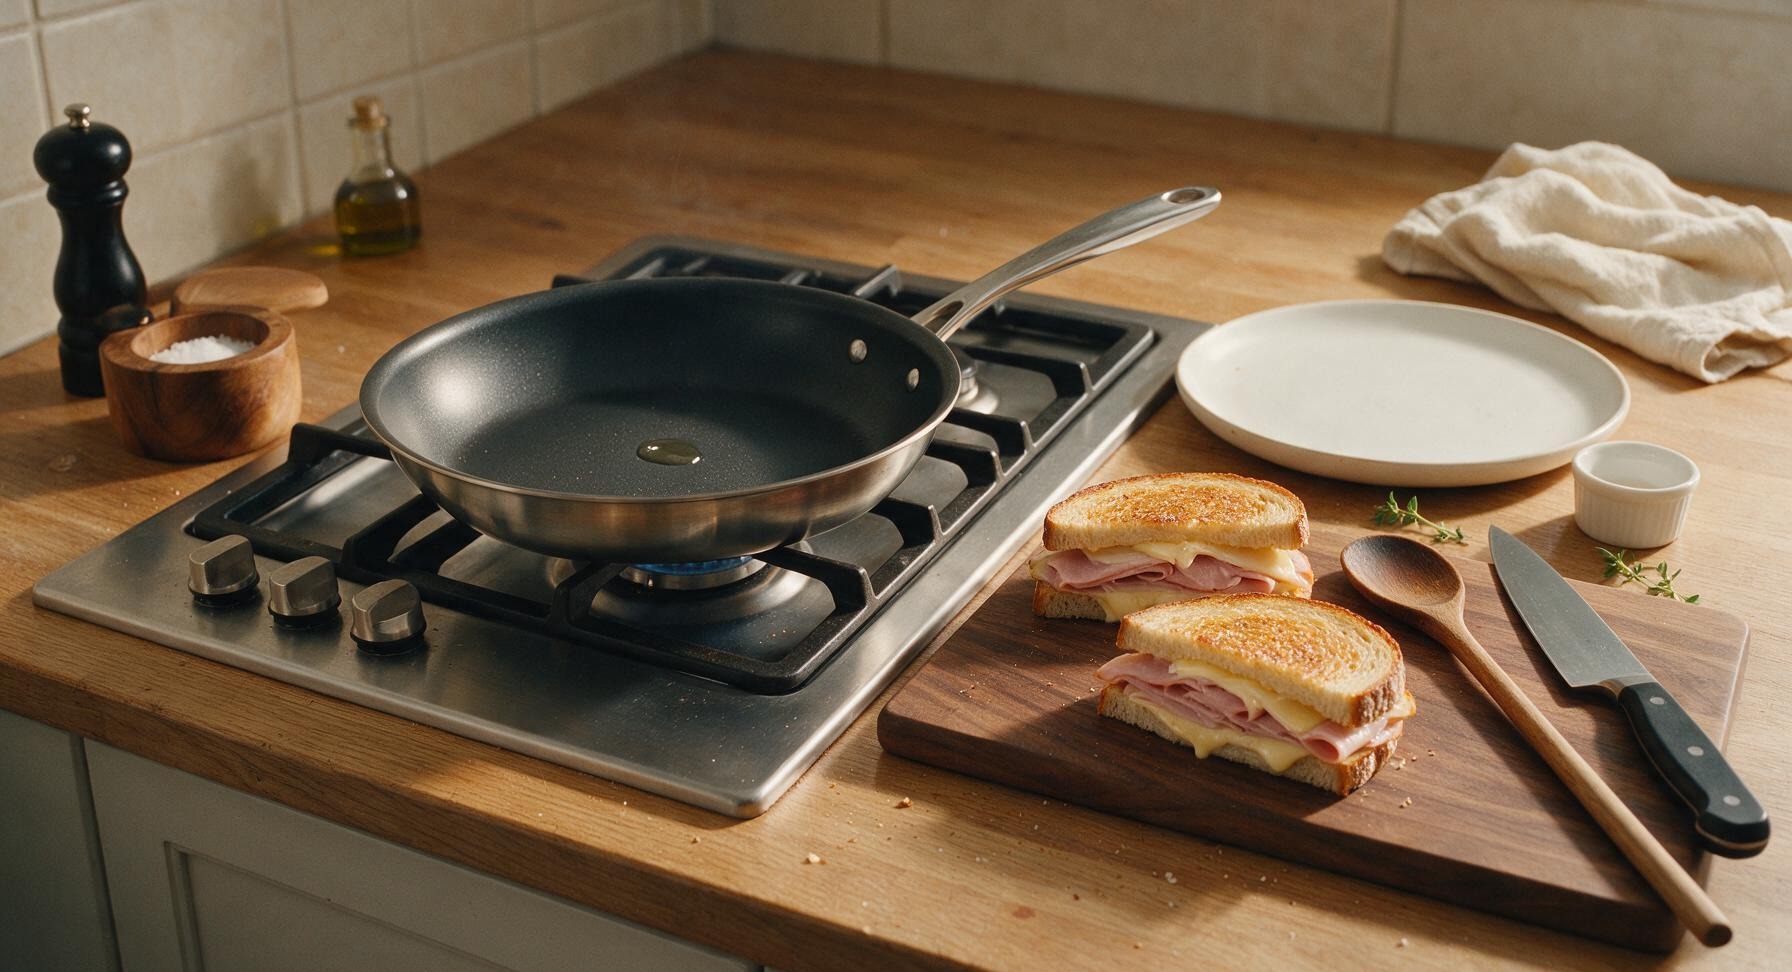
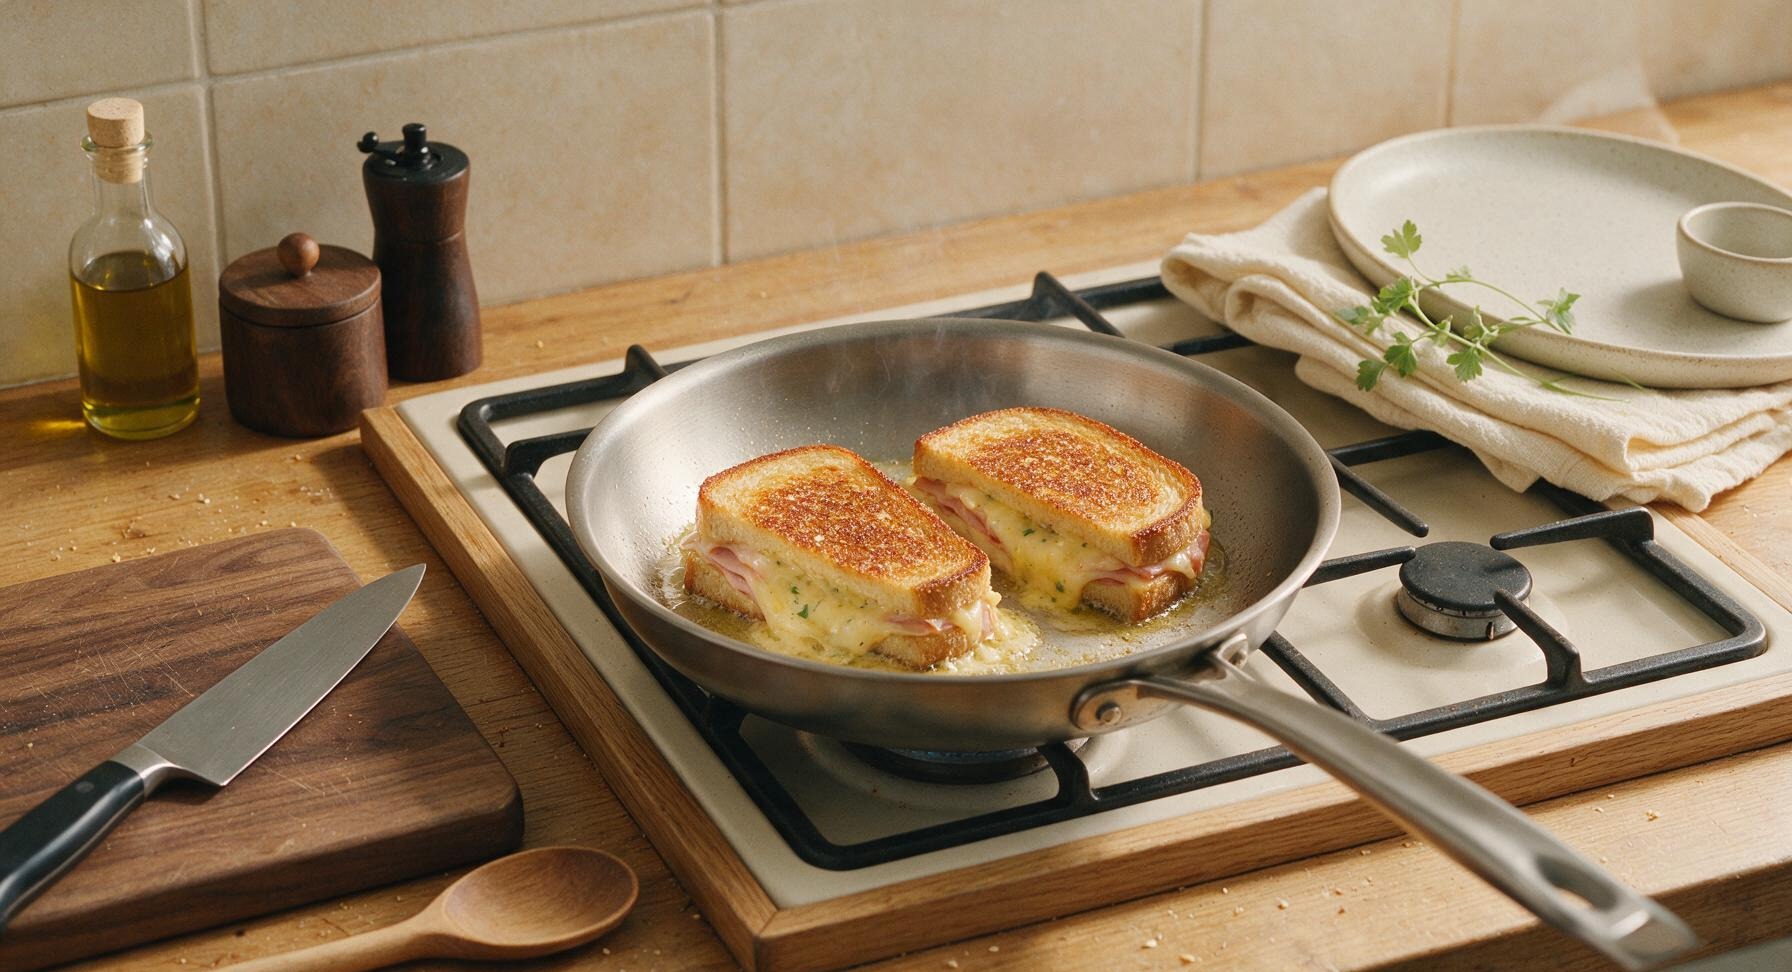
Move the 12-inch stainless steel nonstick skillet from its stored position on the stovetop to the active center burner, set to medium-low heat (325°F / 160°C). Once the pan is warm (no smoking, a drop of water sizzles and evaporates in 3 seconds), use the offset spatula to carefully transfer both sandwiches to the pan. Cook for 4 full minutes without pressing down on the sandwiches, until the bottom bread slice is deep golden brown and crispy, and the cheese closest to the pan starts to soften and melt.
Flip and Melt Cheese
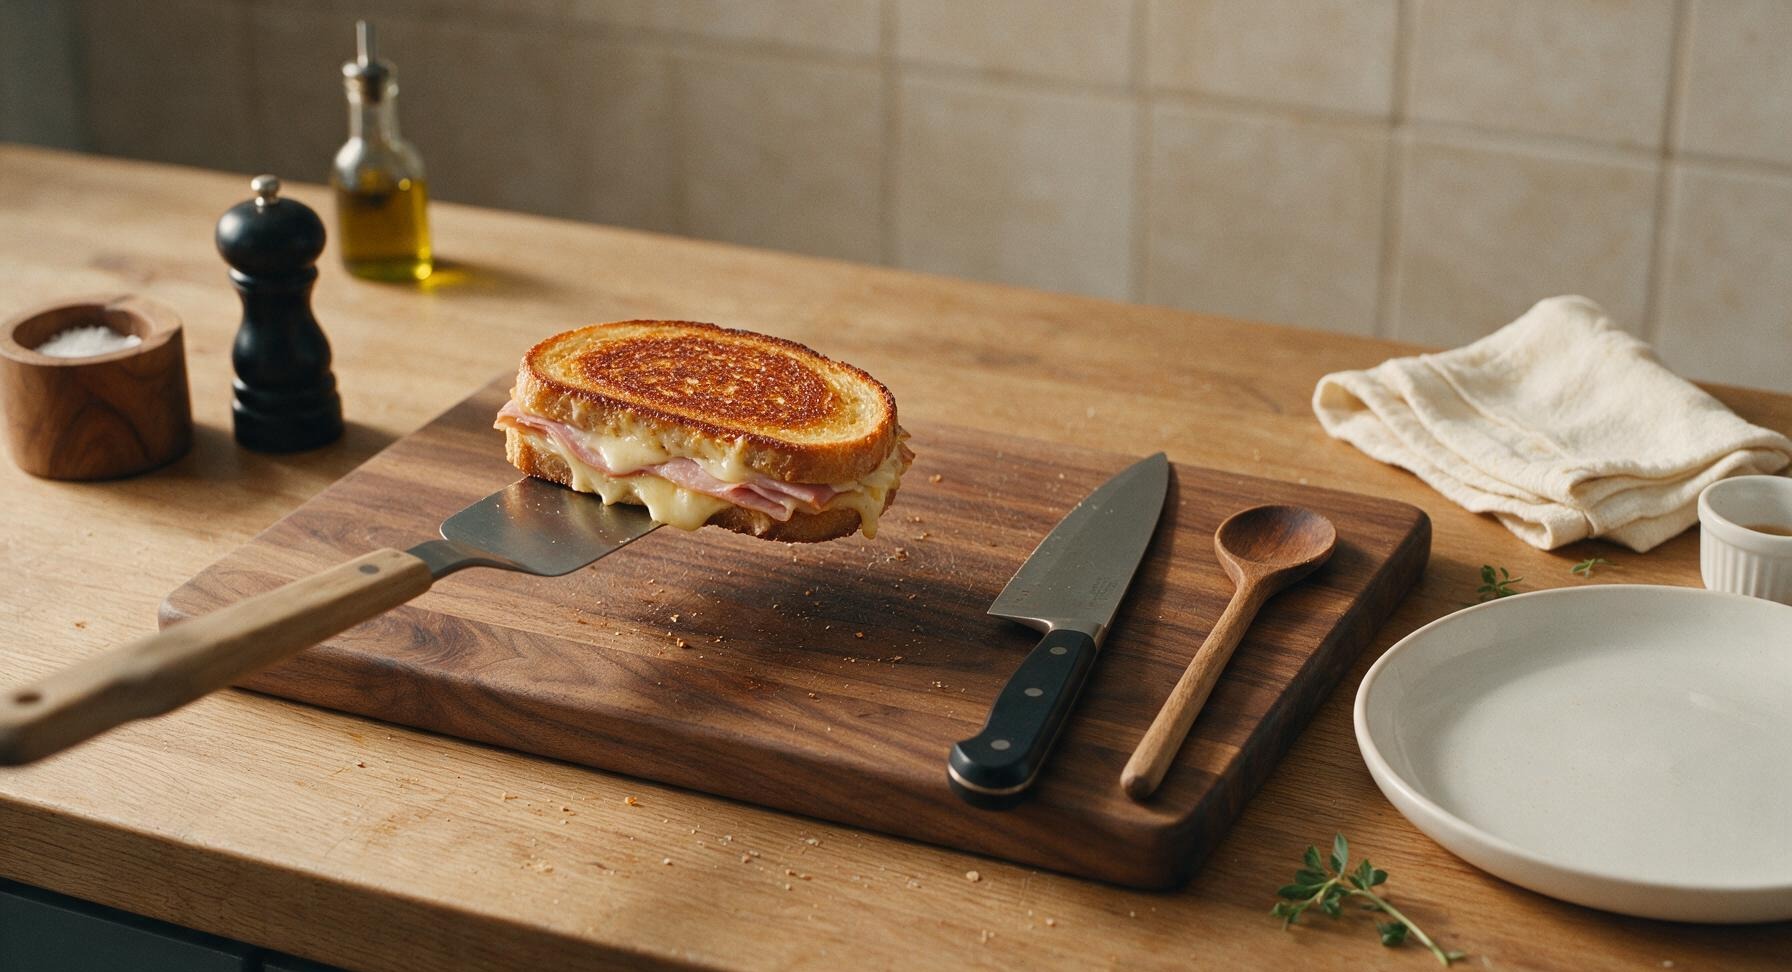
Slide the offset spatula fully under each sandwich to support the entire bread slice, then flip in one smooth motion to avoid tearing the bread or spilling fillings. Cook for another 3-4 minutes on the second side, until the bread matches the deep golden crispness of the first side, and the Gruyère is fully melted, bubbling slightly out the sandwich edges. If bread browns faster than 3 minutes, reduce heat to low to avoid burning before cheese melts.

Rest and Slice Sandwiches
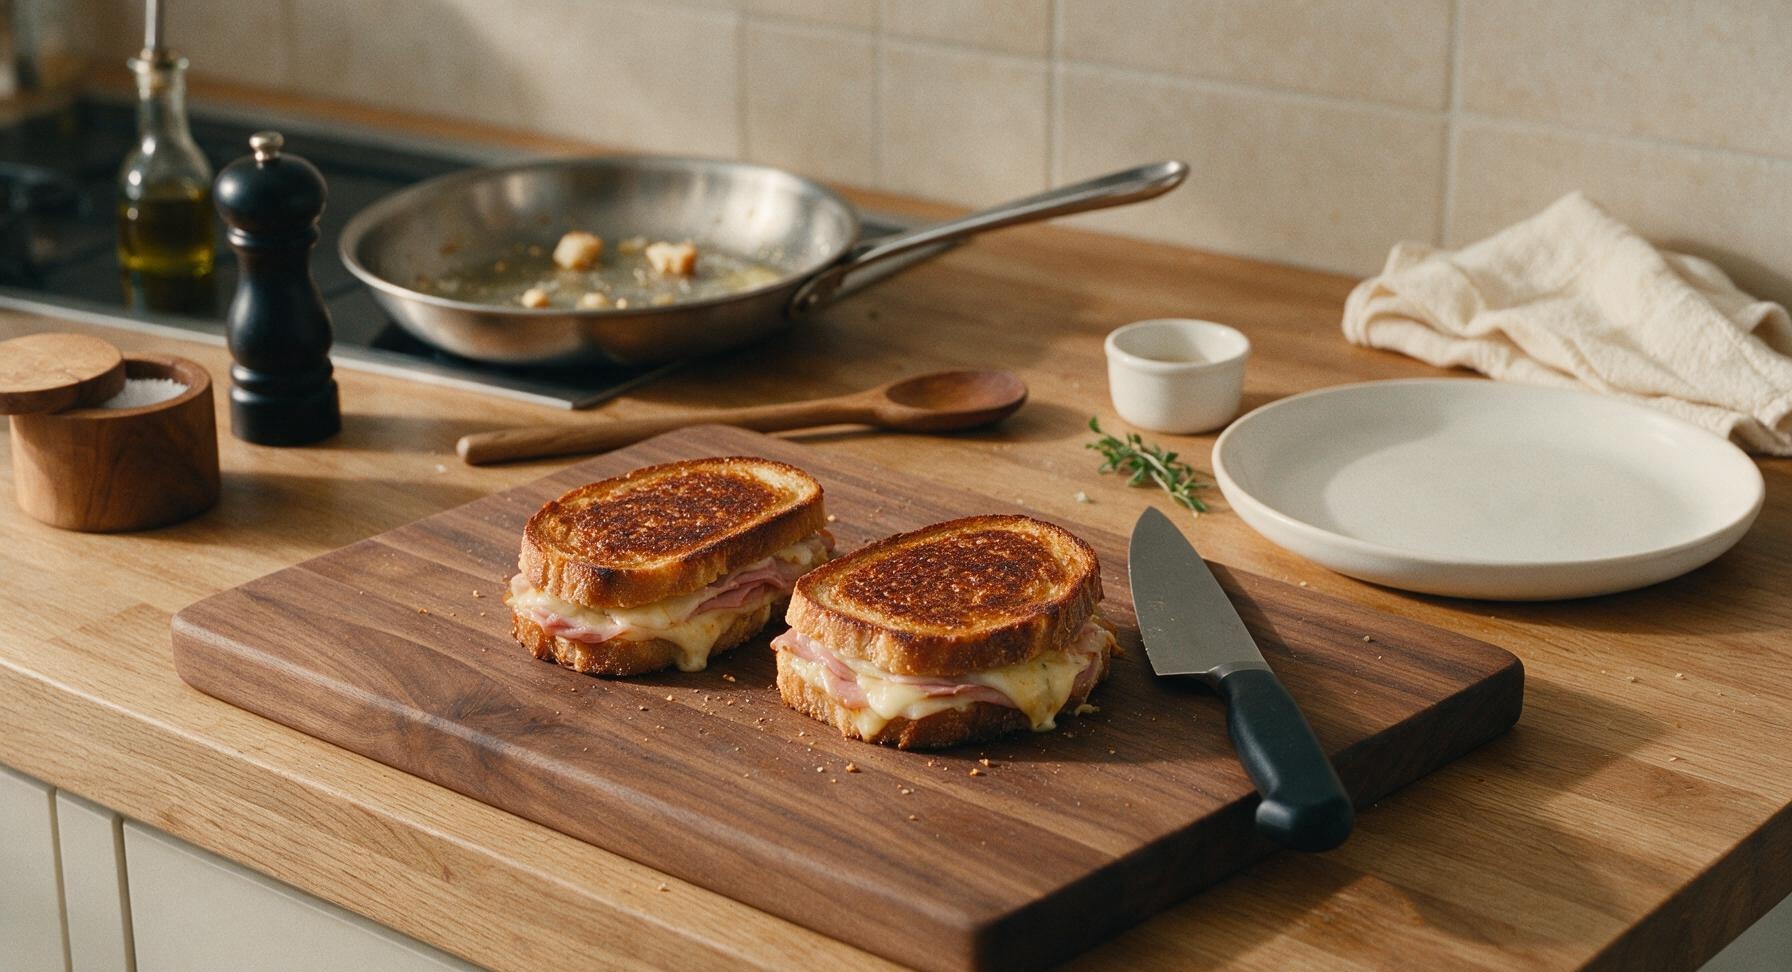
Use the offset spatula to transfer the cooked sandwiches from the skillet back to the acacia cutting board. Let rest for 1 full minute to allow melted cheese to set slightly, so it does not gush out when cut. Use the chef’s knife to cut each sandwich diagonally in half with one smooth, gentle sawing motion—do not press straight down, as this will squish fillings out the sides. Transfer the cut halves to the white ceramic luncheon plate for serving.
Tips
2.Never press down on the sandwiches with a spatula while they cook: this squeezes out melted cheese and butter, resulting in a dry, squished sandwich instead of a light, crispy exterior with gooey, intact filling.
3.Let the cooked sandwiches rest for a full minute before cutting: this allows the melted cheese to set slightly, so it does not gush out the sides when sliced, ensuring every bite has an even ratio of bread, ham, and cheese.






OMG this is SO good! I made these for my kids’ after-school soccer practice snack run yesterday and every single parent asked for the recipe! The little dijon spread is a total game changer, I’ll never make a plain ham and cheese again. It’s the perfect quick weeknight dinner too when we’re shuttling between practices and piano lessons.
Bro this slapped harder than the bodega ham and cheese I grab on my lunch break? And it only took 8 minutes total? Insane. I added a handful of pickled banana peppers like I do on my usual order and it went crazy. 10/10 will be making this every work from home lunch from now on.
Absolute meal prep lifesaver! I make a batch of these on Sunday, wrap them individually in parchment, and toss them in the fridge for quick lunches between classes and study sessions. They reheat perfectly in my dorm panini press in 2 minutes, way cheaper and tastier than the sad campus dining hall sandwiches.
This is such a nice, simple recipe! I made it for my bridge club luncheon and everyone raved. I added a thin slice of fresh garden tomato to mine for a little extra freshness, and it paired beautifully with a cup of creamy tomato soup. Only reason it’s not 5 stars is I wish it had a note about toasting the bread just right, but it’s still delicious!
Wait why did I sleep on slathering garlic butter on the outside of the bread??? That alone is a game changer. I used honey ham and smoked gouda because that’s what I had in the fridge, and my roommate literally offered to pay me to make him one every week. No cap, this is the best hot ham and cheese I’ve ever made at home.
Made these for our family day hike last weekend, wrapped them tight in foil and tossed them in the cooler, and they were perfect when we stopped for lunch at the summit. Hearty, not messy, even my picky 7 year old ate his whole sandwich without complaining! Will be a regular on our outdoor adventure menu for sure.
Brought a big platter of these sandwiches cut into mini slider sizes for our neighborhood block party potluck last weekend and they were gone in 10 minutes! I brushed a little poppy seed butter on top like I do for my baked ham and cheese sliders and people were coming back for thirds. So easy to scale for a crowd!
Just made this for a quick late lunch after a morning surf session and man, it hit the spot. Used black forest ham, pepper jack, and a little drizzle of hot honey on top, chef’s kiss. Didn’t even need to drive to the sandwich shop down the street, this was way better. Will be making this post-surf all summer long.
Paired these with a side of dill pickle chips and homemade mac salad for our family Sunday dinner and it was such a hit! Even my super picky teen who turns his nose up at everything said it was “actually not bad” which is the highest praise I can get from him these days. So quick, so easy, zero fancy ingredients, 10/10.