
best homemade tater tot
intro
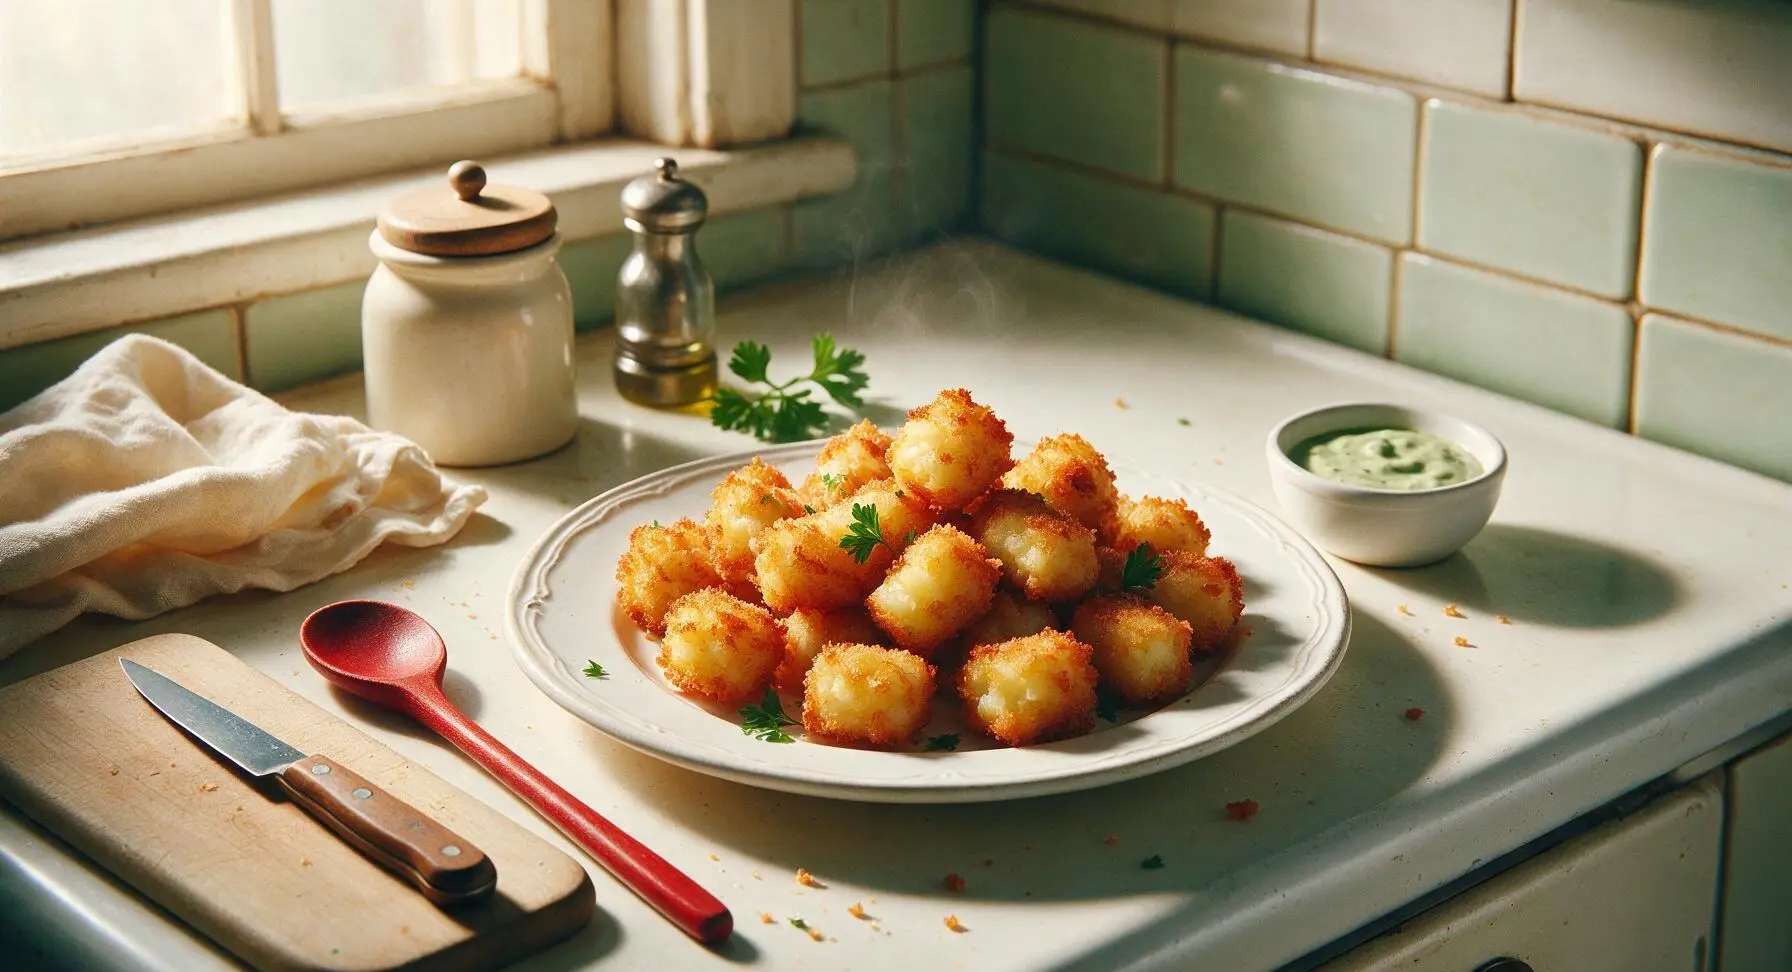
Shatteringly crisp on the outside, fluffy and tender on the inside, these homemade tater tots outperform every frozen variety—perfect for sharing, dipping, and casual meals.
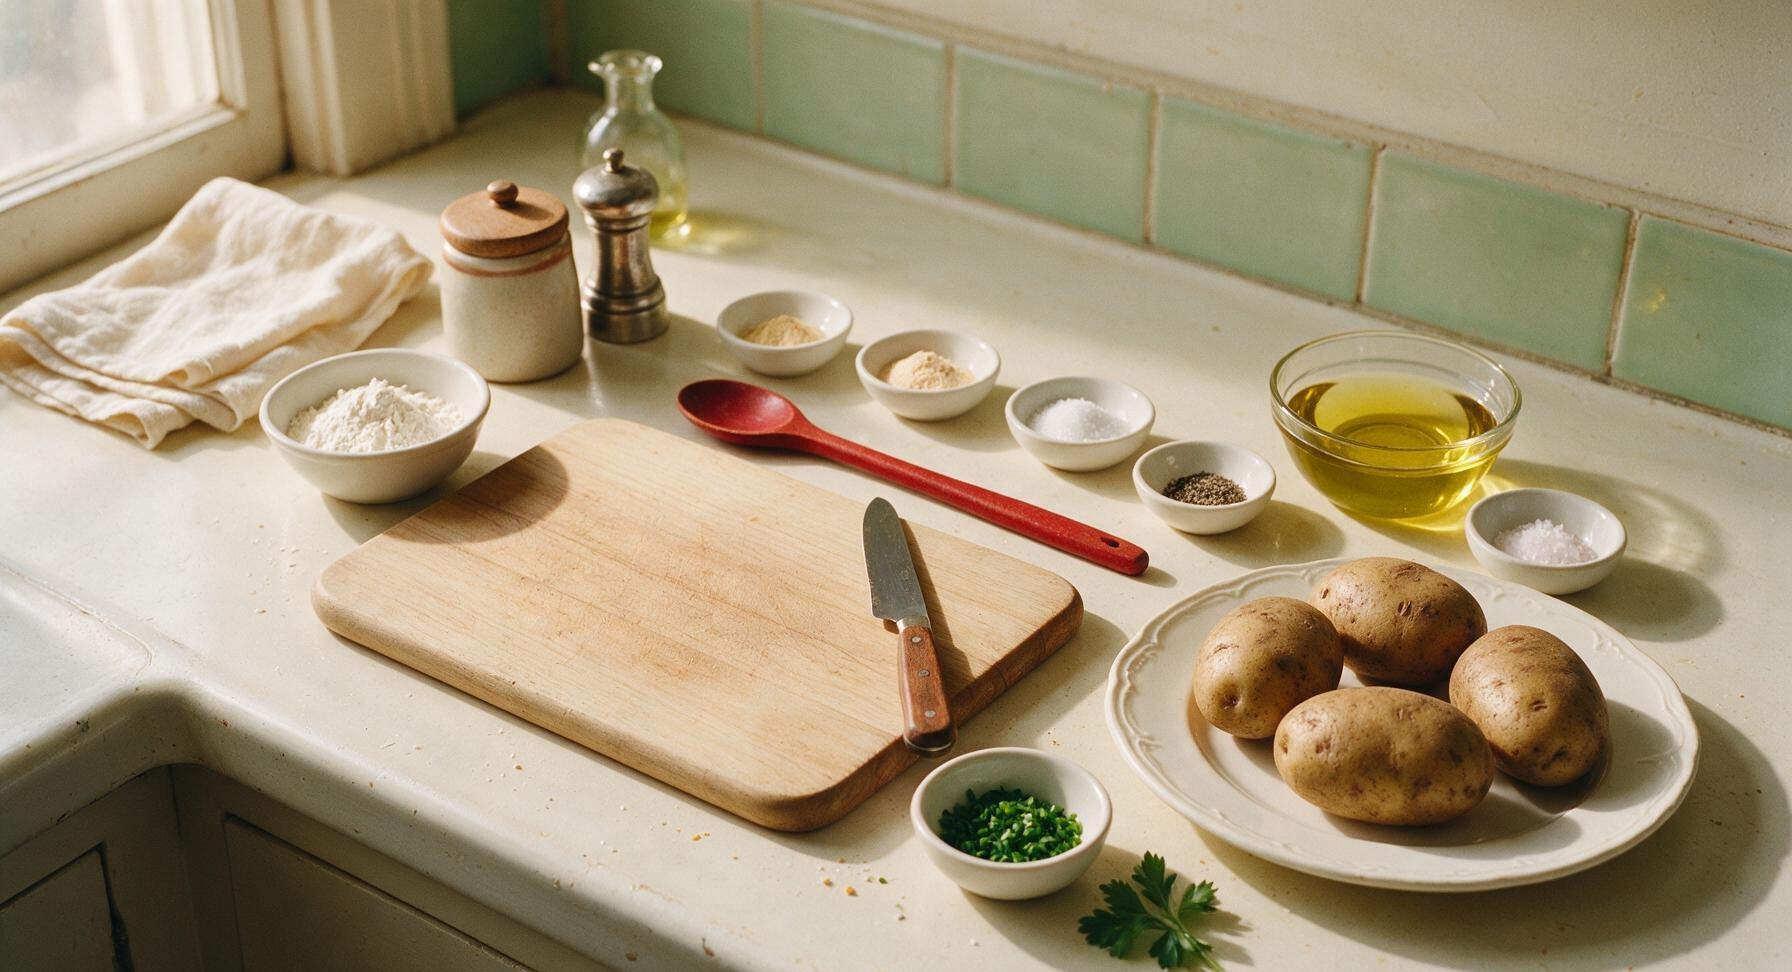
Ingredients
Steps
Parboil Potato Chunks
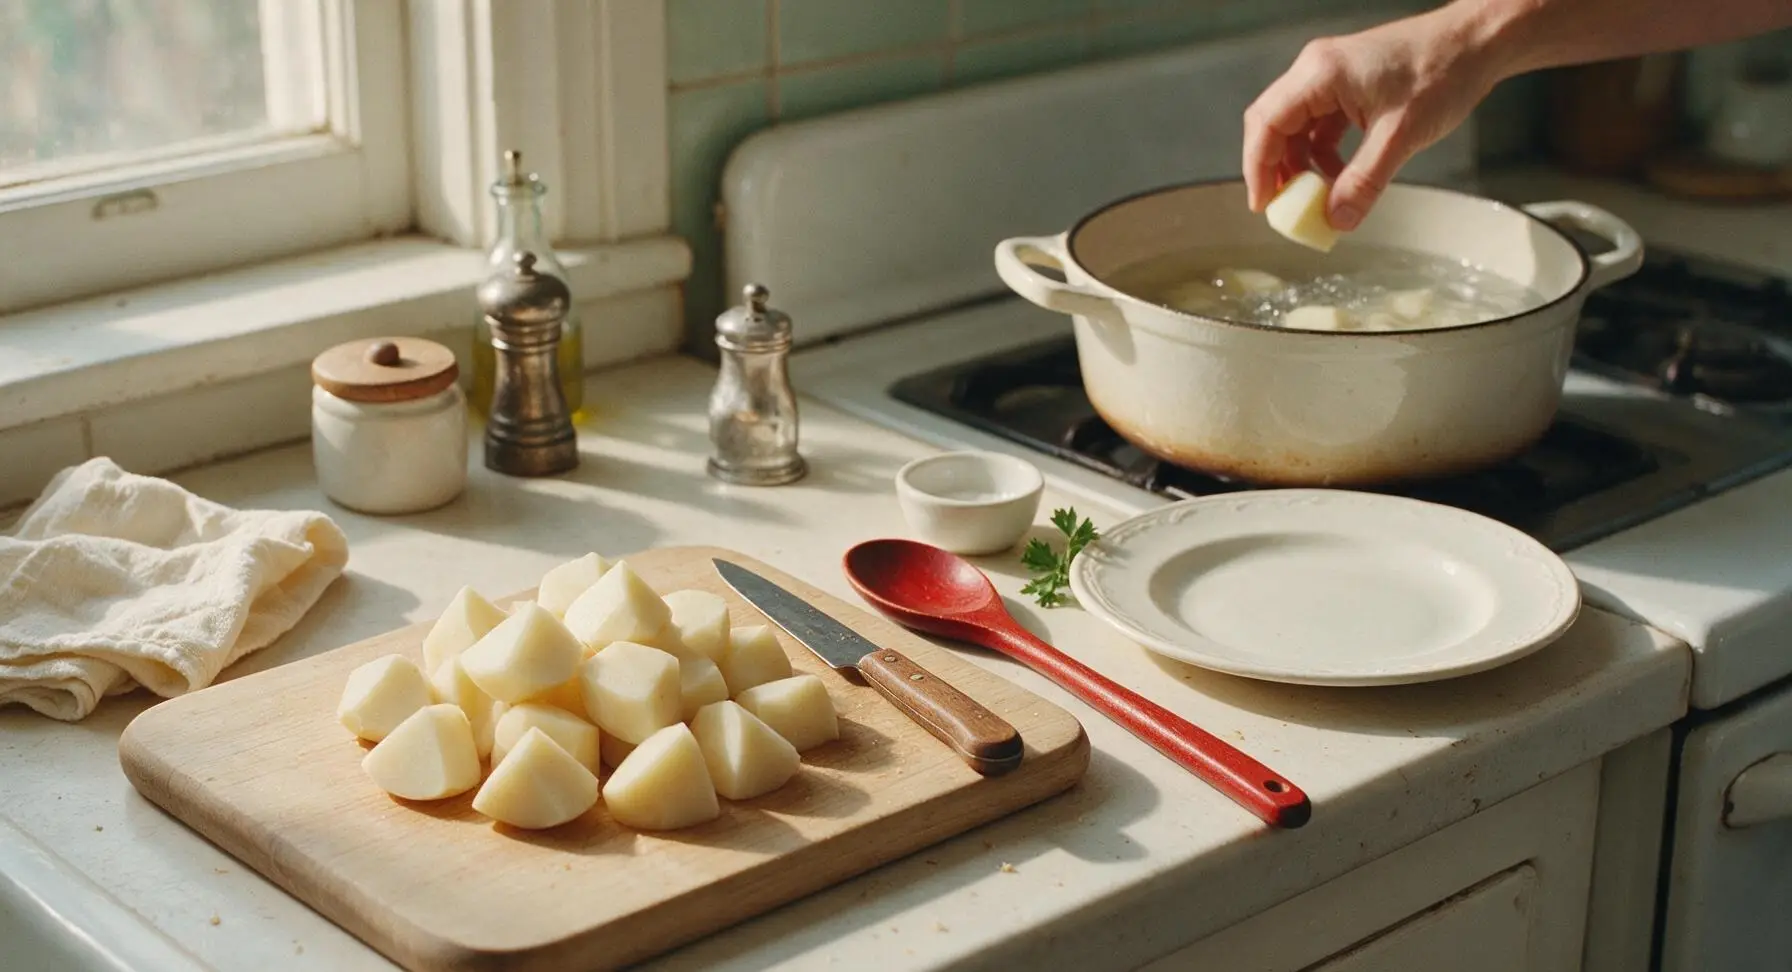
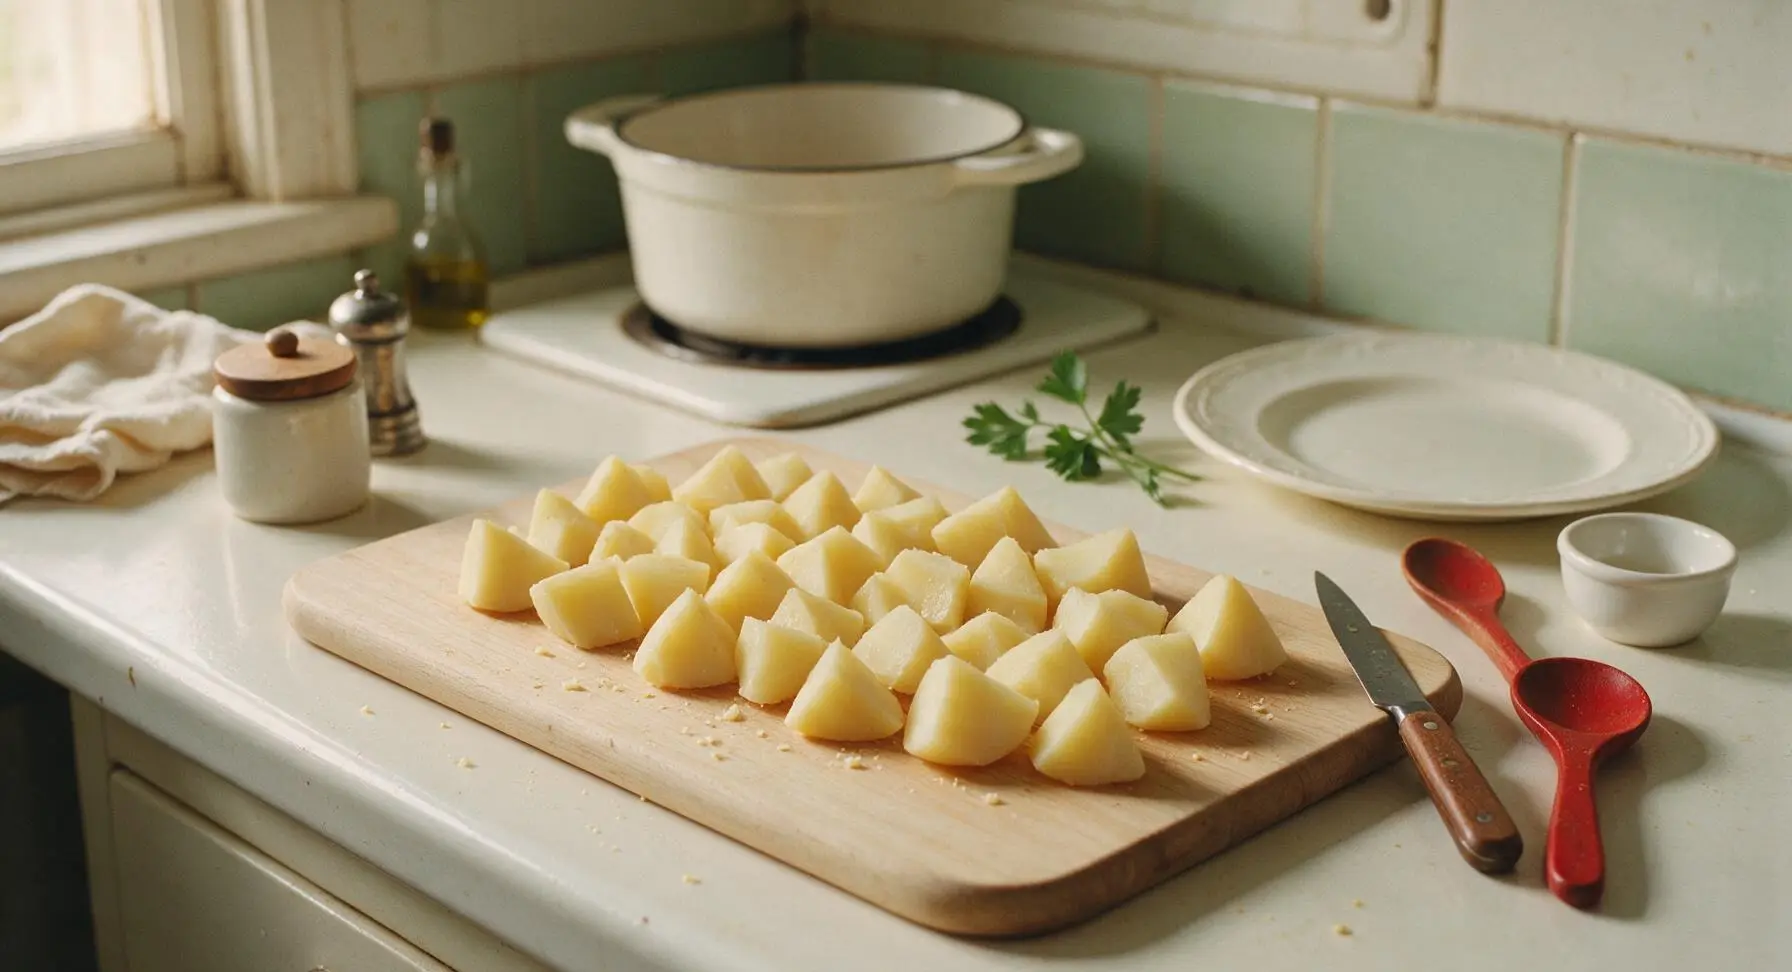
Scrub russet potatoes clean under cool running water, peel (leave 10% of the skin on for extra rustic texture if desired), and cut into uniform 2-inch chunks. Fill the enameled cast iron Dutch oven 2/3 full of cold water, stir in 1 teaspoon of fine sea salt, and bring to a rolling boil over high heat. Carefully add potato chunks, reduce heat to maintain a gentle boil, and cook for exactly 7 minutes. Potatoes are done when a fork pierces the outer layer easily but the center remains firm enough that chunks do not break apart when lifted. Drain immediately, then spread chunks in a single layer across the light grey cutting board to cool for 10 minutes, until safe to handle.
Grate Cooled Potatoes
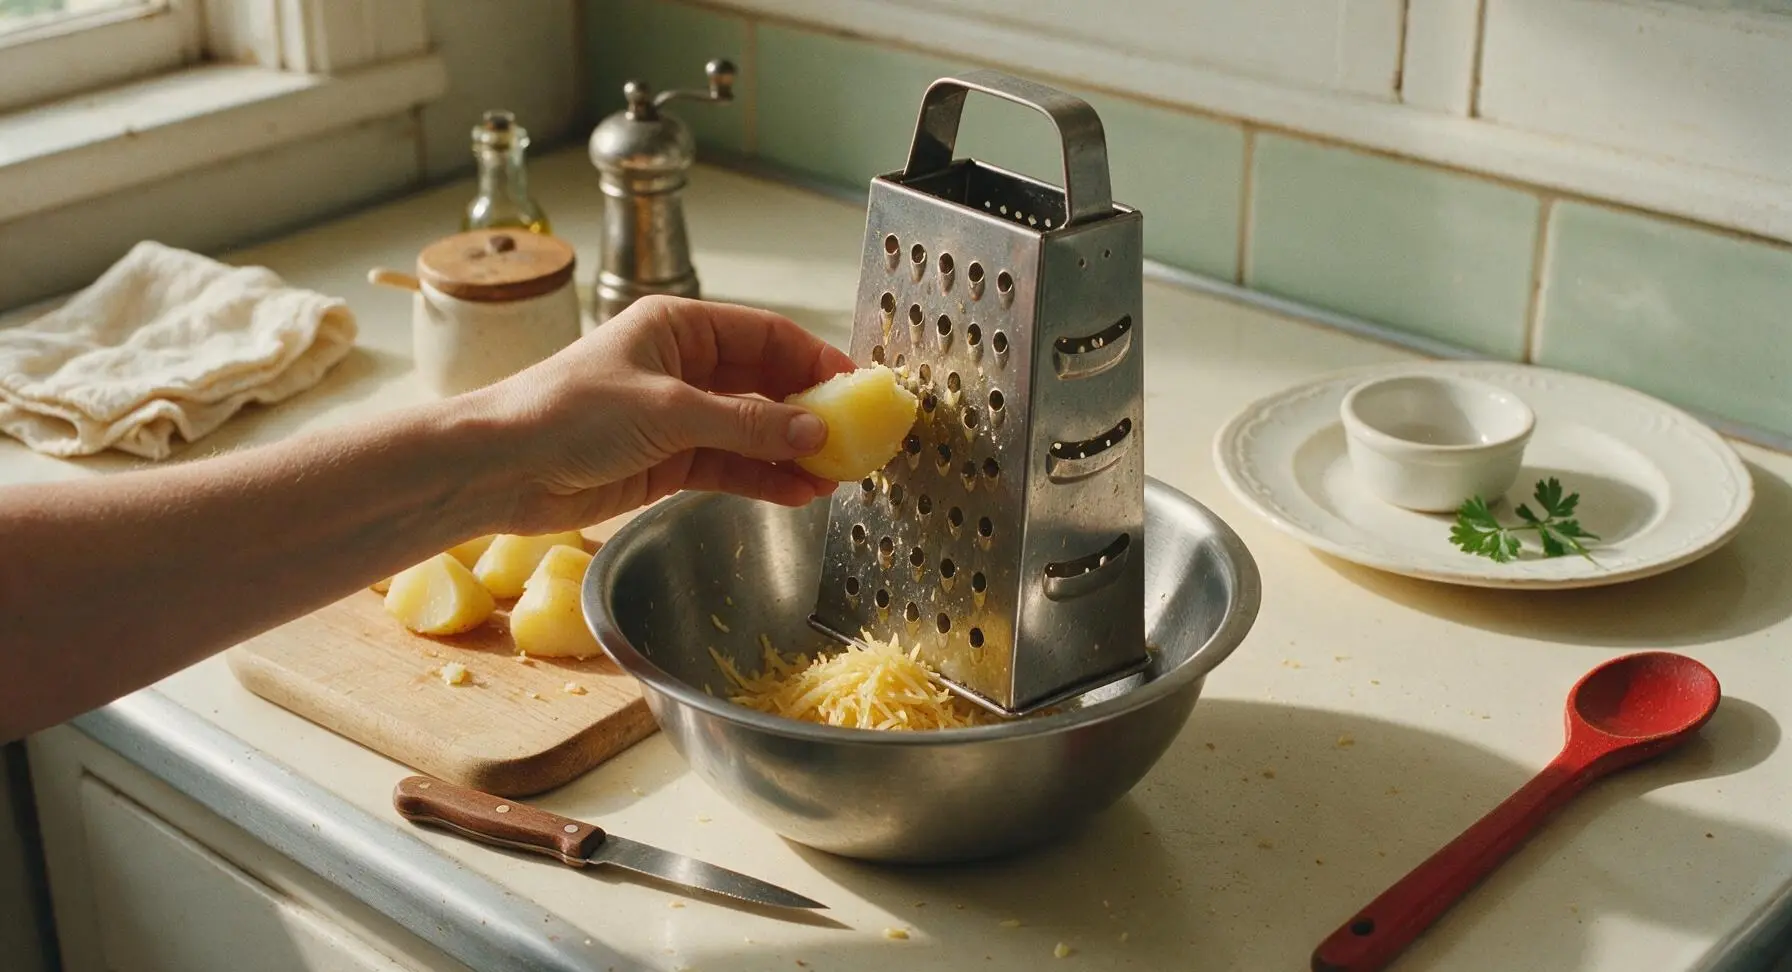
Once parboiled potato chunks are cool enough to touch, hold each chunk against the large holes of the 4-sided stainless steel box grater positioned over the brushed stainless steel mixing bowl. Grate all potatoes into coarse, short shreds, applying light pressure to avoid mashing potatoes into a sticky paste. Discard any overly soft, mushy bits that collect on the grater surface. Finished shreds should be light, fluffy, and separate, not clumped together.
Squeeze Out Moisture
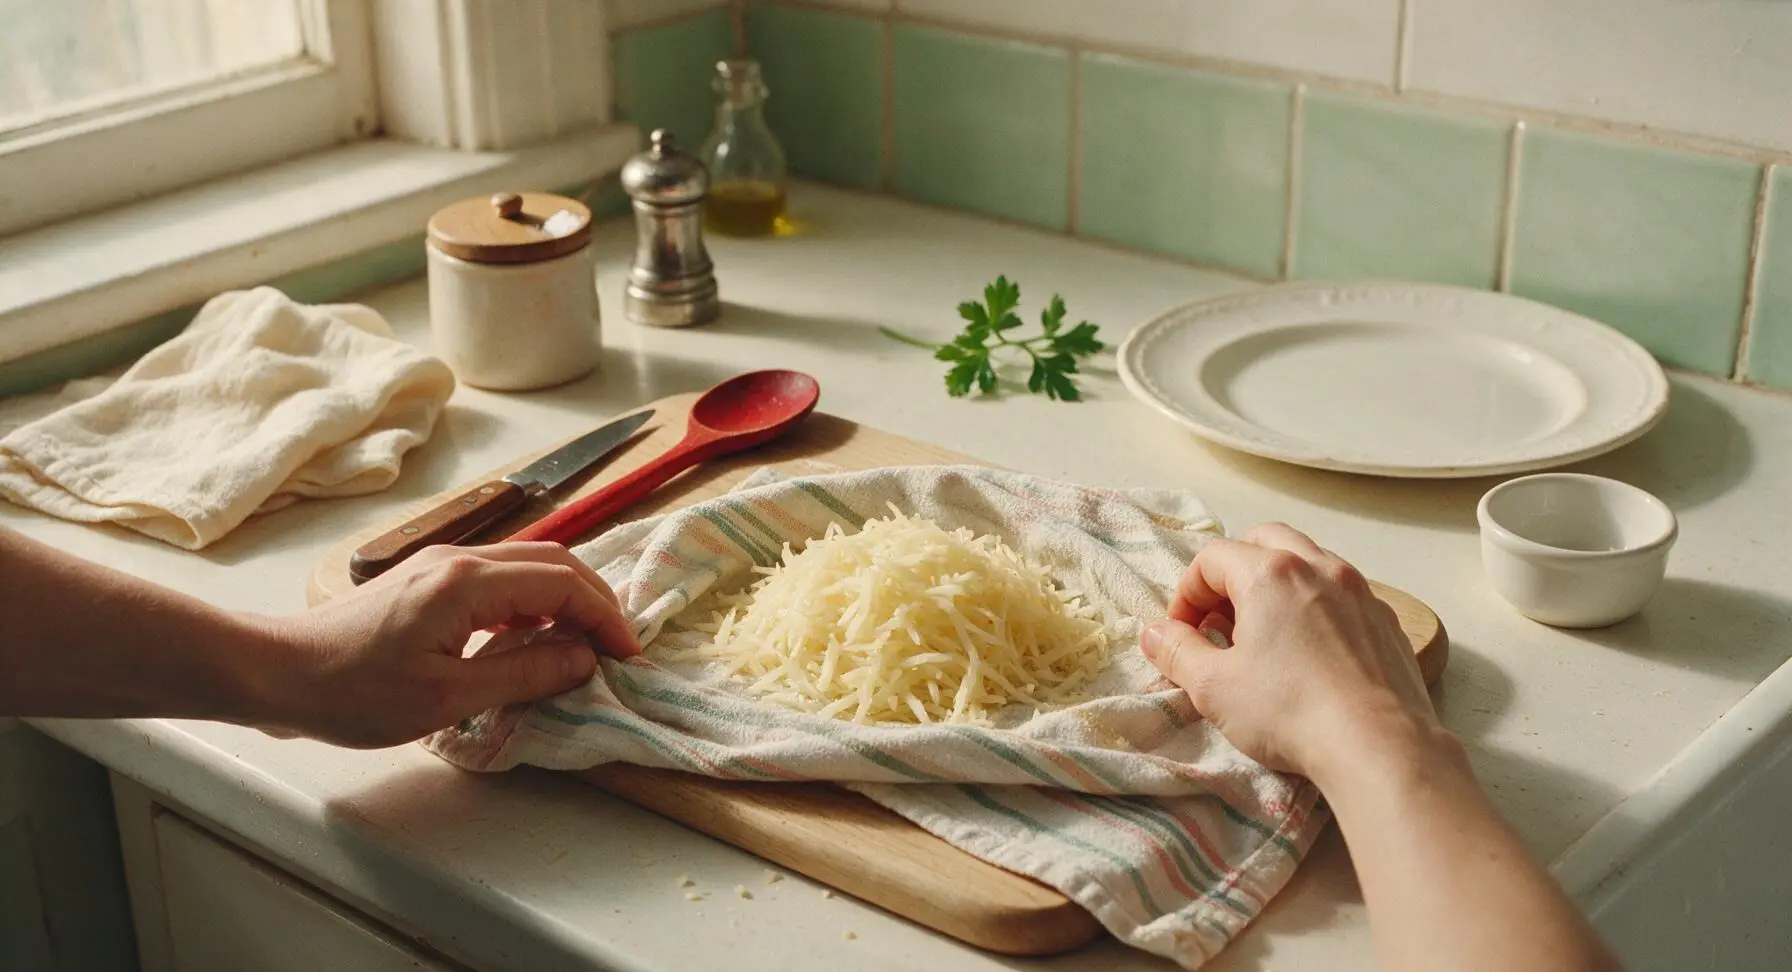
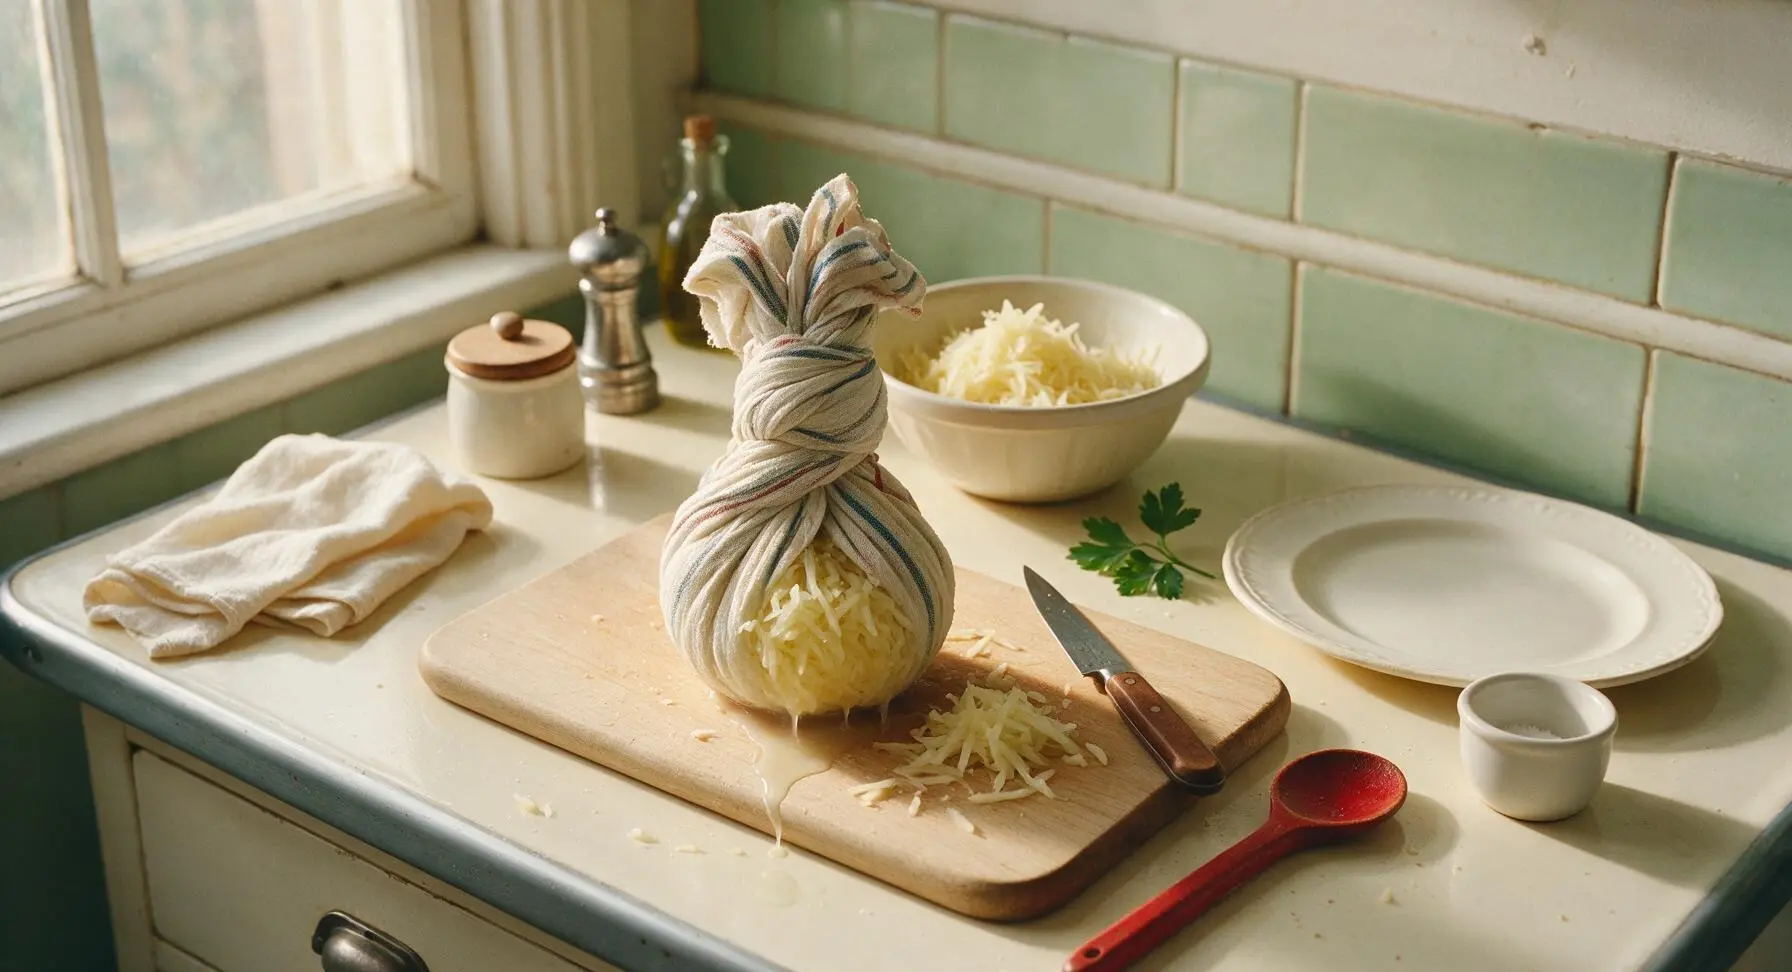
Gather all grated potato shreds into the center of the striped cotton kitchen towel spread over the cutting board. Wrap the towel tightly around the shreds, forming a firm bundle, and squeeze firmly over the sink to remove as much starchy liquid as possible. Continue squeezing for 2-3 minutes, until no more liquid drips from the bundle when pressed—you will remove roughly 1/2 cup of starchy water. This step is non-negotiable for crisp, non-soggy tots. Return fully dried shreds to the mixing bowl.
Mix Tater Tot Base
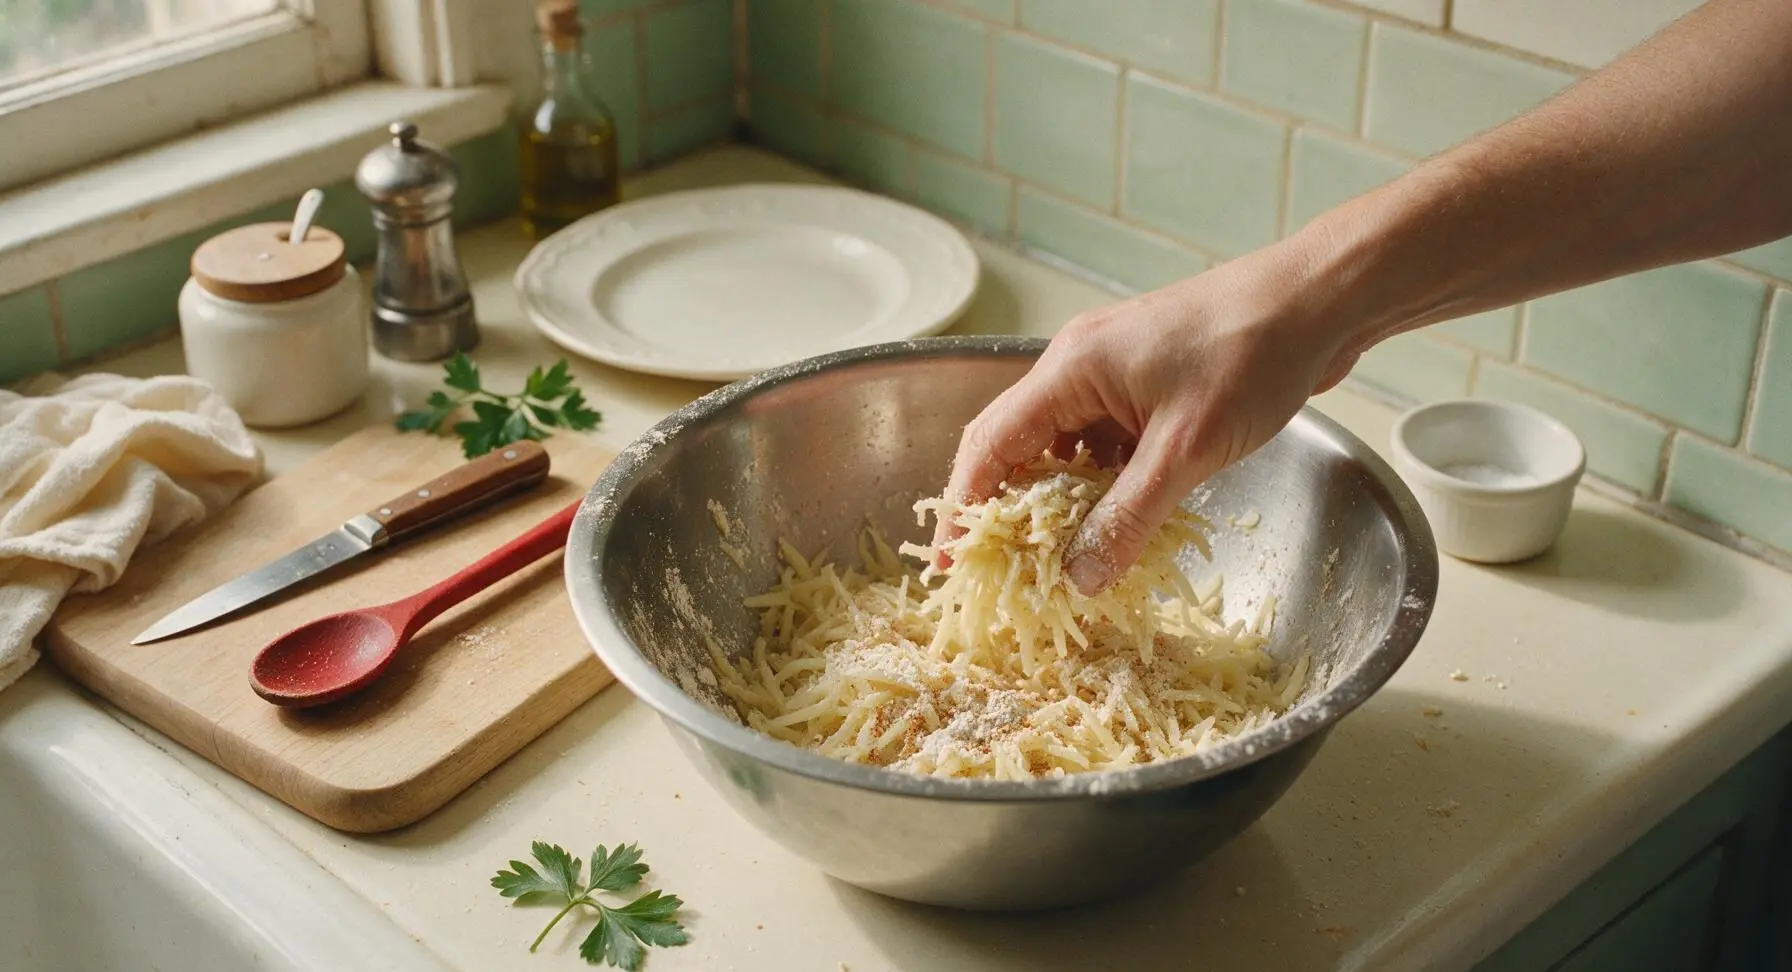
Add the all-purpose flour, remaining 1/2 teaspoon fine sea salt, garlic powder, onion powder, and black pepper to the dried potato shreds in the mixing bowl. Toss gently with your fingertips until all shreds are evenly coated in the thin layer of flour and spices—do not overmix, as this will create dense, heavy tots. The mixture is ready when a small handful holds its shape when squeezed, without crumbling apart.
Shape Tater Tots
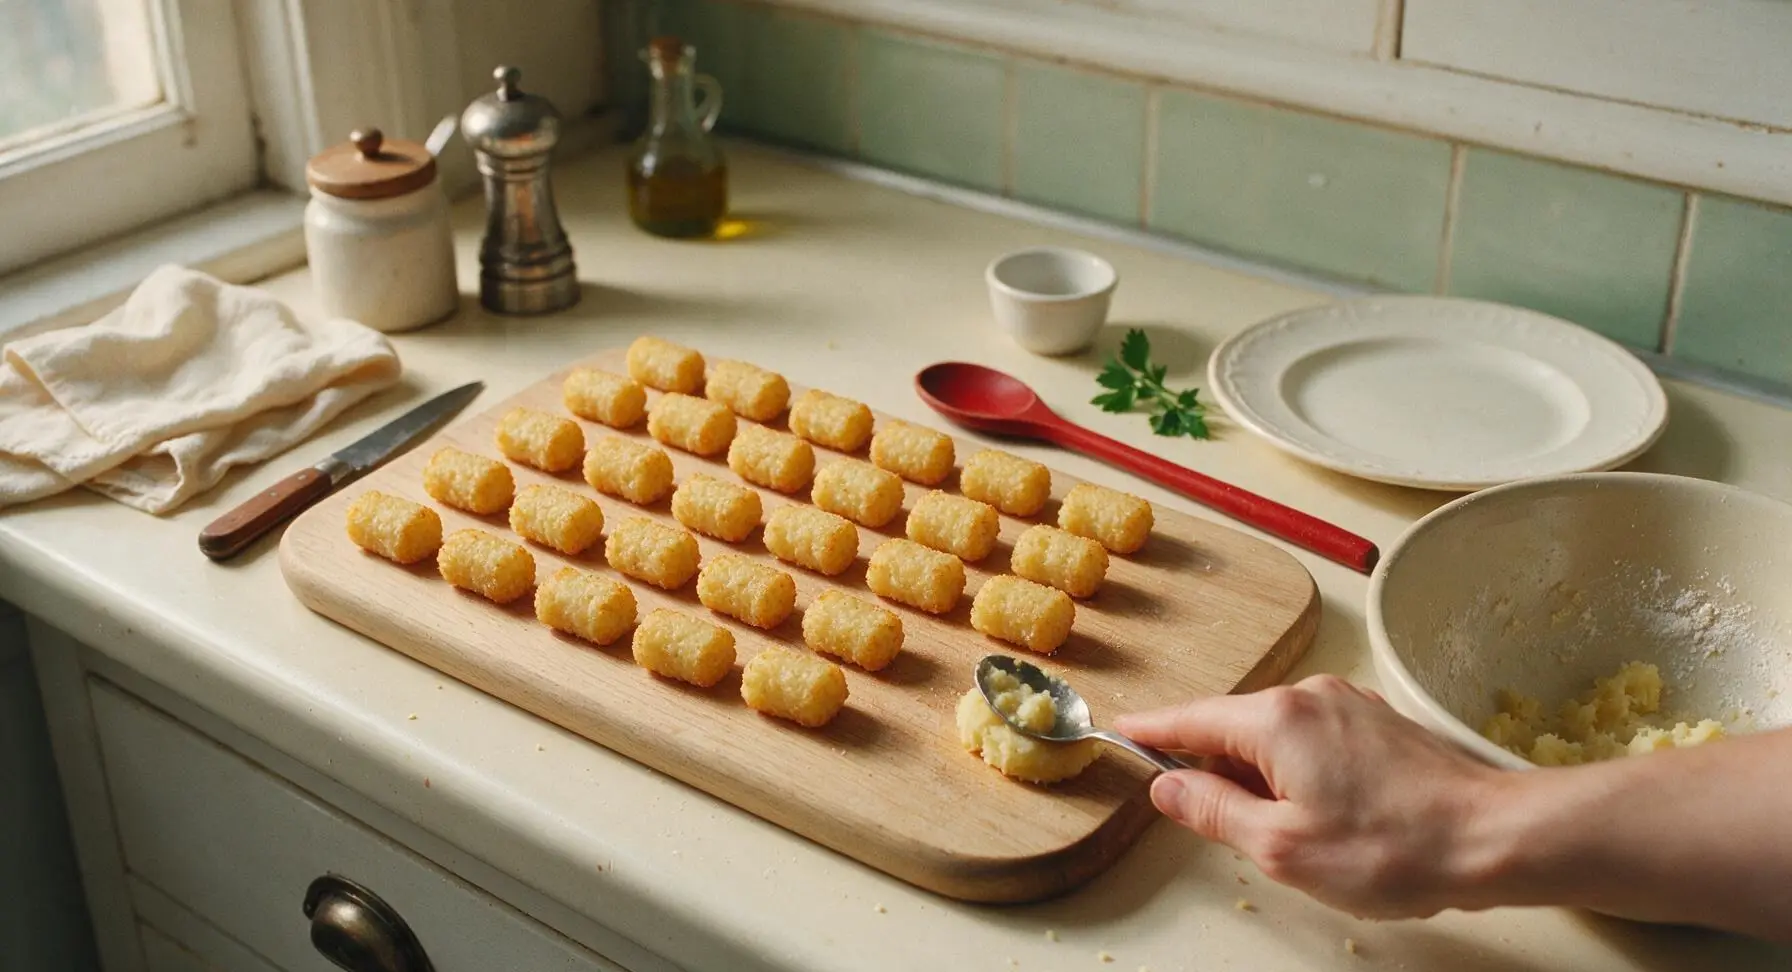
Scoop 1-tablespoon portions of the potato mixture, pressing firmly between your palms to form small, cylindrical tots roughly 1.5 inches long and 3/4 inch wide. Set each shaped tot on the empty section of the cutting board as you work, leaving a small gap between pieces to prevent sticking. You will yield approximately 32 evenly sized tots. Press firmly enough so tots hold their shape during frying, but avoid compacting the mixture so tightly that the interior becomes dense.
Heat Frying Oil
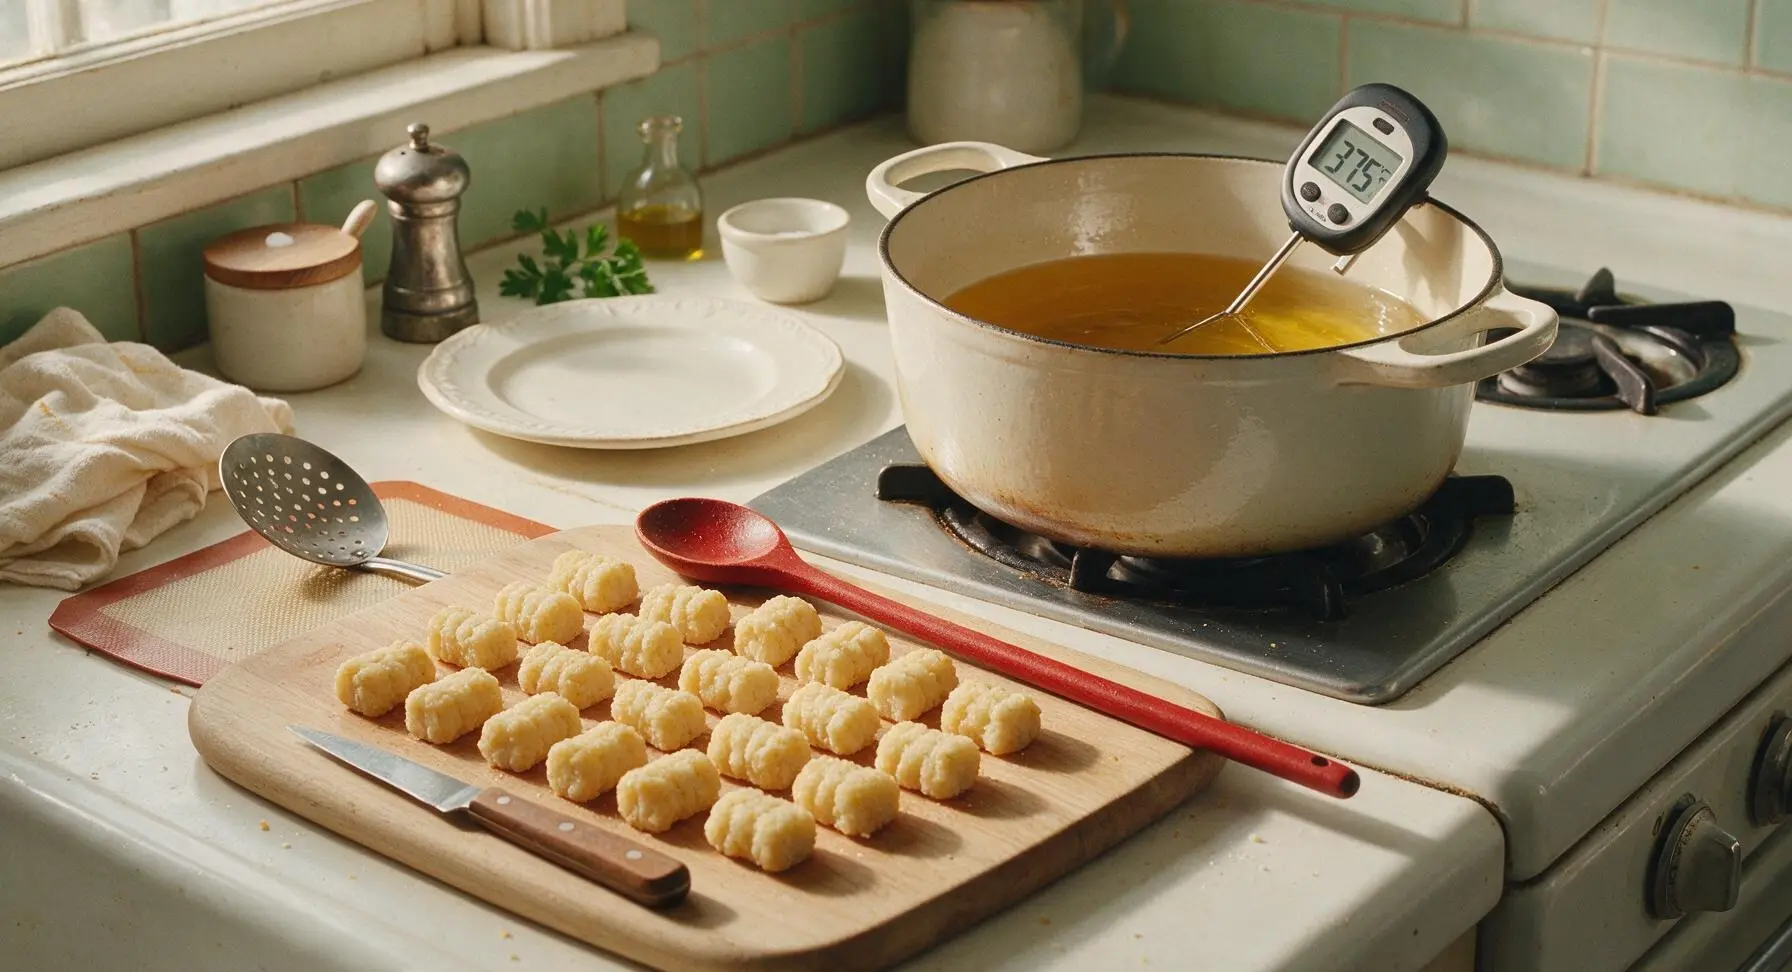
Pour 4 cups of neutral vegetable oil into the enameled Dutch oven, set over medium-high heat. Clip the digital instant-read thermometer to the side of the pot, submerging the probe 1 inch into the oil, and heat until the oil reaches a steady 375°F (190°C). Adjust the burner as needed to hold this temperature throughout frying; oil that is too cool will make greasy tots, while oil that is too hot will burn the exterior before the interior warms through.
Fry Tots in Batches
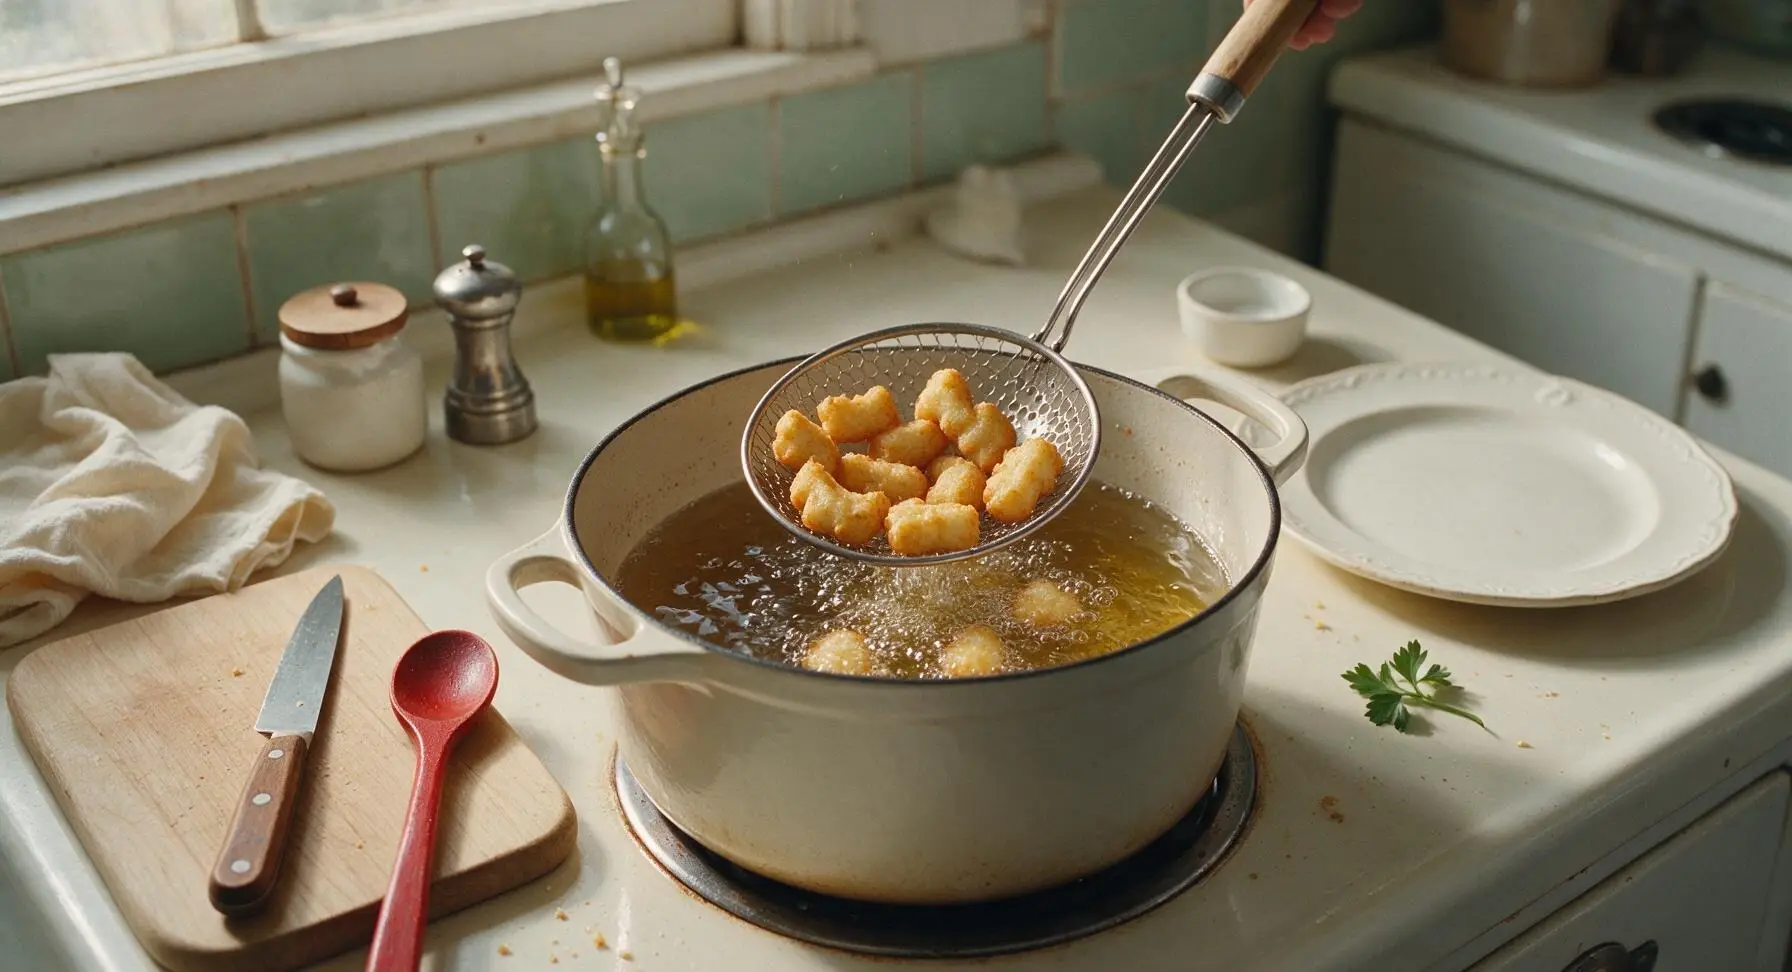
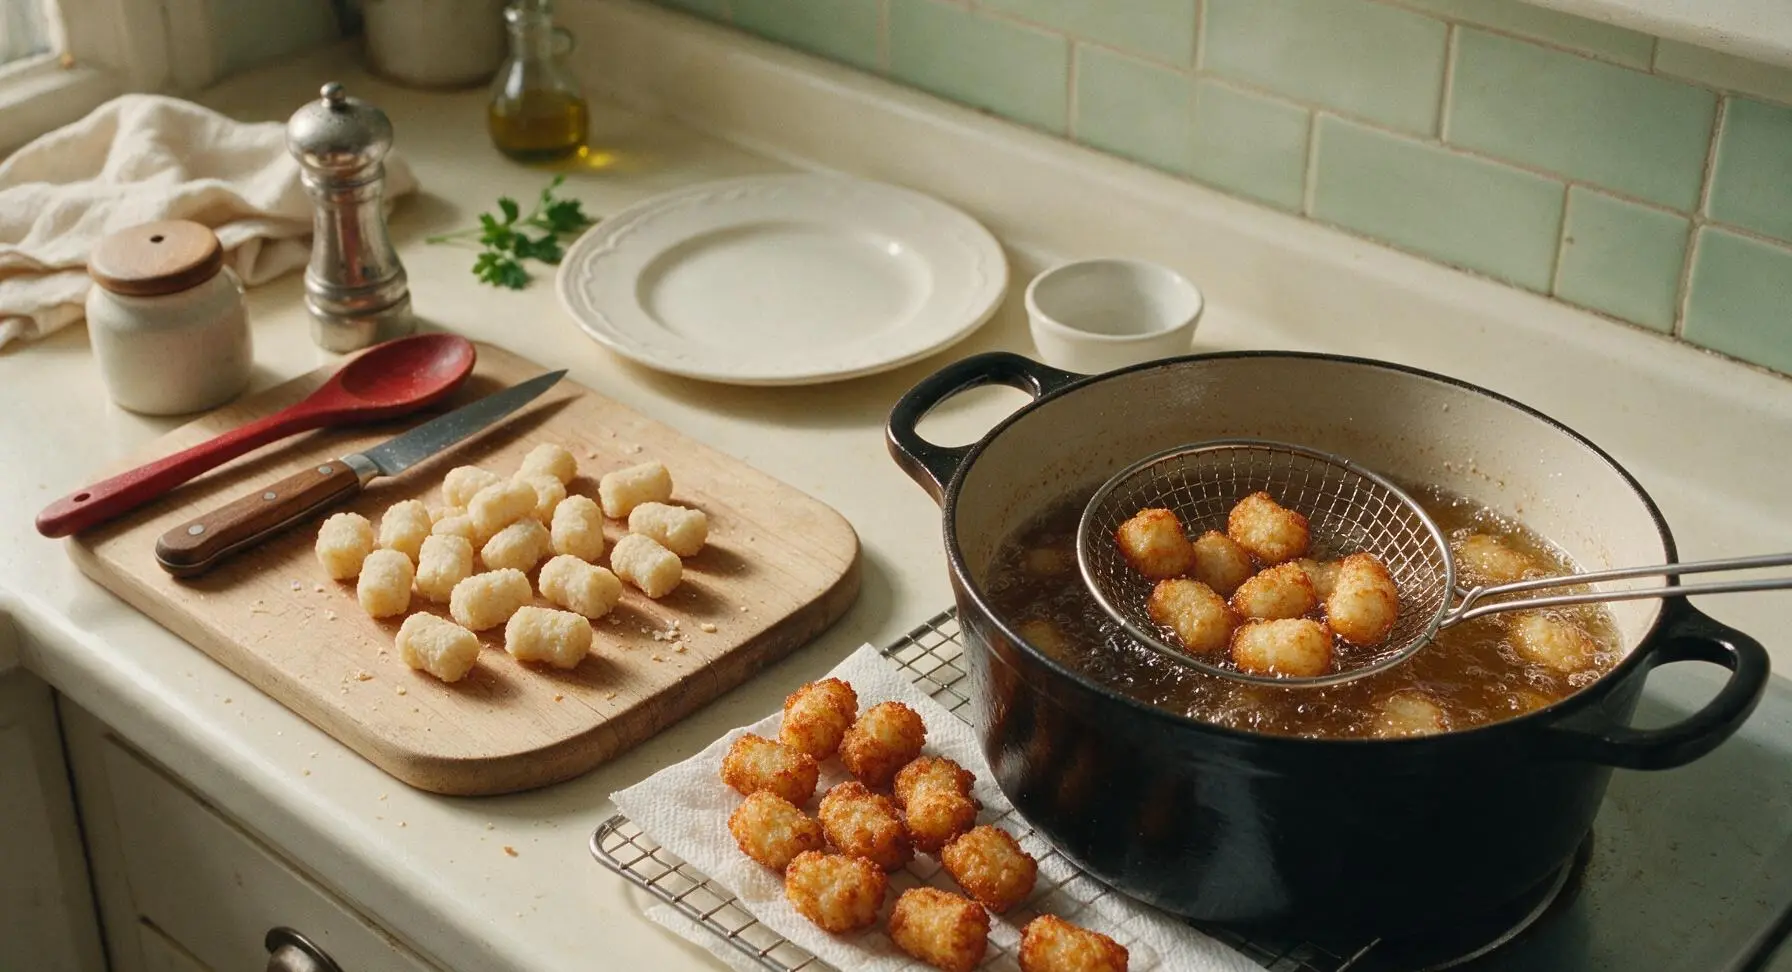
Use the slotted spider skimmer to carefully lower 8-10 tots at a time into the hot oil—do not overcrowd the pot, as this drops oil temperature dramatically and leads to greasy tots. Fry each batch for 3-4 minutes, turning once halfway through cooking, until tots are deep golden brown with a craggy, crunchy exterior. Lift finished tots from the oil with the skimmer, letting excess oil drain for 2 seconds over the pot, then transfer to the paper-towel lined wire cooling rack.
Season and Serve
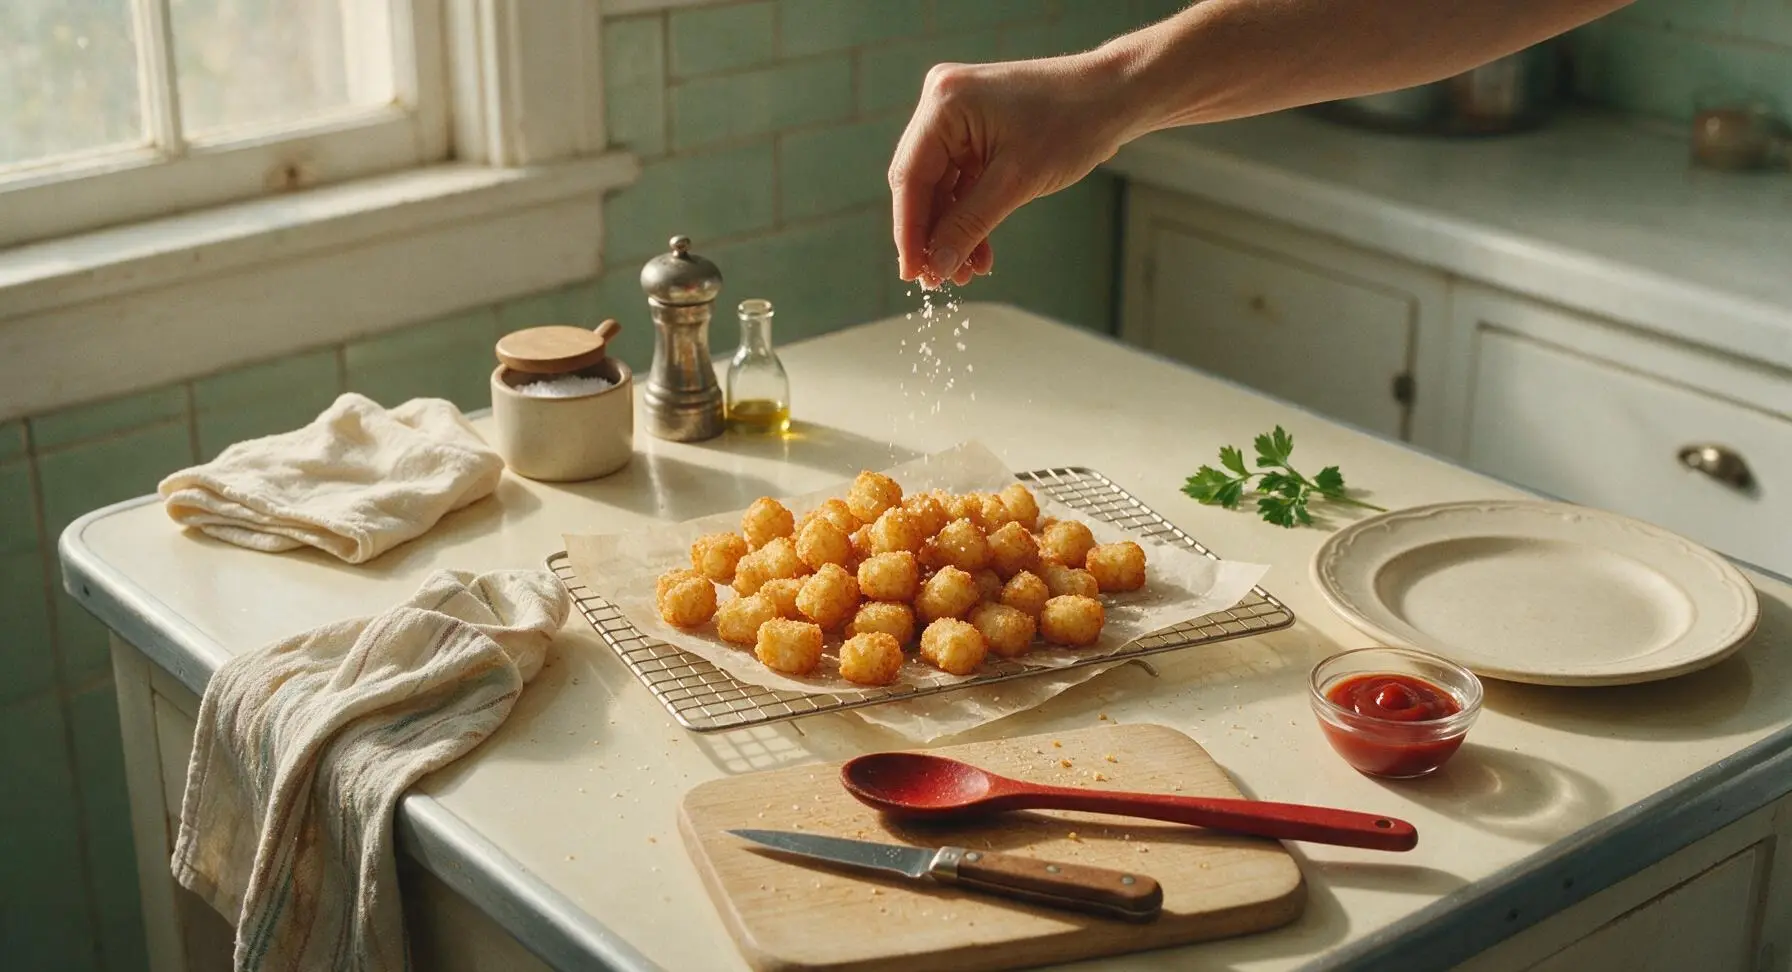
Immediately after removing each hot batch of tots from the oil, sprinkle lightly with flaky sea salt—salt sticks best to the hot, slightly oily surface. Let tots rest for 2 minutes on the rack to let excess oil drain, then pile loosely onto the off-white stoneware plate. Garnish with finely chopped chives if using, and serve alongside the small clear glass bowl of ketchup for dipping.
Tips
2.Hold frying oil steady at 375°F (190°C): Oil that is too cool makes tots absorb excess grease and taste heavy, while oil above 400°F burns the outer crust before the fluffy interior cooks through. Check the thermometer between every batch and adjust heat as needed.
3.Freeze extra uncooked tots for quick meals: After shaping, arrange tots in a single layer on a tray and freeze until solid, then transfer to a sealed bag for up to 3 months. Fry directly from frozen (add 1 minute to cook time, no need to thaw) for fresh homemade tots on demand.






OMG these are SO good! I made them for our family taco night last night and even my super picky 7 year old asked for seconds. I was worried they’d turn out soggy like the last homemade tot recipe I tried but they stayed crispy the whole meal, total game changer. Cook time was exactly 25 minutes like the recipe said too, perfect for weeknights!
Made these for my office potluck last Friday and they were gone in 10 minutes flat! People kept asking where I bought them from, couldn’t believe they were homemade. Only note: I added a little extra garlic salt and a sprinkle of parmesan to the potato mix and it slapped. Will definitely be making these again for game day.
I make a big batch of these every Sunday for meal prep and they reheat perfectly in the air fryer! Way less greasy than the frozen store bought ones, and I love that I can control how much salt goes in. Medium difficulty is fair, it takes a minute to get the hang of squeezing all the water out of the potatoes but it’s so worth it.
Taste was amazing, don’t get me wrong, but my first batch came out a little soggier than I wanted. I think I rushed the potato squeezing step because I was running late for my friend’s cookout. Definitely gonna give these another shot this weekend when I have more time, the flavor was too good to write off.
So excited to find a tater tot recipe that’s naturally gluten free without any weird fillers! I was nervous about the difficulty level being medium but the steps were super straightforward. Made these for my sister’s birthday cookout and even the gluten eaters were raving.
Took these camping last weekend and cooked them in my cast iron dutch oven over the fire. Crispy, salty, perfect side for burgers and hot dogs. My son said they’re better than the fast food tots we get on road trips, which is the highest possible praise if you ask me.
Added a tsp of cayenne and a handful of chopped chives to the mix and WOW, that little kick makes these taste just like the loaded tots from my favorite sports bar. The crisp level is unreal, I’ll never buy frozen tots again.
First time making anything from scratch that wasn’t pasta and I was so nervous about messing these up! The instructions were really easy to follow, even for a medium difficulty recipe, and they came out crispy on the first try. My roommate ate half the batch before I even got to put the ketchup on the table lmao
Tried swapping half the potatoes for shredded zucchini (squeezed *super* dry, obviously) to sneak in an extra veggie for my kids, and it worked like a charm! They didn’t even notice, kept saying these were the best tots they’d ever had. 10/10 will be making this on repeat.