
best squash casserole

title 1
best squash casserole
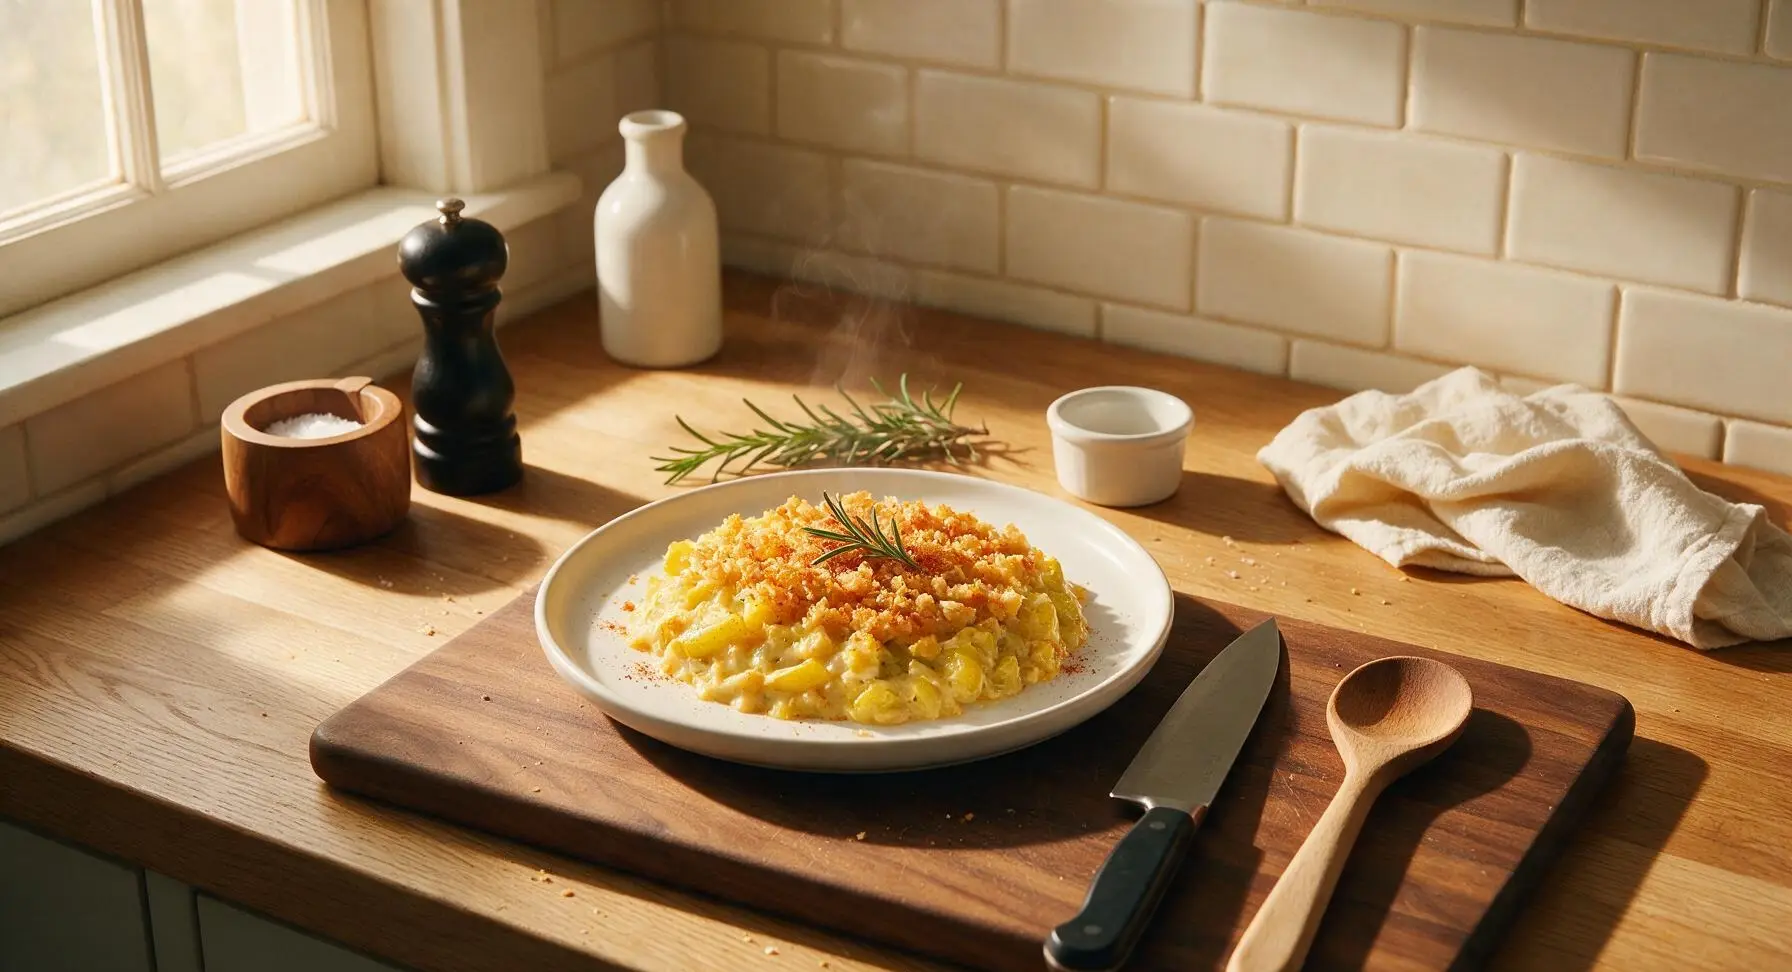
⏱️ cook time 45 minutes
🍽️ servings 8
⚡ Difficulty easy

intro

Creamy tender yellow squash baked with sharp cheddar, sweet onion, and a buttery crisp cracker topping—this iconic Southern comfort side is perfect for holiday tables.

Ingredients
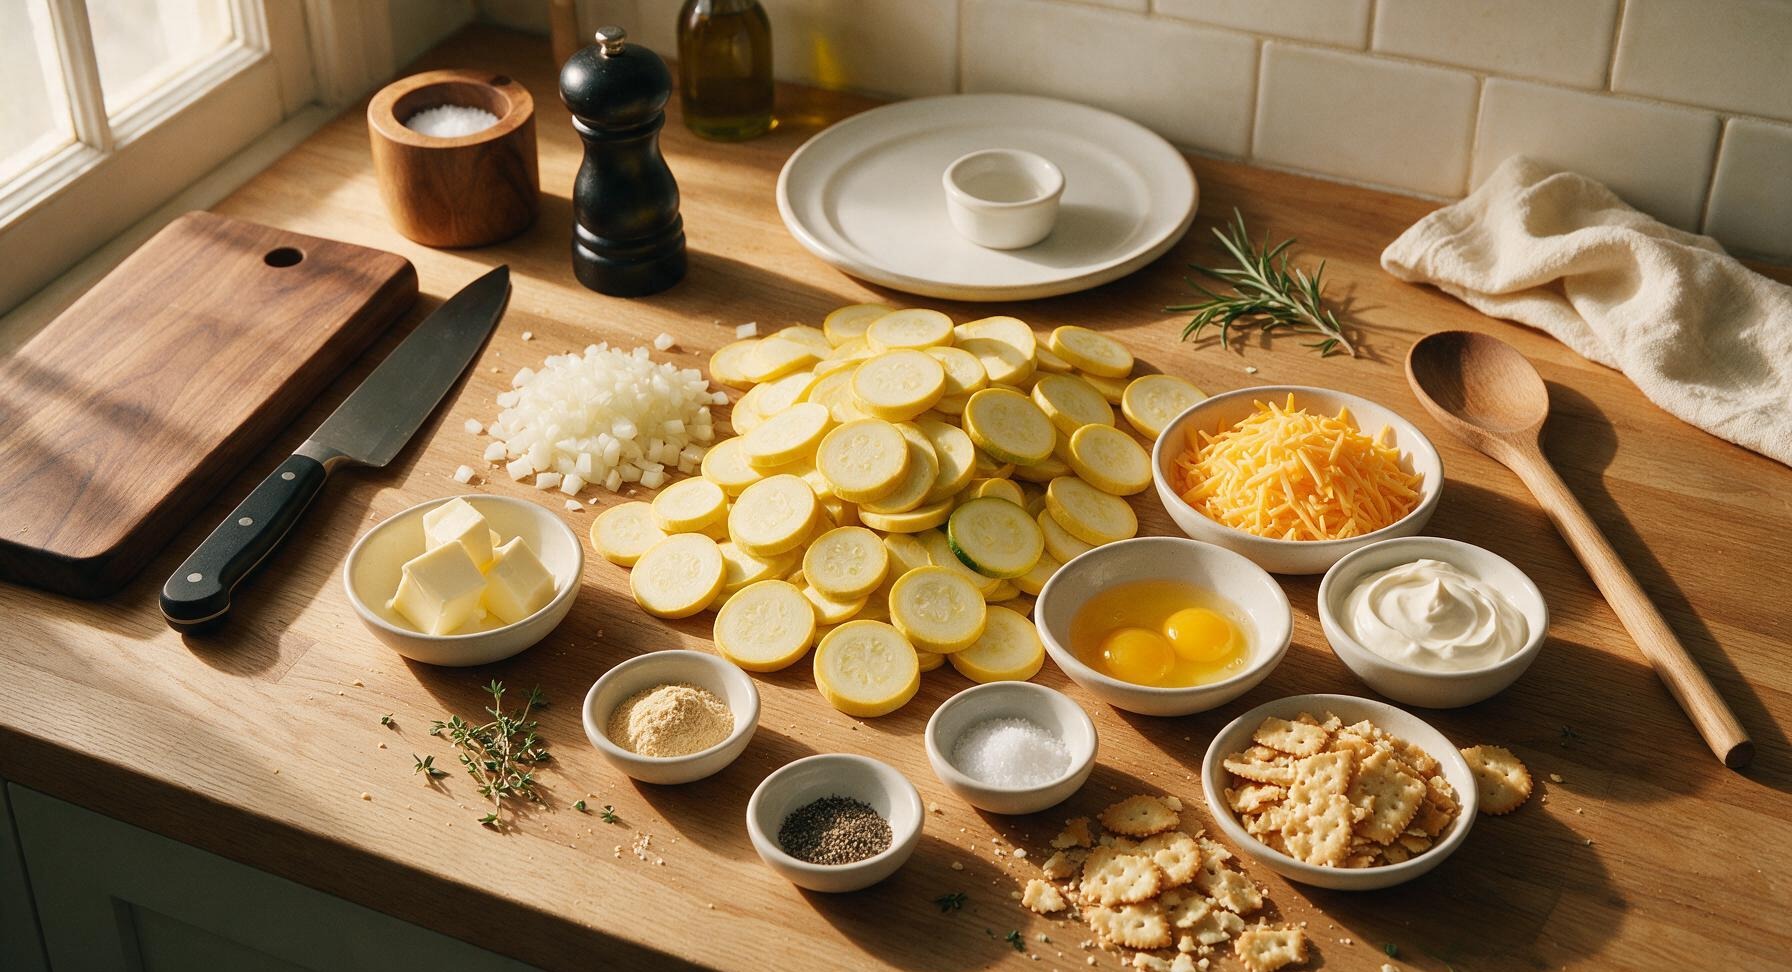
Yellow summer squash 900g (about 6 medium)
Yellow onion 1 medium (150g, diced)
Unsalted butter 4 tbsp (56g, divided)
Sharp cheddar cheese 220g (2 cups, freshly grated, divided)
Full-fat sour cream 120g (1/2 cup)
Full-fat mayonnaise 60g (1/4 cup)
Large eggs 2, lightly beaten
Garlic powder 1 tsp
Kosher salt 1 tsp
Freshly ground black pepper 1/2 tsp
Buttery round crackers (Ritz-style) 1 sleeve (120g, crushed)
Fresh thyme 2 tsp chopped, plus extra sprigs for garnish

Steps

1

Prep Squash and Onion

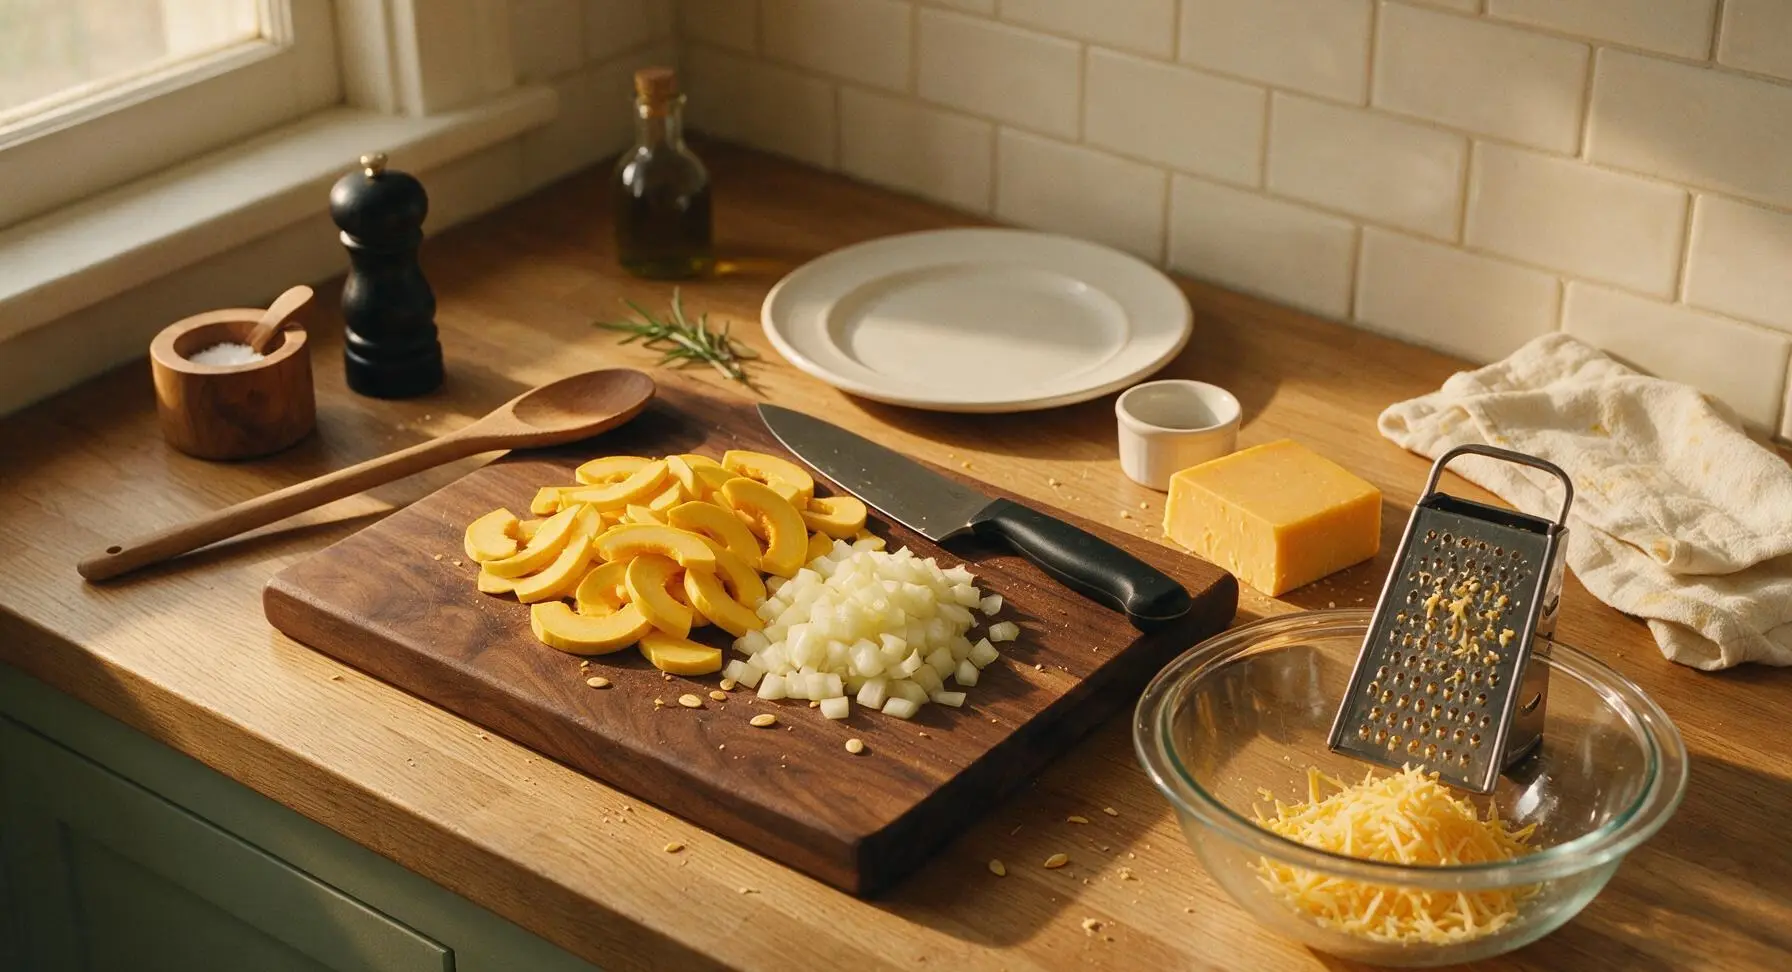
Place the light maple cutting board center-left on the counter. Using the 8-inch stainless steel chef knife, trim the stem and blossom ends from 6 medium yellow summer squash, then slice into uniform 1/4-inch thick rounds. Dice 1 medium yellow onion into 1/4-inch pieces, collecting all cut vegetables in a neat pile on the edge of the cutting board. Avoid slicing squash thinner than 1/4 inch, as overly thin slices will turn mushy during cooking. Use the box grater to shred the block of sharp cheddar into the clear glass mixing bowl, setting aside 1/2 cup of shredded cheese for later topping use.
Step 1
step1:Prep Squash and Onion
2

Simmer Squash Until Tender

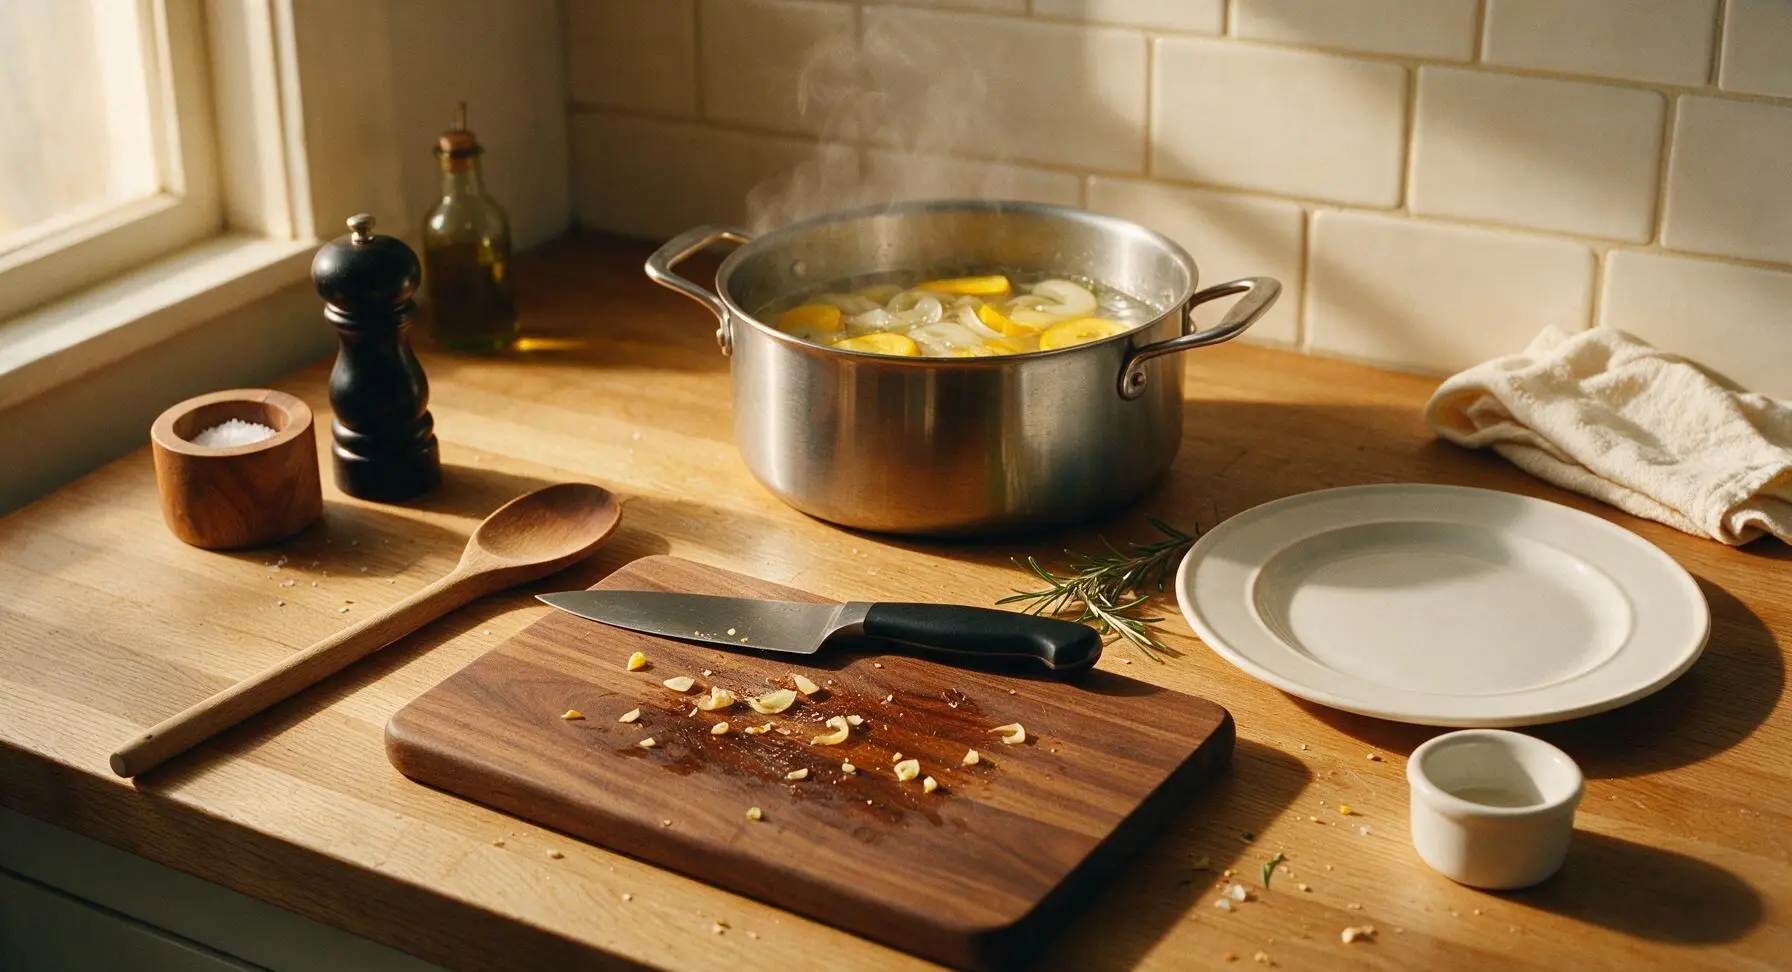
Transfer the sliced squash and onion from the cutting board to the 3L stainless steel stock pot, cover with 2 liters of lightly salted water, and bring to a rolling boil over medium-high heat. Reduce heat to maintain a gentle simmer and cook for 8-10 minutes, testing doneness by piercing a squash slice with a fork: it should slide through easily but the squash should not collapse when lifted. Do not overcook, as mushy squash will break down too much in the filling and release extra water.
Step 2
step2:Simmer Squash Until Tender
3

Drain Excess Moisture

Once squash reaches the correct tender texture, turn off the heat and pour the entire contents of the stock pot into the stainless steel colander to drain. Let the vegetables drain for 5 minutes, then gently press the top of the squash mixture with the back of the sage green silicone spatula to squeeze out as much trapped excess water as possible. For best results, press until no more water drips from the bottom of the colander; this step is the most important factor in avoiding a watery, runny casserole. Let drained squash cool for 3 minutes before mixing.
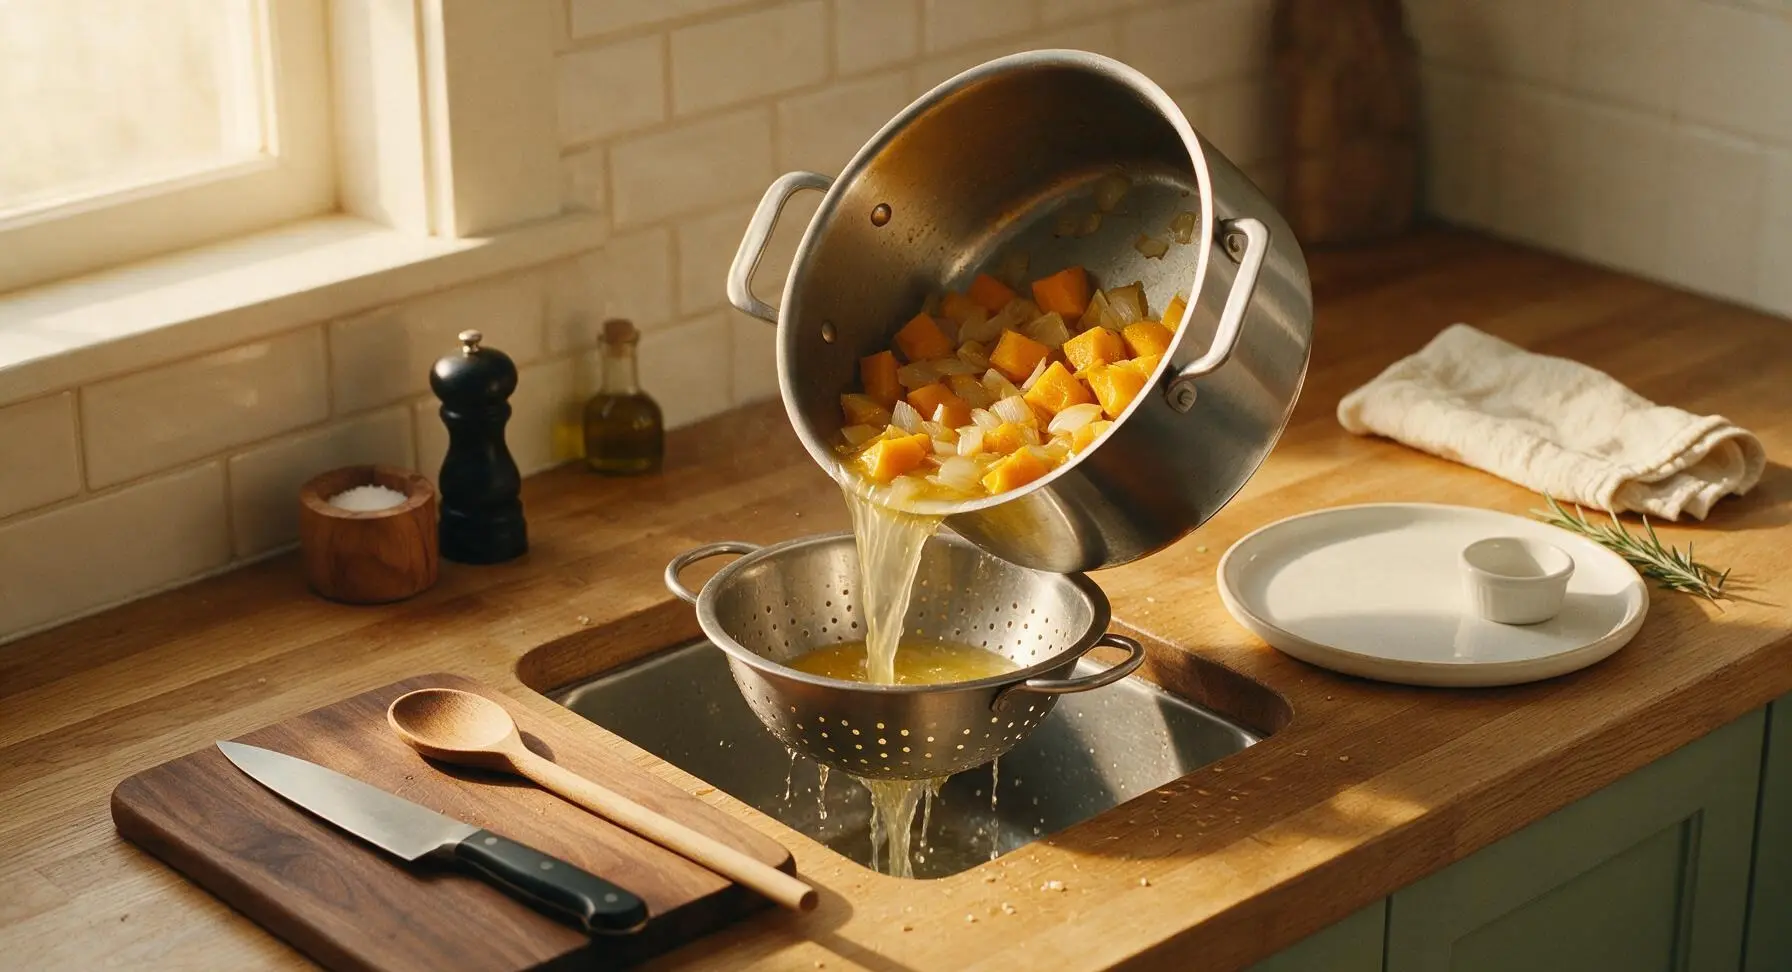
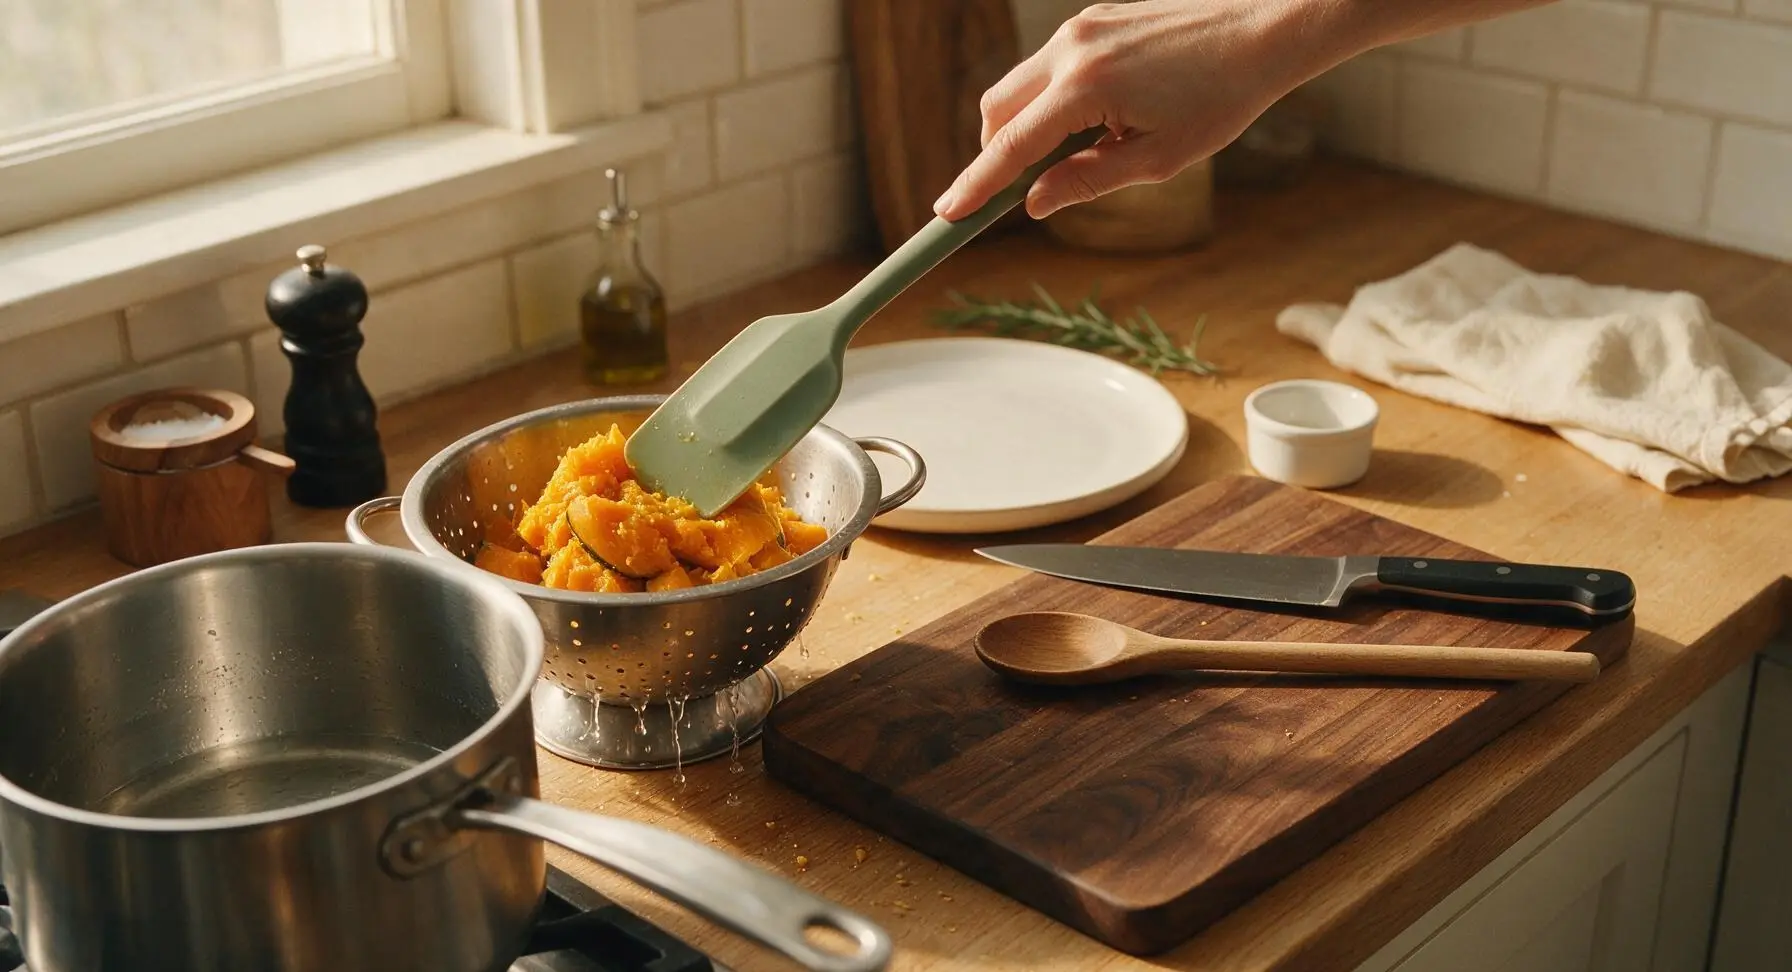
Step 3
step3:Drain Excess Moisture
Step 3
step3:Drain Excess Moisture
4

Mix Creamy Filling

In the clear glass mixing bowl holding 1 1/2 cups of shredded cheddar, add 2 tbsp melted unsalted butter, 120g full-fat sour cream, 60g full-fat mayonnaise, 2 lightly beaten large eggs, 1 tsp garlic powder, 1 tsp kosher salt, 1/2 tsp freshly ground black pepper, and 2 tsp chopped fresh thyme. Stir with the silicone spatula until smooth, then add the cooled, drained squash and onion, folding gently to combine without mashing the squash completely. Leave small, bite-sized squash chunks intact to add texture to the finished casserole.
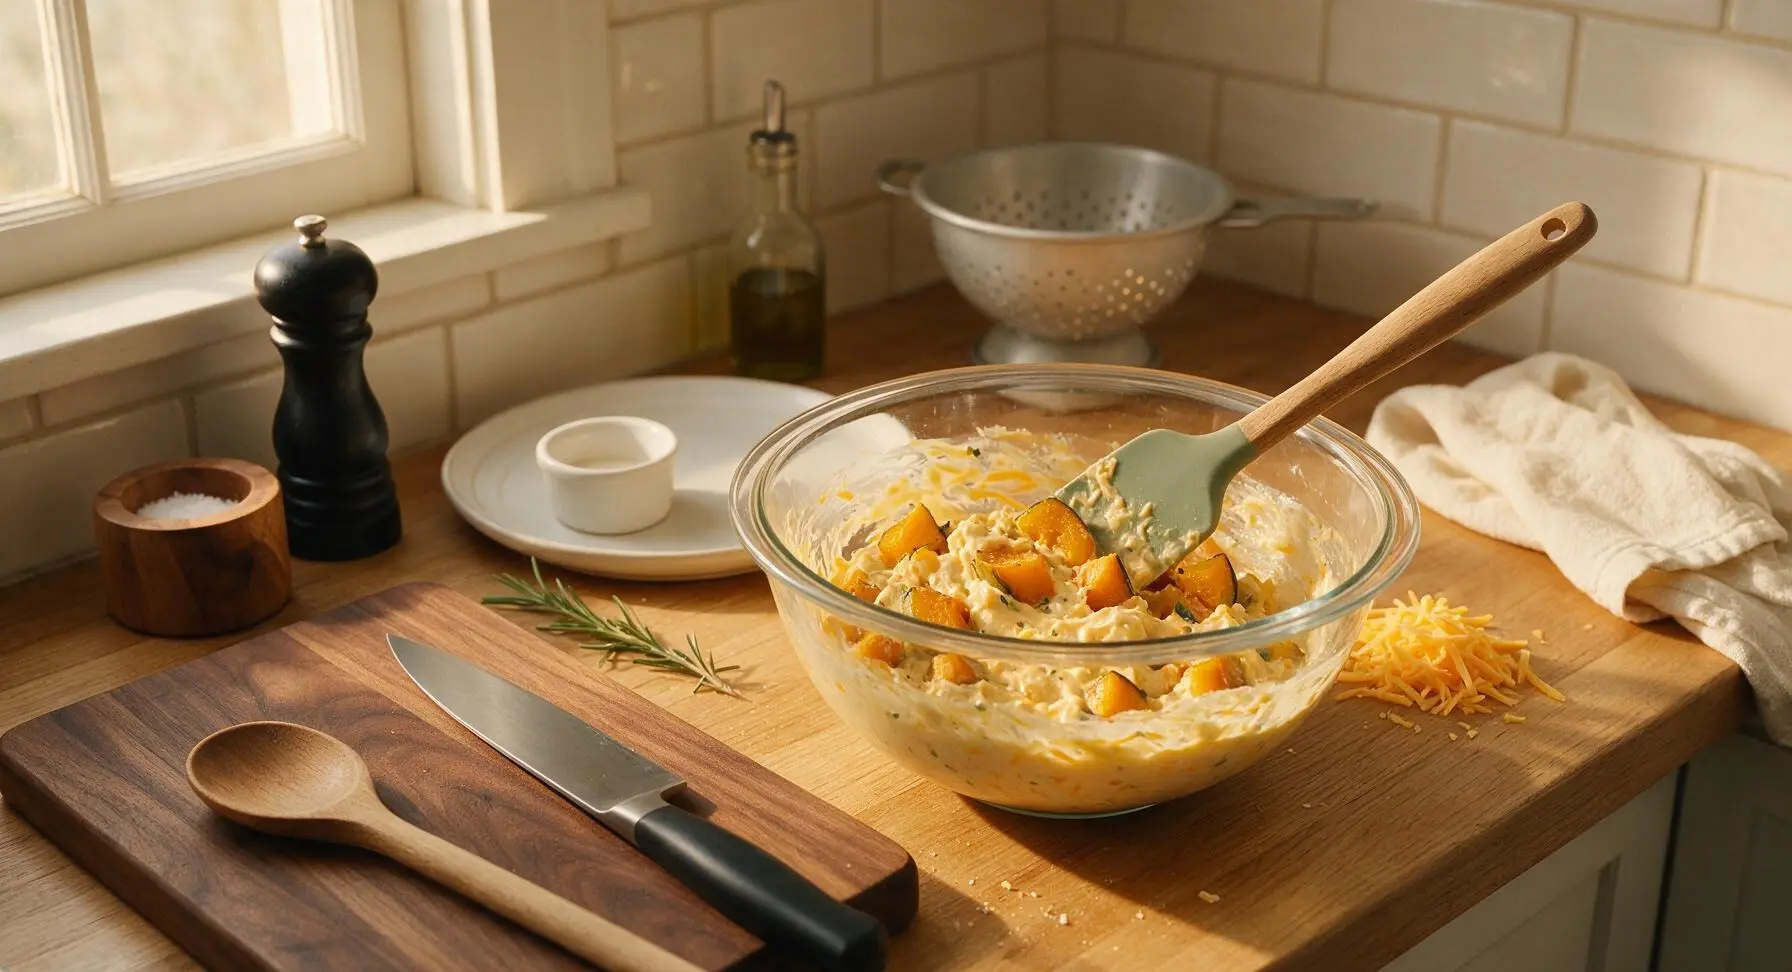
Step 4
step4:Mix Creamy Filling
5

Layer Casserole in Dish

Use 1 tbsp of softened unsalted butter to grease the entire interior surface of the 23x33cm matte cream white ceramic baking dish. Pour the entire squash filling mixture into the greased dish, spreading it into a smooth, even layer with the silicone spatula, making sure the thickness is consistent from edge to edge. Sprinkle the reserved 1/2 cup of shredded sharp cheddar evenly over the top of the filling.
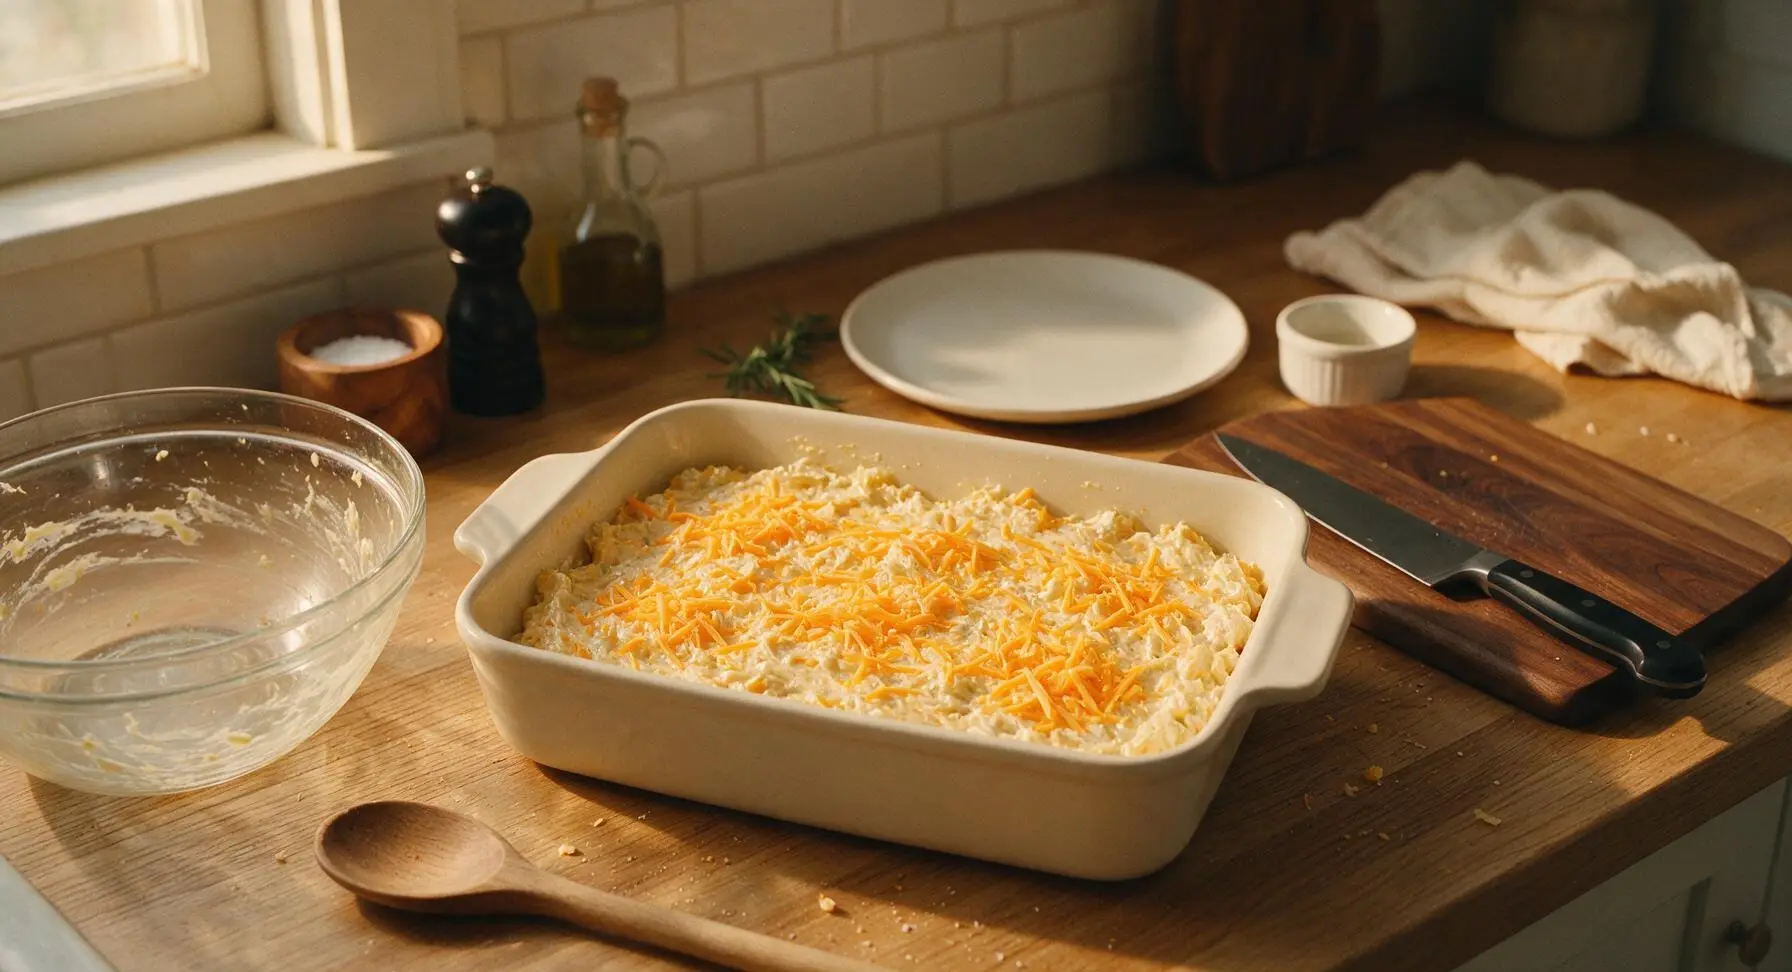
Step 5
step5:Layer Casserole in Dish
6

Add Cracker Crumb Topping

Melt the remaining 1 tbsp of unsalted butter, then toss with 120g crushed buttery round crackers in the 12cm terracotta small mixing bowl until all crumbs are evenly coated in butter. Sprinkle the buttered crumbs in a loose, even layer over the cheese-topped filling, covering the entire surface to create a uniform crispy crust when baked.
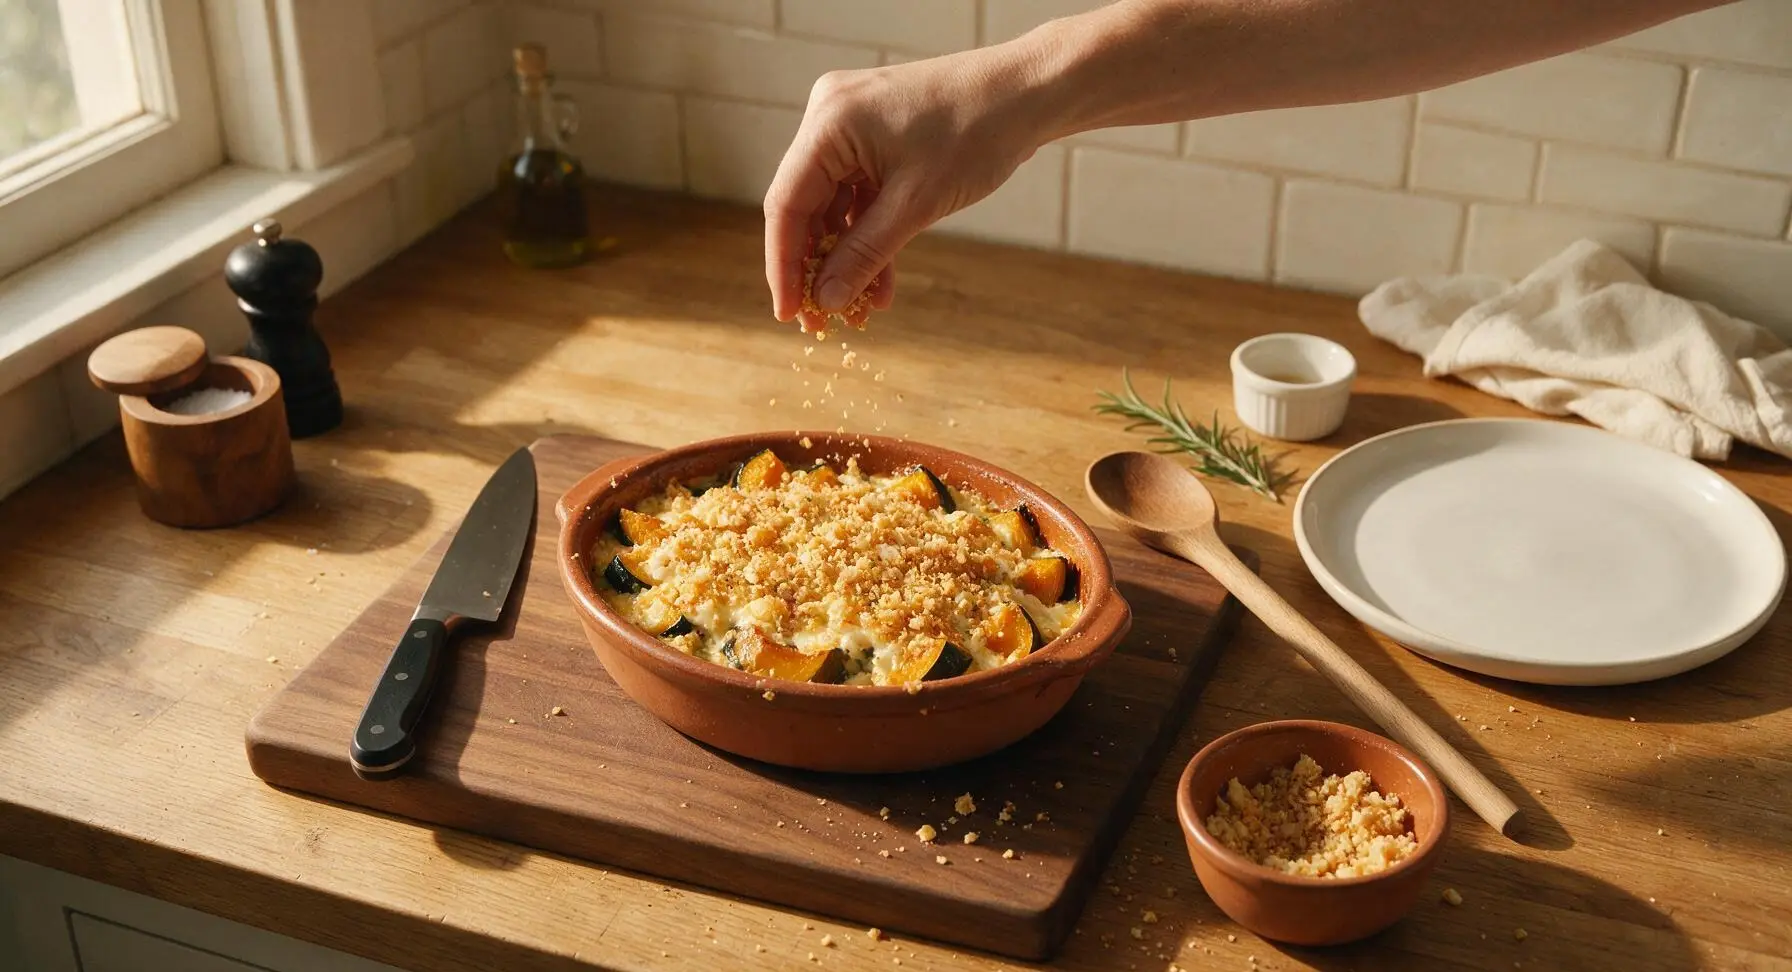
Step 6
step6:Add Cracker Crumb Topping
7

Bake Until Bubbly

Carefully transfer the assembled casserole to a preheated 350°F (175°C) oven, positioned on the middle rack. Bake for 30-35 minutes, until the filling is visibly bubbling around the edges of the dish, the cracker topping is a deep toasty golden brown, and the center of the casserole is fully set (no liquid jiggling when the dish is gently nudged). If the cracker topping browns too quickly before the filling sets, tent the dish loosely with aluminum foil for the last 10 minutes of baking to prevent burning.
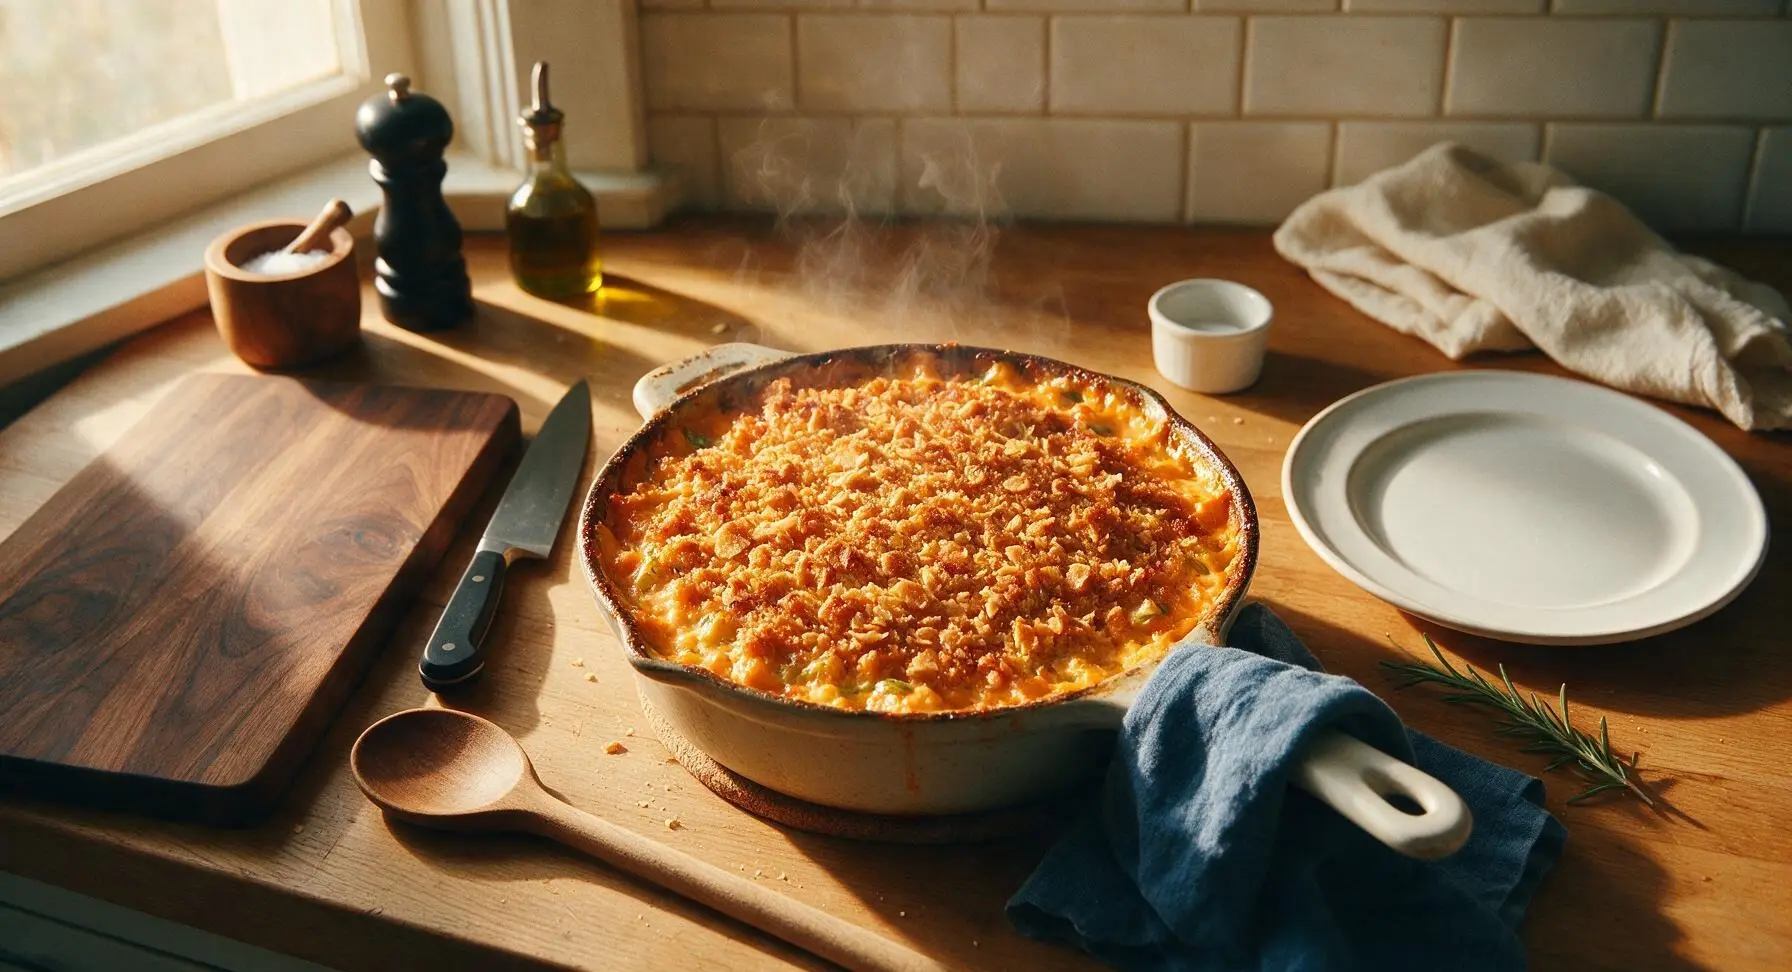
Step 7
step7:Bake Until Bubbly
8

Rest Before Serving

Let the baked casserole rest for 10 minutes on the counter before scooping and serving. This resting time allows the creamy filling to set fully, making clean, neat scoops possible and preventing runny servings. Garnish with extra fresh thyme sprigs plucked from the potted plant on the window ledge before serving, if desired.
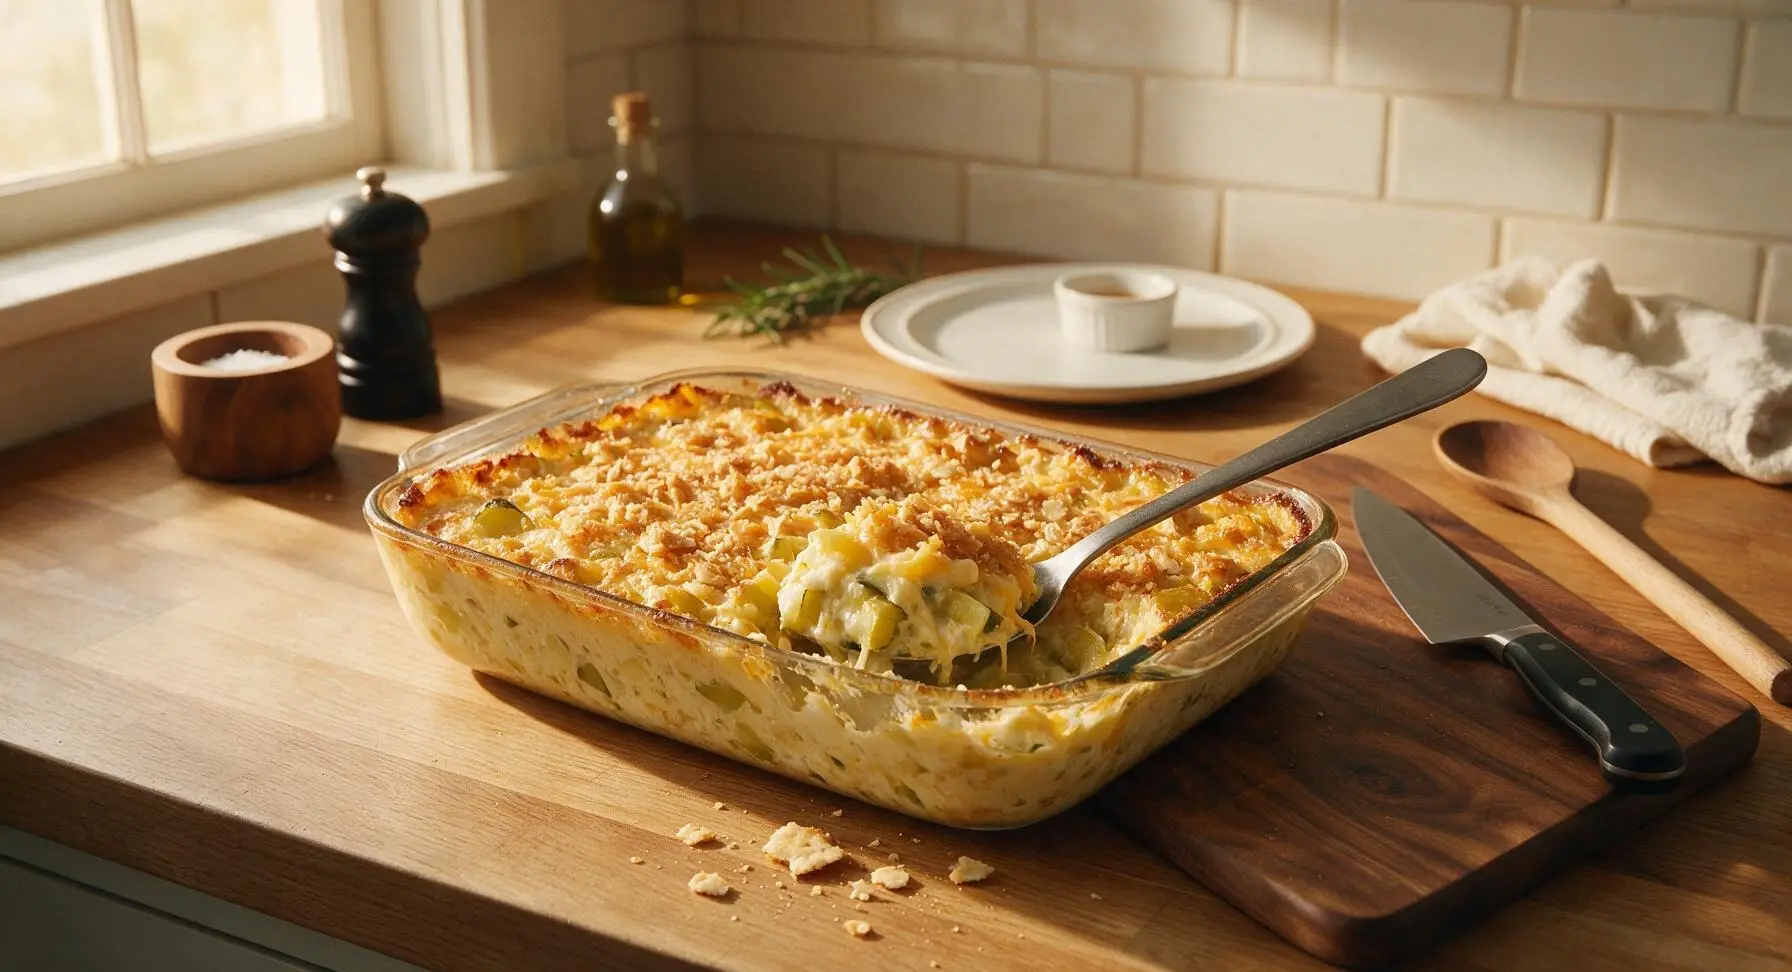
Step 8
step8:Rest Before Serving

Tips

1.Always press every bit of excess water out of the cooked squash: summer squash is 95% water, and skipping this pressing step will result in a loose, watery casserole instead of a thick, creamy set filling. For extra insurance against sogginess, you can lay drained squash slices on a layer of paper towels for 5 minutes before mixing into the filling.
2.Grate your own sharp cheddar cheese instead of buying pre-shredded bags: pre-shredded cheese is coated in potato starch and anti-caking agents that prevent it from melting smoothly, leading to a grainy, uneven filling texture. Freshly grated cheese melts into a silky, uniform cheese base that binds the squash perfectly.
3.For easy make-ahead prep, assemble the casserole filling in the baking dish (without the cracker topping) up to 24 hours in advance, cover tightly, and store in the refrigerator. Add the buttered cracker topping right before baking to keep the crust light and crispy, rather than letting it absorb moisture from the filling and turn soggy while stored.


✨ You May Also Like

Side Dishes
🍜 India

Velvety, aromatic all-purpose curry sauce perfect for tossing with roasted veggies, grilled protein, or rice for fast, cozy, flavorful meals.

⏱️ 25 minuteSide Dishes ★ 4.8
Side Dishes
🍜 Spain

Tender, starchy boiled yuca tossed in bright, garlicky citrus mojo sauce—an iconic, zesty side that pairs beautifully with roasted pork, grilled meats, and rice and beans.

⏱️ 40 minuteSide Dishes ★ 5
Side Dishes
🍜 United States

Tender, paper-thin potato flatbread, a beloved Norwegian-American Minnesota Christmas staple, griddled until softly spotted and served warm with butter.

⏱️ 1 hour 30Side Dishes ★ 4.6
Side Dishes
🍜 United States

Rich, deeply savory cured salt pork, a long-lasting kitchen staple perfect for frying crispy as a side or adding umami to stews, beans, and chowders.

⏱️ 7 days (2Side Dishes ★ 4.9
Side Dishes
🍜 United States

Crispy, tangy classic Southern fried green tomatoes with a crunchy cornmeal crust, served hot for a nostalgic, comforting summery bite.

⏱️ 25 minuteSide Dishes ★ 4.9
Side Dishes
🍜 United States

Moist, golden-crusted savory muffins with sweet corn, zesty jalapeño, and melted cheddar, perfect for pairing with smoky summer grilled fare.

⏱️ 30 minuteSide Dishes ★ 4.9

best squash casserole:Frequently Asked Questions

1.Do I need to peel yellow summer squash before using it in this casserole? ▾
No need to peel small, young yellow summer squash—their thin, tender skin cooks up soft, adds subtle fresh texture, and packs extra nutrients. Just trim the stem and blossom ends, then slice evenly. If you’re using extra-large, mature squash with tough, bumpy skin and large seedy cores, peel it and scoop out the seedy center before cooking to avoid stringy, mushy bites.
2.Can I make this squash casserole ahead of time for holiday meals? ▾
Absolutely! Assemble the full casserole (hold off on adding the cracker topping) up to 24 hours in advance, cover tightly, and store it in the fridge. When you’re ready to bake, toss on the buttery cracker crumbs, add 5 to 7 minutes to the bake time to account for the cold dish, and bake until the filling is bubbly and the topping is golden.
3.What type of crackers work best for the classic crispy topping? ▾
Classic buttery round crackers (like Ritz) are the traditional Southern pick here—tossed with melted unsalted butter, their light, salty crispness pairs perfectly with the creamy, savory filling. Avoid dense, hard crackers like water crackers, as they won’t get that light, melt-in-your-mouth crumble. Crush them coarsely, don’t grind to dust, for the best satisfying crunch.
4.Can I use low-fat sour cream or reduced-fat cheddar to cut calories? ▾
I don’t recommend it for the classic, luxe texture. Full-fat sour cream melts into a smooth, rich base without separating or turning watery as it bakes, and full-fat sharp cheddar delivers bold, tangy flavor. Low-fat alternatives often have added stabilizers that make the filling grainy, watery, or bland instead of creamy and satisfying.
5.How do I keep my squash casserole from turning out watery and soggy? ▾
Watery casserole almost always comes from skipping key moisture removal steps. After sautéing your sliced squash and onion in butter, let the mixture drain in a colander for 3 to 5 minutes, pressing gently with a spatula to squeeze out extra released liquid, before mixing in cheese and sour cream. This guarantees a rich, creamy, non-soggy filling every time.
6.What if I don’t have yellow onion? Can I use a different onion variety? ▾
Yellow onion’s mild, sweet caramelized flavor is ideal for this dish, but you can substitute a sweet Vidalia onion (a beloved Southern staple!) for an even sweeter profile if that’s what you have. Skip sharp red onions or super pungent white onions, as their strong, sharp flavor will overpower the delicate squash and creamy cheese.
7.How long do leftovers stay fresh, and can I freeze this casserole? ▾
Properly stored in an airtight container, baked leftover casserole stays fresh for 3 to 4 days in the fridge. Reheat portions in the microwave or a 350°F oven until warmed through, adding a sprinkle of extra cracker crumbs if the original topping has softened. I don’t recommend freezing this dish, as the sour cream base will separate and turn grainy when thawed.
8.Do I have to sauté the squash first, or can I bake it raw in the dish? ▾
Don’t skip sautéing the squash and onion in butter first! Raw squash releases a huge amount of moisture as it bakes, which will leave you with a soggy, watery casserole instead of a creamy, cohesive side. Sautéing over medium heat softens the veggies, brings out their natural sweetness, and lets you drain off excess liquid before adding creamy fillings.
9.Can I add extra mix-ins like bacon or veggies to the classic recipe? ▾
Absolutely! The base recipe is delicious on its own, but you can stir in crumbled cooked bacon, diced roasted red bell pepper, or a sprinkle of fresh thyme for extra flair. Just make sure any add-ins are fully cooked and well-drained before mixing them in, and keep add-ins to ½ cup total so they don’t overpower the star squash flavor.
10.What size baking dish works best for this casserole? ▾
A standard 9x9 inch square baking dish, or a 2-quart oval casserole dish, works perfectly here. It gives the filling enough depth to stay creamy while leaving room for the cracker topping to crisp up evenly across the surface. If you use a larger, shallower dish, keep a close eye on it, as it will cook faster and the topping may burn before the filling bubbles.
11.Why does this recipe call for sharp cheddar instead of mild cheddar? ▾
Sharp cheddar has a bold, tangy, nutty flavor that stands up beautifully to sweet squash and creamy sour cream, so you get a noticeable cheesy kick in every bite without needing extra cheese. Mild cheddar has a much softer, milkier flavor that gets lost against the other ingredients, leaving your casserole tasting flat rather than rich and well-balanced.

Comments (6)

3 days ago

OMG y’all, this squash casserole was the STAR of our church potluck last Sunday! I was worried no one would eat veggies next to all the fried chicken and mac and cheese, but people came back for SECONDS, said it was SO good, and asked for the recipe before they left. It was so easy to throw together too, even with my 3 year old hanging on my leg the whole time. 10/10 will be making this for every family gathering from now on!

2 days ago

So glad this was a hit at your potluck! Nothing makes us happier than hearing a veggie dish steals the show next to all the classic cookout favorites. Next time you make it, try topping with a little extra crispy fried onions if you want an extra crunch — trust me, it’s chef’s kiss!

5 days ago

Wait a second, do y’all use yellow summer squash or zucchini for this? I’ve got a ton of both growing in my garden right now and I don’t want to mess it up for our Fourth of July cookout! Looks amazing, can’t wait to try it.

3 days ago

Great question! Traditional Southern squash casserole uses yellow summer squash, but a 50/50 mix of yellow squash and zucchini works beautifully too — I do that all the time when my garden is overflowing! Just make sure to drain the squash really well after cooking so it doesn’t get watery.

2 days ago

I did half zucchini half yellow squash last week when I made it and my husband didn’t even notice! Tasted exactly like the casserole my grandma used to make, no lie. You’ve got this!

yesterday

Game. Changer. My kids turn their nose up at every vegetable I put in front of them, but they loved it — ate two servings last night and asked if we could have it again tomorrow! I didn’t even tell them there was squash in it until after they finished, they thought it was just cheesy potato casserole or something. It reheats like a dream too, so I’m tossing the leftovers in my kid’s lunch boxes all week — total meal prep win. This recipe is going into our permanent weekly rotation, no question.

2 hours ago

Omg I did the exact same thing with my picky 7 year old! He had zero clue it was squash and asked for seconds too. Such a win for us veggie-hiding parents lmao

2 weeks ago

I’ve been making squash casserole for over 50 years, and I have to say this recipe is even better than my old go-to! The ratio of cheese to cracker topping is perfect, not too dry, not too soggy. I brought it to my bridge club luncheon and all the ladies begged for the recipe. Hats off to the chef, this one’s a keeper!

30 minutes ago

Wait, has anyone ever made this ahead and frozen it? I’m prepping for my sister’s baby shower next weekend and I want to get as much done ahead of time as possible so I’m not running around like a crazy person the day of. It turned out so good when I made a test batch last night, I just don’t know if it freezes well!

5 minutes ago

Great question for make-ahead prep! I don’t recommend freezing it fully assembled because the squash can get mushy when it thaws, but you can prep all the components 2 days ahead — cook and drain the squash, shred the cheese, mix the topping — and assemble right before baking. It cuts down on so much day-of work!

just now

I made this for my best friend’s shower last month! I prepped everything the night before, kept it in the fridge, and popped it in the oven 45 minutes before we ate. It was perfect, no sogginess at all. Everyone raved about it, you’re gonna do great!

1 week ago

I moved to Colorado from Alabama 3 years ago and have been chasing that perfect Southern squash casserole taste ever since, and this recipe NAILED it. Tastes exactly like the one my Meemaw used to make for family Sunday supper after church, I almost cried when I took the first bite. The cracker topping is perfectly crispy, the squash is tender but not mushy, the cheese is so creamy. I’m already planning to make this for my roommate’s birthday dinner next week!



