
Blue Cheese Grilled Cheese
intro
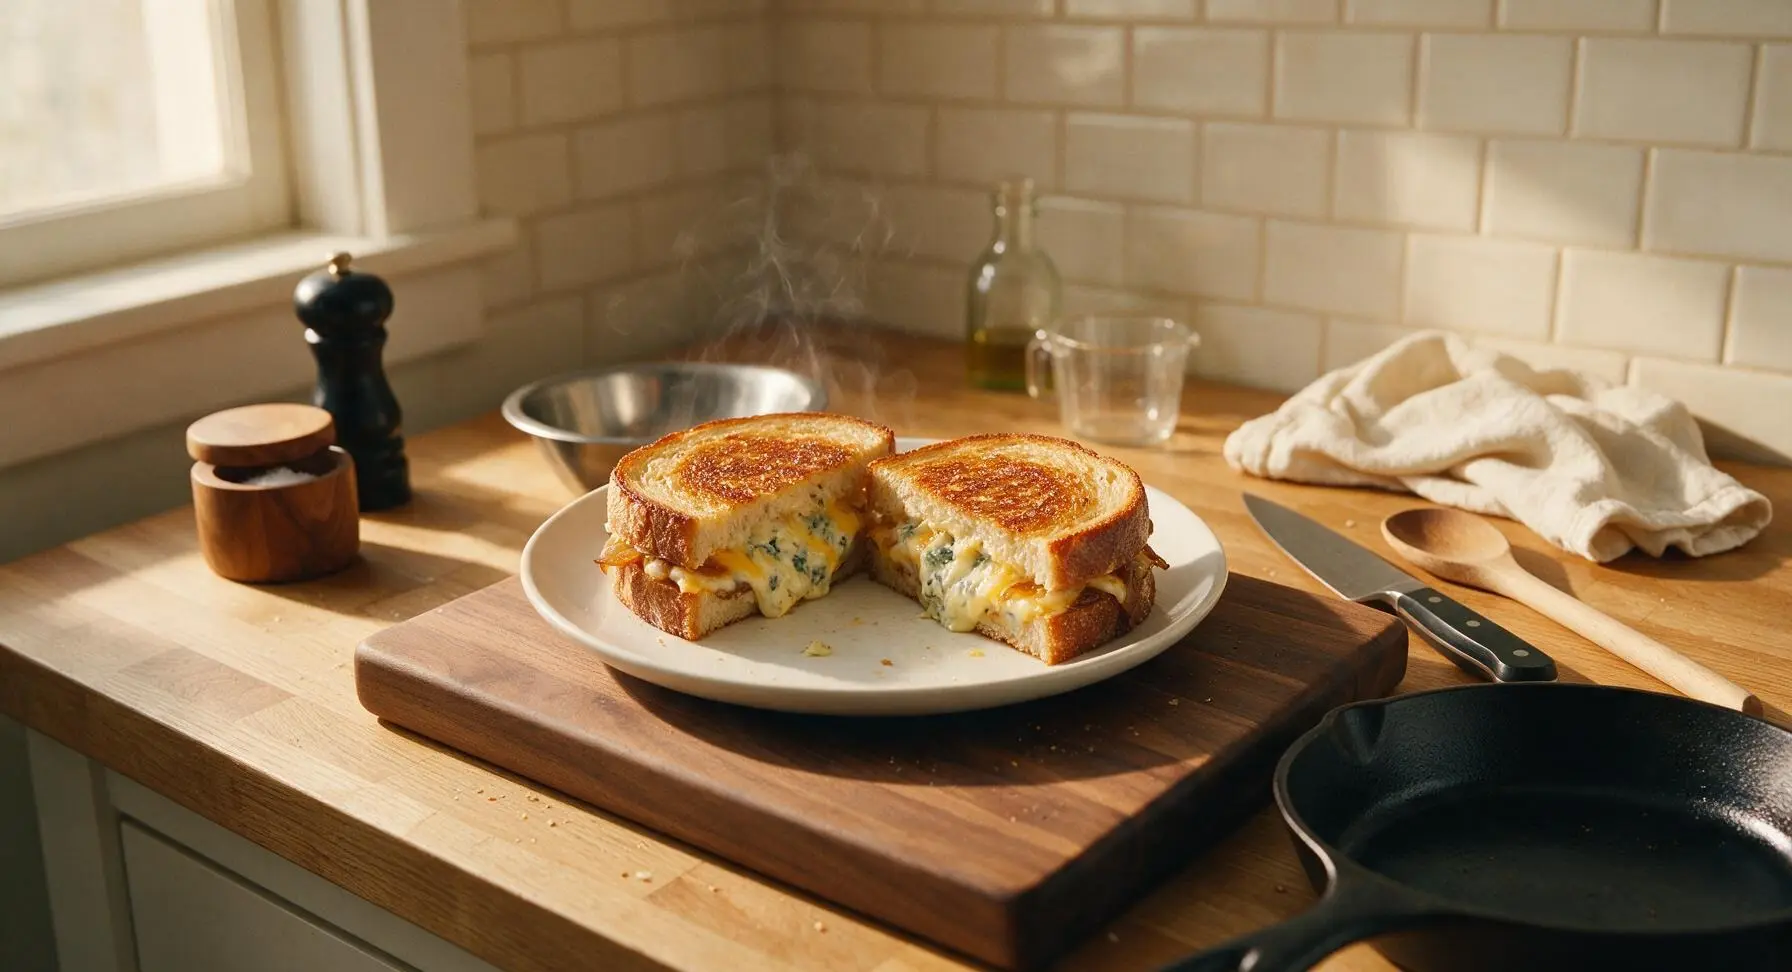
Crispy buttery sourdough encasing tangy, melty blue cheese and sharp cheddar, with a hint of sweet caramelized onion—this elevated grilled cheese is rich, cozy, and ready in under 20 minutes.
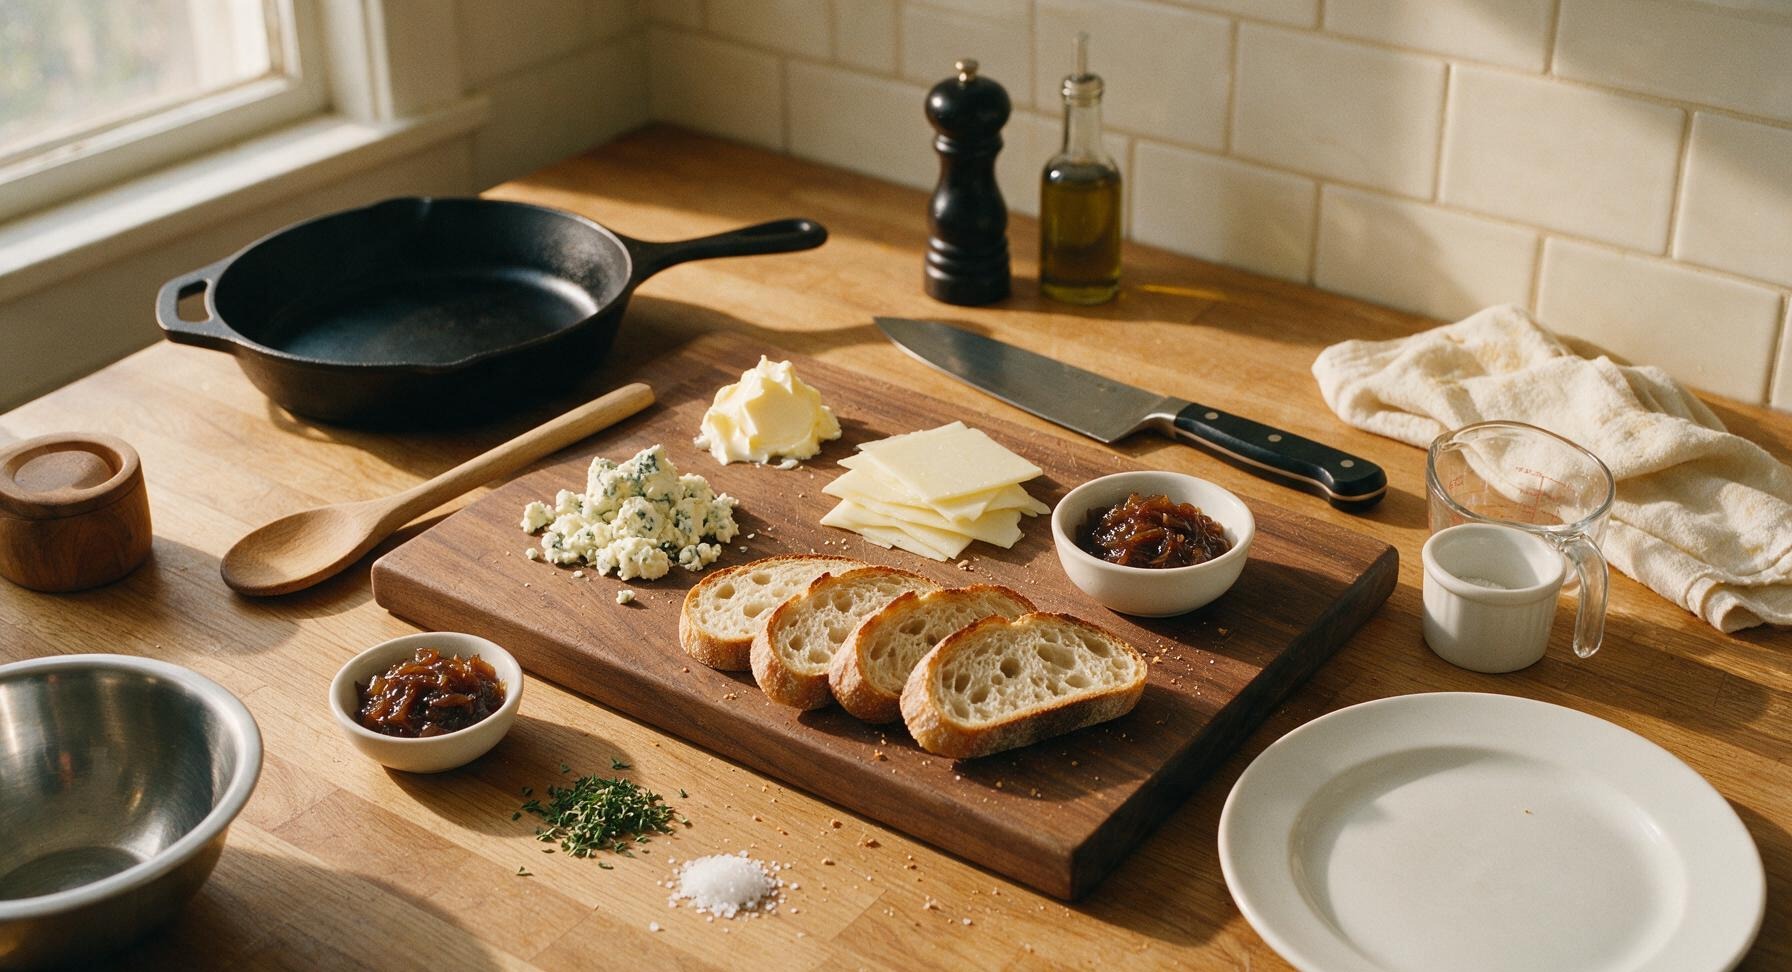
Ingredients
Steps
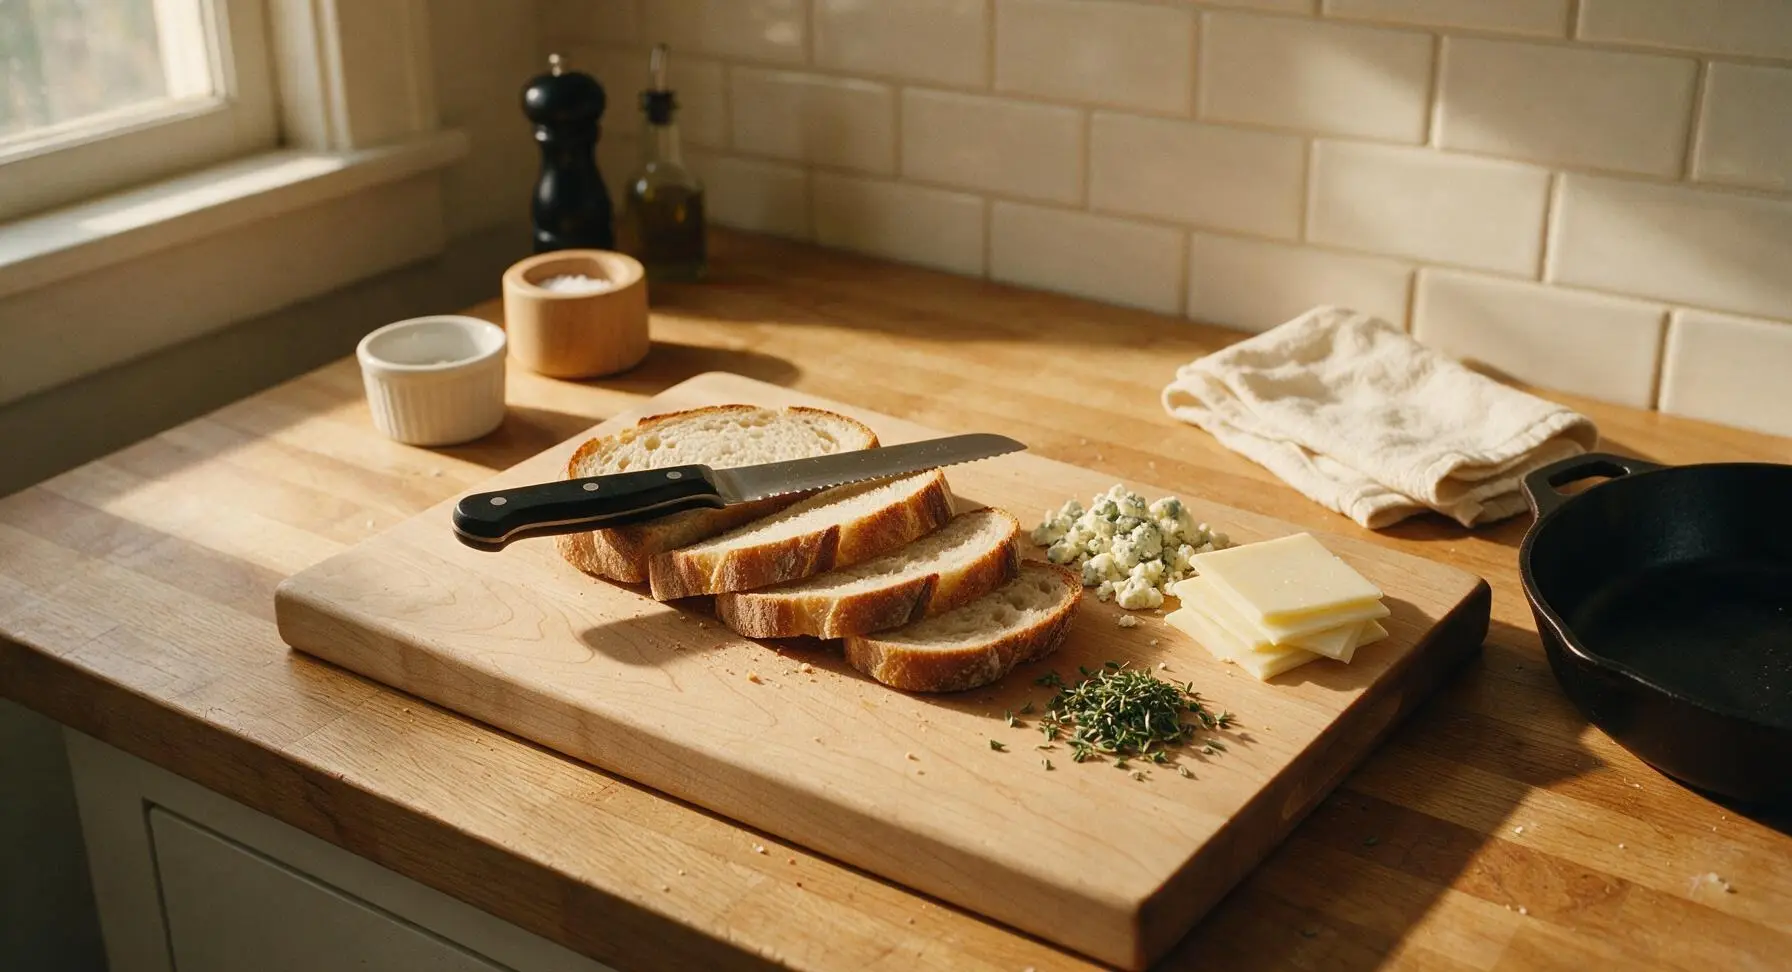
Prep Bread and Cheese
Place the large maple cutting board in the center of the work area. Use the 6-inch serrated utility knife to trim sourdough slices to an even 1.5cm thickness, discarding any uneven crust edges. Crumble the blue cheese into small, pea-sized pieces, and separate the white cheddar slices into single layers. Pick fresh thyme leaves from their woody stems, discarding stems.
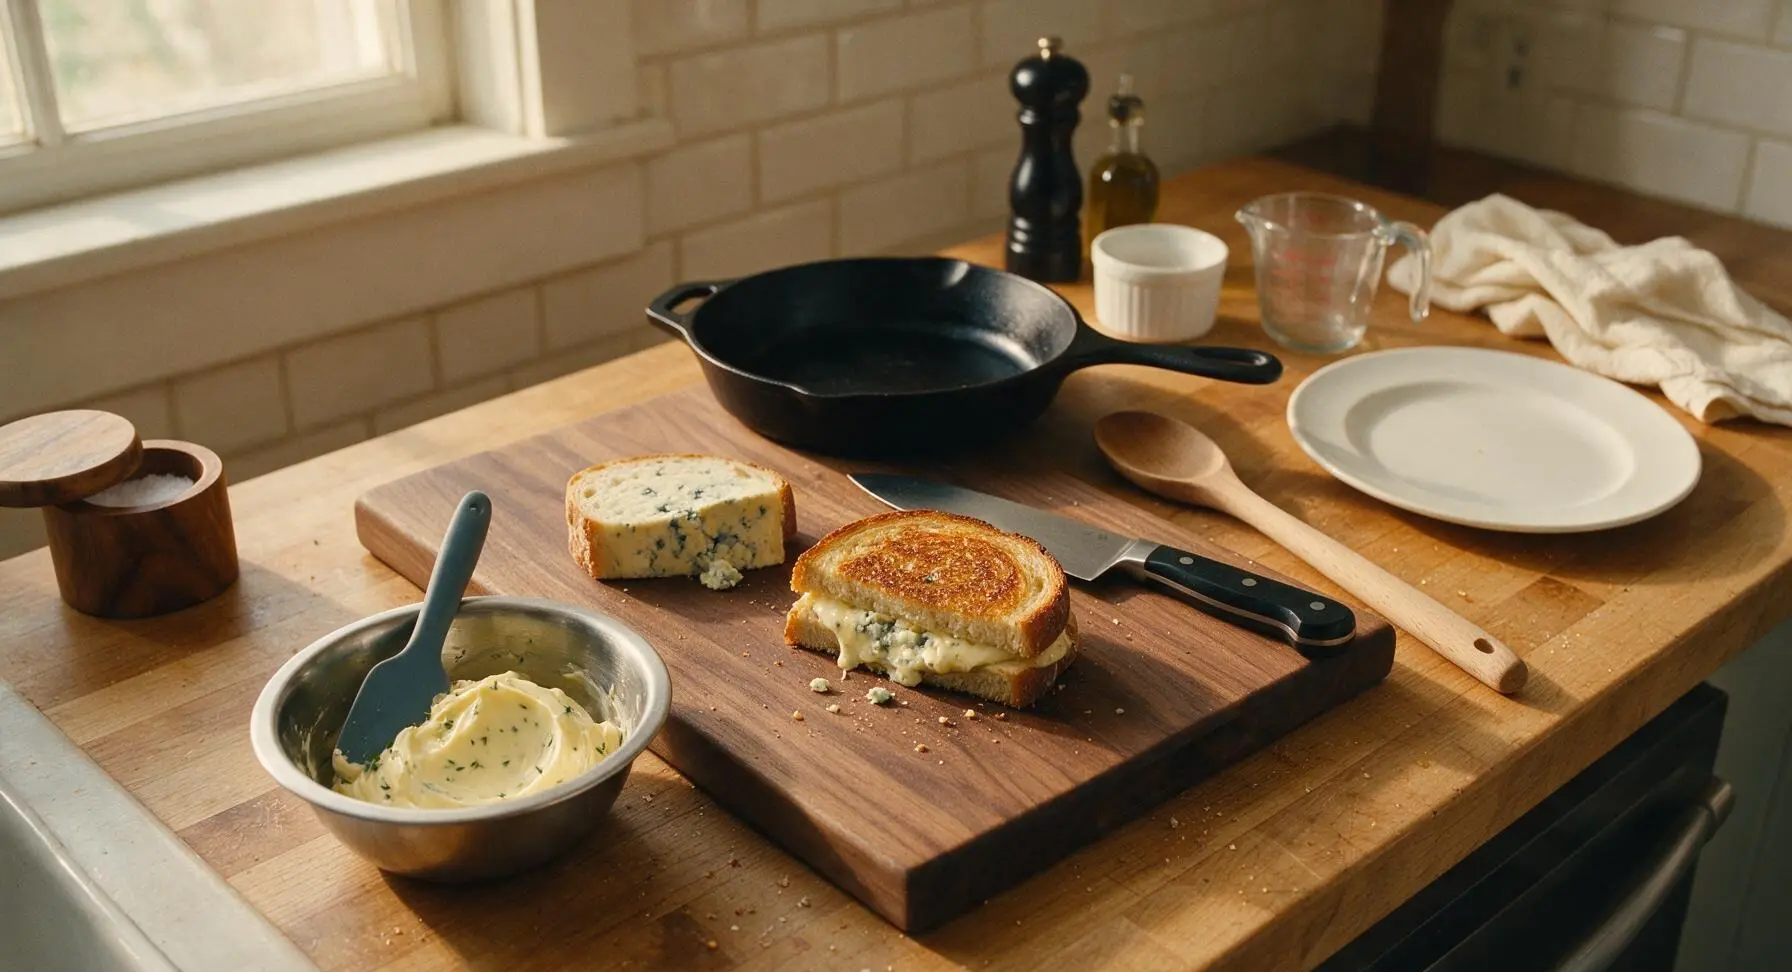
Mix Herb Butter
Set the small stainless steel prep bowl to the left of the cutting board. Add the softened unsalted butter and picked thyme leaves to the bowl, stirring with the silicone spatula until fully combined into a smooth, spreadable mixture with thyme flecks evenly distributed. Do not melt the butter; it should hold its soft shape at room temperature.
Build Sandwich Layers
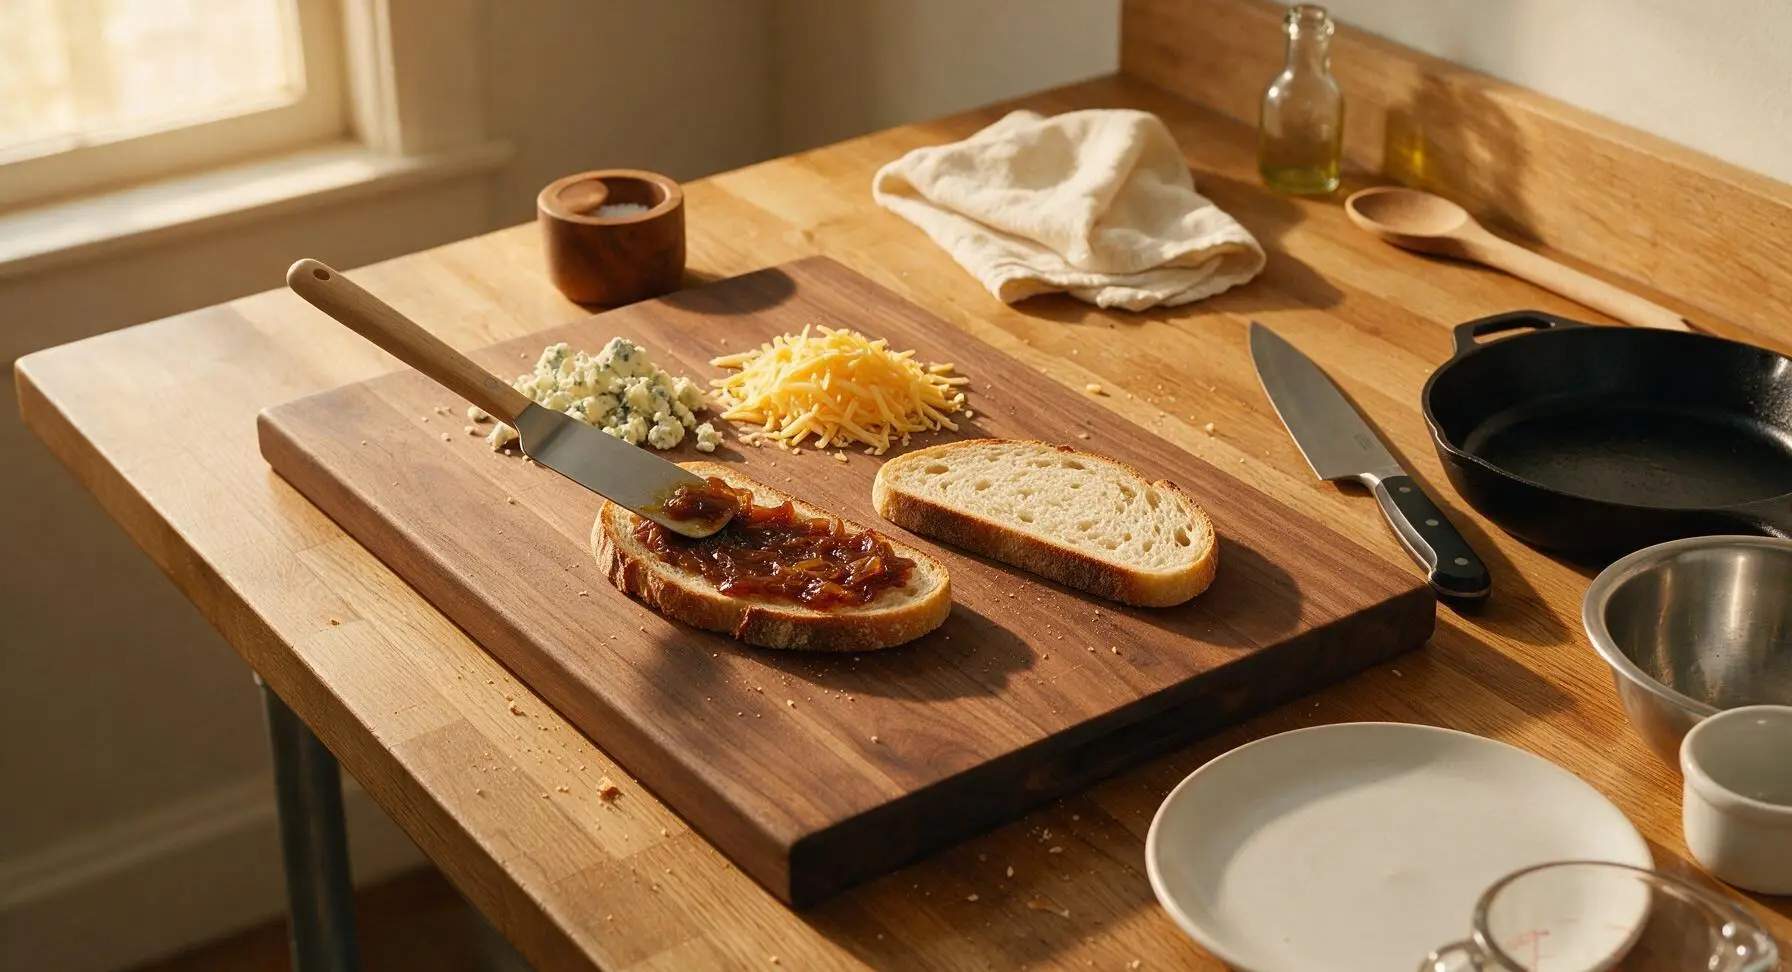
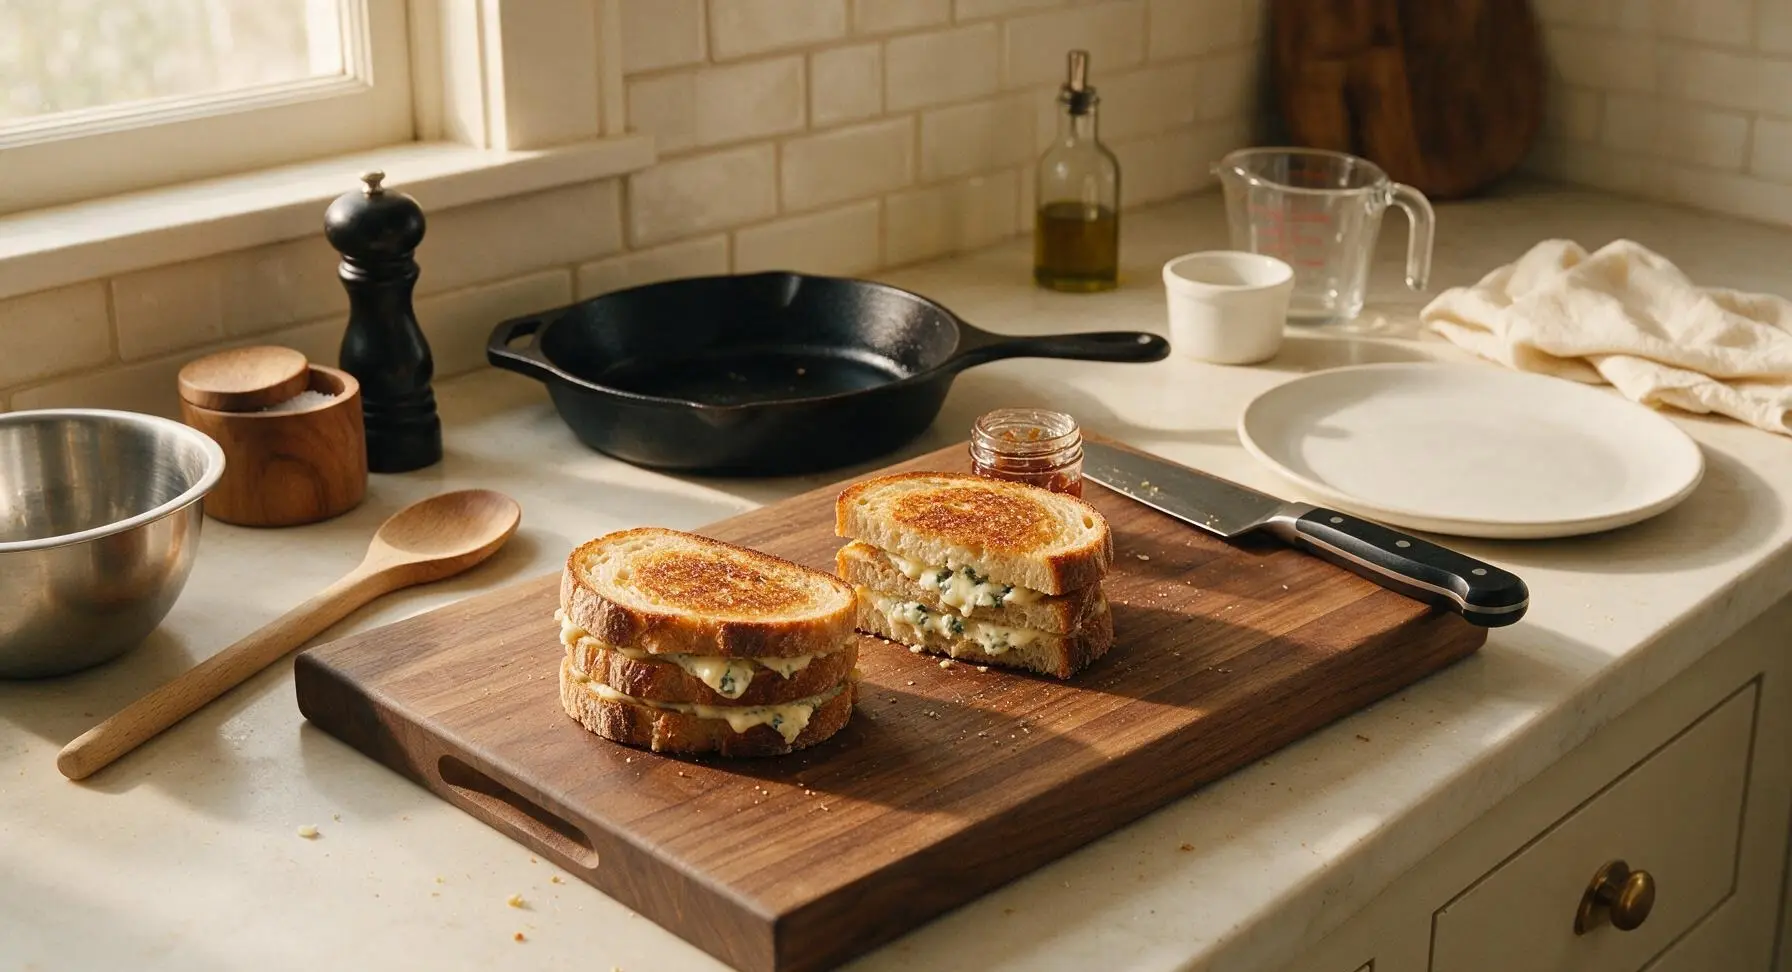
Lay two sourdough slices flat on the cutting board. Spread 1 tablespoon of caramelized onion jam in a thin, even layer across the top of each slice, all the way to the edges. Divide the white cheddar slices evenly between the two bread slices, followed by the crumbled blue cheese, ensuring cheese reaches the bread edges for even melting. Top each stack with a second sourdough slice to form two closed sandwiches, pressing gently to adhere the layers.
Butter Sandwich Exteriors
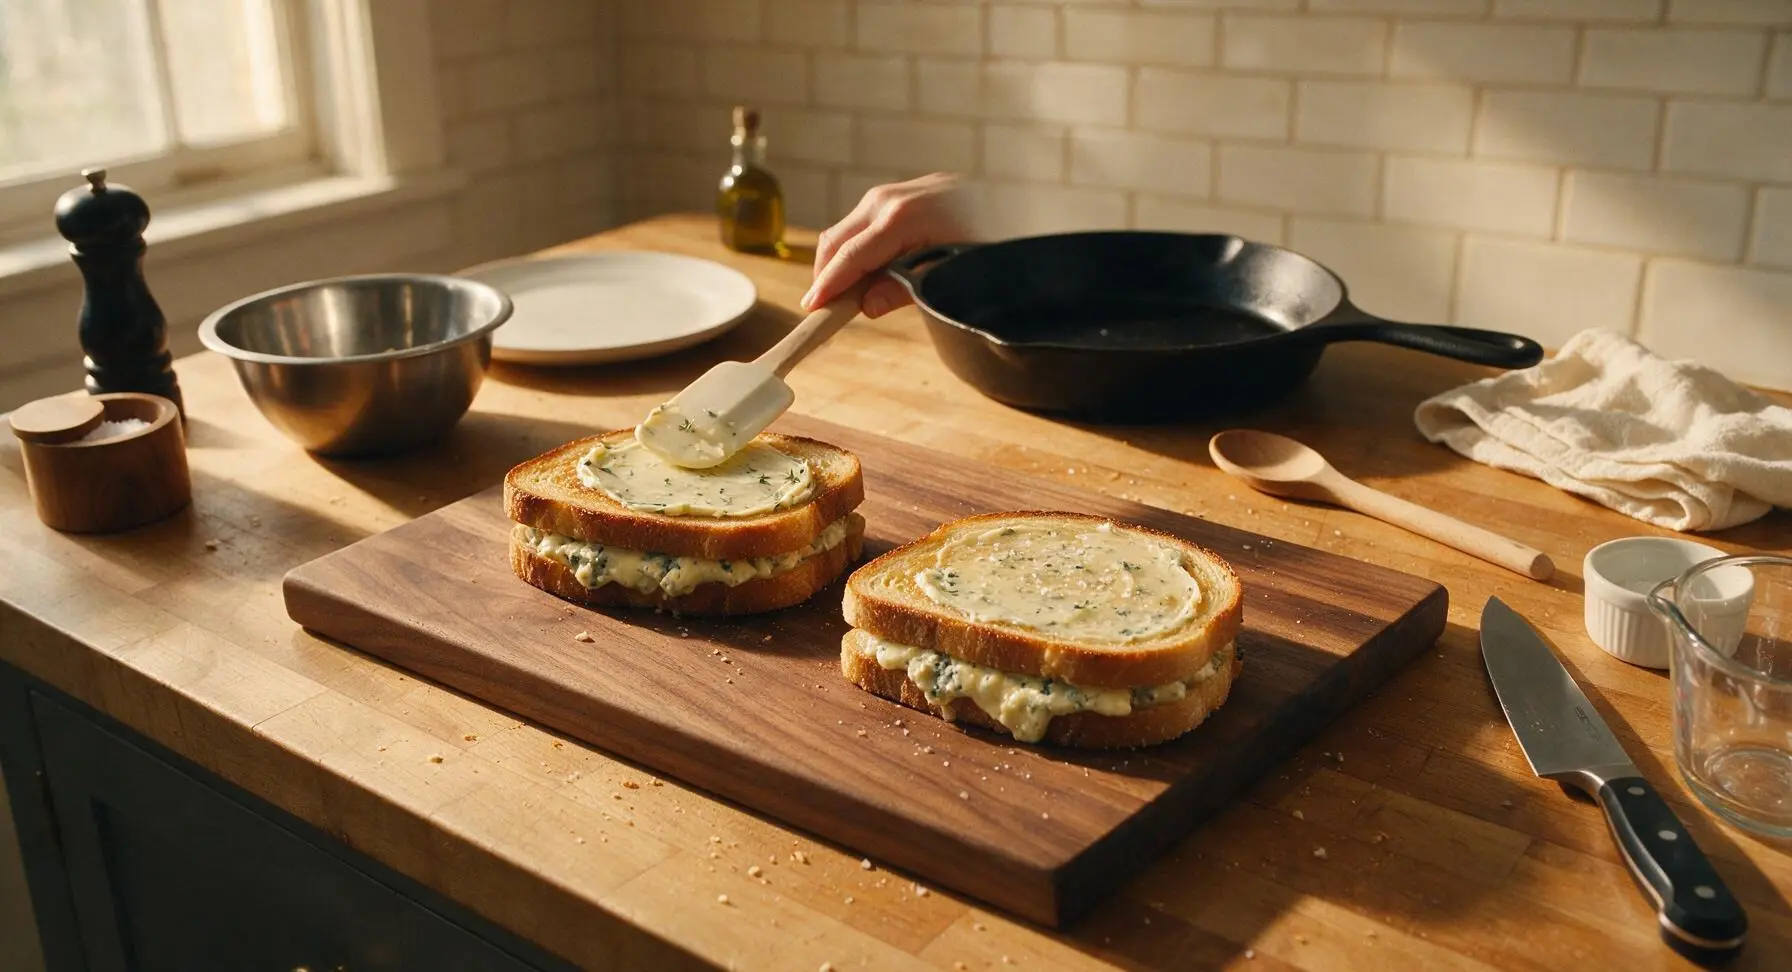
Use the silicone spatula to spread half of the thyme butter in a thin, even layer across the top surface of each assembled sandwich, covering every part of the bread from edge to edge (approximately 1/4cm thick layer). Sprinkle a tiny pinch of flaky sea salt over each buttered top. This thin butter layer creates a crisp crust without greasiness.
Preheat Cooking Skillet
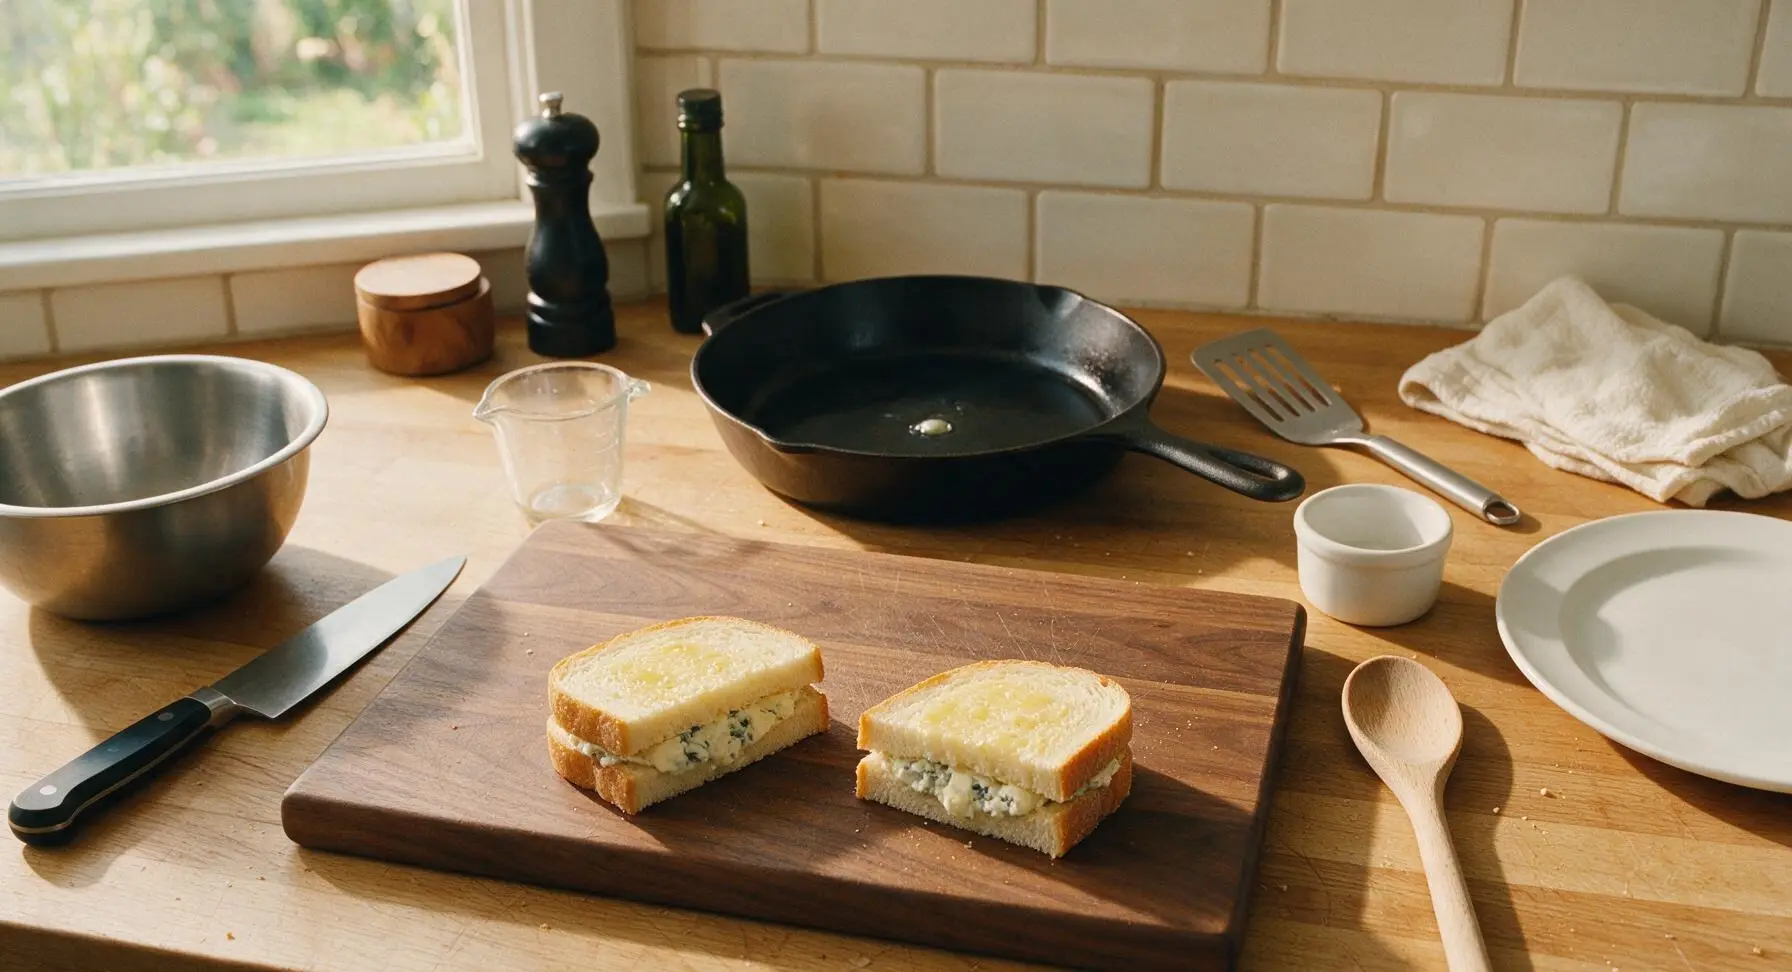
Place the 10-inch matte black carbon steel skillet on the rear center of the work surface over a low-profile induction burner (out of frame), set to medium-low heat (325°F / 160°C). Preheat for 2 minutes, testing temperature by sprinkling a single drop of water: it should sizzle gently and dance across the pan surface. If water evaporates instantly, the pan is too hot; if it sits without bubbling, it is too cold. Set the slotted stainless steel turner next to the skillet for flipping.
Grill First Side
Carefully lift both sandwiches and place them buttered-side down into the preheated skillet. Use the silicone spatula to spread the remaining thyme butter evenly across the now-exposed top surface of each sandwich, sprinkling with a tiny pinch of flaky sea salt. Cook for 3-4 minutes, resisting the urge to press down on the sandwiches (which squeezes out melted cheese), until the bottom crust is deep golden brown and cheese closest to the pan begins to melt.
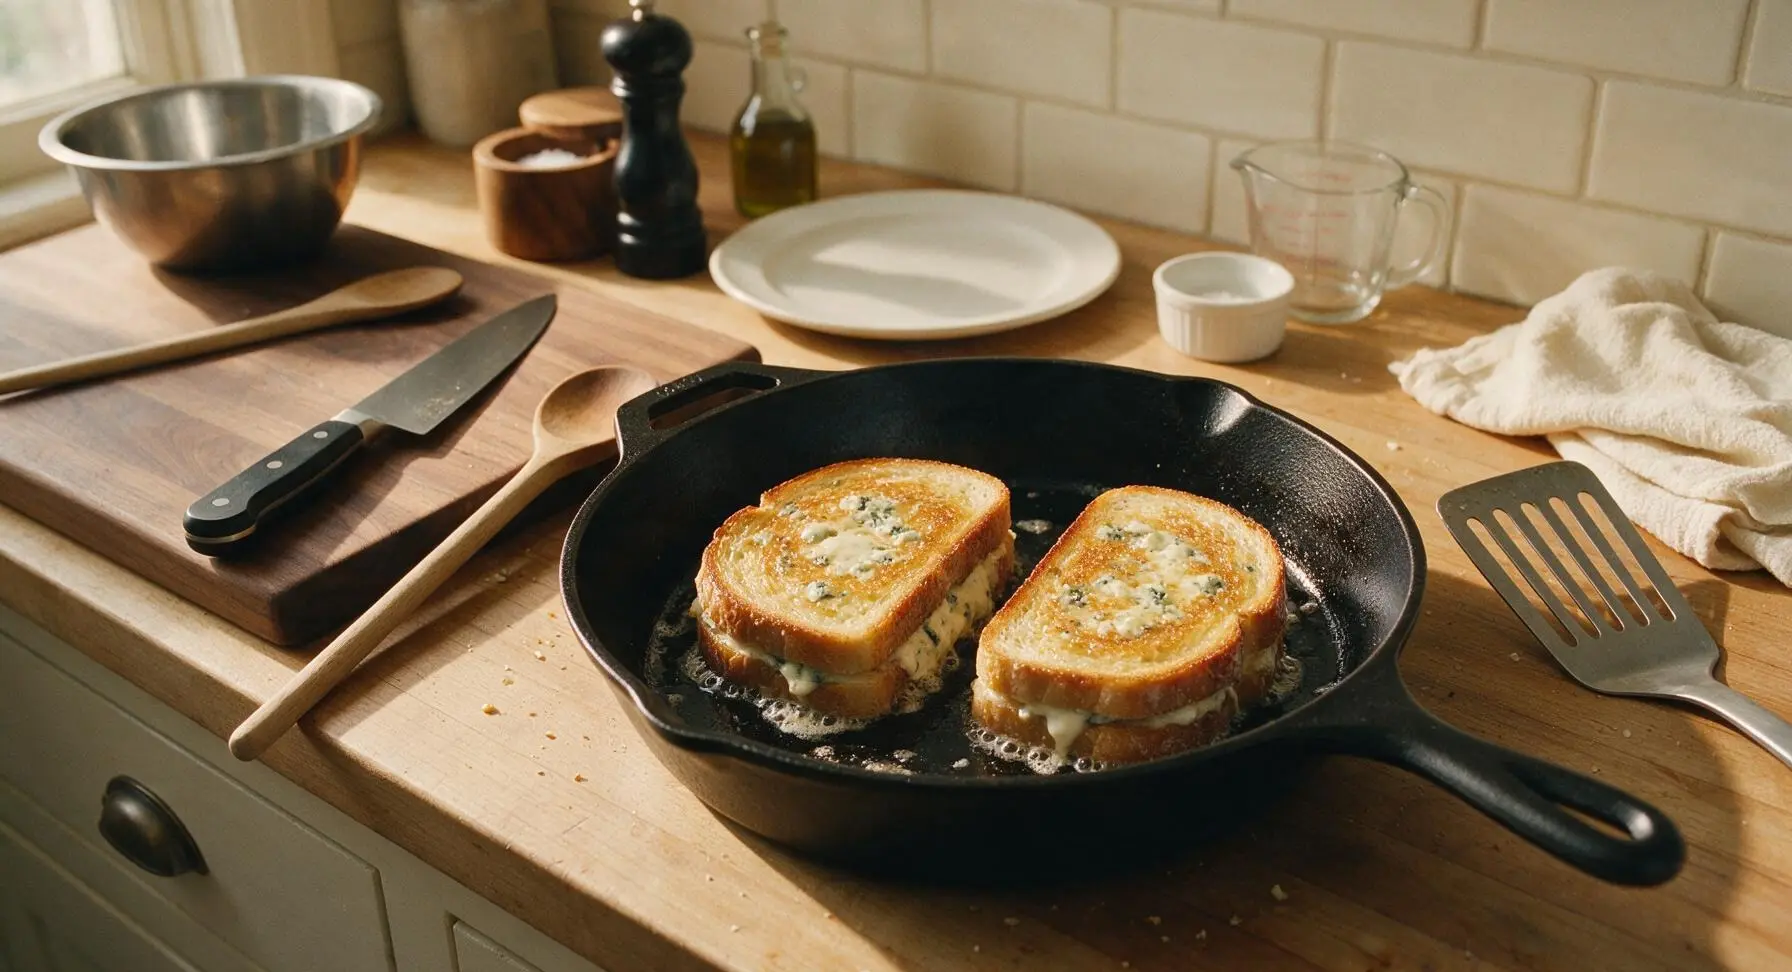
Flip and Cook Through
Slide the slotted turner under each sandwich to carefully flip it, taking care not to tear the crispy crust. Cook for an additional 3-4 minutes on the second side, adjusting heat to low if the bread browns faster than the cheese melts. Sandwiches are done when both sides are deep golden crispy, and cheese is fully melted and oozing slightly from the sandwich edges.
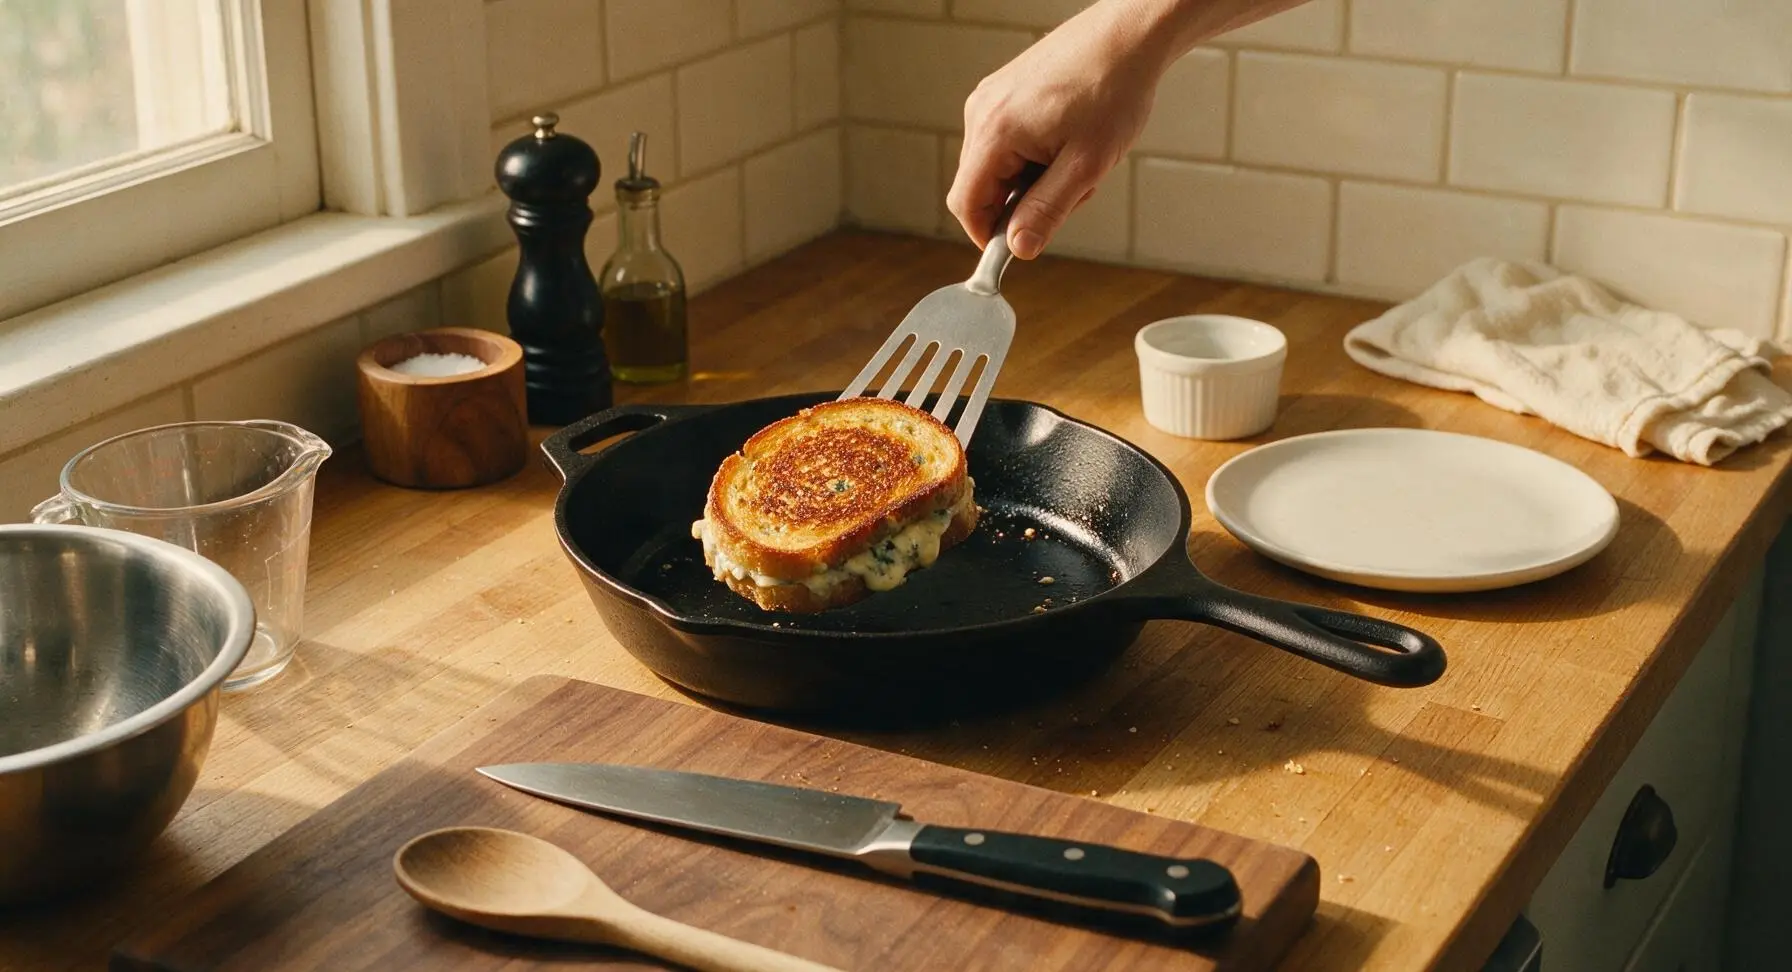
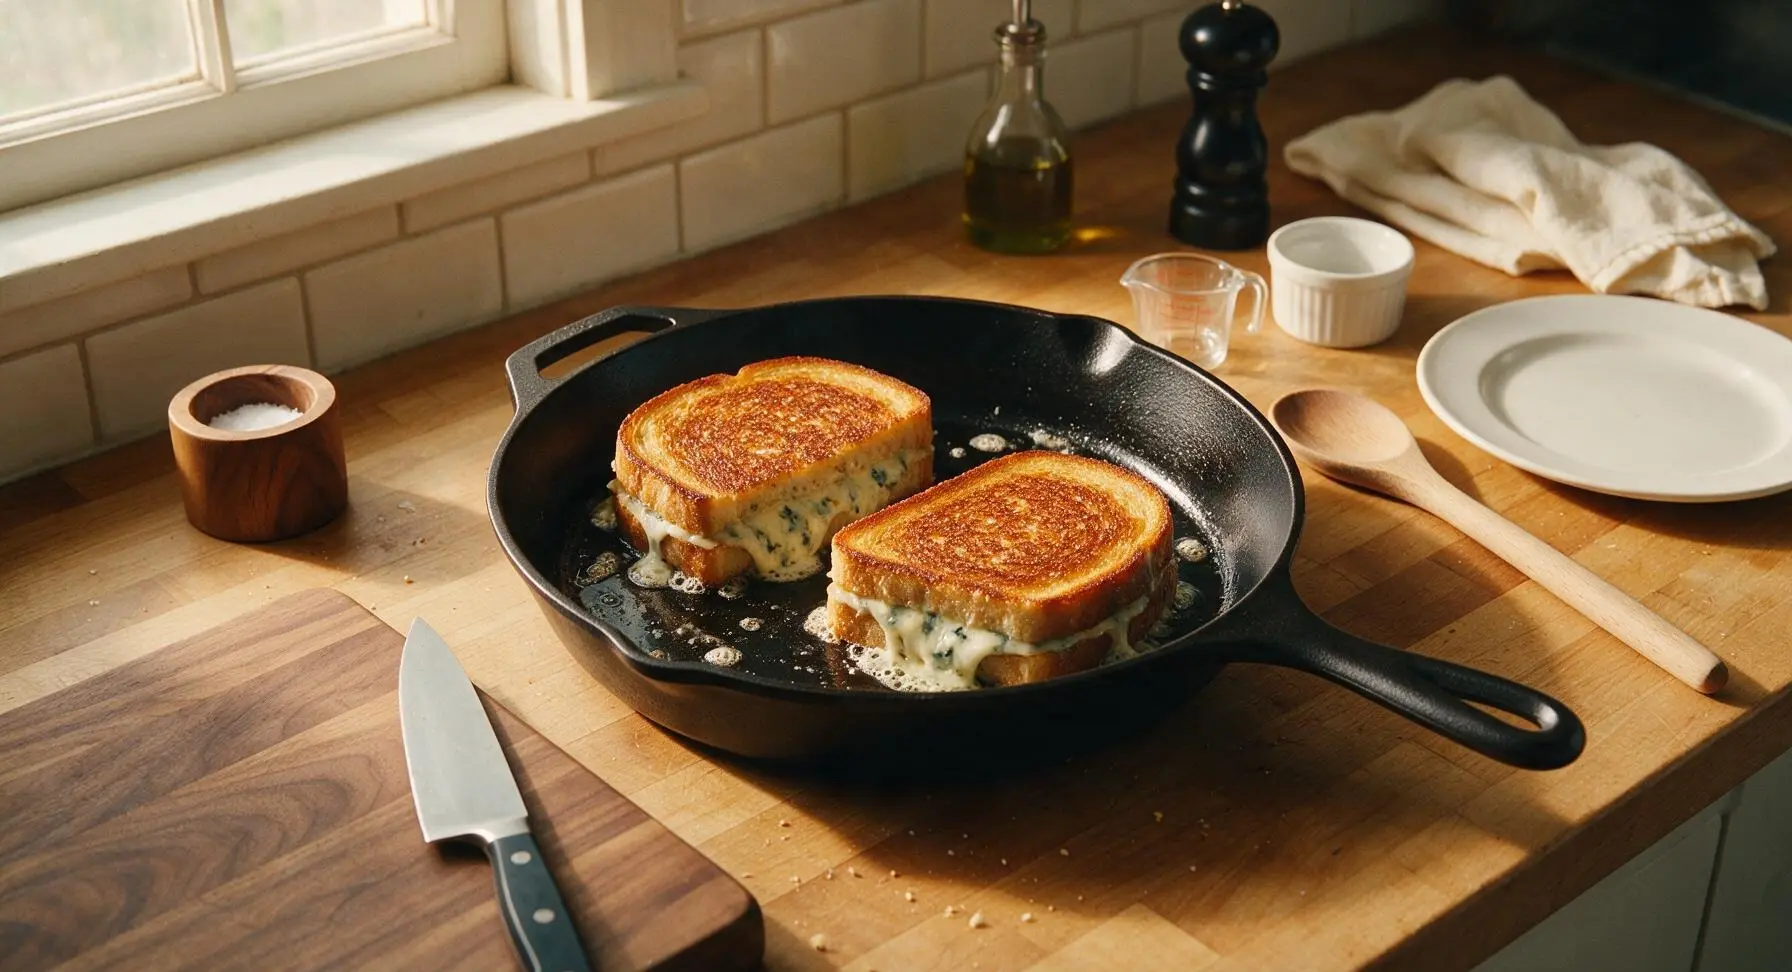
Rest and Plate
Use the slotted turner to lift the cooked sandwiches from the skillet, transferring one to each matte off-white ceramic lunch plate. Let sandwiches rest for 1 full minute to allow the melted cheese to set slightly, then cut each diagonally in half with the serrated utility knife. Tuck a small sprig of thyme next to each sandwich for garnish.
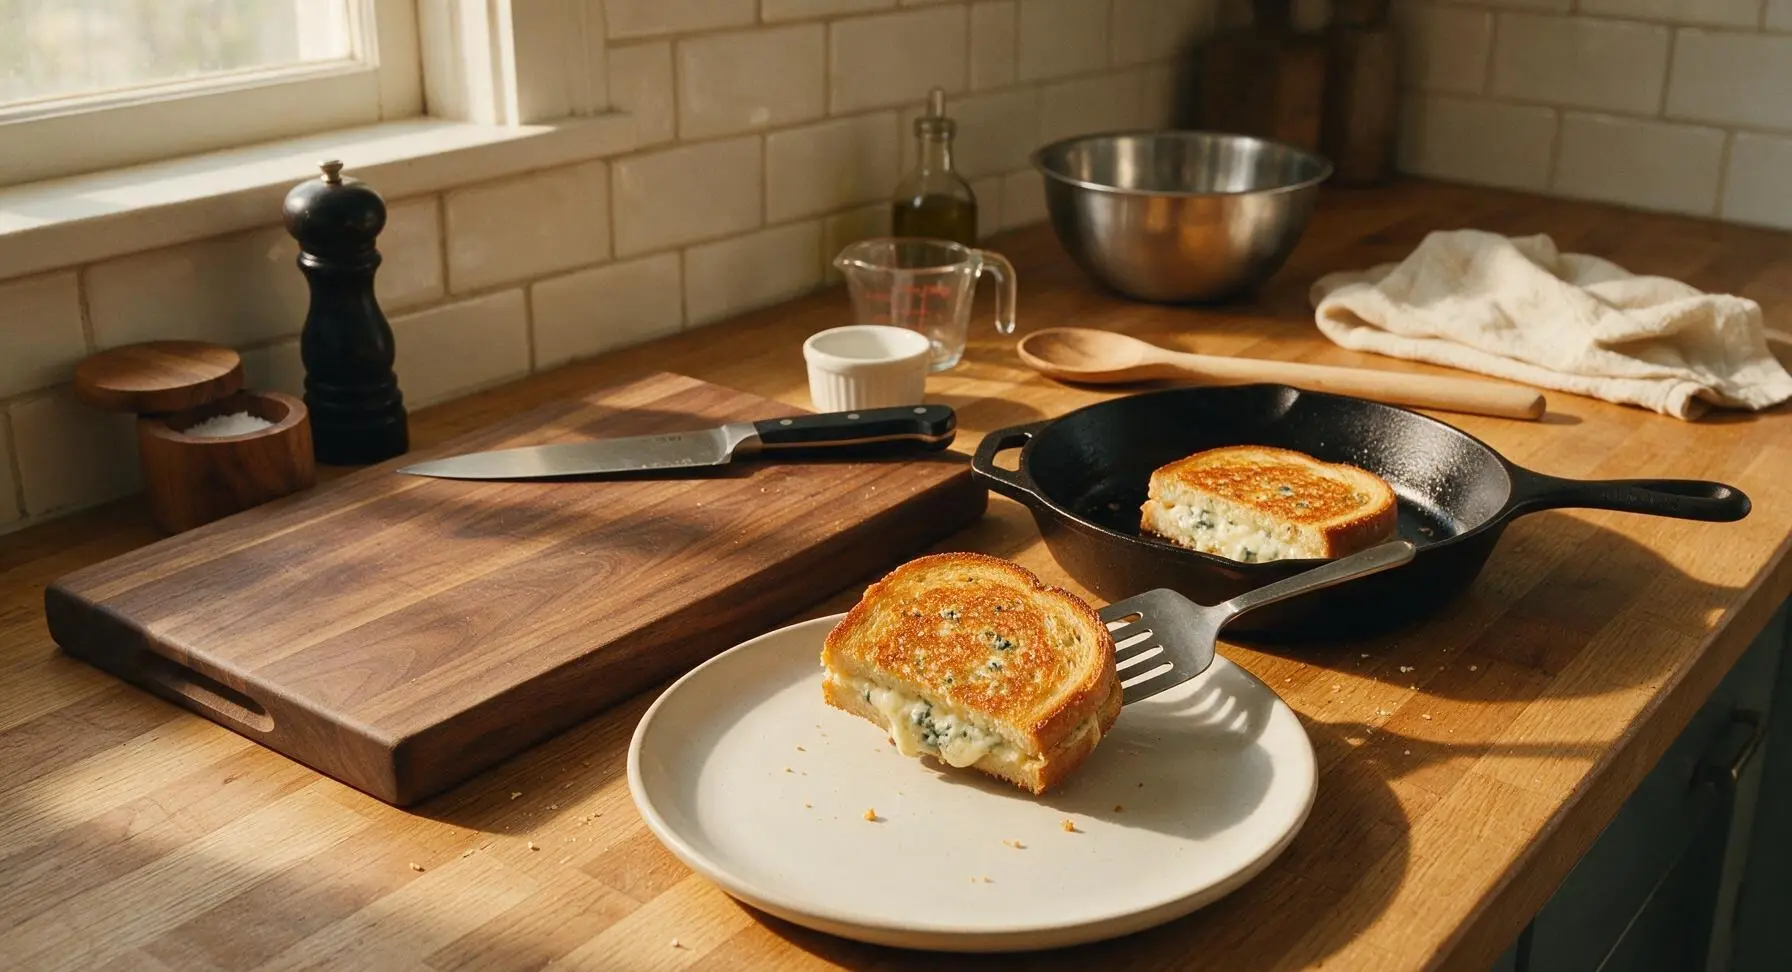
Tips
2.Keep heat at medium-low (325°F / 160°C) for the entire cook time: high heat will toast bread to a dark brown in 1-2 minutes before the cheese in the center melts, leading to burnt crusts and solid, un-melted filling.
3.Let cooked sandwiches rest for 1 full minute before cutting: cutting immediately after removing from the pan causes hot melted cheese to run out onto the plate, while a short rest lets cheese thicken slightly so it stays oozing but contained between the bread slices.






Made these for our neighborhood block party over the weekend, cut them into little bite-sized squares, and they were the first thing to disappear! Everyone was asking for the recipe, I can’t believe how big of a hit they were.
Meal prep win! I made a batch of these on Sunday to pack for school lunches all week, and the boys keep texting me from school saying their friends are jealous of their sandwiches. 100% making these for our next tailgate too!
Super easy to throw together on a busy work night! Cook time was exactly 8 minutes like the recipe said, no fuss at all. I paired mine with tomato soup and it was the perfect cozy rainy day meal.
I was so skeptical blue cheese would be too overpowering in a grilled cheese, but the ratio here is perfect! It’s tangy without being in your face, even my partner who hates stinky cheese went back for half my sandwich. Only thing I did different was use sourdough bread instead of white, highly recommend.
Tossed a little drizzle of hot honey on mine after cooking and y’all. LIFE CHANGING. The sweet heat with the tangy blue cheese is unmatched, I’ll never eat a regular grilled cheese again.
This was the first fancy-ish sandwich I’ve ever made and it turned out perfect! I was worried I’d mess up the melt, but following the cook time exactly meant the bread was crispy and the cheese was perfectly gooey. So easy even a total beginner like me can nail it.
OMG this blue cheese grilled cheese is a total game changer! I made it for my kids after soccer practice and even my pickiest 7 year old asked for seconds! I added a little extra crumbled blue cheese and a handful of arugula, SO good. 10/10 will be adding this to our weekly dinner rotation.
Quick question — can I make this on a panini press instead of a skillet? I don’t have a good non-stick pan right now and don’t wanna burn the bread.