1.How thick should bologna slices be to get that perfect crispy edge?
▾
Aim for ¼-inch thick slices, either cut fresh from the deli counter or high-quality thick-cut pre-packaged bologna. Thin deli bologna will shrivel up and burn before it develops that signature crunchy, lacy edge, while overly thick slices won’t crisp evenly on the outside before warming through. Snip small edge slits to prevent excess curling as it cooks.
2.Why does my bologna curl up into a tight cup when I fry it?
▾
Curling happens because the outer edges of the bologna heat and contract faster than the center when it hits the hot pan. The easy fix is to snip four small, ½-inch notches evenly around the perimeter of each slice before frying. It’ll lay flat, sear evenly, and you won’t end up with lopsided toppings sliding off a curved, uneven surface.
3.Can I use a different type of cheese instead of American?
▾
Absolutely, though American is classic for its ultra-creamy, mild melt that pairs perfectly with salty bologna. If you swap it, opt for good melting options like mild cheddar, provolone, or pepper jack for a little kick. Skip crumbly cheeses like feta or dry aged cheeses that won’t melt smoothly to coat the bologna for that classic diner bite.
4.Do I need to add oil to the pan to fry the bologna?
▾
You won’t need much, if any, especially if you’re using a well-seasoned cast iron or nonstick pan. Bologna renders enough natural fat as it cooks to crisp its edges without extra oil. If you’re using a stainless steel pan, add just ½ teaspoon of neutral oil like canola to prevent sticking before laying slices down over medium heat.
5.How do I get that iconic crispy, lacy edge on my fried bologna?
▾
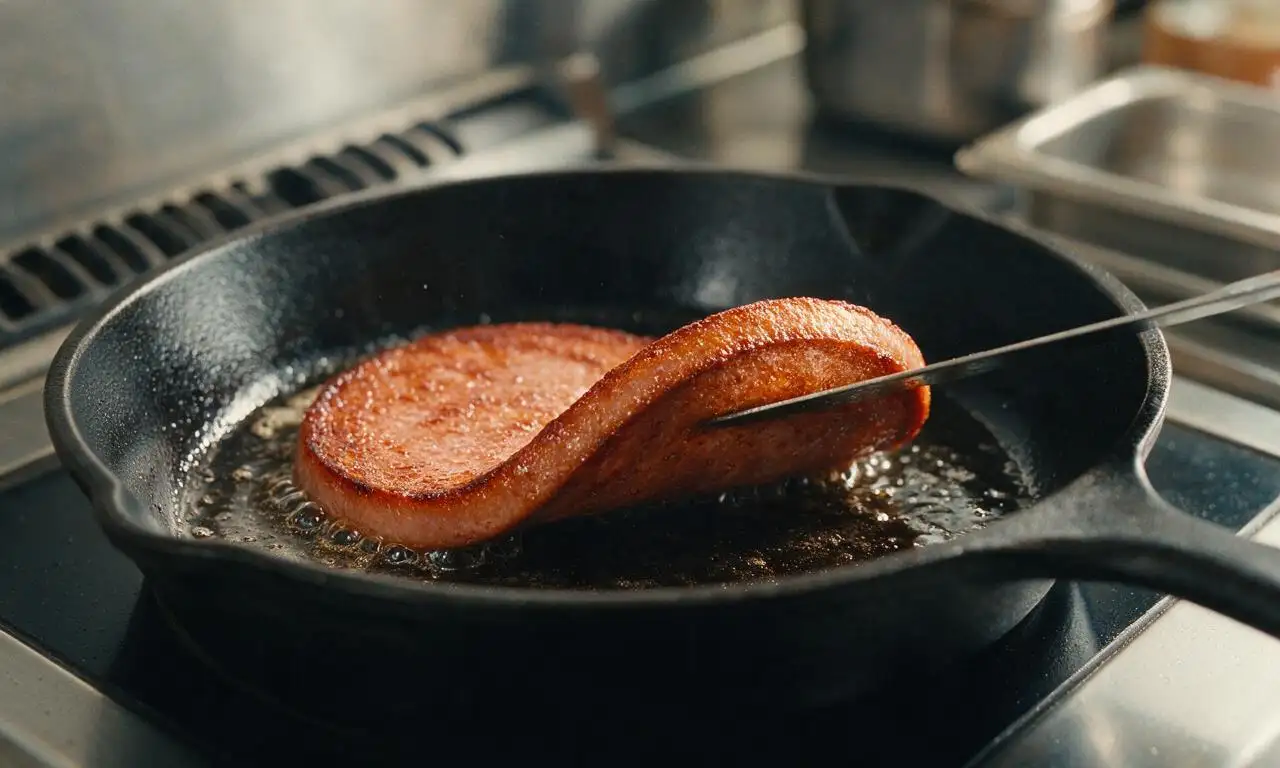
Cook bologna over steady medium heat (not high) for 2-3 minutes per side. Don’t shuffle it around once you set it in the pan—let the rendered fat fry the edges until they turn deep golden, almost lightly charred in spots. Press down gently with a spatula halfway through to ensure the whole slice makes even pan contact for consistent crunch.
6.Can I make this sandwich without mayonnaise?
▾
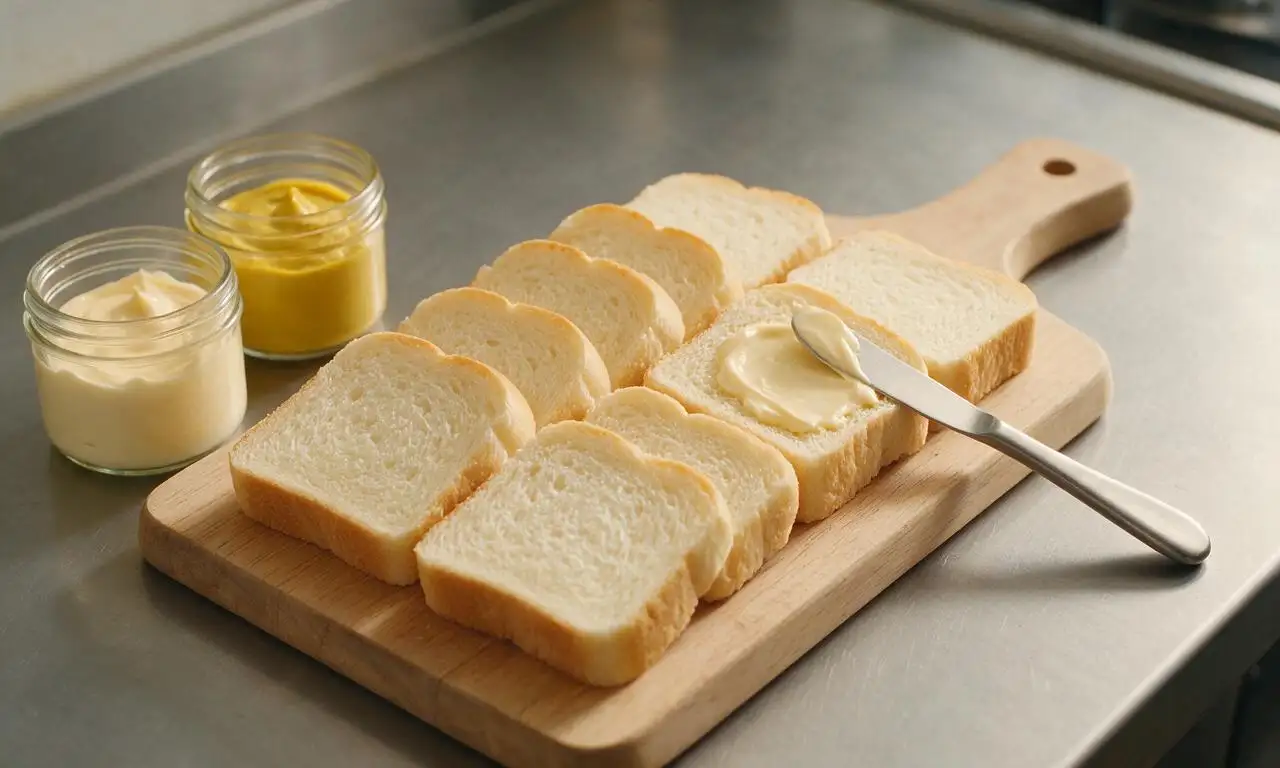
Sure, though full-fat mayo adds that rich, creamy tang that cuts through salty bologna and balances sharp yellow mustard. If you don’t like mayo, swap it for a thin spread of softened cream cheese, a light drizzle of ranch, or a little extra mustard. Just don’t leave bread completely dry, or the sandwich will feel flat and lack that classic diner mouthfeel.
7.Is it better to toast the bread before building the sandwich?
▾
For the classic version, you don’t need to toast bread separately—soft, pillowy white bread is the traditional texture that contrasts perfectly with crispy bologna. If you prefer extra crunch, toast slices lightly in residual pan fat after cooking bologna for 30 seconds per side, just don’t toast it so much it gets hard and crumbly when you bite in.
8.What heat setting should I use so my bologna doesn’t burn?
▾
Stick to steady medium heat, no higher. High heat will char the outside of bologna before it warms all the way through, and rendered fat will smoke and leave a bitter, off flavor. If your pan starts smoking before you add bologna, turn the heat down a touch and let it cool 30 seconds to avoid that acrid taste on your finished sandwich.
9.Can I use regular thin-sliced bologna if that’s all I have?
▾
You can, but adjust your cooking time to 60-90 seconds per side so it doesn’t burn or shrivel into a tiny, tough crisp. Thin bologna won’t have that same satisfying, meaty bite as thick-cut, but it will still get crispy. Use two slices per sandwich to bulk it up so it doesn’t get lost between the bread, cheese, and condiments.
10.What add-on toppings work well with this classic sandwich?
▾
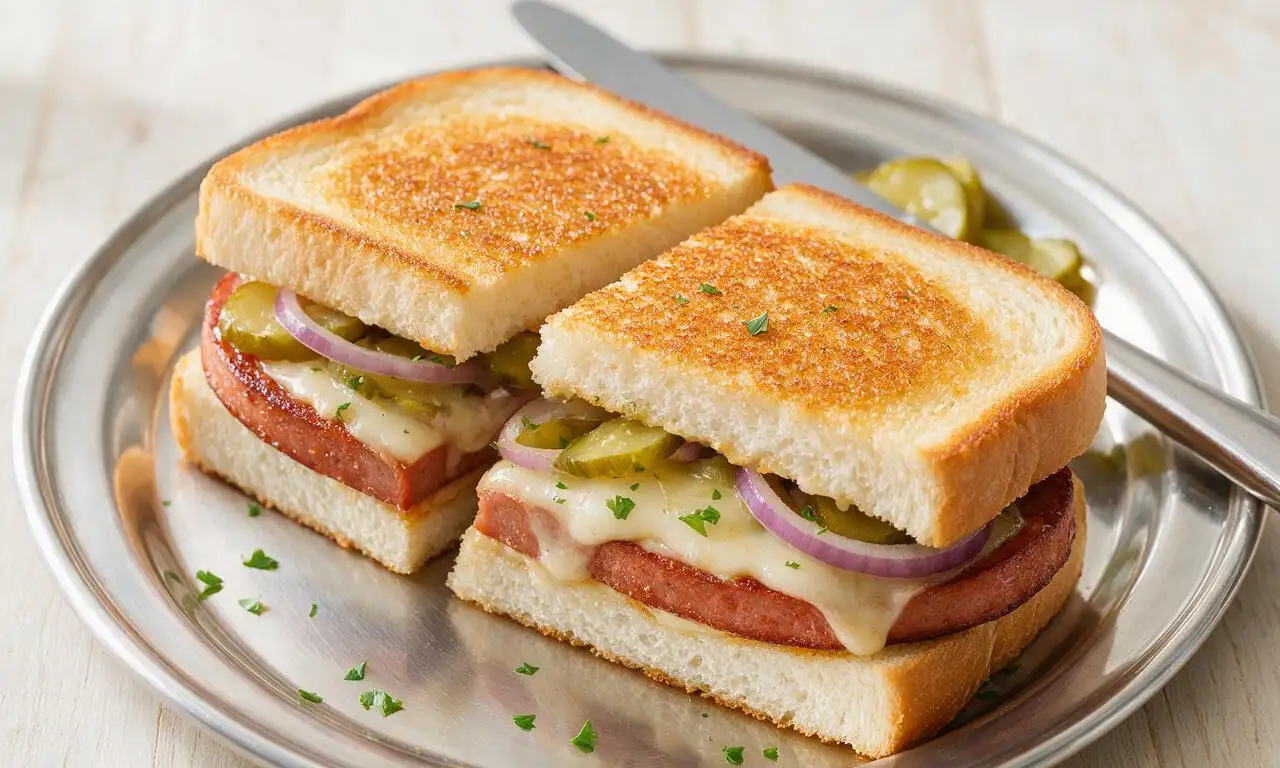
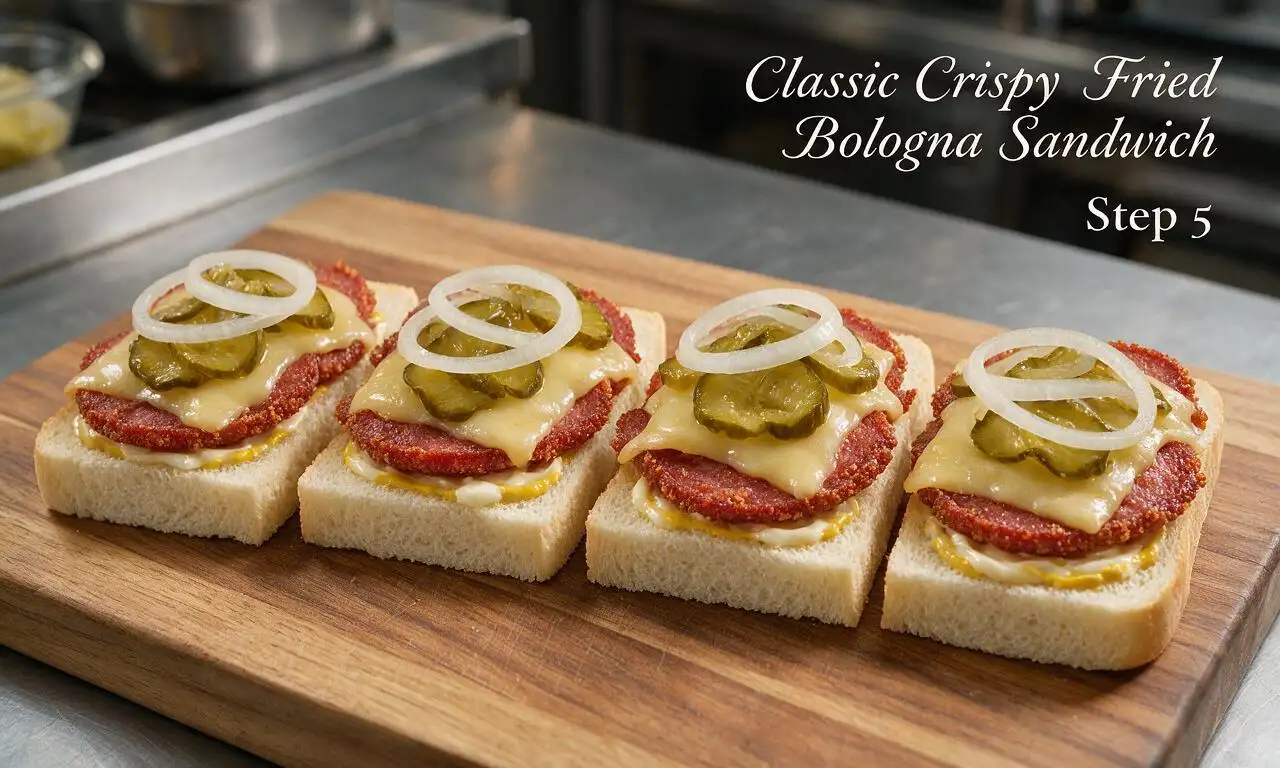
Stick to diner-style classics to keep the vibe right: thin-sliced dill pickles, a sprinkle of diced white onion, a slice of ripe tomato, or a dash of hot sauce all work beautifully. Avoid heavy, wet toppings like chunky salsa or creamy coleslaw that will make bread soggy fast, and skip strongly flavored toppings that overpower the simple, salty bologna.
11.How do I keep the sandwich bread from getting soggy?
▾
The easiest trick is to spread your mayo and mustard all the way to the edges of both bread slices to create a moisture barrier. Build the sandwich right after bologna finishes cooking, and don’t let greasy, hot bologna sit directly on bare bread without that condiment layer, or rendered fat will soak through and leave mushy, soggy spots.
12.Can I make this sandwich ahead of time for meal prep?
▾
This sandwich is best eaten immediately after cooking, when bologna is crispy and cheese is fully melted. If you need to prep ahead, you can pre-slit your bologna slices and portion condiments, but don’t cook bologna or assemble the sandwich until right before you eat—reheated bologna gets rubbery, and assembled sandwiches turn soggy in the fridge in under an hour.
13.Why do recipes recommend cutting slits in bologna before frying?
▾
Those small edge slits (or four even notches around the perimeter) stop bologna from curling tightly as it cooks, so it lays flat in the pan and sears evenly across the whole surface. Without those cuts, contracting meat will form a tight cup shape that makes it hard to melt cheese evenly, and leads to chewy, unevenly cooked spots instead of uniform crisp edges.
14.Can I fry bologna in butter instead of oil for extra flavor?
▾
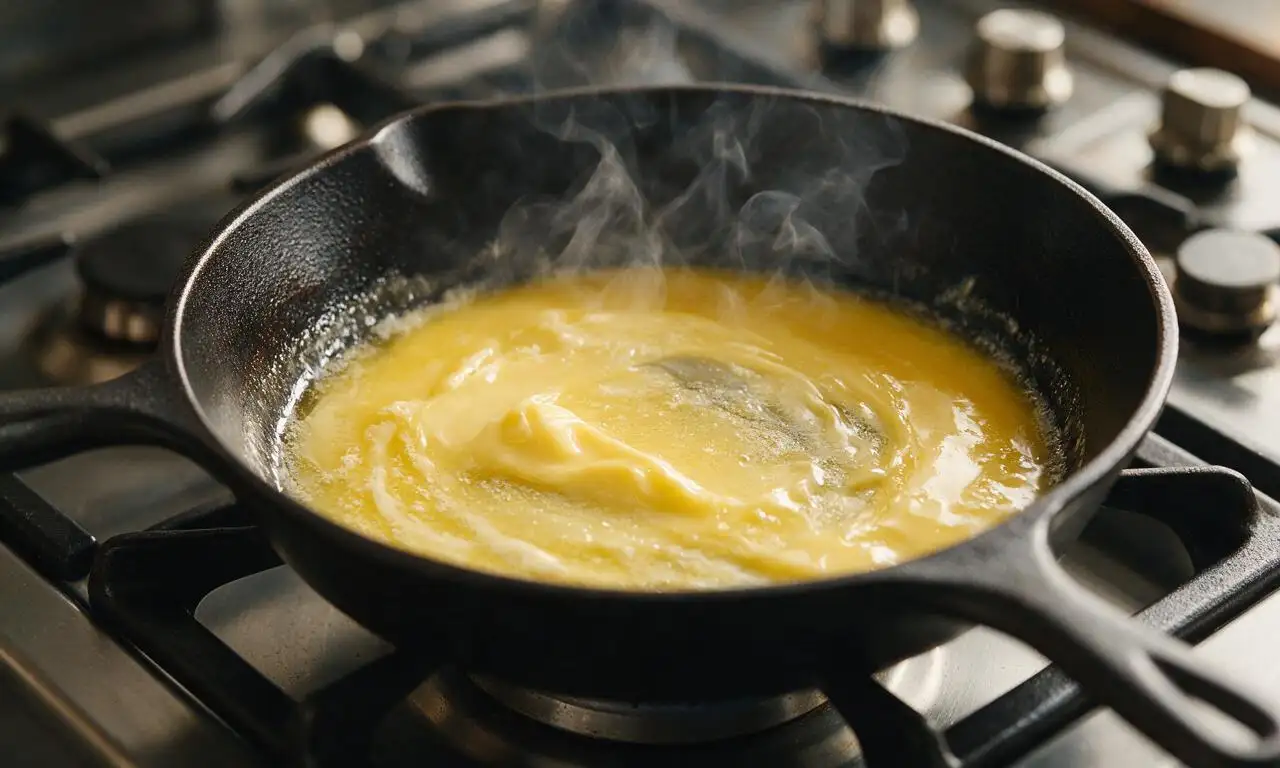
You can, but use a mix of half butter and half neutral oil to keep the butter from burning too fast. Butter adds a rich, nutty flavor that pairs beautifully with bologna, but it has a low smoke point, so straight butter will brown and turn bitter before bologna gets fully crispy. Keep heat a touch lower if using butter to avoid that burnt aftertaste.
15.How do I get the cheese perfectly melted on top of the bologna?
▾
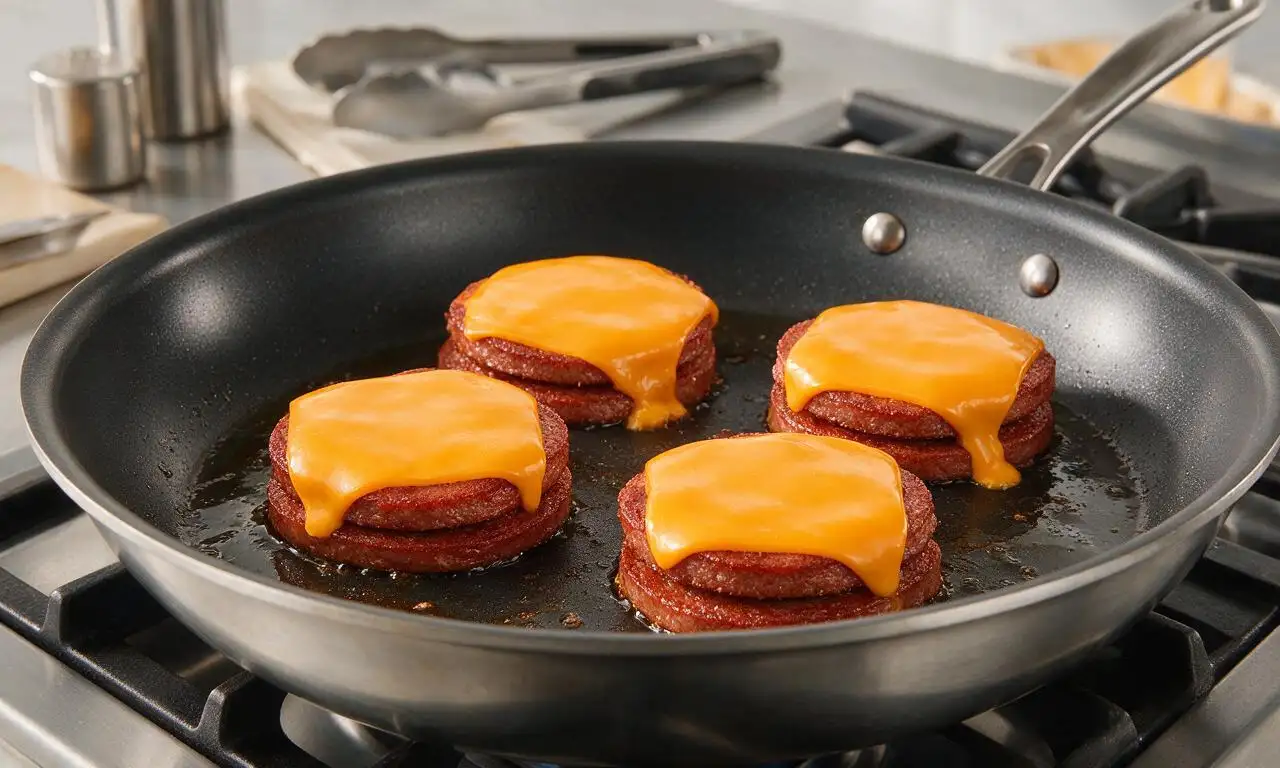
As soon as you flip bologna to cook its second side, lay a slice of American cheese directly on the already cooked top. Residual heat from the bologna will start melting the cheese in 60-90 seconds as the second side crisps. If cheese isn’t fully melted when bologna is done, turn heat to low and cover the pan for 10 seconds to trap steam for even melting.
16.Is there a non-pork bologna option that works for this recipe?
▾
Absolutely—turkey bologna or all-beef bologna work just as well as traditional pork bologna, as long as you get it cut to ¼-inch thickness. The cooking method stays exactly the same, though you may need to add a tiny extra splash of oil if your turkey bologna is extra lean and doesn’t render much fat, to help get crispy edges without sticking.
17.What bread works best if I don’t have soft white sandwich bread?
▾
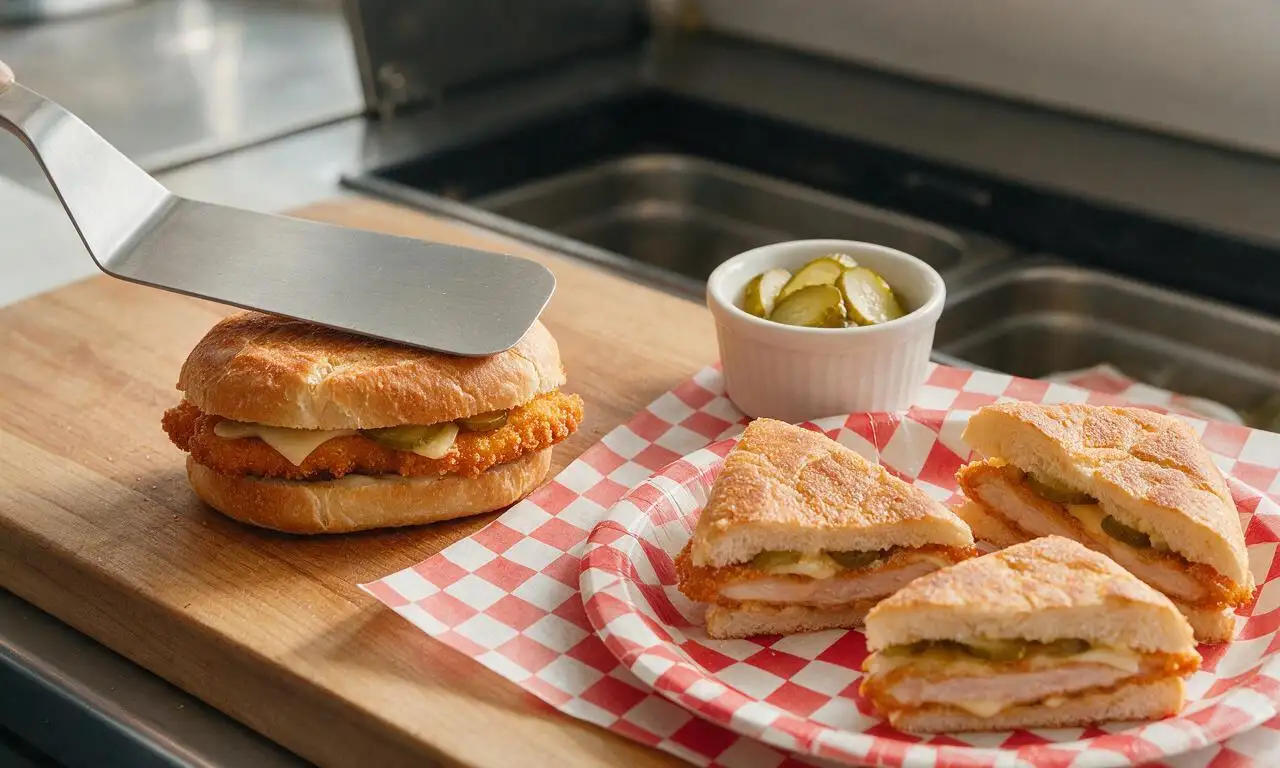
Stick to soft, mild-tasting breads to stay true to the classic diner vibe: try soft sourdough sandwich bread, potato bread, or even soft Hawaiian rolls for mini slider versions. Avoid crusty artisanal loaves or seedy whole grain breads, which are too dense and strongly flavored to complement the simple, salty bologna and creamy melted cheese.
18.What’s the total cook time for bologna to get perfectly crispy?
▾
Plan for 4 to 5 minutes of total cook time per slice over medium heat. Cook the first side for 2 to 2.5 minutes until edges are deep golden and lacy, flip it, add your cheese, and cook the second side for another 1.5 to 2 minutes. Don’t undercook it—you want deeply crisp edges, not just warmed meat, for that iconic nostalgic bite.







OMG I haven’t had a fried bologna sandwich since I was a kid visiting my grandma in Ohio! Made this for my kids’ after school snack today and they BEGGED for seconds. I added a little extra American cheese and a slather of mayo, just like she used to, and it was perfect for a quick 10 minute meal. Total nostalgia bomb, SO good.
Game changer for work from home lunches! I thought this would be too plain but frying the bologna until the edges get all crispy and curled? *Chef’s kiss* I keep packs of bologna in the fridge now for when I don’t feel like spending forever cooking. Way better than boring old turkey sandwiches. Only thing I did different was add a dash of hot sauce on mine.
Brought these to our neighborhood block party potluck last weekend and they were the first thing gone! I cut the bologna into sliders on Hawaiian rolls and topped with a little pickles and mustard, people kept coming back to ask for the recipe. Who knew such a simple, cheap sandwich could be such a hit? 10/10, will be making these for every casual get together from now on.
Bro this is the easiest best meal I’ve made all semester. I’m on a super tight meal plan budget and bologna is like $2 a pack, I can make a whole week of these for less than the cost of one takeout burger. Only problem is I burned the first two slices because I had the heat too high lmao, turned it down to medium and they got perfectly crispy no burn.
I’ve been making these for 50 years and I still learned a little trick from this recipe! Cutting that little slit in the bologna so it doesn’t puff up in the pan? Why didn’t I think of that before? No more chasing puffed up bologna slices around the skillet with my spatula. Served mine on white bread with yellow mustard and dill pickles, just like I did when I was working construction in the 70s. Perfect every time.
SO good! I used spicy bologna from my local deli, fried it up extra crispy, added pepper jack cheese, pickled jalapeños, and a chipotle mayo, and it was out of this world. 10 minute cook time is perfect for busy weeknights when I get home late from the gym and don’t want to put a ton of effort into dinner. Will absolutely be adding this to my regular rotation.
Made these for a lazy Sunday brunch last weekend alongside some tater tots and mimosas, and my partner said it’s the best brunch I’ve ever made? Like, who knew fried bologna would be the star of brunch? I used sourdough bread instead of plain white and added a fried egg on top, it was chef’s kiss. So crispy, so flavorful, zero complaints.
Wait I’ve never had a fried bologna sandwich before and I was so skeptical, but this was so easy to make even as someone who burns toast half the time? It came out perfectly crispy, I added mayo and a slice of tomato, and my roommate walked in and immediately asked me to make her one too. 10 minutes total, zero fancy ingredients, this is gonna be a new staple for me for sure.