
Bread Machine Dinner Rolls (Taste of Home)

title 1
Bread Machine Dinner Rolls (Taste of Home)
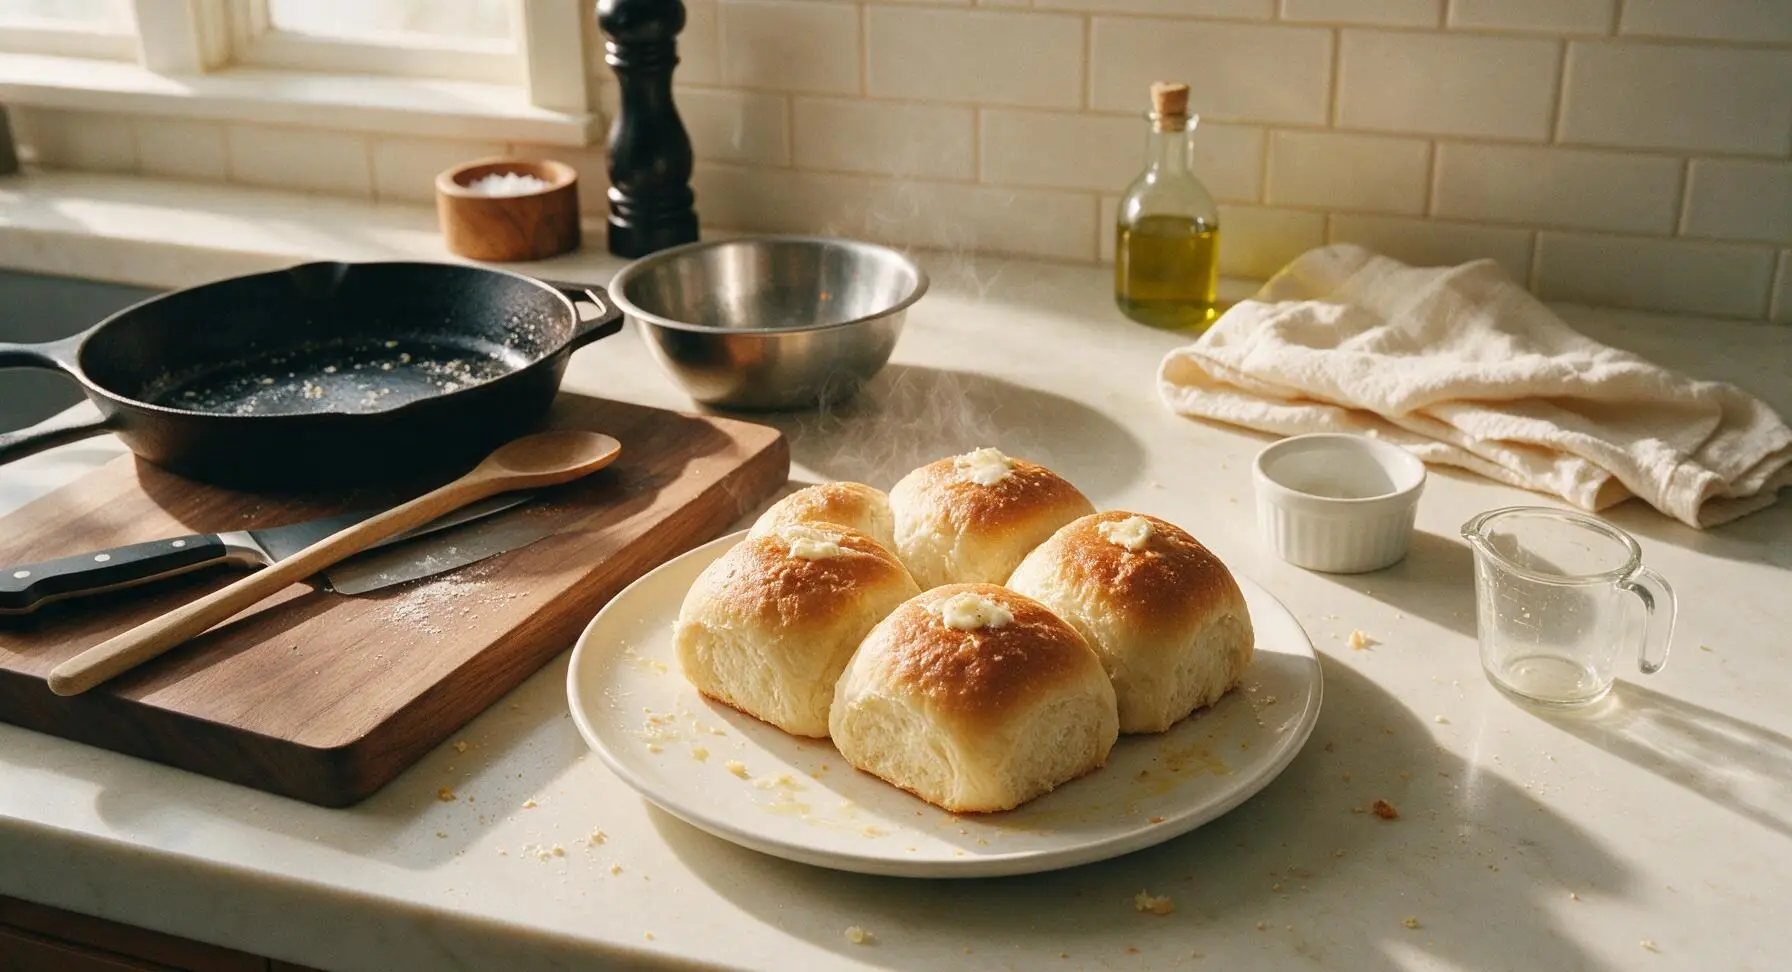
⏱️ cook time 15 minutes
🍽️ servings 15
⚡ Difficulty easy

intro

Soft, fluffy, buttery homemade dinner rolls with zero hand-kneading, made simple with a bread machine. Perfect for sopping up gravy and passing around the Sunday family table.

Ingredients
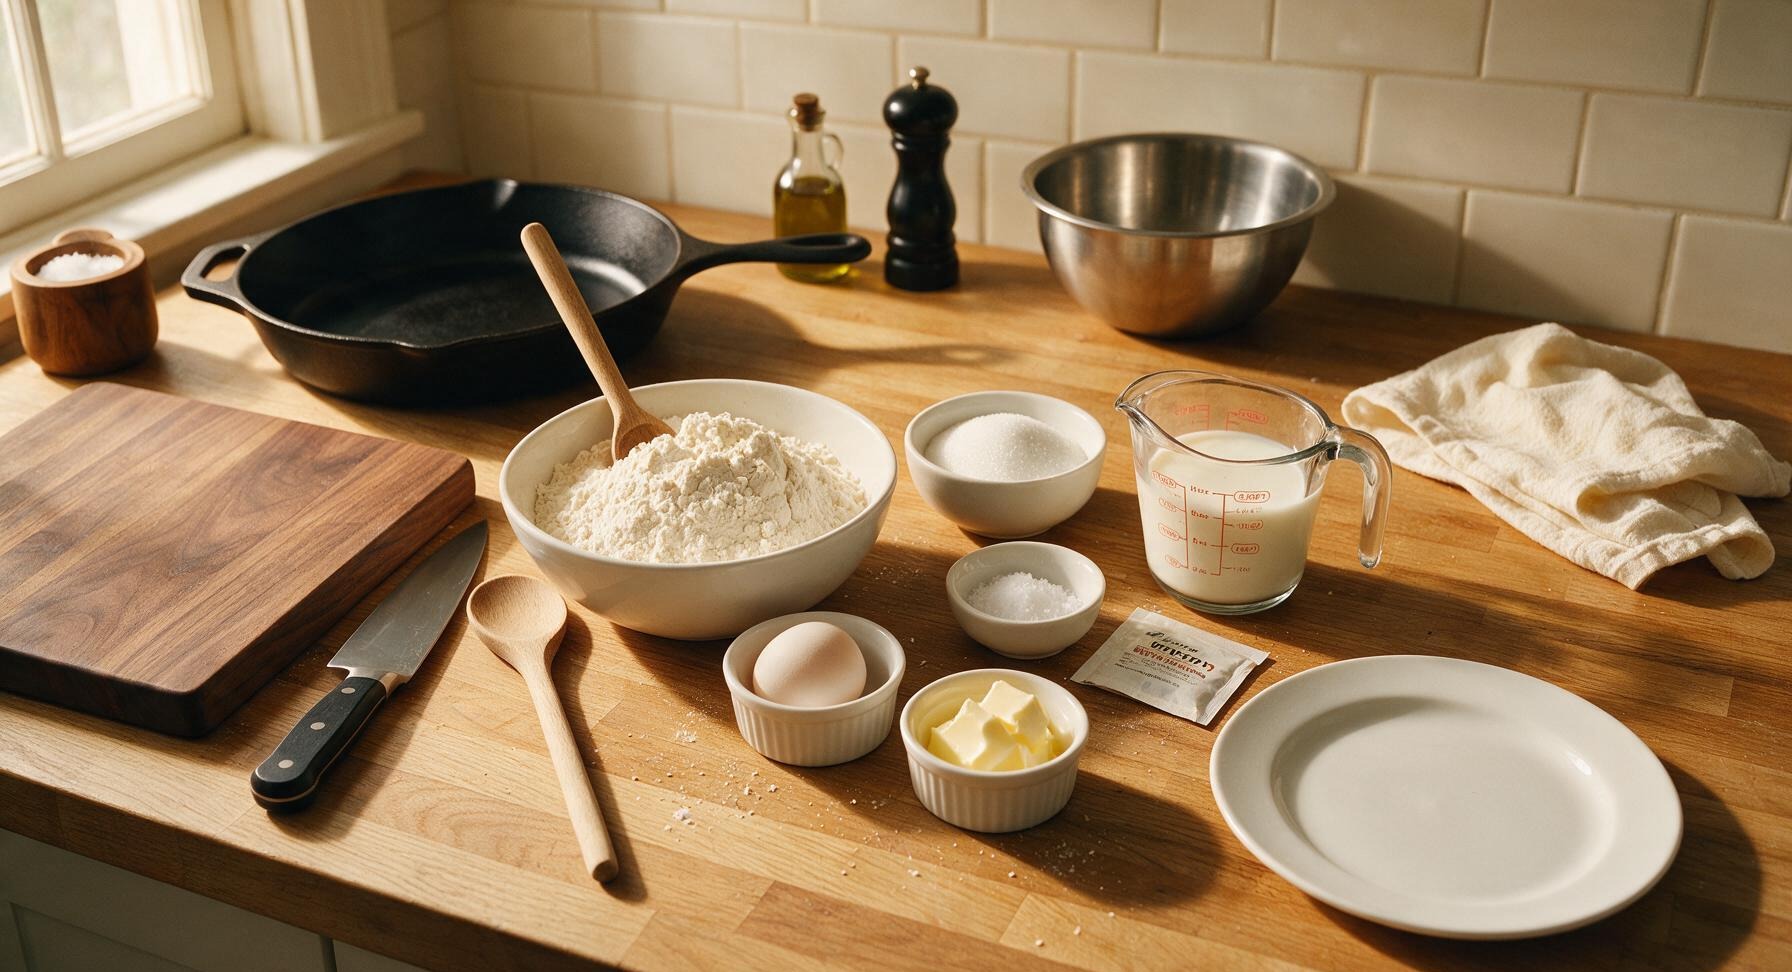
Bread flour 4 cups (480g)
Whole milk 1 cup (240ml, warmed to 110°F)
Unsalted butter 1/2 cup (113g, softened, divided)
Granulated sugar 1/4 cup (50g)
Large eggs 2, room temperature
Fine sea salt 1 teaspoon
Active dry yeast 2 1/4 teaspoons (1 standard 7g packet)

Steps

1

Add Ingredients to Machine

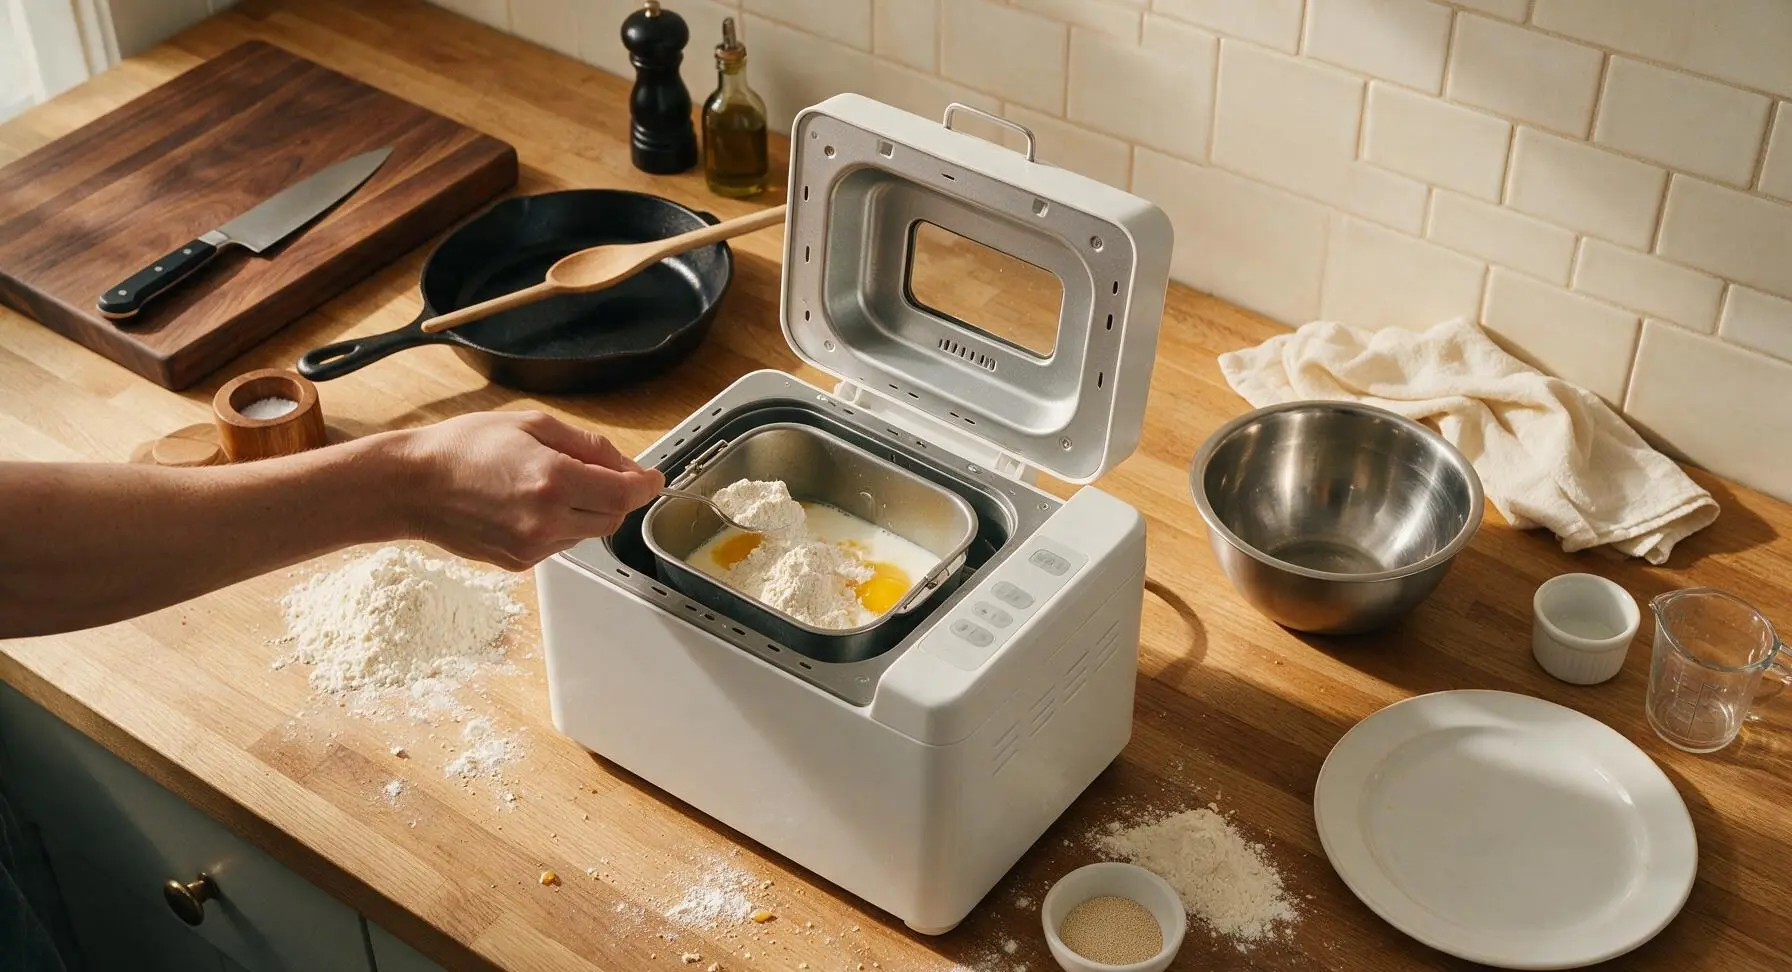
First, confirm the stainless steel bread pan is securely clicked into the matte white bread machine. Add ingredients in the order specified by your machine’s manual (for most models, wet ingredients first: 110°F warm milk, 1/4 cup (57g) softened butter, sugar, lightly beaten eggs, followed by salt, then bread flour spooned evenly across the wet ingredients. Make a small 1-inch deep well in the center of the flour, and pour the yeast into the well to prevent it from touching wet ingredients before mixing. Close the machine lid.
Step 1
step1:Add Ingredients to Machine
2

Run Dough Cycle

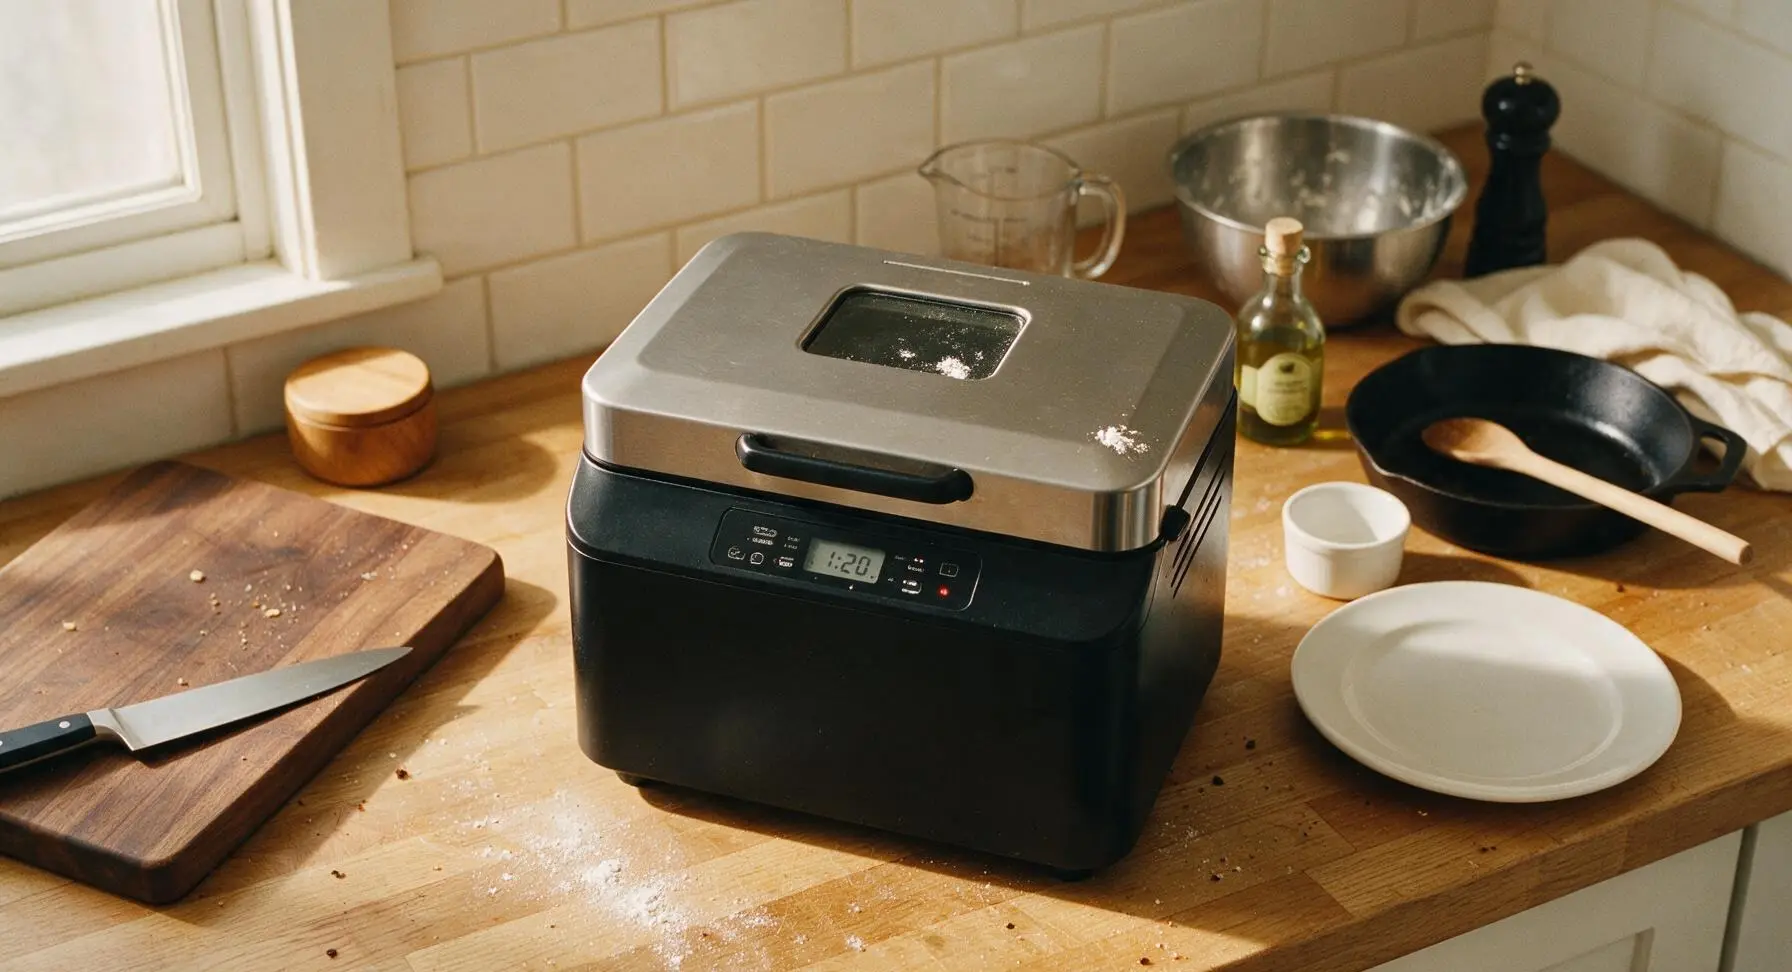
Select the 'dough' setting on the bread machine, which will automatically mix, knead, and complete the first rise of the dough over 1 hour 30 minutes. After the first 10 minutes of kneading, briefly lift the lid to check dough consistency: it should form a soft, smooth ball that pulls cleanly away from the pan sides, not sticky or crumbly. Add 1 teaspoon extra flour if the dough is sticky and clinging to the pan, or 1 teaspoon extra warm milk if the dough is stiff and crumbly. Close the lid and allow the full cycle to complete.
Step 2
step2:Run Dough Cycle
3

Grease Baking Dish

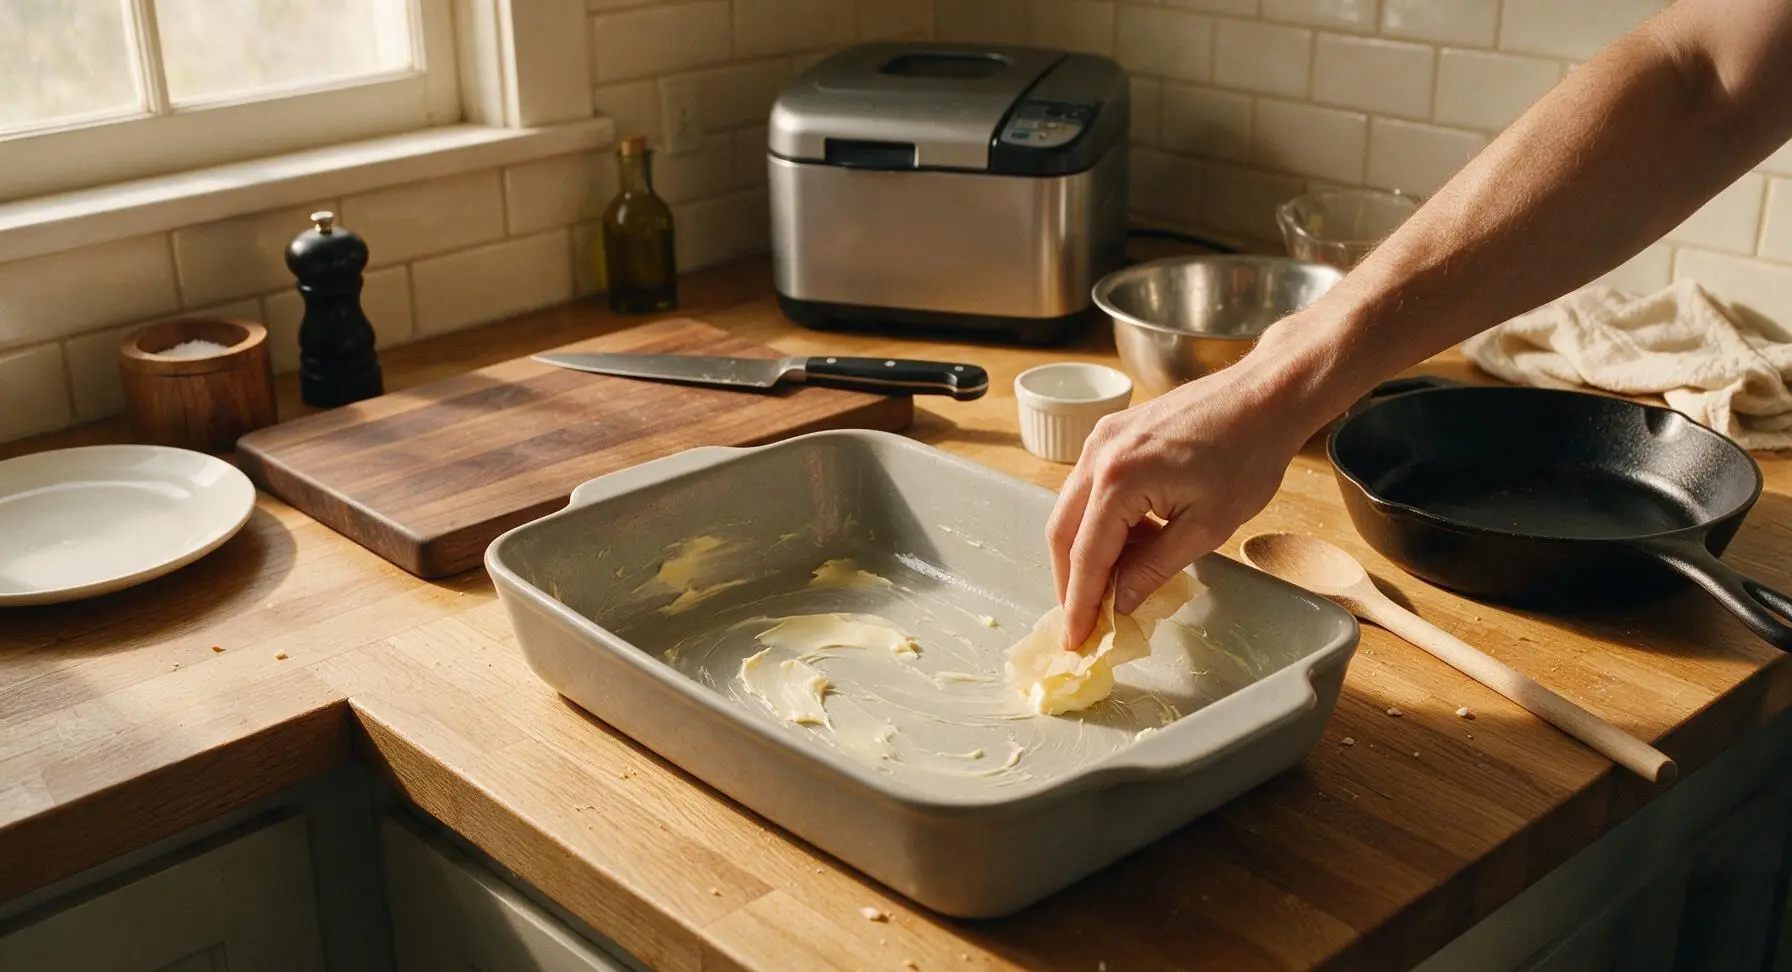
When the dough cycle has 10 minutes remaining, use 1 tablespoon of softened butter to generously coat the entire interior (bottom and all sides) of the 9x13 inch matte light gray ceramic baking dish, ensuring no dry spots remain to prevent rolls from sticking. Set the greased dish on the counter within arm’s reach of the bread machine, ready for shaped rolls.
Step 3
step3:Grease Baking Dish
4

Shape Dough into Rolls

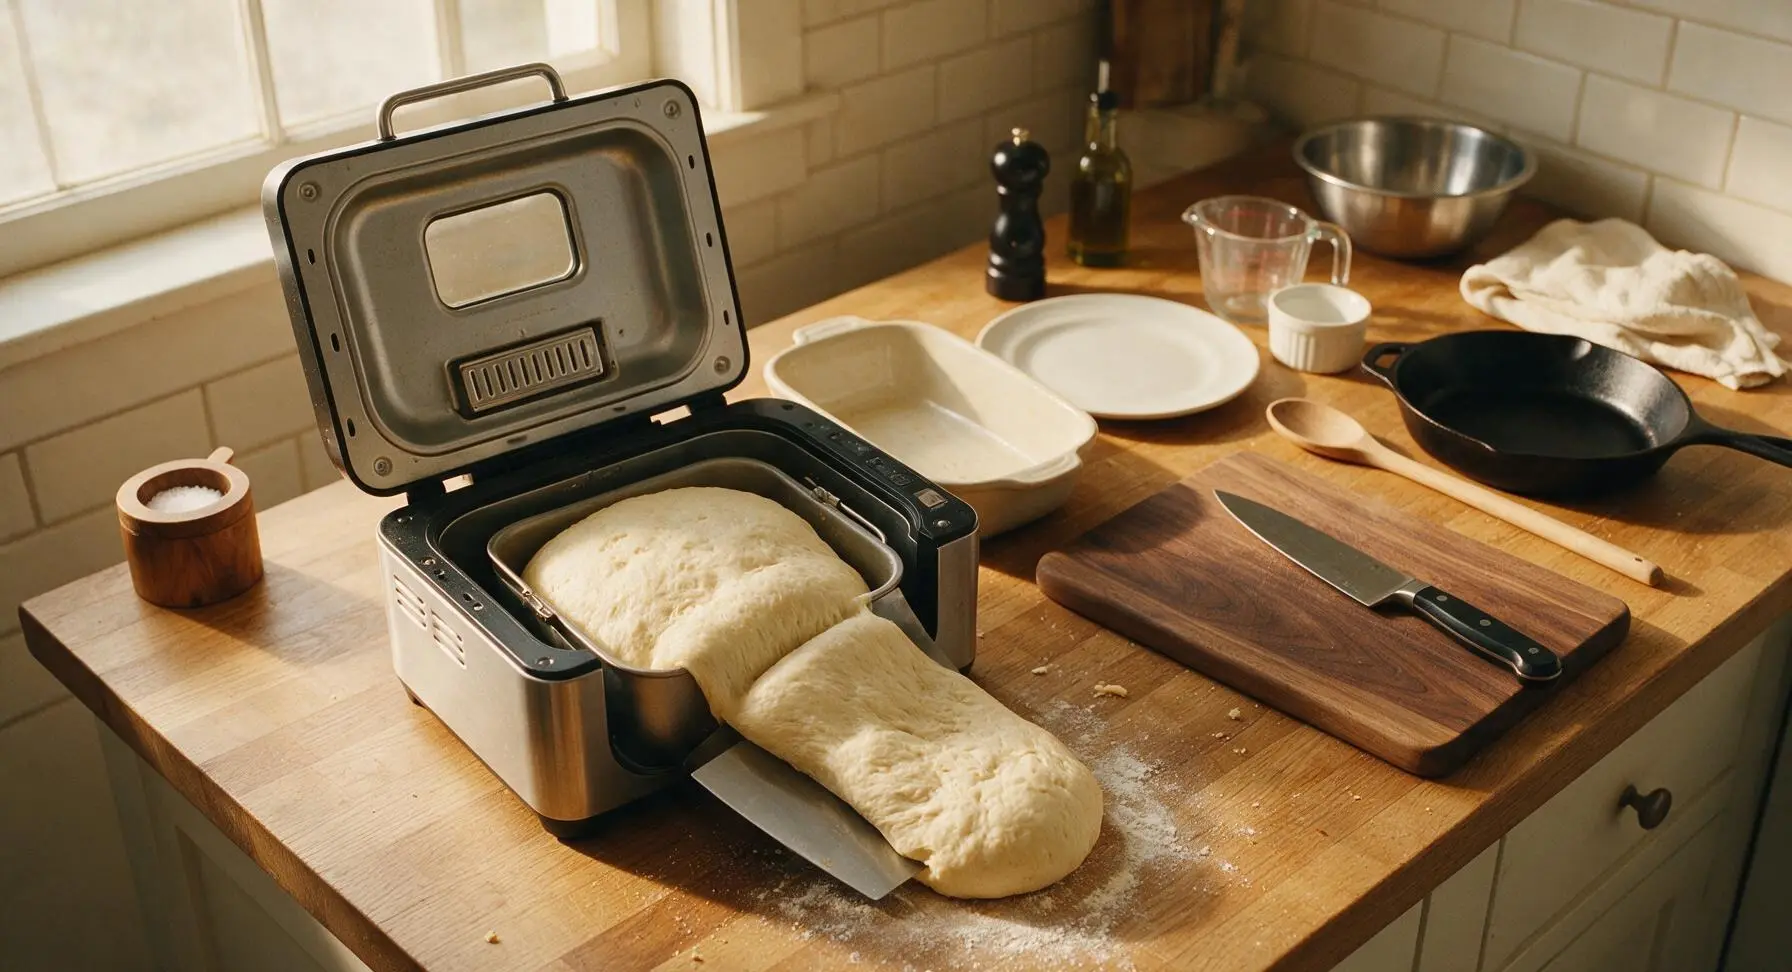
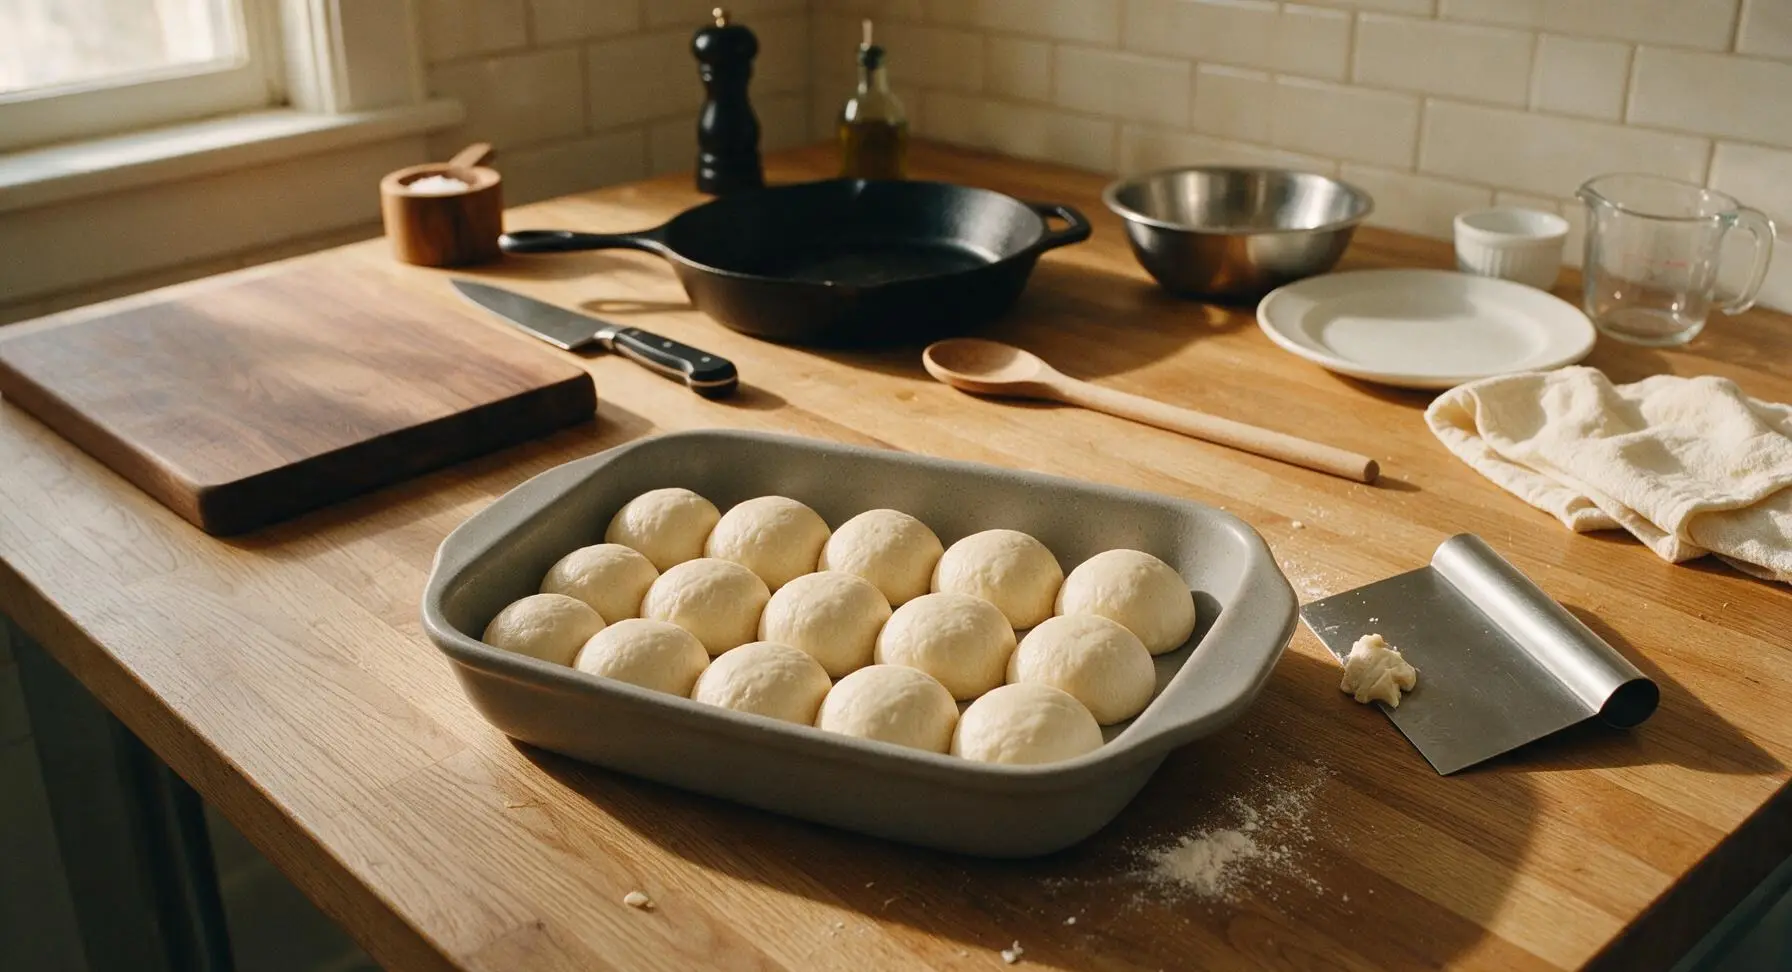
When the dough cycle completes, open the bread machine lid. Use the 6-inch stainless steel dough scraper to gently lift the soft, doubled-in-size dough out of the pan onto a lightly floured section of the counter. Punch the dough firmly to release all trapped air bubbles, then divide it into 15 equal pieces (each ~55g, roughly golf-ball sized). Roll each piece between your palm and the counter to form tight, smooth round balls, arranging them evenly spaced in 3 rows of 5 in the greased baking dish.
Step 4
step4:Shape Dough into Rolls
Step 4
step4:Shape Dough into Rolls
5

Let Rolls Rise

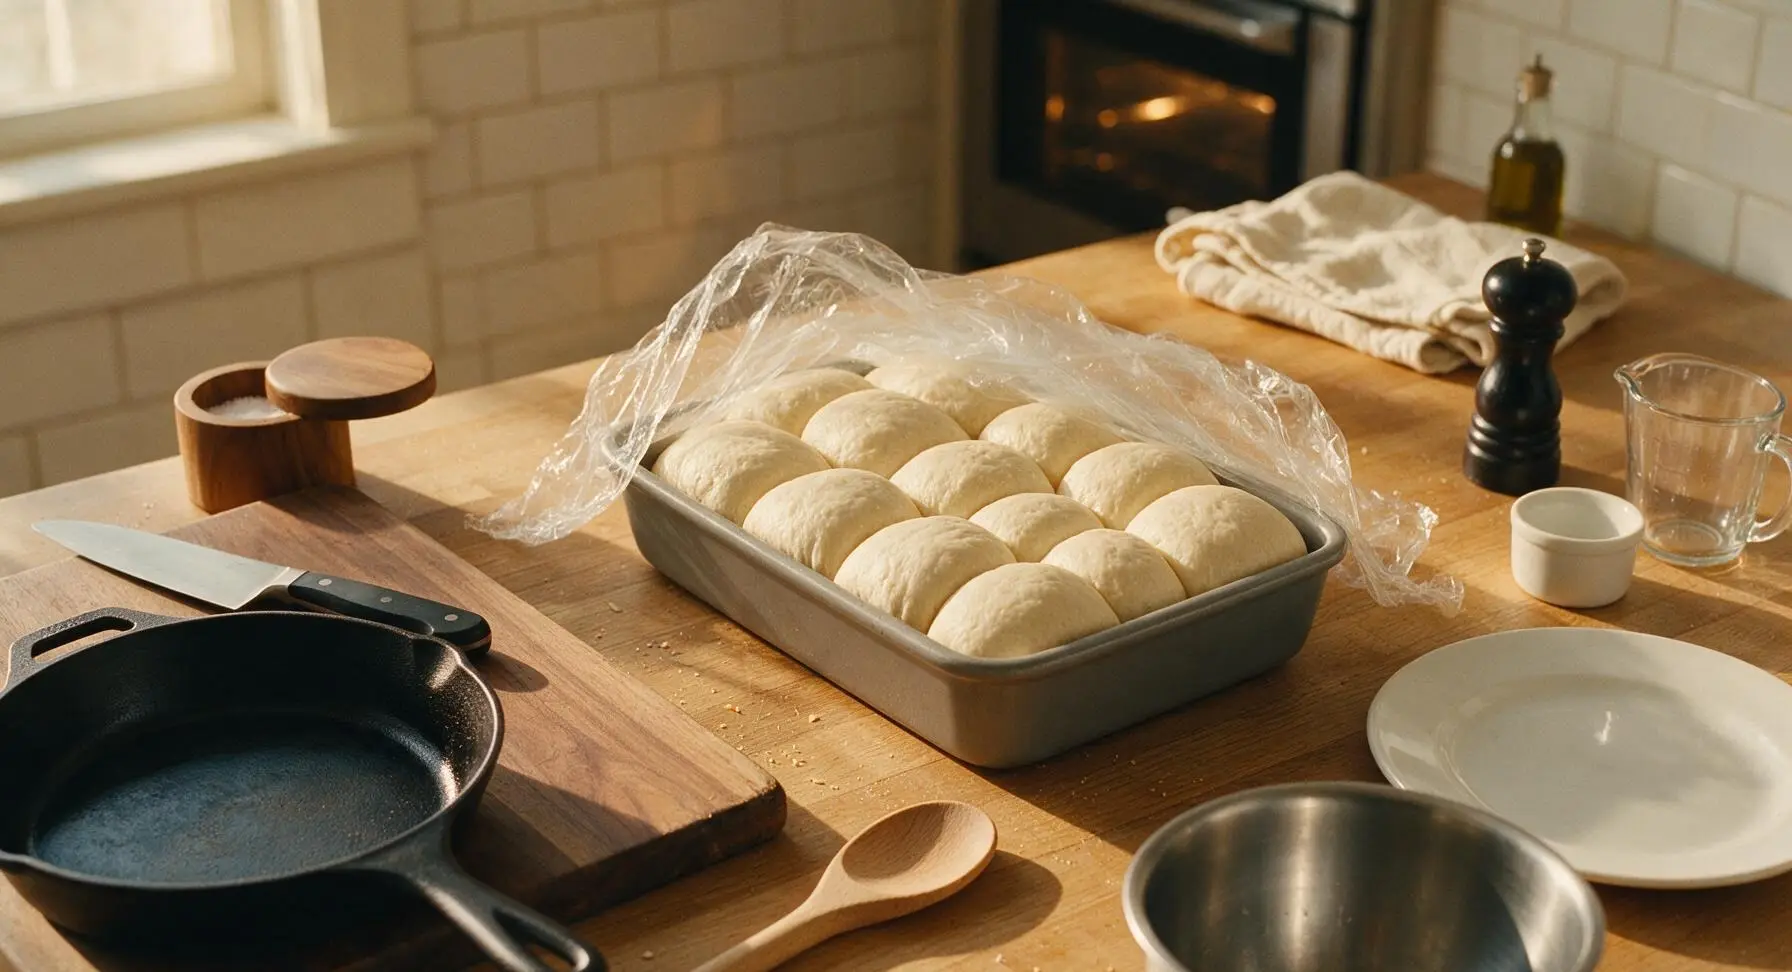
Cover the baking dish of shaped rolls loosely with a sheet of lightly greased plastic wrap. Set the dish in a warm, draft-free spot on the counter (75-80°F ideal) and let rise for 25-30 minutes, until rolls are doubled in size, puffed above the dish rim, and pressing against one another with no gaps between them. Halfway through the rise time, preheat your oven to 375°F (190°C) with a rack positioned in the center.
Step 5
step5:Let Rolls Rise
6

Bake Until Golden

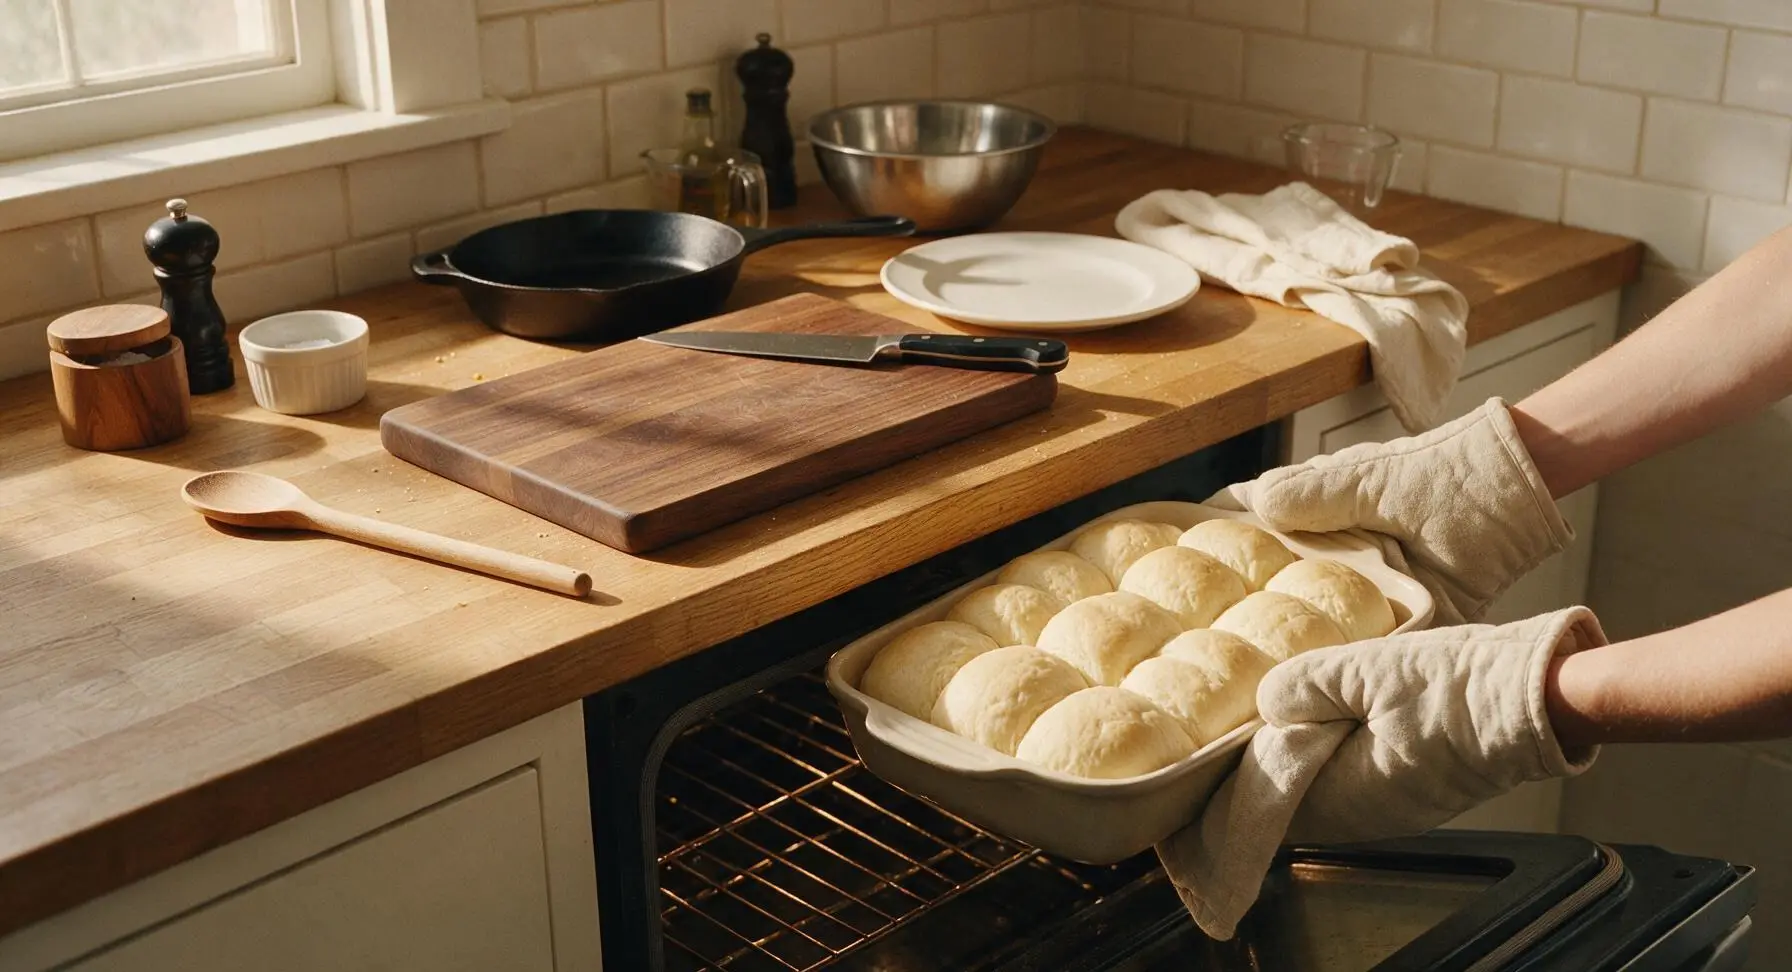
Once rolls are fully risen, carefully remove the plastic wrap. Place the baking dish on the center rack of the preheated 375°F oven. Bake for 12-15 minutes, until the tops are an even deep golden brown, and the internal temperature of a center roll reads 190°F (88°C) on an instant-read thermometer. Avoid overbaking, as this will result in dry, crumbly rolls.
Step 6
step6:Bake Until Golden
7

Butter and Cool Briefly

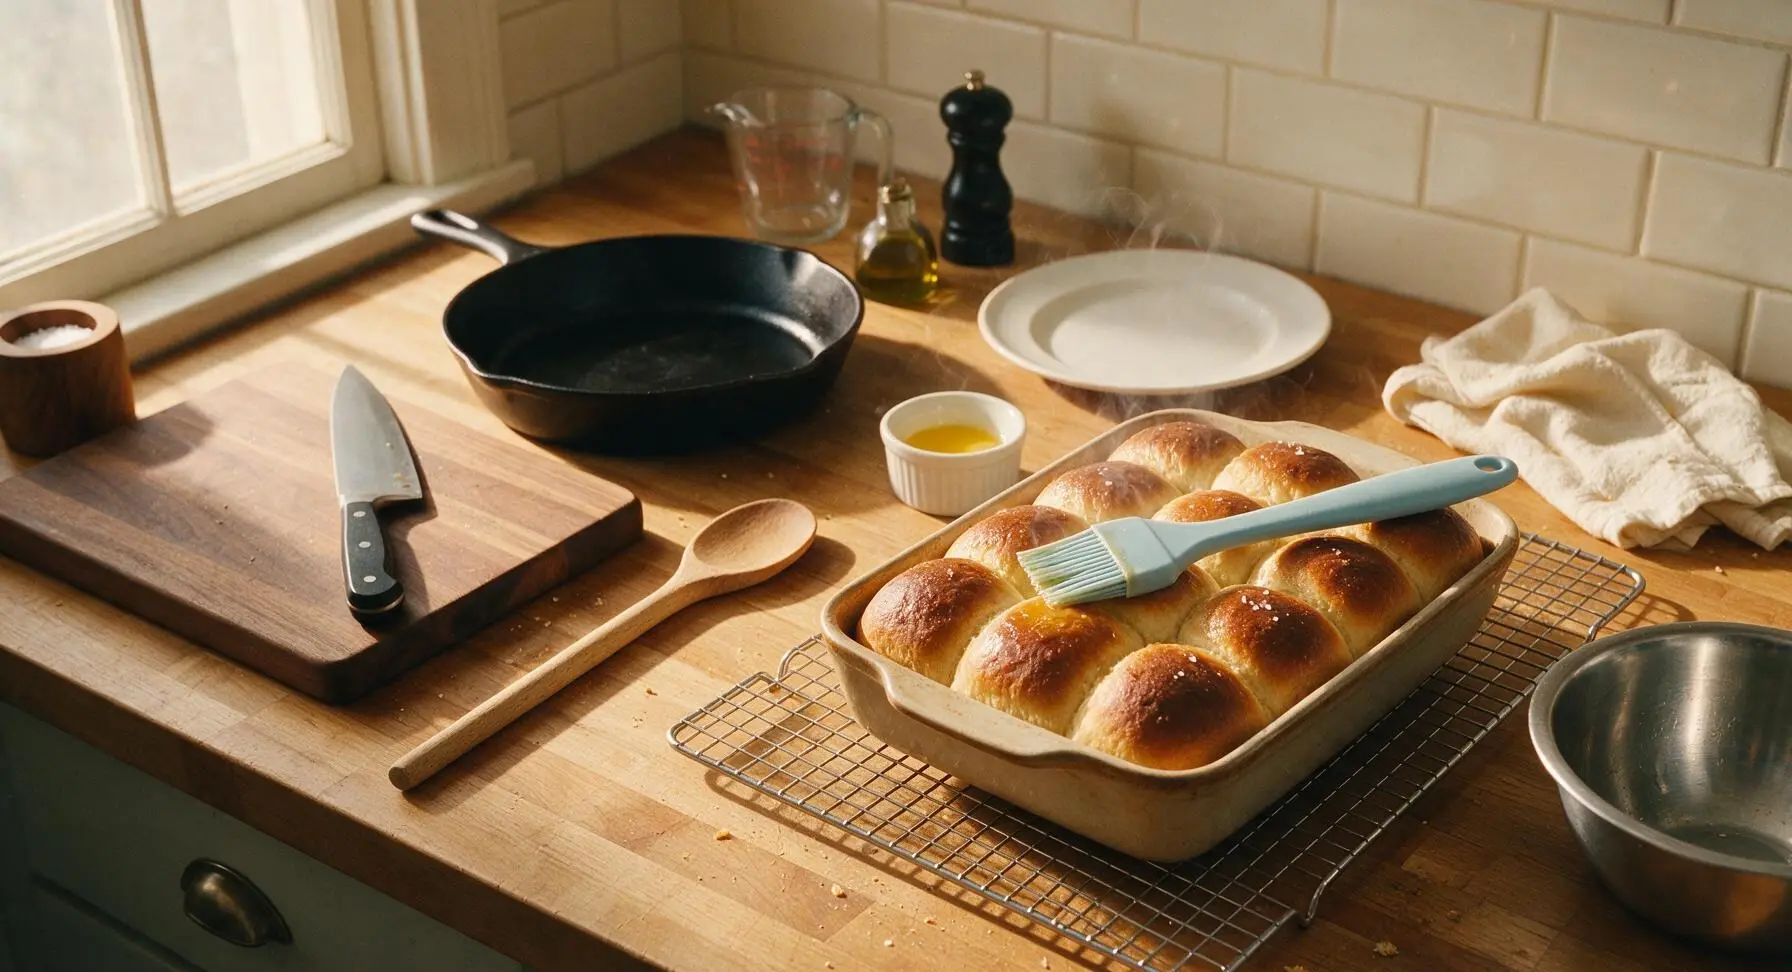
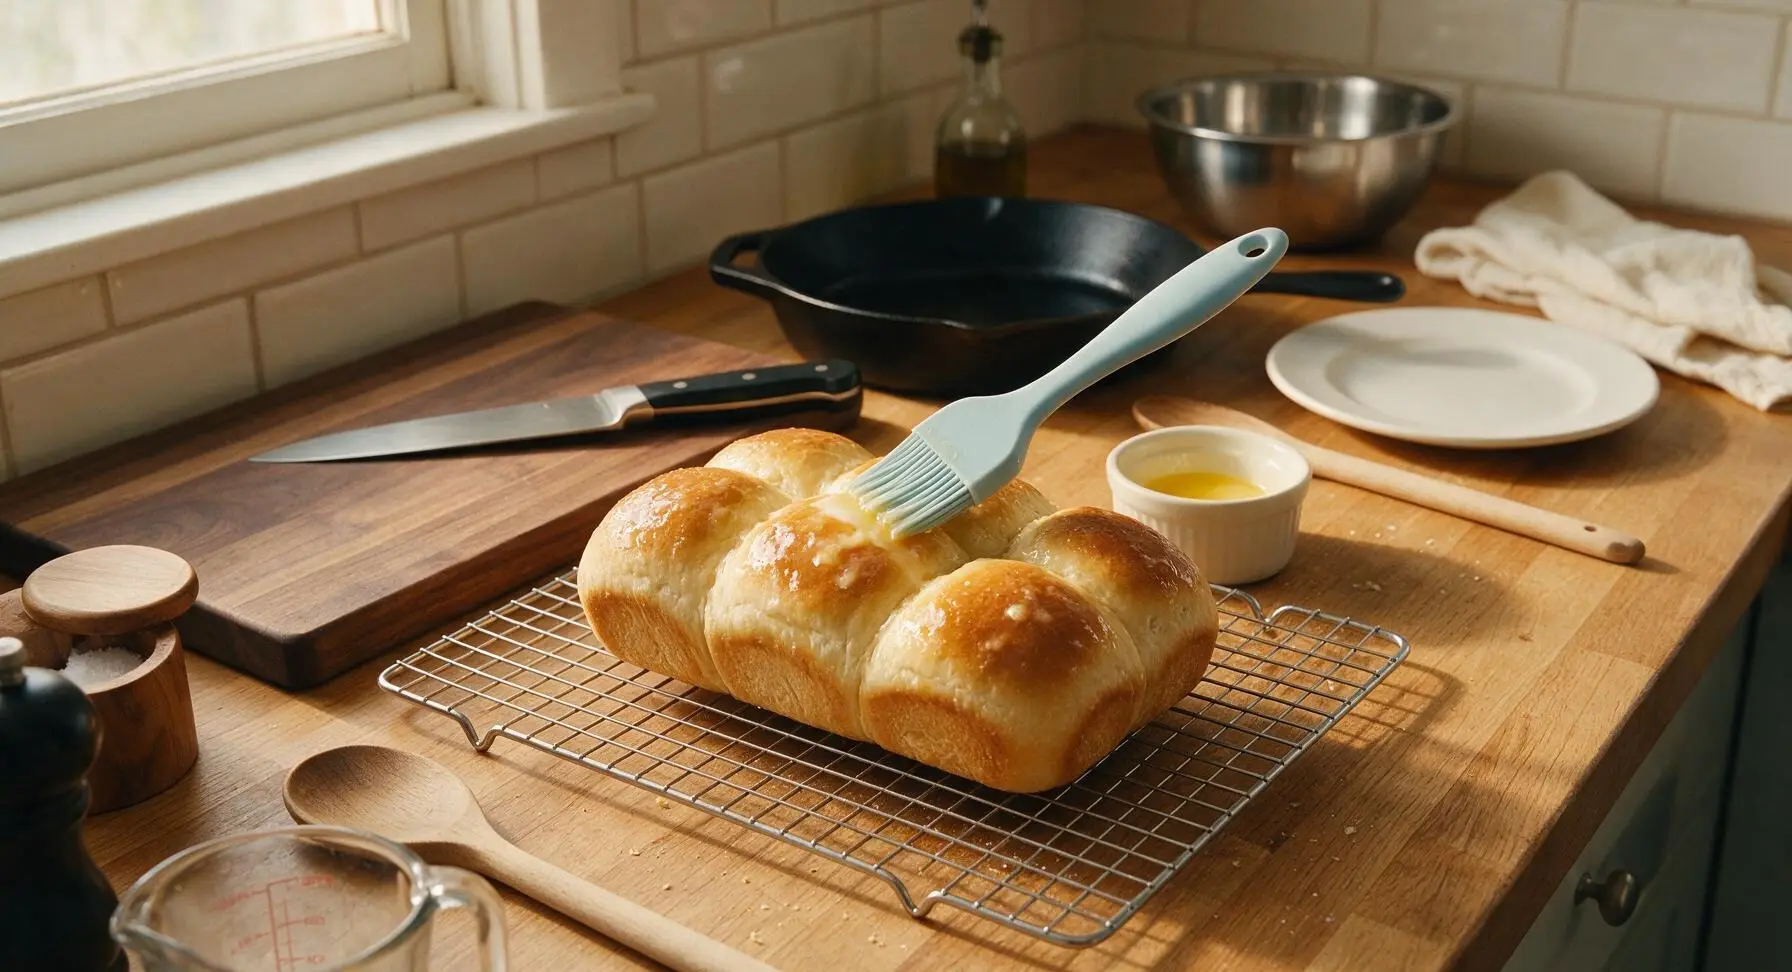
When baking is complete, use oven mitts to remove the baking dish from the oven, setting it on the matte chrome wire cooling rack on the counter. While the rolls are hot, melt the remaining 3 tablespoons of butter in the small cream ceramic ramekin, then use the pale blue silicone basting brush to brush the melted butter across the tops of the rolls, letting it soak into the warm crust. Sprinkle with a tiny pinch of flaky sea salt if desired, then let rolls cool in the dish for 5 minutes before serving.
Step 7
step7:Butter and Cool Briefly
Step 7
step7:Butter and Cool Briefly
8

Serve Warm Rolls

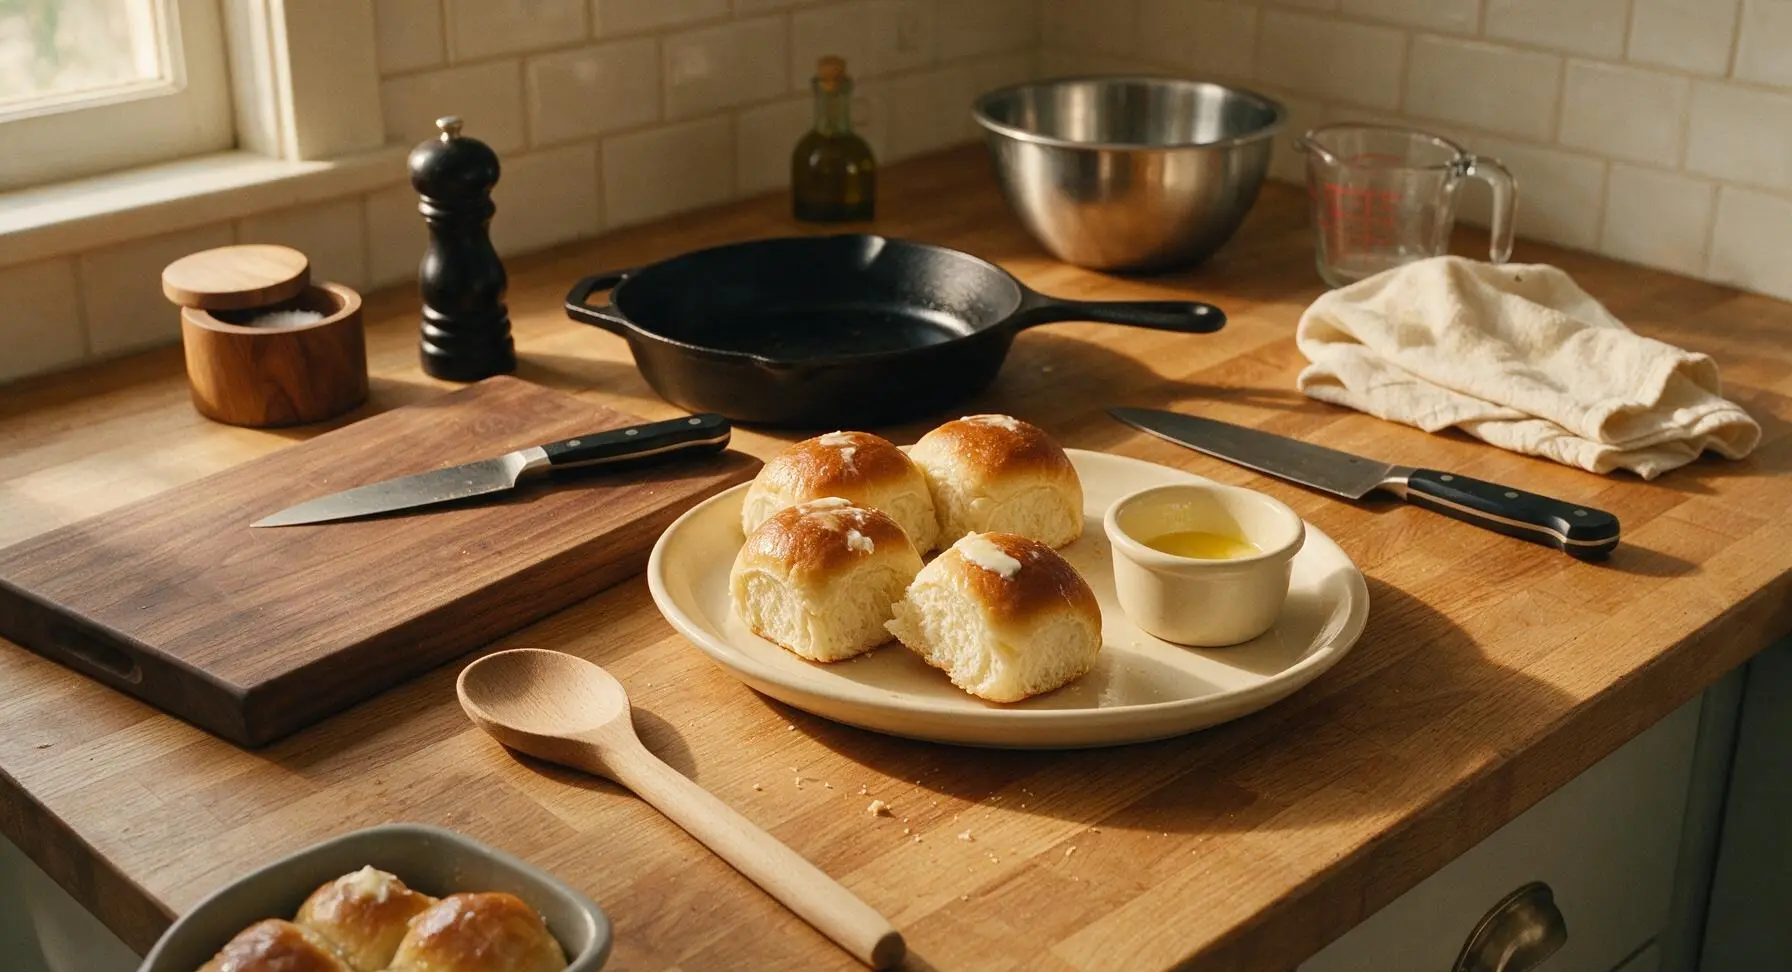
Transfer the warm, buttery rolls to the round cream ceramic serving platter, pulling them apart slightly to show their soft, fluffy interior. Serve alongside the ramekin of extra melted butter for spreading, while rolls are still warm.
Step 8
step8:Serve Warm Rolls

Tips

1.Always add ingredients to your bread machine in the order outlined in your unit’s manual: most models require wet ingredients first, with yeast placed in a small well in the flour to prevent early contact with warm liquid, which causes dense, poorly risen rolls.
2.Resist the urge to add extra flour when shaping rolls: the dough should feel soft and only slightly tacky to the touch. Over-flouring the work surface will result in dry, tough rolls instead of light, pillowy ones.
3.For the fastest, most even second rise, place the covered dish of rolls in a turned-off oven with the interior light on: the bulb creates a consistent 75–80°F draft-free space, cutting rise time by 10 minutes and eliminating cold spots that cause lopsided rolls.


✨ You May Also Like

Side Dishes
🍜 India

Velvety, aromatic all-purpose curry sauce perfect for tossing with roasted veggies, grilled protein, or rice for fast, cozy, flavorful meals.

⏱️ 25 minuteSide Dishes ★ 4.8
Side Dishes
🍜 Spain

Tender, starchy boiled yuca tossed in bright, garlicky citrus mojo sauce—an iconic, zesty side that pairs beautifully with roasted pork, grilled meats, and rice and beans.

⏱️ 40 minuteSide Dishes ★ 5
Side Dishes
🍜 United States

Tender, paper-thin potato flatbread, a beloved Norwegian-American Minnesota Christmas staple, griddled until softly spotted and served warm with butter.

⏱️ 1 hour 30Side Dishes ★ 4.6
Side Dishes
🍜 United States

Rich, deeply savory cured salt pork, a long-lasting kitchen staple perfect for frying crispy as a side or adding umami to stews, beans, and chowders.

⏱️ 7 days (2Side Dishes ★ 4.9
Side Dishes
🍜 United States

Crispy, tangy classic Southern fried green tomatoes with a crunchy cornmeal crust, served hot for a nostalgic, comforting summery bite.

⏱️ 25 minuteSide Dishes ★ 4.9
Side Dishes
🍜 United States

Moist, golden-crusted savory muffins with sweet corn, zesty jalapeño, and melted cheddar, perfect for pairing with smoky summer grilled fare.

⏱️ 30 minuteSide Dishes ★ 4.9

Bread Machine Dinner Rolls (Taste of Home):Frequently Asked Questions

1.Can I use all-purpose flour instead of bread flour for these rolls? ▾
Yes, but bread flour’s higher 12-14% protein content creates that signature soft, chewy, pillowy crumb all-purpose flour (10-11% protein) can’t quite match. If you swap, add 1 extra tablespoon of vital wheat gluten per cup of all-purpose flour, or expect slightly denser rolls that still taste delicious slathered with butter or sopping up gravy.
2.Do I have to use whole milk, or can I swap in skim or plant-based milk? ▾
Whole milk’s fat content creates that rich, tender crumb and soft crust that makes these rolls ideal for dinner. Skim milk will work but produces slightly less rich rolls; unsweetened barista-blend oat or soy milk is the most reliable plant-based swap, just make sure it’s room temperature before adding it to your bread machine.
3.What order should I add ingredients to my bread machine for this recipe? ▾
Always defer to your machine’s manual first, but the standard rule is liquids first, dry ingredients second, yeast last to avoid premature activation. That means adding warmed milk, melted butter, beaten eggs, sugar, salt, then bread flour, making a small well in the flour top to tuck yeast away from wet ingredients.
4.Can I skip the dough cycle and let the bread machine bake the rolls fully? ▾
You technically can, but you won’t get that uniform, pull-apart dinner roll shape or evenly golden buttery top. The dough cycle handles all the kneading and first rise for you, but shaping rolls into even balls and baking them in a casserole dish in your oven gives that classic, shareable dinner roll texture people love.
5.How warm should the milk be to avoid killing the yeast? ▾
Aim for milk between 105°F and 110°F, about the temperature of a warm bath—if it feels too hot to hold a finger in for 3 seconds, it’s too warm. Milk over 120°F will kill active yeast, leading to dense, flat rolls that won’t rise, while cold milk will slow activation and extend first rise time.
6.Can I make the dough ahead of time to bake rolls fresh for dinner? ▾
Absolutely! Once the bread machine finishes the dough cycle, punch the dough down, shape it into rolls, cover tightly with plastic wrap, and store in the fridge for up to 24 hours. When you’re ready to bake, pull them out, let them rise in a warm spot for 45-60 minutes until doubled, then bake as directed.
7.Why did my rolls turn out dense and heavy instead of light and fluffy? ▾
The most common culprits are expired yeast that didn’t activate, too little bread flour (or no vital wheat gluten if you used all-purpose), rising in a too-cold spot, or skipping the second rise after shaping. Always test yeast first by stirring a pinch into warm sugary milk—if it doesn’t foam after 5 minutes, it’s dead.
8.Can I freeze these baked rolls for later use? ▾
Yes, these rolls freeze beautifully! Let baked rolls cool completely to room temperature, tuck them into a freezer-safe zip-top bag with as much air pressed out as possible, and freeze for up to 3 months. Reheat straight from frozen by wrapping in foil and baking at 350°F for 10-12 minutes, brushing with melted butter before serving.
9.Do I need to grease the pan I bake the rolls in? ▾
Definitely. Grease a 9x13-inch baking pan (or round cake pan for smaller batches) generously with softened unsalted butter, not nonstick spray alone, for the best flavor and to keep the soft bottom crust from sticking. You can also line the pan with parchment paper with 2-inch overhangs for extra easy cleanup.
10.Can I reduce the amount of sugar in this recipe? ▾
You can cut the sugar by half without ruining the rolls, but don’t eliminate it entirely. Sugar doesn’t just add subtle sweetness—it feeds the yeast to help dough rise, locks in moisture for a soft crumb, and helps the crust turn that perfect golden brown during baking. Cutting all sugar leads to slower rises and paler, less tender rolls.
11.How do I get that shiny, buttery top on the finished rolls? ▾
Right before you put the risen rolls in the oven, brush the tops gently with 2 tablespoons of melted butter, taking care not to deflate the puffed dough. As soon as you pull the fully baked rolls out of the oven, brush them with a second coat of melted butter for that glossy, rich, restaurant-worthy finish.
12.My bread machine’s dough cycle is only 90 minutes—do I need to adjust that? ▾
No adjustment needed! Most standard bread machine dough cycles run 90 minutes, including a knead phase and first rise, which is exactly what this recipe calls for. If your machine has a shorter dough cycle (under 75 minutes), leave the dough in the closed machine for 15-20 extra minutes to finish doubling before shaping.
13.Can I add mix-ins like garlic, herbs, or cheese to these rolls? ▾
Absolutely! Stir in 1 teaspoon of garlic powder, 2 tablespoons of chopped fresh rosemary or thyme, or ½ cup of shredded sharp cheddar or parmesan when the bread machine beeps for add-ins (usually 10-15 minutes into kneading). Avoid adding too many heavy mix-ins, which can weigh down dough and prevent full rising.
14.What size should I make each roll for even baking? ▾
For uniform, evenly baked pull-apart rolls, divide the finished dough into 15-18 equal pieces, each about 2 ounces (roughly the size of a golf ball). Roll each piece into a tight, smooth ball by tucking edges under to create surface tension, which helps rolls rise up instead of spreading out as they proof and bake.
15.Can I use salted butter instead of unsalted for this recipe? ▾
You can, just cut the added salt in the dough by ¼ teaspoon per stick of salted butter you use to avoid overly salty rolls. Unsalted butter lets you control the exact salt level for a perfectly balanced, subtly sweet, buttery flavor, but salted butter works in a pinch—just skip any flaky salt topping if you go that route.
16.How do I know when the rolls are fully done baking? ▾
Fully baked rolls will have a deep golden brown top, and will sound hollow when you tap the top of a center roll lightly with your knuckle. The internal temperature of center rolls should hit 190°F on an instant-read thermometer for a soft, fully set crumb that isn’t gummy or underbaked. Avoid overbaking, which causes dry, tough crusts.
17.What if I don’t have large eggs—can I use medium or extra-large eggs? ▾
Yes, just adjust for volume: one large egg is roughly 50 grams (without the shell), so if using medium eggs, add a tiny splash of extra milk to hit the right total liquid volume, or use 3 medium eggs in place of 2 large. If using extra-large eggs, hold back 1 tablespoon of milk to keep dough from getting too sticky to shape.
18.Can I make these rolls without a bread machine at all? ▾
If you don’t have a bread machine, you can mix the dough in a stand mixer with a dough hook on low speed for 8-10 minutes until smooth, then let it rise in a greased, covered bowl in a warm spot for 1-1.5 hours until doubled before shaping. The bread machine cuts out hands-on kneading, but the end result will be just as soft and fluffy.

Comments (17)

2 days ago

OMG these rolls are a total game changer for our weeknight family dinners! I’ve always been intimidated by yeast breads but throwing all the ingredients in the bread machine on dough cycle was so foolproof. My kids fought over the last one at dinner last night, even my super picky 4 year old asked for seconds. SO soft and buttery, way better than the store bought frozen ones I used to buy.

yesterday

Right?! I was so shocked how fluffy they turn out even when I half-ass the measuring some weeks. I brush a little melted garlic butter on top right when they come out of the oven and *chef’s kiss*

yesterday

So glad your whole family loved them! The garlic butter brush idea is such a delicious hack, we’ll have to try that next time we test this recipe.

1 week ago

Made these for our Sunday football watch party and they were gone in 10 minutes flat. People kept asking if I made them from a fancy bakery, no one believed they were bread machine rolls! Only thing I changed was adding a little sprinkle of sea salt on top before baking, chef’s kiss.

3 days ago

Wait, quick question—when the recipe says to use the dough cycle, do I take it out right when the cycle ends, or let it rise a little longer after? My first batch came out a tiny bit dense, I think I messed up the timing?

2 days ago

Great question! You can take the dough out right as the dough cycle completes—if it came out dense, double check that your yeast is fresh (expired yeast is the #1 culprit for dense rolls!) and make sure you’re measuring flour correctly by spooning it into the measuring cup instead of scooping directly from the bag.

5 days ago

Brought these to my office potluck yesterday and I swear I got asked for the recipe at least 8 times. They’re so easy to prep the night before too! I shaped the rolls after the dough cycle finished, stuck them in the fridge overnight, and baked them right before I left for work. Came out perfect.

3 days ago

Oh the overnight fridge trick is genius! I’ve been trying to find make-ahead sides for Thanksgiving this year and these would be perfect.

3 days ago

The overnight prep method works so well for busy schedules! We love that trick for holiday meals too, it saves so much oven time on the big day.

30 minutes ago

Has anyone tried making these with dairy free butter and oat milk? My kid has a milk allergy and I’m hunting for a good dinner roll recipe we can all eat for Thanksgiving.

5 minutes ago

I made them with vegan butter and unsweetened almond milk last month for my son’s allergy-friendly birthday dinner and they turned out exactly the same! No weird texture or off taste at all, you can’t tell the difference.

2 weeks ago

These are my go-to rolls for every holiday now. 15 minute cook time is *perfect* because my oven is always crammed full of turkey, green bean casserole, and pie on Thanksgiving. I don’t know how I ever did dinner without this recipe.

2 hours ago

Y’all I just made my first ever batch of homemade bread anything and these actually came out??? I was fully convinced I’d burn them or they’d turn out like hockey pucks but they’re so soft and fluffy. 10/10, will be making these every Sunday from now on.

30 minutes ago

That makes us so happy to hear! This recipe is perfect for new bakers because the bread machine does all the heavy lifting with kneading and the first rise. Can’t wait to hear what you think of your next batch!

yesterday

Game. Changer. I added a tablespoon of garlic powder and a handful of shredded parmesan to the dough before running the bread machine, and these taste exactly like the garlic rolls at my favorite Italian restaurant. My roommate said I’m not allowed to make any other side dish ever again.

yesterday

OH the parmesan addition sounds insane, I’m doing that for our next pizza night. Do you add the parmesan right in with the other ingredients at the start?

yesterday

Yep! Toss it right in with the flour and other dry ingredients at the start, it mixes in perfectly and you get little cheesy bits in every bite.

1 week ago

I’ve been making this exact Taste of Home recipe for 12 years now, and it never lets me down. It’s easy enough for weeknights but special enough for when the grandkids come to visit. I love seeing so many other people enjoying it too!

5 minutes ago

Wait, can I use whole wheat flour for half of the all purpose to make these a little healthier? I don’t want to mess up the texture too bad.

just now

You absolutely can swap up to half the all-purpose flour for white whole wheat flour without a big texture change! I wouldn’t go more than that though, or the rolls will turn out denser and less fluffy than the original version.

3 days ago

Made a double batch of these for my kid’s soccer team end-of-season cookout and every single roll was gone. The coach asked me to bring them to every event next season lmao. I love that I don’t have to knead anything by hand, that used to kill my wrists when I made rolls the old fashioned way.

2 days ago

Wait a double batch works in a standard size bread machine? I’ve been nervous to double recipes because I thought it would overflow!

2 days ago

If you have a standard 2lb bread machine, a double batch should fit just fine for the dough cycle! If you have a smaller 1lb machine, we’d recommend making two separate batches to avoid overflow.

2 weeks ago

These are so much cheaper than buying those fancy pre-made dinner rolls from the grocery store bakery, and they taste way better. I can make a whole batch for like $1.50 worth of ingredients. Absolute staple for my meal prep rotation now.

yesterday

Made these for brunch today and served them with honey butter and jam, and my guests were raving. The texture is so light, not heavy and dense like a lot of homemade roll recipes I’ve tried in the past. Will definitely be a repeat.

2 hours ago

Honey butter on these sounds insane! I’ve only ever served them with dinner, I need to make a batch for my next brunch too.

5 days ago

These were good, but I felt like they needed a little more salt for my taste. The texture was perfect and super easy to make, just a little bland on the flavor front for me.

3 days ago

Thanks so much for the honest feedback! You can absolutely bump the salt up by 1/4 tsp if you prefer a saltier roll, it won’t impact the rise or texture at all. So glad you loved the texture!

1 week ago

I make these every single Christmas and Easter, and my family says the meal isn’t complete without them. I love that the bread machine does all the hard work so I can focus on the rest of the meal. Last year I made little slider sandwiches with the leftover rolls with ham and cheese, *chefs kiss*.

5 days ago

The ham and cheese sliders on these rolls??? That is such a good leftover hack, I never thought to use these for sliders before.

3 days ago

I do that too! I brush them with a little dijon and butter before baking the sliders and they taste just like the famous Hawaiian roll sliders, but better.

2 days ago

My mom got me a bread machine for my dorm and this was the first recipe I tried. It was so easy I didn’t even mess it up during midterm week when I was running on 3 hours of sleep. My floor mates kept showing up at my door asking for rolls lmao.

just now

I brushed the tops with melted salted butter the second I pulled them out of the oven and my house smelled like a bakery for hours. These are so pillowy soft, I can’t stop eating them straight off the baking sheet.

just now

That fresh-baked roll smell is unbeatable! We’re big fans of that post-bake butter brush too—it adds so much extra flavor and gives the tops that perfect soft, buttery crust.



