
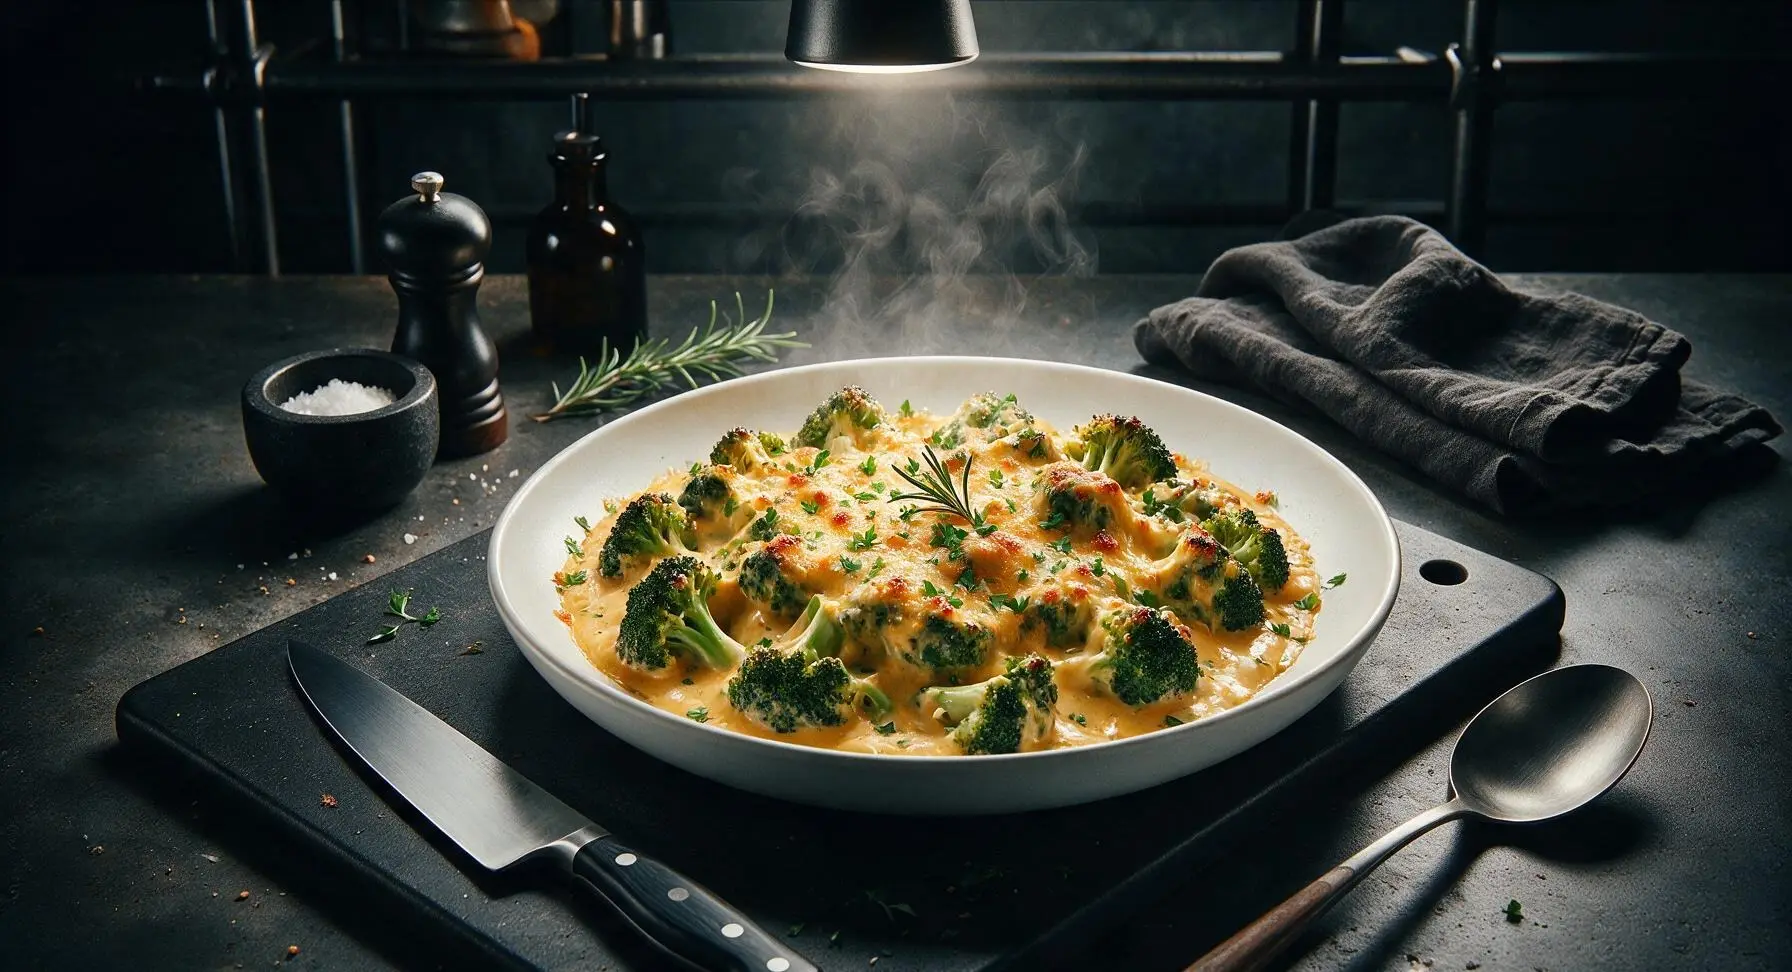
broccoli cheese

title 1
broccoli cheese
⏱️ cook time 25 minutes
🍽️ servings 4
⚡ Difficulty easy

intro

Tender-crisp broccoli smothered in velvety sharp cheddar sauce, baked until golden and bubbly. This nostalgic, comforting side pairs perfectly with roasted meats, weeknight mains, and holiday spreads.

Ingredients
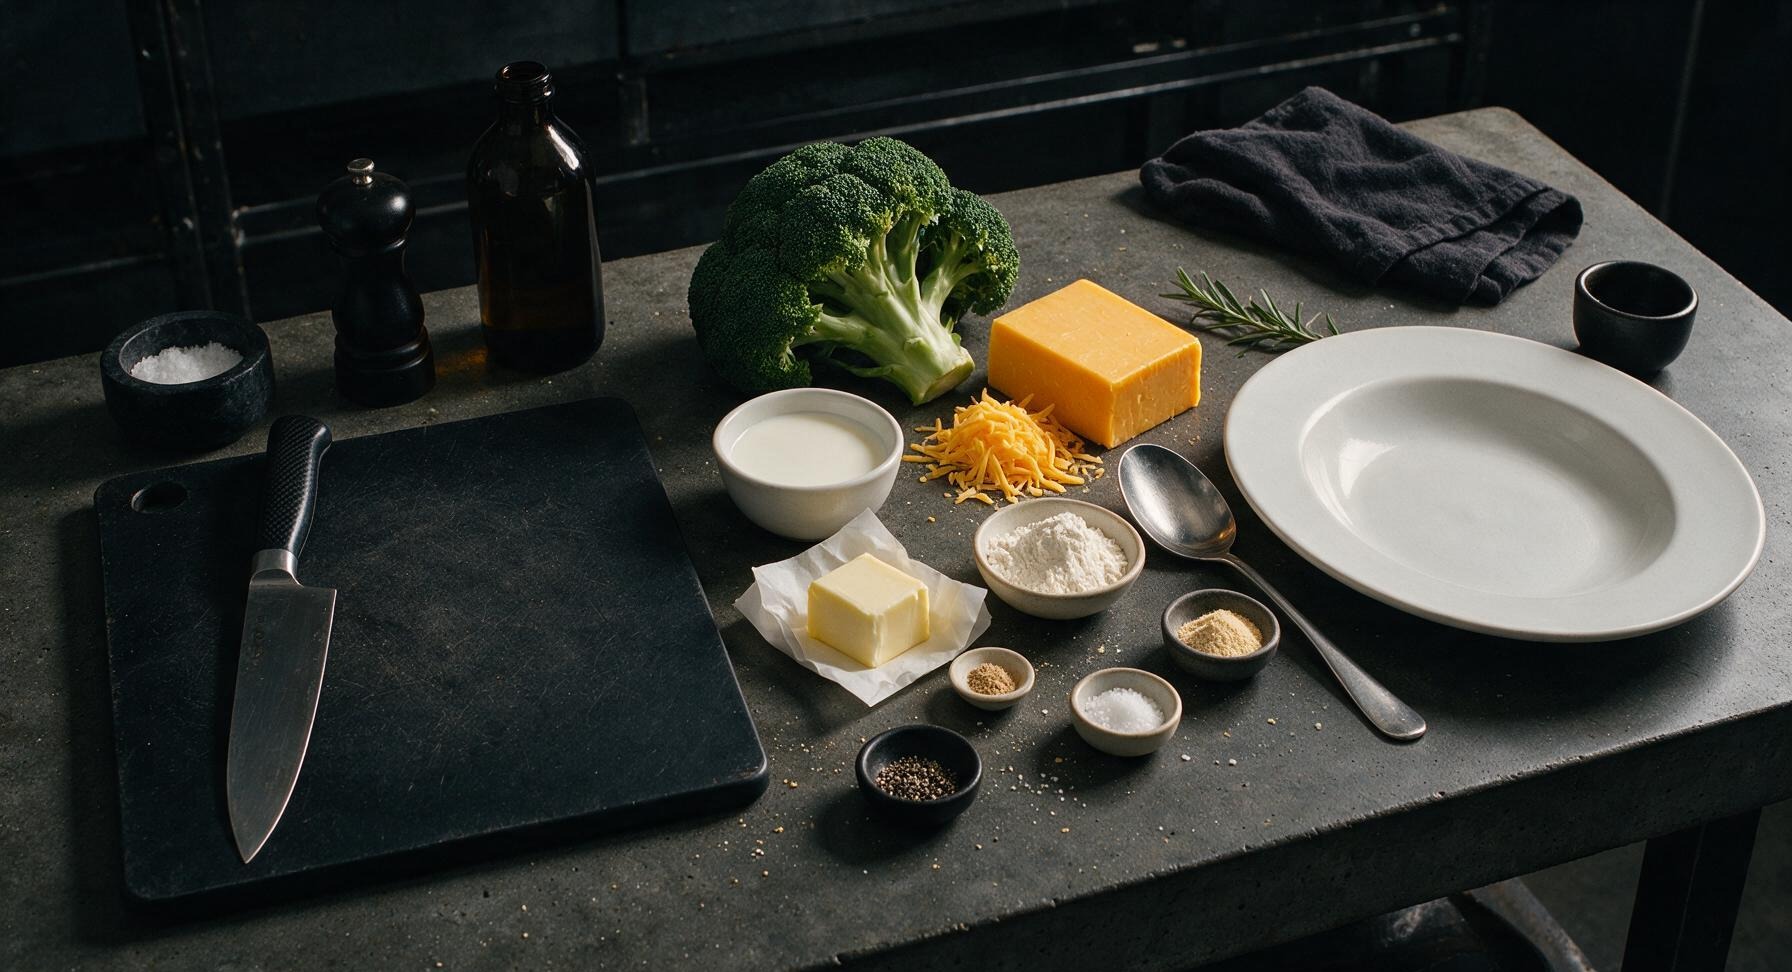
Fresh broccoli 600g (1 large head)
Sharp yellow cheddar cheese 225g (8oz, block)
Whole milk 240ml (1 cup)
Unsalted butter 2 tbsp (28g)
All-purpose flour 2 tbsp (16g)
Garlic powder 1/4 tsp
Freshly grated nutmeg 1/8 tsp
Kosher salt 1/2 tsp
Freshly cracked black pepper 1/4 tsp

Steps

1

Prep Fresh Broccoli

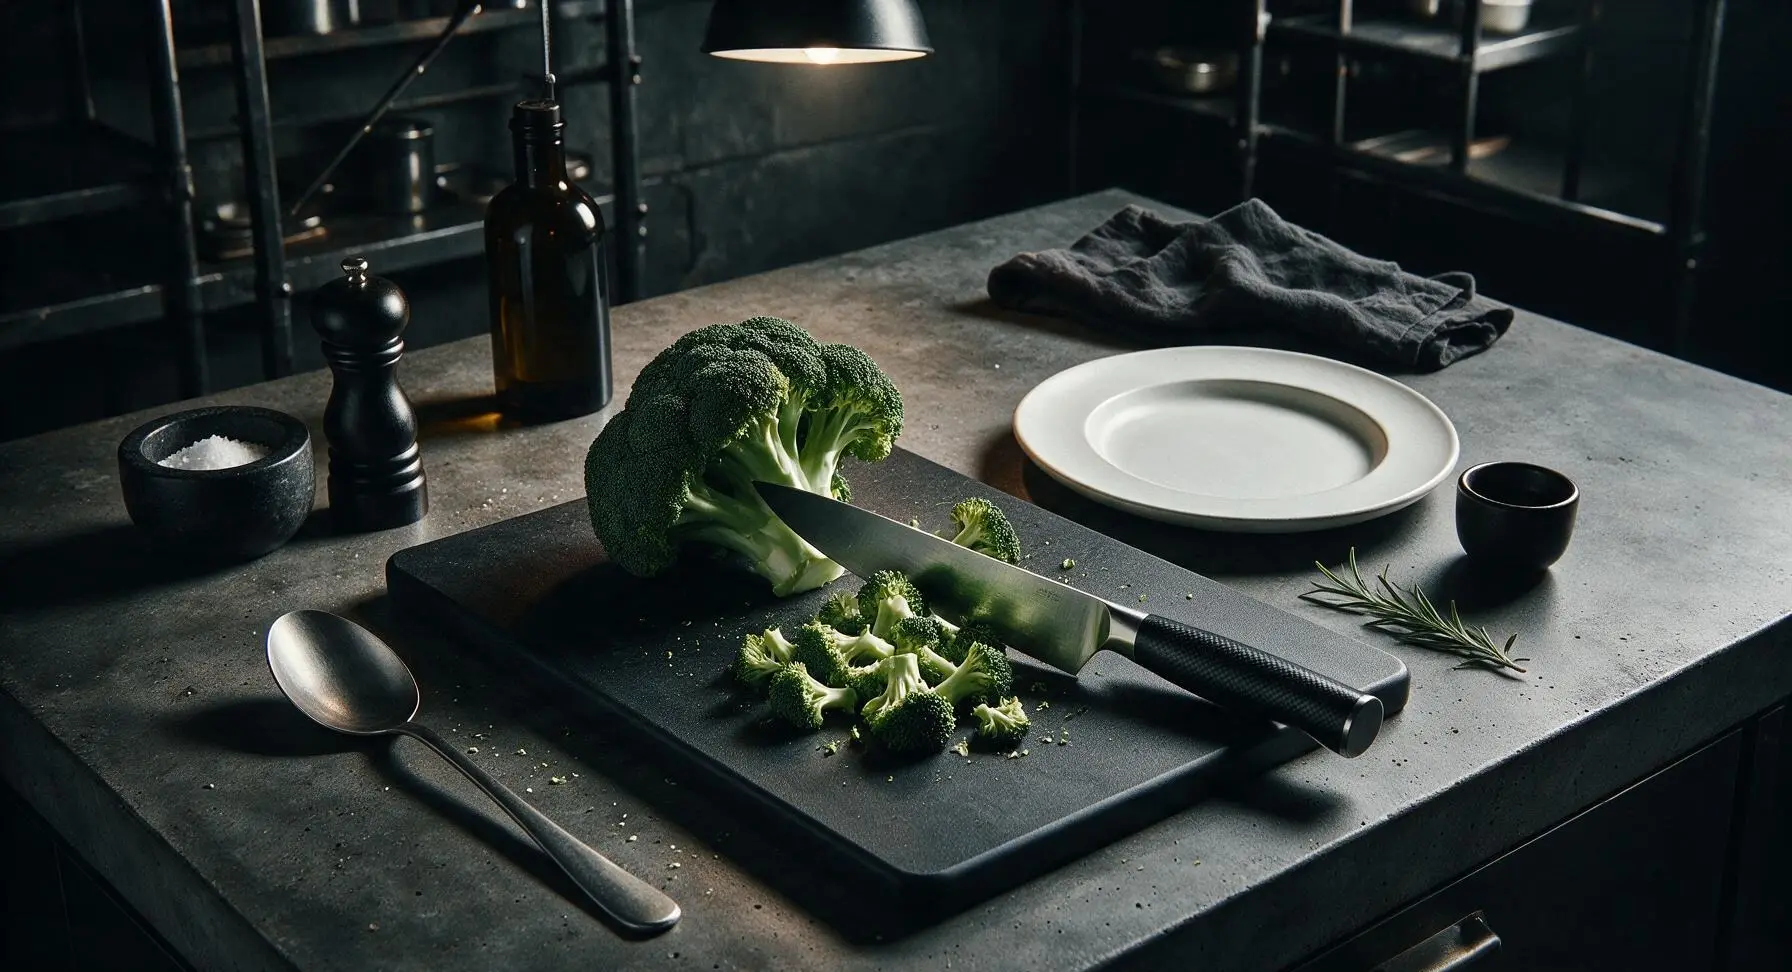
Rinse the whole broccoli head under cool running water, then set it on the light bamboo cutting board. Use the walnut-handled stainless steel chef knife to trim away the tough, woody 2cm base of the main stem. Cut the broccoli into uniform 5cm (2-inch) florets; peel the fibrous outer layer from any remaining thick stem sections, then slice those stems into 1cm thick rounds so they cook evenly. Transfer cut broccoli to the matte cream prep bowl and set aside.
Step 1
step1:Prep Fresh Broccoli
2

Shred Cheddar Cheese

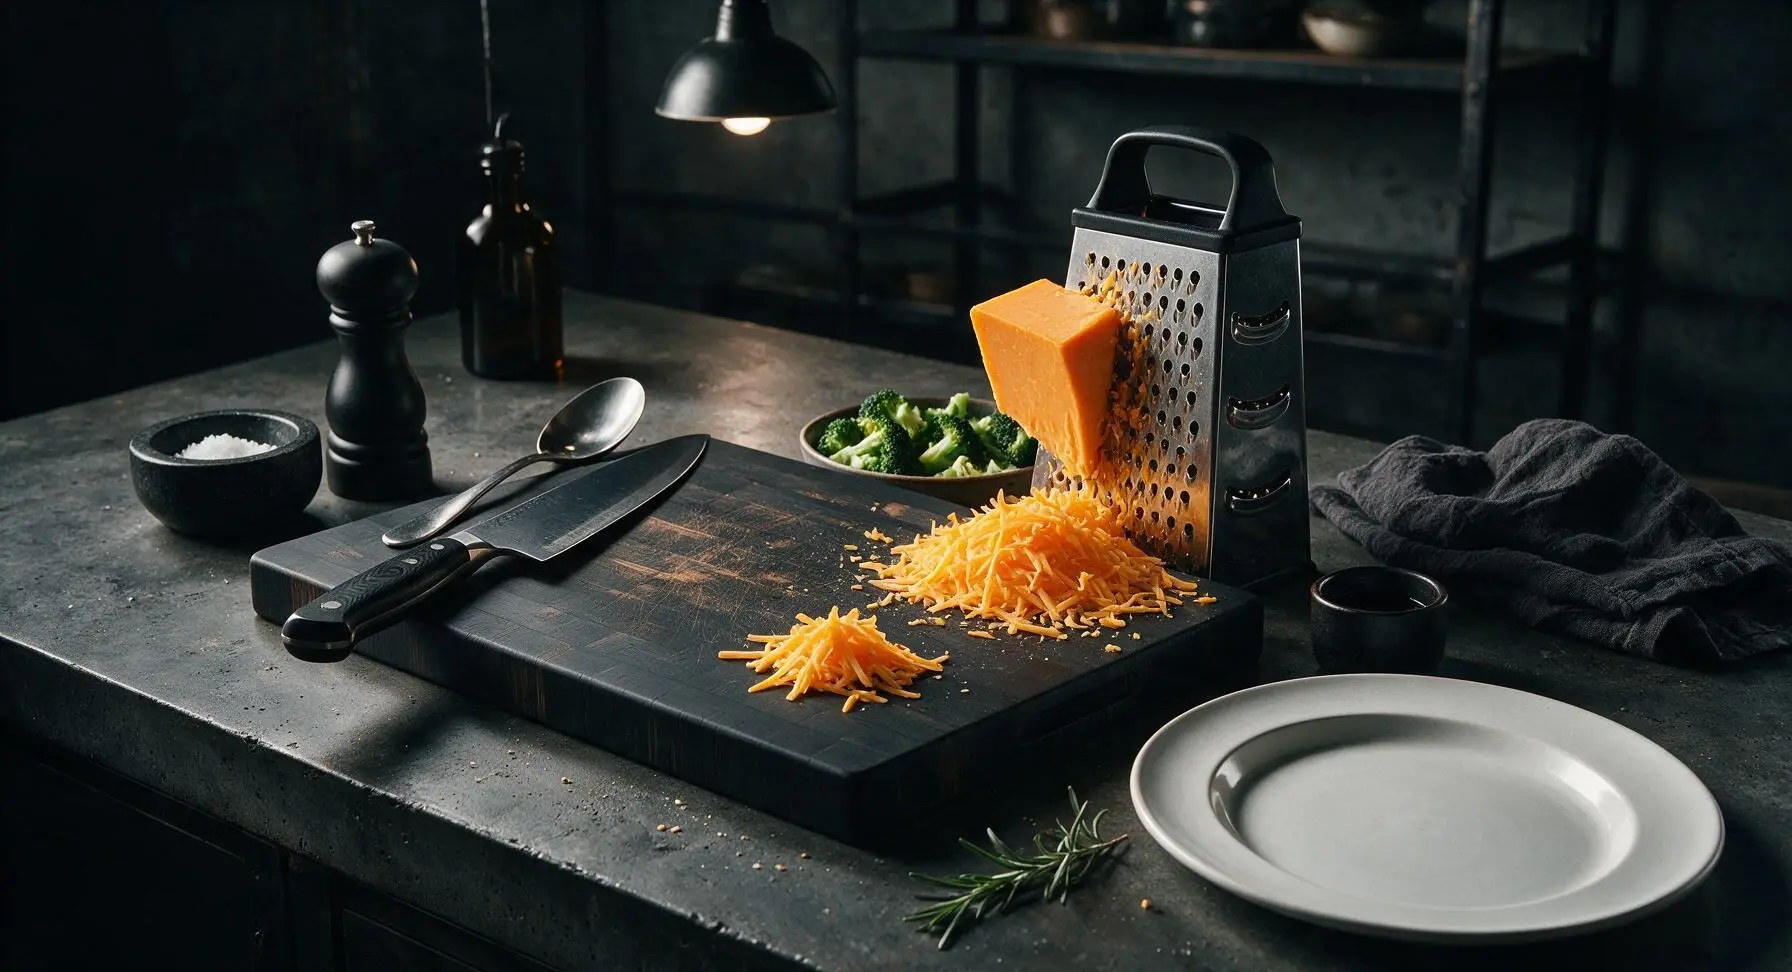
Set the stainless steel box grater (matte black frame) to the right of the bamboo cutting board. Hold the block of sharp cheddar against the large-holed side of the grater, and shred the entire block into light, fluffy shreds. Set aside 3 tablespoons of shredded cheese in a small separate pile on the cutting board to use for the top crust, leaving the rest to mix into the cheese sauce. Avoid pre-shredded bagged cheese, as its anti-caking coating creates a grainy sauce texture.
Step 2
step2:Shred Cheddar Cheese
3

Blanch Broccoli Florets

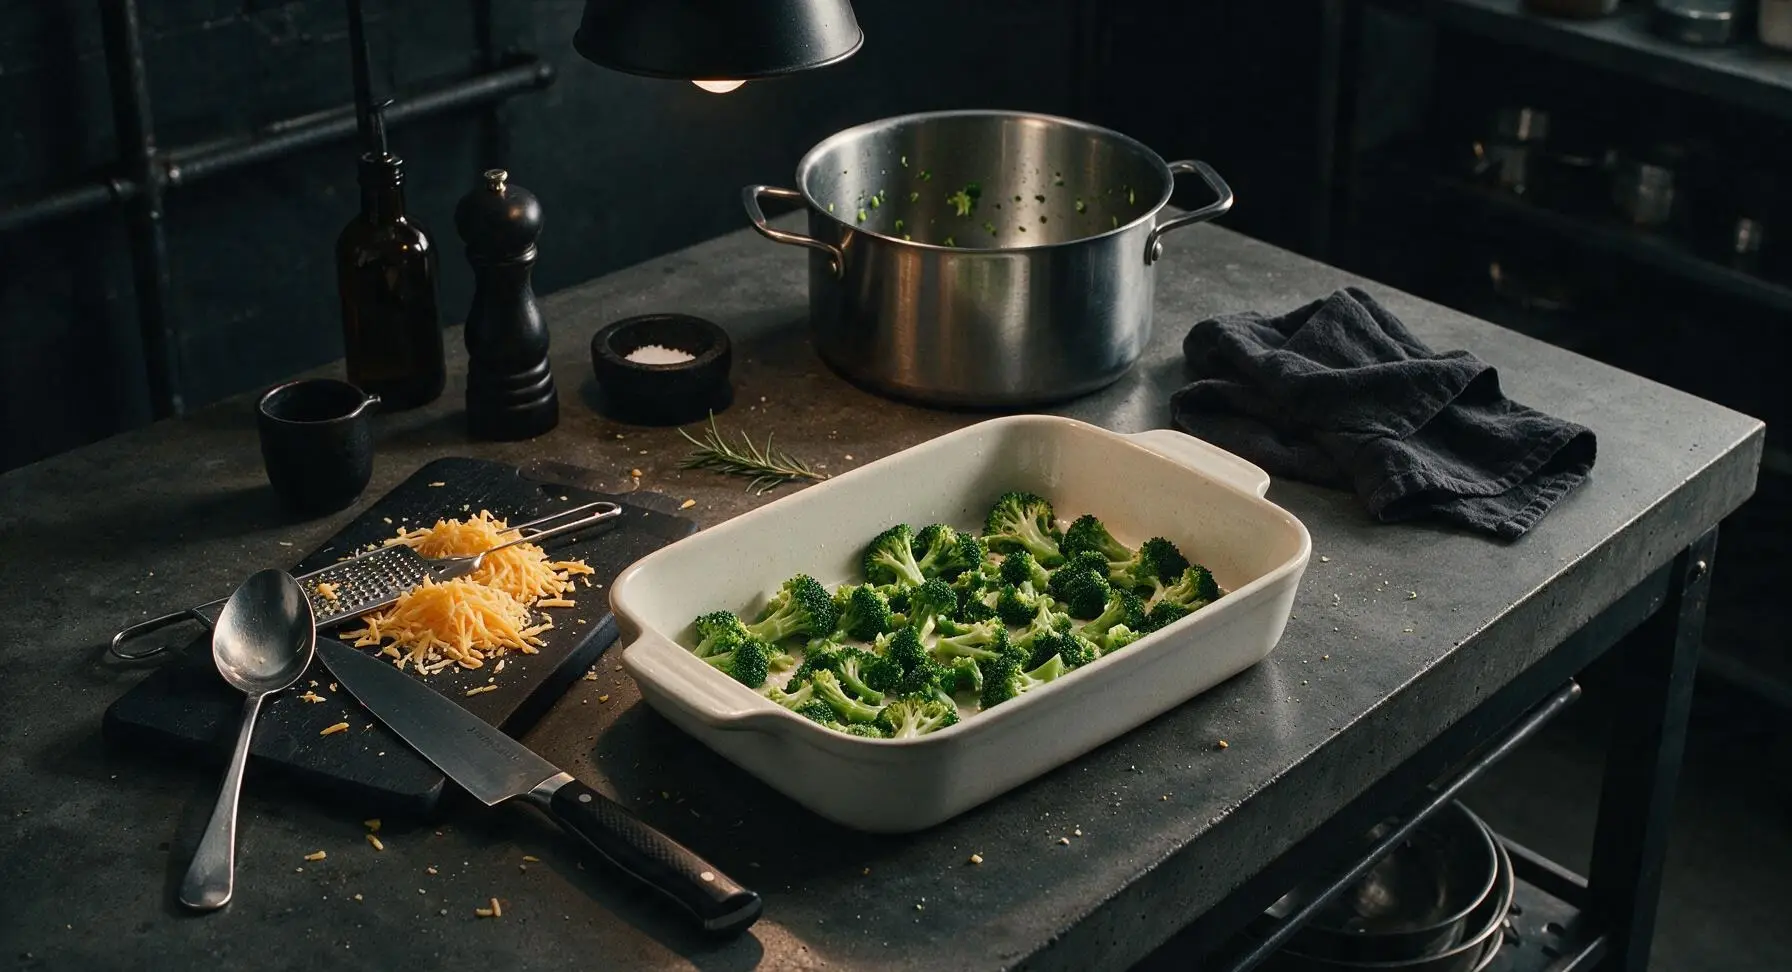
Fill the 3L stainless steel stock pot with 2 liters of water, add 1 tablespoon of kosher salt, and bring to a rolling boil over high heat. Add all cut broccoli florets and stem pieces, and cook for exactly 2 minutes until bright, vivid green and tender-crisp (they will finish cooking in the oven). Drain immediately, then spread the blanched broccoli in a single even layer across the base of the matte warm white ceramic baking dish, leaving no large gaps. Do not overcook the broccoli at this stage, as mushy florets will make the final dish watery.
Step 3
step3:Blanch Broccoli Florets
4

Make Roux Base

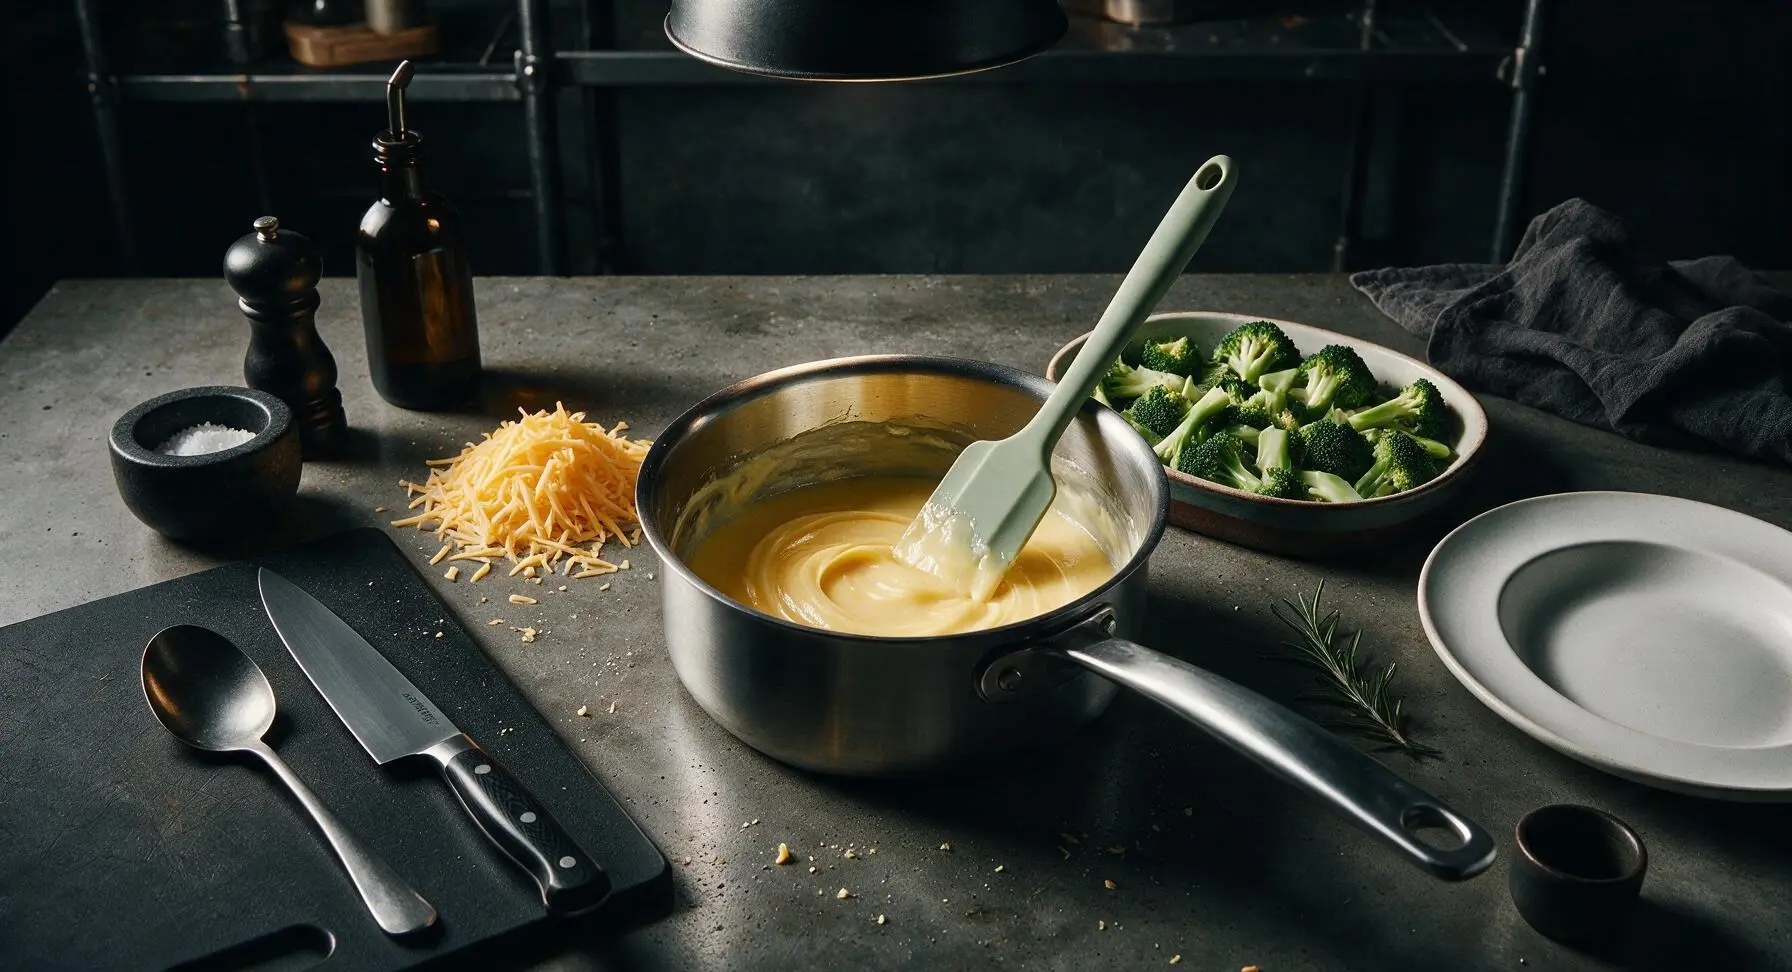
Place the 1.5L heavy-bottomed stainless steel saucepan over medium-low heat. Add the 2 tablespoons of unsalted butter, and melt until foamy (about 1 minute, do not let it brown). Add the 2 tablespoons of all-purpose flour, stirring constantly with the pale sage green silicone spatula for 2 minutes to cook out the raw flour taste, until the mixture forms a smooth, pale golden roux that smells faintly of toasted wheat.
Step 4
step4:Make Roux Base
5

Finish Cheese Sauce

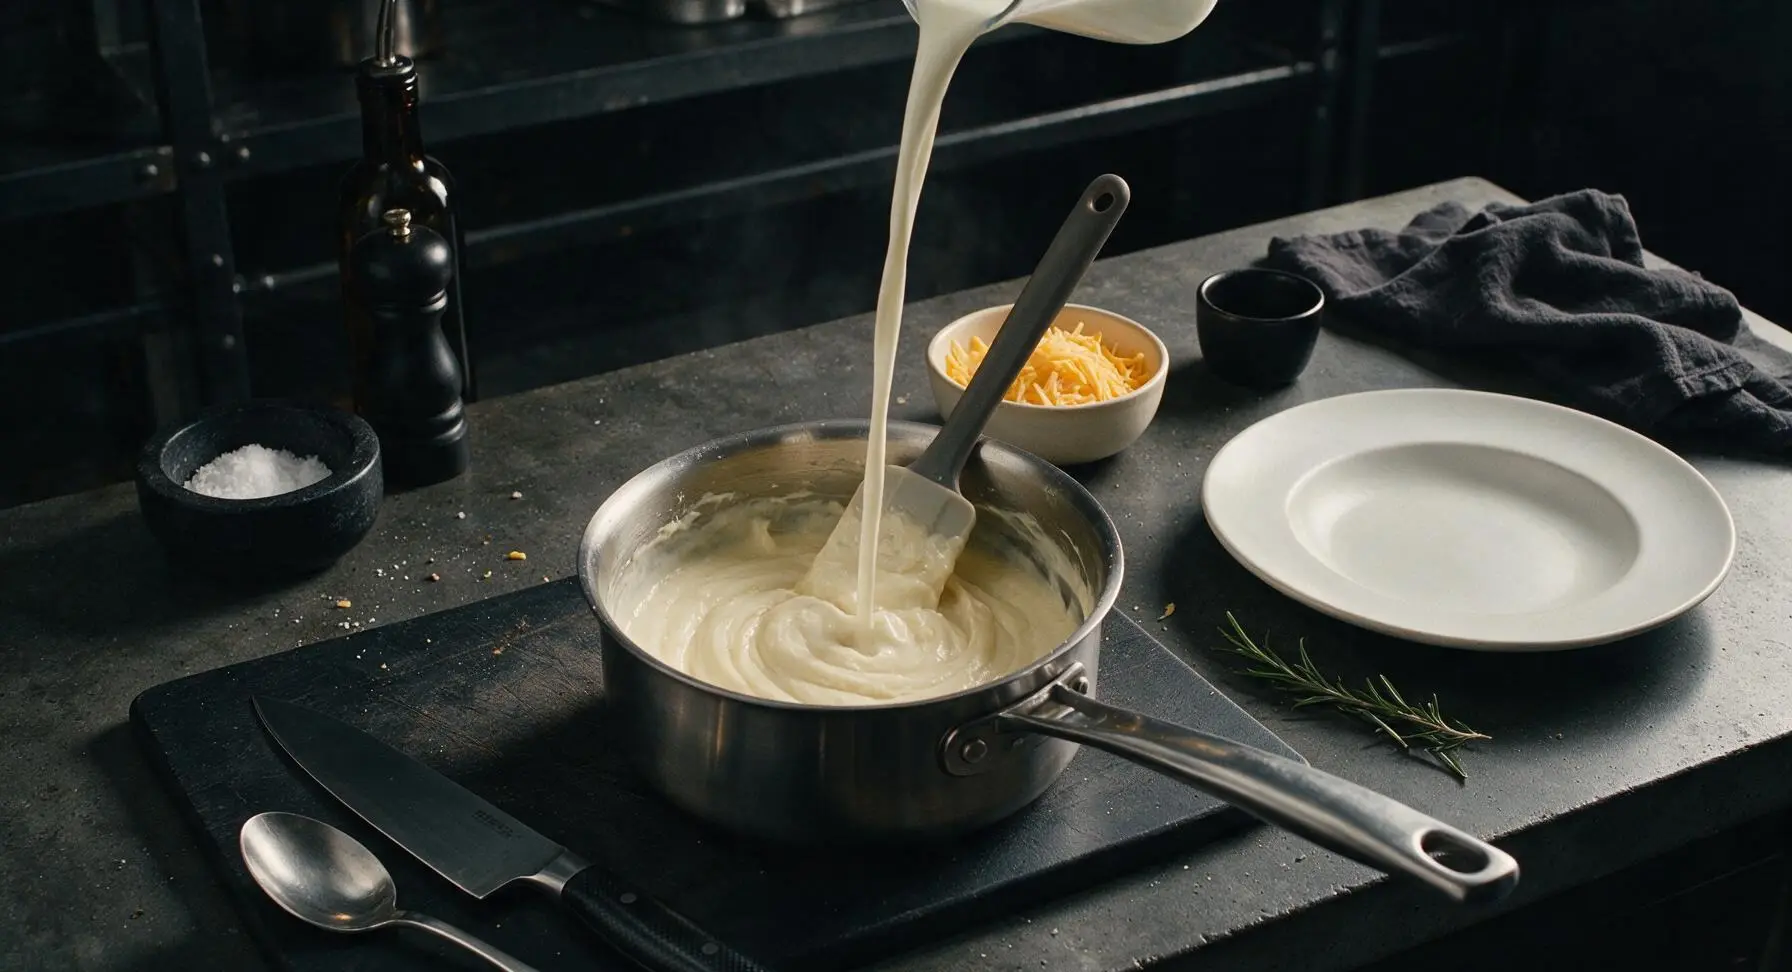
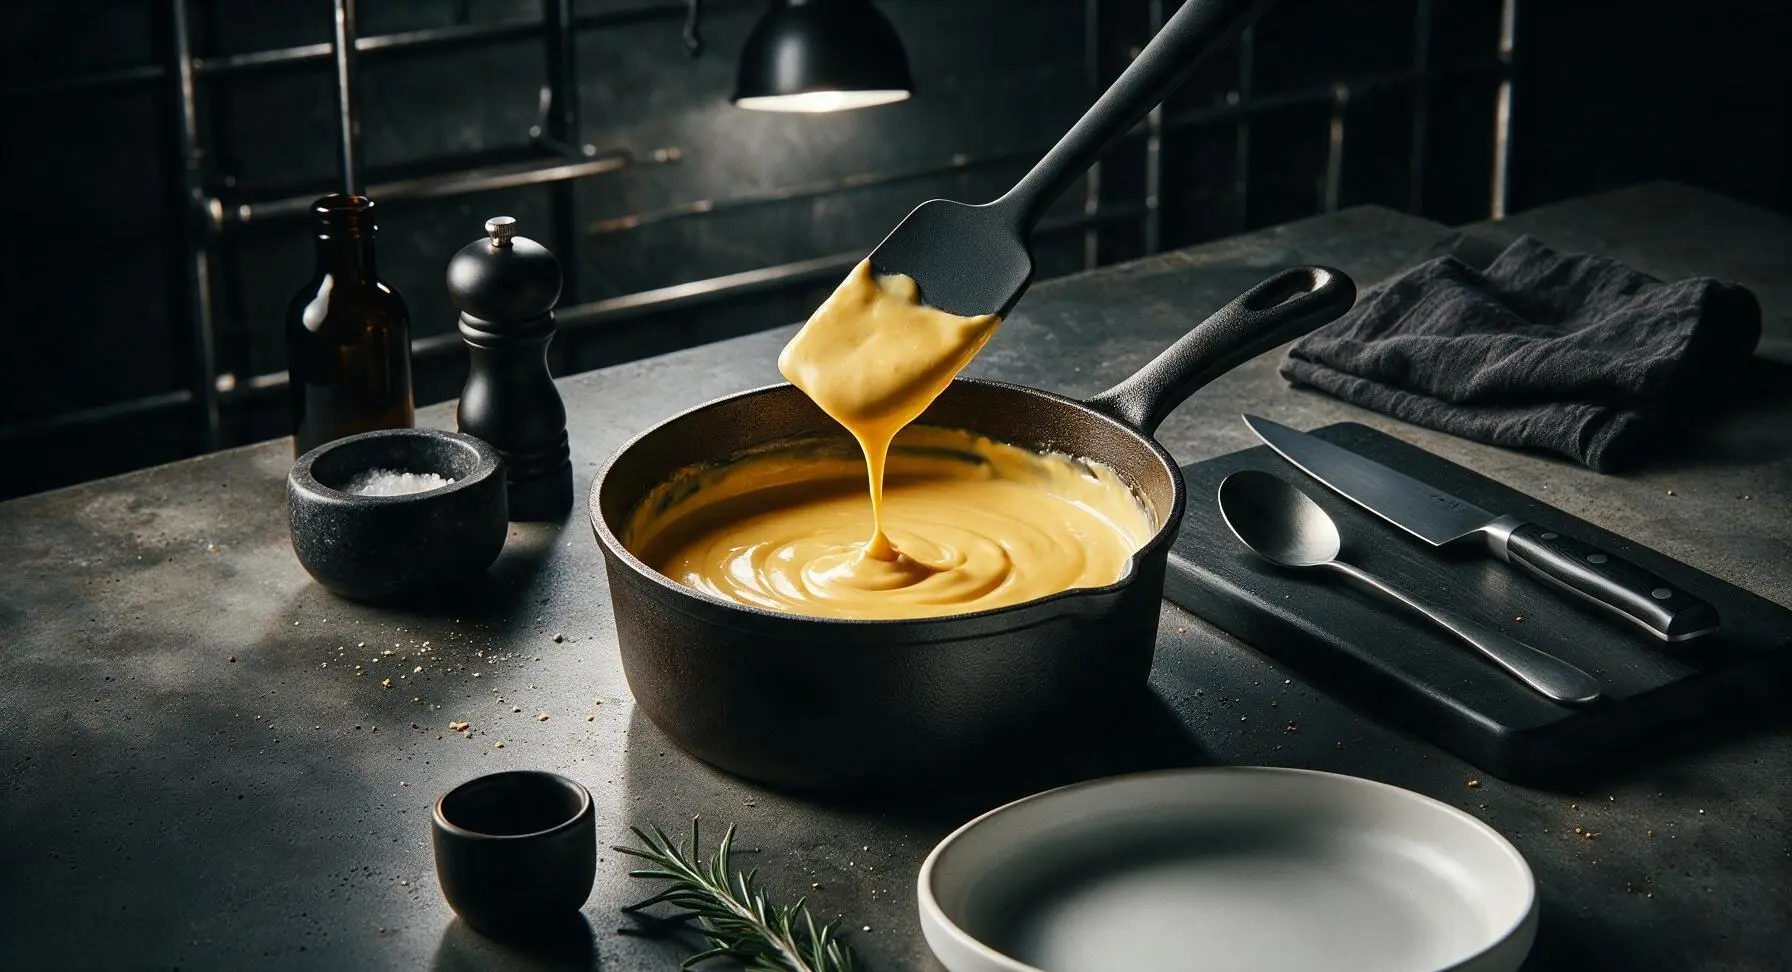
Slowly pour the whole milk into the roux, 60ml (1/4 cup) at a time, stirring constantly with the spatula to eliminate lumps. Once all milk is added, continue cooking for 3-4 minutes, stirring constantly, until the sauce thickens enough to coat the back of the spatula (when you run your finger across the coated spatula, the line should hold cleanly without running). Remove the pan from heat, stir in the main portion of shredded cheddar (reserving the 3 tablespoons for topping), garlic powder, nutmeg, salt, and black pepper, stirring until the cheese is fully melted and the sauce is completely smooth and glossy.
Step 5
step5:Finish Cheese Sauce
Step 5
step5:Finish Cheese Sauce
6

Assemble the Dish

Pour the entire batch of smooth cheese sauce evenly over the broccoli in the baking dish, using the silicone spatula to spread the sauce so every floret is coated, and sauce seeps down between the broccoli pieces. Sprinkle the reserved 3 tablespoons of shredded cheddar evenly across the top of the sauced broccoli for a crisp, cheesy top layer.
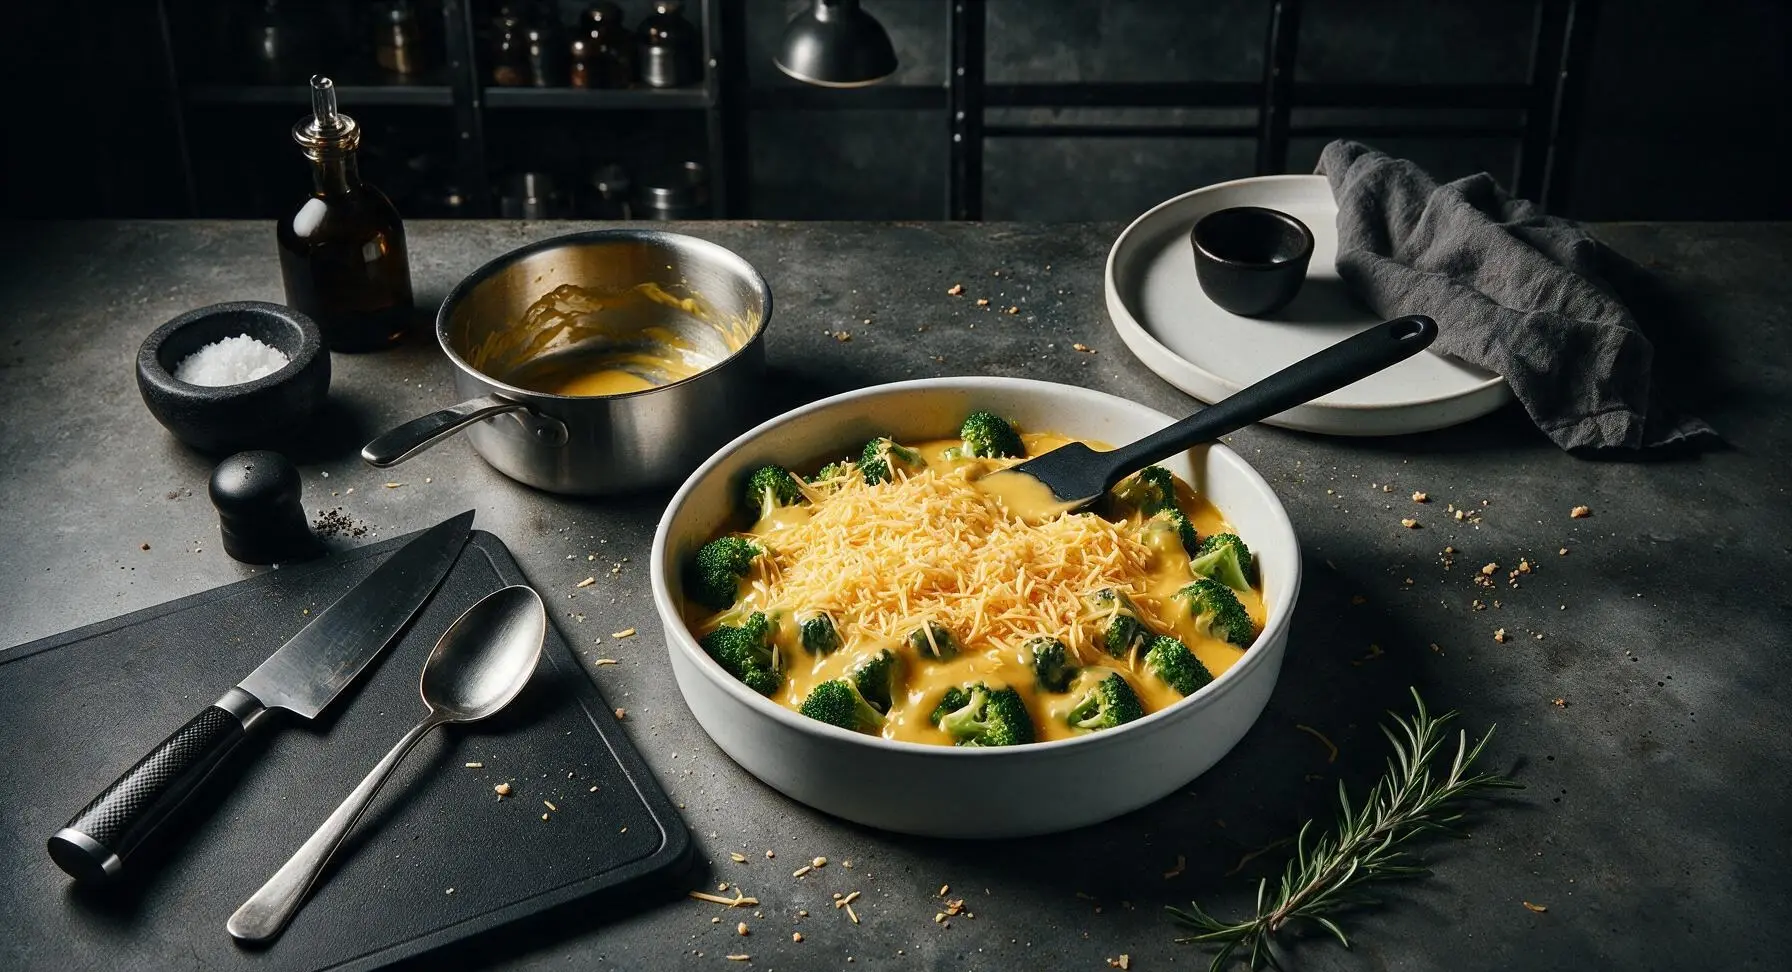
Step 6
step6:Assemble the Dish
7

Bake Until Bubbly

Place the assembled baking dish in a preheated 190C (375F) oven, and bake for 18-20 minutes, until the sauce is bubbling vigorously around the edges of the dish, and the top cheese layer is dotted with golden brown, crispy spots. Remove from the oven, and let rest for 5 minutes before serving to let the sauce set slightly.
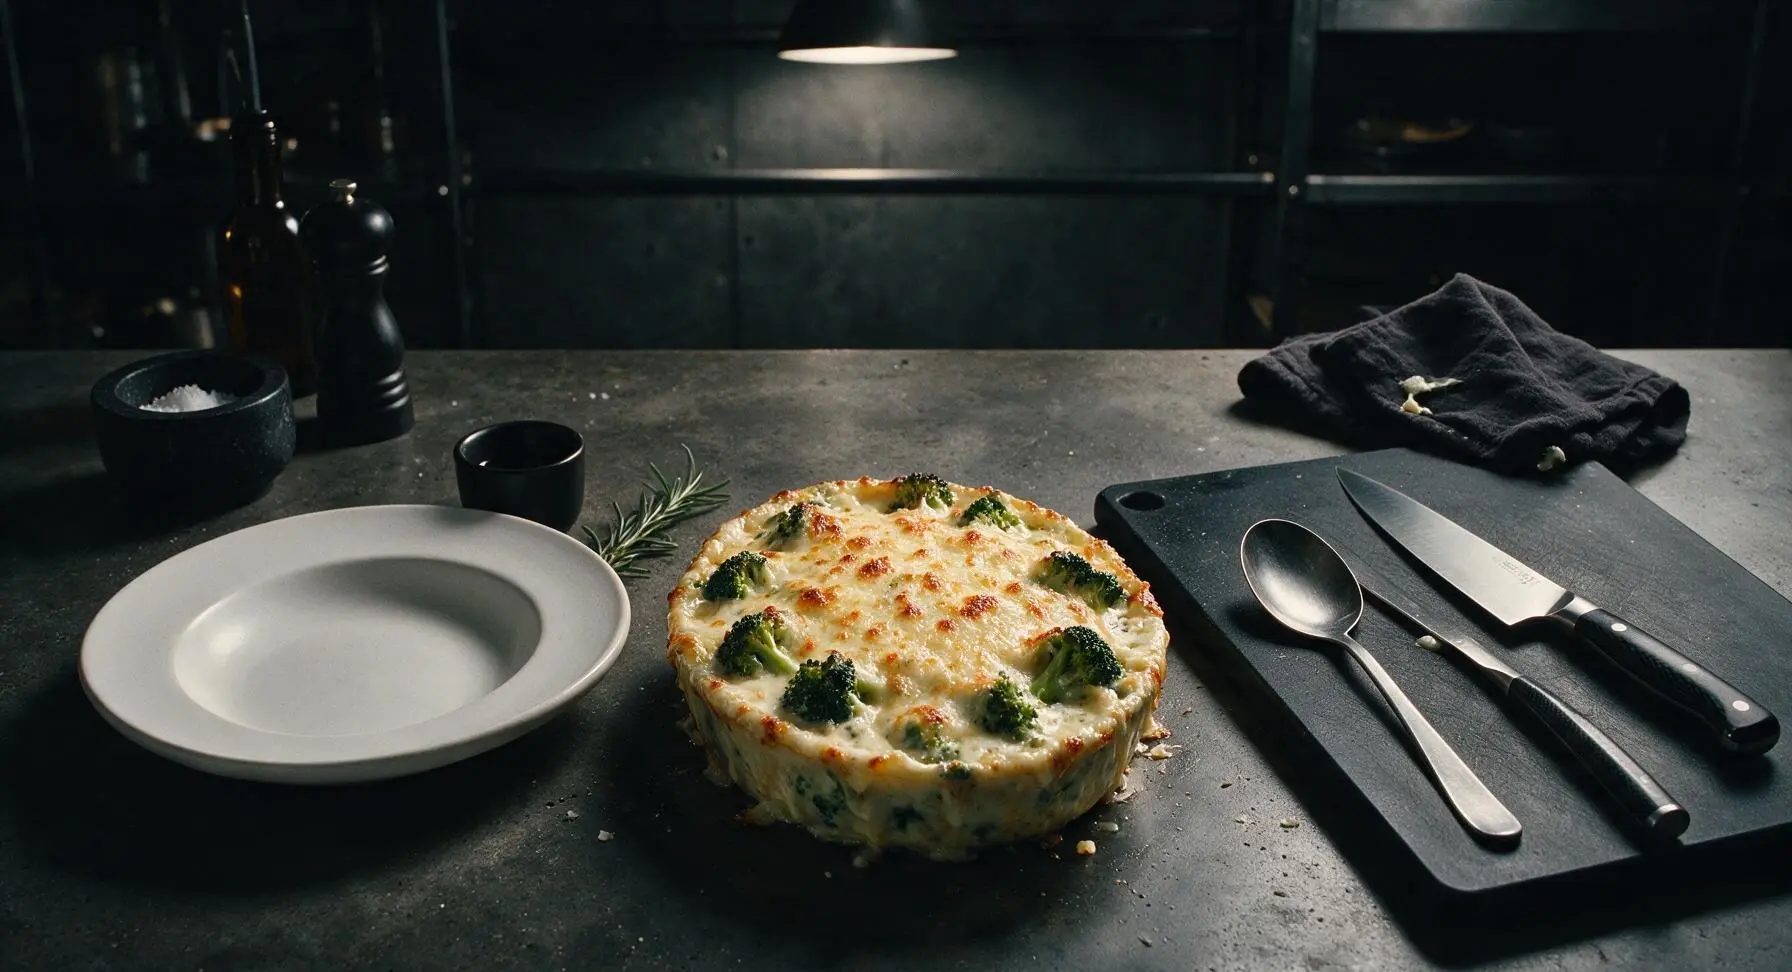
Step 7
step7:Bake Until Bubbly

Tips

1.Always shred cheddar fresh from a block instead of using pre-shredded bagged cheese. Pre-shredded cheese is coated in potato starch and anti-caking agents that prevent smooth melting, resulting in a grainy, separated sauce instead of the desired velvety texture.
2.Do not overcook broccoli during the 2-minute blanch. The short blanch sets the bright green color and partially tenderizes florets; broccoli will continue to cook while baking in the hot cheese sauce, and over-blanching leads to mushy, waterlogged florets that thin out the sauce.
3.Let the baked dish rest for 5 full minutes after removing it from the oven. The cheese sauce is very thin and runny straight out of the oven, and the short rest allows the sauce to thicken and cling to broccoli florets instead of running across the dish when served.


✨ You May Also Like

Side Dishes
🍜 India

Velvety, aromatic all-purpose curry sauce perfect for tossing with roasted veggies, grilled protein, or rice for fast, cozy, flavorful meals.

⏱️ 25 minuteSide Dishes ★ 4.8
Side Dishes
🍜 Spain

Tender, starchy boiled yuca tossed in bright, garlicky citrus mojo sauce—an iconic, zesty side that pairs beautifully with roasted pork, grilled meats, and rice and beans.

⏱️ 40 minuteSide Dishes ★ 5
Side Dishes
🍜 United States

Tender, paper-thin potato flatbread, a beloved Norwegian-American Minnesota Christmas staple, griddled until softly spotted and served warm with butter.

⏱️ 1 hour 30Side Dishes ★ 4.6
Side Dishes
🍜 United States

Rich, deeply savory cured salt pork, a long-lasting kitchen staple perfect for frying crispy as a side or adding umami to stews, beans, and chowders.

⏱️ 7 days (2Side Dishes ★ 4.9
Side Dishes
🍜 United States

Crispy, tangy classic Southern fried green tomatoes with a crunchy cornmeal crust, served hot for a nostalgic, comforting summery bite.

⏱️ 25 minuteSide Dishes ★ 4.9
Side Dishes
🍜 United States

Moist, golden-crusted savory muffins with sweet corn, zesty jalapeño, and melted cheddar, perfect for pairing with smoky summer grilled fare.

⏱️ 30 minuteSide Dishes ★ 4.9

broccoli cheese:Frequently Asked Questions

1.Can I use frozen broccoli instead of fresh for this recipe? ▾
Absolutely, you can swap frozen broccoli for fresh—just thaw it completely first, then pat it thoroughly dry with paper towels to squeeze out excess moisture that would make your cheese sauce runny. Blanch it for 1 minute instead of 2 before assembling, so it stays tender-crisp instead of mushy after baking.
2.Why does my cheese sauce turn out grainy sometimes? ▾
Grainy cheese sauce almost always comes from overheating the cheese or adding it too quickly. Take your roux and milk base off the heat for 2 minutes before stirring in shredded cheddar a handful at a time, and never let the sauce boil once cheese is added—high heat makes cheese proteins curdle and create that gritty texture.
3.Can I make this dish ahead of time for a holiday meal? ▾
Definitely! Assemble the blanched broccoli and cheese sauce fully in your baking dish, let it cool completely, then cover tightly and refrigerate for up to 2 days. When you’re ready to bake, add 5 to 7 minutes to the listed cook time, and bake uncovered until it’s bubbly and golden on top.
4.What’s the best way to get that crispy, golden top without burning the cheese? ▾
For a perfect golden, bubbly top without burnt edges, bake the dish uncovered at 375°F, and sprinkle an extra 2 tablespoons of shredded cheddar mixed with a tiny pinch of paprika over the surface right before baking. If the top browns too fast, tent it loosely with foil for the last 10 minutes of cook time.
5.Can I use a different cheese if I don’t have sharp yellow cheddar? ▾
Sharp yellow cheddar gives that classic tangy, nostalgic flavor, but you can swap in other melting cheeses easily. Great options include medium cheddar, nutty Gruyère, or mild Monterey Jack—just avoid pre-shredded cheese with anti-caking additives, which make sauce grainy and less smooth.
6.How do I keep the broccoli from getting mushy when baked? ▾
The key to tender-crisp, not mushy, broccoli is to blanch it in salted boiling water for exactly 2 minutes first, then immediately plunge it into an ice water bath to stop the cooking. Pat it dry before combining with sauce, so it doesn’t leach extra water that over-softens it as it bakes.
7.My cheese sauce came out too thick—how do I fix that? ▾
If your cheese sauce turns out thicker than heavy cream before baking, simply whisk in extra whole milk 1 tablespoon at a time over low heat until it reaches a smooth, pourable consistency. If it thins out too much, let it simmer for 1 to 2 minutes, stirring constantly, to reduce slightly before tossing with broccoli.
8.What main dishes pair best with this baked broccoli cheese? ▾
This cozy side is incredibly versatile! It pairs perfectly with weeknight mains like pan-seared chicken breasts, baked salmon, or meatloaf, and holds its own on holiday spreads alongside roast turkey, honey-glazed ham, or prime rib. It also makes a great topping for baked potatoes for a quick vegetarian meal.
9.Can I add extra mix-ins to make this dish more filling? ▾
Absolutely! Popular, delicious mix-ins include crumbled cooked bacon, diced caramelized onions, roasted garlic, a pinch of red pepper flakes for gentle heat, or even ½ cup of cooked pasta for a hearty broccoli cheddar casserole twist. Just fold mix-ins into the broccoli and sauce before baking.
10.Do I need to make a roux for this, or can I skip that step? ▾
The simple butter-and-flour roux is non-negotiable for that stable, velvety sauce that doesn’t separate or turn greasy as it bakes. It only takes 3 minutes to cook: melt butter, whisk in flour, cook until it smells faintly nutty, then slowly whisk in milk for perfectly smooth sauce every time.
11.How do I store leftovers, and how long will they keep? ▾
Let leftover baked broccoli cheese cool completely, then transfer it to an airtight container and refrigerate for up to 4 days. Reheat portions in the microwave at 50% power, stirring halfway through, or in a 350°F oven covered with foil for 15 minutes. Note that it does not freeze well, as the sauce will separate when thawed.
12.Why is my finished dish watery at the bottom of the pan? ▾
Watery baked broccoli cheese almost always comes from under-dried broccoli, or from overheating the sauce until it breaks and separates. Make sure to pat blanched broccoli fully dry before adding sauce, and don’t let the cheese sauce boil once cheese is added, to keep the final dish rich and creamy.

Comments (11)

3 days ago

OMG this creamy baked broccoli cheese is a total game changer for our weeknight family dinners! My two super picky kids ate every last bite on their plates and even asked for seconds, which never happens. I used a mix of sharp cheddar and a little mozzarella because that’s what I had in the fridge, and it turned out SO good. 10/10 will be making this on repeat!

2 days ago

Wait the cheddar/mozzarella swap sounds chef’s kiss! My kid only eats mozzarella so I’m definitely trying that hack next time I make this. Thanks for the tip!

yesterday

So glad your family loved it, Mia! That cheese swap sounds absolutely delicious — feel free to mix up the cheese blend however works best for your crew, it’s super flexible!

1 week ago

Brought this to my neighborhood potluck last weekend and people were hounding me for the recipe before I even left! The creaminess is next level, no weird grainy cheese texture like some other broccoli bakes I’ve tried. Only thing I added was a sprinkle of crispy fried onions on top for a little crunch, chef’s choice.

5 days ago

That fried onion topping addition is genius, Jake! So happy it was a hit at the potluck — we might have to test that variation for the site soon!

2 days ago

Super easy to make in my tiny dorm oven! I pre-steamed the broccoli a little in the microwave first to cut down on cook time, and it still came out perfectly creamy. Great for meal prep too, it reheats like a dream in the microwave for quick lunches between classes.

5 days ago

Wait, is it normal that the sauce was a little runny when I pulled it out? I followed the measurements exactly, let it rest for 5 minutes like the recipe said, but it was still pretty soupy. Taste was amazing though, my book club gobbled it up regardless!

3 days ago

I had that happen the first time too! I realized I didn’t let the roux cook long enough before adding the milk and cheese. Cooking it an extra 2 minutes until it was thickened before pouring over the broccoli fixed it right up for me!

2 days ago

Sorry to hear the sauce was runny for you! Sam’s tip is spot on — making sure your roux is a light golden color and thick before adding dairy makes a huge difference. You can also pop it under the broiler for 1-2 minutes at the end to help it thicken up faster if needed!

2 weeks ago

Added this to my Sunday meal prep rotation last week and it held up all 5 days in the fridge no problem! I tossed in a little diced cooked chicken breast to add some protein and it made for perfectly filling work lunches. Way better than sad takeout salads.

1 week ago

The chicken addition is such a good call! I’ve been looking for ways to bulk this up so it’s a full meal, can’t wait to try that this weekend!

yesterday

I’ve been making broccoli cheese bake for 40 years and this recipe is easily one of the best I’ve ever tried! The hint of garlic powder in the sauce is such a nice touch, I never thought to add that before. My grandson ate three helpings when he came over for Sunday dinner.

30 minutes ago

As someone who hates mushy broccoli, I was skeptical about a baked broccoli dish, but this came out with the perfect tender-crisp texture! The cook time is spot on, no overcooked soggy veggies here. I used a little extra black pepper because I love a kick, and it was chef’s kiss.

5 minutes ago

So happy the texture worked out for you, Sam! Tender-crisp broccoli is non-negotiable for us too, so that makes us really happy to hear. Extra black pepper is always a great call!

2 hours ago

Made this last night for the family and it was so easy to throw together after work! I didn’t have time to make a roux from scratch so I used a can of condensed cream of chicken soup as a shortcut, and it still turned out insanely good. My 7 year old said it tastes like "cheese cloud broccoli" lmao.

30 minutes ago

Oh the cream of chicken shortcut is genius for busy nights! I’m definitely keeping that in my back pocket for when I have 10 minutes to get dinner in the oven between study sessions.

5 minutes ago

Love that shortcut, Joe! "Cheese cloud broccoli" is the best review we’ve ever gotten, honestly. We’re all about flexible recipes that work for busy schedules, so that makes us so happy!

just now

Tried this for a low-carb side at our friend’s cookout and it was such a hit! I swapped the regular flour for almond flour to make the roux keto-friendly and you literally couldn’t tell the difference. So rich and creamy, no weird aftertaste at all. Will be making this for all our summer gatherings.

5 minutes ago

Easy, cheesy, and done in 25 minutes? Sign me up! I threw in some crumbled cooked bacon I had leftover from breakfast and it took this over the top. Only gripe is I wish I made a double batch because my roommates demolished half of it before I even got a second serving.

just now

Bacon is such a perfect addition to this, Gary! We always recommend making a double batch too — it goes way faster than you’d expect!

1 week ago

Wait, can I make this ahead of time and freeze it? I’m prepping meals for after my baby is born and easy, cheesy sides that reheat well are at the top of my list. This looks perfect, just not sure how it holds up in the freezer!

5 days ago

I froze a batch a couple weeks ago for busy work weeks! Let it thaw in the fridge overnight, then bake covered for 15 minutes at 350, then uncovered for 5 to crisp the top. Tasted exactly the same as fresh, no weird texture issues!

3 days ago

Great question, Jess! Mike’s freezing tip is perfect — this freezes really well for up to 3 months if stored in an airtight container. Congrats on your upcoming little one, we hope this makes those busy newborn days a little easier!



