
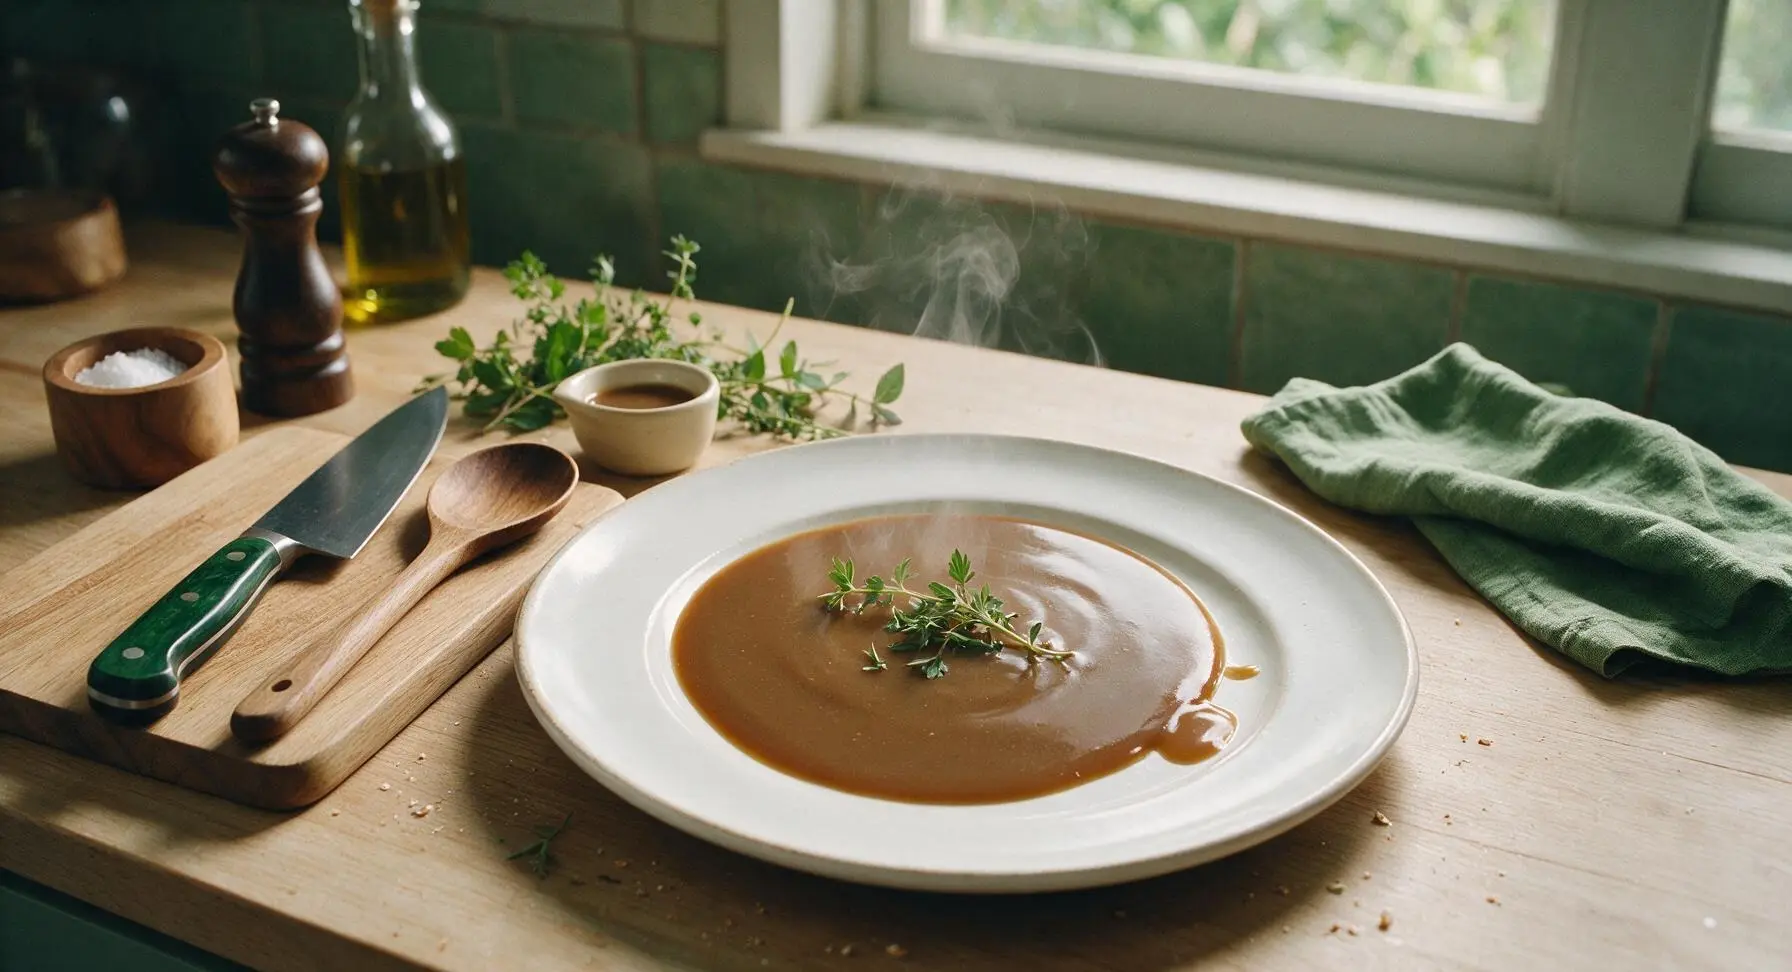
brown gravy

title 1
brown gravy
⏱️ cook time 15 minutes
🍽️ servings 6
⚡ Difficulty easy

intro

Rich, deeply savory homemade brown gravy with a smooth, glossy texture and nutty toasty notes, perfect for draping over mashed potatoes, roast beef, or meatloaf for cozy family meals.

Ingredients
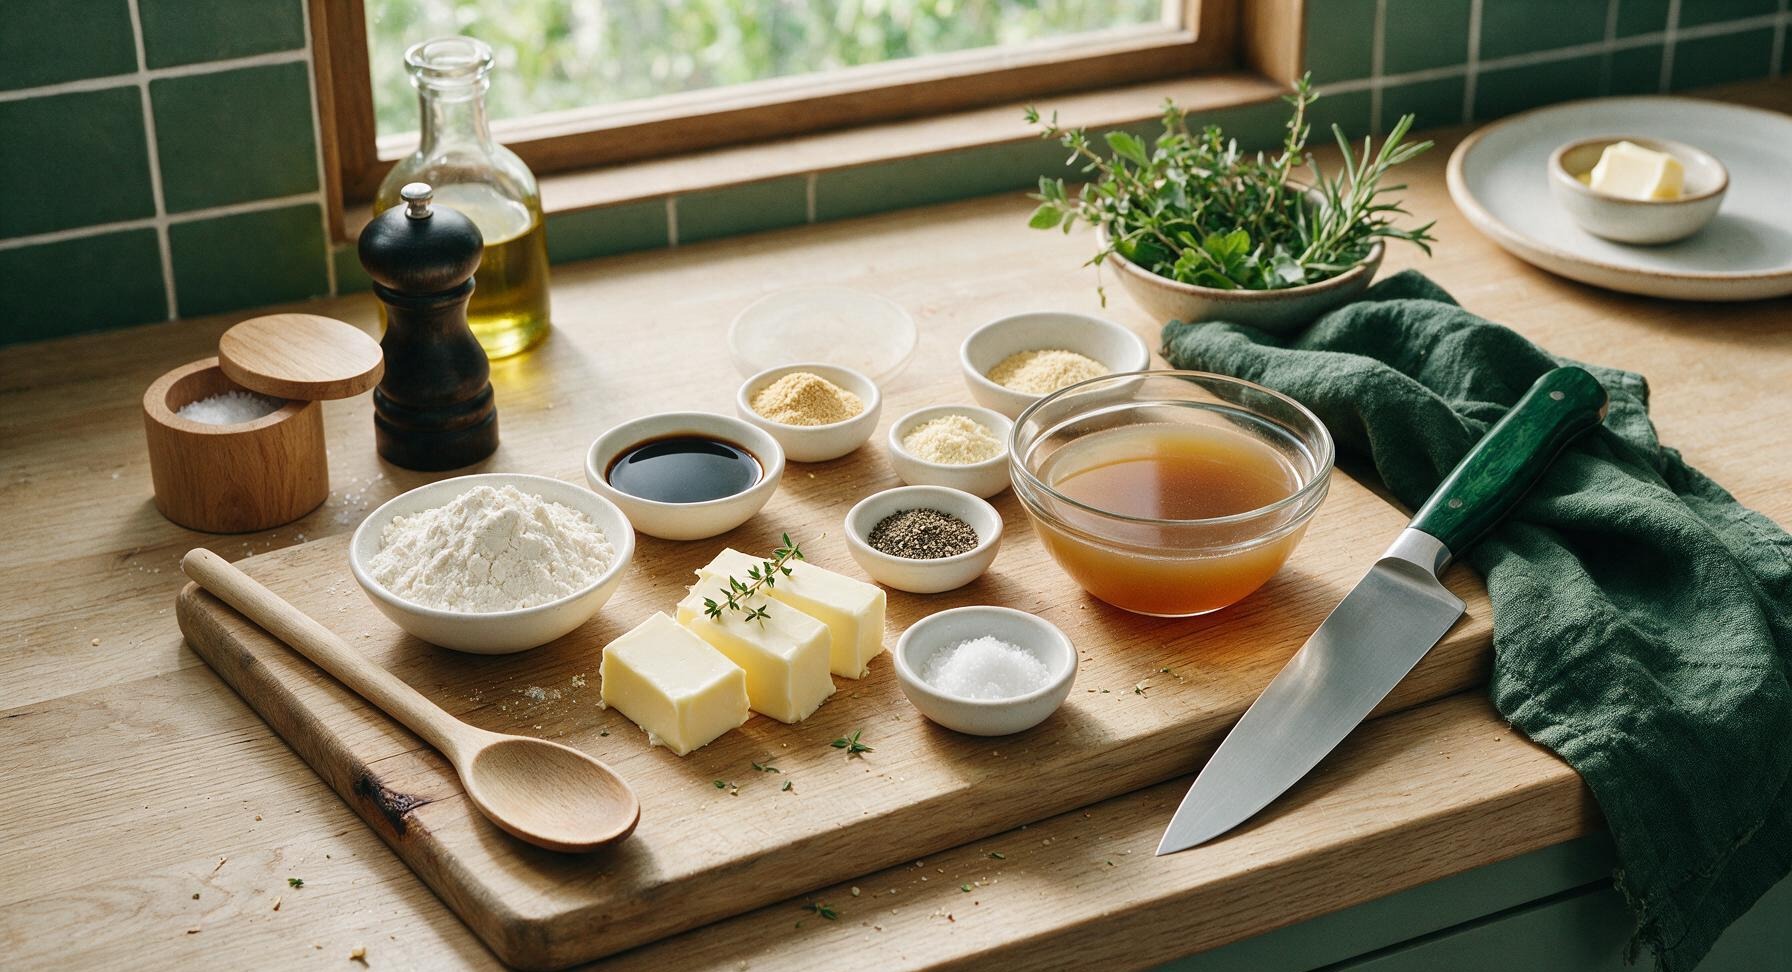
Low-sodium beef broth 2 cups
All-purpose flour 3 tablespoons
Unsalted butter 3 tablespoons
Worcestershire sauce 1 teaspoon
Onion powder 1/2 teaspoon
Garlic powder 1/4 teaspoon
Freshly ground black pepper 1/4 teaspoon
Kosher salt 1/4 teaspoon (adjust to taste)
Fresh thyme sprig (garnish) 1

Steps

1

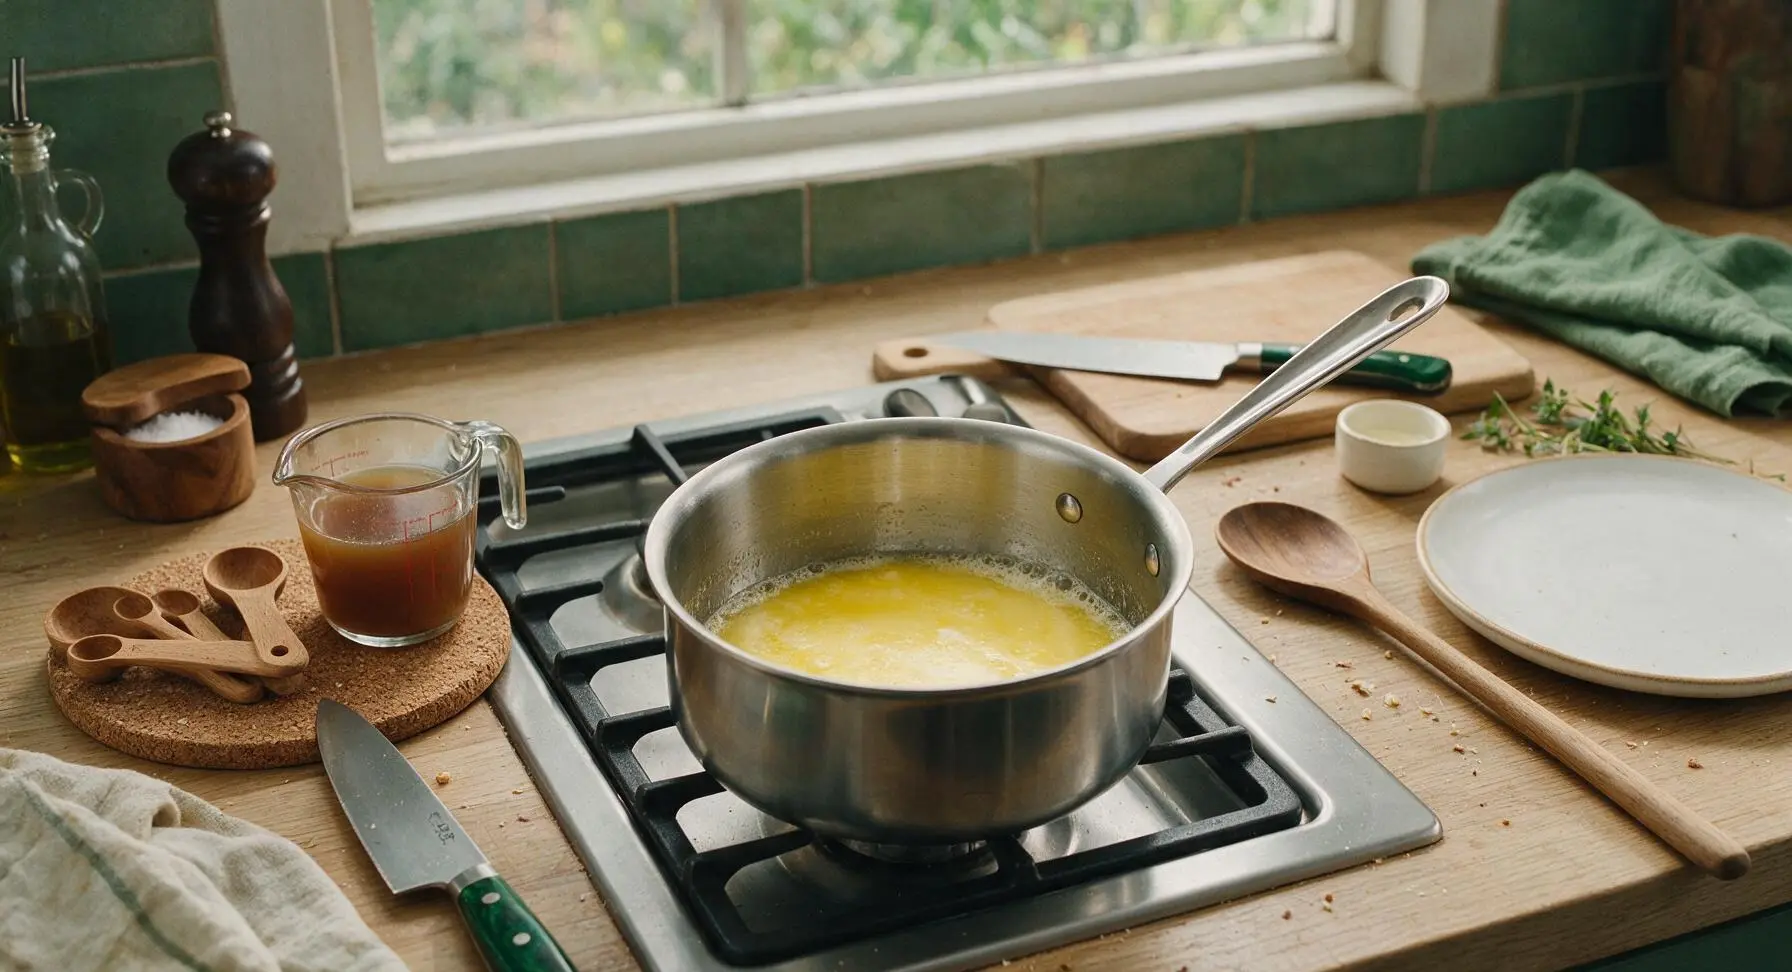
Melt the Butter

Place the 2-quart stainless steel saucepan on the central stovetop burner over medium-low heat (325°F / 160°C). Add the 3 tablespoons of unsalted butter to the pan, and allow it to melt fully, swirling occasionally, for 1-2 minutes. Do not let the butter brown or bubble aggressively at this stage; it should be fully liquid and foaming slightly with no golden color.
Step 1
step1:Melt the Butter
2

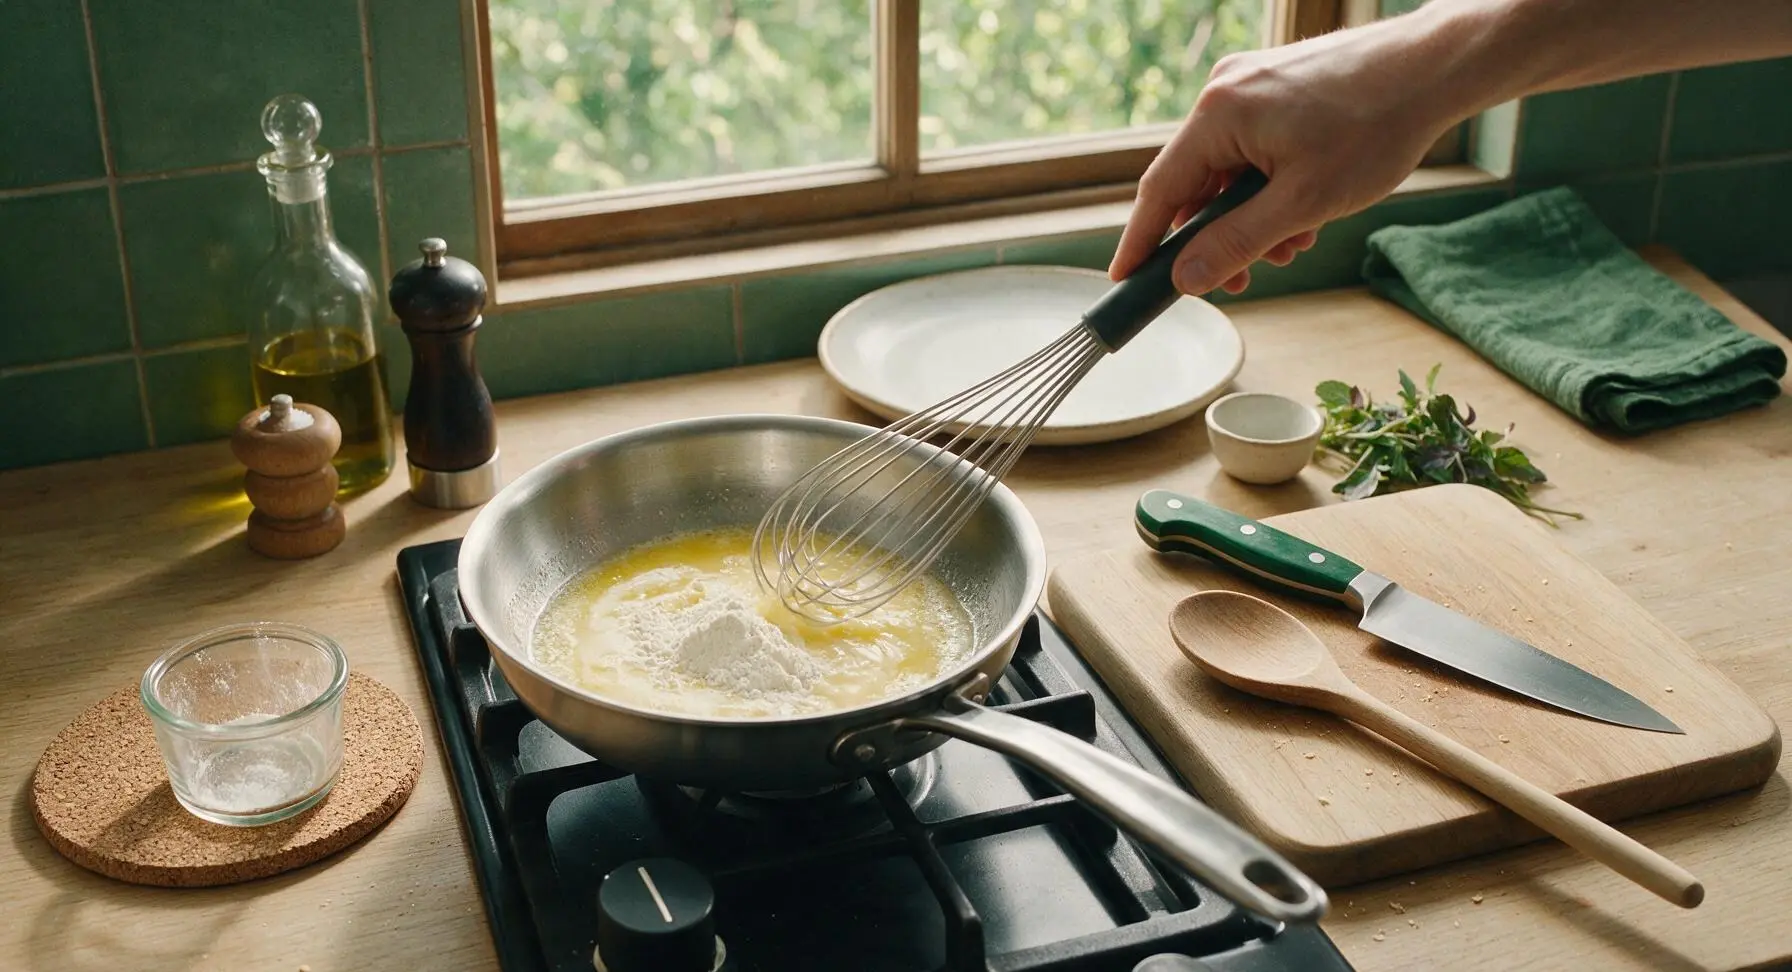
Whisk Flour for Roux

Add the 3 tablespoons of all-purpose flour to the melted butter, whisking constantly with the stainless steel wire whisk to form a smooth, thick paste with no lumps. This paste, called a roux, is the thickening base for the gravy.
Step 2
step2:Whisk Flour for Roux
3

Cook Roux to Deep Brown

Continue cooking the roux over medium-low heat, whisking constantly to prevent burning, for 4-5 minutes. The roux will progress from pale gold to light tan, then to a rich deep peanut-butter brown with a nutty, toasty aroma. Watch closely during the final minute, as it can darken and burn quickly; remove the pan from heat for 10 seconds if it darkens too fast.
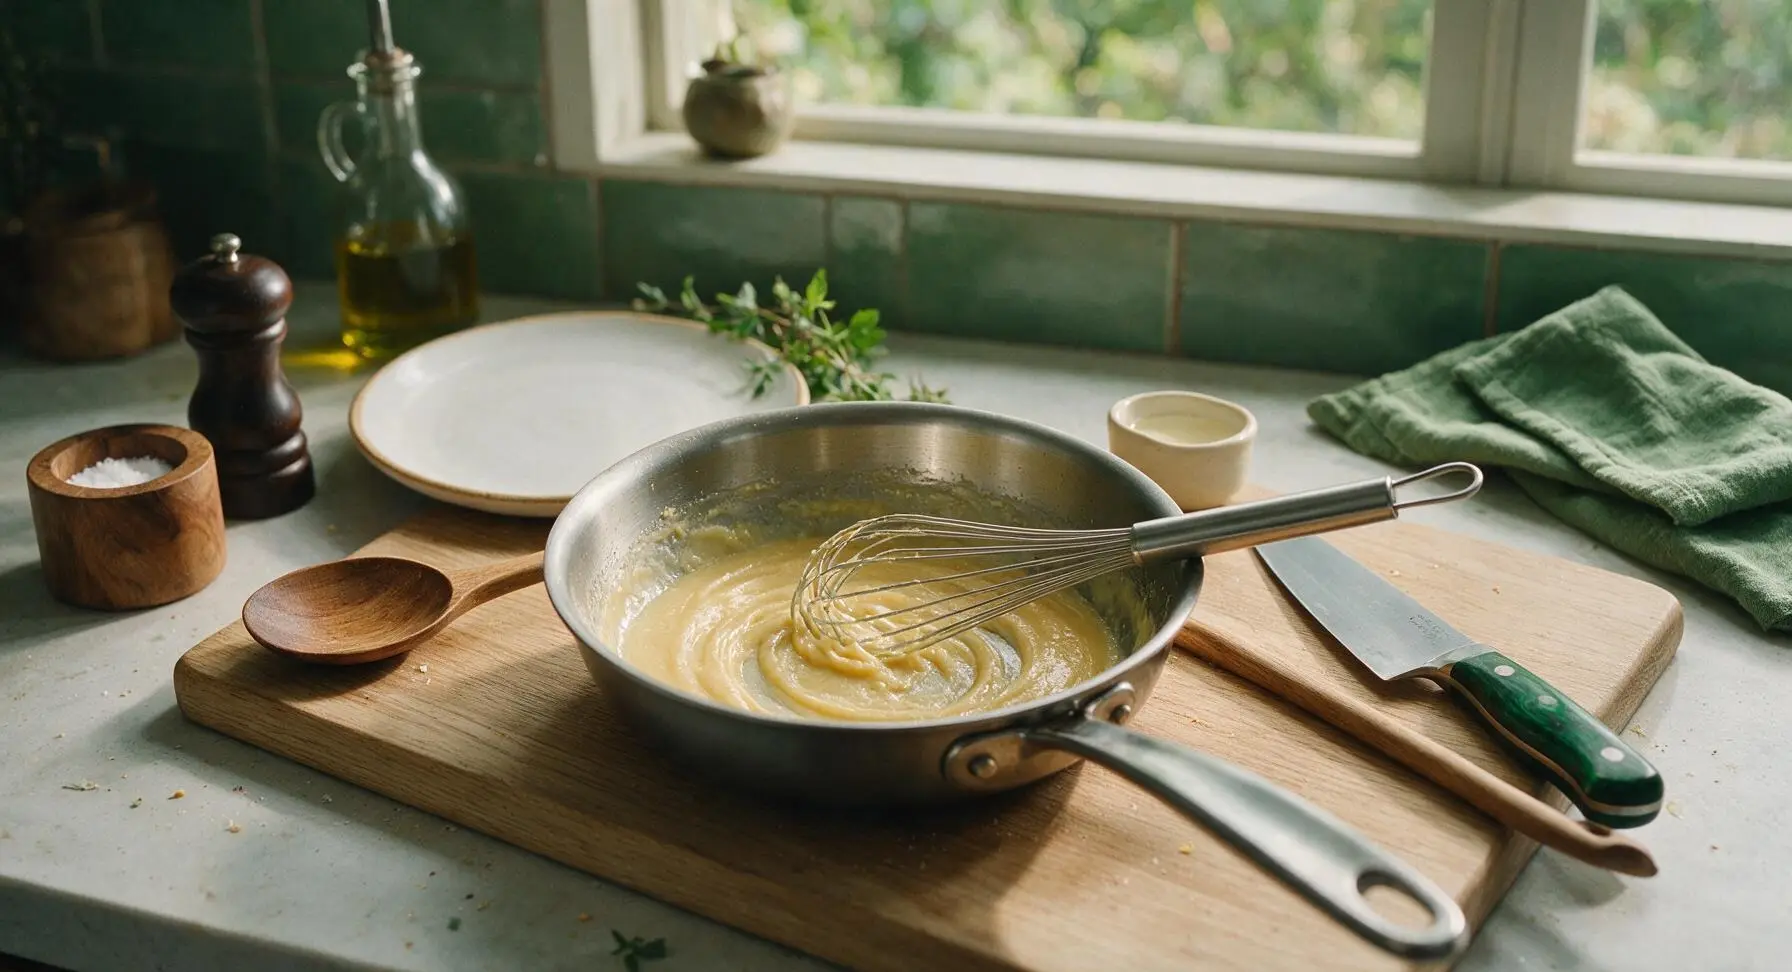
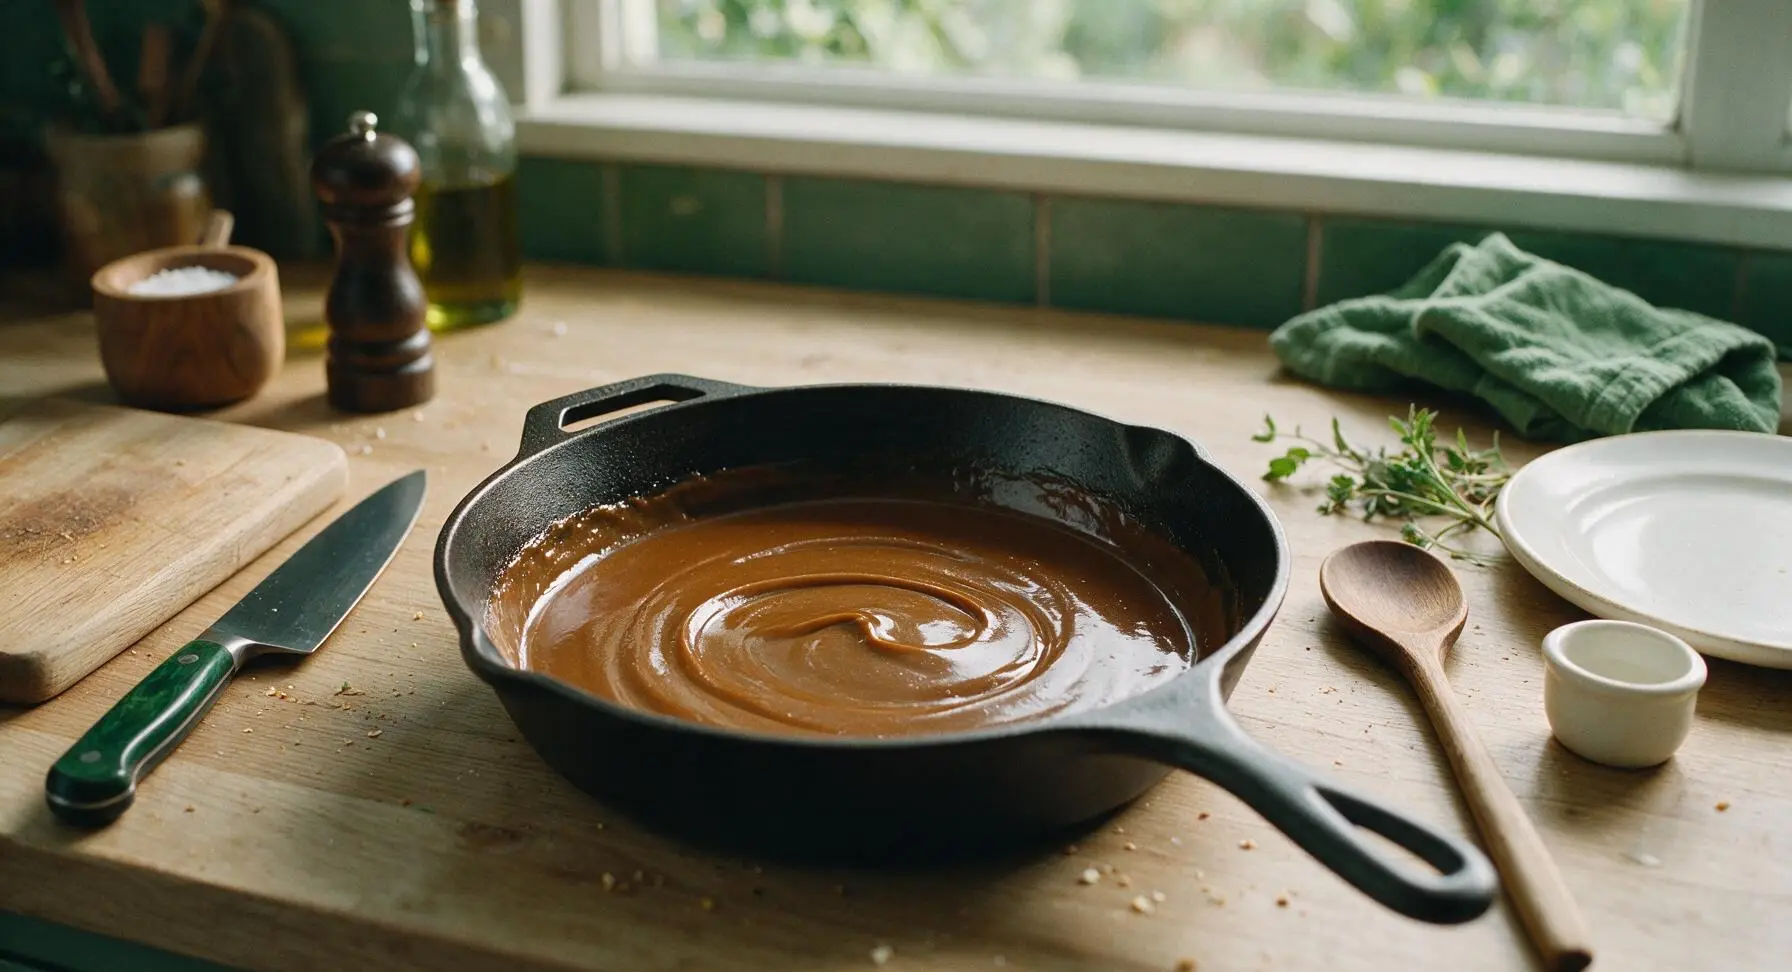
Step 3
step3:Cook Roux to Deep Brown
Step 3
step3:Cook Roux to Deep Brown
4

Slowly Whisk in Broth

While whisking constantly, pour the beef broth into the roux 1/4 cup at a time, adding more only when the previous addition is fully smooth and incorporated with no lumps. This slow addition prevents lumpy gravy by keeping the roux from seizing when it hits cold liquid. Once all broth is added, turn the heat up to medium (350°F / 175°C) to bring the gravy to a gentle simmer.
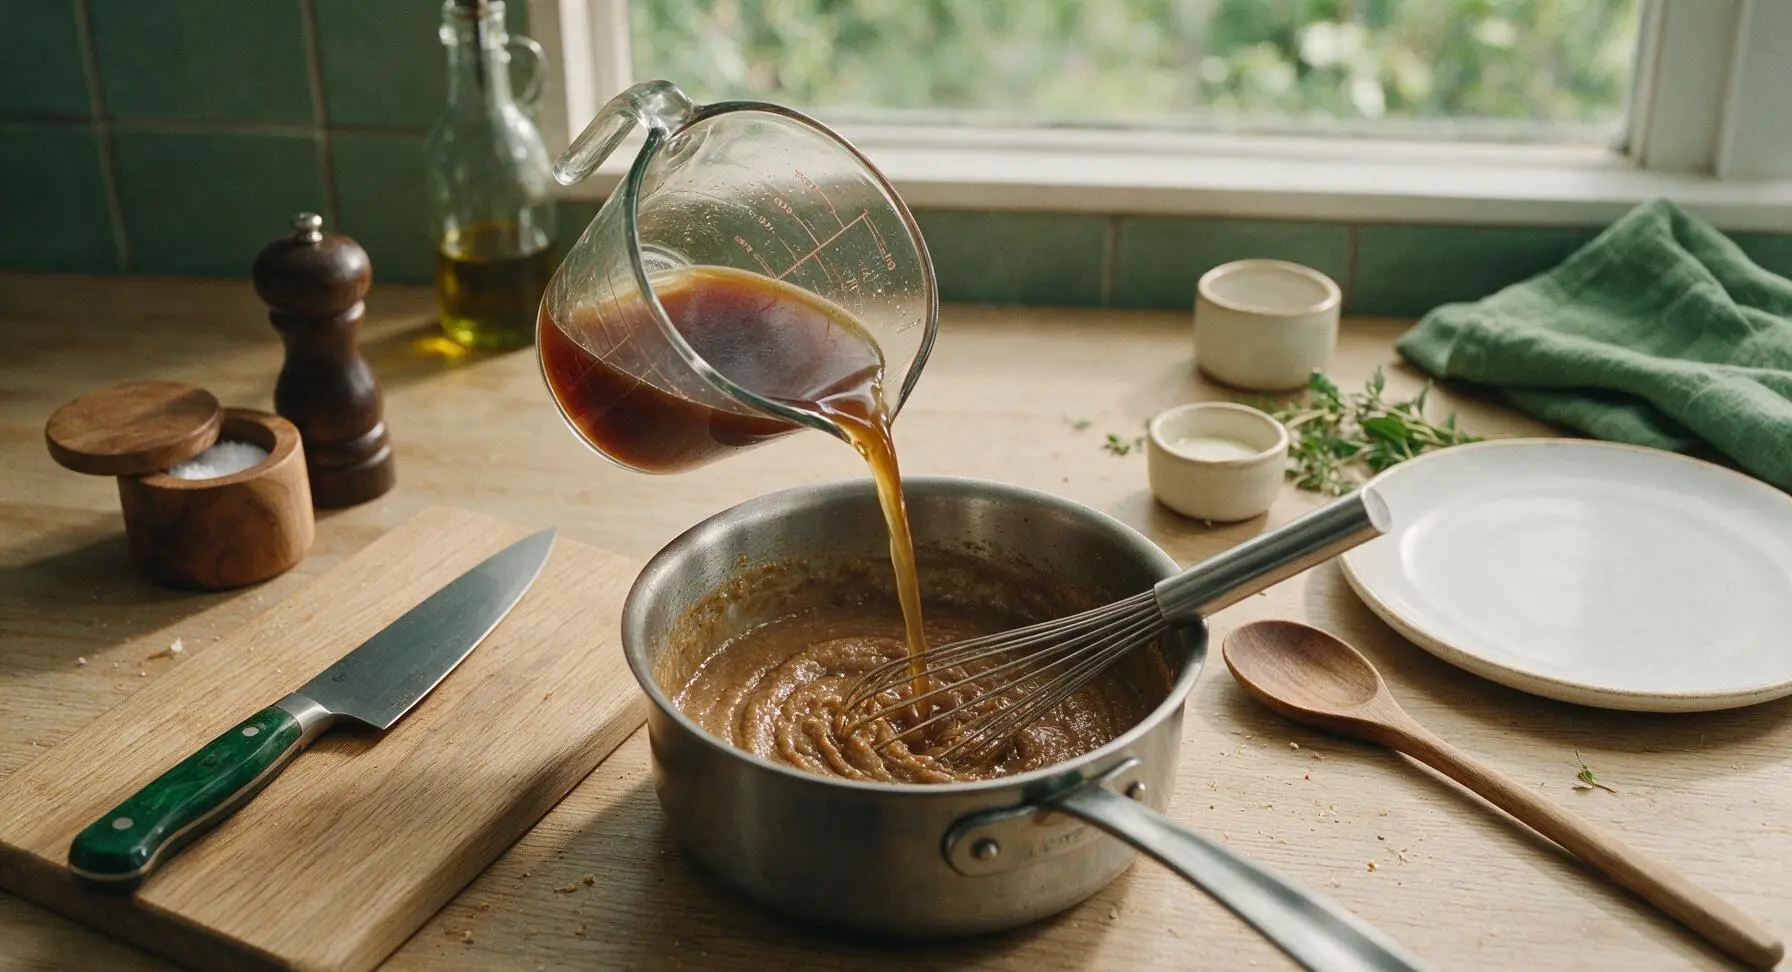
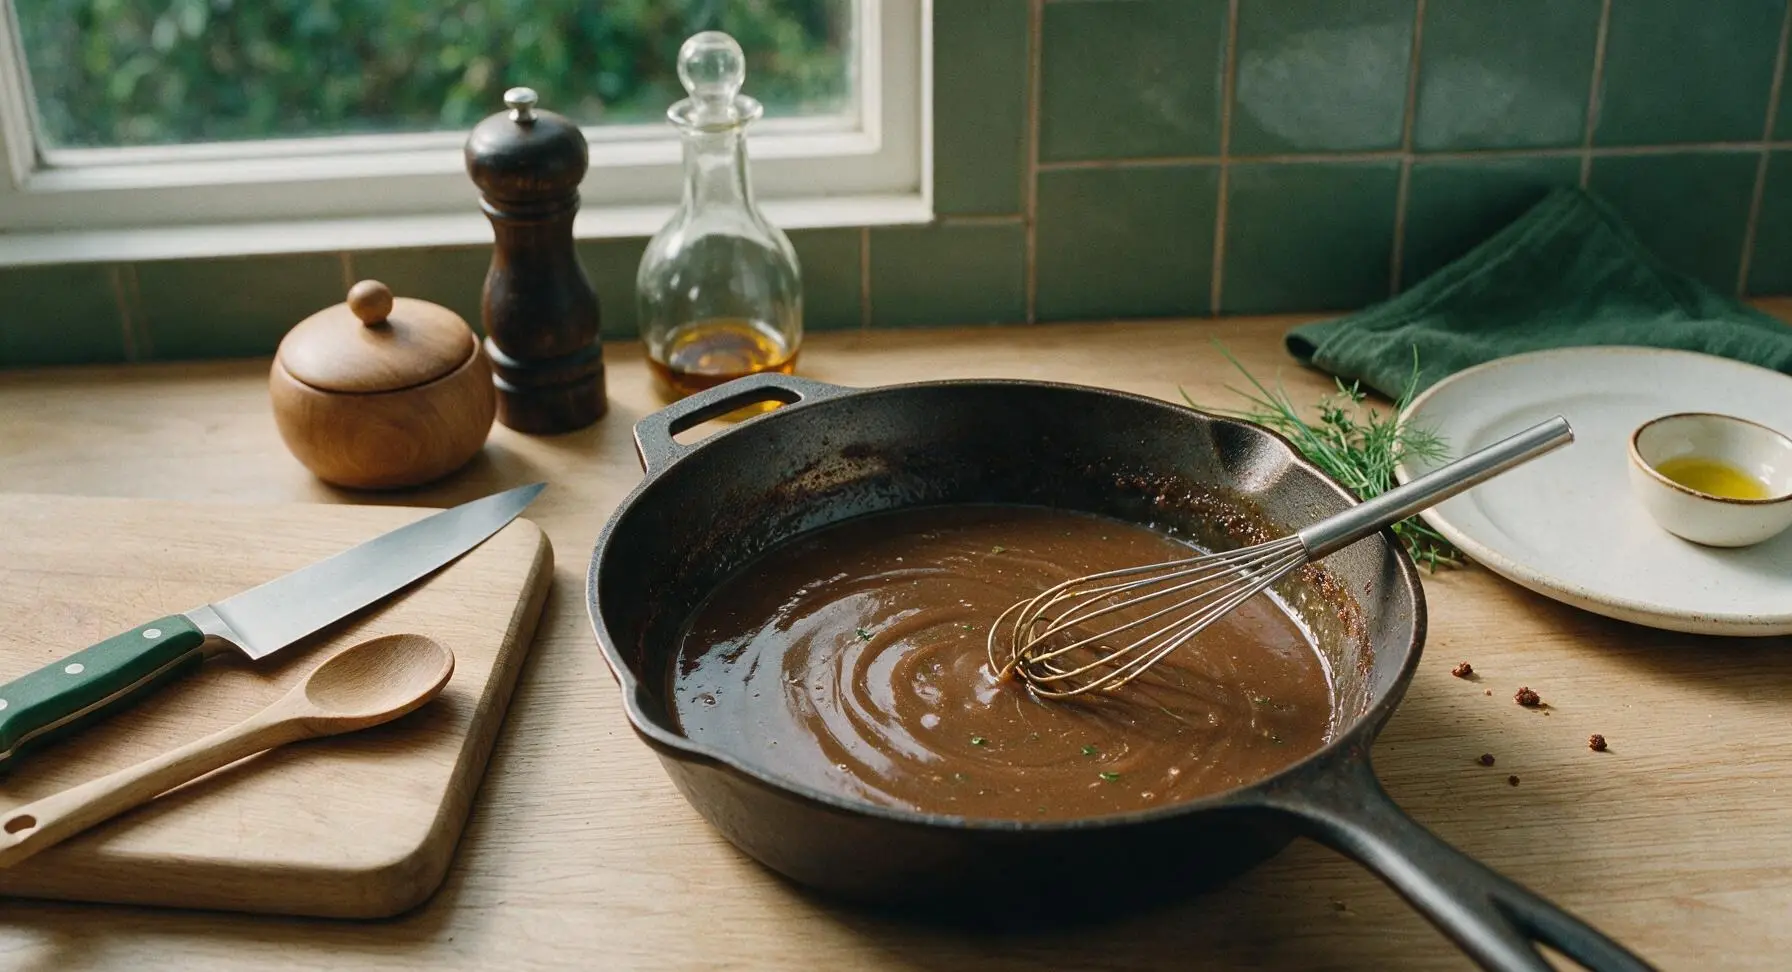
Step 4
step4:Slowly Whisk in Broth
Step 4
step4:Slowly Whisk in Broth
5

Add Seasonings and Simmer

Stir in the 1 teaspoon Worcestershire sauce, 1/2 teaspoon onion powder, 1/4 teaspoon garlic powder, and 1/4 teaspoon freshly ground black pepper. Allow the gravy to come to a gentle, bubbling simmer, then reduce heat to low and cook for 3-4 minutes, whisking occasionally, until it thickens enough to coat the back of a spoon: run your finger across the coated spoon, and the line should hold cleanly without running.
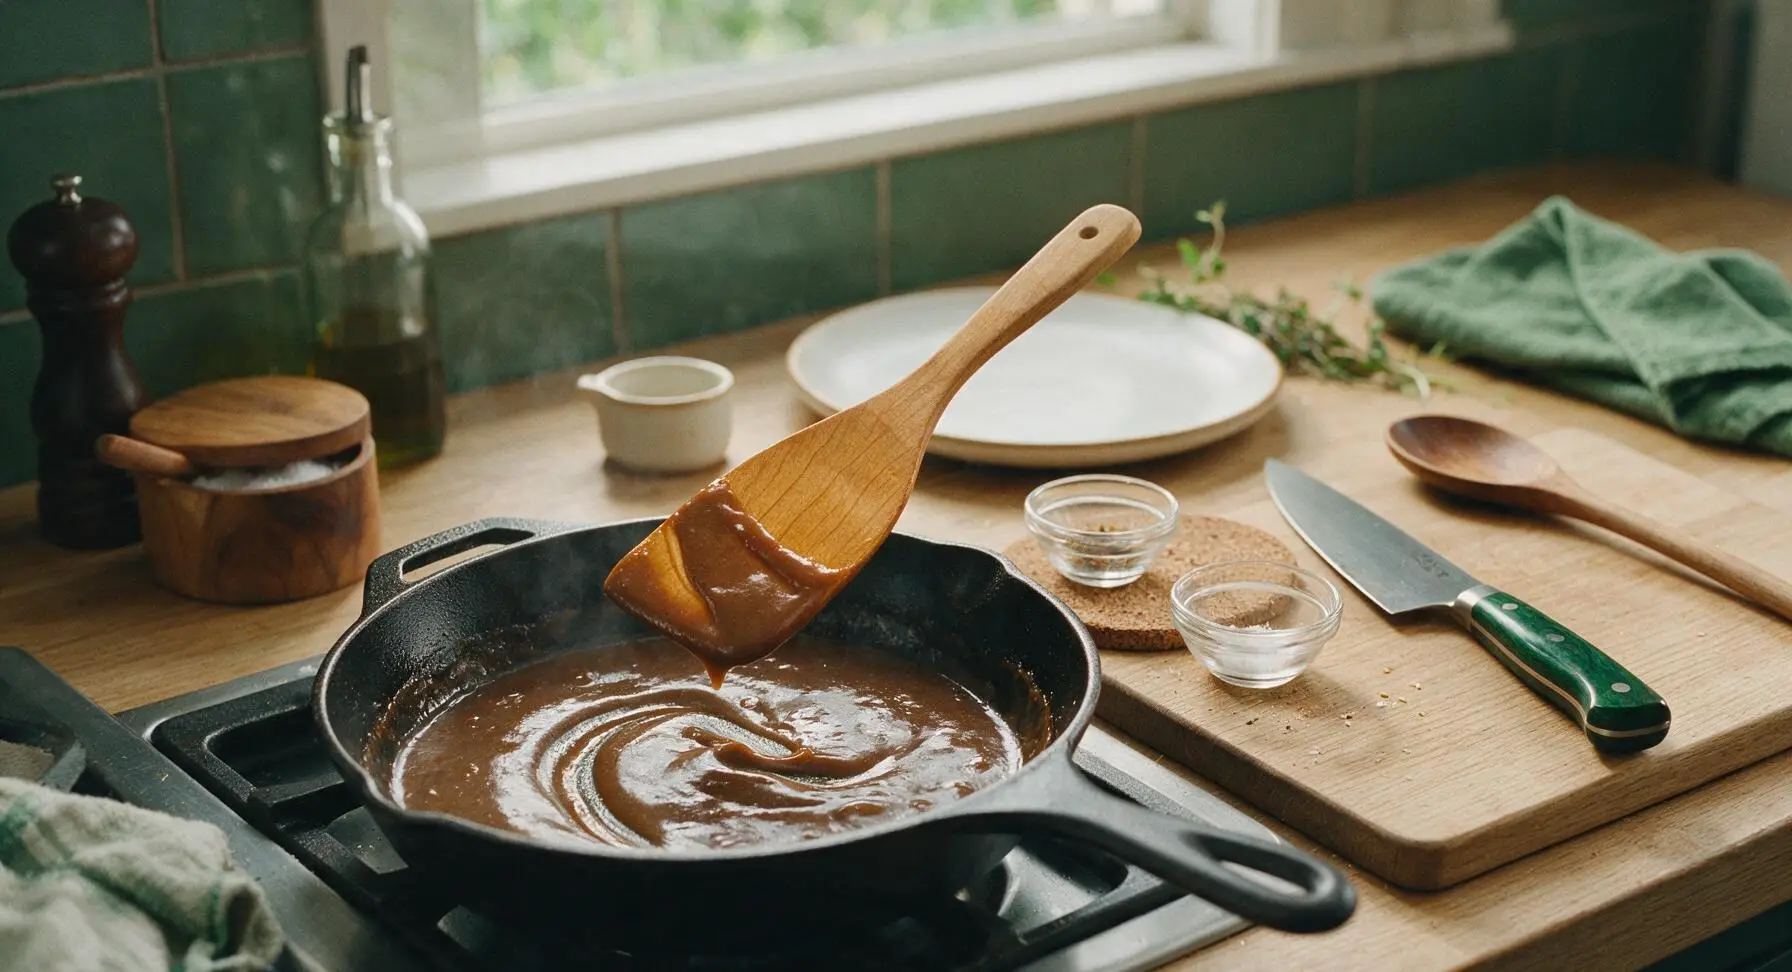
Step 5
step5:Add Seasonings and Simmer
6

Adjust Salt to Taste

Taste the gravy carefully, and add up to 1/4 teaspoon kosher salt as needed, depending on the salt content of your beef broth. If any small lumps remain, pour the gravy through a fine-mesh sieve for extra smoothness (this step is optional). Remove the pan from heat once thickness and seasoning are correct.
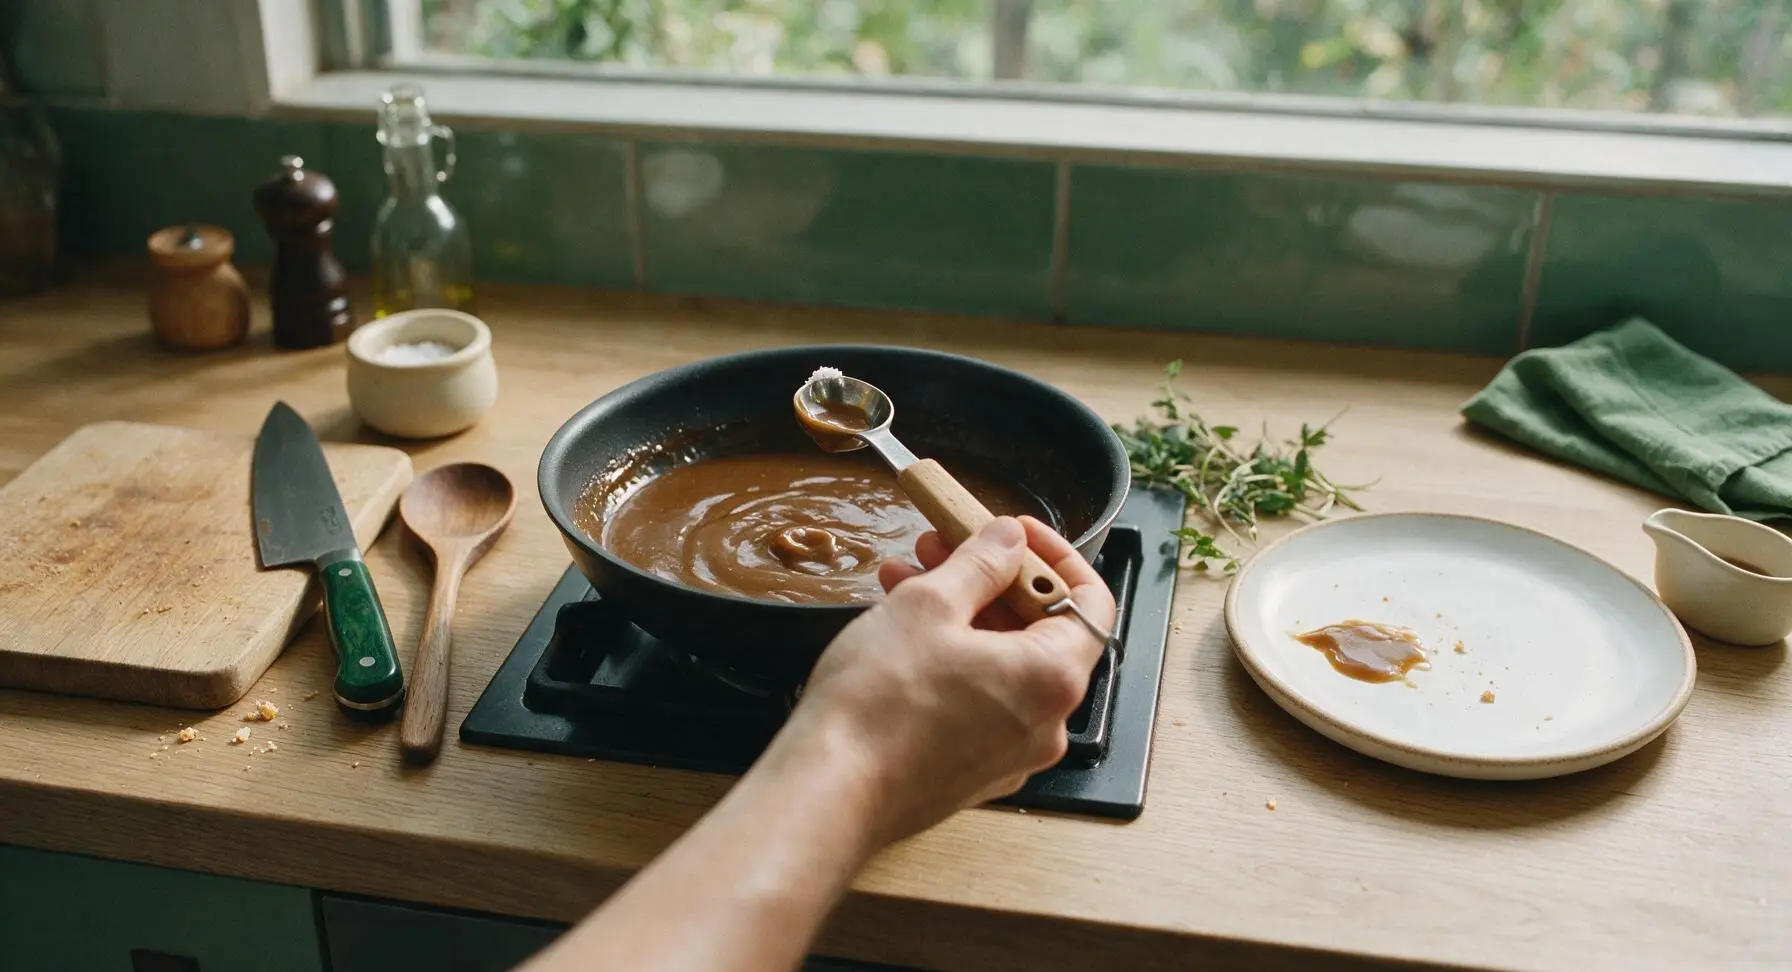
Step 6
step6:Adjust Salt to Taste
7

Pour and Serve Gravy

Carefully pour the finished hot gravy into the matte ivory ceramic gravy boat set on its matching underplate. Lay the fresh thyme sprig across the gravy boat spout as a simple garnish, and serve immediately alongside mashed potatoes, roast beef, meatloaf, or Yorkshire pudding.
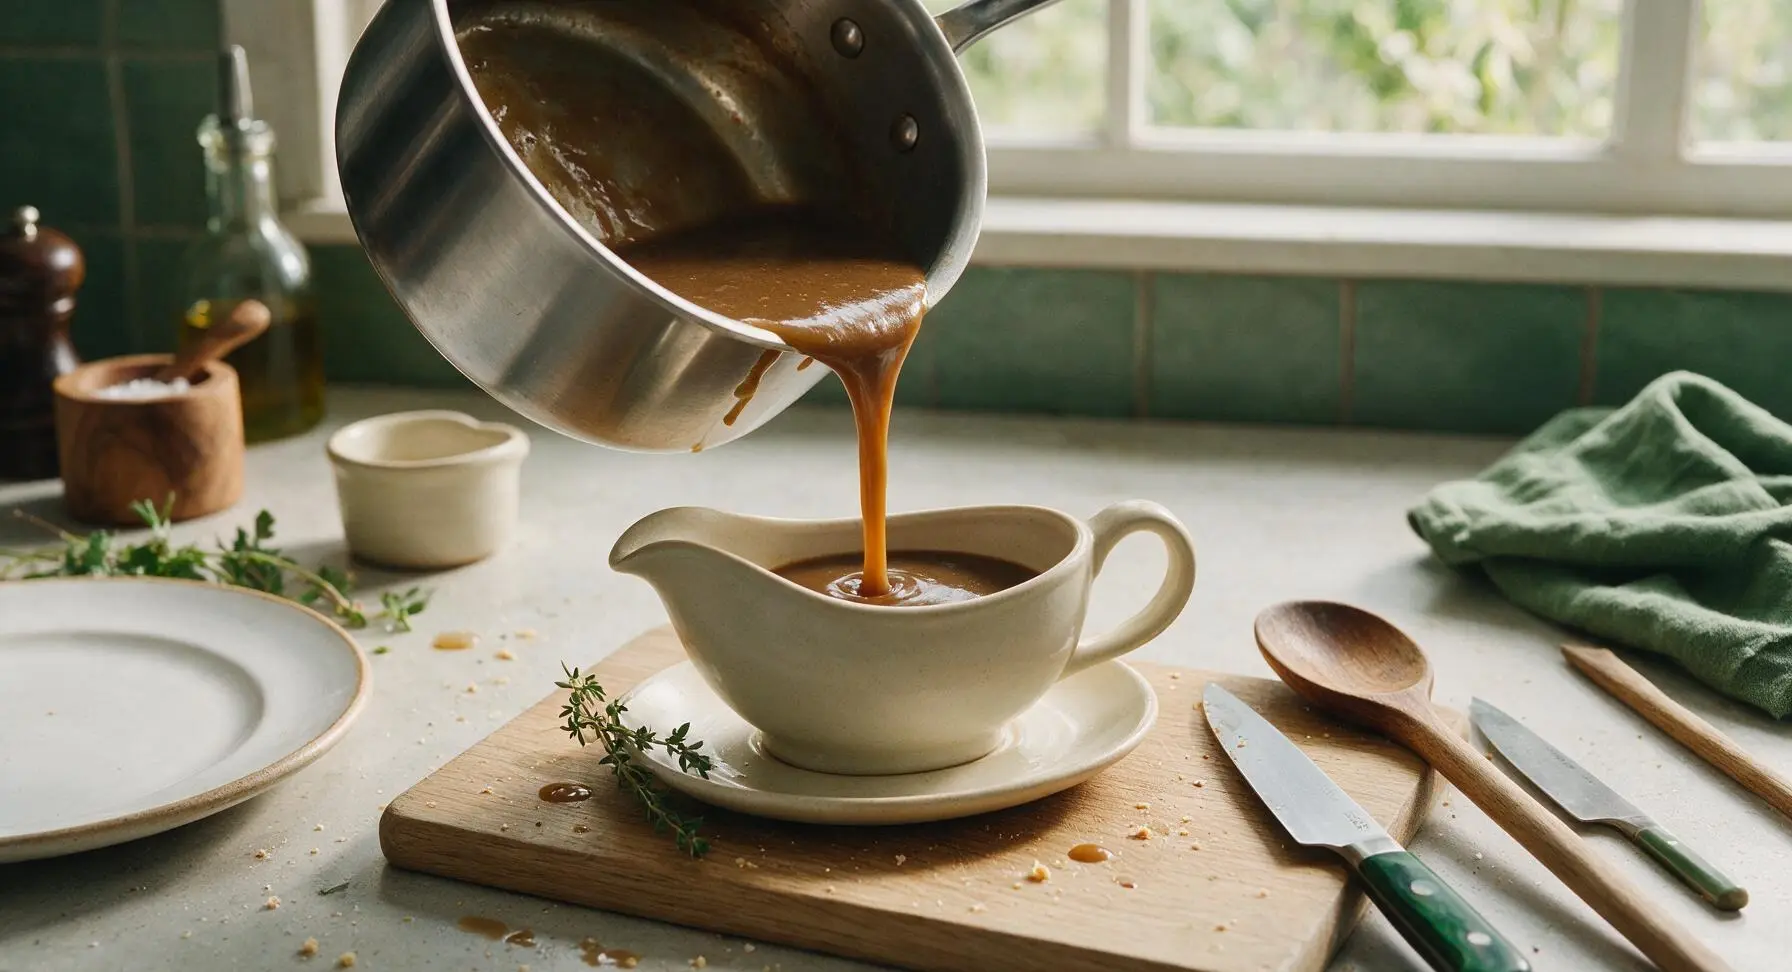
Step 7
step7:Pour and Serve Gravy

Tips

1.Cook the roux to a full peanut-butter brown before adding any liquid: a pale, undercooked roux will produce pale, floury-tasting gravy, while the deeply browned roux adds nutty, toasty flavor and the signature rich brown color without needing artificial browning sauce.
2.Add broth very slowly at first, whisking nonstop: pouring all broth in at once will cause lumps to form that are nearly impossible to whisk out, as the hot roux will seize up when hit with a large volume of cooler liquid.
3.If you have pan drippings from roast beef, meatloaf, or roasted poultry, substitute up to 1/2 cup of the beef broth with strained, fat-skimmed drippings for extra deep, meaty flavor that pairs perfectly with Sunday roast meals.


✨ You May Also Like

Side Dishes
🍜 India

Velvety, aromatic all-purpose curry sauce perfect for tossing with roasted veggies, grilled protein, or rice for fast, cozy, flavorful meals.

⏱️ 25 minuteSide Dishes ★ 4.8
Side Dishes
🍜 Spain

Tender, starchy boiled yuca tossed in bright, garlicky citrus mojo sauce—an iconic, zesty side that pairs beautifully with roasted pork, grilled meats, and rice and beans.

⏱️ 40 minuteSide Dishes ★ 5
Side Dishes
🍜 United States

Tender, paper-thin potato flatbread, a beloved Norwegian-American Minnesota Christmas staple, griddled until softly spotted and served warm with butter.

⏱️ 1 hour 30Side Dishes ★ 4.6
Side Dishes
🍜 United States

Rich, deeply savory cured salt pork, a long-lasting kitchen staple perfect for frying crispy as a side or adding umami to stews, beans, and chowders.

⏱️ 7 days (2Side Dishes ★ 4.9
Side Dishes
🍜 United States

Crispy, tangy classic Southern fried green tomatoes with a crunchy cornmeal crust, served hot for a nostalgic, comforting summery bite.

⏱️ 25 minuteSide Dishes ★ 4.9
Side Dishes
🍜 United States

Moist, golden-crusted savory muffins with sweet corn, zesty jalapeño, and melted cheddar, perfect for pairing with smoky summer grilled fare.

⏱️ 30 minuteSide Dishes ★ 4.9

brown gravy:Frequently Asked Questions

1.Why does this recipe call for low-sodium beef broth instead of regular beef broth? ▾
Great question! Low-sodium beef broth lets you fully control the final salt level, since Worcestershire sauce and any optional pan drippings from roast beef or meatloaf already add natural savoriness and salt. Regular broth often leads to overly salty gravy that’s nearly impossible to fix—you can always add a pinch of salt at the end, but you can’t remove excess salt once it’s mixed in.
2.How do I avoid lumpy gravy when making this recipe? ▾
The key is to cook your roux—the equal mix of melted butter and flour—slowly over medium-low heat for 2 to 3 minutes, stirring constantly, before adding any liquid. Whisk nonstop as you pour broth in a slow, steady stream, rather than dumping it all in at once. If you still get a few tiny lumps, pour the finished gravy through a fine-mesh sieve for flawlessly smooth results.
3.Why cook the flour and butter first instead of mixing flour straight into broth? ▾
Cooking that butter and flour mix (called a roux) does two critical jobs: First, it toasts the flour to bring out that nutty, deep classic brown gravy flavor instead of leaving a raw, pasty flour taste. Second, it coats flour particles in fat so they don’t clump into lumps when you add liquid, giving you that perfectly glossy, smooth texture everyone loves.
4.Can I make this brown gravy ahead of time for a family meal or holiday dinner? ▾
Absolutely! Let the finished gravy cool completely, then store it in an airtight container in the fridge for up to 3 days. When you’re ready to serve, reheat gently over low heat on the stovetop, whisking occasionally, and thin with a splash of extra beef broth if it thickens up too much as it chills. It also freezes well for up to 3 months.
5.I don’t have Worcestershire sauce on hand—what’s a good substitute? ▾
If you’re out of Worcestershire, swap in 1 teaspoon of low-sodium soy sauce mixed with a tiny pinch of brown sugar and a dash of black pepper to match that umami, slightly tangy depth. It won’t be an exact match, but it adds that rich, savory kick that keeps gravy from tasting flat. Skip fish sauce here—it’s far too briny for classic brown gravy.
6.Why does this recipe use onion powder instead of fresh sautéed onions? ▾
Onion powder delivers that warm, sweet onion backbone without adding any texture or extra moisture that would keep the gravy from being perfectly smooth and glossy. It also distributes evenly through every bite, so you don’t get random onion chunks or uneven flavor. If you love fresh onion, sauté a tablespoon of finely minced onion in butter before adding flour, then strain the final gravy.
7.How thick should the finished gravy be, and how do I fix it if the texture is off? ▾
Perfect classic brown gravy should coat the back of a spoon evenly, so it drapes nicely over mashed potatoes or roast without running all over the plate. If it’s too thin, simmer it a few extra minutes, stirring often, to let it reduce and concentrate. If it’s too thick, whisk in a tablespoon of extra beef broth at a time until you hit that ideal pourable consistency.
8.Can I add pan drippings from my roast to this gravy, and if so, how? ▾
Absolutely—pan drippings are the secret to next-level brown gravy! After you remove your roast from the pan, pour the drippings into a fat separator, and swap 1 to 2 tablespoons of the recipe’s butter for the separated fat from the drippings. Replace a quarter cup of the beef broth with defatted drippings to add that deep, roasty, meaty flavor that tastes just like grandma’s cooking.
9.How long do I need to cook the roux to get that classic nutty, toasty gravy flavor? ▾
For this classic brown gravy, cook the butter and flour roux over medium-low heat, stirring constantly, for 3 to 4 minutes until it turns a pale golden brown and smells warm and nutty. Don’t rush this step over high heat—burnt roux will give your gravy a bitter, acrid taste you can’t fix, so keep heat low and stir consistently for rich, toasty results.

Comments (8)

2 days ago

OMG this gravy is a total game changer! I’ve been messing up lumpy gravy for years and this 15 minute recipe came out perfectly smooth first try. Served it over mashed potatoes and meatloaf for Sunday family dinner and my kids asked for seconds, even my picky 7 year old! SO good, I’m never buying the jarred stuff again.

yesterday

Wait same! I used to stress so bad about making gravy for holiday meals and this was so easy I didn’t even break a sweat. Tastes just like the diner gravy my grandma used to make!

yesterday

So glad to hear this worked out for your family dinner, Sarah! Pro tip: if you want a little extra depth, toss in a pinch of fresh thyme while it simmers next time!

3 days ago

Super easy recipe, came together quick on a weeknight when I realized I forgot to pick up gravy packets for our Salisbury steak. Only reason I’m not giving 5 stars is I felt like it needed a little extra salt and a dash of Worcestershire for my taste, but the base texture is perfect. Great go-to for meal prep too, I poured the leftover gravy into ice cube trays to freeze for quick weeknight meals.

2 days ago

Thanks for the honest feedback, Tyler! You’re totally right that salt and Worcestershire can be adjusted to taste—we kept the base recipe mild so folks can customize it exactly how their family likes it. The ice cube tray freeze trick is genius, too!

1 week ago

Brought this gravy to our neighborhood potluck last weekend to go with the fried chicken and biscuit platter, and people were literally asking me for the recipe before they even finished their first plate! I was worried it would get weird sitting in the slow cooker on warm for a couple hours but it stayed silky the whole time. 10/10, will be making this for every potluck from now on.

2 hours ago

Wait, is this really considered easy? I’m literally the worst cook ever, I burn toast half the time, but I was able to make this without a single lump??? My roommate thought I ordered takeout from our favorite local diner when he tasted it. I’m so proud of myself lmao. Game. Changer.

30 minutes ago

Same boat! I started learning to cook last month and this was the first recipe I didn’t mess up. It gave me the confidence to try making mashed potatoes from scratch to go with it!

5 minutes ago

That makes our day to hear! This is exactly the kind of approachable starter recipe we love sharing—no fancy tools or complicated steps, just great, classic flavor. Can’t wait to hear what you cook next!

5 days ago

I spent 20 years making gravy in diners across the Midwest, and let me tell you, this recipe is spot on. No weird shortcuts, no fancy ingredients, just the classic roux method that gives you that deep, rich brown gravy everyone craves. Made a batch last night to go with chicken fried steak and it took me right back to my Sunday shifts at the old diner. Great work on this one.

3 days ago

Oh that’s such high praise coming from a former line cook! I was worried this would taste too plain without those weird packet seasoning mixes but you just sold me on trying it this weekend for my husband’s birthday dinner.

yesterday

Taste was great, but I messed up the roux at first and it got a little too dark before I added the broth, so it had a slightly burnt aftertaste. Any tips for getting the roux color right without burning it? I really want to nail this next time because when I tasted the unburnt part it was SO good.

2 hours ago

I had the same issue my first try! Turn the heat down to medium-low when you’re cooking the flour and butter, and stir constantly the whole time. It takes an extra minute or two but you won’t burn it, I promise!

30 minutes ago

Great tip from Meg! We recommend cooking the roux to a light peanut butter color before streaming in cold broth slowly while whisking — that prevents lumps and keeps the roux from burning too. Give it another shot, we know you’ll nail it next time!

2 weeks ago

Tested this recipe ahead of Thanksgiving to make sure it was good enough for our big family dinner, and wow — it’s even better than the gravy my mom used to make (don’t tell her I said that). It reheated perfectly in the microwave the next day too, which is a huge win for holiday meal prep when you’ve got 10 other dishes to juggle.

1 week ago

So glad this made your Thanksgiving test run, Liz! Reheating tip: add a tiny splash of broth or milk when you warm it up and give it a quick whisk to get that silky texture back, no lumps guaranteed.

just now

Dude, I made this to go with frozen tater tots and frozen burger patties last night and it made my whole dorm room smell like a fancy steakhouse. My roommate traded me a whole bag of his favorite spicy Doritos for a second serving lmao. 15 minutes, zero fancy ingredients, no lumps even when I half-paid attention while scrolling TikTok. 10/10 will be making this every week for my broke college meal prep.



