
Bulgur Stuffing
intro
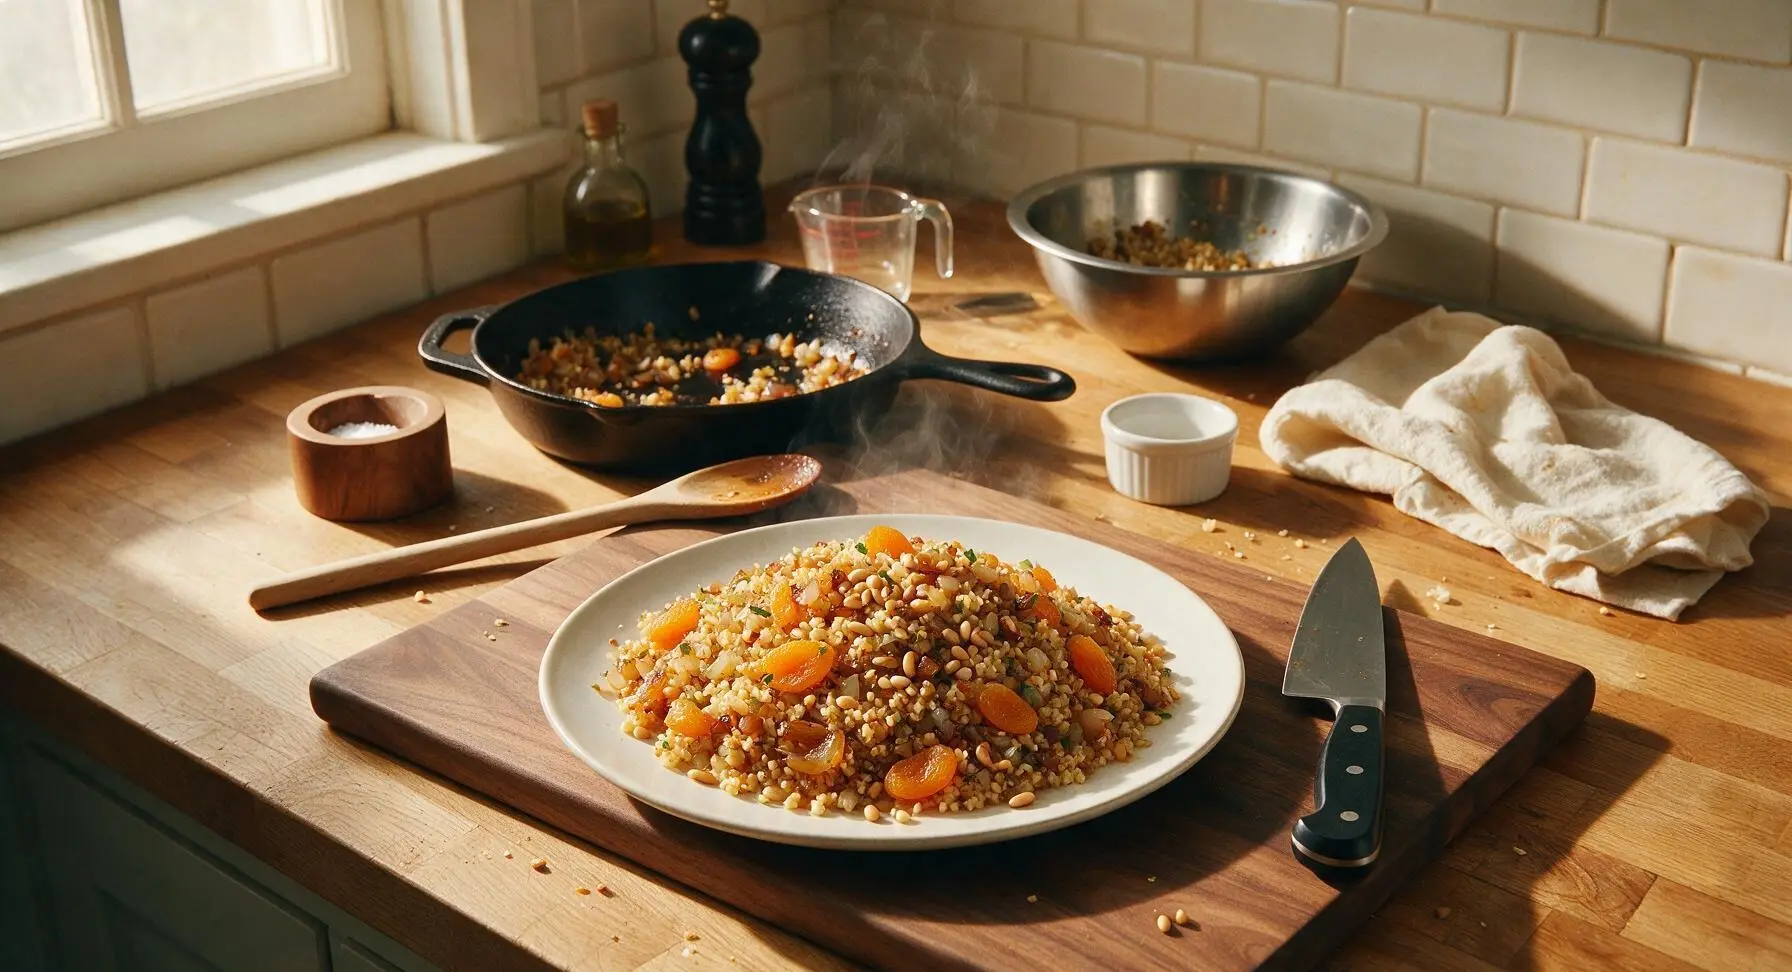
Nutty, chewy coarse bulgur tossed with caramelized mirepoix, sweet dried apricots, and toasted pine nuts: a lighter, fiber-rich twist on classic holiday stuffing.
Ingredients
Steps
Toast Pine Nuts
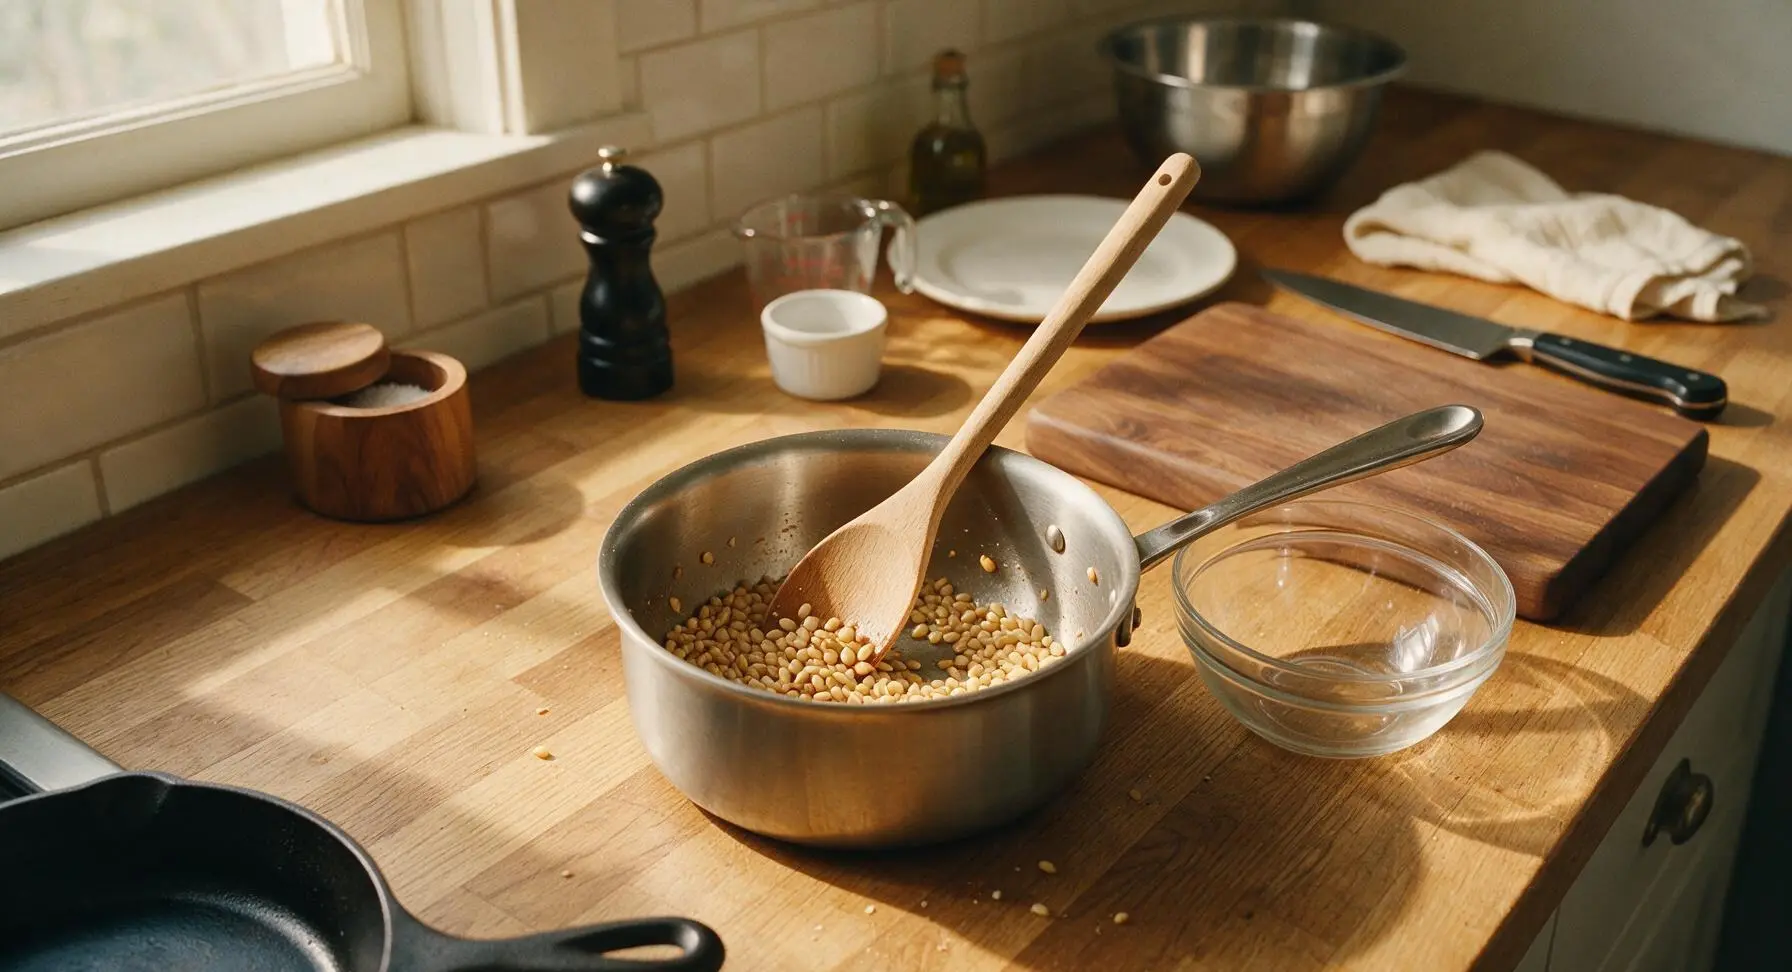
Place the 3-quart brushed stainless steel saucepan over medium-low heat. Add 1/4 cup pine nuts and toast, stirring frequently with the long-handled beech wood spoon, for 3-4 minutes until light golden brown and nutty fragrant. Immediately transfer toasted pine nuts to one of the small clear glass prep bowls to cool, leaving the saucepan on the heat. Watch closely, as pine nuts can burn in as little as 10 seconds once they reach toasting temperature.
Sauté Aromatic Vegetables
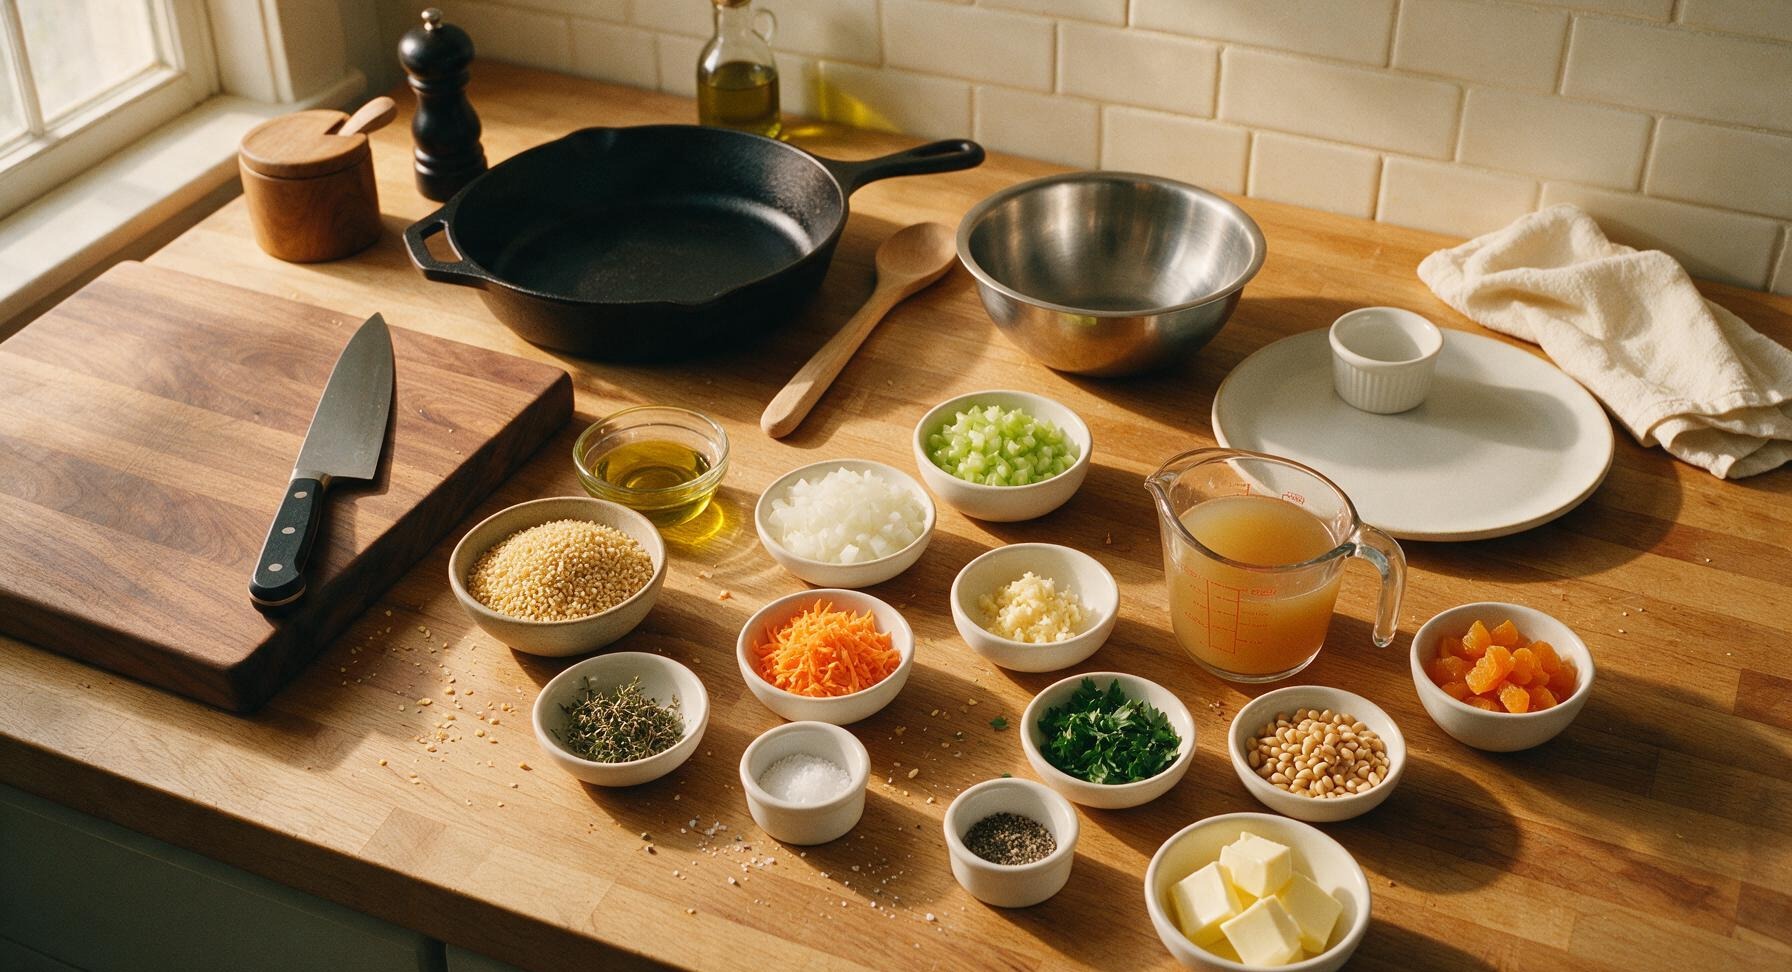
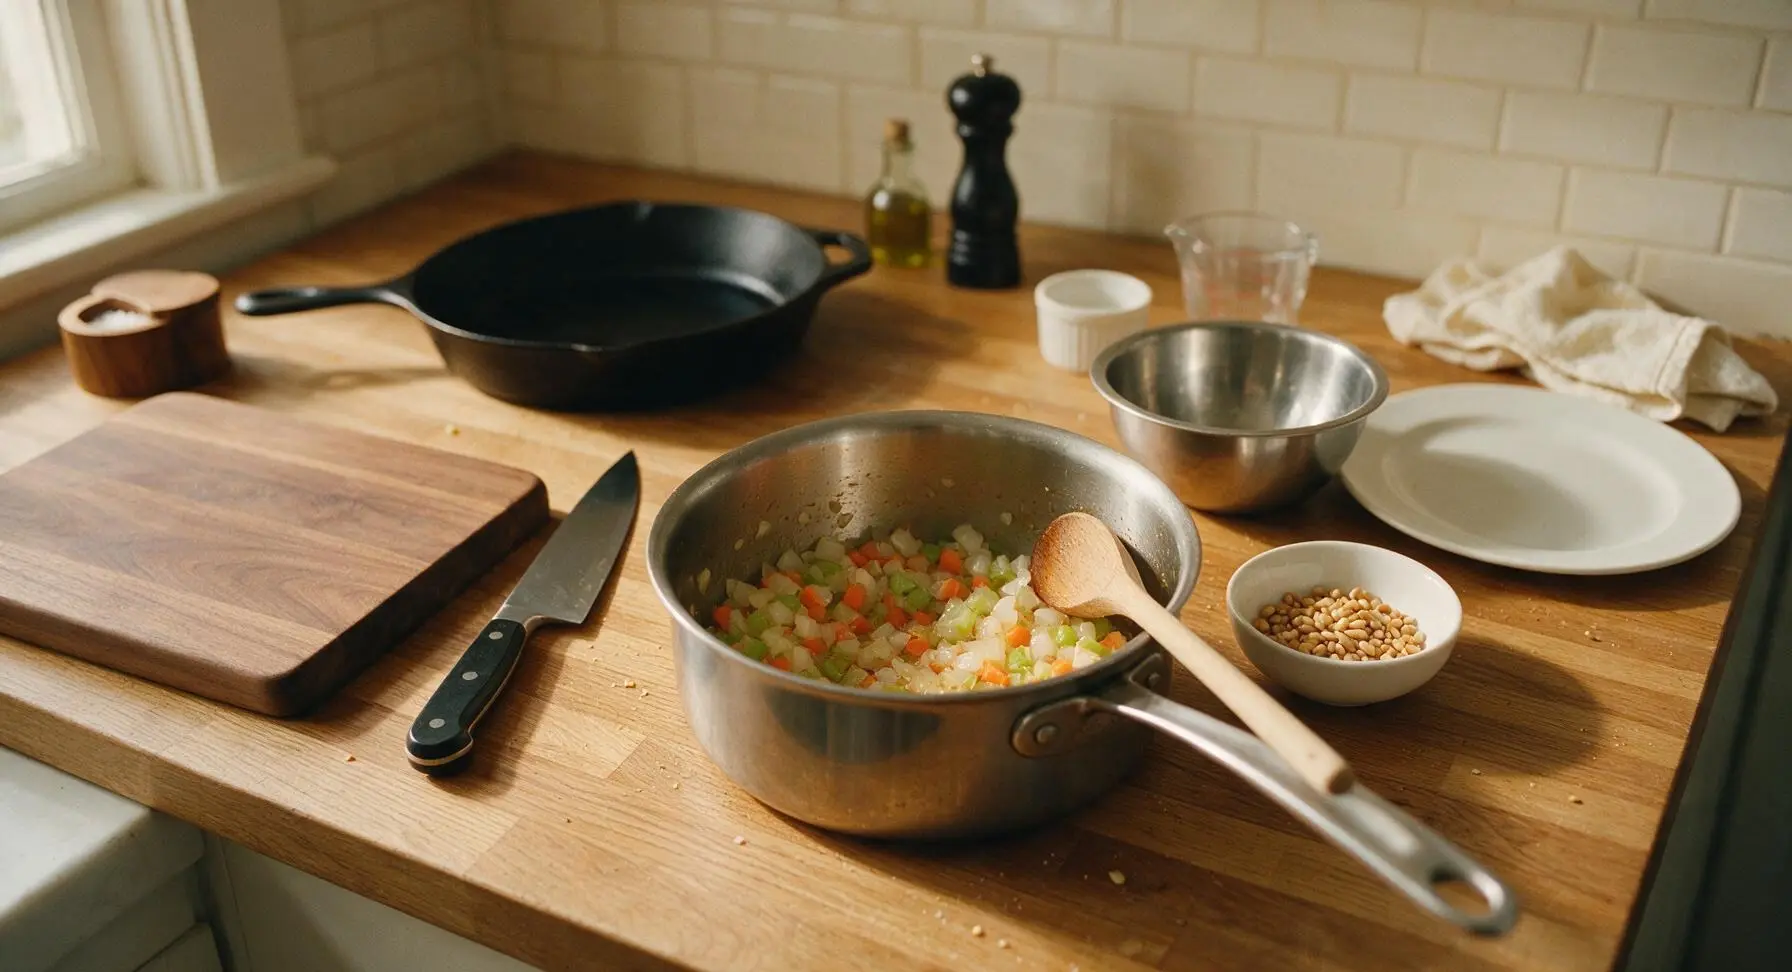
Add 2 tablespoons extra-virgin olive oil to the same saucepan over medium heat. Toss in the diced yellow onion, diced celery, and grated carrot. Cook, stirring occasionally with the beech wood spoon, for 6-7 minutes until vegetables are soft, onion is translucent, and edges are just starting to turn light golden caramel color. Add minced garlic and dried thyme, cook for 30 seconds more until garlic is fragrant, taking care not to let the garlic brown or burn, which will make it bitter.
Toast Bulgur Grains
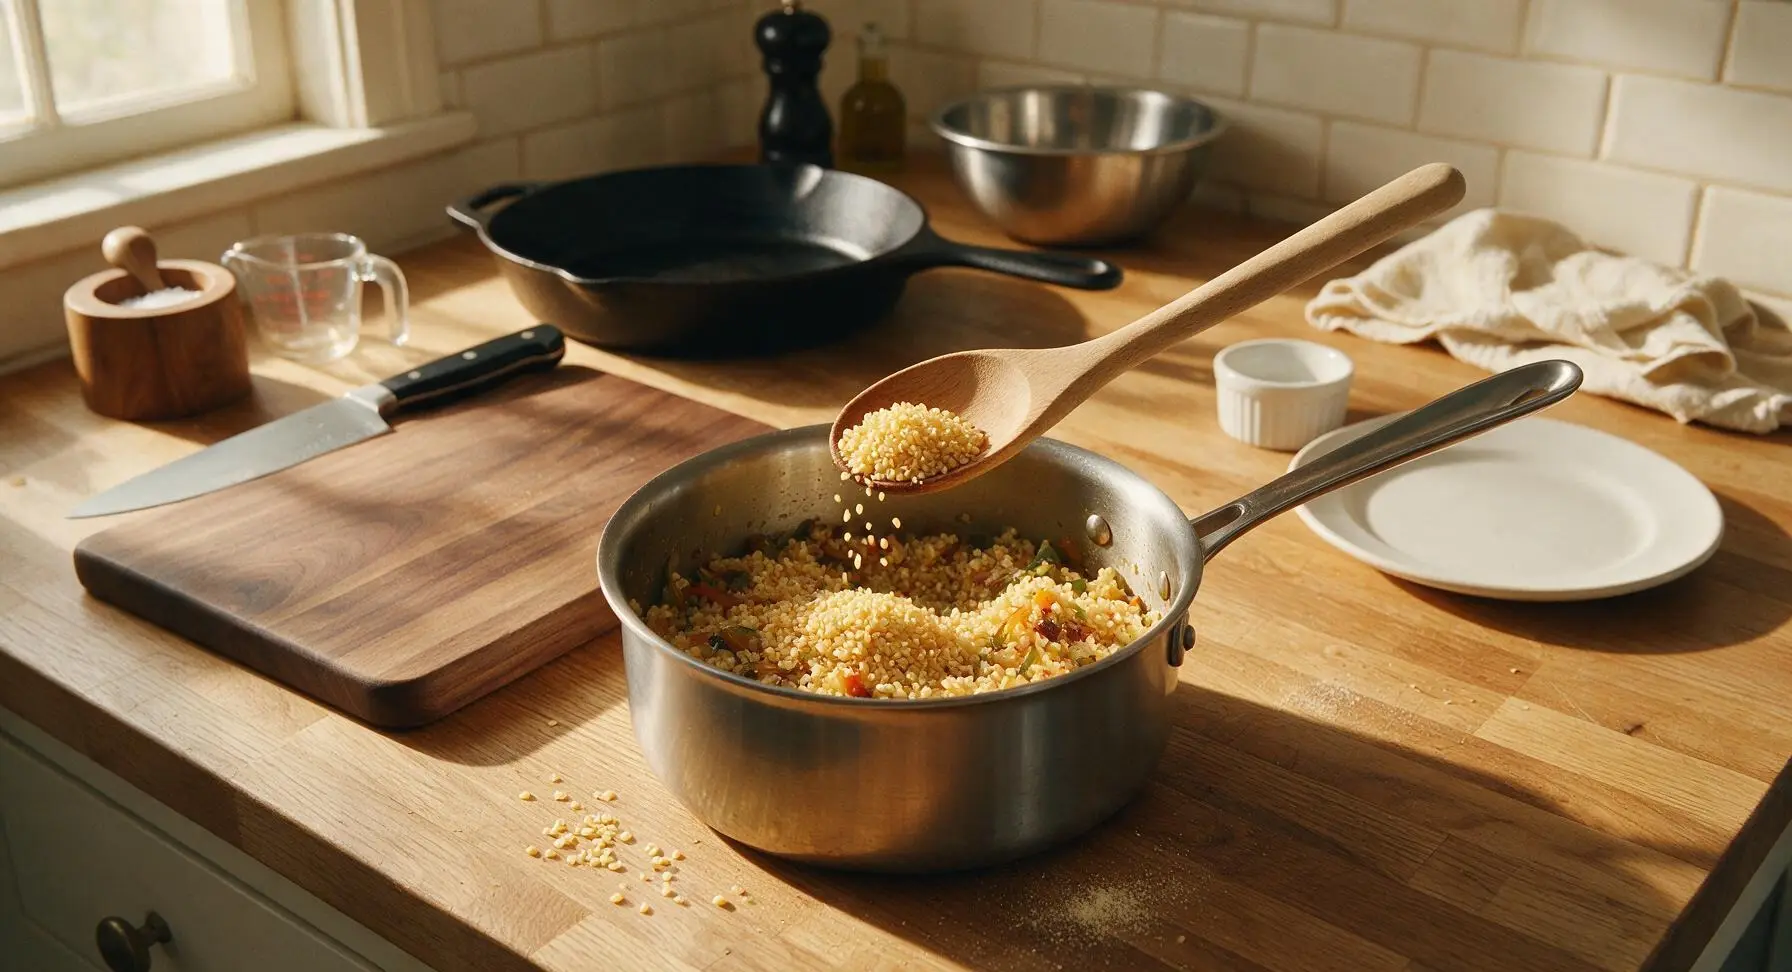
Add 1.5 cups coarse bulgur wheat to the saucepan with the sautéed vegetables. Stir continuously with the beech wood spoon for 2-3 minutes, until bulgur is fully coated in oil, smells rich and nutty, and takes on a pale golden toasted hue. This step coats grains in fat to prevent clumping and deepens the bulgur’s natural earthy flavor.
Simmer Bulgur Until Tender
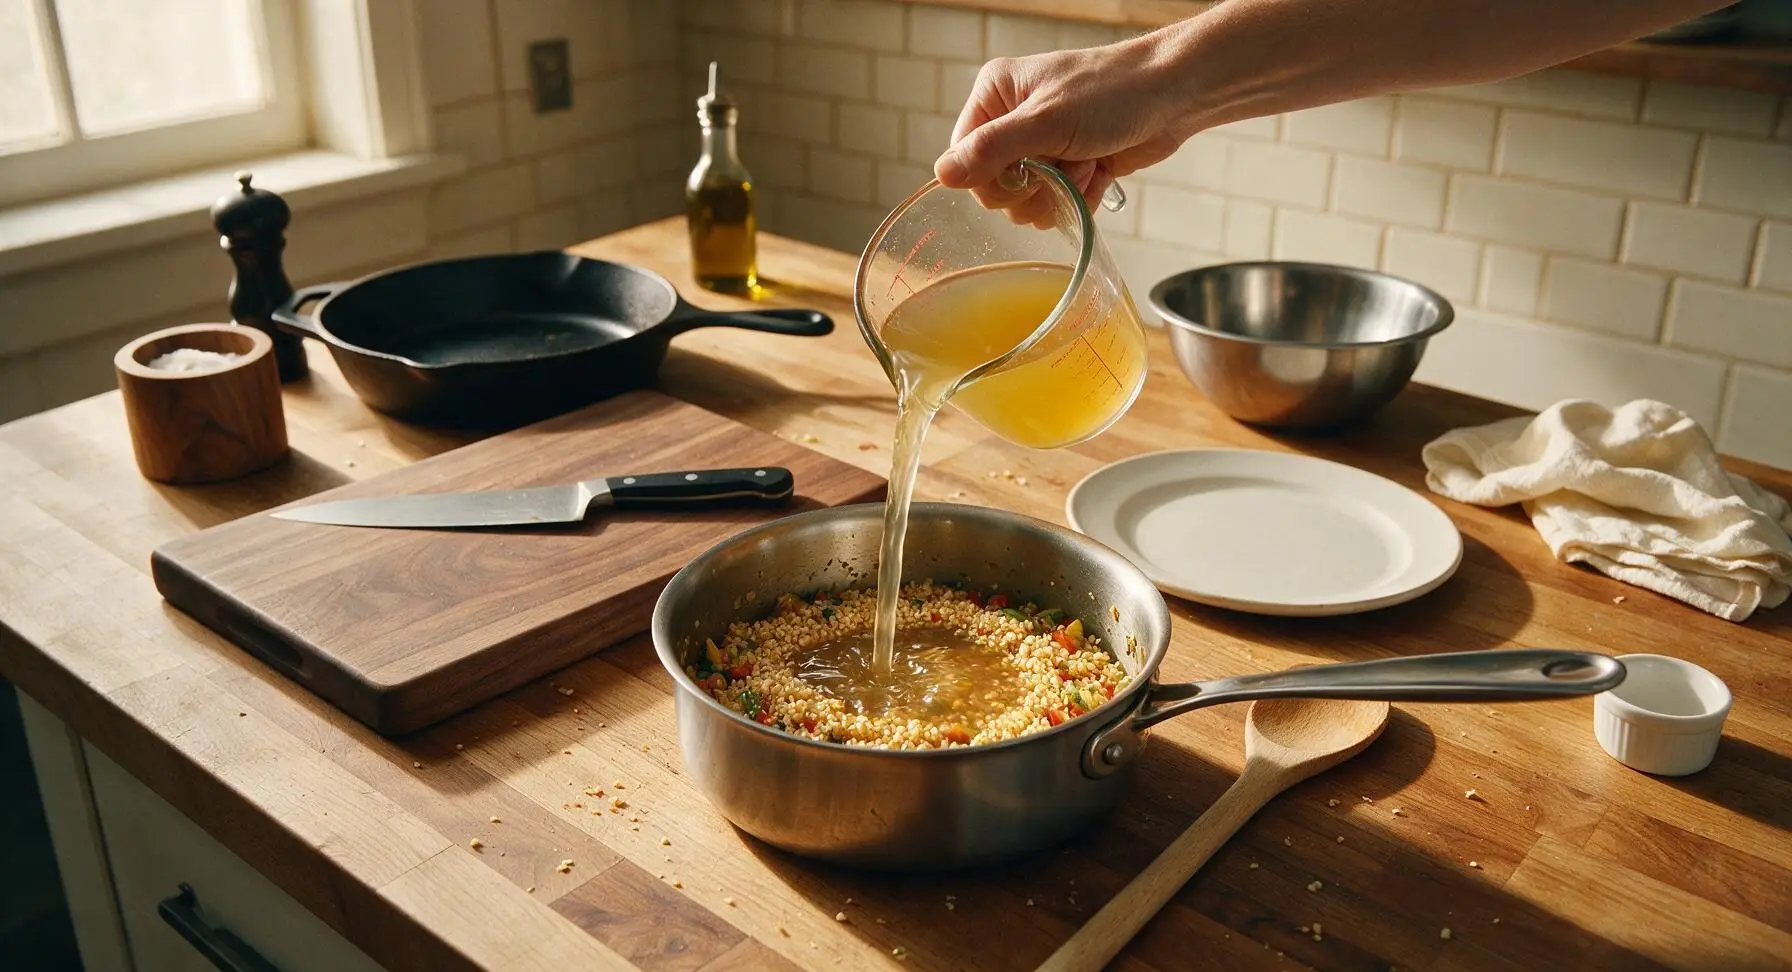
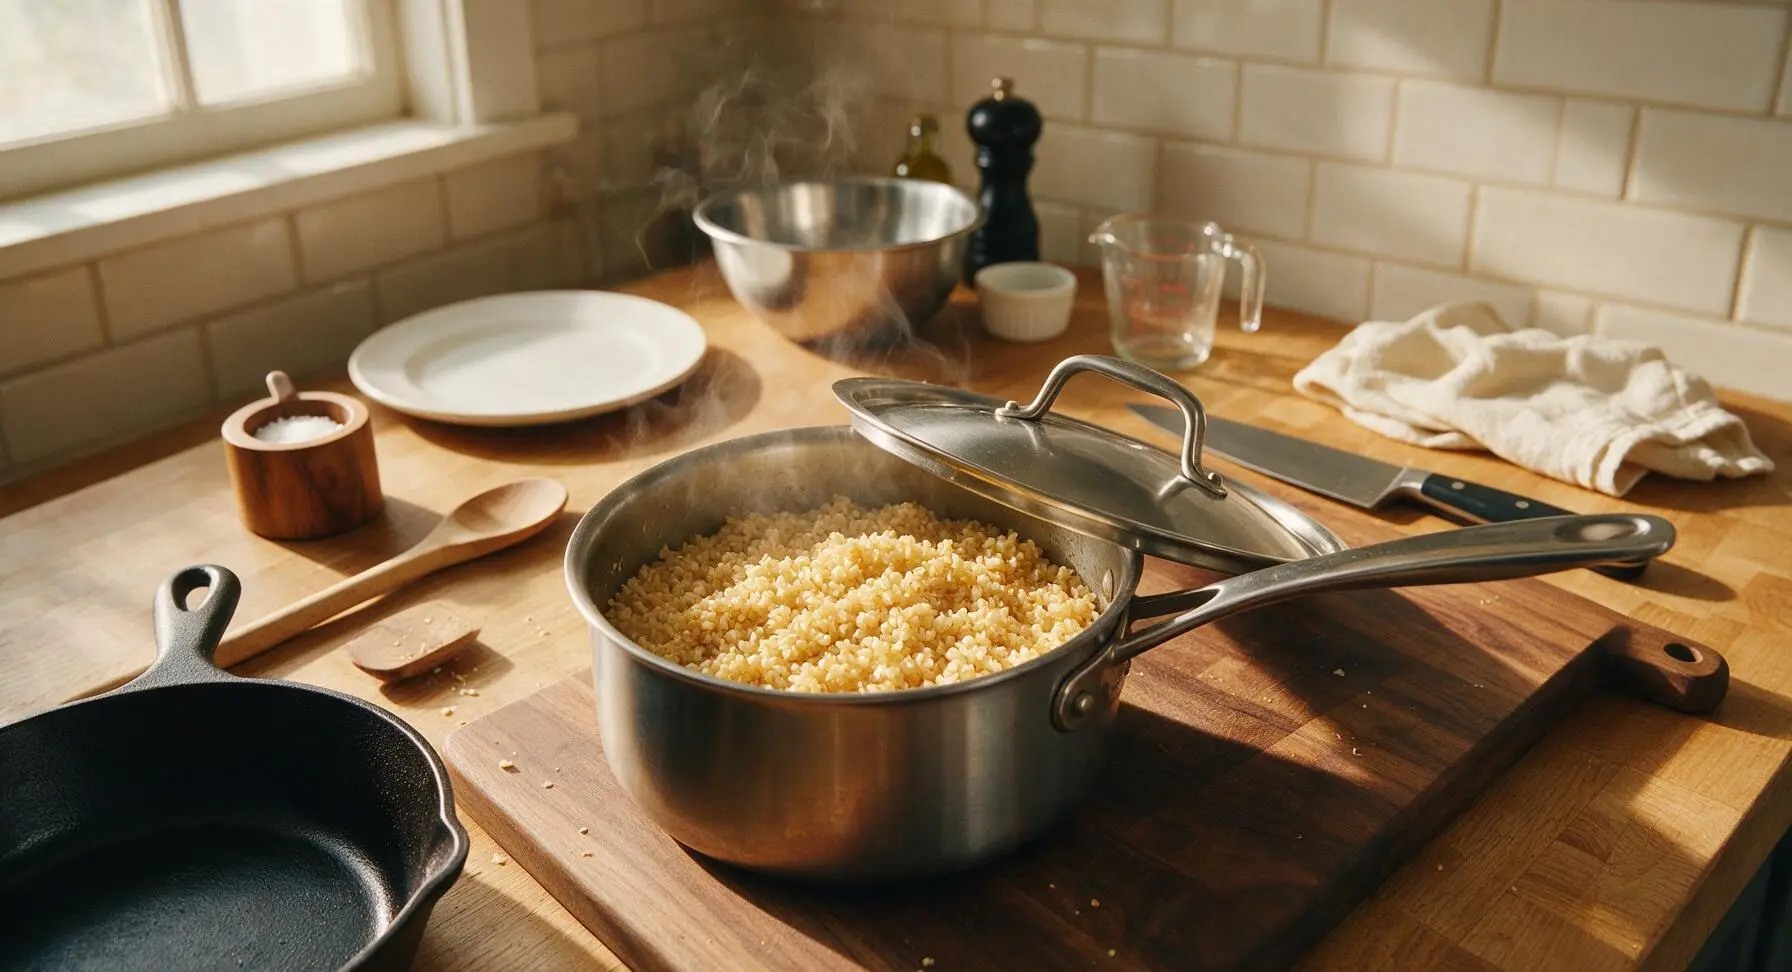
Pour 2.5 cups low-sodium vegetable broth into the saucepan, add 1 teaspoon kosher salt and 1/2 teaspoon ground black pepper, and stir once to combine. Bring liquid to a rolling boil, then reduce heat to the lowest setting, cover the pan with its matching stainless steel lid, and simmer for 12-15 minutes until all liquid is fully absorbed and bulgur is tender with a slight chewy bite (al dente). Do not stir the bulgur while it simmers, as this will release excess starch and create a mushy texture.
Mix in Flavor Add-Ins
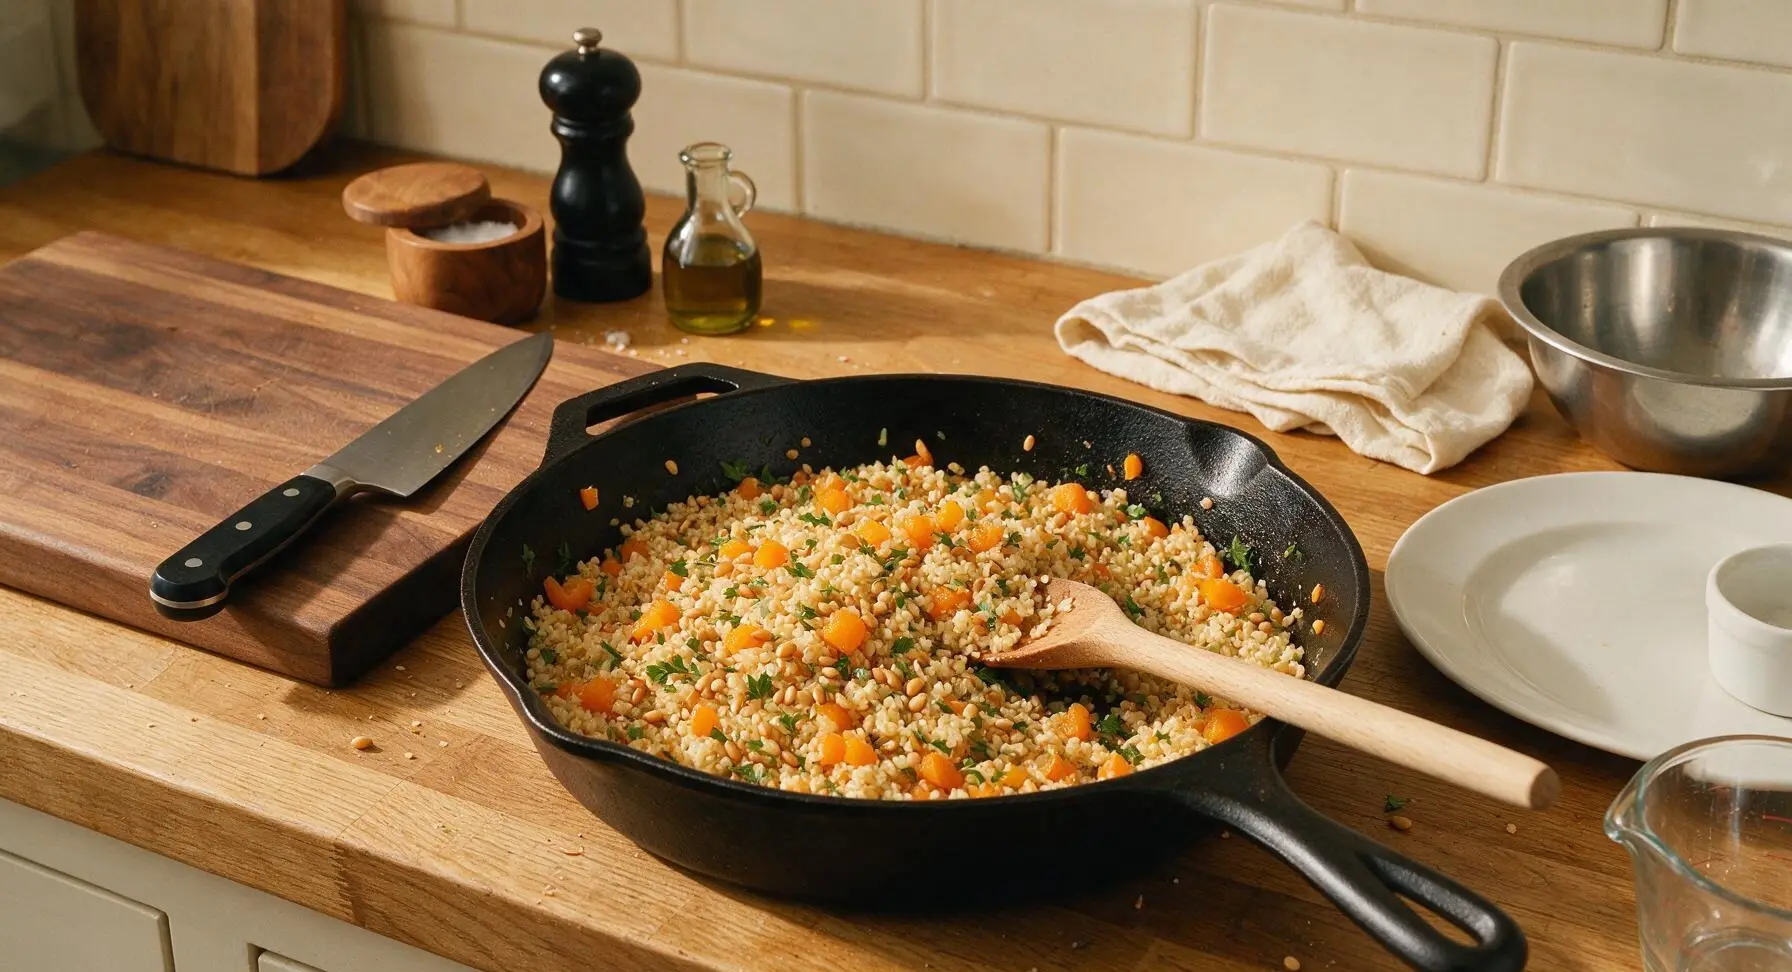
Remove the saucepan from heat. Take off the lid and fluff the bulgur gently with the beech wood spoon to separate grains. Fold in the cooled toasted pine nuts, diced dried apricots, and half of the chopped fresh parsley, stirring gently to distribute ingredients evenly without mashing or breaking the bulgur grains. Taste and add extra salt or pepper if desired.
Transfer to Baking Dish
Use 1 tablespoon of the unsalted butter to lightly grease the interior of the 9x13 inch matte cream ceramic baking dish. Scoop the bulgur mixture from the saucepan into the baking dish, spreading it in a loose, even layer with the back of the wooden spoon. Dot the top surface of the stuffing evenly with the remaining 1 tablespoon of butter, cut into small pieces, which will melt during baking to create crisp, golden edges.
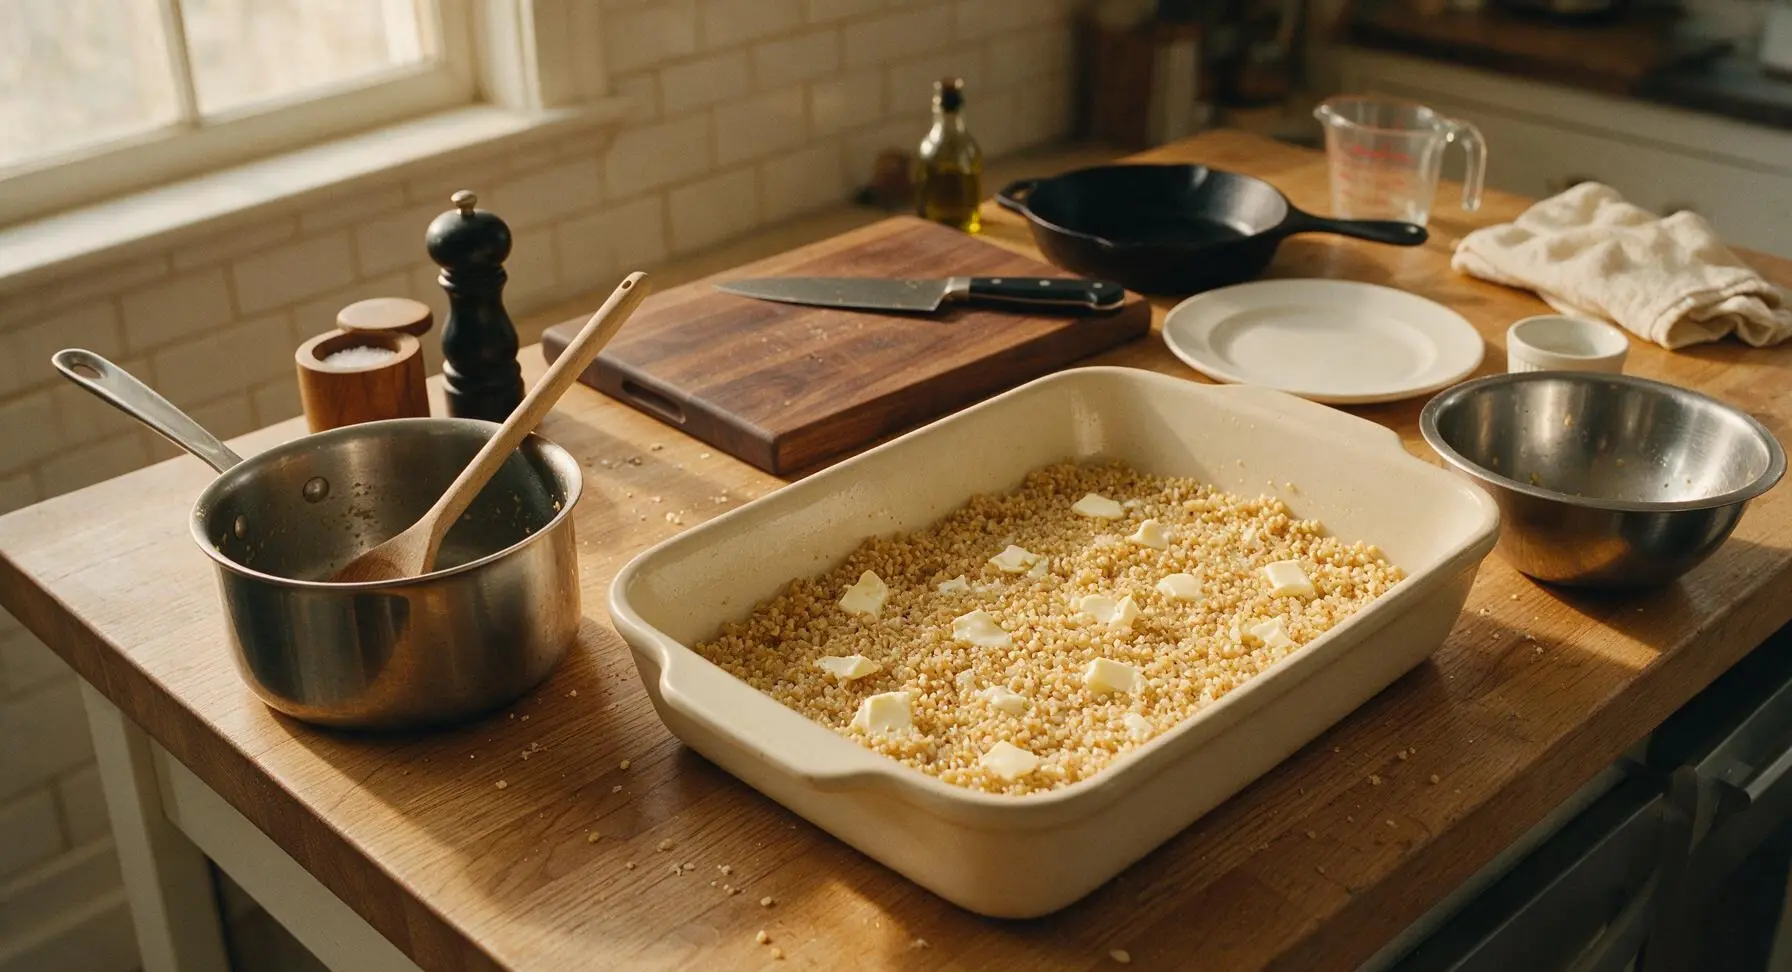
Bake Until Golden Crisp
Place the baking dish on the middle rack of an oven preheated to 375°F (190°C). Bake uncovered for 18-20 minutes, until the top of the stuffing is light golden brown and crisp around the edges, and melted butter is bubbling gently around the sides of the dish. Do not cover the dish, as uncovered baking creates the signature crisp top texture that contrasts with the fluffy, chewy bulgur underneath.
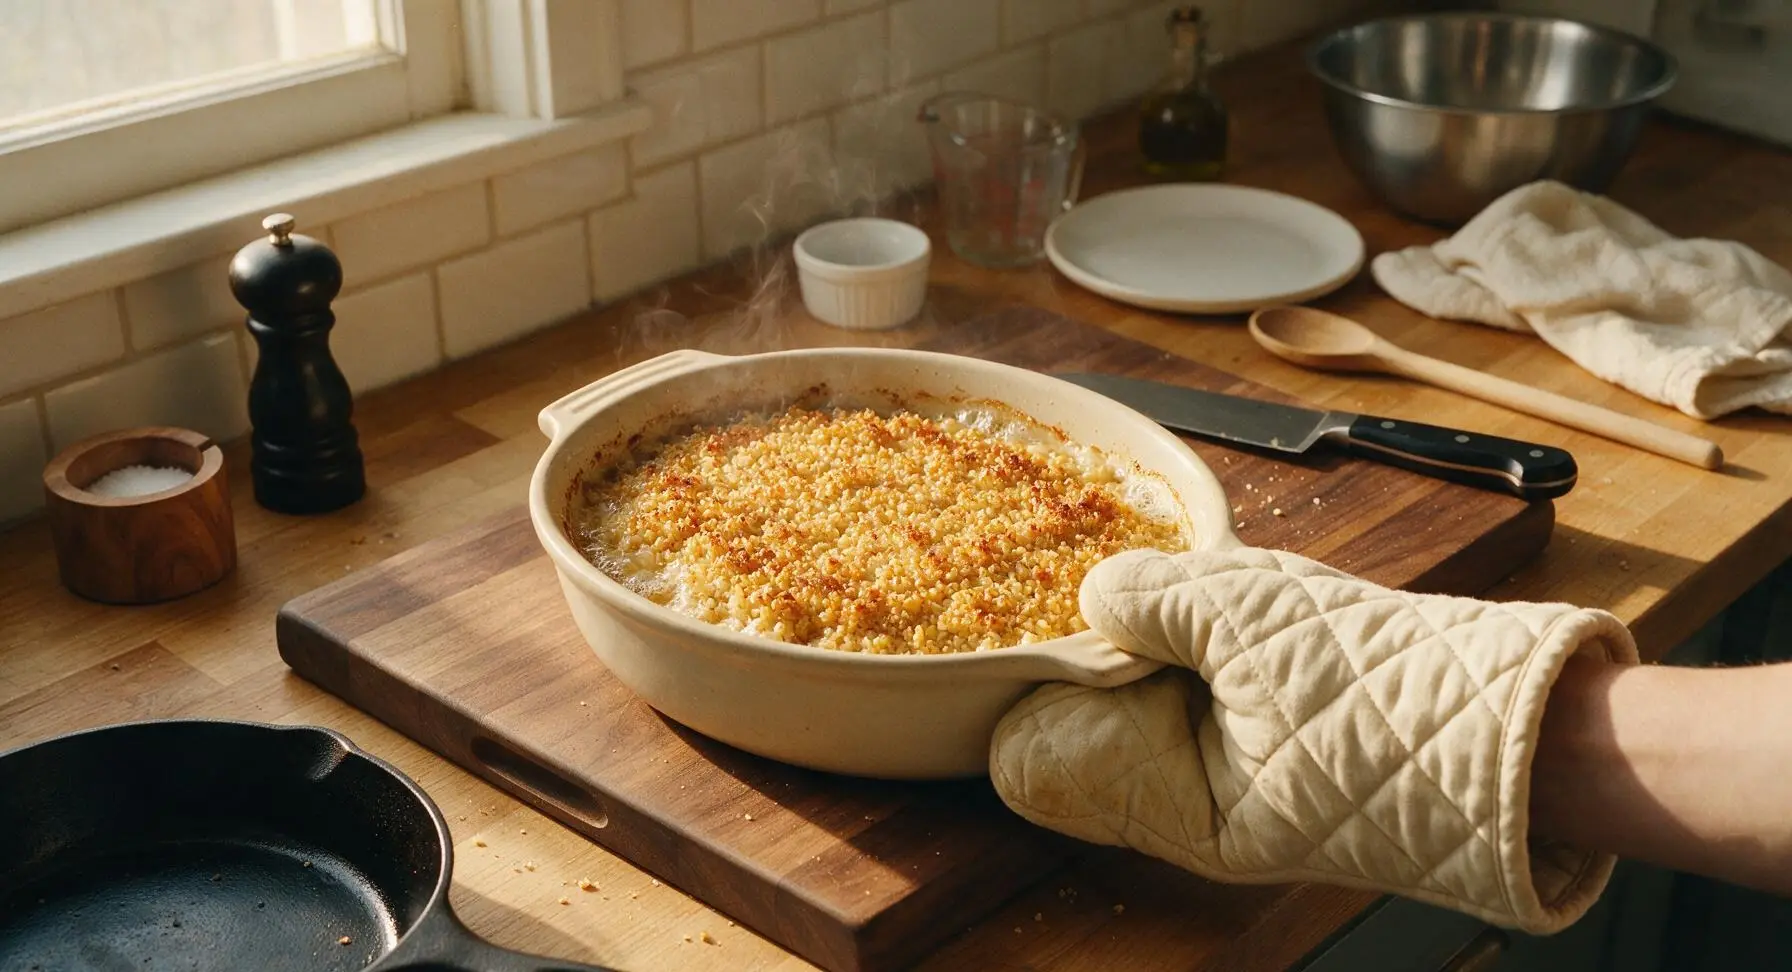
Garnish Before Serving
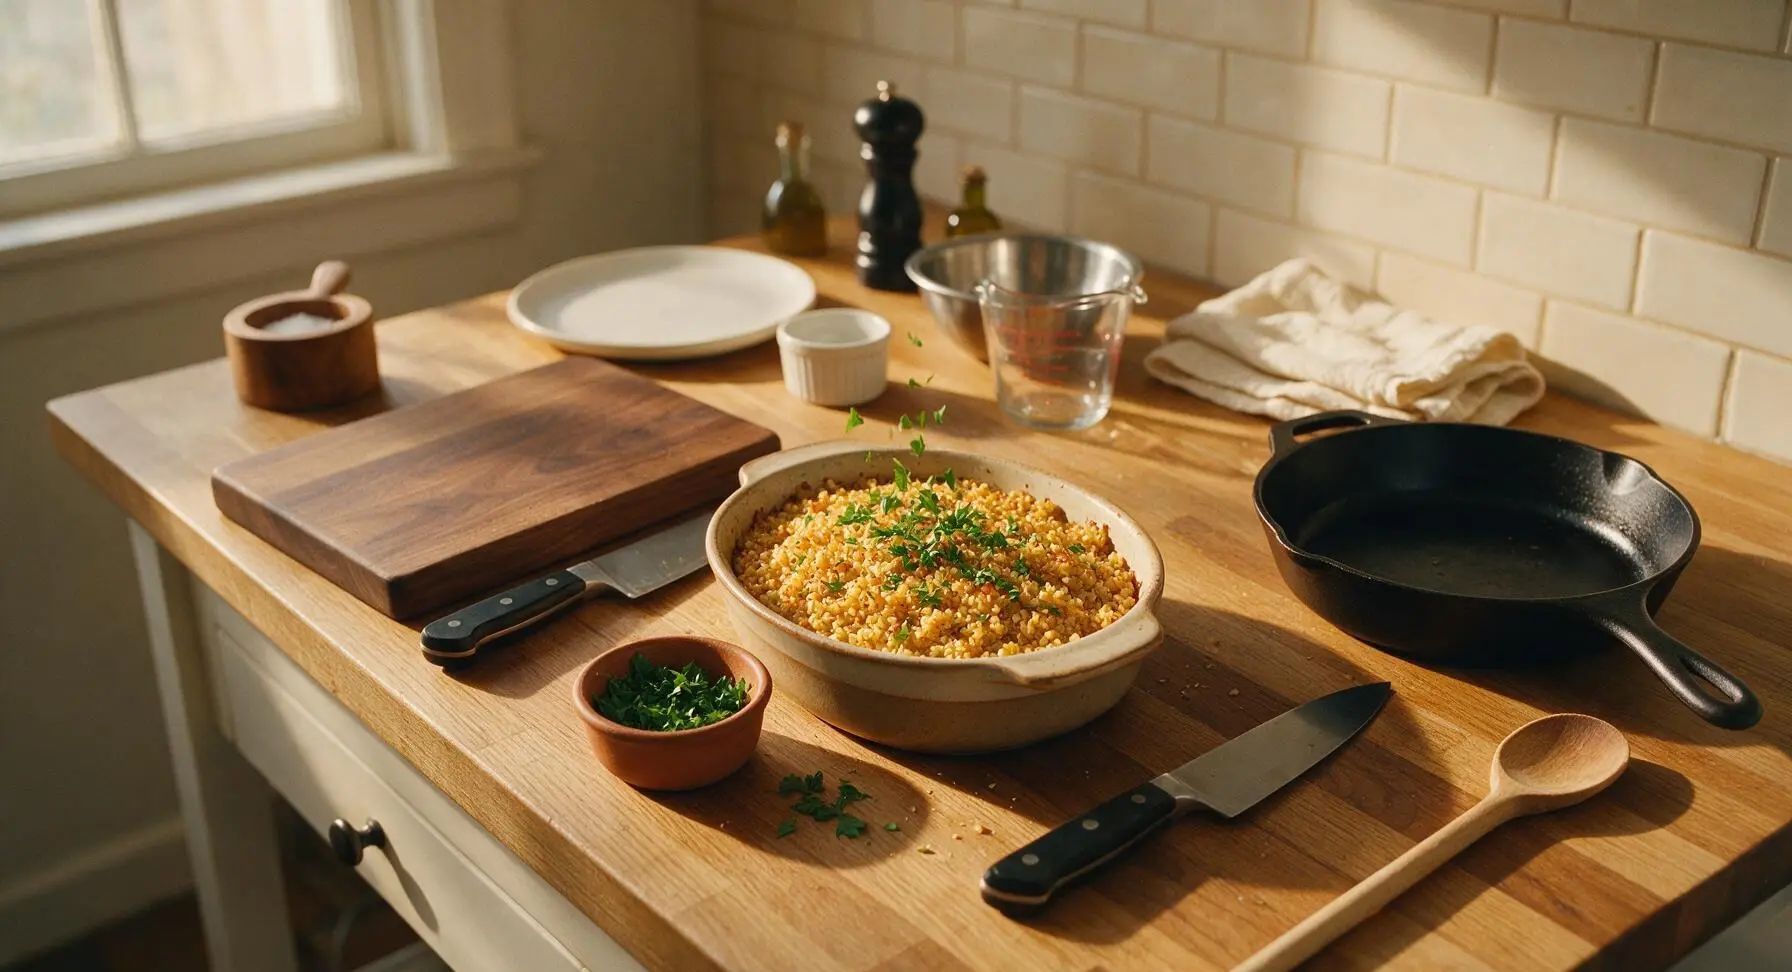
Set the baking dish on the counter to rest for 5 minutes, allowing flavors to meld and the stuffing to set slightly. Sprinkle the remaining chopped fresh parsley across the top of the stuffing. Serve warm, either spooned directly from the baking dish or transferred to a serving platter for family-style service.
Tips
2.Don’t skip toasting the bulgur before adding broth: this 2-3 minute step coats each grain in oil to prevent clumping and amplifies bulgur’s natural nutty, earthy flavor for a deeper, more complex final dish.
3.For low-stress holiday prep, assemble the uncooked bulgur mixture in the greased baking dish, cover tightly, and refrigerate for up to 2 days before baking; add 5 minutes to the bake time if cooking straight from the fridge, no need to bring to room temperature first.






OMG this bulgur stuffing is such a game changer! I’ve made traditional bread stuffing every Thanksgiving for 15 years and decided to switch it up this year for my gluten-free niece, and even my picky father-in-law went back for seconds. SO good, way lighter than the regular stuff but still packed with that cozy herby flavor. Threw in some dried cranberries and toasted pecans like the note suggested, perfect call.
Made this for our neighborhood potluck last weekend and people would NOT stop asking me for the recipe! It’s so easy to throw together, I prepped all the veggies the night before and just tossed it in the oven when we got home from soccer practice. Chewy, savory, a little bit of crunch from the celery — 10/10 will be making this for every potluck from now on.
Wait, can I make this ahead of time and freeze it? I’m trying to get all my Thanksgiving sides prepped early this year so I’m not running around like a crazy person on turkey day. This sounds so much better than my usual stale bread stuffing!
Taste was great, but I wish the recipe noted how much liquid bulgur absorbs! I used the amount listed and mine came out a little mushy, had to cook it an extra 10 minutes uncovered to crisp up the top. Flavor was on point though, will definitely adjust the liquid next time I make it.
Great meal prep staple! I make a big batch on Sundays and portion it out for weekday lunches, usually topped with a fried egg. It holds up way better than I thought it would in the fridge, doesn’t get soggy like bread stuffing. Only change I made was adding a little extra garlic powder and some roasted red peppers, delish.
This was solid, but felt like it was missing a little kick for my taste. The base is really great, just a little mild for someone who likes heat, so I’m planning to add a pinch of red pepper flakes and a dash of smoked paprika next time I make it. Cook time was spot on, super easy even for a cooking newbie like me.
My kids loved it! I was worried they’d turn their noses up at something that wasn’t the boxed stuffing they’re used to, but they ate every last bite and asked if we could have it with our chicken nuggets next week. Win for mom!
I was skeptical about bulgur instead of bread cubes, but my granddaughter has been asking for more whole grain sides so I gave this a shot. It’s wonderful! Very similar texture to the bread stuffing I’ve made for 40 years, but nuttier. My husband even said he likes it better than my old recipe, don’t tell him I said that ?
Made this for a small Friendsgiving dinner in my tiny apartment and it was the perfect side! No fancy equipment needed, didn’t heat up my whole kitchen like some roasted sides do, and everyone raved. I added some sautéed mushrooms to mine and it was chef’s kiss.
Can I make this vegan? I’m having my whole family over for Christmas dinner and my sister is vegan, so I’m trying to find sides that everyone can eat without making a million separate dishes. This looks perfect if I can swap the butter and broth!
Obsessed! I’ve been looking for a high-fiber side to switch up my weekly meal prep and this checks every box. It’s flavorful on its own so I don’t have to mess with a ton of extra sauces, and it pairs great with turkey, chicken, even tofu. Already sent the recipe to my whole workout group chat.
Super easy weeknight side! Made this to go with roasted chicken last night, total cook time was actually even less than 45 minutes for me since I had pre-cooked bulgur in the fridge. Light, flavorful, didn’t leave us feeling overly stuffed like heavier sides do. Will definitely add this to the regular rotation.