
burrito cheese sauce

title 1
burrito cheese sauce

⏱️ cook time 10 minutes
🍽️ servings 6
⚡ Difficulty easy

intro

Velvety, grain-free creamy Tex-Mex cheese sauce perfect for smothering burritos, dipping tortilla chips, or topping taco bowls, with gentle heat and warm spice.

Ingredients
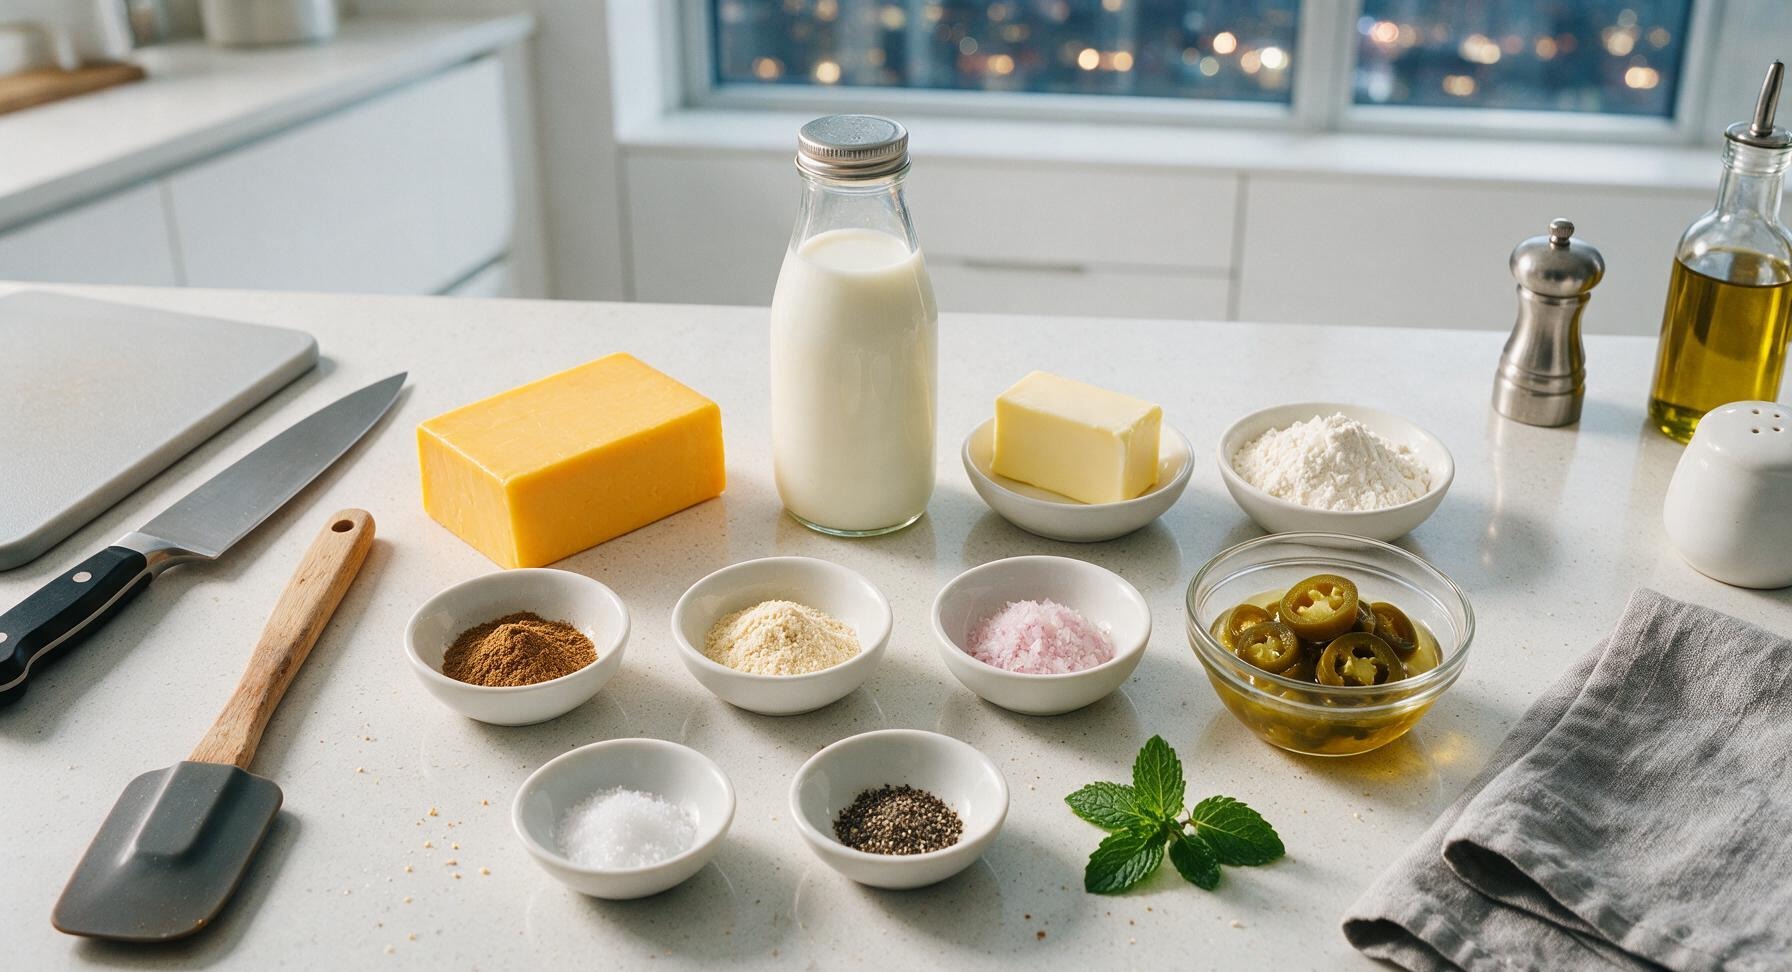
Sharp yellow cheddar cheese (block) 225g (8oz)
Whole milk 1 cup (240ml)
Unsalted butter 2 tbsp (28g)
All-purpose flour 2 tbsp (16g)
Pickled jalapeno slices (with brine) 2 tbsp finely chopped + 1 tsp brine
Ground cumin 1/2 tsp
Garlic powder 1/2 tsp
Onion powder 1/4 tsp
Fine sea salt 1/4 tsp
Freshly ground black pepper 1/8 tsp

Steps

1

Grate Fresh Cheddar

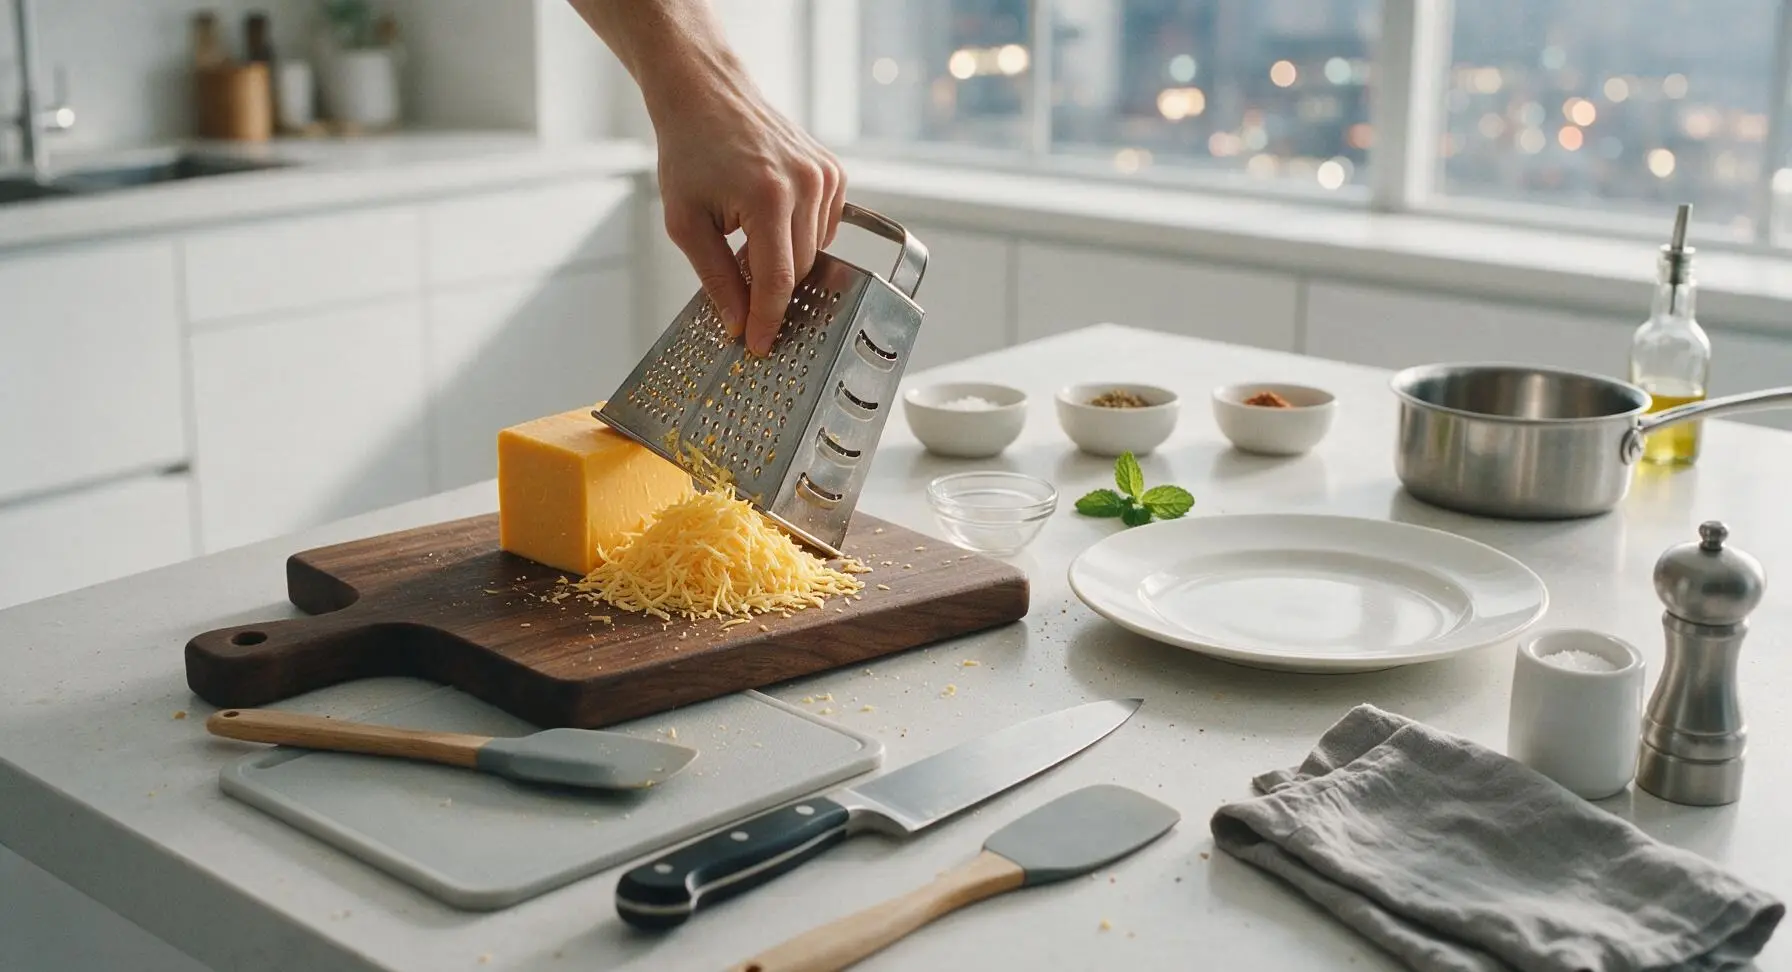
Place the block of sharp yellow cheddar on the dark walnut cutting board. Hold the 7-inch stainless steel box grater at a 45-degree angle, and grate the cheese into fine, uniform shreds. Avoid pre-shredded cheese, as its anti-caking coating will cause a grainy final sauce. Set the grated cheese aside at room temperature for 5 minutes to prevent temperature shock when melting.
Step 1
step1:Grate Fresh Cheddar
2

Melt Butter in Pan

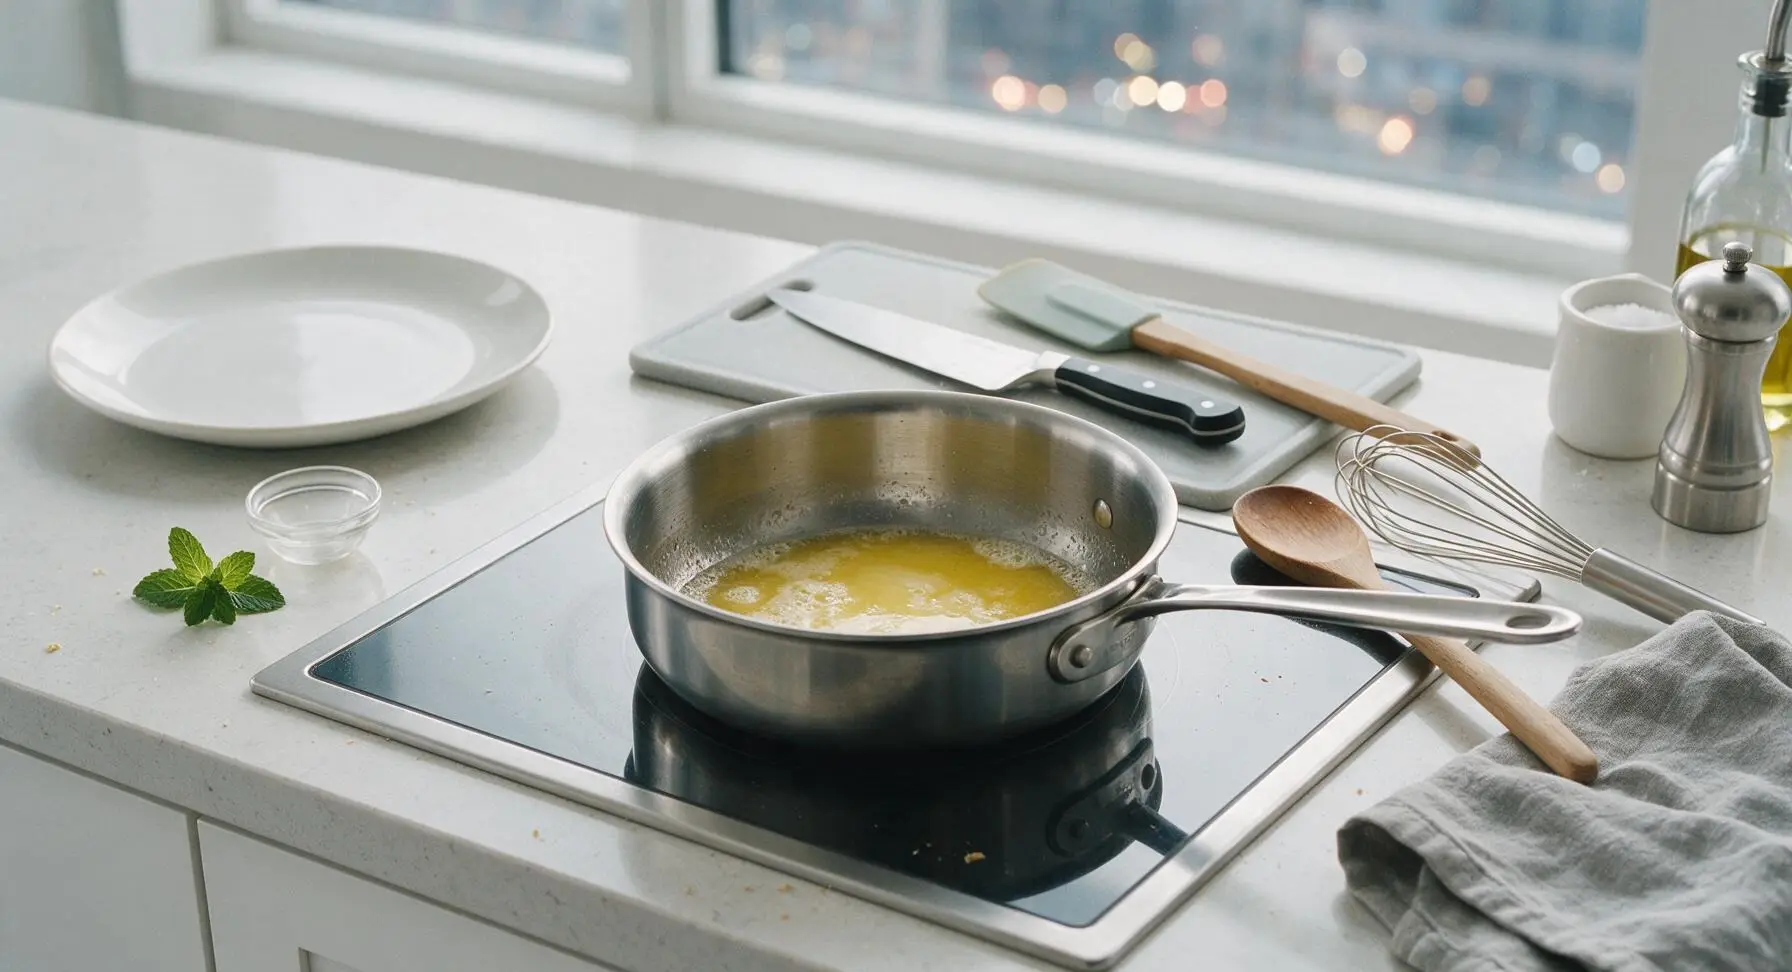
Move the 1.5-quart stainless steel saucepan to the centered induction cooktop burner, set to medium-low heat (300°F / 150°C). Add the 2 tablespoons of unsalted butter to the pan, and allow it to melt fully over 1-2 minutes, swirling occasionally. The butter should foam slightly but not turn brown, with a mild, sweet dairy aroma.
Step 2
step2:Melt Butter in Pan
3

Whisk Flour for Roux

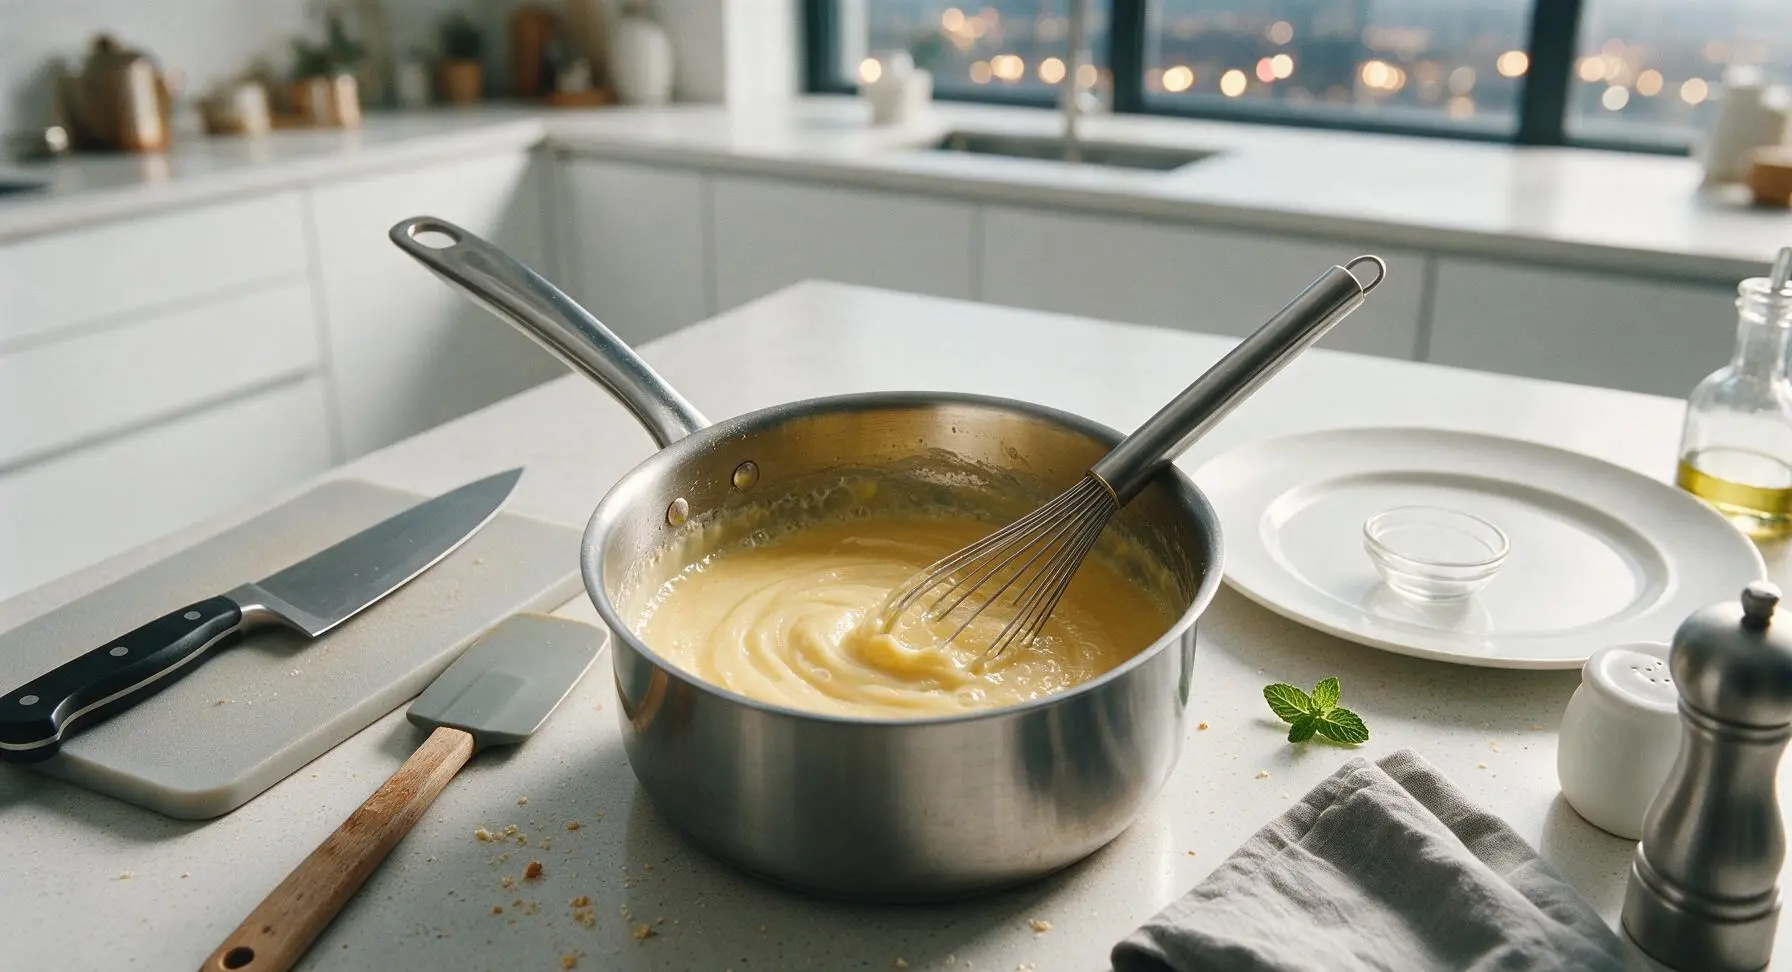
Add the 2 tablespoons of all-purpose flour to the melted butter, whisking constantly with the small stainless steel whisk for 2 full minutes. The finished roux will be a pale golden, sandy paste with a faint toasted grain aroma. Do not let the roux turn dark brown, as this will create an overly strong nutty flavor that overwhelms the cheese.

Step 3
step3:Whisk Flour for Roux
Step 3
step3:Whisk Flour for Roux
4

Incorporate Warm Milk

Slowly pour the 1 cup of whole milk into the roux, 1/4 cup at a time, whisking constantly with the stainless steel whisk to eliminate lumps. After all milk is added, continue cooking for 3-4 minutes, whisking occasionally, until the sauce base thickens enough to coat the back of a spoon: a finger drawn across the coated spoon should leave a clear line that does not run. Maintain medium-low heat to prevent scalding the milk.

Step 4
step4:Incorporate Warm Milk
5

Melt Grated Cheddar

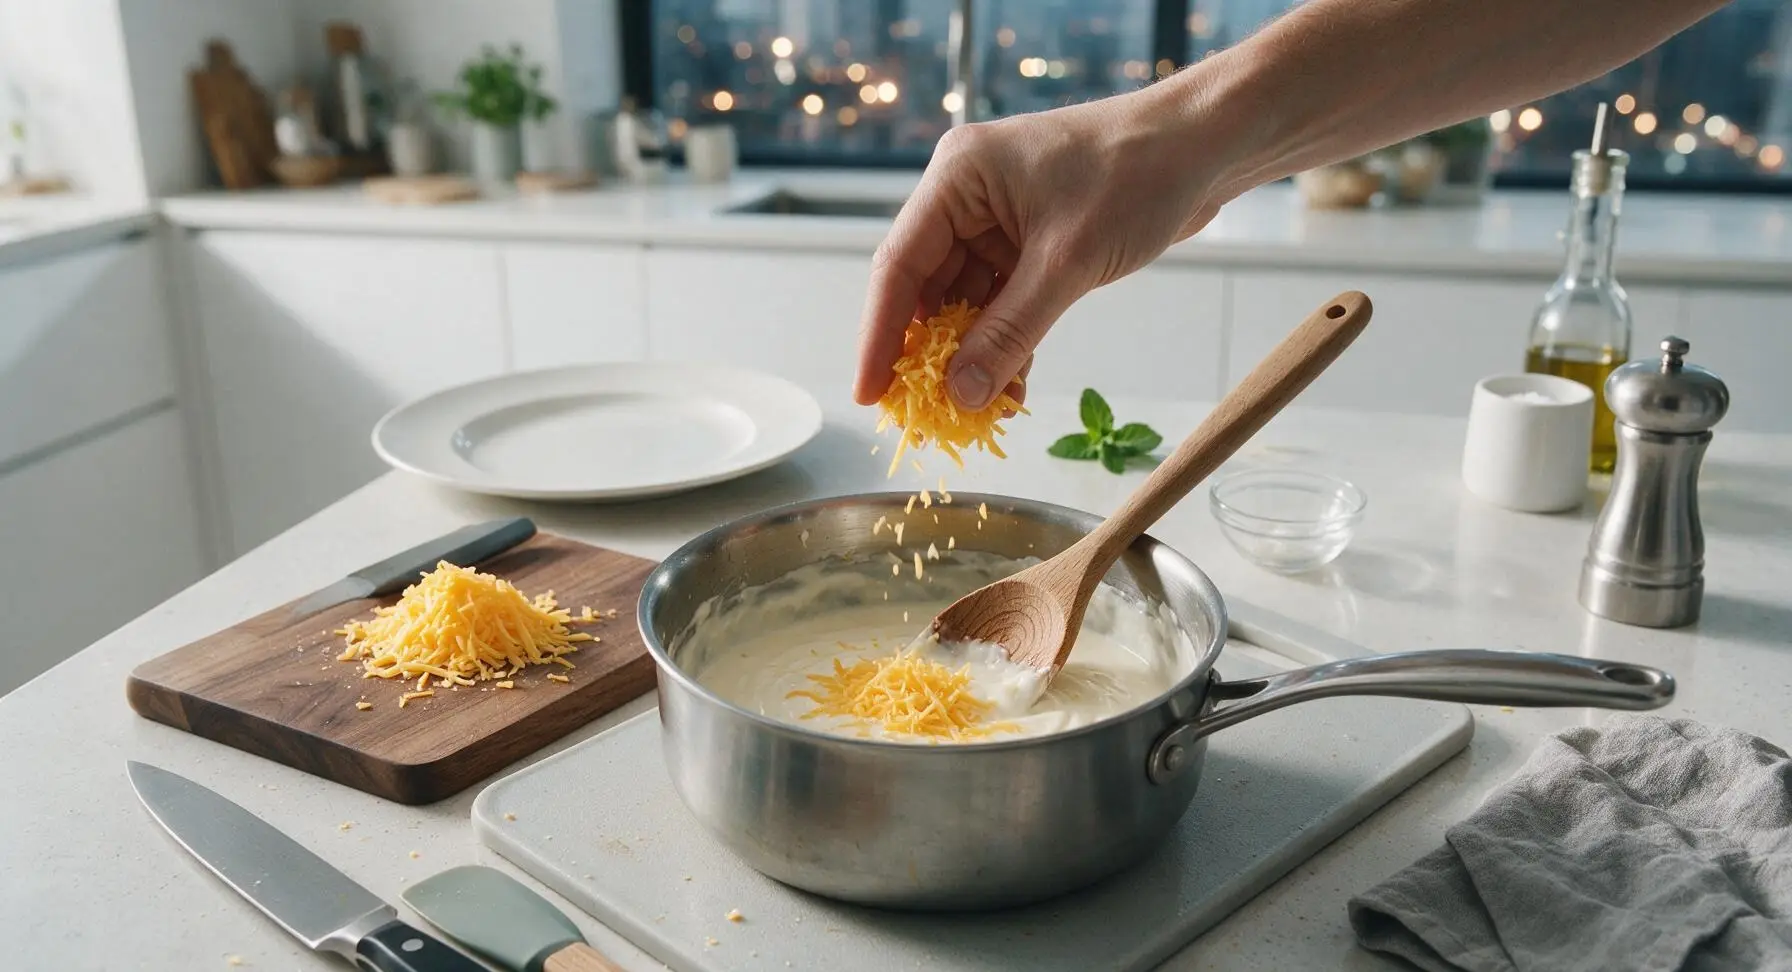
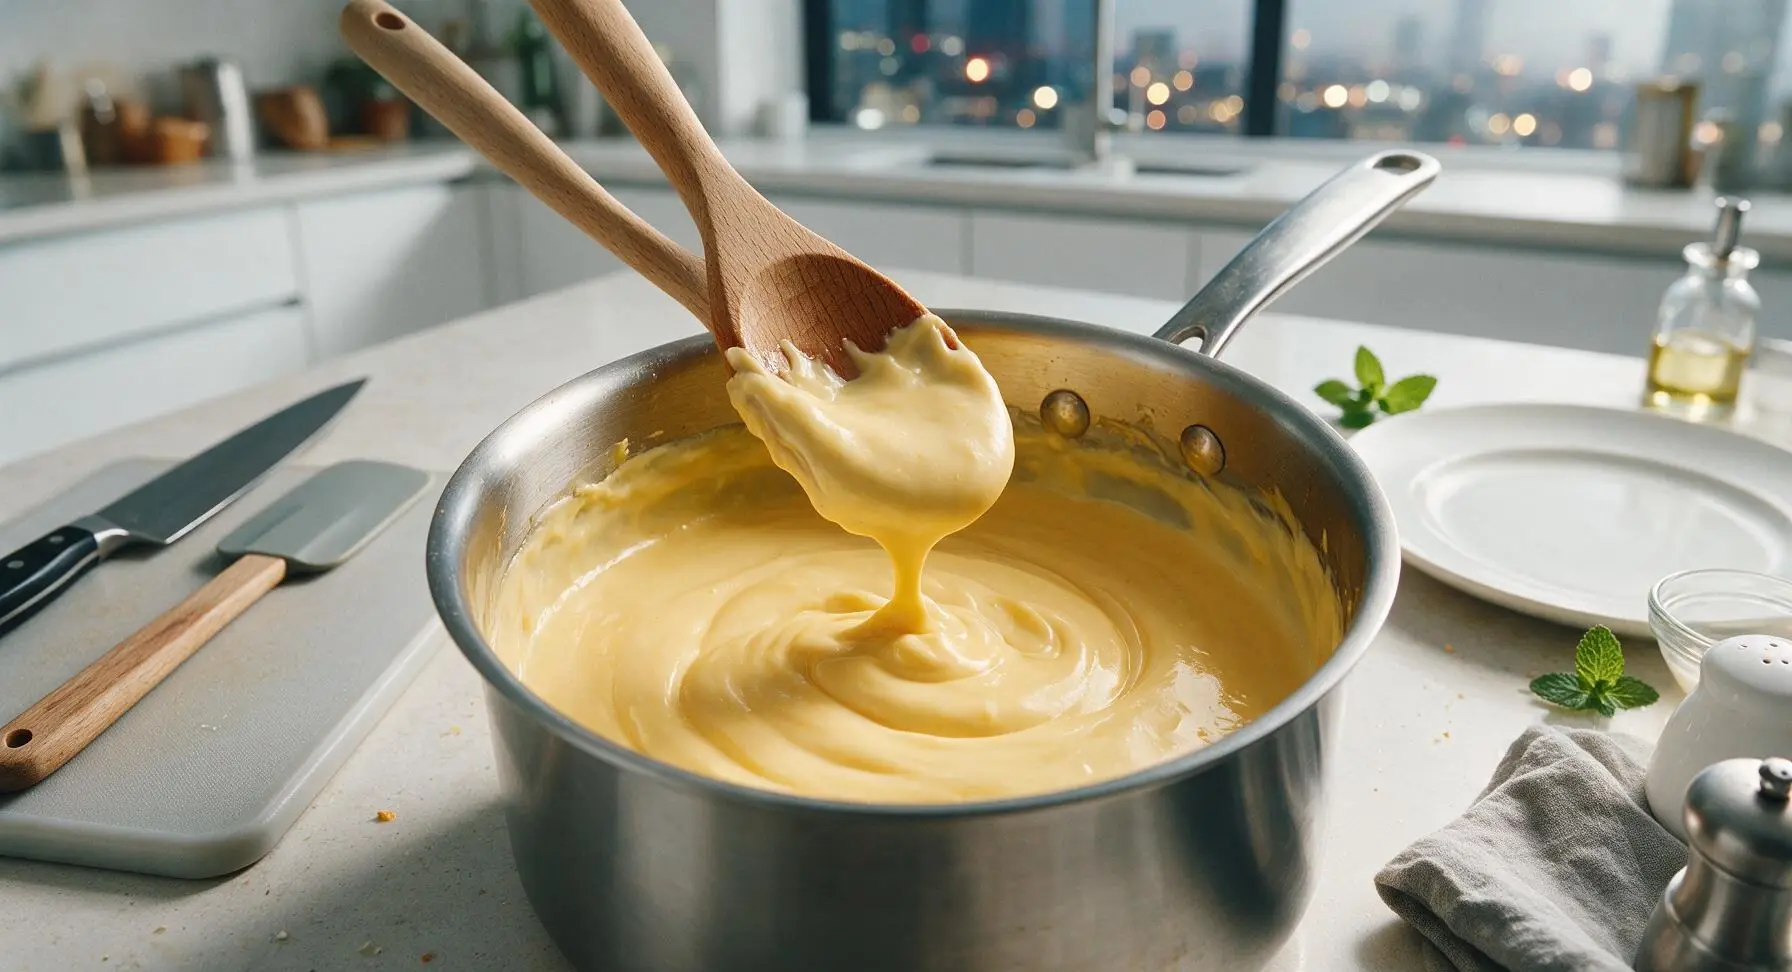
Turn off the induction burner and move the saucepan slightly off the heat source to prevent cheese from seizing. Add the grated sharp cheddar a small handful at a time, stirring slowly and consistently with the carved beech wood spoon until each handful is fully melted before adding the next. The finished base will be a rich, pale golden yellow, perfectly smooth with no lumps or stringy bits.
Step 5
step5:Melt Grated Cheddar
Step 5
step5:Melt Grated Cheddar
6

Season Sauce to Taste

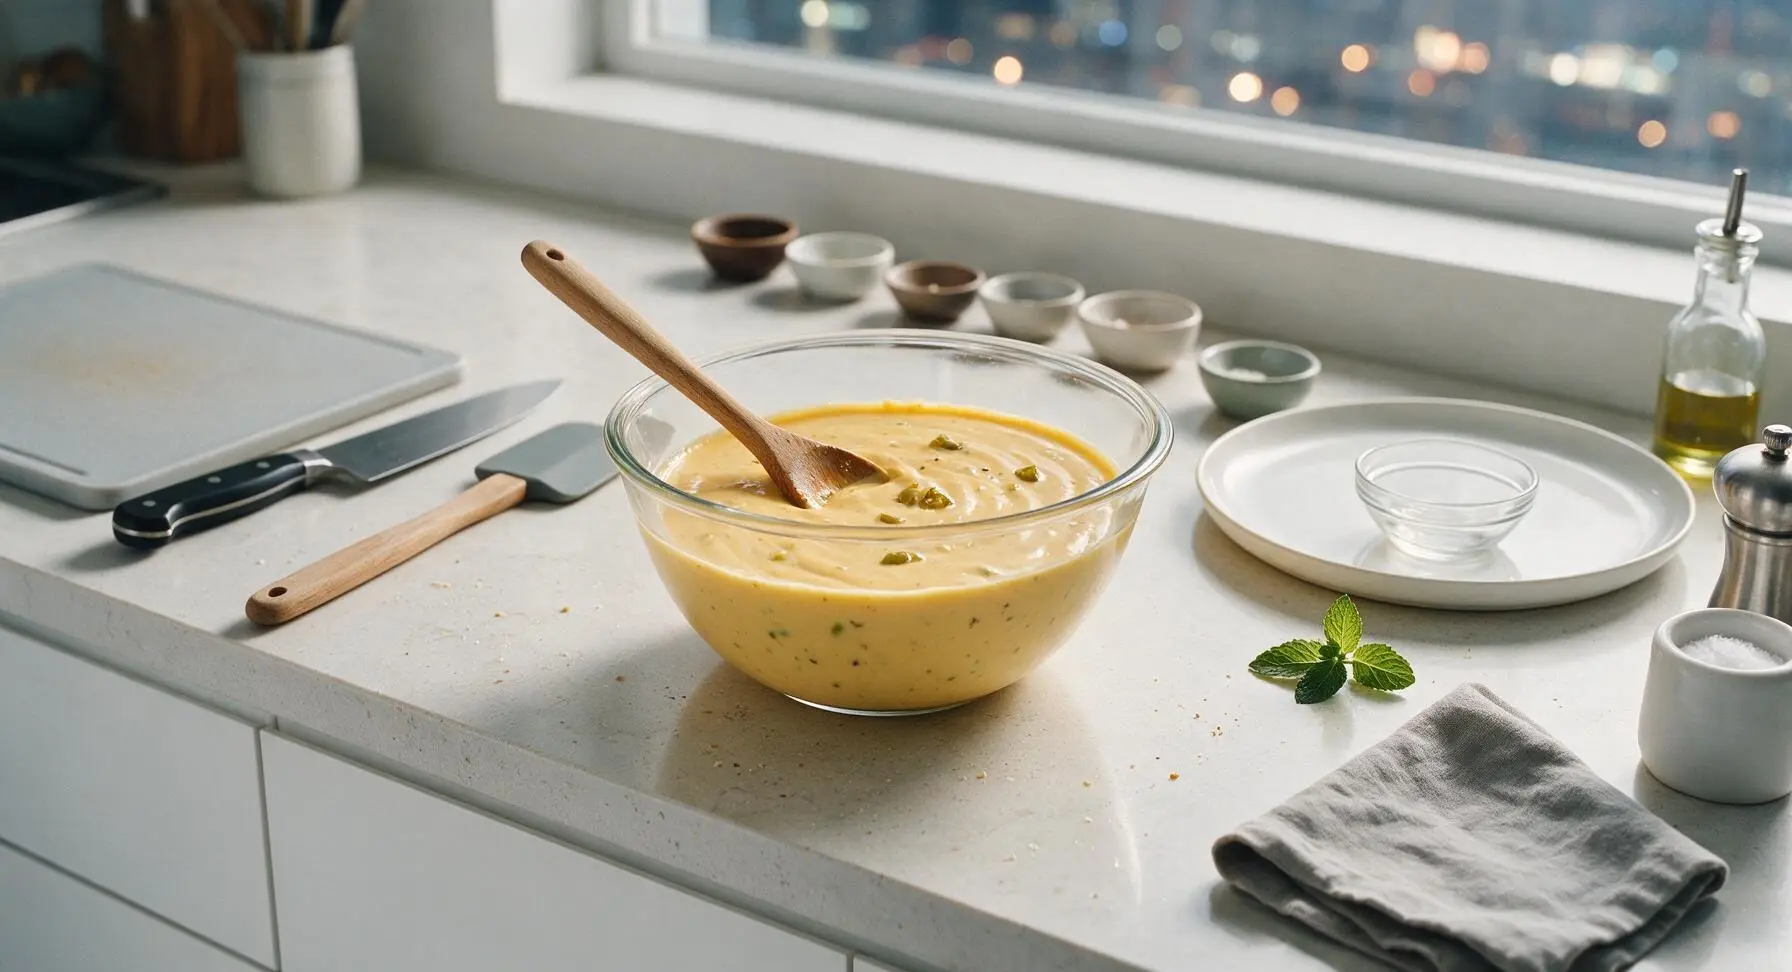
Stir in the 1/2 teaspoon ground cumin, 1/2 teaspoon garlic powder, 1/4 teaspoon onion powder, 1/4 teaspoon fine sea salt, 1/8 teaspoon freshly ground black pepper, 2 tablespoons finely chopped pickled jalapenos, and 1 teaspoon pickled jalapeno brine. Stir thoroughly with the beech wood spoon to evenly distribute spices, then taste and adjust salt if needed. The sauce will have subtle warm spice notes and bright, tangy heat without being overpowering.
Step 6
step6:Season Sauce to Taste
7

Rest and Serve Sauce

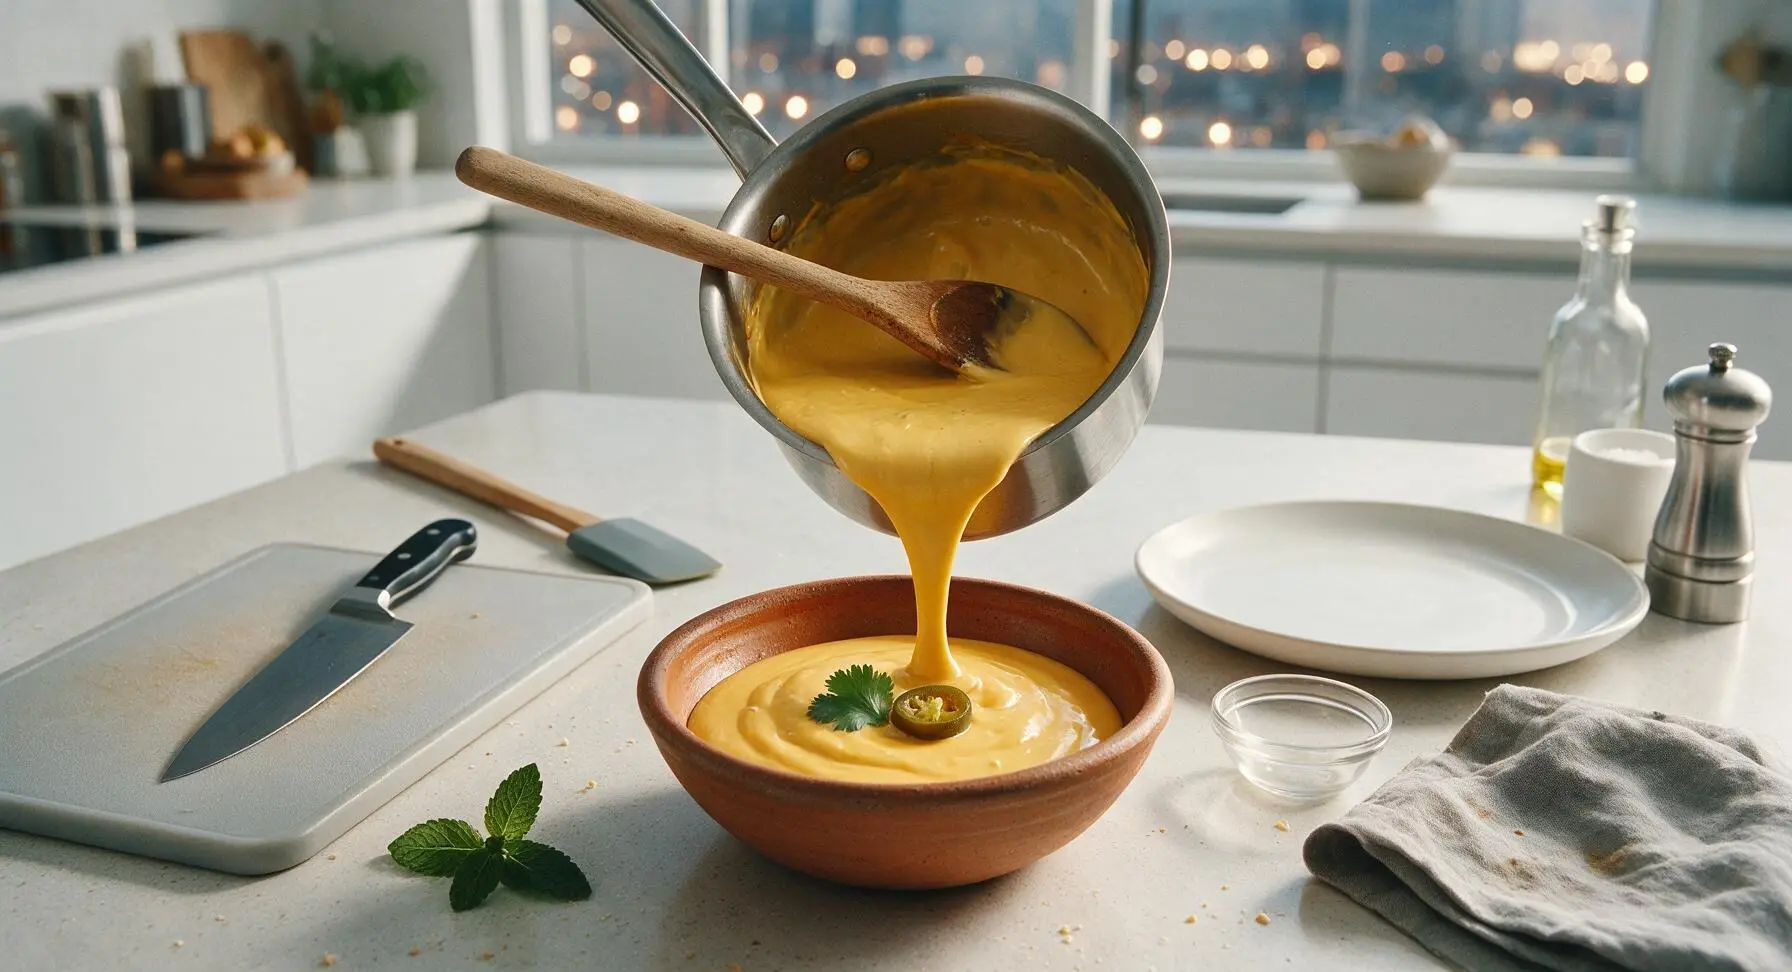
Let the sauce rest for 2 minutes off heat to thicken slightly to ideal burrito-coating consistency: thick enough to cling to a burrito without running off, but thin enough to drizzle smoothly. Pour the finished sauce into the hand-thrown terracotta serving bowl, and garnish with a single fresh cilantro leaf and thin pickled jalapeno slice. Serve immediately while warm.
Step 7
step7:Rest and Serve Sauce

Tips

1.Grate cheese fresh from a block instead of using pre-shredded cheese: pre-shredded varieties are coated in anti-caking potato starch that prevents smooth melting and leads to a grainy, dull sauce.
2.Always add cheese off direct heat: high temperatures cause milk proteins in cheese to curdle and separate, resulting in a greasy, lumpy sauce instead of the desired velvety texture.
3.If the sauce thickens too much as it cools, stir in 1 tablespoon of warm whole milk at a time until it reaches a drizzleable consistency—cheese sauce naturally thickens as it sits, so small adjustments will return it to perfect burrito-coating texture.


✨ You May Also Like

Side Dishes
🍜 India

Velvety, aromatic all-purpose curry sauce perfect for tossing with roasted veggies, grilled protein, or rice for fast, cozy, flavorful meals.

⏱️ 25 minuteSide Dishes ★ 4.8
Side Dishes
🍜 Spain

Tender, starchy boiled yuca tossed in bright, garlicky citrus mojo sauce—an iconic, zesty side that pairs beautifully with roasted pork, grilled meats, and rice and beans.

⏱️ 40 minuteSide Dishes ★ 5
Side Dishes
🍜 United States

Tender, paper-thin potato flatbread, a beloved Norwegian-American Minnesota Christmas staple, griddled until softly spotted and served warm with butter.

⏱️ 1 hour 30Side Dishes ★ 4.6
Side Dishes
🍜 United States

Rich, deeply savory cured salt pork, a long-lasting kitchen staple perfect for frying crispy as a side or adding umami to stews, beans, and chowders.

⏱️ 7 days (2Side Dishes ★ 4.9
Side Dishes
🍜 United States

Crispy, tangy classic Southern fried green tomatoes with a crunchy cornmeal crust, served hot for a nostalgic, comforting summery bite.

⏱️ 25 minuteSide Dishes ★ 4.9
Side Dishes
🍜 United States

Moist, golden-crusted savory muffins with sweet corn, zesty jalapeño, and melted cheddar, perfect for pairing with smoky summer grilled fare.

⏱️ 30 minuteSide Dishes ★ 4.9

burrito cheese sauce:Frequently Asked Questions

1.Why do you recommend using block sharp cheddar instead of pre-shredded cheese for this sauce? ▾
Pre-shredded cheddar is coated in anti-caking agents like potato starch and natamycin that prevent smooth melting, leading to grainy, lumpy sauce. Shredding your own cheese straight from a block lets it melt seamlessly into the roux and milk, giving you that perfectly velvety, lump-free texture this recipe is designed for.
2.Can I make this sauce ahead of time, and how do I reheat it without it breaking? ▾
You can make this sauce up to 3 days ahead, stored in an airtight container in the fridge. Reheat it slowly over low stovetop heat, stirring constantly, and add a splash of extra whole milk a teaspoon at a time if it thickens too much. Avoid high heat, which can cause the cheese to separate and turn greasy.
3.My sauce turned out lumpy and grainy—what did I do wrong, and can I fix it? ▾
Most lumps come from adding shredded cheese too quickly over high heat, or not whisking the roux smooth before adding milk. To fix it, take the pan off heat, pour the sauce through a fine-mesh sieve to strain out lumps, then return it to low heat, whisking in a tiny splash of warm milk until smooth.
4.How spicy is this sauce, and can I adjust the heat level to suit my taste? ▾
The base recipe has gentle, approachable heat from pickled jalapenos and their brine, so it won’t overwhelm people who don’t love extra-spicy food. To turn up the heat, add extra jalapeno slices or a pinch of cayenne; to make it mild, cut the jalapeno amount in half and use less brine.
5.Can I swap the all-purpose flour for a gluten-free alternative? ▾
The all-purpose flour in the roux thickens the sauce and stabilizes the cheese so it doesn’t separate as it melts. If you need a gluten-free version, swap the all-purpose flour 1:1 for a gluten-free all-purpose blend with xanthan gum, and double-check that your pickled jalapenos are certified gluten-free to avoid cross-contamination.
6.What gives this sauce that classic tangy Tex-Mex flavor instead of tasting like plain cheddar sauce? ▾
That signature bright, tangy kick comes from the pickled jalapeno brine—don’t fully drain your jalapeno slices before adding them! A tablespoon or two of that salty, tangy brine cuts through the richness of the cheese and butter, perfectly matching the restaurant-style Tex-Mex flavor people love.
7.Can I use a lower-fat milk or non-dairy milk instead of whole milk? ▾
Whole milk gives the richest, creamiest texture thanks to its higher fat content, but you can swap it for 2% milk if that’s what you have on hand. Skip skim milk or thin non-dairy milks like unsweetened almond milk, which lead to watery, separated sauce; if using oat milk, pick a full-fat barista blend for best results.
8.What are the best ways to use this cheese sauce besides smothering burritos? ▾
This versatile sauce works for far more than burritos! Use it as a dip for warm tortilla chips and taquitos, drizzle it over taco bowls, nachos, or loaded baked potatoes, stir a spoonful into scrambled eggs for a Tex-Mex breakfast, or pour it over chili cheese fries for a quick, crowd-pleasing snack.
9.Why do I need to make a roux first instead of melting cheese straight into milk? ▾
The butter-and-flour roux acts as a stabilizer and thickener that keeps cheese from separating into greasy curds as it melts, which is the secret to that smooth, velvety, non-grainy texture. Skipping the roux leaves you with a thin, greasy sauce that clumps instead of coating burritos or chips evenly, so don’t rush that step.

Comments (9)

2 days ago

OMG this cheese sauce is a total game changer! I whipped it up in literally 10 minutes last night for our family taco night and everyone was drizzling it over everything—burritos, nachos, even their tater tots! No more weird grainy store-bought queso for us, this is so much creamier. 10/10

yesterday

Wait did you add any extra jalapeños? I’m thinking of kicking up the heat a little for my teen boys who put hot sauce on literally everything.

2 hours ago

So glad your family loved it! Feel free to toss in 2 tbsp of diced pickled jalapeños (plus a tiny splash of the brine!) when you stir in the cheese for that perfect zesty, spicy kick that goes great with all your taco night toppings.

3 days ago

This recipe is so easy even my 10 year old helped me make it for dinner last night! My kids loved it so much they asked for extra on their broccoli (yes, BROCCOLI) of all things. Perfect for quick weeknight meals when I don’t have time to make anything fancy

2 days ago

That’s amazing to hear! It’s such a versatile sauce—we love that it works just as well on veggies as it does on burritos and nachos. Great job getting your 10 year old involved in the kitchen too, those are the best memories!

5 minutes ago

SO good. I live in a tiny dorm with just a microwave and a small hot plate and I still pulled this off no problem. Way cheaper than buying queso from the campus taco spot, tastes way better too. Already made it twice this week for me and my roommates

1 week ago

Brought this to our neighborhood potluck on Saturday served in a small crockpot with a big bowl of tortilla chips, and it was gone in 15 minutes flat. I had three people ask me for the recipe before I even got a second serving! Only note is I added a little extra cumin because I love that smoky Tex-Mex flavor

5 days ago

Wait how did you keep it from getting clumpy when you held it warm in the crockpot? I tried a different cheese sauce recipe last month for a party and it turned into a rubbery, separated mess after an hour and I was so embarrassed.

3 days ago

Love the extra cumin tip, that’s such a good way to amp up that classic Tex-Mex flavor! For keeping it warm in a crockpot, set it to the lowest warm setting and stir every 20 minutes—if it starts to thicken up too much, stir in a tablespoon of warm milk at a time until it’s silky smooth again.

yesterday

Wait has anyone tried storing this for meal prep? I’m wondering how long it lasts in the fridge and if it reheats well? I’m always looking for sauces I can make on Sunday to use throughout the week for burrito bowls and loaded nacho lunches

2 hours ago

Great question! This sauce stores perfectly in an airtight container in the fridge for up to 4 days. Reheat it in the microwave in 30 second bursts, stirring between each, and add a tiny splash of milk if it thickens up too much while cold. It works amazing on burrito bowls, trust me!

2 hours ago

Solid base recipe! I added a handful of diced green chiles and a pinch of cayenne to give it a little zing, and it was perfect for smothering my breakfast burritos this morning. 10 minute cook time is no joke, I was eating 12 minutes after I walked in the kitchen

2 weeks ago

Used this sauce on my smoked brisket burritos last weekend and my wife said it was the best meal I’ve made all summer. It’s so smooth, no weird gritty texture like some other cheese sauces I’ve tried before. Will absolutely be making this a staple for our weekend cookouts

1 week ago

Oh that brisket burrito idea sounds insane! I’m making this tomorrow for our neighborhood cookout, gonna have to try pairing it with smoked pulled pork too. Bet it goes perfect with a little drizzle of chipotle hot sauce on top.

30 minutes ago

Wait, does anyone else’s sauce turn a little stringy if you heat it too fast? I cranked the stove up too high my first try and it was a little weird, but when I made it again on medium low it was perfect. So tasty even when I messed up a little tbh

5 minutes ago

Oh I did the exact same thing the first time I made cheese sauce! High heat is the enemy of smooth, melty cheese, I learned that the hard way after ruining a whole block of sharp cheddar a few months back. Total waste of good cheese lol.

just now

You’re totally right! Low to medium-low heat is key for that silky, non-stringy texture. If you do accidentally overheat it and it gets stringy or lumpy, a quick splash of cold milk and a fast whisk can usually save it. So glad you gave it a second try and loved it!

just now

I’ve been searching for a copycat of that gooey cheese sauce they use at my local Tex-Mex spot for YEARS and this is dead on. I could literally drink this stuff it’s so smooth and flavorful. Already picked up an extra block of cheddar to make another batch this weekend for my roommate’s birthday taco bar



