
Butternut Squash Grilled Cheese

title 1
Butternut Squash Grilled Cheese
⏱️ cook time 25 minutes
🍽️ servings 4
⚡ Difficulty easy

intro

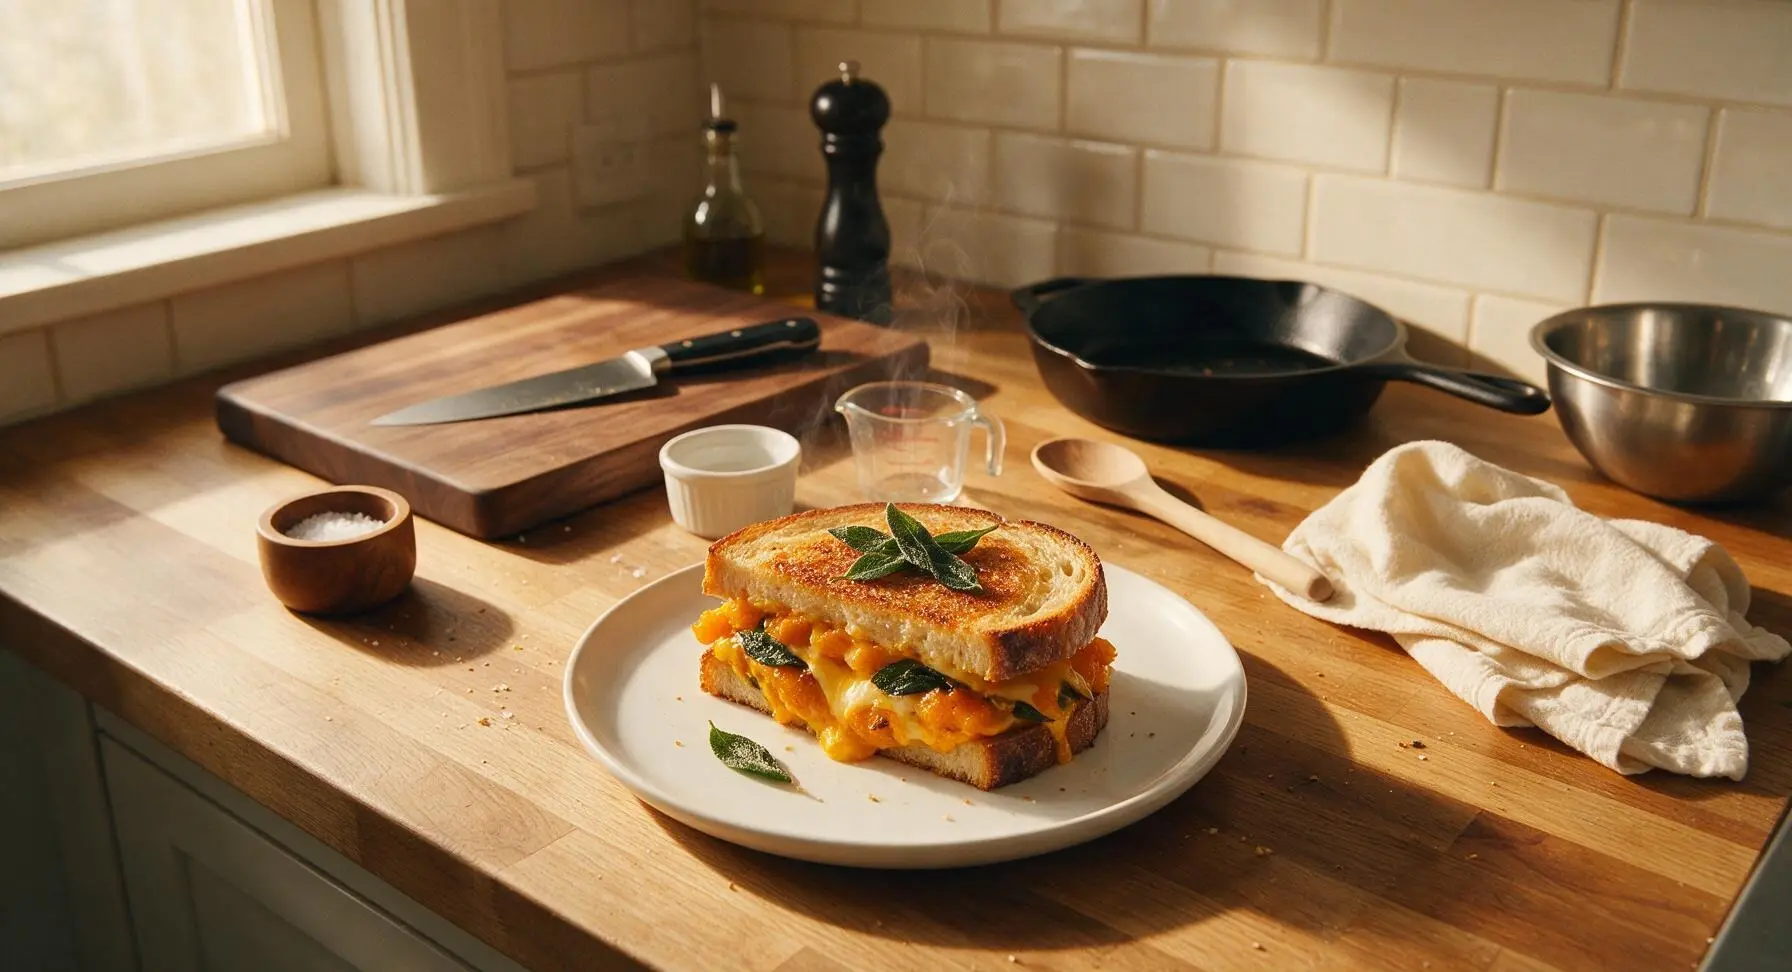
Elevated cozy comfort food: creamy caramelized butternut squash, melted sharp cheddar, and crispy sage layered between buttery, crisp toasted sourdough for a perfect autumnal twist on classic grilled cheese.

Ingredients
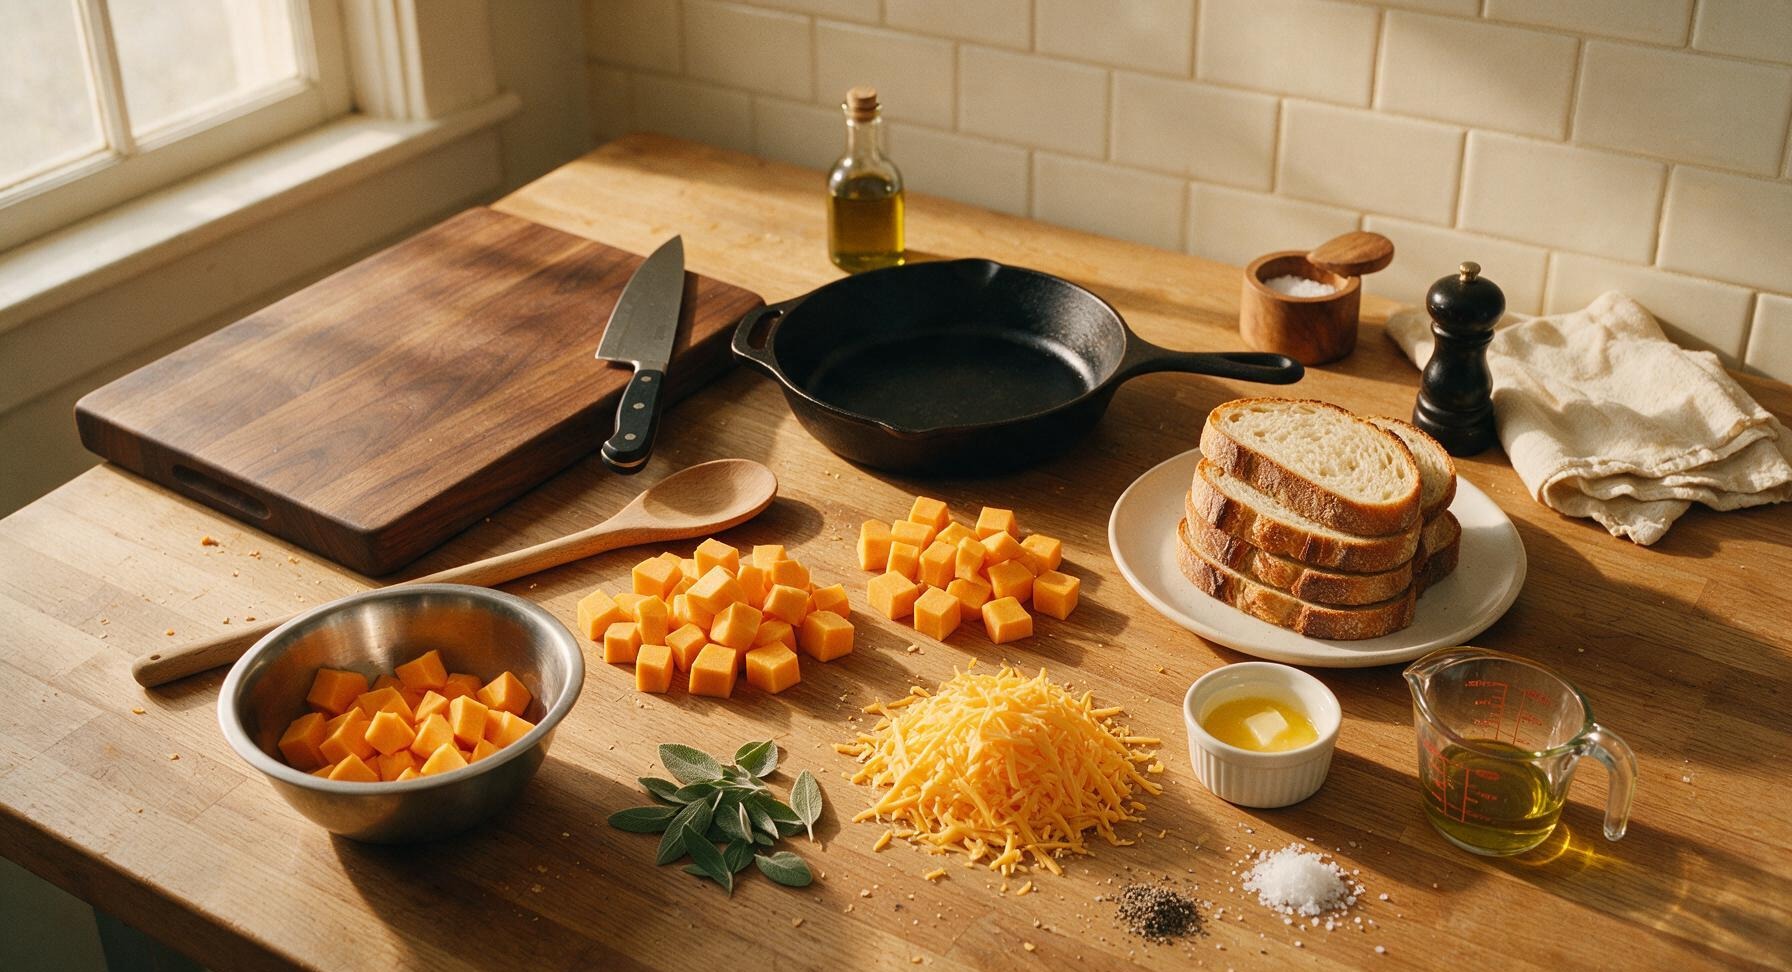
Butternut squash (peeled, seeded) 2 cups, cut into 1/2-inch cubes
Thick-cut sourdough bread 8 slices
Sharp cheddar cheese 225g, freshly shredded
Fresh sage leaves 15 leaves
Unsalted butter 4 tbsp, melted
Extra virgin olive oil 1 tbsp
Flaky sea salt 1/2 tsp
Freshly ground black pepper 1/4 tsp

Steps

1

Toss Squash for Roasting

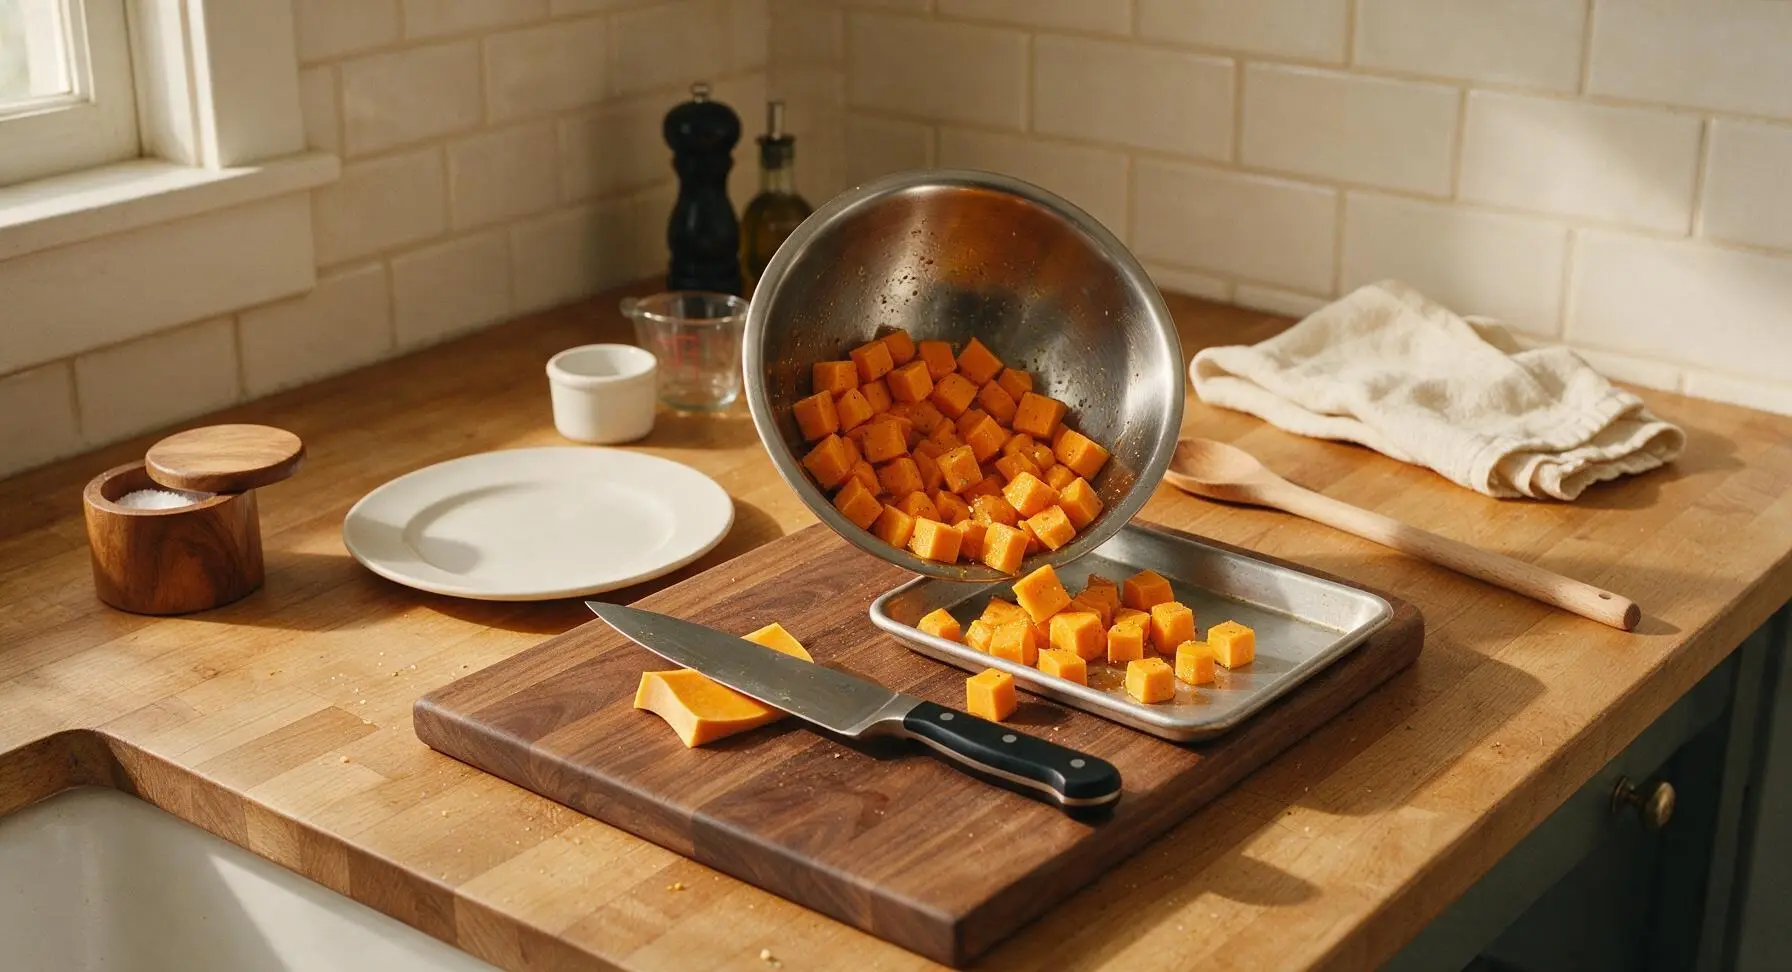
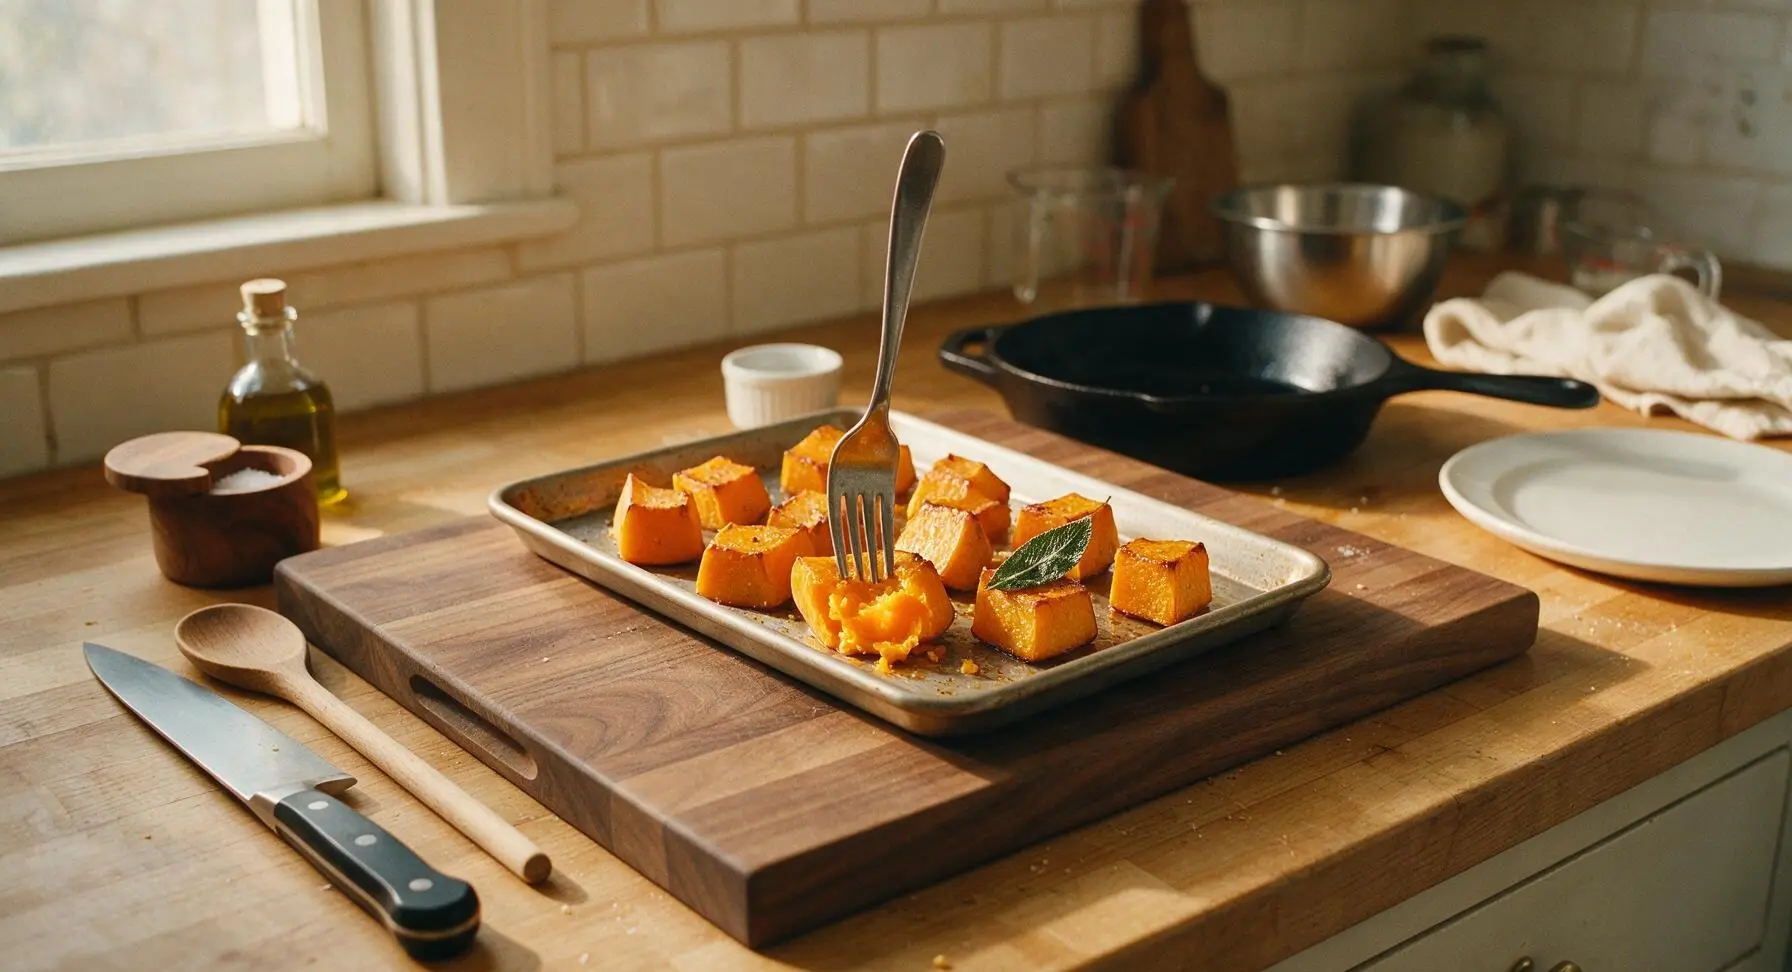
Preheat oven to 200C (400F). Place peeled, 1/2-inch cubed butternut squash in the medium stainless steel mixing bowl, drizzle with 1 tbsp extra virgin olive oil, add 1/4 tsp flaky sea salt and all the freshly ground black pepper. Toss until every squash cube is lightly coated, then spread in a single even layer across the small rimmed aluminum baking sheet, with no overlapping pieces to ensure even caramelization.
Step 1
step1:Toss Squash for Roasting
2

Roast Squash and Sage

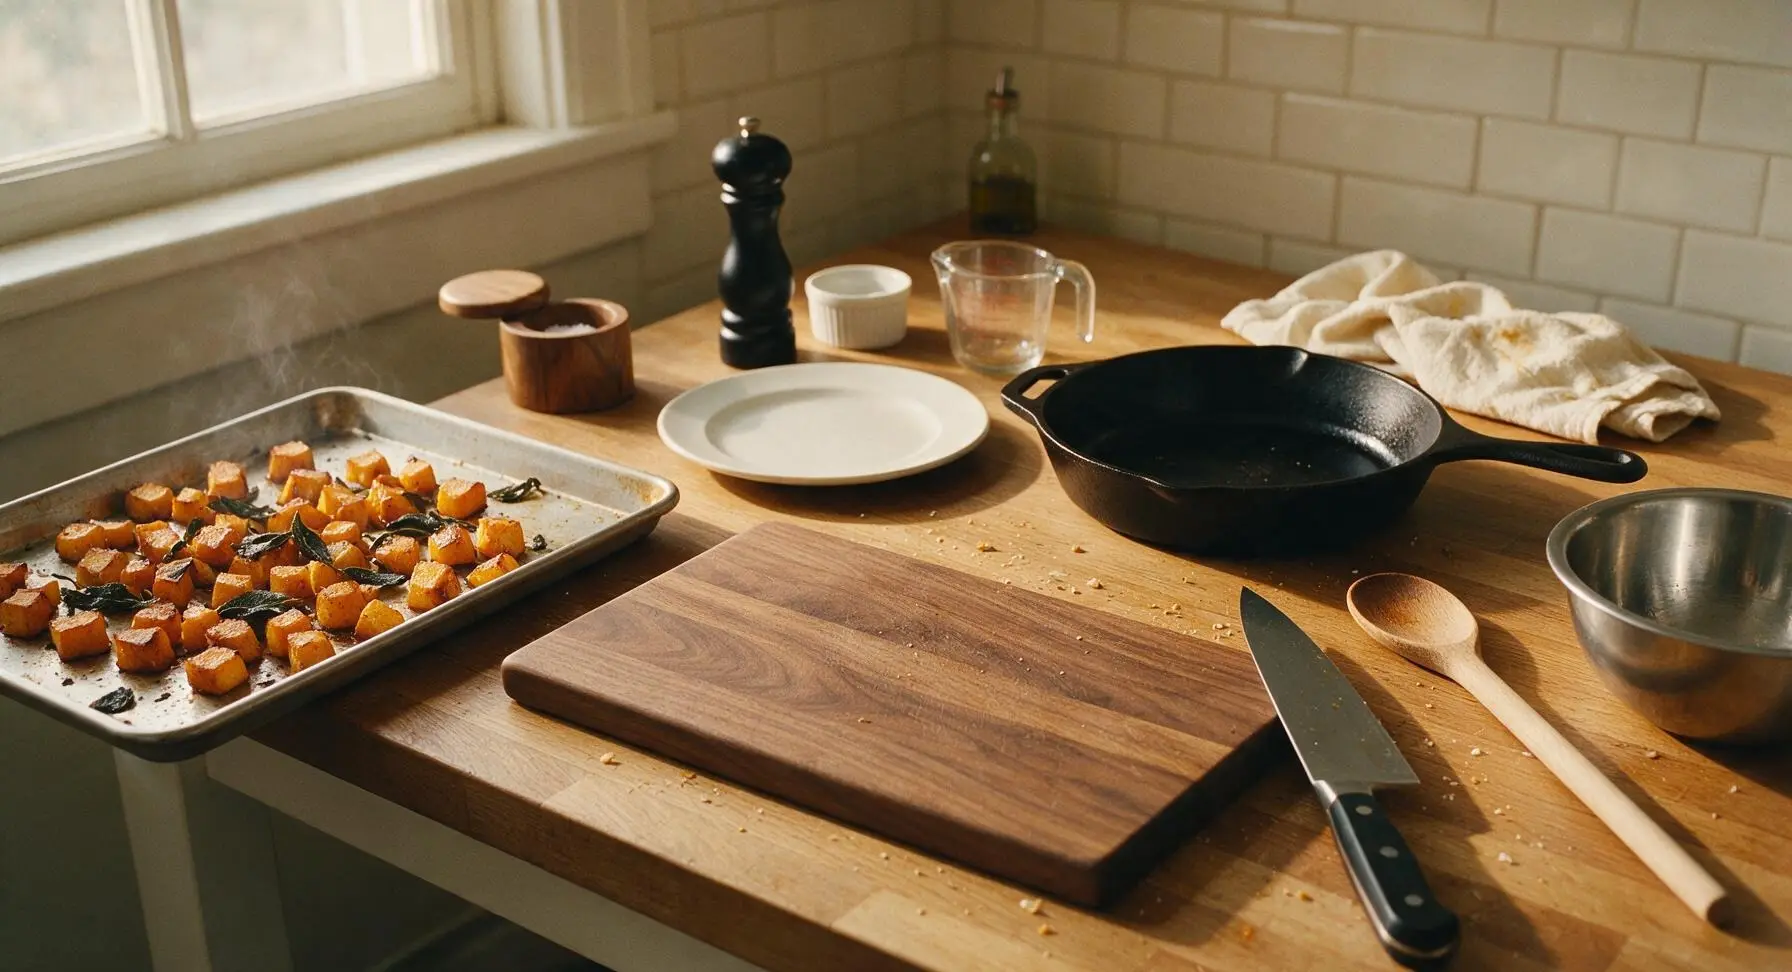
Slide the baking sheet into the preheated oven, roast for 18-20 minutes until squash is fork-tender with light golden caramelized edges. During the final 3 minutes of cook time, open the oven and scatter 10 of the sage leaves across the hot sheet to crisp in the oil, then remove the sheet from the oven and set aside to cool for 2 minutes.
Step 2
step2:Roast Squash and Sage
Step 2
step2:Roast Squash and Sage
3

Butter Sourdough Slices

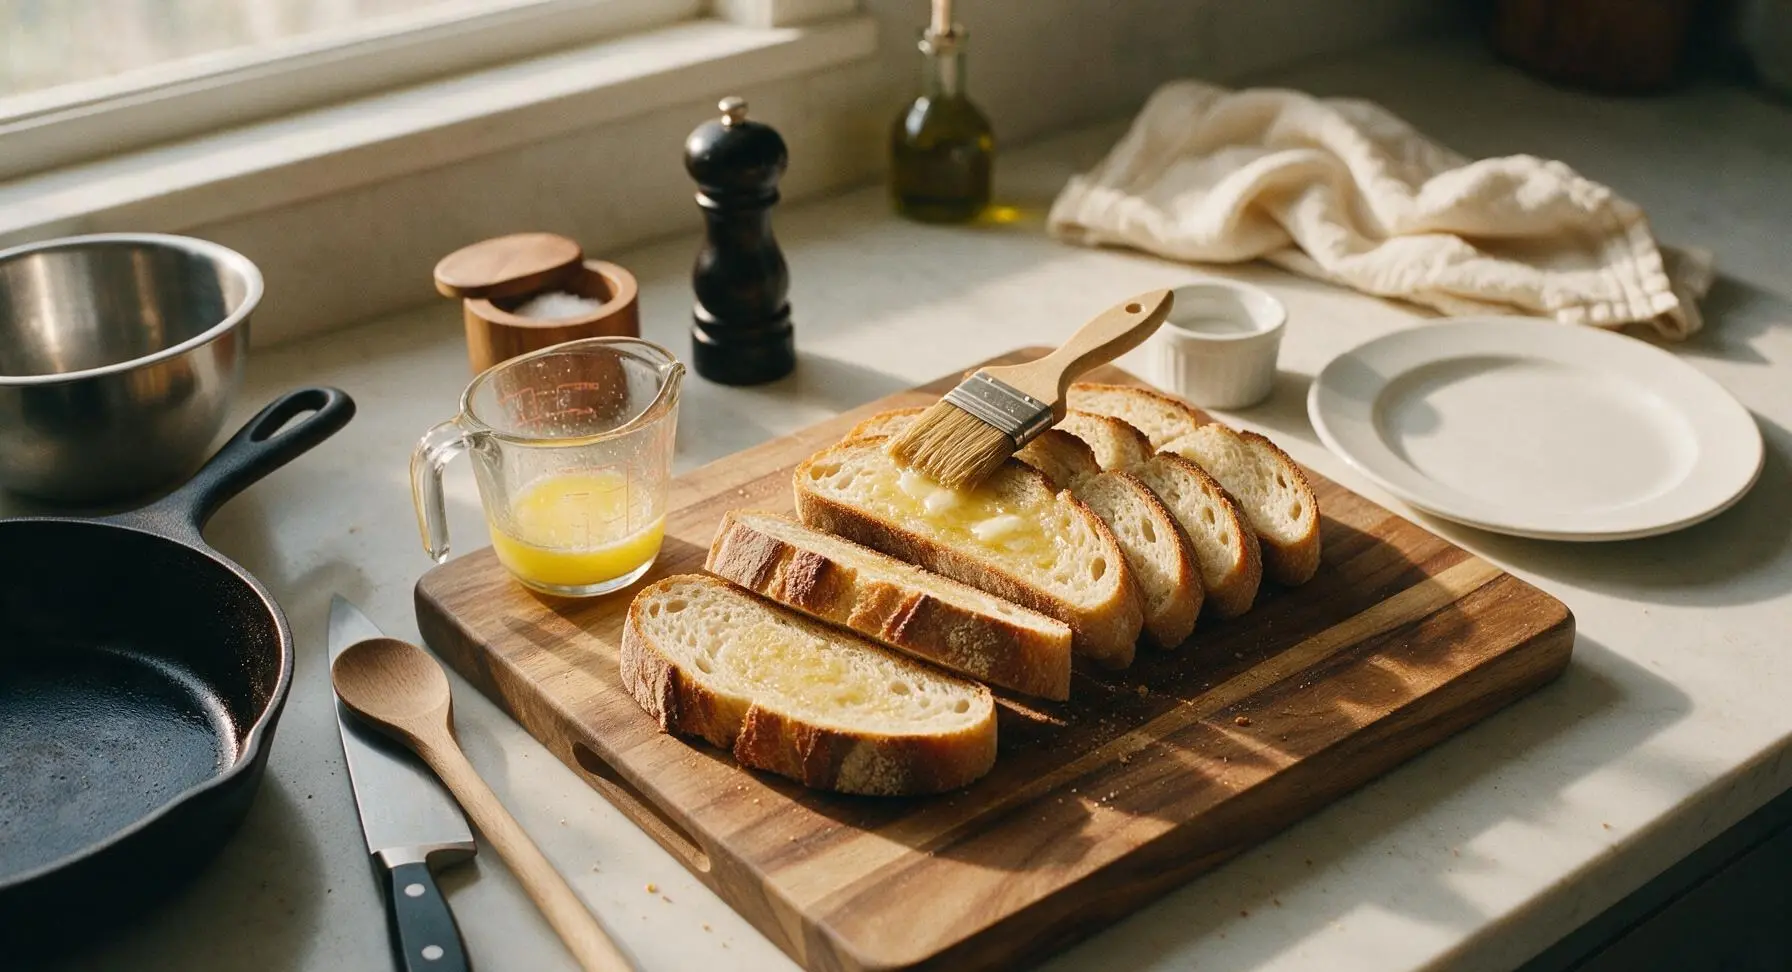
Clear the acacia wood cutting board of squash scraps, then lay all 8 thick-cut sourdough slices flat across the board surface. Use the boar bristle pastry brush to spread 1/2 tbsp of melted unsalted butter evenly across the outer face of each slice, brushing all the way to the crust edges to prevent dry, untoasted spots.
Step 3
step3:Butter Sourdough Slices
4

Build Sandwich Layers

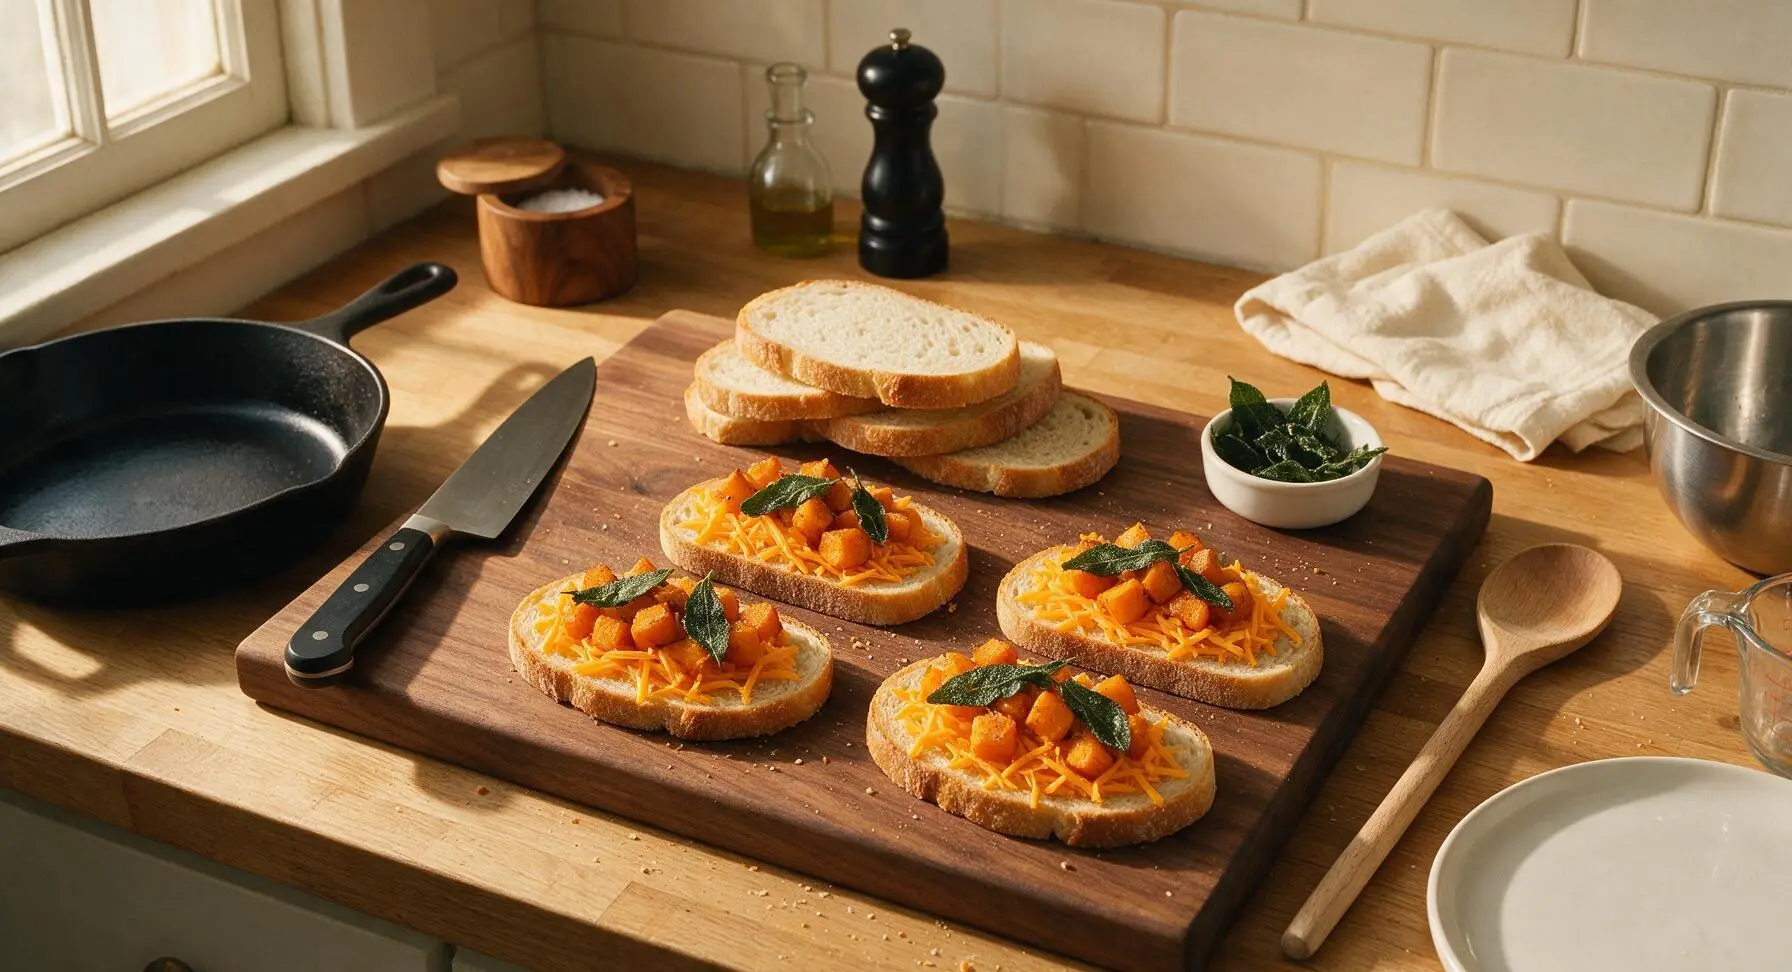
Flip 4 of the bread slices so their buttered sides face down against the cutting board. Divide half of the shredded sharp cheddar evenly across these 4 base slices, top each with 1/2 cup of the roasted squash (pressing gently to flatten cubes for even stacking), add 2-3 crispy sage leaves per sandwich, then cover with the remaining half of the cheddar. Top each stack with the remaining 4 bread slices, buttered side facing up, to form 4 complete sandwiches.
Step 4
step4:Build Sandwich Layers
5

Grill Sandwiches in Skillet

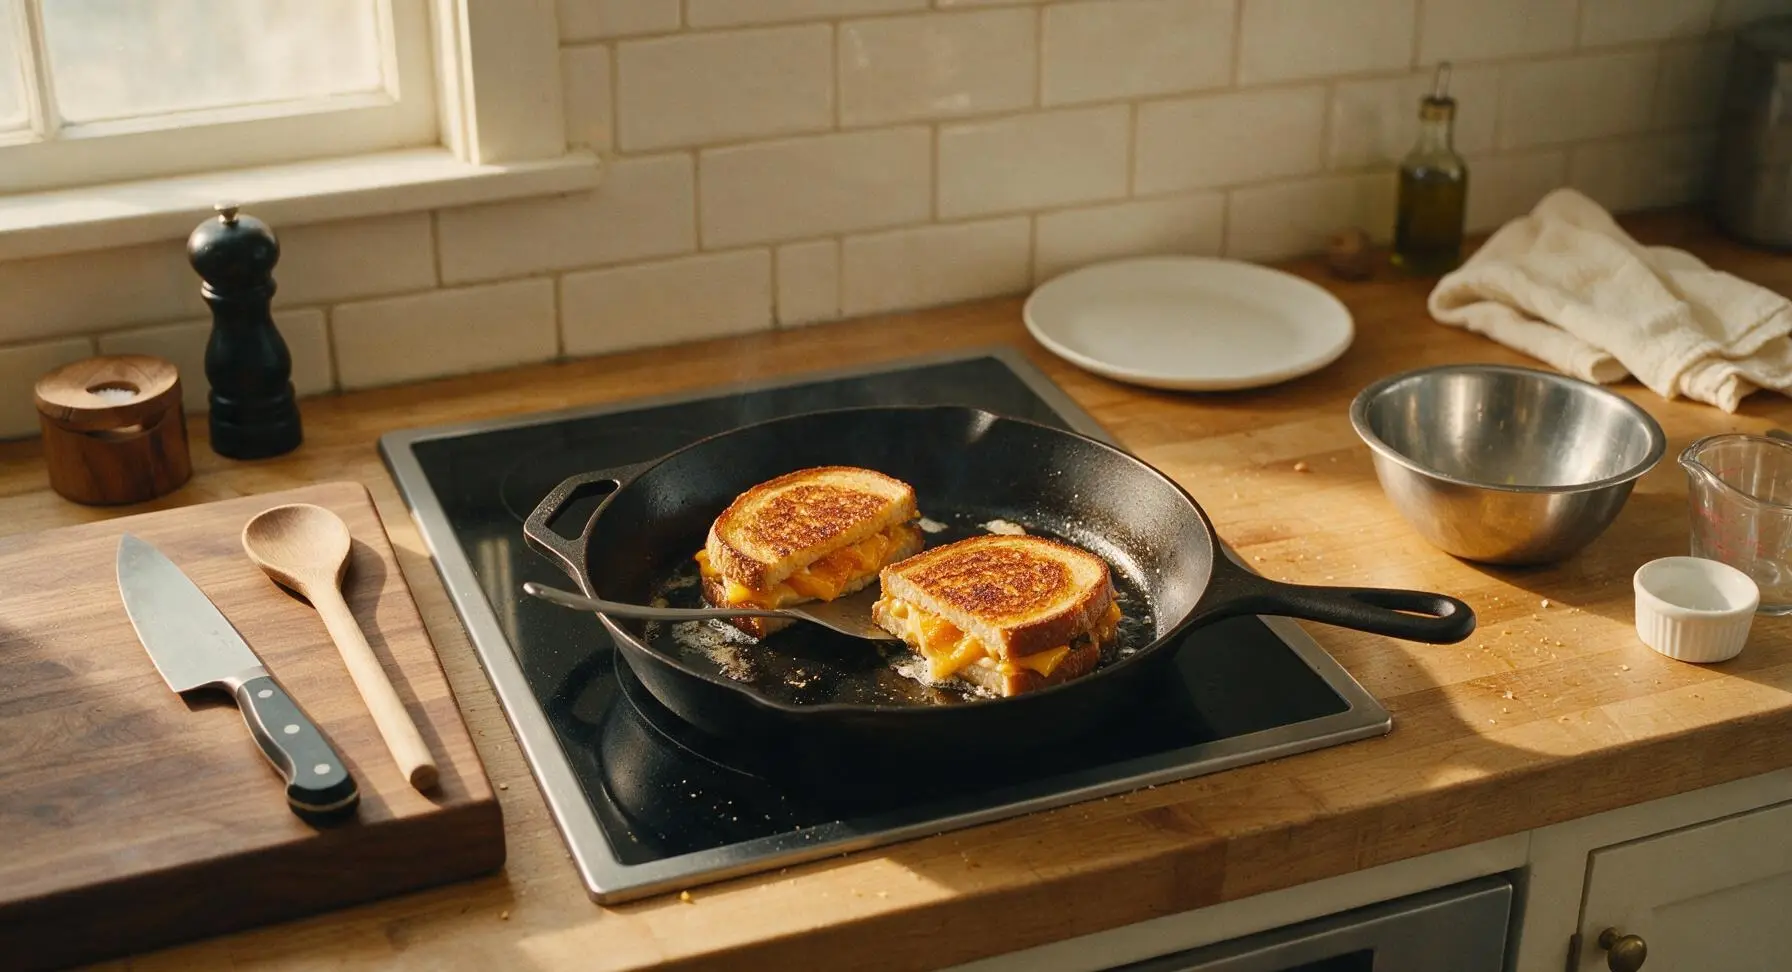
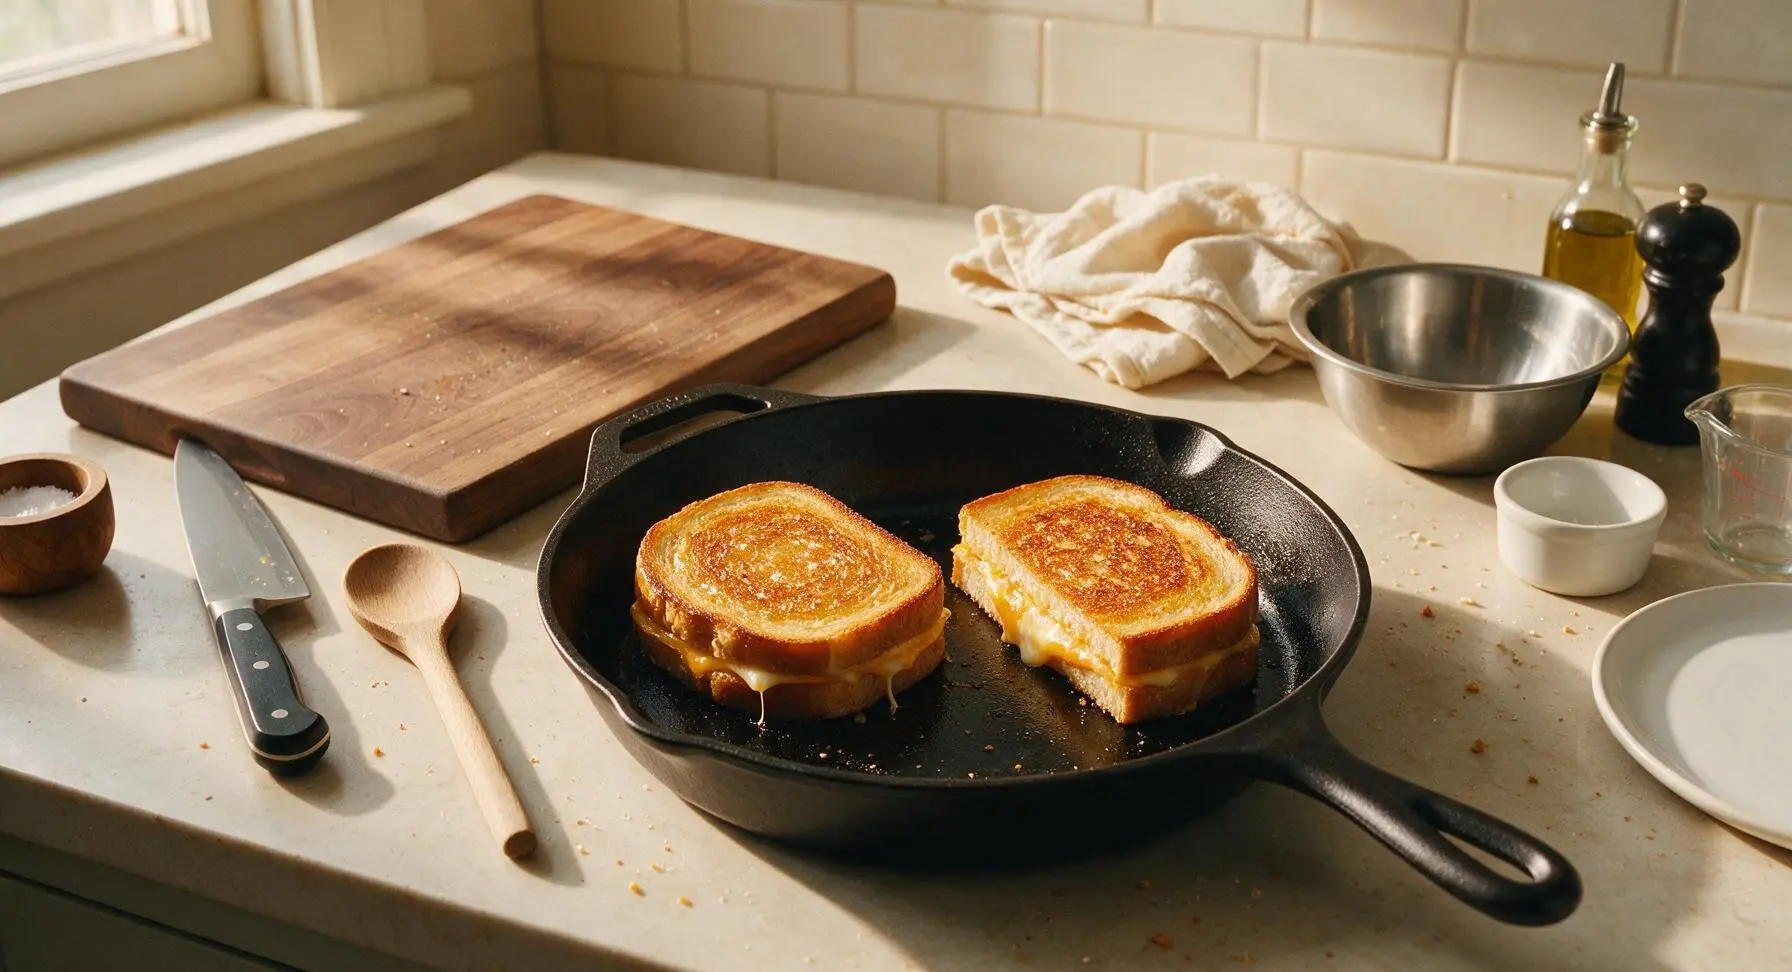
Place the 12-inch matte black carbon steel skillet on the induction cooktop over medium heat. Test pan temperature by sprinkling a single drop of water: it should sizzle and dance across the surface immediately when ready. Add 2 sandwiches to the pan, cook for 3-4 minutes per side, pressing gently with the thin metal spatula to encourage even browning, until bread is deep golden crisp and cheese is fully melted. Repeat with the remaining 2 sandwiches, adding a tiny pat of butter to the pan between batches if the surface looks dry.
Step 5
step5:Grill Sandwiches in Skillet
Step 5
step5:Grill Sandwiches in Skillet
6

Rest Cooked Sandwiches

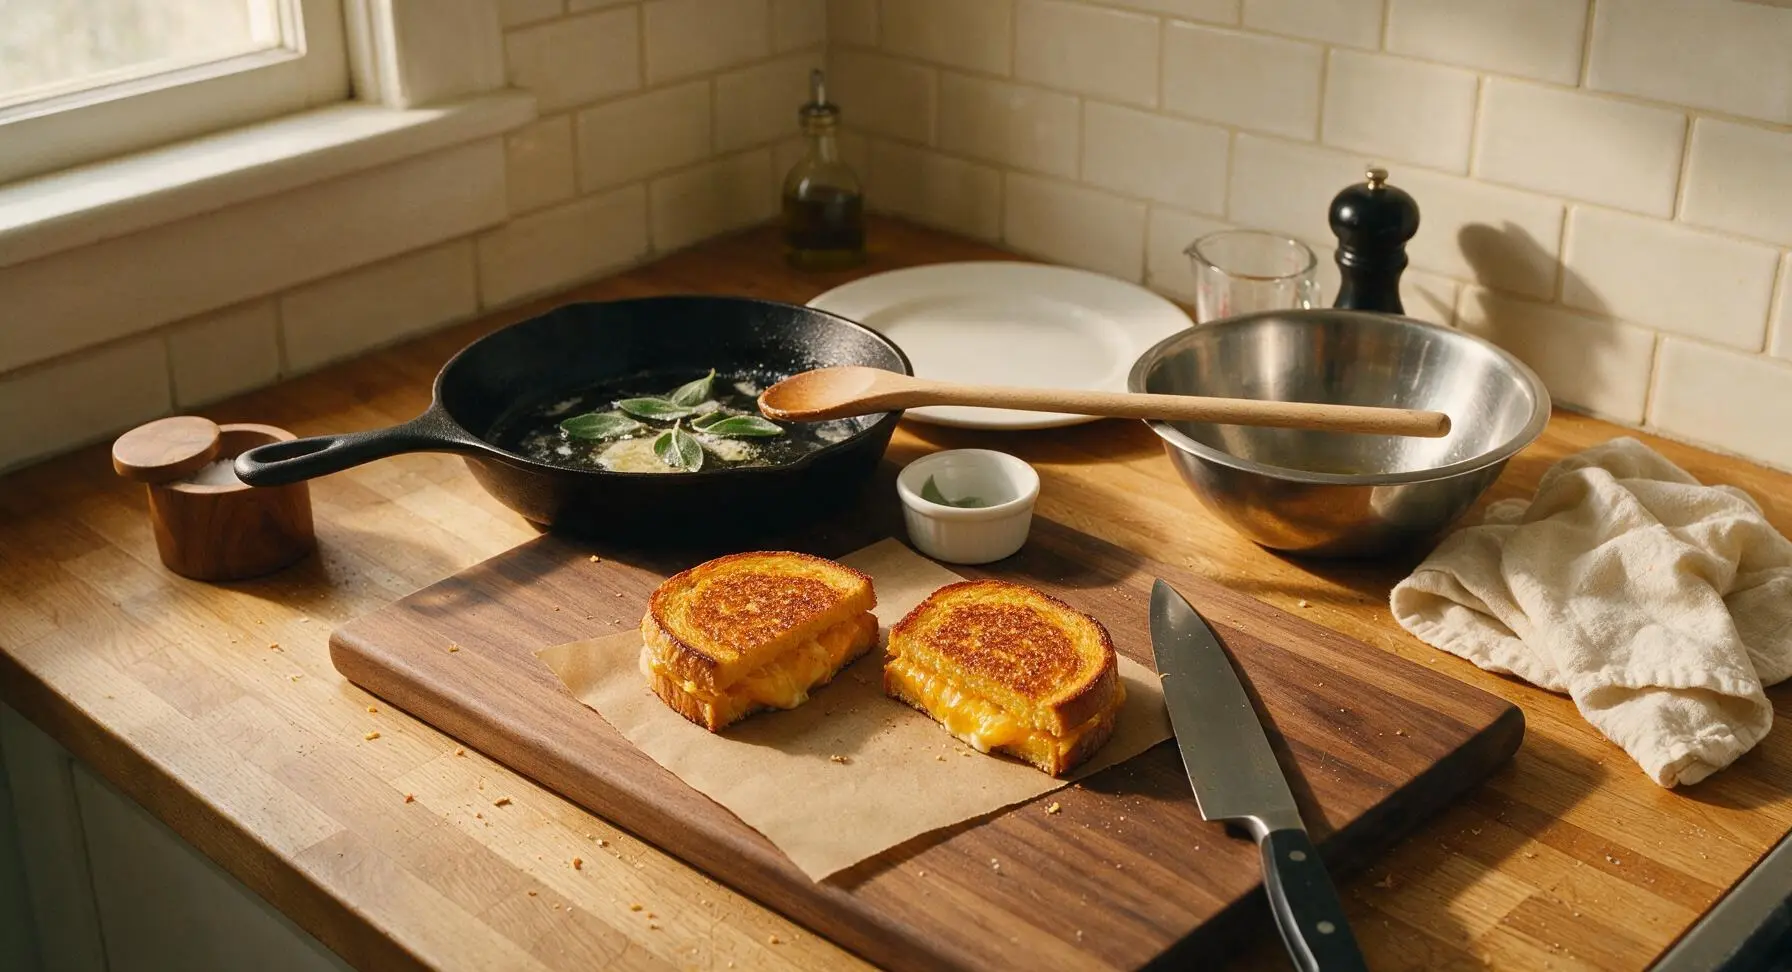
Transfer cooked sandwiches from the skillet to a natural brown paper towel set on the corner of the acacia cutting board to rest for 1 full minute. This rest period allows the melted cheese to set slightly, preventing it from oozing out when you cut the sandwiches. While sandwiches rest, drop the remaining 5 sage leaves into the hot leftover butter in the skillet for 10 seconds to crisp for garnish, then transfer to the small white ramekin.
Step 6
step6:Rest Cooked Sandwiches
7

Plate and Garnish

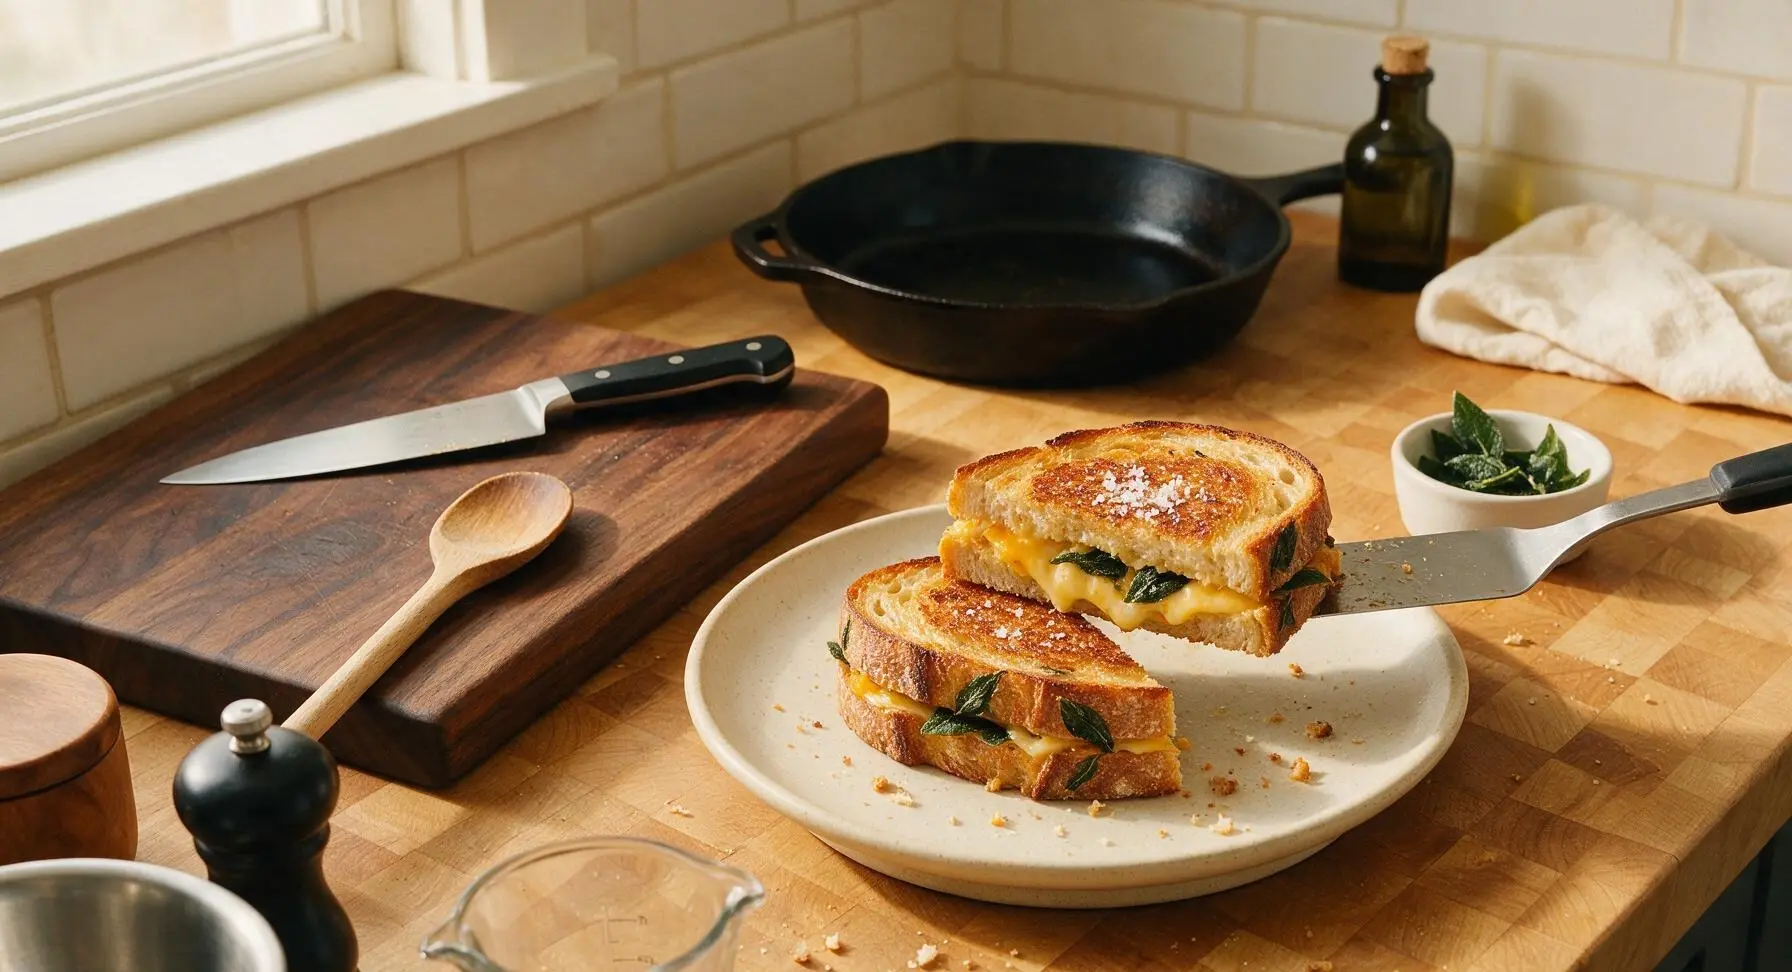
Cut each rested sandwich diagonally into two triangular halves. Arrange the halves slightly stacked on the matte cream ceramic dinner plate, tuck a few extra crispy sage leaves between the layers, and sprinkle lightly with a pinch of flaky sea salt to finish.
Step 7
step7:Plate and Garnish

Tips

1.Cook sandwiches over medium heat rather than high: high heat will burn the bread crust before the cheese fully melts and adheres to the squash, leading to a dry, unbalanced bite.
2.Press roasted squash into a thin, even layer when building sandwiches: loose, chunky cubes create gaps that prevent cheese from sealing the sandwich, causing filling to fall out as you eat.
3.Brush butter all the way to the bread edges: unbuttered crust edges will turn dry and pale during toasting, instead of developing the crispy, golden crust that defines a perfect grilled cheese.


✨ You May Also Like

Lunch
🍜 United States

Creamy, salty, tangy nostalgic Midwestern sandwich pairing rich peanut butter with crisp briny dill pickles for a fast, satisfying no-cook meal.

⏱️ 5 minutesLunch ★ 4.6
Lunch
🍜 United States

Crispy, melty pressed sandwich layered with savory roast pork, ham, Swiss cheese, pickles, and tangy mustard: a beloved Cuban-American comfort classic.

⏱️ 25 minuteLunch ★ 4.9
Lunch
🍜 United States

Hearty, briny New Orleans pressed sandwich stacked with cured Italian meats, provolone, and zesty olive salad, served cold for bold, portable flavor.

⏱️ 1 hour 20Lunch ★ 4.7
Lunch
🍜 United States

A tangy, creamy Southern American staple, this no-cook cheesy sandwich is packed with sharp cheddar and sweet pimentos for a satisfying, portable bite.

⏱️ 1 hour 15Lunch ★ 4.8
Lunch
🍜 United States

Crispy Cajun-spiced fried shrimp piled on crusty French bread with tangy remoulade and fresh toppings, the iconic Louisiana street food sandwich.

⏱️ 35 minuteLunch ★ 4.4
Lunch
🍜 United States

Stacked, savory deli-style corned beef sandwich with melted Swiss, tangy mustard, and crisp griddled rye— a fast, hearty, satisfying classic.

⏱️ 15 minuteLunch ★ 4.9

Butternut Squash Grilled Cheese:Frequently Asked Questions

1.Do I need to cook the butternut squash before assembling the grilled cheese? ▾
Absolutely—raw squash won’t soften enough in the short time it takes to toast the bread, leaving you with crunchy, unpleasantly firm bites. Toss ½-inch peeled, seeded squash cubes with a pinch of salt, roast at 400°F for 20–25 minutes until tender with caramelized edges, then mash lightly for even layering.
2.Can I use pre-cut butternut squash from the grocery store to save time? ▾
Definitely! Pre-cut squash is a huge time-saver for this recipe, just make sure the pieces are uniformly cut into ½-inch chunks so they roast evenly. Skip any pre-cut packages that look slimy or have mushy spots, and pat the pieces dry with a paper towel before roasting to encourage caramelization instead of steaming.
3.What if I don’t have sourdough bread? Can I use another type? ▾
Thick-cut sourdough is ideal for its tangy flavor and sturdy crumb that holds up to creamy fillings, but you can swap it for other hearty, thick-cut breads. Country white, whole wheat, or even brioche (for a slightly sweeter twist) work well—just avoid thin, soft sandwich bread, which will get soggy under the weight of squash and melted cheese.
4.Why do you recommend sharp cheddar instead of mild cheddar? ▾
Sharp cheddar has a bolder, nuttier, more tangy flavor that cuts through the natural sweetness of caramelized butternut squash, balancing every bite. Mild cheddar will taste bland next to the sweet squash, but if you only have mild on hand, mix in a pinch of smoked paprika or a small amount of grated parmesan to amp up savoriness.
5.How do I get the fresh sage crispy without burning it? ▾
The easiest method is to fry whole sage leaves in a small pat of melted butter over medium-low heat for 10–15 seconds per side, until they’re bright and crisp. Watch them closely—they go from perfectly crispy to burnt in seconds! Transfer them to a paper towel to drain excess butter, and sprinkle with a tiny pinch of salt before layering.
6.Can I make this recipe vegan? ▾
Absolutely! Swap the sharp cheddar for your favorite melty vegan sharp cheddar-style block, shredding it fresh for the best melt (pre-shredded vegan cheese often has anti-caking agents that create a grainy texture). Use vegan unsalted butter for toasting the bread and frying the sage, then roast the squash as normal with no extra adjustments needed.
7.My grilled cheese always gets soggy when I add squash—how do I prevent that? ▾
Sogginess happens when excess moisture from the squash leaches into the bread. First, pat roasted squash lightly with a paper towel to remove excess surface moisture before mashing, and don’t over-layer the filling. You can also lightly toast the inner sides of the bread slices for 30 seconds before adding fillings to create a moisture barrier.
8.What heat setting should I use to cook the sandwiches so the cheese melts before the bread burns? ▾
Medium-low heat is the sweet spot! If your pan is too hot, the bread will brown and burn before the cheese fully melts and the filling warms through. Cook 3–4 minutes per side, pressing gently with a spatula, until the bread is deep golden and crispy, and cheese starts oozing slightly out the edges.
9.Can I add other mix-ins to customize this sandwich? ▾
Of course! Thinly sliced crisp Honeycrisp apple, a sprinkle of crispy bacon bits, a thin spread of fig jam, a pinch of red pepper flakes for heat, or a handful of baby arugula for peppery bite all pair beautifully with squash and cheddar. Just stick to 1–2 extra add-ins so the sandwich doesn’t fall apart when flipped.
10.Do I have to use butter on the outside of the bread, or can I use mayonnaise? ▾
Mayonnaise is a totally valid swap for the outer bread coating if you prefer! It creates an ultra-crispy, evenly golden crust and has a higher smoke point than butter, so it’s less likely to burn if you get distracted. If you use mayo, still fry the sage in butter to keep that classic rich, herby flavor.
11.How thick should I cut the sourdough slices for the best results? ▾
Aim for slices that are ¾ to 1 inch thick. Thinner slices will get soggy or squish flat under the weight of the filling, while slices thicker than 1 inch will make the sandwich hard to bite through, and the center won’t heat through evenly before the outer crust gets too dark. Pick the heartiest pre-sliced loaves if you don’t cut your own.
12.Can I prep components of this recipe ahead of time for quick weeknight meals? ▾
Absolutely! Roast and mash the butternut squash up to 3 days ahead, stored in an airtight container in the fridge, and fry the crispy sage up to 2 days ahead, stored in an airtight container at room temp. Shred the cheese the night before, too—all you’ll have to do at mealtime is assemble and toast the sandwiches in 8 minutes.
13.Is there a way to make this gluten-free? ▾
Definitely! Swap the thick-cut sourdough for your favorite sturdy, thick-cut gluten-free sourdough or country-style loaf. Look for a GF bread that toasts up crisp rather than getting gummy, and double-check that your butter and cheese have no hidden gluten-containing additives—most plain cheddar and butter are naturally gluten-free.
14.My cheese never melts all the way through—what am I doing wrong? ▾
First, shred your own cheese instead of using pre-shredded, which is coated in anti-caking agents that prevent smooth, even melting. Second, don’t pile the cheese and fillings too high, and cook over medium-low heat with a pan lid on for 1 minute per side to trap steam that melts cheese all the way to the center.
15.Can I cook these sandwiches in an air fryer instead of on the stovetop? ▾
Yes! Assemble the sandwiches as normal, spread butter on the outer sides of the bread, and air fry at 370°F for 4 minutes, flip carefully, then air fry for another 3–4 minutes until the bread is crispy and the cheese is melted. Keep a close eye on them, as air fryer temperatures vary and bread can crisp quickly.
16.What should I serve with Butternut Squash Grilled Cheese for a full meal? ▾
This rich, cozy sandwich pairs perfectly with lighter, bright sides to cut through the richness. A simple arugula salad with lemon vinaigrette, a cup of creamy tomato or roasted apple soup, crisp dill pickles, or a side of roasted Brussels sprouts all complement the sweet, savory flavors of the sandwich beautifully.
17.Can I freeze assembled, uncooked sandwiches for later? ▾
You can, with one small adjustment. Assemble the sandwiches without the crispy sage (it will get soggy when frozen and thawed), wrap them tightly in plastic wrap and then foil, and freeze for up to 2 months. Cook from frozen over low heat, adding 2–3 minutes per side, then tuck fresh crispy sage in right before serving.
18.Why does my sage turn bitter when I cook it? ▾
Sage turns bitter when it’s cooked too long or at too high a heat, which burns the delicate herb oils. Fry it only for 10–15 seconds per side in medium-low melted butter, just until it turns a brighter shade of green and crisps up—if it turns dark brown or black, it’s burnt and bitter, so toss those leaves and start fresh.
19.Can I use a different type of cheese if I don’t like cheddar? ▾
Absolutely! Gruyère is a fantastic swap, with its nutty, melty texture that pairs beautifully with sweet squash, or fontina for an ultra-creamy, mild melt. For a bolder twist, try smoked gouda for warm, smoky notes, or rindless brie for an extra luxe, creamy sandwich that balances the squash’s natural sweetness.

Comments (17)

3 days ago

OMG this butternut squash grilled cheese is a total game changer! I was skeptical the squash would be too mushy but roasting it first gave it the perfect caramelized edge, paired with that melty gouda? *Chef's kiss* My 6 and 8 year old devoured theirs without even complaining there was veggies in it, total win for weeknight dinner!

2 days ago

Same! My kid who swears he hates all orange veggies ate two halves and asked if we could have it again tomorrow. I added a sprinkle of red pepper flakes for the grown ups, so good!

yesterday

So happy to hear the whole family loved it! The red pepper flakes add such a nice little kick, that’s one of my favorite custom tweaks too 😊

5 days ago

Added this to my weekly meal prep rotation! It comes together so fast (25 minutes is no joke, even when I’m fumbling around the kitchen after work) and the squash stays nice even when I reheat it in the pan for lunch the next day. Way better than my sad usual turkey sandwich.

3 days ago

Thrilled this works for your meal prep! Quick tip: if you’re reheating, use a low heat on the pan to keep the bread crispy instead of microwaving, works like a charm!

5 minutes ago

Made this for my dorm potluck last night and people kept asking for the recipe! Only reason it’s not 5 stars is I forgot to buy sage so I used dried thyme instead, still slapped but I bet the sage is next level. Will definitely make again once I hit the grocery store.

1 week ago

Y’all, I’ve made this three times in the last two weeks. I thought grilled cheese couldn’t get any better but adding sweet roasted butternut squash? I’ll never go back to plain old cheddar only. I use sourdough from my local bakery and it’s absolute perfection.

5 days ago

Sourdough is the move! I tried it with regular white bread first and it was good, but sourdough’s tang cuts the sweetness of the squash so perfectly. Game changer.

3 days ago

Local bakery sourdough sounds incredible! The tangy bread pairs so beautifully with the sweet, nutty squash, that’s such a great call.

2 hours ago

So easy to make even on nights when I have 1000 other things going on! I used pre-cut butternut squash from the grocery store to cut down on prep even more, and no one could tell the difference. Served it with tomato soup for the coziest Sunday dinner.

30 minutes ago

Pre-cut squash is my secret weeknight weapon too! I’ve swapped in sweet potato in a pinch when I didn’t have squash, but butternut’s nuttier flavor is definitely perfect for this grilled cheese.

30 minutes ago

I’m a total meat and potatoes guy so I was pretty sure I’d hate a veggie-forward grilled cheese, but my roommate made this and I was shocked how filling it was! Next time I’m gonna add a couple slices of crispy bacon just for my own taste, but even without it it’s solid.

5 minutes ago

Crispy bacon is such a delicious add! It adds that salty, smoky kick that pairs so well with the sweet squash, I’m a big fan of that tweak.

2 weeks ago

Made this for our fall hike picnic last weekend and it held up perfectly even after a couple hours in the cooler. Didn’t get soggy at all, the flavors were even better at room temp than I expected. 10/10 for outdoor eats!

yesterday

Used my favorite gluten free sourdough and dairy free mozzarella for this and it did NOT disappoint! I was worried it wouldn’t have that same gooey grilled cheese vibe, but the squash adds so much creaminess you don’t even miss the regular cheese. Great easy fall recipe.

2 hours ago

Oh I need to try this with dairy free cheese! I’ve been looking for more cozy fall GF meals that don’t require 100 fancy ingredients, this looks perfect.

30 minutes ago

So glad this worked for your dietary needs! The natural creaminess of the roasted squash really does help make up for any texture difference with alternative cheeses, love that you made it your own.

5 days ago

Brought this to my neighborhood fall potluck and people were lined up for seconds! I cut the sandwiches into little bite sized triangles and they were gone in 10 minutes flat. Who knew something so easy would be such a crowd pleaser?

3 days ago

I did the exact same for my block party last weekend! I put out a little dish of apple butter for dipping and everyone went crazy for the combo.

1 week ago

This was good, but I felt like it needed a little more cheese? I followed the recipe exactly but the squash overpowered the cheddar I used. Might double the cheese next time and add a little dijon to the bread for extra zing.

5 days ago

I had the same issue the first time! Switched to a sharper cheddar and added a thin layer of brie, that balanced the squash out perfectly without adding a ton more cheese.

2 days ago

Great feedback! A sharp or extra sharp cheddar does hold up better to the squash’s sweetness, and a little dijon spread on the bread is one of my go-to upgrades too, highly recommend giving that a try next time.

just now

I am literally the worst at cooking and I pulled this off without burning anything! The instructions were so straightforward, no fancy techniques or weird ingredients. Had it for dinner with a side of pickles, chef’s kiss.

3 days ago

It finally feels like fall here so I’ve been making all the squash recipes, and this is hands down my new favorite. The little bit of fresh sage with the butter on the bread? I could smell it cooking from down the hallway, my roommate came running to ask what I was making.

2 days ago

That brown butter sage smell is unbeatable, right? So glad you’re enjoying all the fall flavors with this recipe!

2 weeks ago

Made this for my teen daughter who’s been going through a huge grilled cheese phase, and she said it’s better than the fancy food truck version downtown. Win for dad! I added a drizzle of hot honey on mine, incredible combo.

1 week ago

Hot honey is a non-negotiable for me on this now! The sweet-spicy kick with the squash and melty cheese is insane, can’t believe I didn’t think of that first.

5 days ago

I work at an elementary school and tested this recipe out for our hot lunch special last week, and even the pickiest eaters came back for seconds! We paired it with a side of apple slices and it was the most popular lunch item we’ve served all month.

3 days ago

I volunteered that day! I swear even the teachers were going back for extra, it was so good. I brought the recipe home to make for my own kids that weekend.

2 days ago

That makes me so happy to hear! It’s such a thrill when a recipe works for both kids and adults, especially in a school lunch setting. Thanks for sharing!

2 days ago

This is so budget friendly! I had a leftover butternut squash from my CSA box, a loaf of cheap bread, and some cheese I already had in the fridge, and it made 4 filling servings for under $5 total. Way cheaper than takeout and way tastier.

yesterday

Love that you used what you already had on hand! This recipe is perfect for using up leftover squash or odds and ends of cheese from the fridge, so glad it fit your budget.

1 week ago

Made this for a casual date night in with my partner and they were super impressed! We paired it with a crisp hard cider and it was the perfect cozy low-effort meal. Only knock is I wish I’d made a little more, we were both fighting over the last bite.

yesterday

Leftovers of this are SO good the next day! I was worried the bread would get soggy but I stored the leftover sandwiches in an airtight container and crisped them up in the toaster oven for lunch, tasted just as good as night one. 10/10 for meal prep and leftovers.



