
Camas (Native)
intro
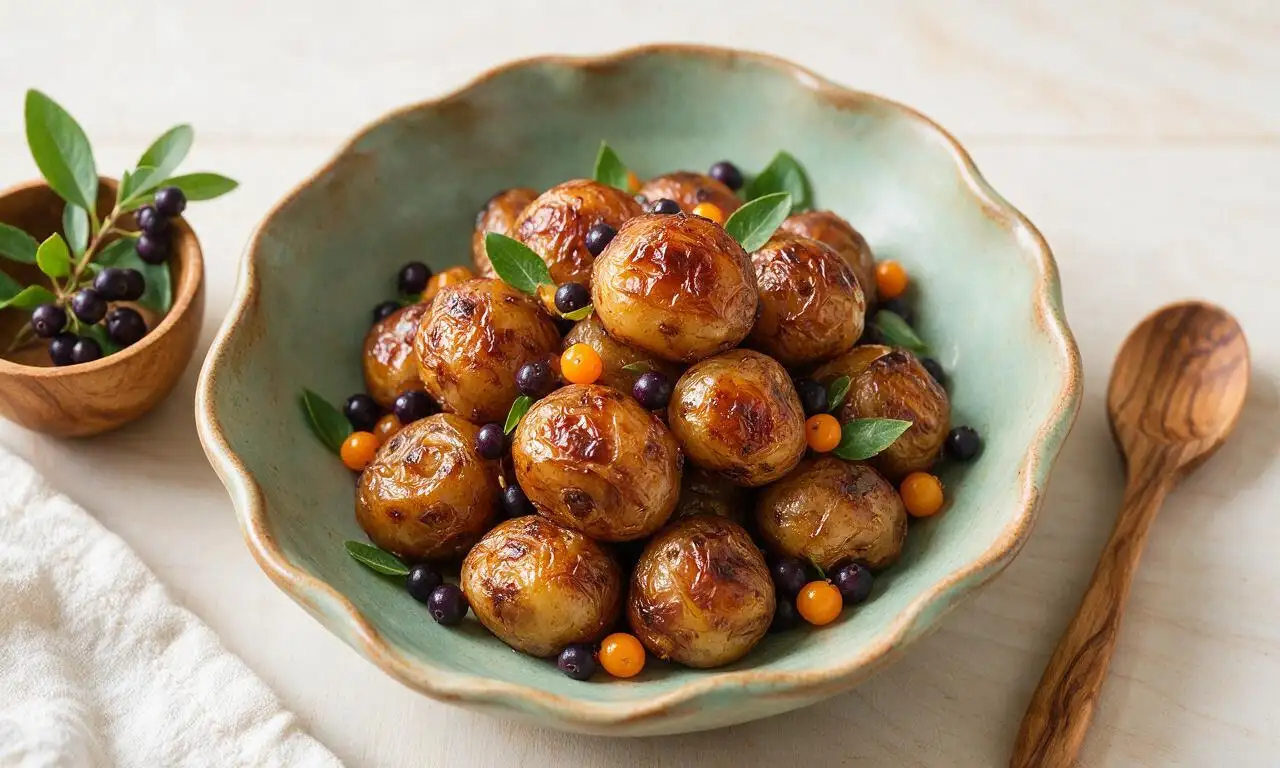
A sweet, earthy traditional staple of Pacific Northwest Indigenous communities, slow-roasted for tender, caramelized, chestnut-like texture and flavor.
Ingredients
Steps
Prep camas bulbs
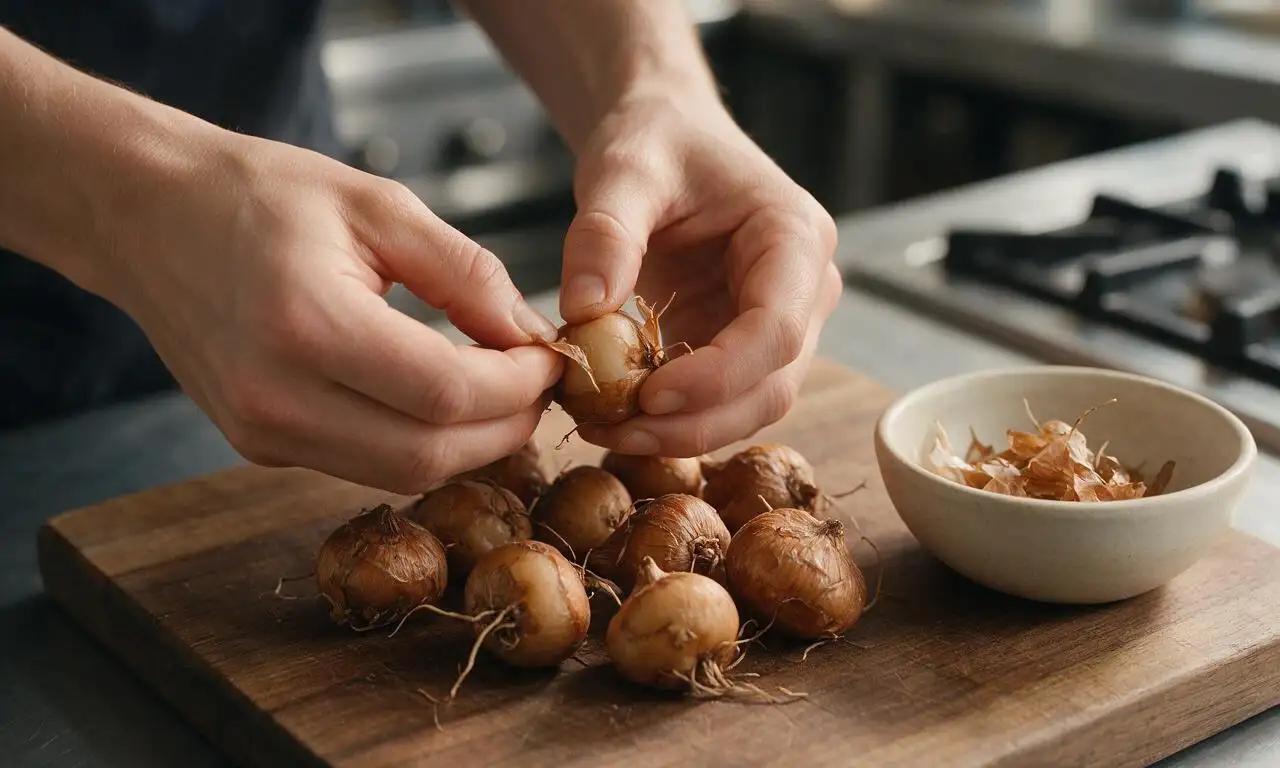
First, carefully sort bulbs to discard any soft, moldy, or toxic death camas bulbs (key identification note: edible camas produces distinct blue/purple flowers, while toxic lookalike death camas has white flowers). Trim fibrous roots and papery outer skins from 450g fresh edible camas bulbs, rinse under cool running water to remove all clinging soil, then pat fully dry with paper towels, about 15 minutes of prep time.
Preheat Dutch oven
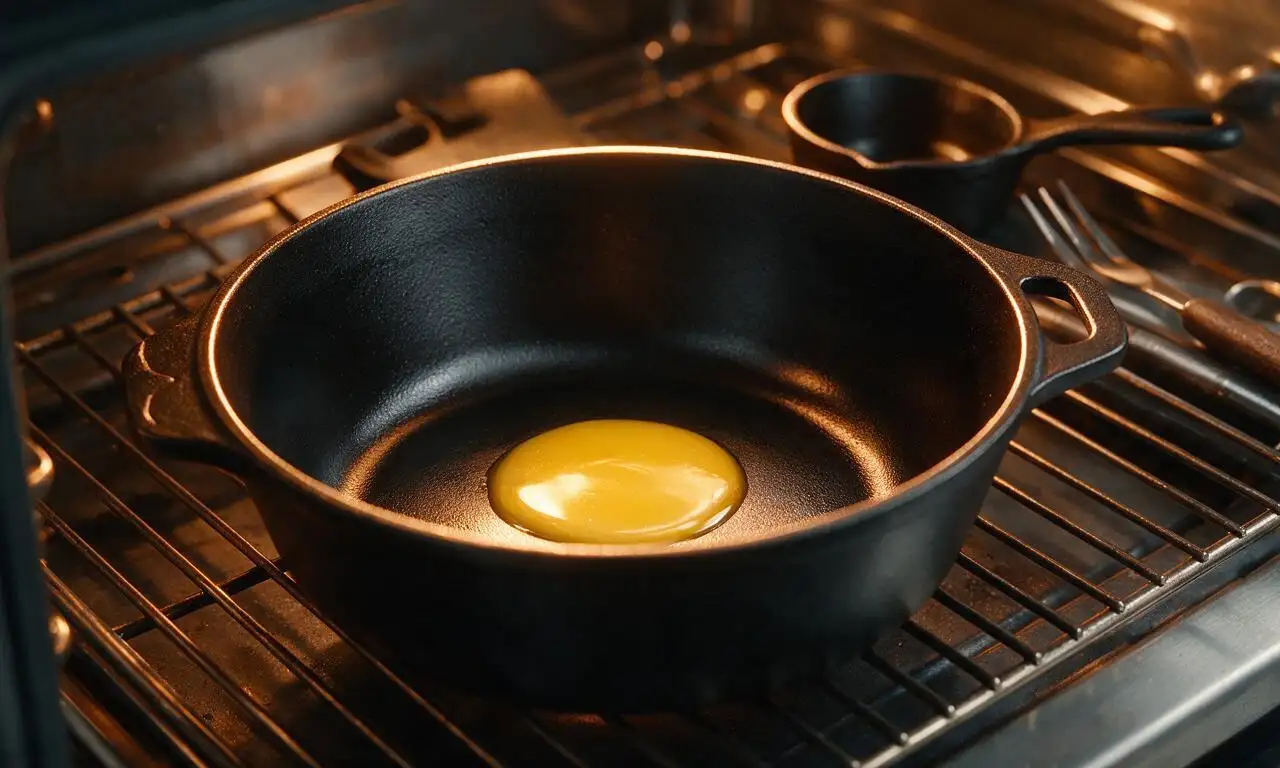
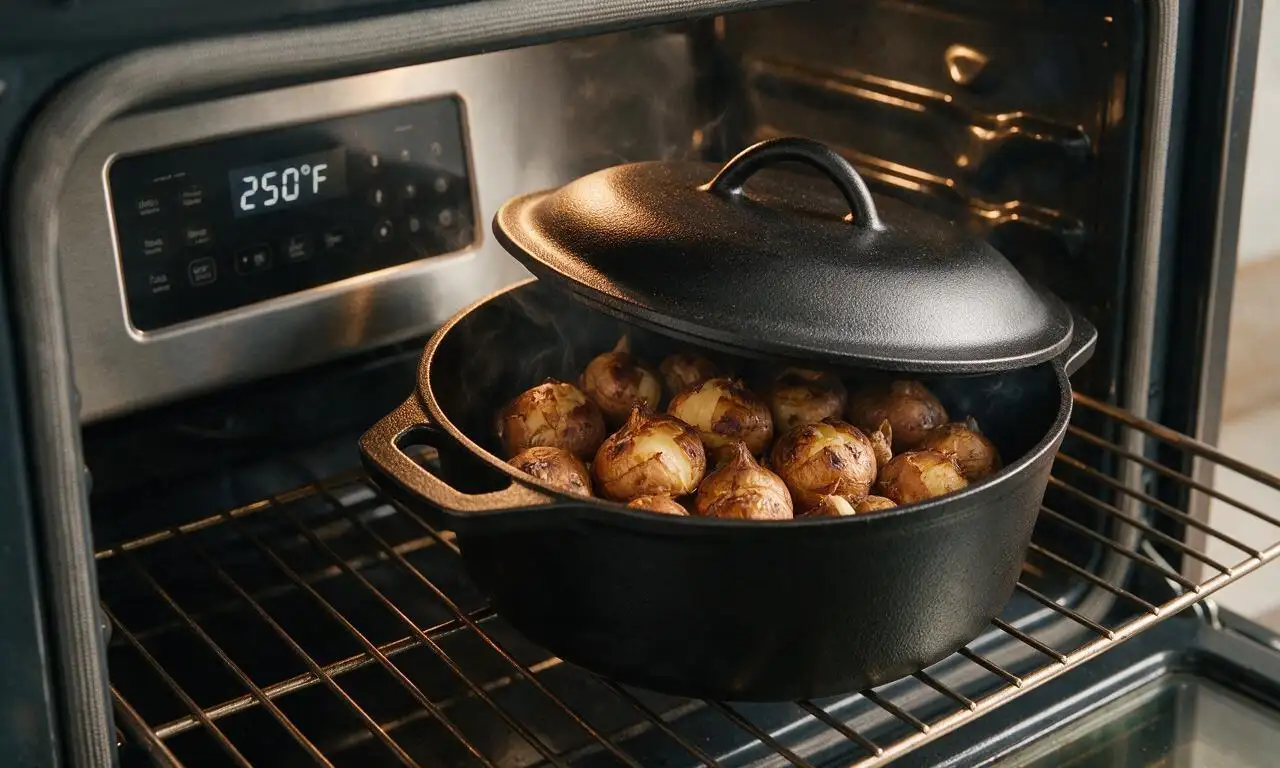
Place a 3.5L (3.7 quart) lidded cast iron Dutch oven on the middle rack of your home oven, then preheat the oven to 120°C (250°F). Add 30g unsalted butter to the pot to melt fully as the oven comes to temperature, about 8 minutes.
Season the bulbs
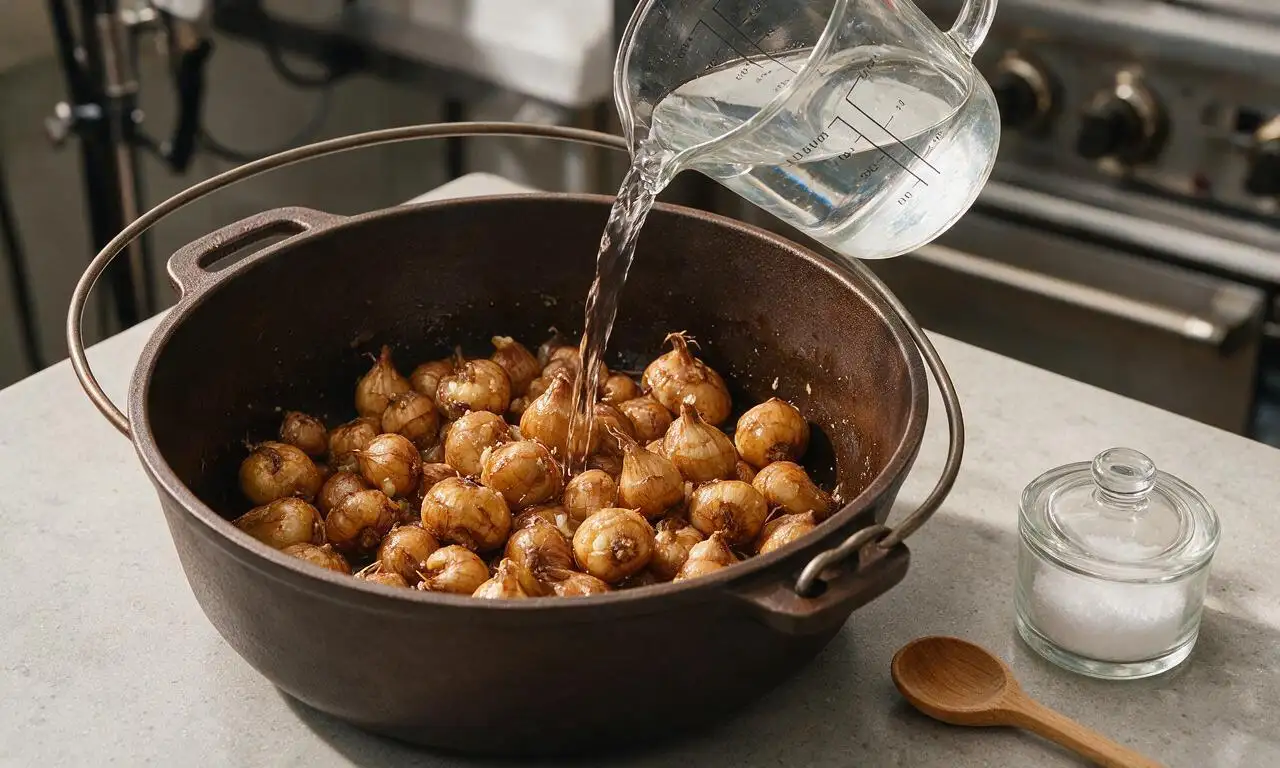
Carefully pull the oven rack out slightly and use heat-resistant oven mitts to remove the Dutch oven. Add the dried, trimmed camas bulbs to the pot, toss with a wooden spoon to coat every bulb fully in melted butter, then sprinkle evenly with 2g fine sea salt. Pour 240ml filtered water along the inner edge of the pot to create steam during cooking, avoiding pouring directly over the bulbs to prevent washing off salt.
Slow roast bulbs
Seal the Dutch oven tightly with its heavy lid, pressing firmly to ensure no steam can escape, then push the oven rack back in and close the oven door. Roast undisturbed at 120°C (250°F) for 2.5 hours; do not open the oven door or lift the lid during this time, as lost steam will lower the pot temperature and lead to tough, bitter bulbs with undigested inulin that can cause stomach upset.
Test for doneness
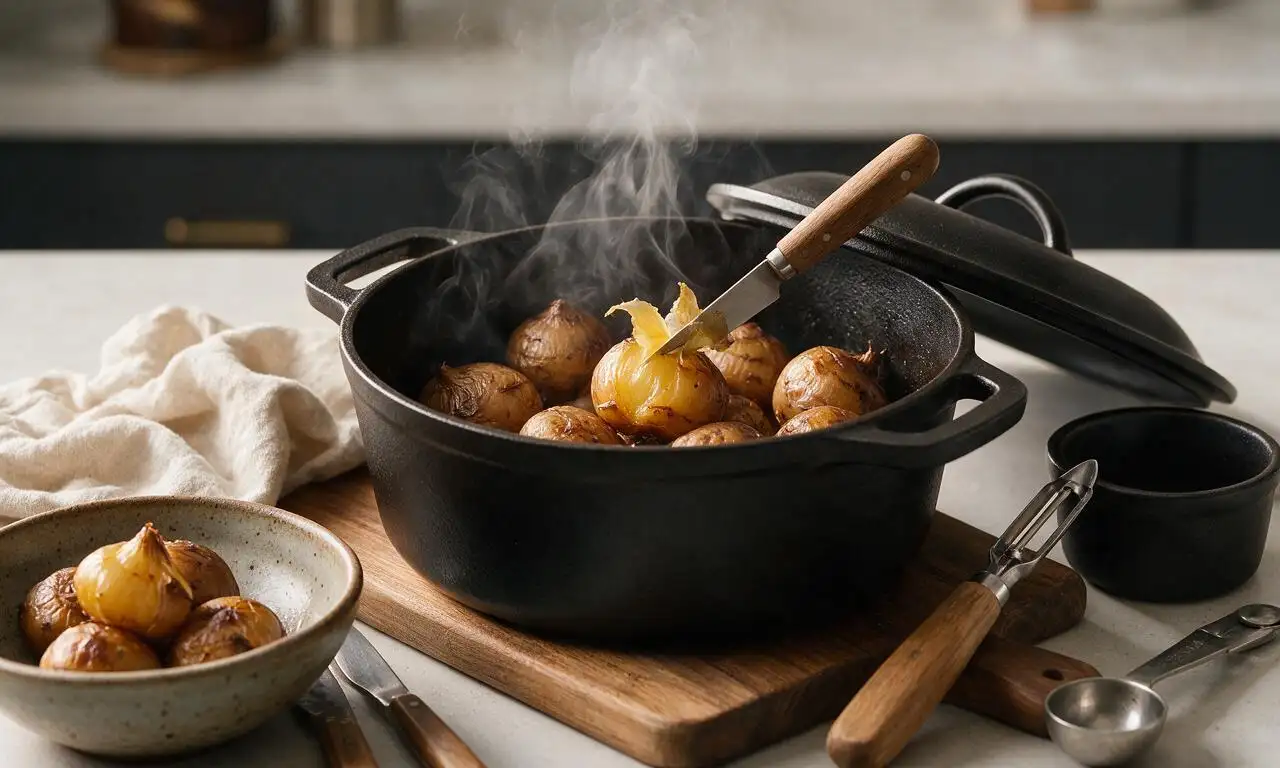
After 2.5 hours, put on oven mitts, carefully lift the Dutch oven lid (angle it away from your face to avoid burns from rushing steam), and pierce the largest bulb with a thin paring knife. The knife should slide through the bulb with zero resistance, and the interior flesh should be translucent deep golden yellow, soft like a fully roasted sweet potato. If the bulb feels firm, re-seal the lid and roast for an additional 20 minutes before re-testing.
Rest and serve
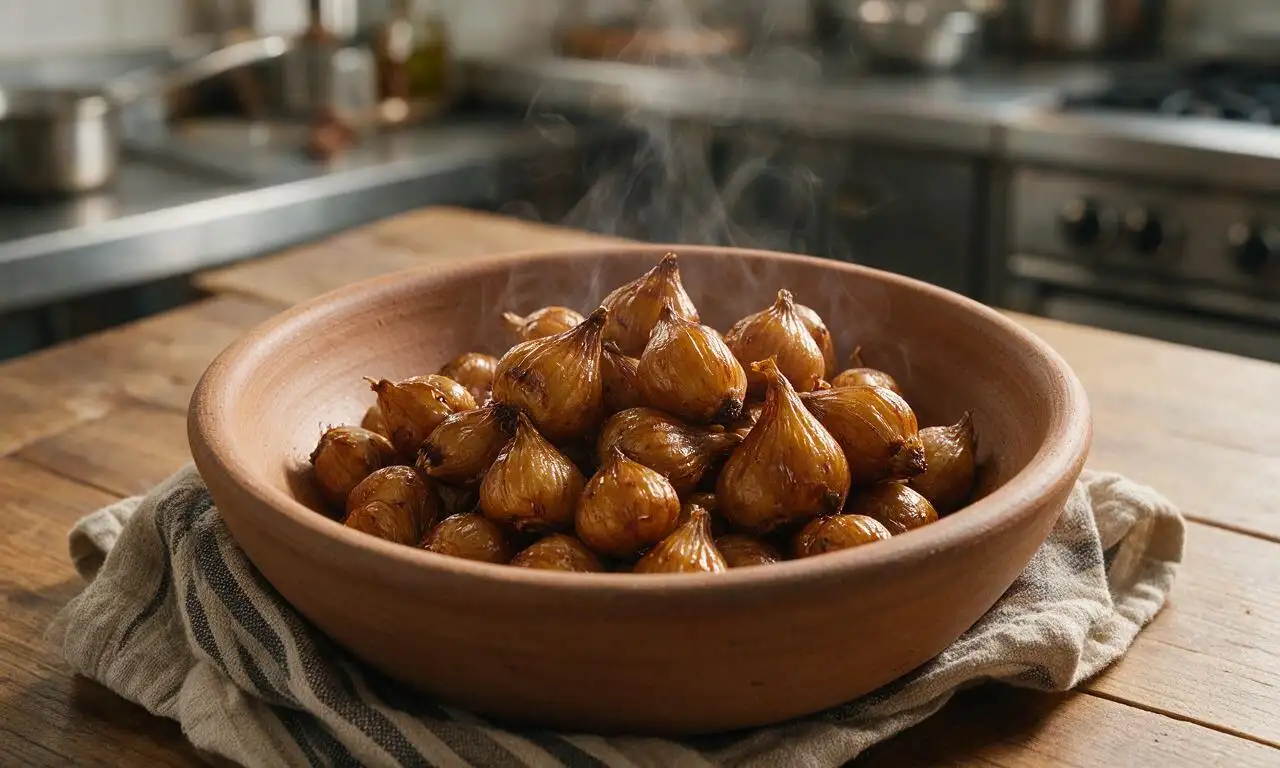
Once all bulbs are fully tender, turn off the oven heat, prop the Dutch oven lid 2cm (1 inch) ajar with a wooden spoon, and let the camas rest in the warm oven for 10 minutes to allow natural sugars to caramelize lightly on the bulb surfaces. Serve warm as a starchy side dish.
Tips
2.Low, slow, moist cooking is non-negotiable: camas is high in indigestible inulin that breaks down into sweet, easily digested fructose only after 2+ hours of steady low-heat steam cooking; high heat will burn the bulb exterior before the interior is safe and pleasant to eat.
3.For a fully traditional preparation, replace the butter with rendered bear fat, or cook bulbs in an underground pit roast lined with skunk cabbage leaves for an authentic earthy flavor.






OMG I made these for our annual Indigenous foods potluck last weekend and everyone was raving! I was a little nervous because I’d only ever had camas prepared by my grandma growing up, but the slow roast method made them so sweet and caramelized, just like I remember. Game changer for introducing my kids to traditional foods too—they asked for seconds!
I’ll admit I was skeptical about roasting bulbs for 3 hours, but man was it worth it! These have a sweet, almost chestnut-like flavor that paired so well with the smoked brisket I made for Sunday dinner. My whole family was confused at first but ended up polishing off the whole pan. SO good.
Added these to my weekly meal prep rotation! I tossed them with a little olive oil, salt, and fresh thyme before roasting and they hold up perfectly in the fridge for up to 4 days. Great complex carb swap for potatoes if you’re looking to mix things up.
Took me a minute to track down the bulbs, but once I did this recipe was straightforward even with the long cook time. Only thing I’d note is that my oven runs hot, so I had to turn it down 25 degrees to keep them from burning on the bottom at the 2 hour mark. Flavor was incredible though!
Made these for my grandkids when they came to visit last week! I told them it was a special traditional treat that people have been making for hundreds of years, and they thought that was the coolest thing. They kept saying the bulbs taste like sweet, soft candy. 10/10 will make again for family dinners.
I tried making these after a backpacking trip where we learned about camas bulbs from a park ranger, and this recipe was exactly what I was hoping for! Rich, earthy, slightly sweet, and super filling. Perfect side for post-hike meals.
Medium difficulty is no joke, y’all! I messed up the first batch because I didn’t peel the bulbs properly and they had a weird bitter edge, but the second batch came out perfect. Don’t skip the peeling step even if it feels tedious!
Hosted a Native American heritage month dinner at my apartment last month and served these as the star side, and people are still texting me asking for the recipe! I paired them with roasted squash, wild rice, and cedar-planked salmon, and the whole spread was chef’s kiss.
I tried growing camas in my native plant garden a couple years ago and finally had enough bulbs to harvest this year! Used this recipe to roast my first batch and it felt so rewarding to eat something I grew from seed, prepared the traditional way. Absolutely delicious.
Wait, is there a way to make this in a slow cooker? My oven has been on the fritz for a week and I don’t want to wait to fix it to try these! They look so good.
Brought these to my neighborhood block party last weekend and I swear half the block asked where I got the recipe. People couldn’t believe they were just roasted bulbs—everyone thought they were some fancy gourmet side I’d spent all day on. Little did they know most of the cook time is just hands-off roasting!
Tried making these in a cast iron Dutch oven over the campfire last weekend instead of in the house oven, and it worked like a charm! Took about the same 3 hours, and the smoke from the fire added the best extra layer of flavor. Highly recommend trying that method if you’re camping.
So glad I found this recipe! I have a ton of food sensitivities and these are totally gluten free, dairy free, nut free, you name it—perfect for bringing to potlucks where I don’t know everyone’s dietary needs. The only change I made was adding a sprinkle of smoked paprika at the end for a little kick.
Made these for brunch this past weekend and served them with fried eggs and hot honey, and it might be my new favorite weekend meal. The sweet, soft bulbs pair so perfectly with runny yolk and a little spicy kick from the honey. 10/10 would make again.
I’ve been curious about camas for years but never got around to cooking it, and this recipe made it so approachable! The cook time is long but it’s totally inactive, so I just threw them in the oven while I did laundry and caught up on shows, no fuss at all. Will be making again.
These are such a great nutrient-dense carb option! I love that they’re a traditional food with so much cultural history too, instead of the same old roasted veggies I make every week. My clients are always asking for new side ideas and I’ve already sent this recipe to three of them.
As an Indigenous cook from the Coast Salish region, I’m always happy to see traditional recipes shared respectfully and accurately! This roasting method is exactly how my elders taught me to prepare camas, and it makes me so happy to see folks making it at home and sharing it with their families.
I burned the first batch because I got wrapped up watching a football game and forgot to set a timer, oops. The second batch I set three timers and they came out perfect! Sweet, creamy, almost like a roasted sweet potato but nuttier. Don’t be like me, set those timers, folks!
My kids loved it! I was worried the texture would be weird for them since they’re used to regular potato sides, but they ate every last bite and asked if we could have “those sweet onion-looking things” again next week. Win for mom!