
Celery and Onion Stuffing

title 1
Celery and Onion Stuffing
⏱️ cook time 40 minutes
🍽️ servings 8
⚡ Difficulty easy

intro

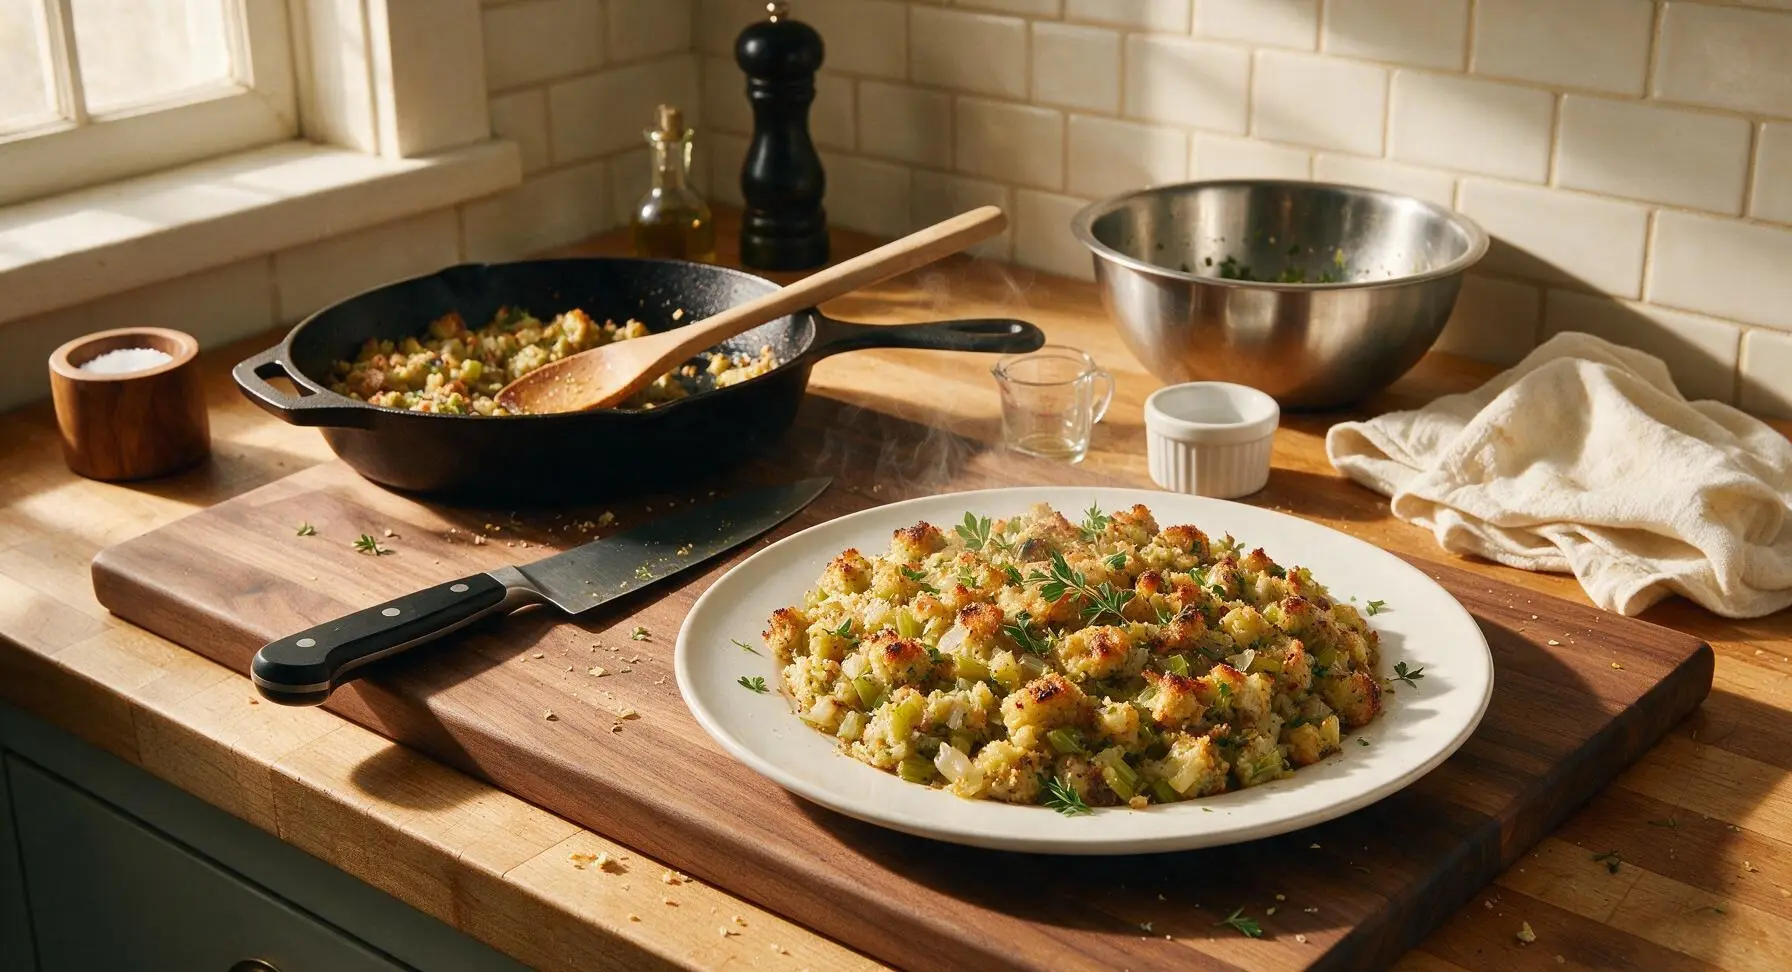
Warm, herby celery and onion stuffing with soft custardy centers and crisp golden edges— the iconic cozy Thanksgiving side perfect for pairing with roast turkey and gravy.

Ingredients
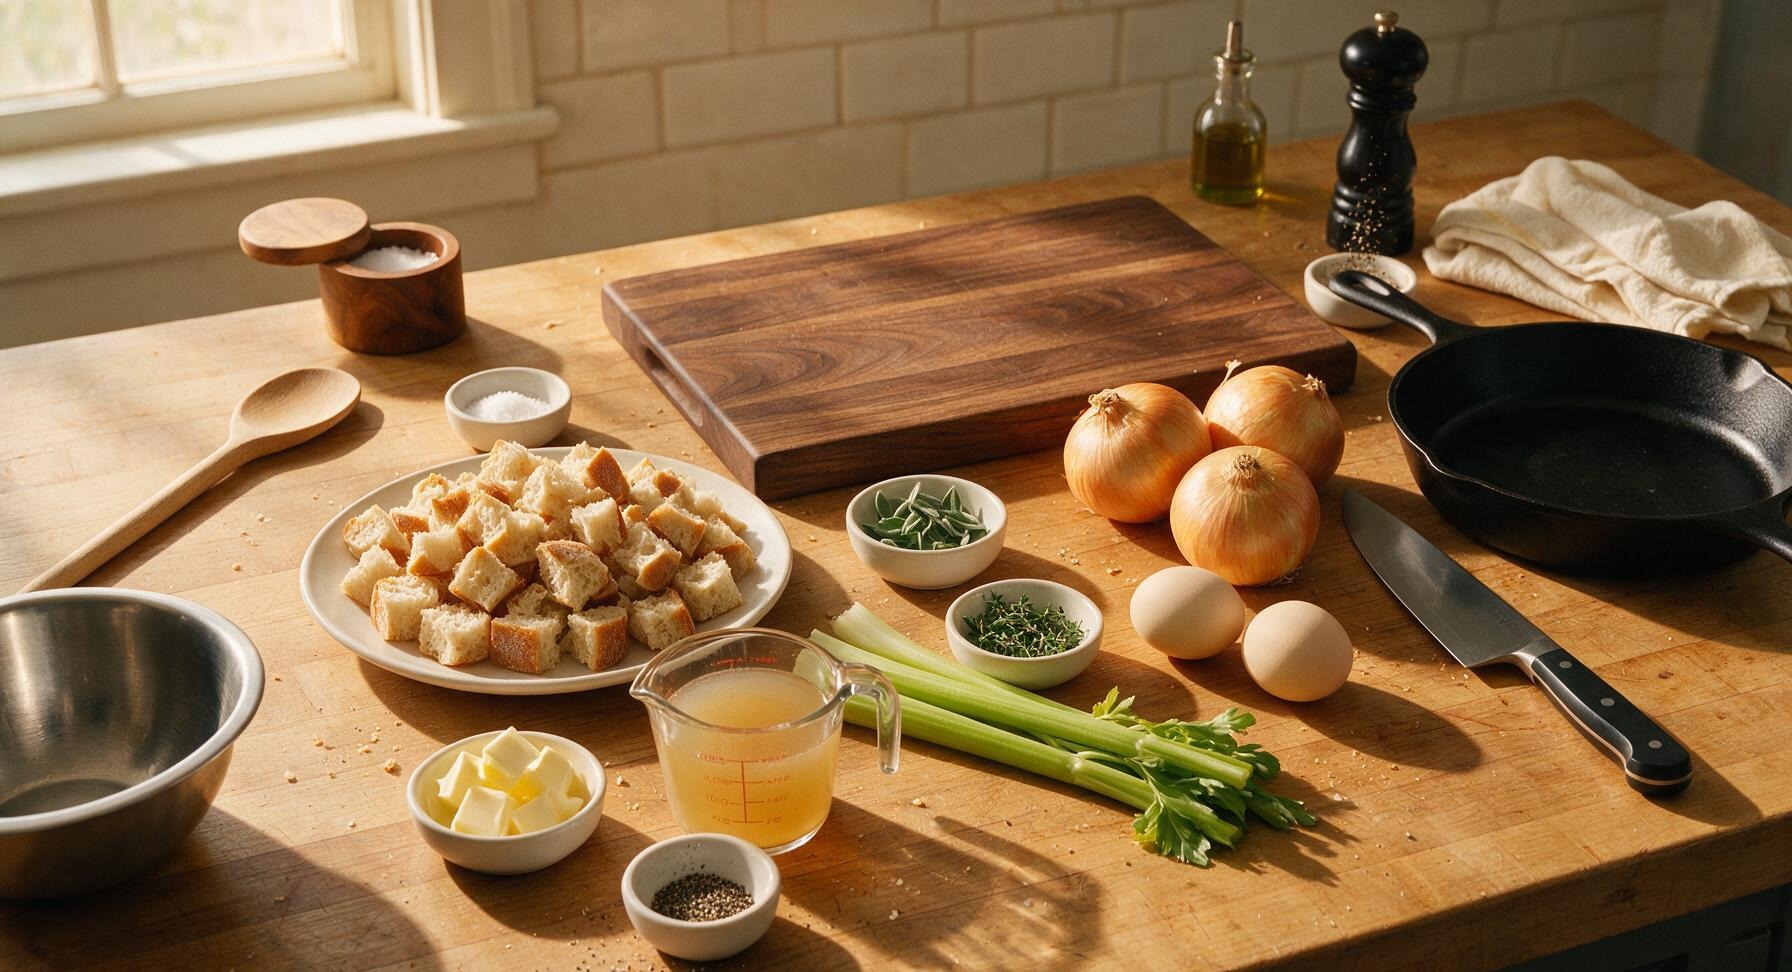
Day-old crusty white bread 450g (1 large loaf)
Yellow onion 300g (2 large)
Celery stalks 200g (4 large)
Unsalted butter 113g (1 stick)
Low-sodium chicken broth 480ml (2 cups)
Large eggs 2 (about 100g total)
Fresh sage 2 tablespoons (chopped, ~10 leaves)
Fresh thyme 1 tablespoon (picked leaves, ~6 sprigs)
Kosher salt 1.5 teaspoons
Freshly ground black pepper 1 teaspoon

Steps

1

Cube the Day-Old Bread

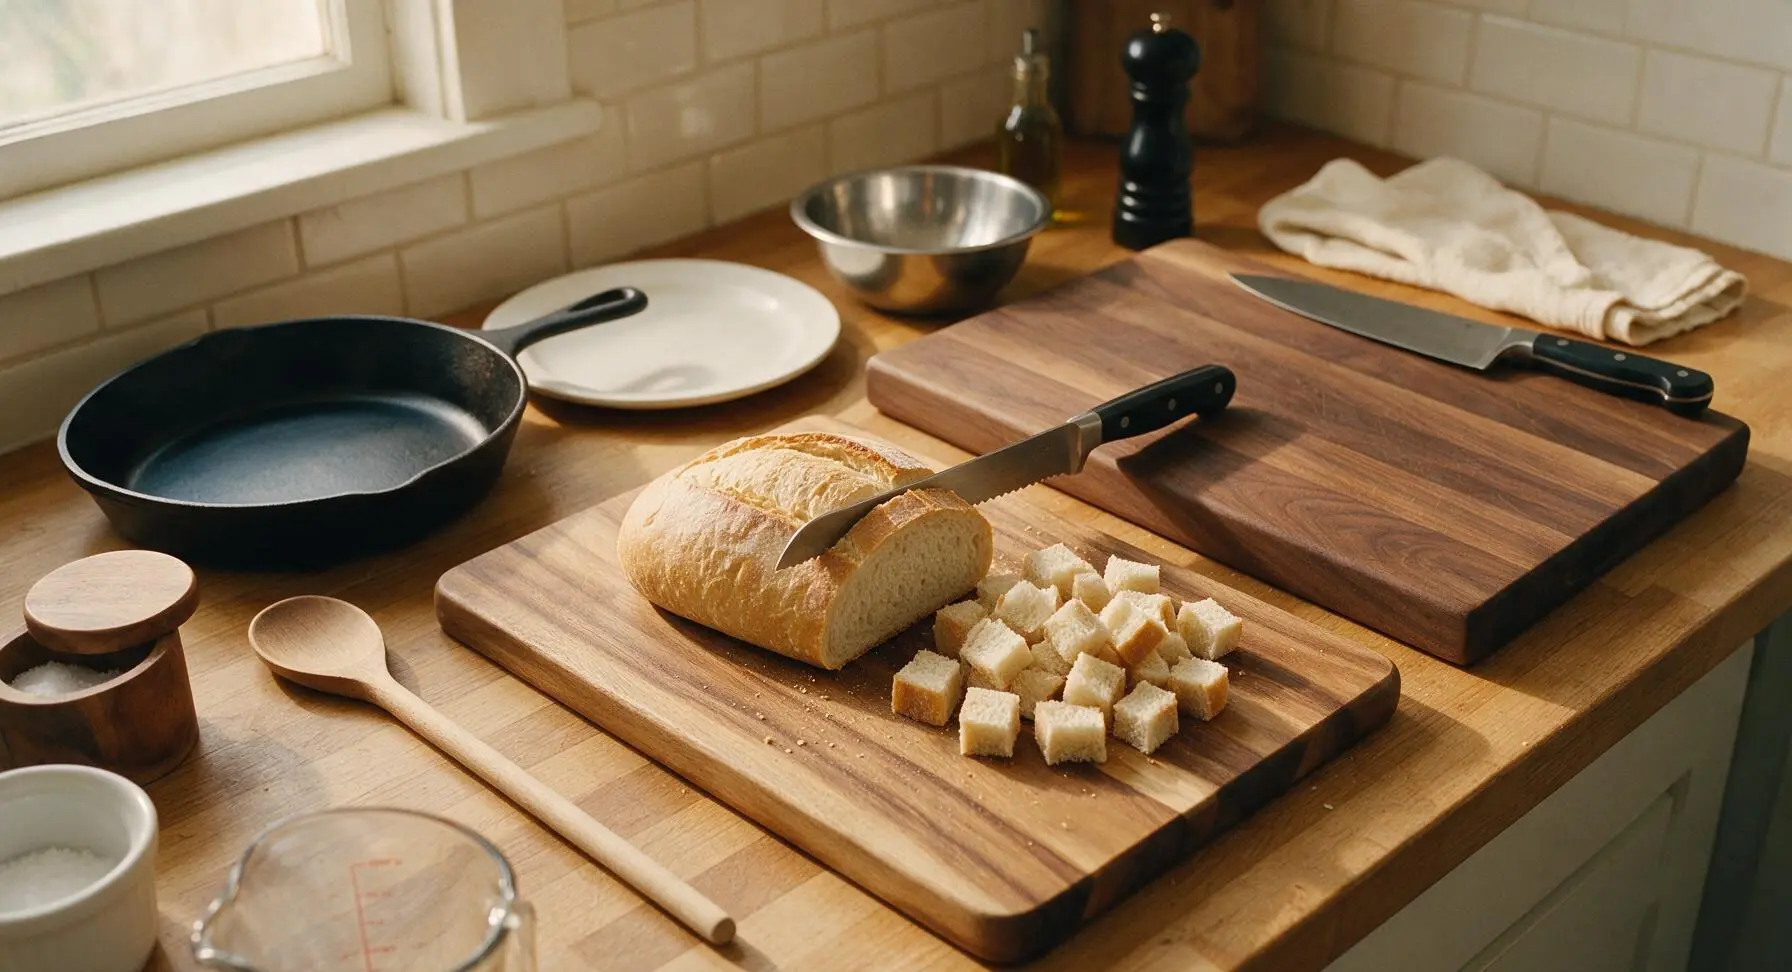
Place the day-old crusty white bread on the acacia wood cutting board. Using the serrated bread knife, cut the loaf into uniform ½-inch cubes, discarding any overly hard, dry crust edges if preferred. Spread the cubes across the base of the large stainless steel mixing bowl and let them air dry for 10 minutes while you prep vegetables; properly dried cubes will feel slightly firm to the touch with no soft, pillowy fresh-bread centers.
Step 1
step1:Cube the Day-Old Bread
2

Chop Celery and Onion

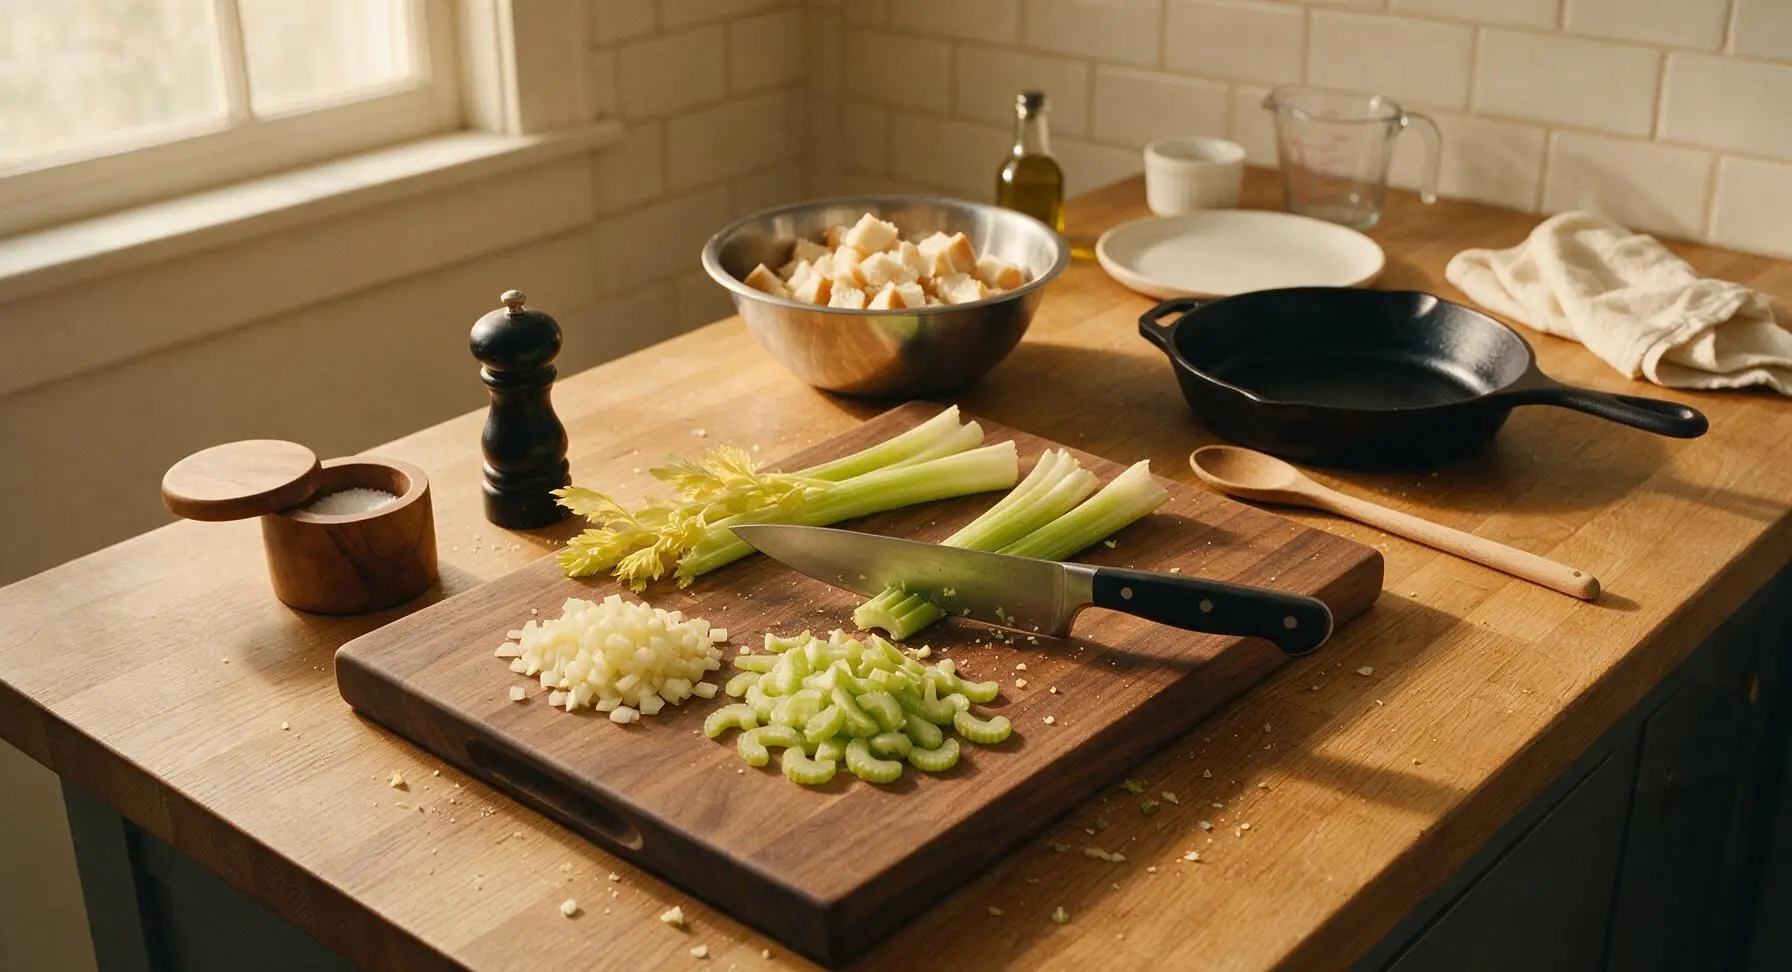
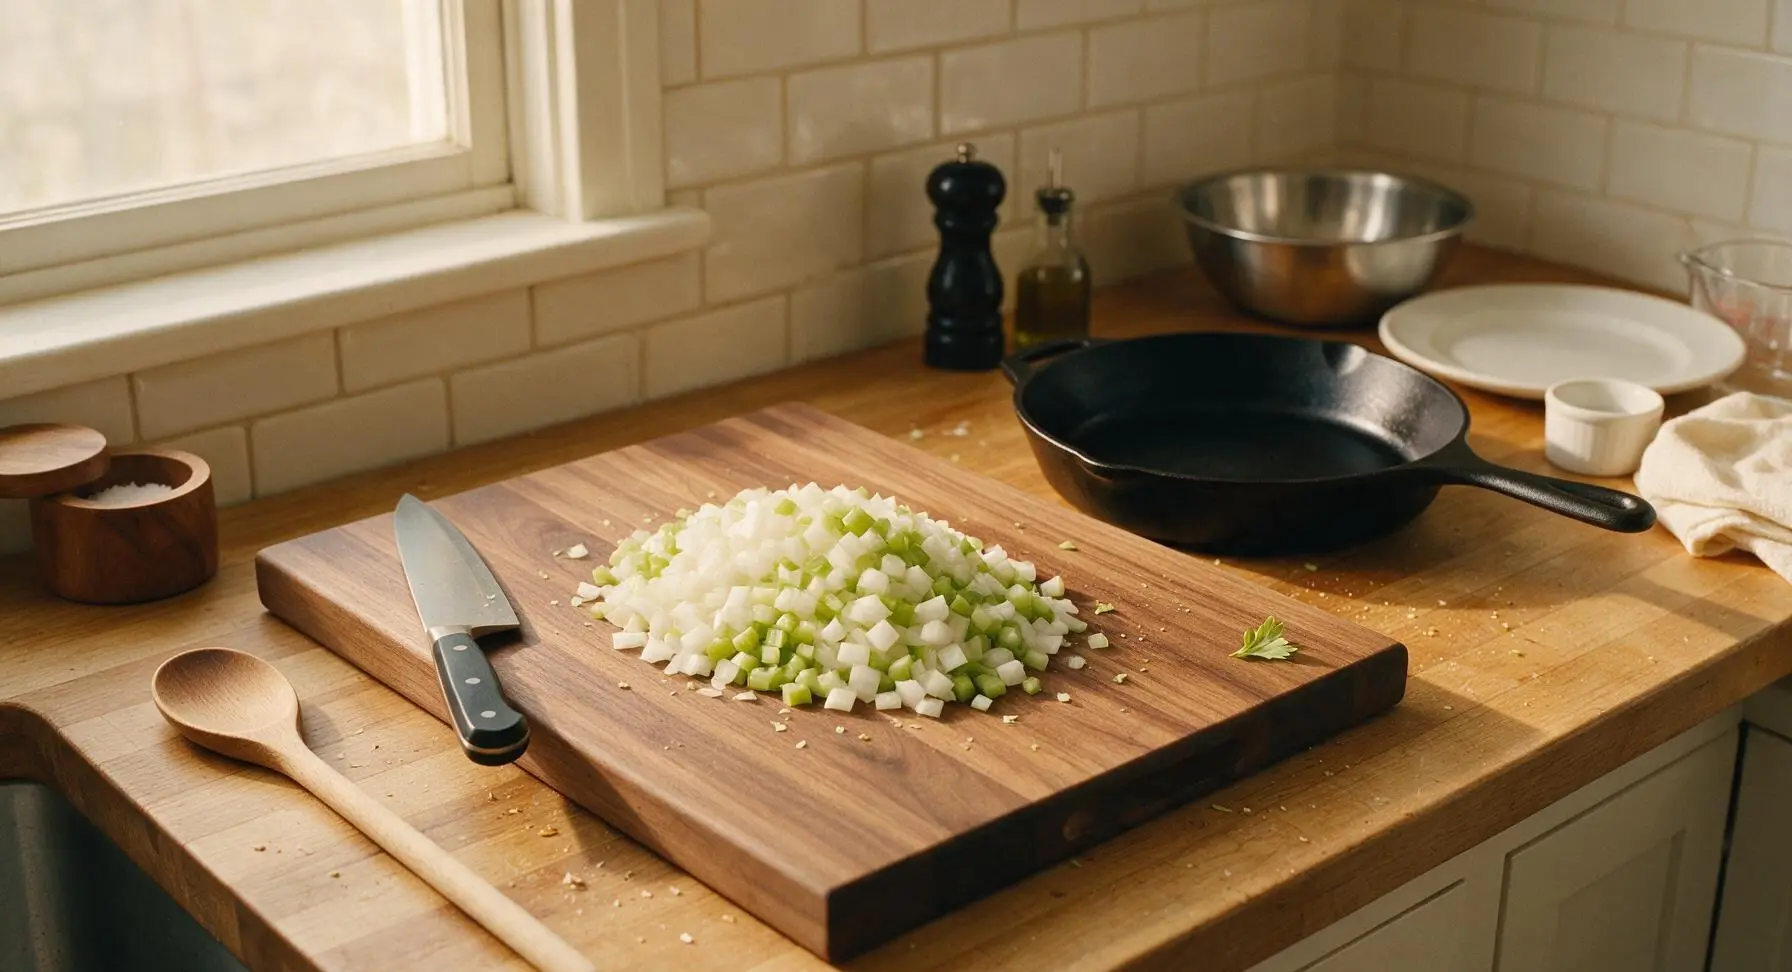
Peel the yellow onions and trim the woody root ends and leafy tops from the celery stalks. Using the 8-inch chef knife on the acacia cutting board, dice the onions into uniform ¼-inch pieces, and slice the celery into ¼-inch thick half-moons. You will end up with roughly 3 cups of combined chopped vegetables, with equal parts onion and celery. Pull out and discard any tough, stringy celery fibers as you work.
Step 2
step2:Chop Celery and Onion
Step 2
step2:Chop Celery and Onion
3

Sauté Veggies and Herbs

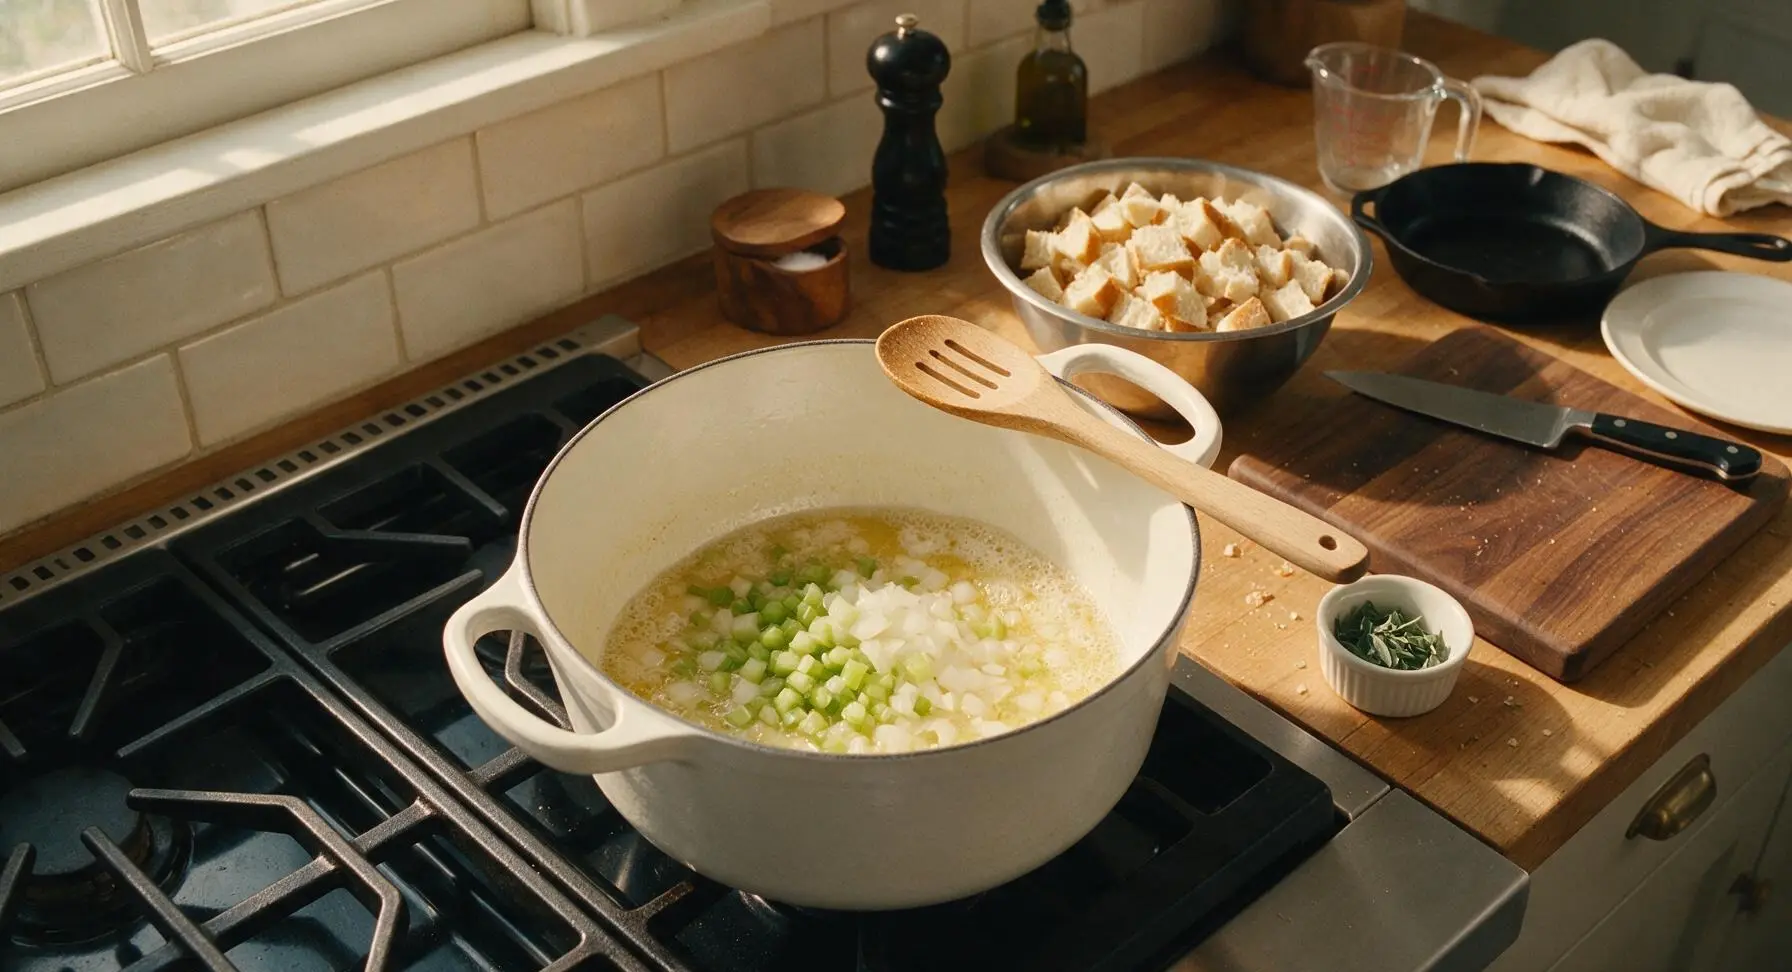
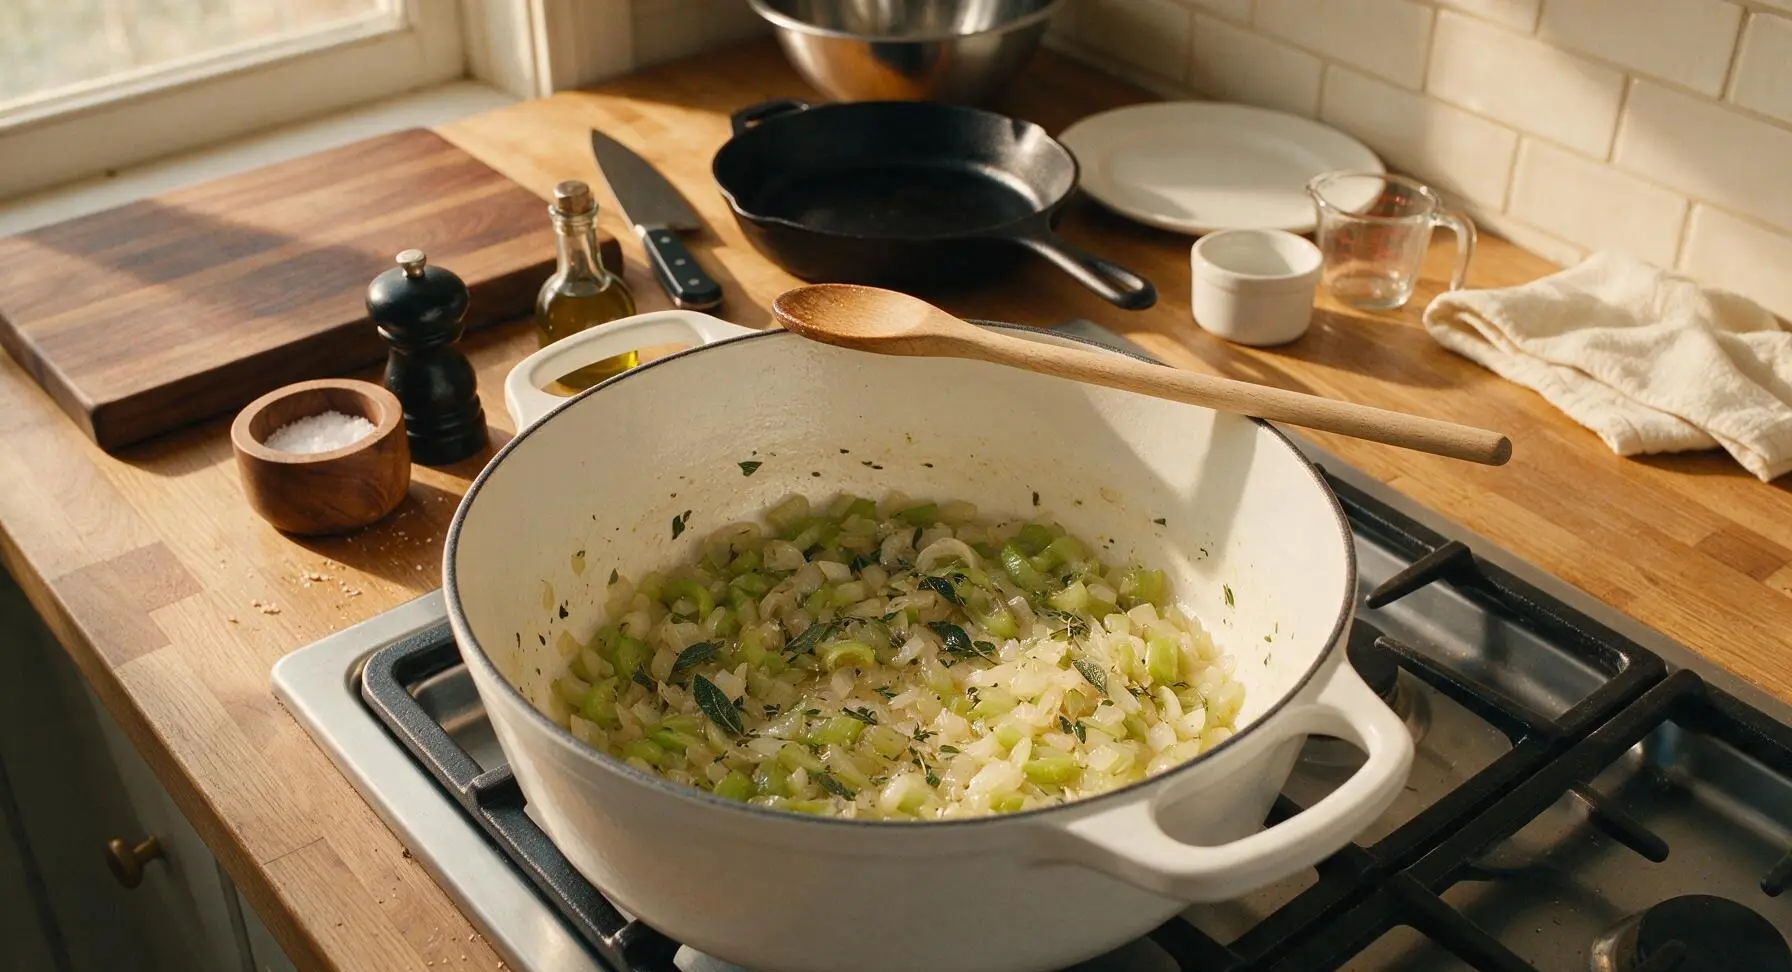
Place the 10-inch matte white enameled cast iron Dutch oven on the stovetop over medium heat (350°F/175°C). Add the full stick of unsalted butter and let it melt until foamy, then add the chopped celery and onion. Sauté for 8-10 minutes, stirring occasionally with the beech wood slotted spoon, until the vegetables are soft and translucent, with onion edges just starting to turn pale golden. Add the chopped fresh sage, picked thyme leaves, kosher salt, and black pepper, and cook for 1 additional minute until the herbs release a bright, earthy aroma.
Step 3
step3:Sauté Veggies and Herbs
Step 3
step3:Sauté Veggies and Herbs
4

Mix Custard Base

In the clear glass 2-cup measuring cup, crack the 2 large eggs and whisk gently with the stainless steel wire whisk until yolks and whites are fully combined with no pale streaks. Slowly pour in the 2 cups of low-sodium chicken broth, whisking constantly to create a smooth, uniform custard base. Do not whip the mixture to a froth, as this will create air pockets that lead to uneven baking.

Step 4
step4:Mix Custard Base
5

Combine All Ingredients

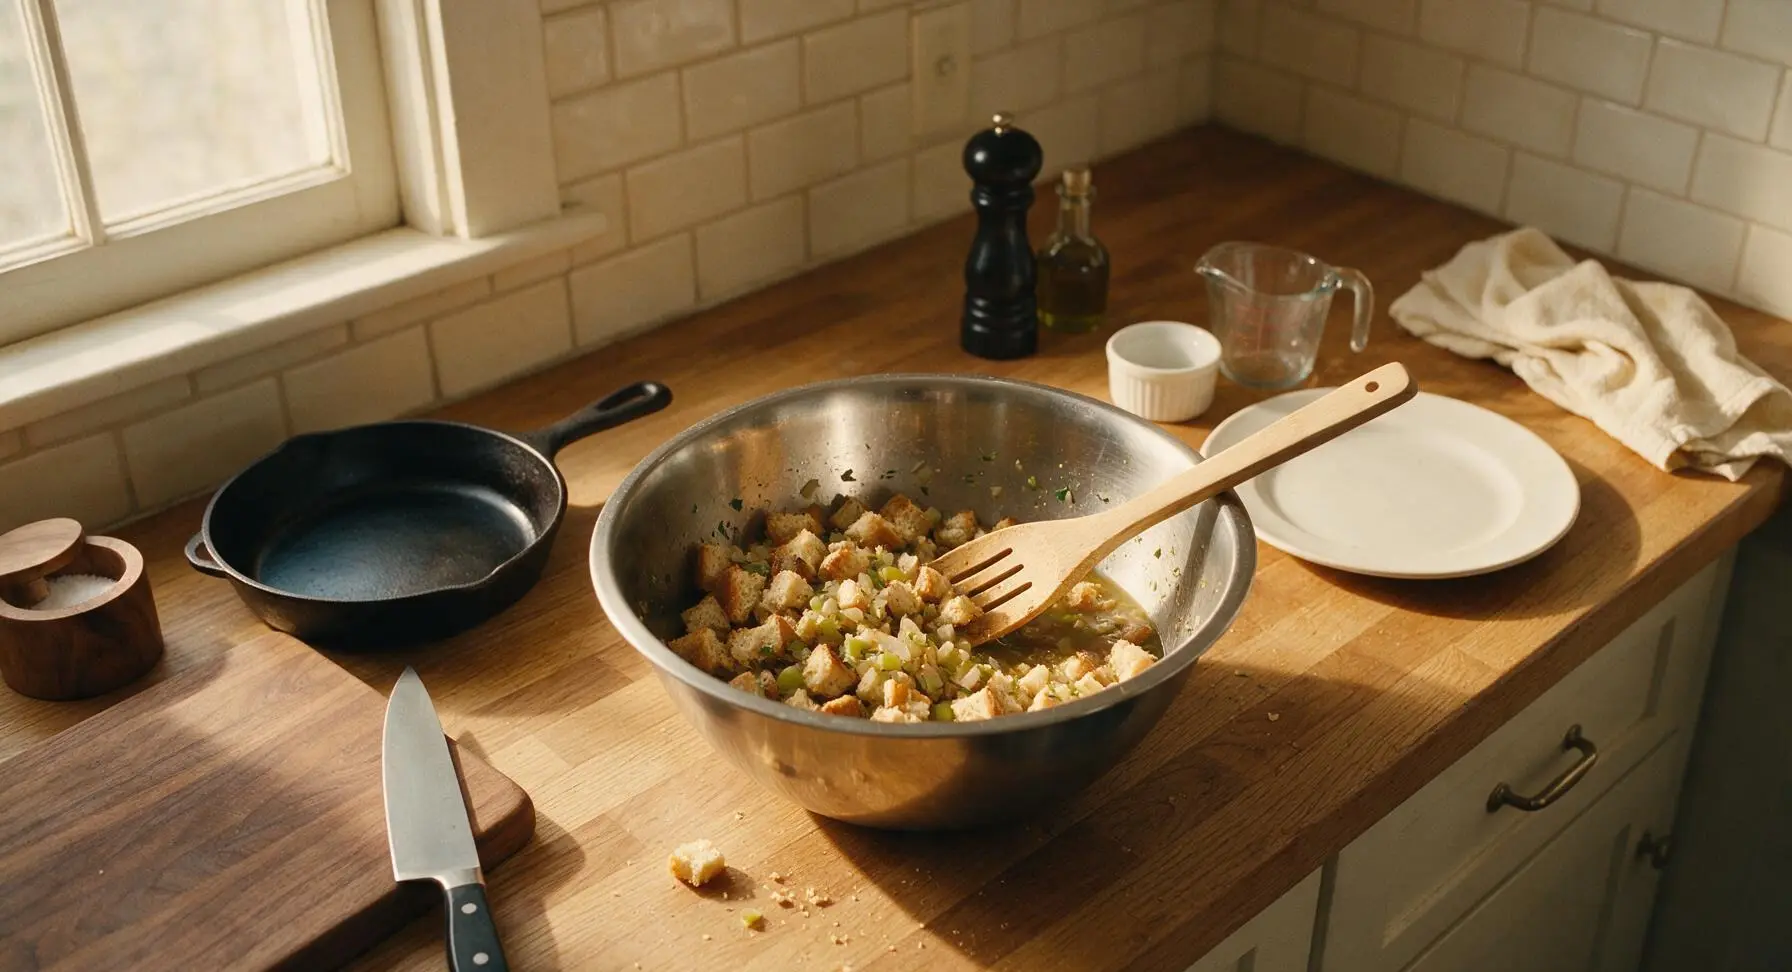
Pour the warm sautéed celery, onion, and herb mixture (including all melted butter from the Dutch oven) over the dried bread cubes in the large stainless steel mixing bowl. Toss gently with the slotted wooden spoon to evenly distribute vegetables through the bread. Slowly drizzle the egg and broth mixture over the bread while tossing, until every bread cube is lightly moistened but not soggy; reserve 2-3 tablespoons of broth if your bread is extra dry to avoid mushy stuffing. Let the mixture rest for 5 minutes so bread absorbs the liquid evenly.
Step 5
step5:Combine All Ingredients
6

Fill Baking Dish

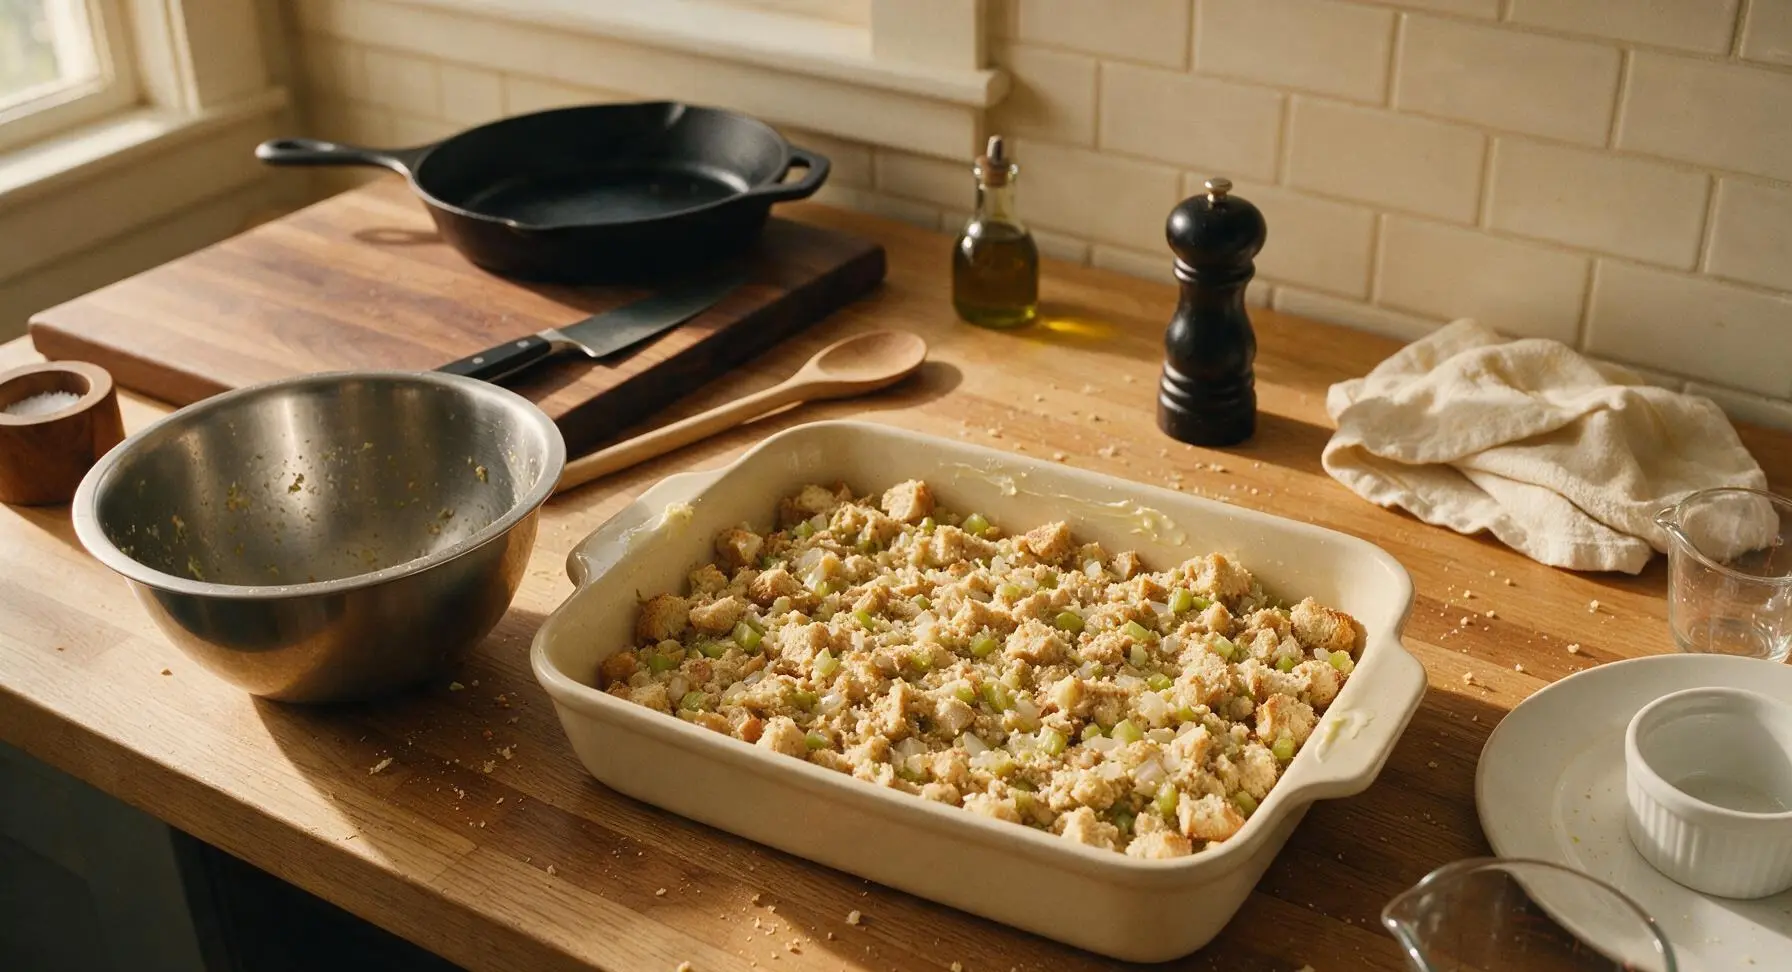
Lightly grease the interior of the 9x13 inch matte cream ceramic baking dish with a small pat of butter to prevent sticking. Transfer the moistened stuffing mixture from the mixing bowl into the baking dish, spreading it into an even layer with the back of the wooden spoon. Do not press the mixture down firmly, as compaction creates a dense, heavy stuffing; keep it loosely packed for a light, fluffy texture with crisp edges.
Step 6
step6:Fill Baking Dish
7

Bake Until Golden

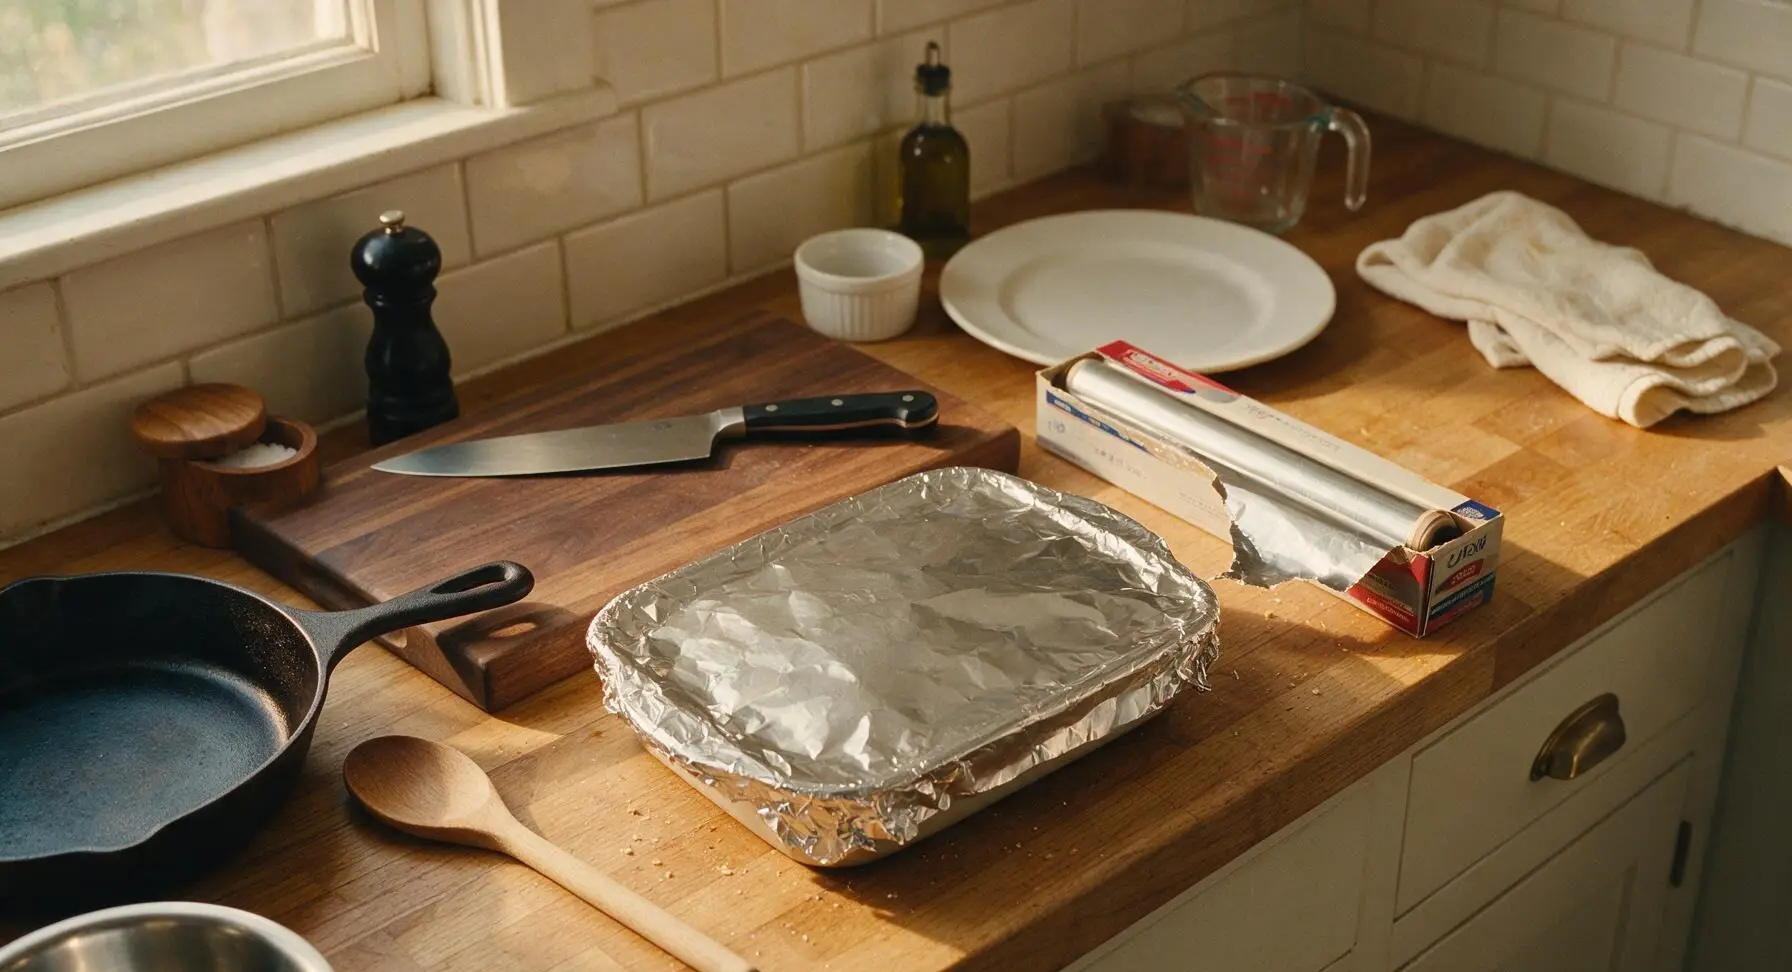
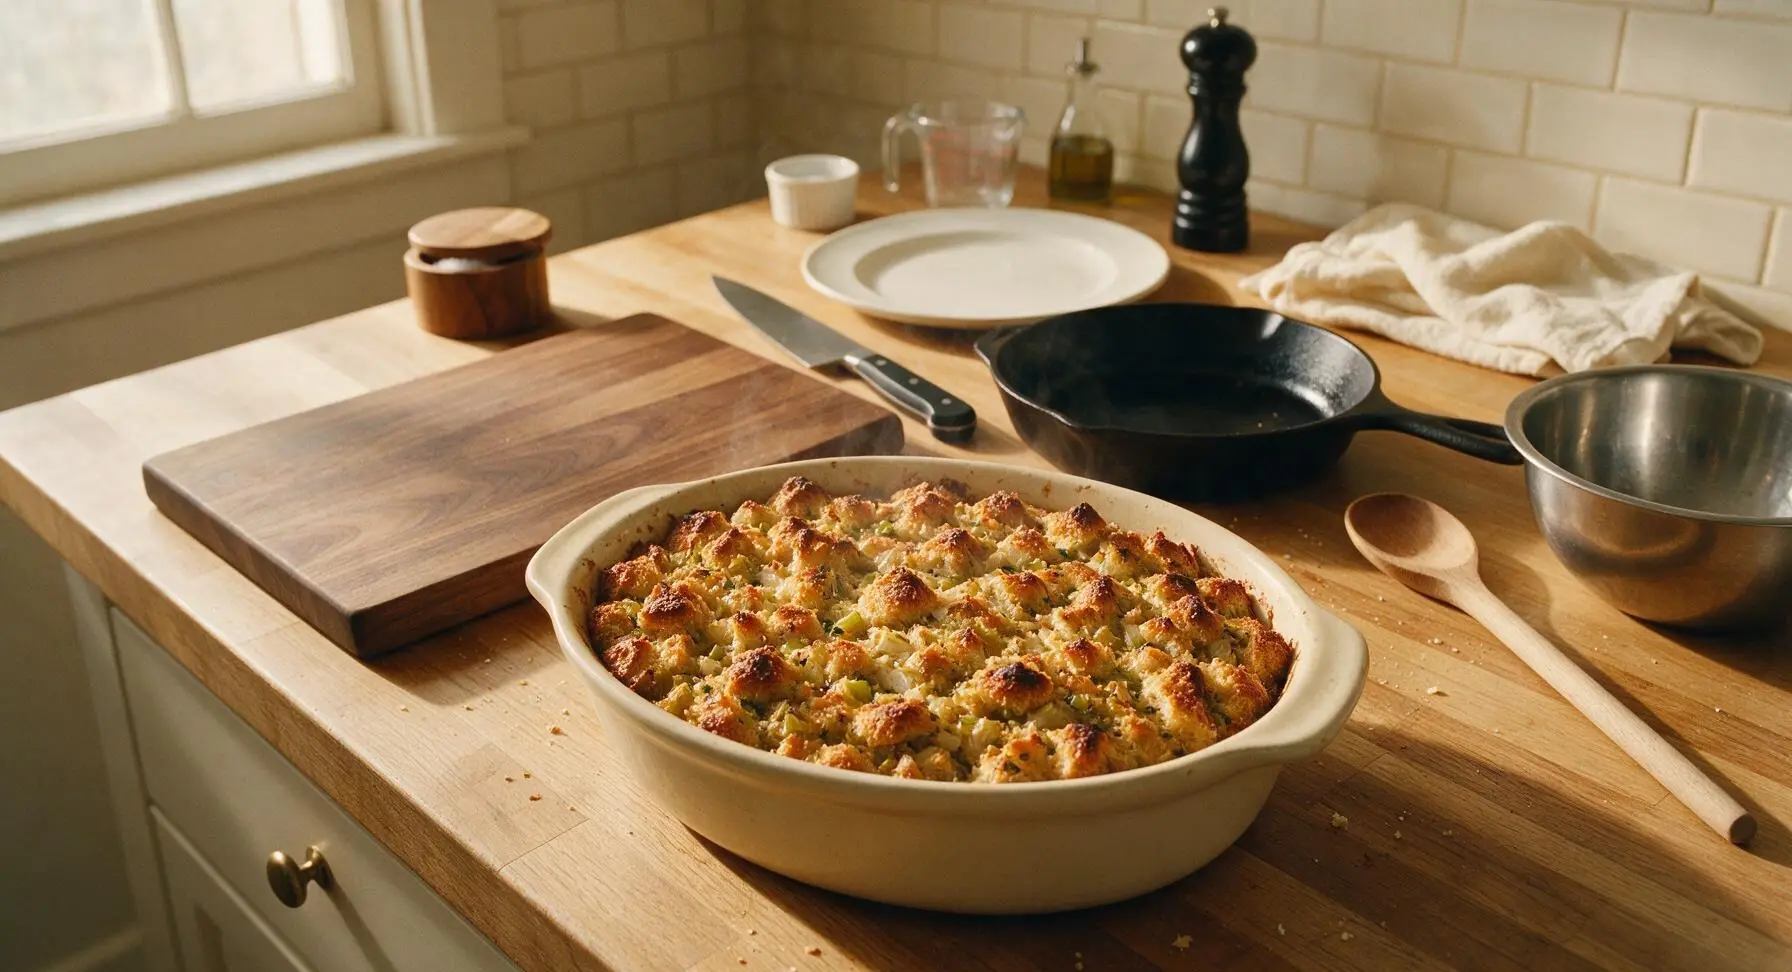
Preheat oven to 375°F (190°C). Cover the baking dish tightly with aluminum foil and bake for 25 minutes, then remove the foil and bake for an additional 15 minutes uncovered. The finished stuffing will have deep golden, crispy edges and peaks, with the center fully set and no visible pools of free liquid when you gently nudge a bread cube aside. Total bake time is 40 minutes.
Step 7
step7:Bake Until Golden
Step 7
step7:Bake Until Golden

Tips

1.Use only day-old (slightly stale) crusty bread for the best texture: fresh, soft bread will turn mushy and soggy when mixed with broth, while stale bread absorbs liquid evenly to create a perfect balance of soft, custardy centers and crispy, toasty edges. If you only have fresh bread on hand, toast the cubed bread on a sheet pan in a 300°F (150°C) oven for 10 minutes to dry it out fully before using.
2.Resist the urge to pack the stuffing mixture tightly into the baking dish: pressing down compresses the bread cubes, squeezing out air and creating a dense, brick-like texture instead of the light, fluffy result you want. Keep the mixture loosely mounded to create lots of nooks and crannies that crisp up as it bakes.
3.This stuffing is very make-ahead friendly: assemble the unbaked mixture in the buttered baking dish, cover tightly, and refrigerate for up to 24 hours before baking. Add 5 minutes to the covered bake time if cooking straight from the fridge to ensure the center heats through fully. For extra flavor, stir in ½ cup cooked crumbled sausage or ¼ cup dried cranberries before baking for a festive twist.


✨ You May Also Like

Side Dishes
🍜 India

Velvety, aromatic all-purpose curry sauce perfect for tossing with roasted veggies, grilled protein, or rice for fast, cozy, flavorful meals.

⏱️ 25 minuteSide Dishes ★ 4.8
Side Dishes
🍜 Spain

Tender, starchy boiled yuca tossed in bright, garlicky citrus mojo sauce—an iconic, zesty side that pairs beautifully with roasted pork, grilled meats, and rice and beans.

⏱️ 40 minuteSide Dishes ★ 5
Side Dishes
🍜 United States

Tender, paper-thin potato flatbread, a beloved Norwegian-American Minnesota Christmas staple, griddled until softly spotted and served warm with butter.

⏱️ 1 hour 30Side Dishes ★ 4.6
Side Dishes
🍜 United States

Rich, deeply savory cured salt pork, a long-lasting kitchen staple perfect for frying crispy as a side or adding umami to stews, beans, and chowders.

⏱️ 7 days (2Side Dishes ★ 4.9
Side Dishes
🍜 United States

Crispy, tangy classic Southern fried green tomatoes with a crunchy cornmeal crust, served hot for a nostalgic, comforting summery bite.

⏱️ 25 minuteSide Dishes ★ 4.9
Side Dishes
🍜 United States

Moist, golden-crusted savory muffins with sweet corn, zesty jalapeño, and melted cheddar, perfect for pairing with smoky summer grilled fare.

⏱️ 30 minuteSide Dishes ★ 4.9

Celery and Onion Stuffing:Frequently Asked Questions

1.Why do I need to use day-old crusty white bread instead of fresh bread for this recipe? ▾
Fresh bread is too moist and will turn mushy when mixed with broth and butter, leading to a dense, soggy stuffing instead of that ideal contrast of crisp golden edges and soft, custardy center. If you don’t have day-old bread, cube fresh bread and toast it at 300°F for 10 to 12 minutes until dry to the touch before using.
2.Can I make this celery and onion stuffing vegetarian for my holiday guests? ▾
Absolutely! Swap the low-sodium chicken broth for an equal amount of low-sodium vegetable broth, and confirm your bread is made without animal products if cooking for strict vegetarians. It will still have that same warm, herby, cozy flavor and perfect crisp-soft texture that pairs beautifully with roast turkey and gravy.
3.Do I need to sauté the celery and onion first before mixing them into the stuffing? ▾
You definitely should! Sautéing diced yellow onion and celery in unsalted butter over medium heat for 7 to 8 minutes until soft and fragrant mellows their sharp, raw bite and brings out their natural sweet, savory depth. Tossing raw veggies straight in will leave you with crunchy, underdeveloped flavor that throws off the whole dish.
4.How do I get those perfectly crisp, golden edges everyone raves about? ▾
For standout crispy edges, spread your stuffing mixture evenly in a shallow baking dish instead of piling it high in a deep casserole, and dot the top with a few extra pats of unsalted butter before baking. Bake uncovered at 375°F for the last 15 minutes of cook time to let the top and perimeter crisp up instead of steaming.
5.Can I prep this stuffing a day ahead to save time on Thanksgiving? ▾
You can prep almost the entire recipe a day ahead! Cube your bread, sauté your celery and onion, and toss all ingredients except the broth together, then store tightly covered in the fridge. Add the broth right before baking to keep the bread from getting soggy, and add 5 to 7 minutes to bake time if cooking straight from the fridge.
6.My stuffing always turns out too dry—what am I doing wrong? ▾
Dry stuffing usually means you skimped on low-sodium chicken broth, or baked it too long uncovered without letting moisture redistribute. Aim for the mixture to feel like a damp, wrung-out sponge when you add it to the baking dish, and let it rest 5 minutes post-bake so the soft, custardy center sets evenly.
7.Can I add extra mix-ins like sausage or dried cranberries to this base recipe? ▾
This simple celery and onion base is extremely versatile! Cooked crumbled sausage, toasted pecans, dried cranberries, or chopped fresh sage and thyme all make fantastic additions. Just keep total add-ins to under 1.5 cups so you don’t throw off the bread-to-moisture ratio that gives the stuffing its ideal texture.
8.Is there an easy way to adapt this recipe to be gluten-free? ▾
Absolutely! Swap the day-old crusty white bread for an equal amount of day-old gluten-free crusty white bread—opt for a sturdy, artisanal-style loaf, not super soft sandwich bread, which gets mushy. Use gluten-free low-sodium chicken broth, and confirm your butter has no hidden gluten-containing additives for a fully gluten-free dish.
9.What’s the difference between baking stuffing in a dish vs. cooking it inside the turkey? ▾
Stuffing baked in a separate casserole dish (what this recipe is designed for) cooks more evenly, gets those signature crisp golden edges, and carries no food safety risk from undercooked turkey juices. If you do stuff your turkey, make sure the stuffing center reaches 165°F on a food thermometer to avoid foodborne illness.
10.How should I store leftover stuffing, and how long will it stay good? ▾
Let leftover stuffing cool completely to room temperature within 2 hours of baking, then transfer it to an airtight container and store it in the fridge for up to 4 days. Reheat portions in the microwave or a 350°F oven covered with foil for 10 minutes, adding a tiny splash of chicken broth if it feels too dry after storing.

Comments (10)

2 days ago

OMG this celery and onion stuffing is SO good! I made it for our Sunday family dinner earlier this week and even my super picky 7-year-old asked for seconds. The celery to onion ratio is perfect, not too overpowering at all. Total game changer for our Thanksgiving prep list this year!

yesterday

Right?! My kids went crazy for it too! I added a handful of dried cranberries last time I made it and it was chef’s kiss, highly recommend trying that next time!

2 hours ago

So happy your family loved it! The dried cranberry addition sounds absolutely delicious – sweet and savory combinations work so well with this base recipe. Thanks for sharing the great tip!

3 days ago

Brought this to my neighborhood block party potluck last weekend and people were coming up to me asking for the recipe all night! It’s so easy to throw together, even when you’re juggling 10 other dishes for an event. 10/10, will be making this for every potluck from now on.

2 days ago

Thrilled to hear it was a potluck hit! This recipe is designed to be low-fuss exactly for those busy event days, so that makes us so happy to hear. So glad you enjoyed it!

1 week ago

Really solid stuffing recipe! Super easy to make on a Sunday for meal prep, and it reheats like a dream all week for lunch sides. I knocked off a star only because I wish it had a little more herb flavor for my taste, so next time I’ll toss in some extra sage and thyme. Great base recipe though!

5 days ago

As someone who literally burns toast half the time, I was shocked how easy this stuffing was to make! It came out perfectly golden on top, soft and flavorful in the middle, and my roommate said it tasted like the fancy stuff we get at our favorite Thanksgiving diner. I’m so proud of myself lol!

3 days ago

Same here! I’m a total beginner and this was the first side dish I didn’t mess up for our Friendsgiving last year. You can’t go wrong with it, it’s totally foolproof!

2 days ago

That makes our day to hear! This recipe is specifically crafted to be beginner-friendly, so we’re thrilled it turned out so well for you. Way to go on nailing it on the first try!

2 weeks ago

I’ve tested 7 different stuffing recipes this month leading up to Thanksgiving and this one is the clear winner. It’s classic, no weird fancy add-ins that throw off the traditional flavor, and it cooks in 40 minutes flat which is perfect when your oven is booked all day for turkey and pies. Obsessed!

1 week ago

Totally agree! I made it last year for T-giving and my grandma (who swears by her 1960s stuffing recipe) asked me for the steps. Highest possible praise if you ask me!

2 hours ago

Made this with gluten-free sourdough bread cubes instead of regular white bread and it turned out amazing! The celery and onion flavor shines through no matter what bread you use, which is awesome for folks like me with dietary restrictions. Will definitely be adding this to my regular rotation.

30 minutes ago

Just pulled this out of the oven to go with our roast chicken dinner tonight and the whole house smells incredible! I let my 10-year-old help chop the celery and onions (supervised, obviously) and she’s so excited to serve it to the rest of the family. Quick, easy, perfect weeknight side.

5 minutes ago

Love that you got your kid involved in cooking! That’s what great home cooking is all about. Hope the whole family loves how it tastes as much as you loved making it together!

yesterday

Game changer alert! I used the leftovers of this stuffing to make stuffed mushrooms for a quick appetizer when friends popped over unexpectedly, and everyone lost their minds. Who knew a basic celery and onion stuffing could be so versatile? 10/10, the recipe alone is worth saving for the leftover hacks!

2 hours ago

Oh that’s such a good idea! I usually just eat leftover stuffing cold straight from the container (don’t judge me) but stuffed mushrooms sound next level, gotta try that this week.

30 minutes ago

What a creative leftover hack! We love seeing people repurpose these basic recipes into fun new dishes – that stuffed mushroom idea is genius, we might have to test that ourselves in the test kitchen!

5 minutes ago

It’s a decent stuffing, but I found it a little bland for my taste. I’m used to stuffing with lots of sausage and extra butter, so this lighter celery and onion version felt like it was missing something for me. That said, it was super easy to make and would be great for anyone who prefers a lighter, less heavy side.

just now

Thanks so much for the honest feedback! This is definitely a more classic, lighter take on stuffing – if you love richer flavors, adding cooked crumbled sausage and an extra tablespoon of melted butter would be a perfect tweak to make it fit your taste preferences. Hope you’ll give it another try with those add-ins!

just now

I didn’t feel like heating up my whole oven so I tested making this in my air fryer and it worked perfectly! Crispy on the edges, soft inside, took 25 minutes instead of the listed 40. Such a reliable, simple recipe that holds up even when you mess with the cooking method. Will make again!



