
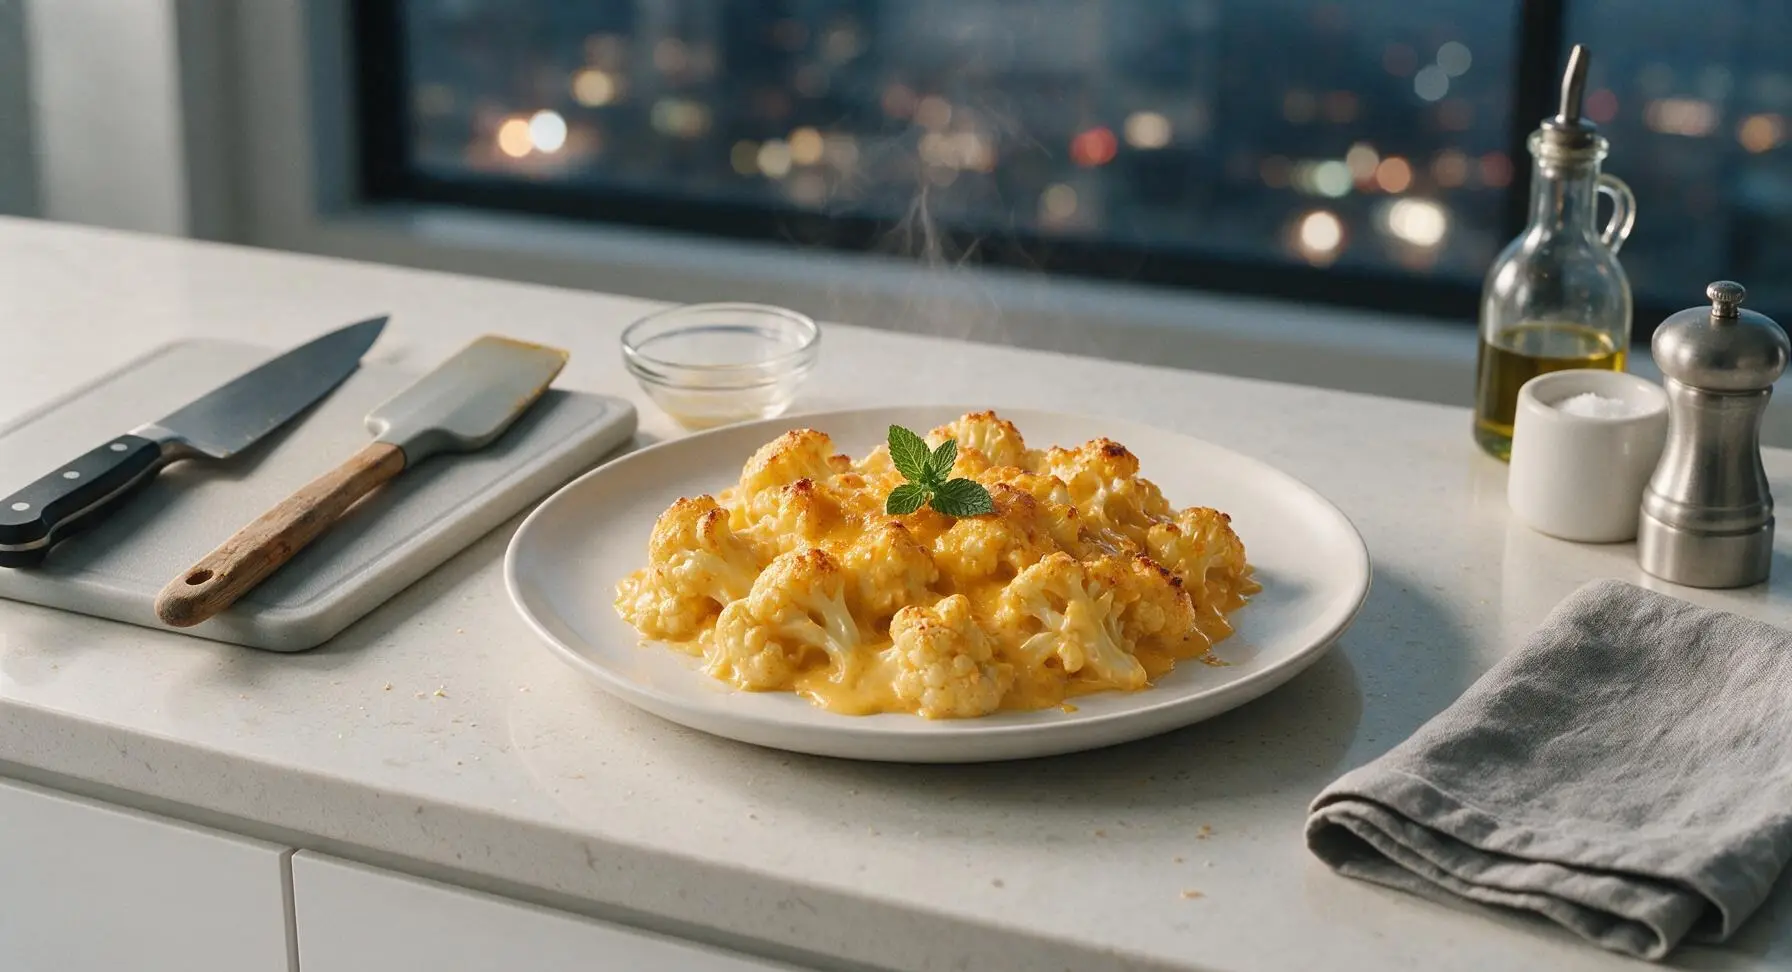
cheesy cauliflower

title 1
cheesy cauliflower
⏱️ cook time 30 minutes
🍽️ servings 4
⚡ Difficulty easy

intro

Tender cauliflower florets coated in velvety sharp cheddar sauce, baked to a bubbly golden crisp. This cozy, rich side is a lighter, veggie-forward take on classic baked mac and cheese.

Ingredients
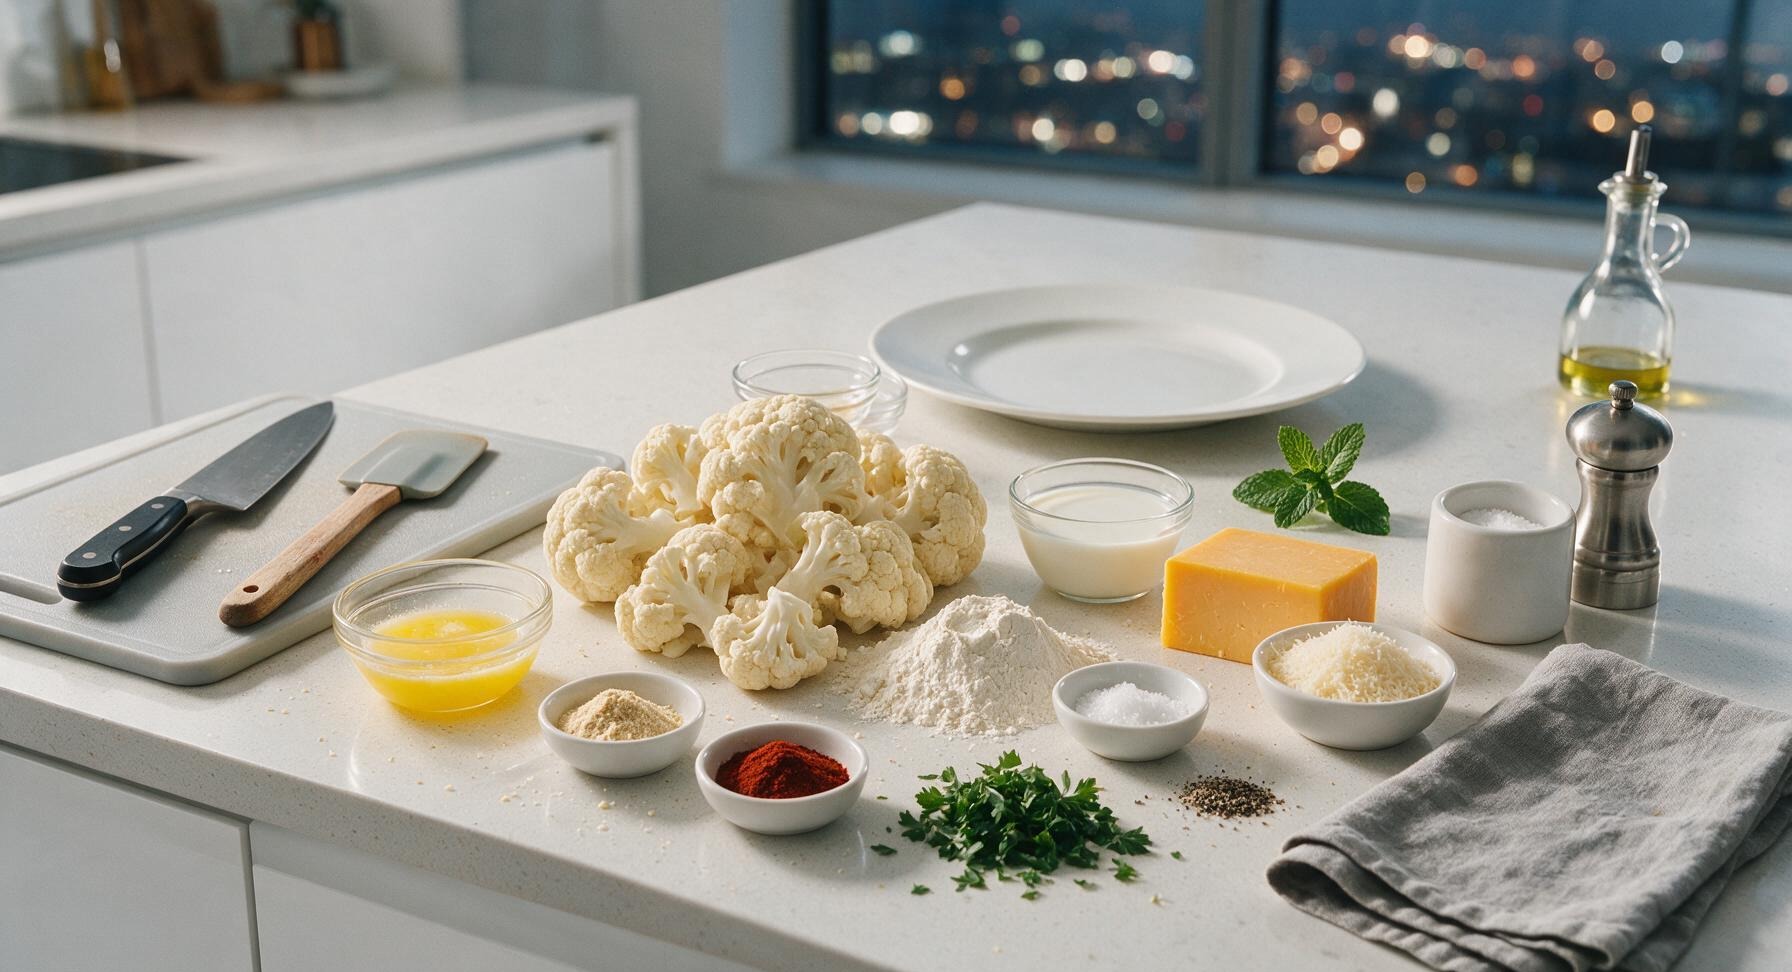
Cauliflower 700g (1 large head)
Unsalted butter 2 tbsp (28g)
All-purpose flour 2 tbsp (16g)
Whole milk 1 cup (240ml)
Sharp cheddar cheese 150g
Grated parmesan cheese 30g
Garlic powder 1/2 tsp
Smoked paprika 1/4 tsp
Kosher salt 1/2 tsp
Freshly ground black pepper 1/4 tsp
Fresh flat-leaf parsley 2 tbsp (chopped)

Steps

1

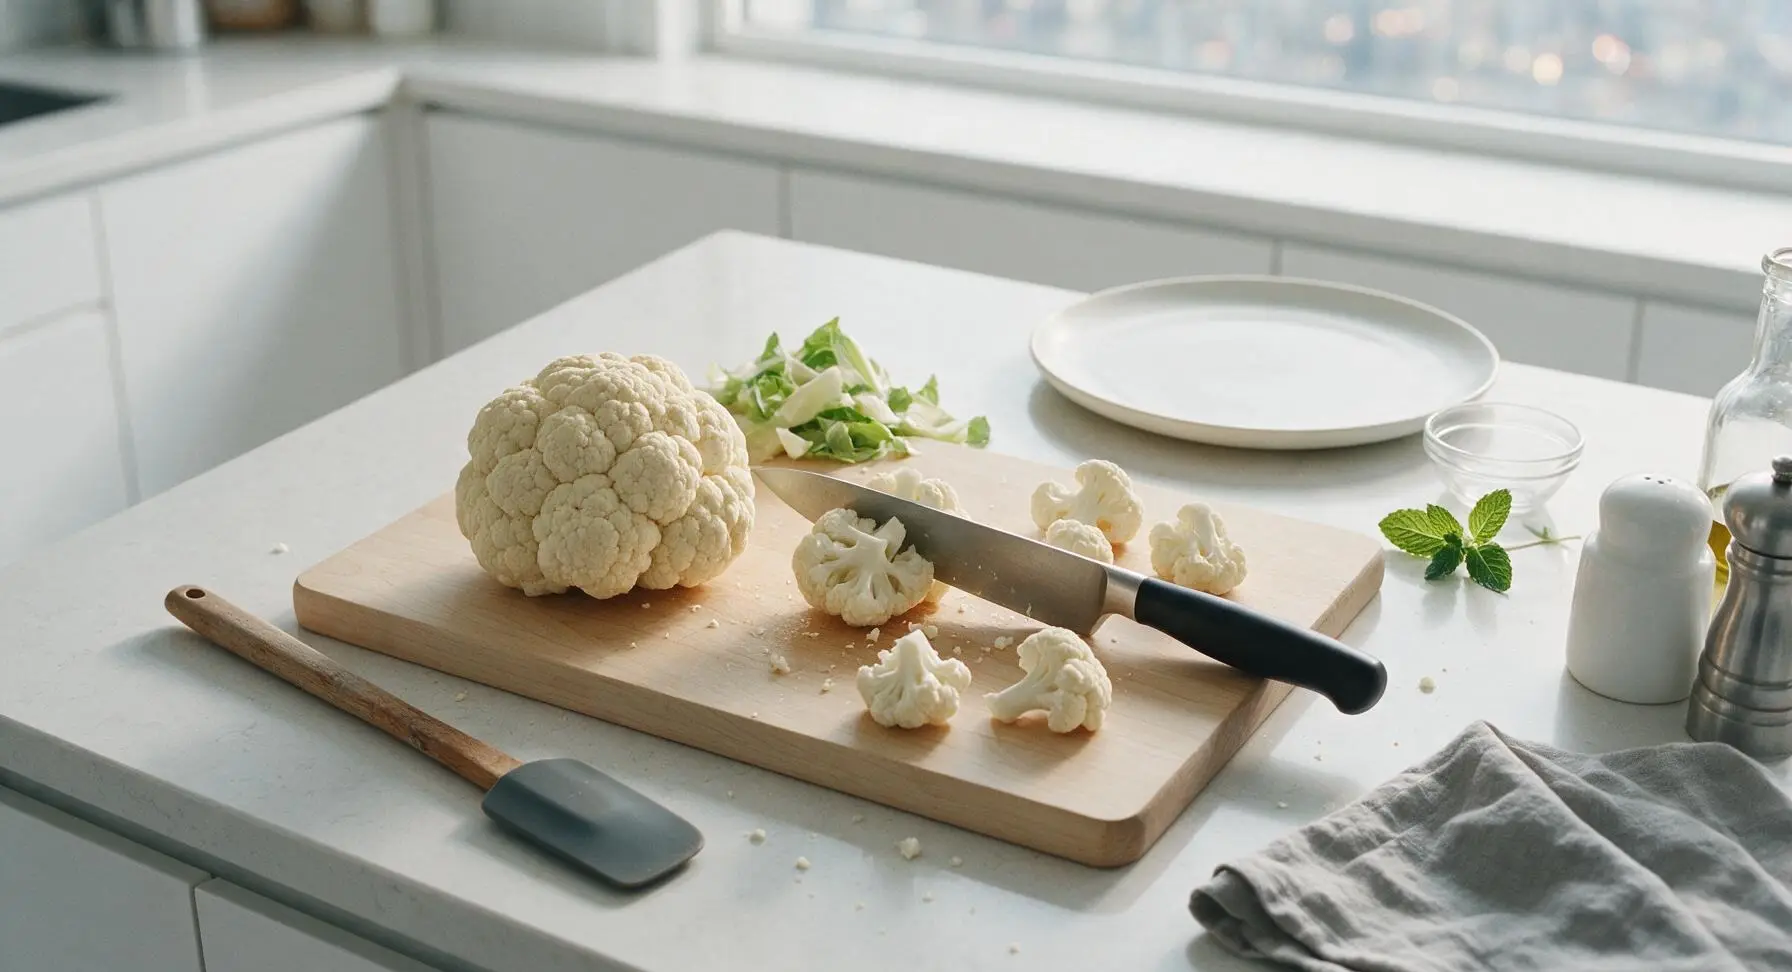
Cut Cauliflower Florets

Place the whole cauliflower head on the light birch cutting board. Use the stainless steel chef knife to trim away and discard the tough outer leaves and thick fibrous central core. Cut the head into uniform 5cm (2-inch) florets to ensure even cooking. Rinse cut florets under cool water and pat fully dry with the corner of the linen towel—excess surface moisture will make the final dish watery.
Step 1
step1:Cut Cauliflower Florets
2

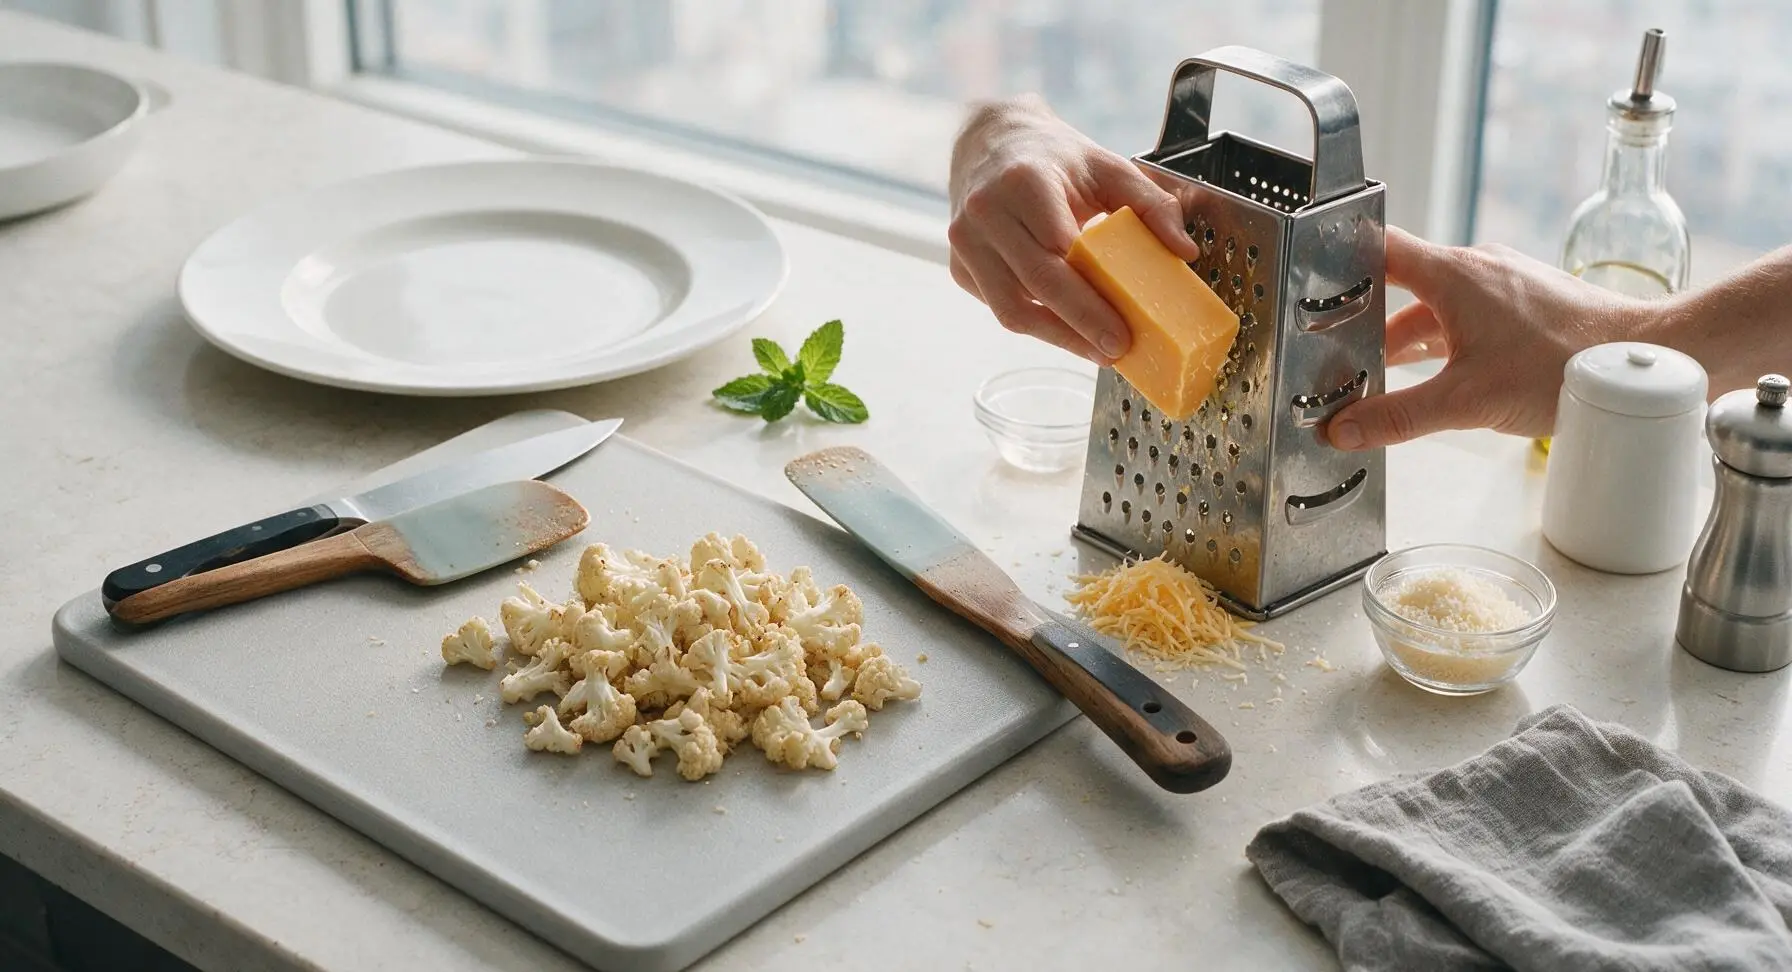
Grate Sharp Cheeses

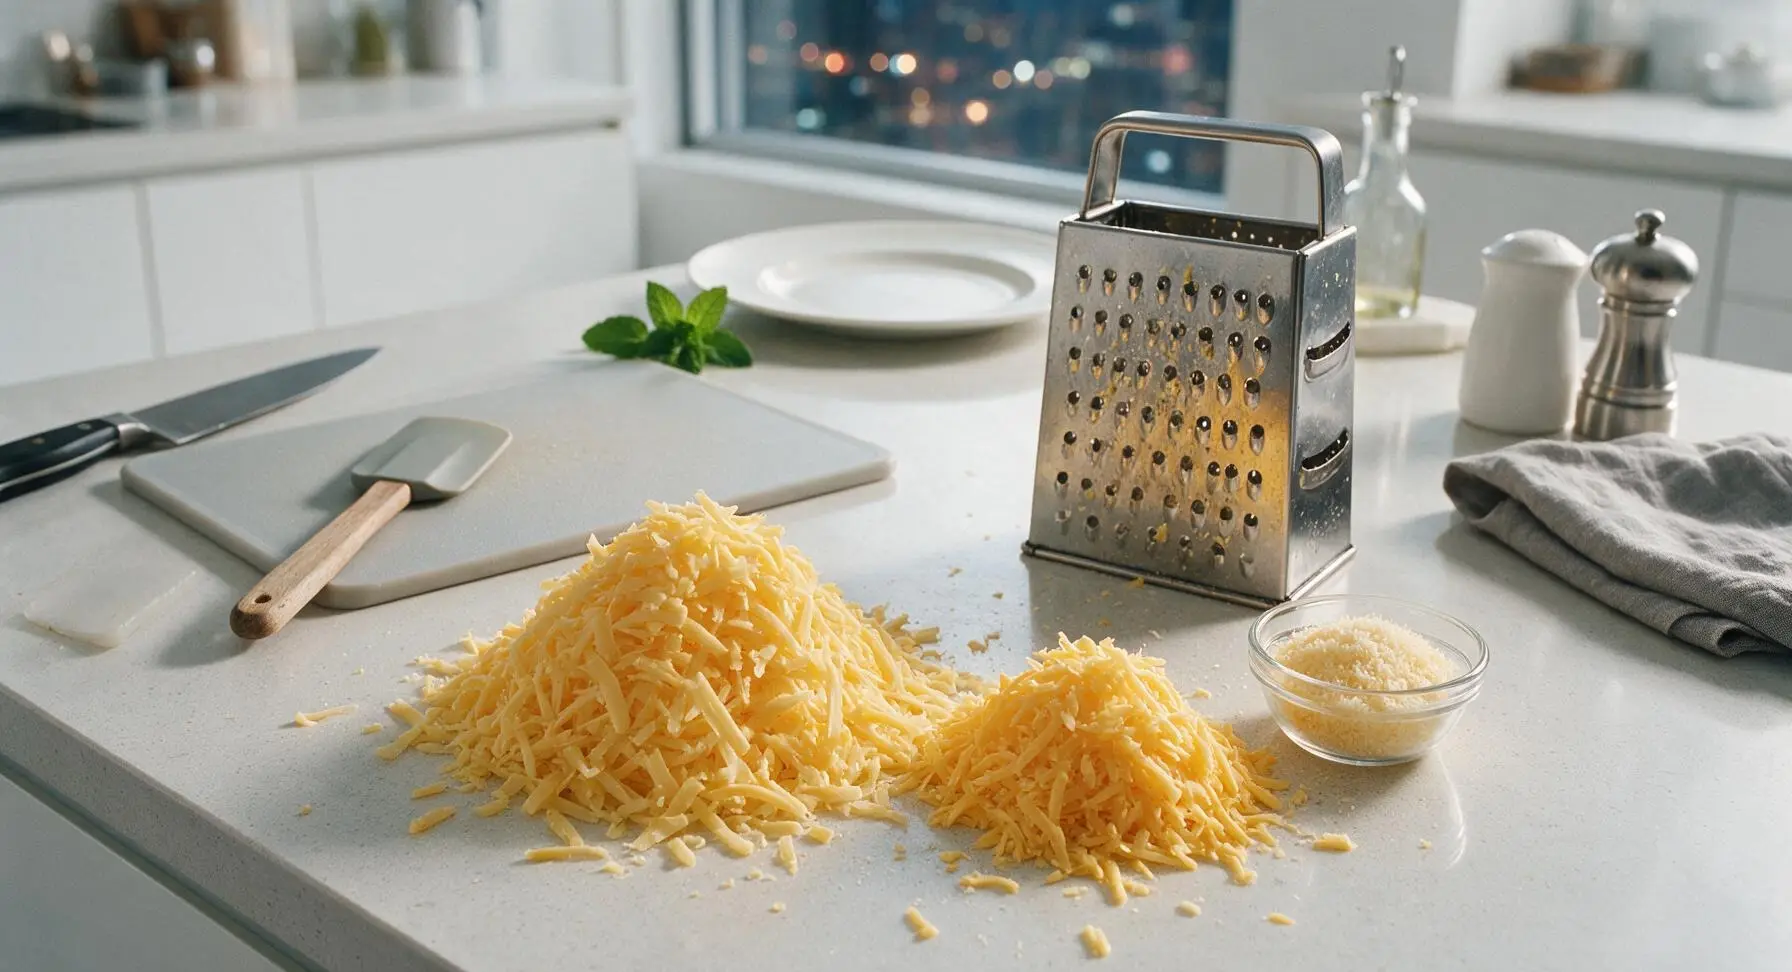
Set the stainless steel box grater on the counter to the right of the cutting board. Grate the sharp cheddar cheese, dividing it into two equal piles: 100g for mixing into the cheese sauce, 50g reserved for the crispy top crust. Measure grated parmesan into the small clear glass ramekin, setting it aside next to the reserved cheddar. Avoid pre-shredded bagged cheese, as its anti-caking coating prevents smooth, even melting.
Step 2
step2:Grate Sharp Cheeses
Step 2
step2:Grate Sharp Cheeses
3

Par-Cook Cauliflower Florets

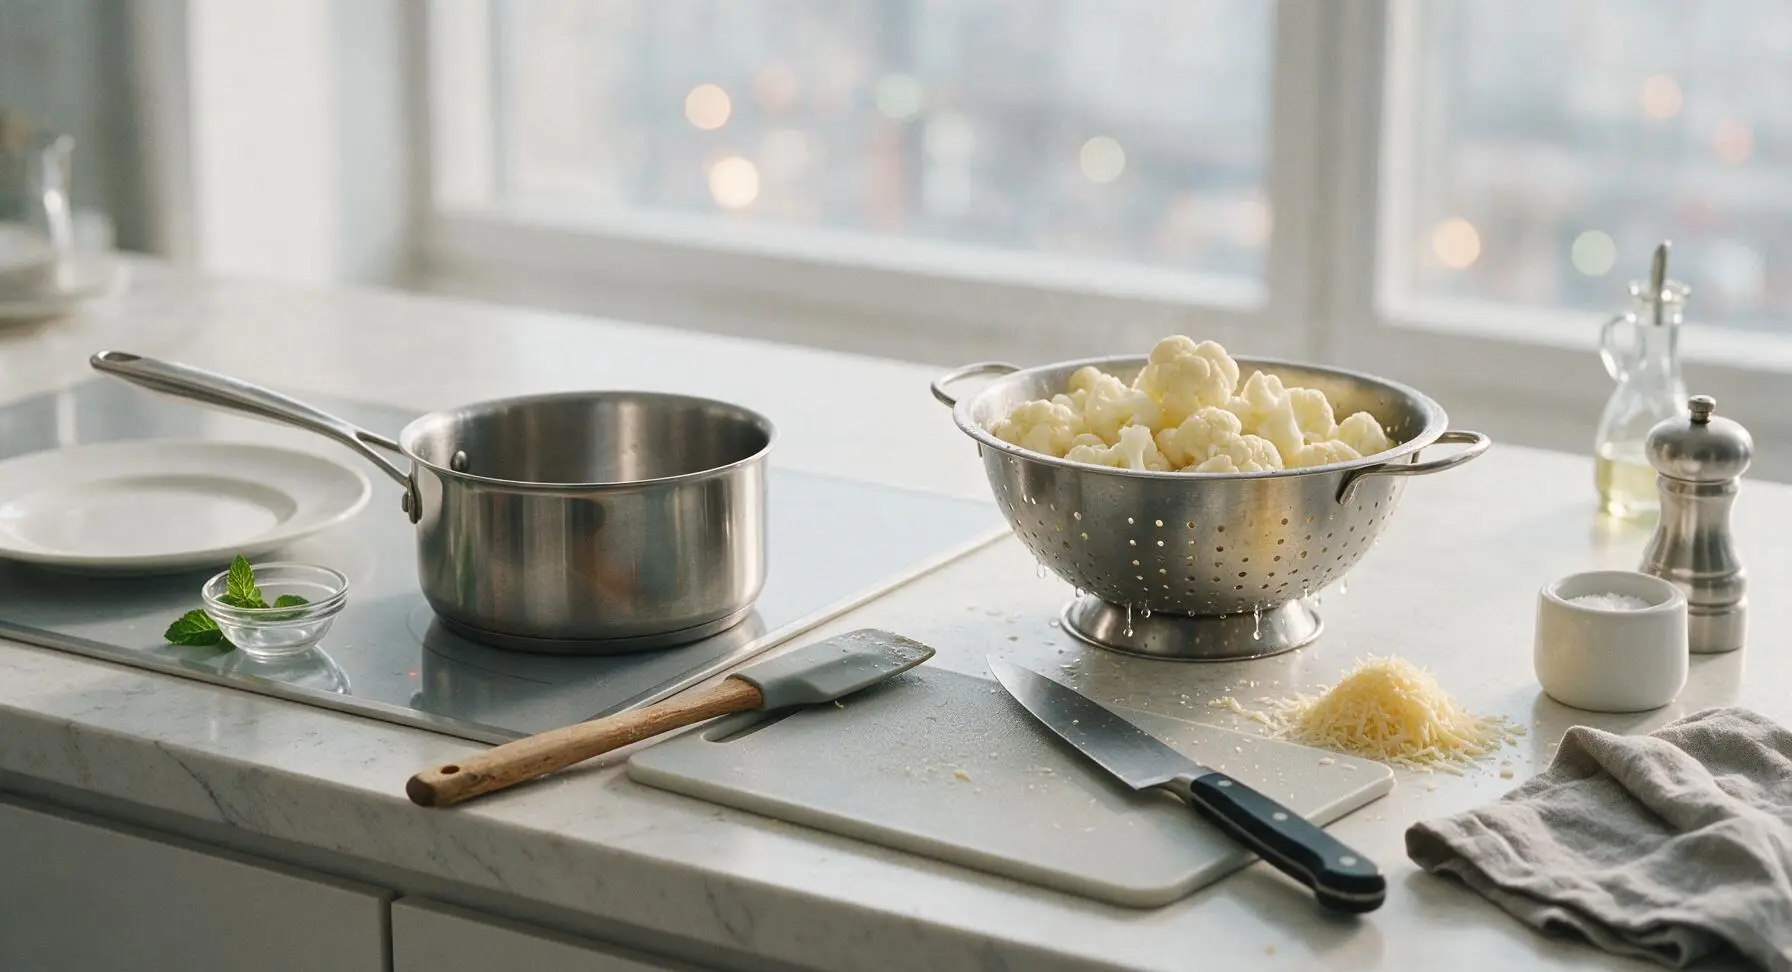
Place the 2L stainless steel saucepan on the integrated induction burner, fill with 1.5L heavily salted water, and bring to a rolling boil over medium-high heat. Add cut cauliflower florets, and cook for exactly 3 minutes—florets should be pierceable with a knife tip but still firm, with no mushy edges. Pour florets and water into the stainless steel colander, shaking thoroughly to drain every drop of excess water. Set drained florets aside temporarily on the birch cutting board.
Step 3
step3:Par-Cook Cauliflower Florets
4

Cook Butter-Flour Roux

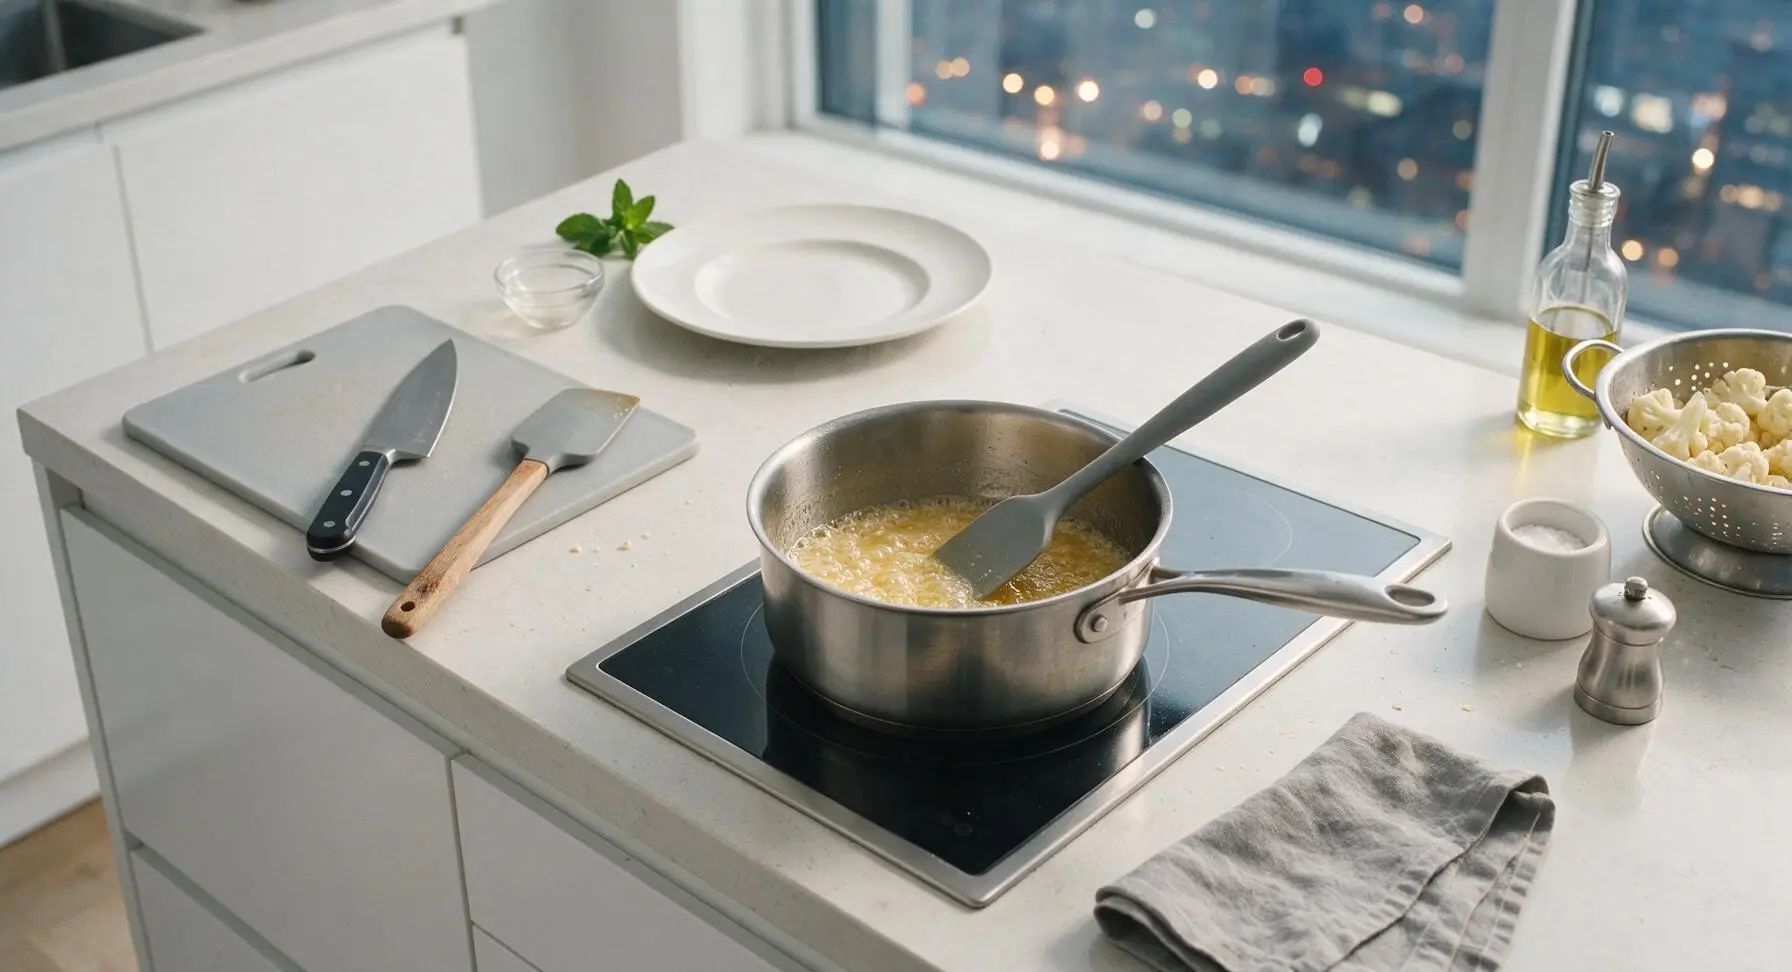
Wipe the 2L stainless steel saucepan dry with the corner of the linen towel, and return it to the induction burner set to medium heat. Add 2 tbsp unsalted butter, and once fully melted and foaming slightly, stir in 2 tbsp all-purpose flour with the matte grey silicone spatula. Cook the roux for 2 full minutes, stirring constantly, until it turns pale golden and gives off a faint nutty aroma to eliminate raw flour taste.
Step 4
step4:Cook Butter-Flour Roux
5

Simmer Creamy Cheese Sauce

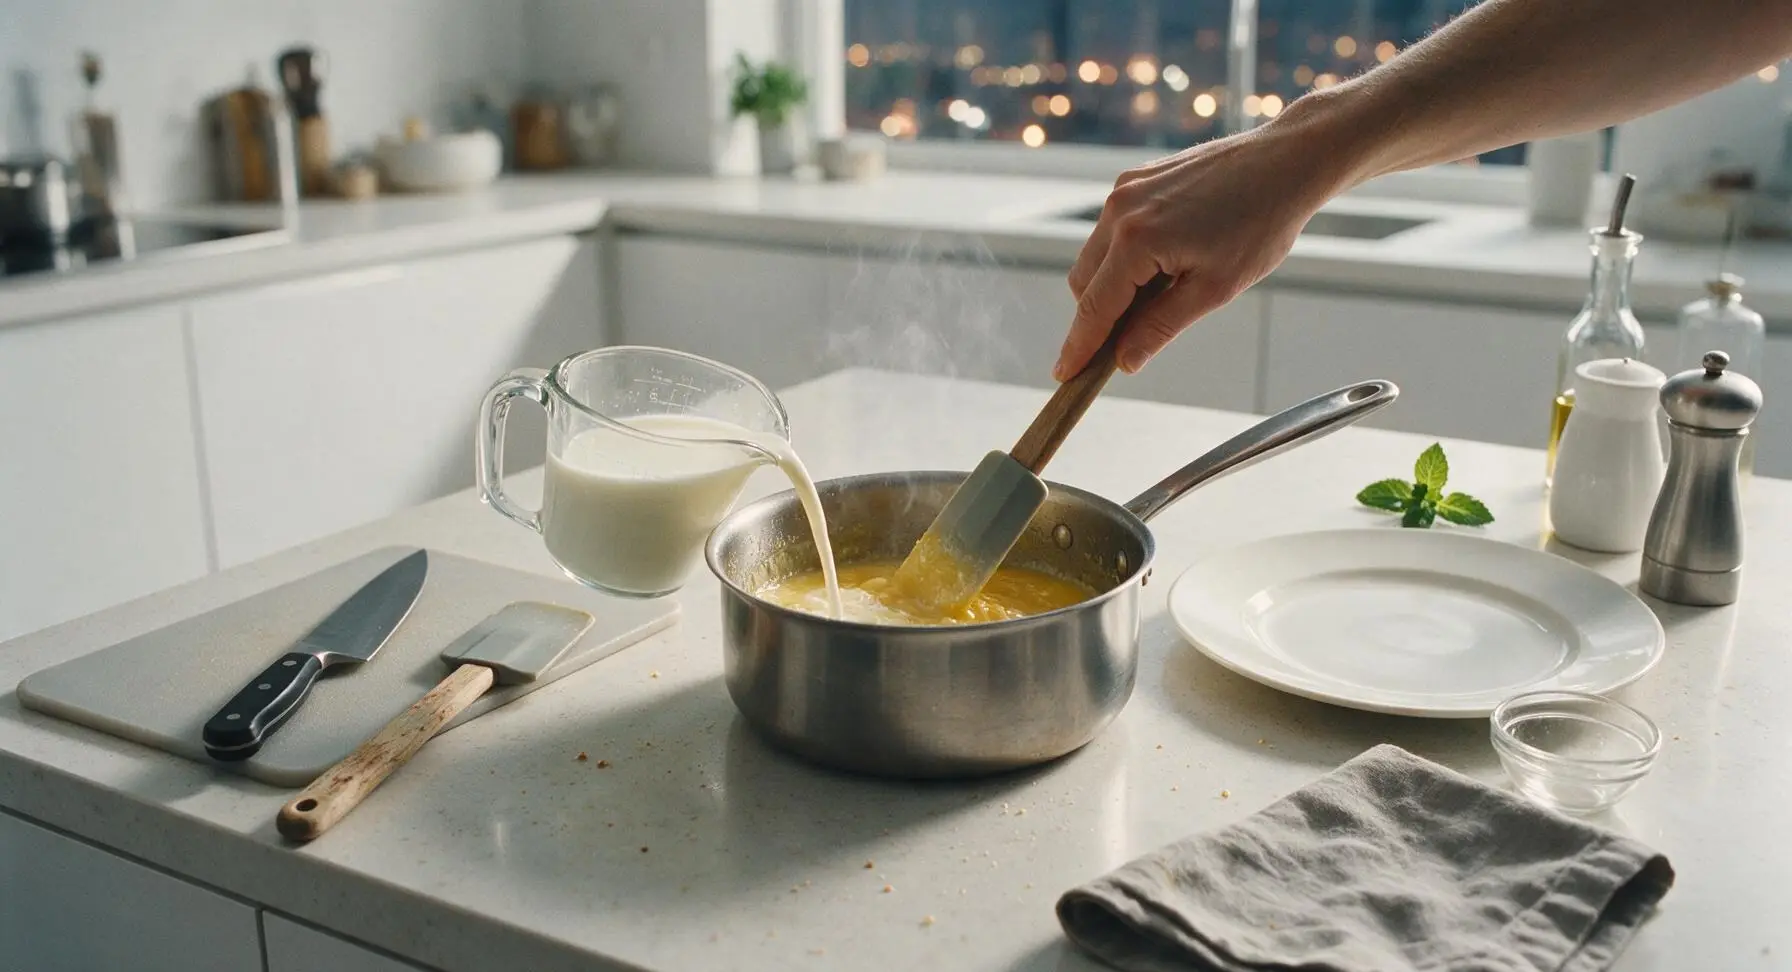
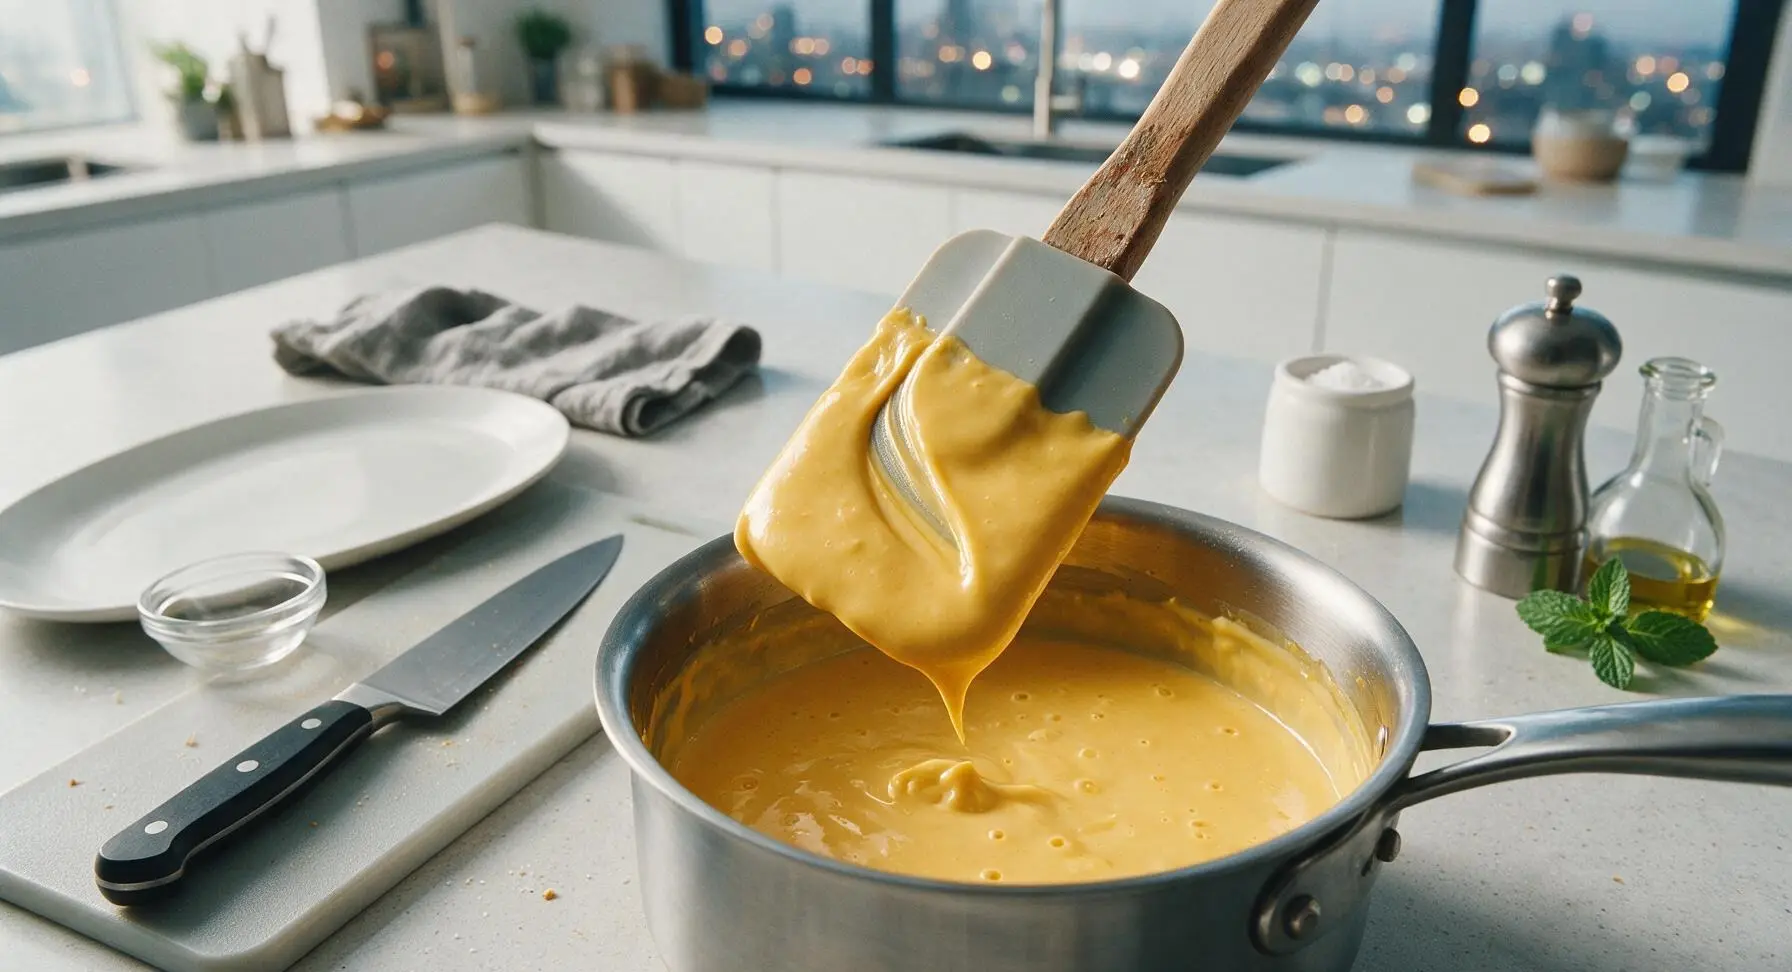
Slowly stream 1 cup whole milk into the roux, stirring constantly with the silicone spatula to prevent lumps. Bring the mixture to a gentle simmer, cooking 3-4 minutes until it thickens enough to coat the back of the spatula—when you run a finger across the coated surface, the line should hold without running. Reduce heat to low, stir in 100g of the grated cheddar, garlic powder, smoked paprika, kosher salt, and black pepper, mixing until cheese melts completely into a smooth, velvety sauce. Remove pan from heat.
Step 5
step5:Simmer Creamy Cheese Sauce
Step 5
step5:Simmer Creamy Cheese Sauce
6

Toss Florets in Sauce

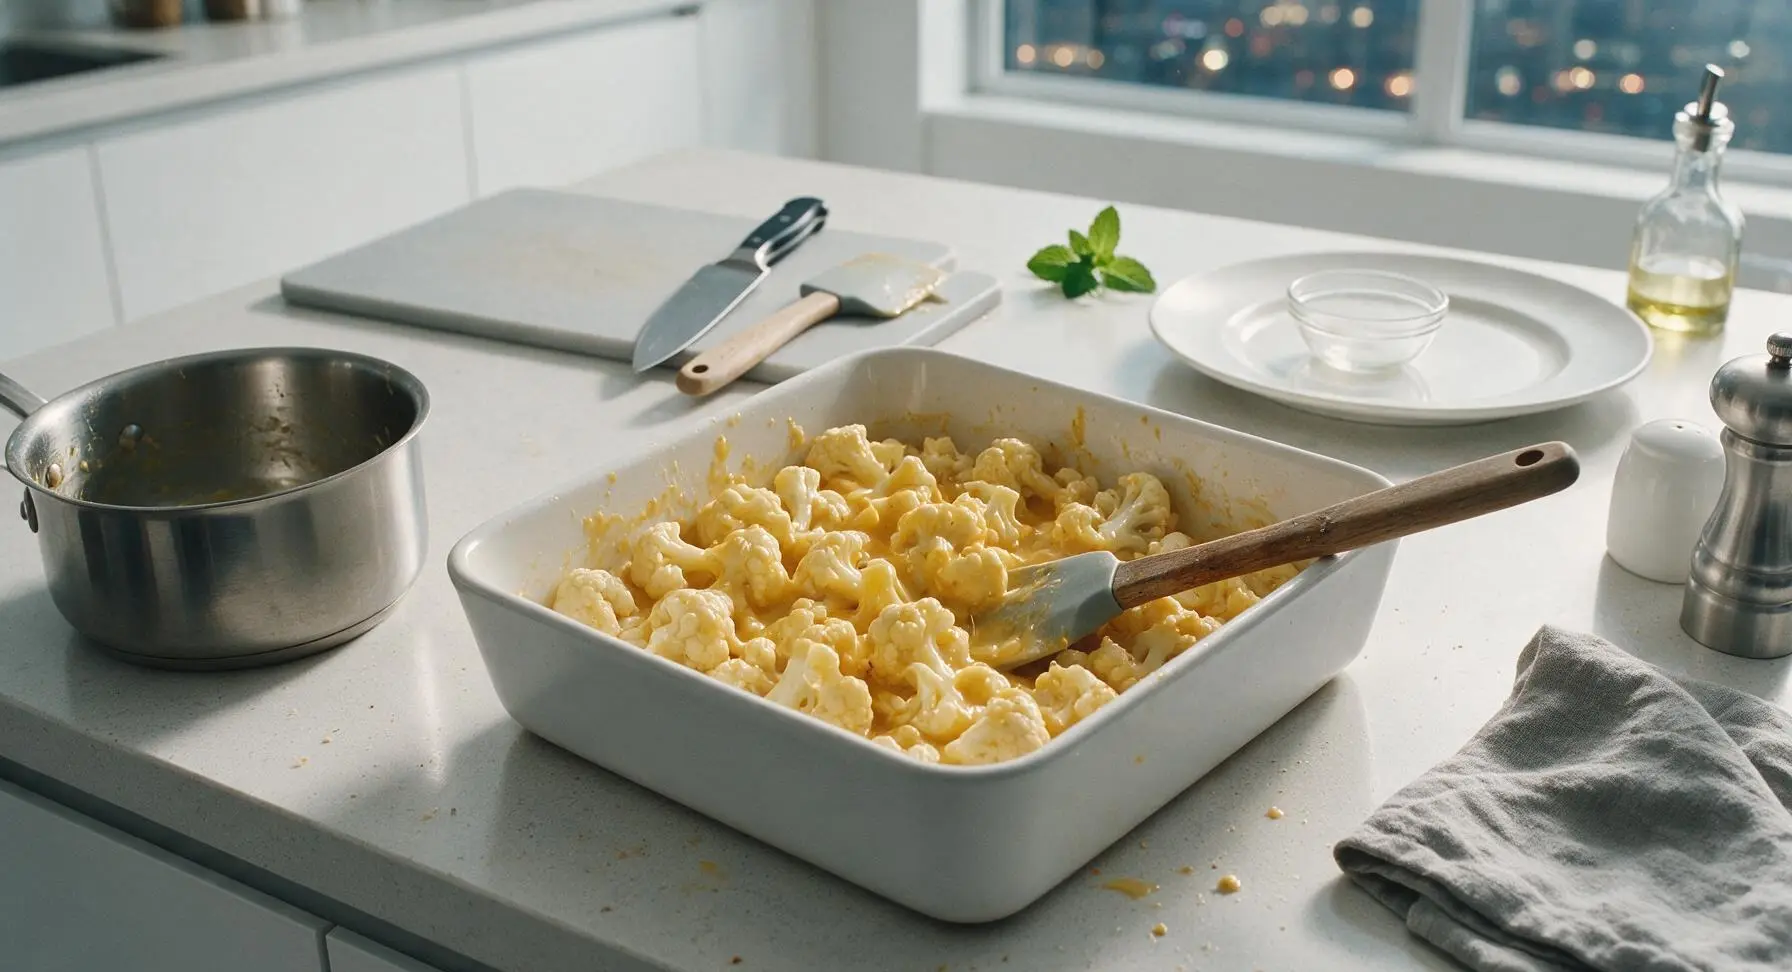
Place the 20x20cm matte white square ceramic baking dish in the center of the counter. Add the fully drained cauliflower florets to the dish, then pour warm cheese sauce evenly over the top, using the silicone spatula to gently toss florets until every piece is lightly coated in sauce. Spread the mixture into an even layer across the dish.
Step 6
step6:Toss Florets in Sauce
7

Add Cheese Top Layer

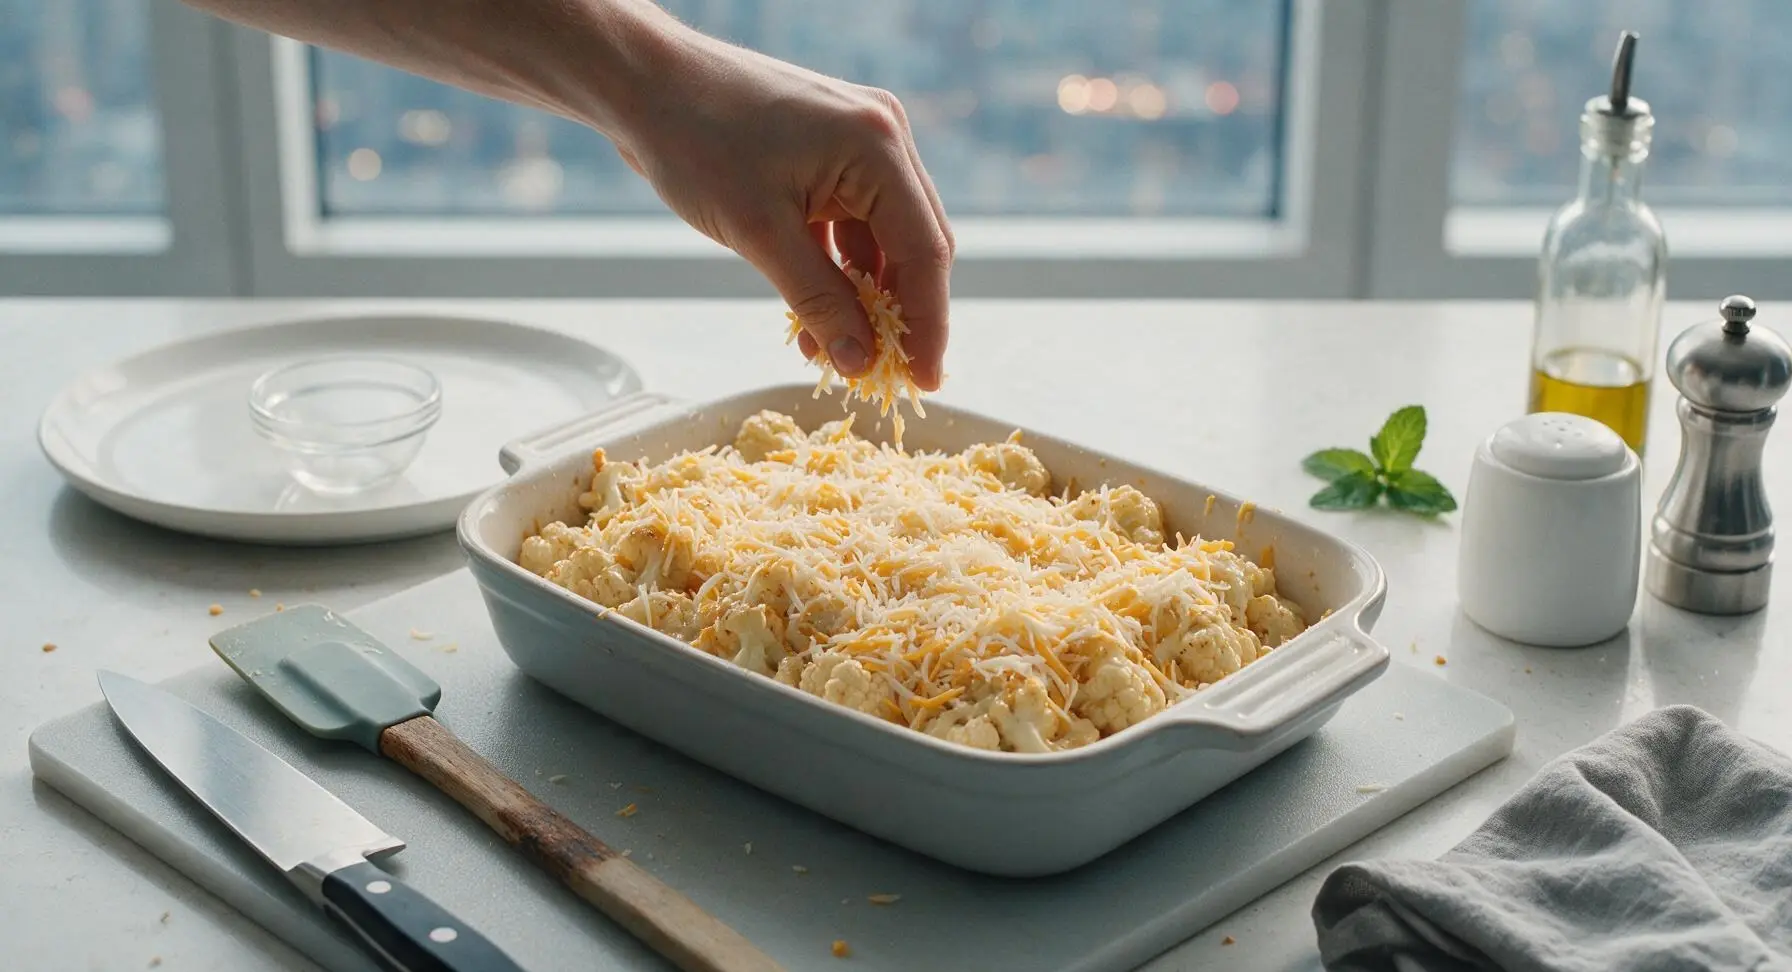
Sprinkle the remaining 50g of grated sharp cheddar and all of the grated parmesan evenly over the top of the sauced cauliflower, creating a uniform layer that will melt into a crisp, golden crust. Do not mix the top cheese into the florets—it should sit on the surface to crisp as it bakes.
Step 7
step7:Add Cheese Top Layer
8

Bake Until Bubbly

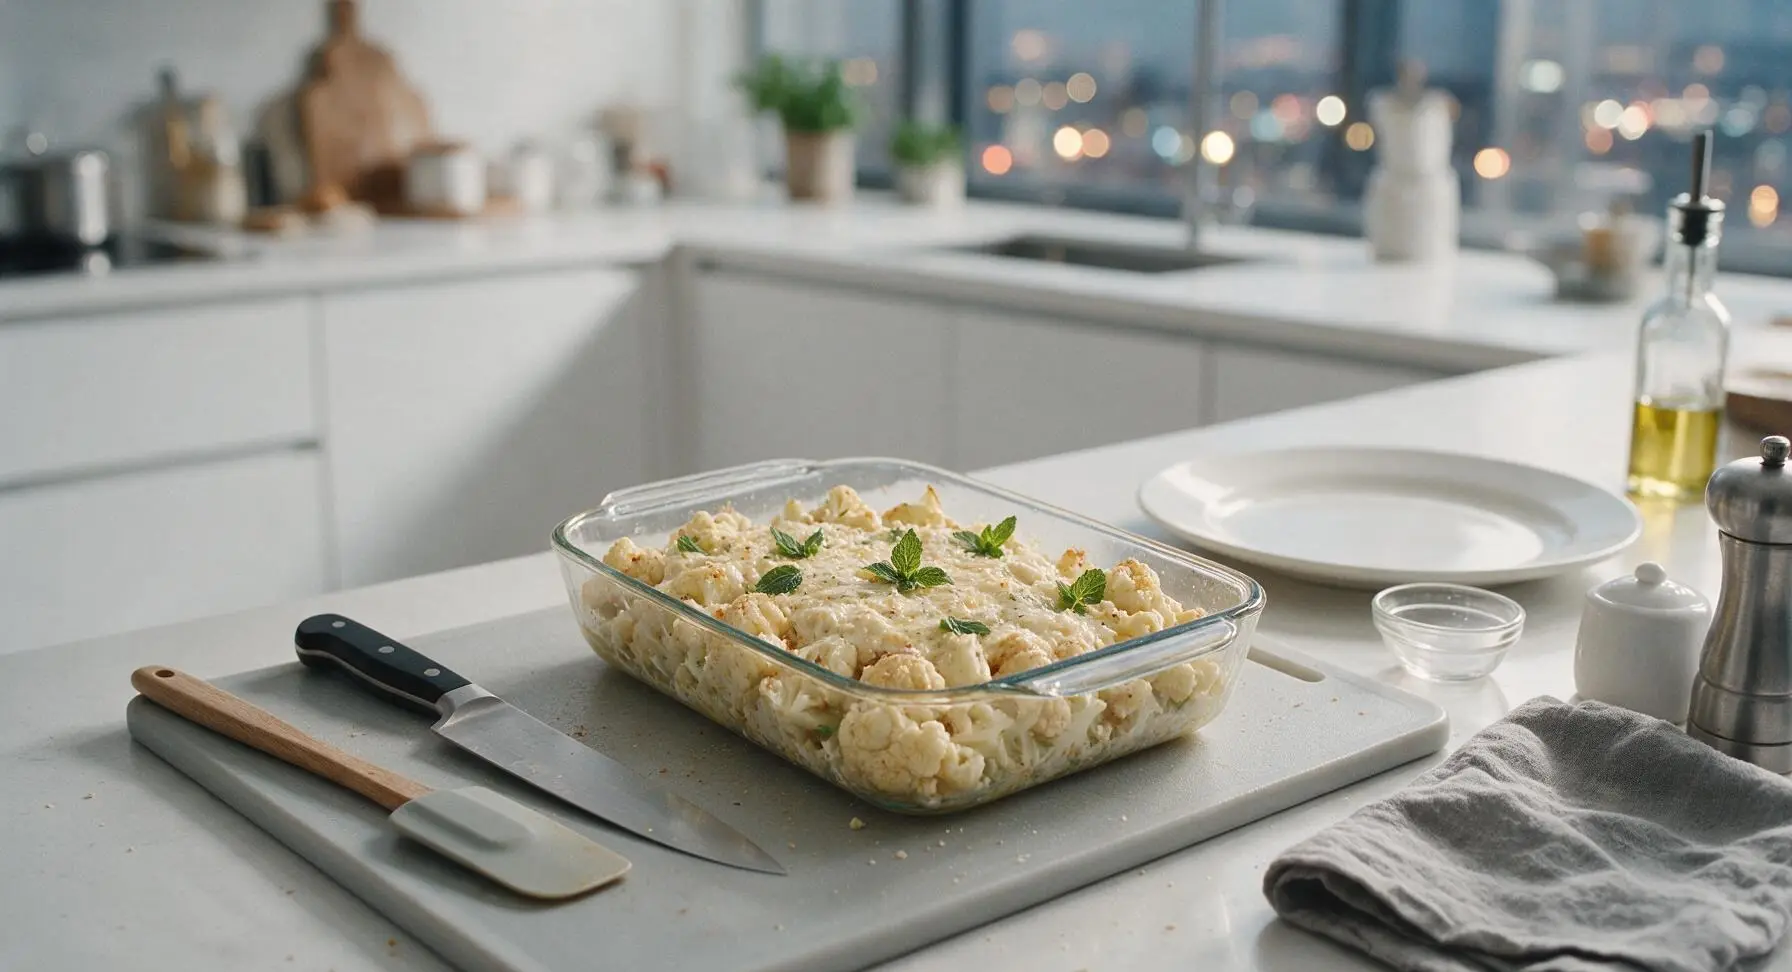
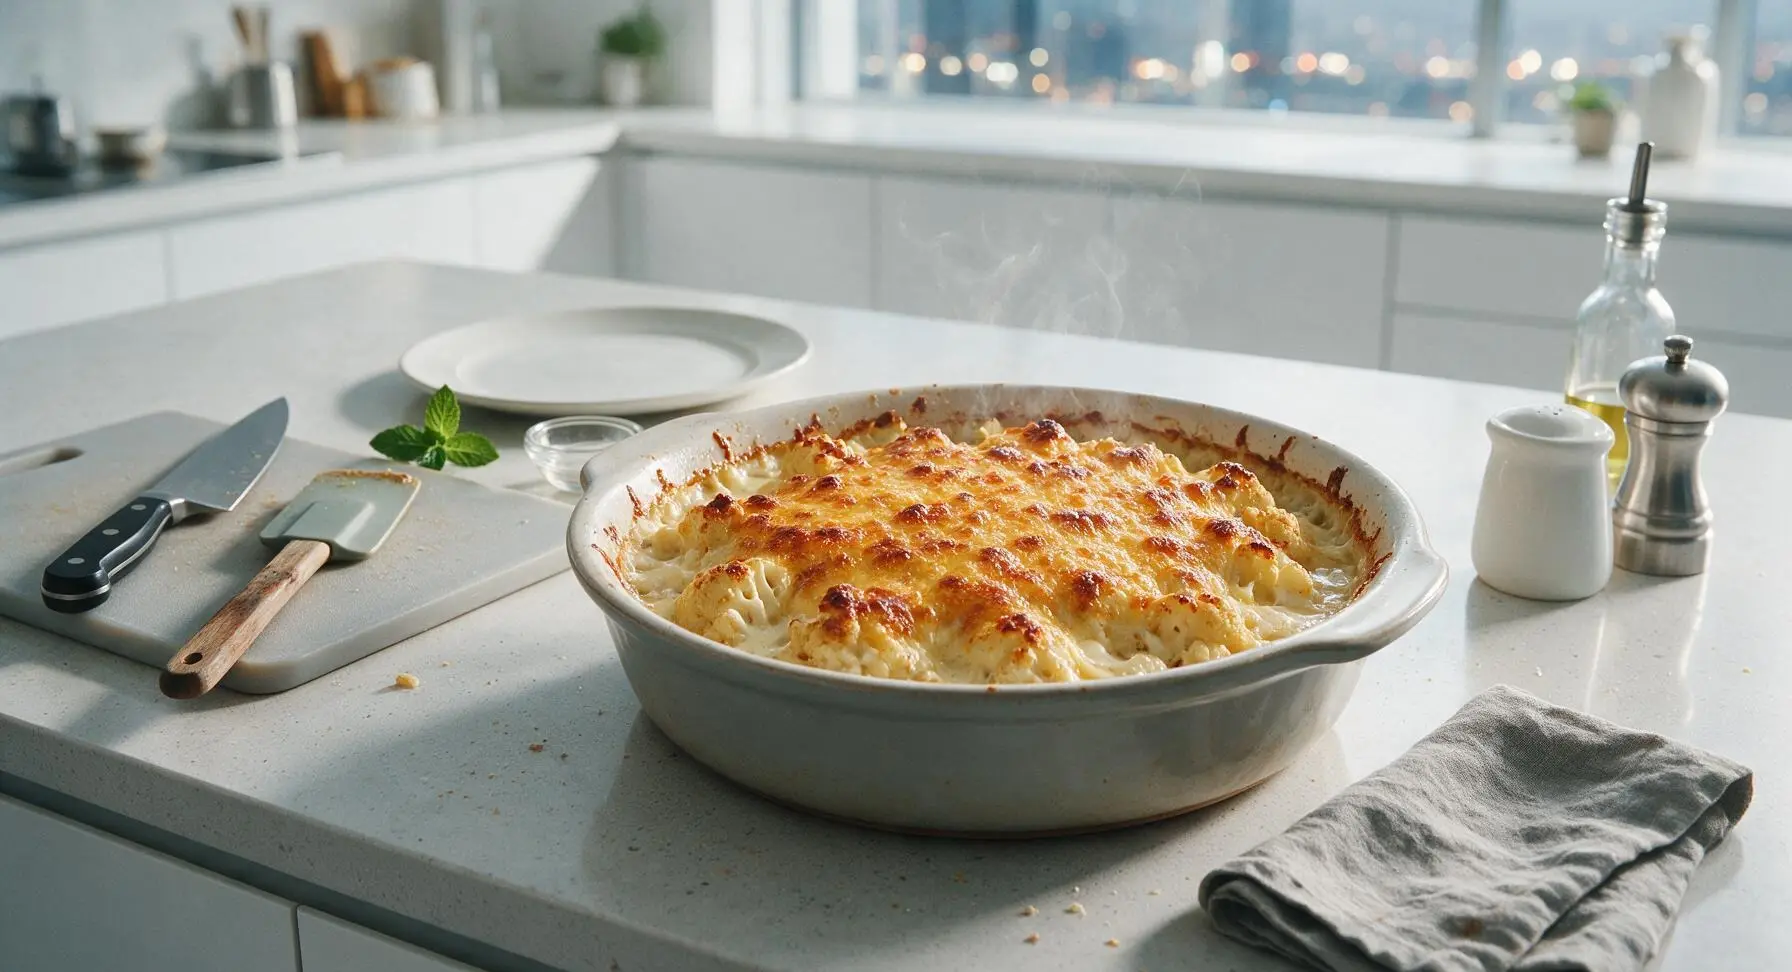
Place the baking dish on the middle rack of a preheated 200C (400F) oven. Bake for 20-22 minutes, until cheese sauce bubbles vigorously around the dish edges, and the top cheese layer is melted and dotted with deep golden brown crispy spots. Remove from the oven and let rest 5 minutes before serving to allow the sauce to set slightly.
Step 8
step8:Bake Until Bubbly
Step 8
step8:Bake Until Bubbly
9

Garnish and Serve

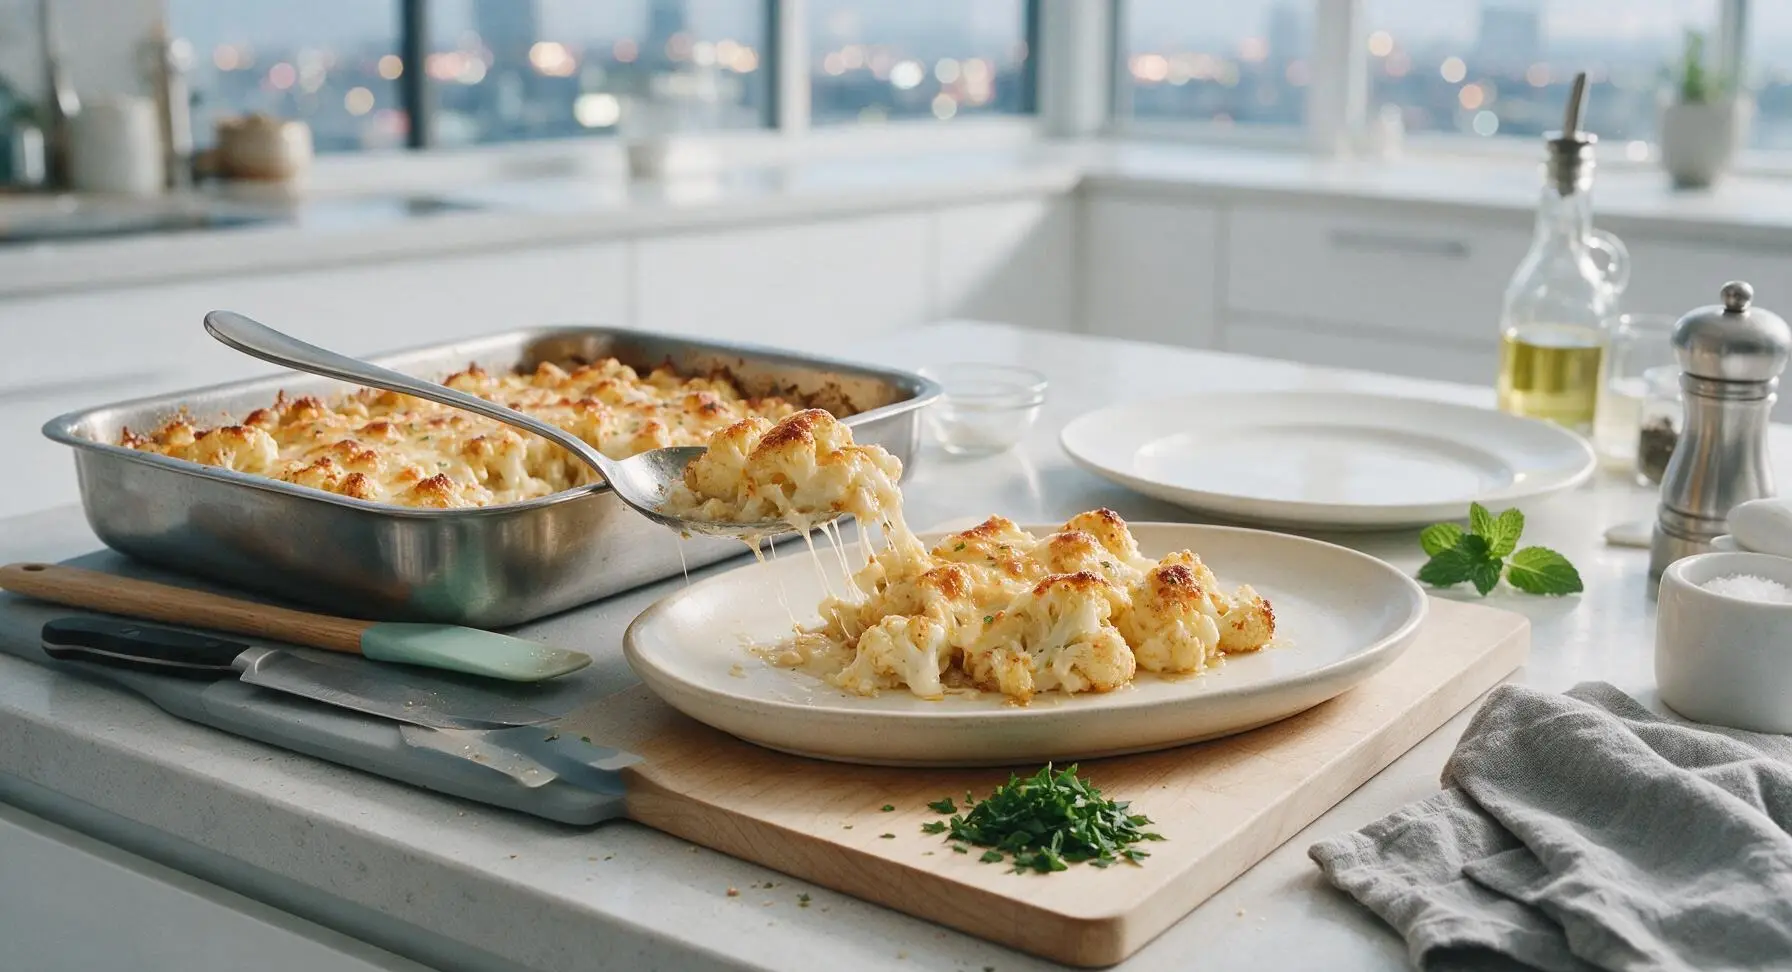
Use the stainless steel serving spoon to scoop generous portions of the baked cheesy cauliflower onto the matte cream ceramic oval serving platter, mounding it gently in the center. Sprinkle 2 tbsp chopped fresh flat-leaf parsley over the top for a bright, fresh contrast to the rich cheese. Serve warm.
Step 9
step9:Garnish and Serve

Tips

1.Dry cauliflower completely after blanching: any residual water on the florets will thin the cheese sauce, leading to a runny, watery final dish instead of a thick, creamy coating that clings to every floret.
2.Grate cheese fresh from a block: pre-shredded bagged cheese is coated in potato starch and anti-caking agents that prevent it from melting into a smooth, velvety sauce, resulting in a grainy texture.
3.Let the dish rest 5 minutes after baking: this short pause allows the bubbling hot cheese sauce to set slightly, so it stays coated on the cauliflower instead of running across the plate when served.


✨ You May Also Like

Side Dishes
🍜 India

Velvety, aromatic all-purpose curry sauce perfect for tossing with roasted veggies, grilled protein, or rice for fast, cozy, flavorful meals.

⏱️ 25 minuteSide Dishes ★ 4.8
Side Dishes
🍜 Spain

Tender, starchy boiled yuca tossed in bright, garlicky citrus mojo sauce—an iconic, zesty side that pairs beautifully with roasted pork, grilled meats, and rice and beans.

⏱️ 40 minuteSide Dishes ★ 5
Side Dishes
🍜 United States

Tender, paper-thin potato flatbread, a beloved Norwegian-American Minnesota Christmas staple, griddled until softly spotted and served warm with butter.

⏱️ 1 hour 30Side Dishes ★ 4.6
Side Dishes
🍜 United States

Rich, deeply savory cured salt pork, a long-lasting kitchen staple perfect for frying crispy as a side or adding umami to stews, beans, and chowders.

⏱️ 7 days (2Side Dishes ★ 4.9
Side Dishes
🍜 United States

Crispy, tangy classic Southern fried green tomatoes with a crunchy cornmeal crust, served hot for a nostalgic, comforting summery bite.

⏱️ 25 minuteSide Dishes ★ 4.9
Side Dishes
🍜 United States

Moist, golden-crusted savory muffins with sweet corn, zesty jalapeño, and melted cheddar, perfect for pairing with smoky summer grilled fare.

⏱️ 30 minuteSide Dishes ★ 4.9

cheesy cauliflower:Frequently Asked Questions

1.Can I use pre-cut cauliflower florets instead of chopping a whole head for this recipe? ▾
Absolutely, pre-cut florets are a great time-saver here. Just give them a quick rinse and pat them completely dry first—excess trapped water will make your cheese sauce thin and watery. Trim any tough, woody stem bits, and cut extra-large pieces down to 1.5 inches so all florets cook evenly through the bake.
2.Why does my cheese sauce turn out grainy sometimes? ▾
Grainy sauce almost always comes from overheating the cheese, or adding it too quickly. Once your butter-flour roux is smooth and you’ve whisked in warm milk to make a thick béchamel, take the pan off the heat before stirring in shredded sharp cheddar. Skip pre-shredded cheese with anti-caking additives, as those can also cause a gritty texture.
3.Can I make this dish ahead of time for a potluck or holiday meal? ▾
You can assemble the entire dish—cauliflower tossed in cheese sauce, in your baking dish—up to 24 hours ahead, covered tightly in the fridge. When you’re ready to serve, bake it uncovered for an extra 5 to 7 minutes to account for the cold start, until it’s bubbly around the edges and golden on top. Avoid baking it fully ahead and reheating more than once to prevent mushy florets.
4.What’s the best way to get that crispy golden top without burning the cheese? ▾
For a perfect crisp, golden top, bake the dish on your oven’s middle rack at 375°F for the first 20 minutes, then shift it to the upper rack for the final 5 to 7 minutes. Sprinkle a thin extra layer of shredded cheddar on top before that final stretch, and keep a close eye to avoid burnt, bitter cheese spots.
5.Can I use a different type of cheese if I don’t have sharp cheddar? ▾
Sharp cheddar gives that signature tangy, rich flavor that cuts through mild cauliflower, but you can absolutely swap in other melting cheeses. Great options include Gruyère, fontina, or mild white cheddar; just avoid crumbly, non-melting cheeses like feta or fresh mozzarella, which won’t create that smooth, velvety sauce texture.
6.How do I keep the cauliflower from getting mushy when it bakes? ▾
Mushy cauliflower comes from two common missteps: overcooking florets before baking, or not drying them properly after washing. If you pre-cook cauliflower, only cook it to tender-crisp before tossing in sauce. Baking the dish uncovered also lets excess steam escape, so florets hold their firm, pleasant texture instead of turning soft.
7.Is there a way to make this recipe gluten-free? ▾
You can easily adapt this to be gluten-free with two simple swaps. Replace the all-purpose flour in the roux with a 1:1 gluten-free all-purpose baking flour that contains xanthan gum to help thicken the sauce, and double-check that your shredded cheddar has no hidden gluten-containing anti-caking additives.
8.What main dishes pair well with this baked cheesy cauliflower? ▾
This rich, veggie-forward side pairs beautifully with so many weeknight and special-occasion mains. Try it alongside grilled chicken thighs, baked salmon, pan-seared pork chops, or sliced roast beef. It’s also a great lighter substitute for mac and cheese at barbecues, served next to smoked brisket or pulled pork.
9.Can I use low-fat milk or plant-based milk instead of whole milk for the sauce? ▾
Whole milk creates the creamiest, most stable cheese sauce, but you can swap in 2% milk if that’s what you have on hand. If using plant-based milk, pick unsweetened plain oat or soy milk, as thinner options like almond milk make a watery sauce. Avoid skim milk entirely, as it lacks enough fat for a smooth, velvety texture.
10.How should I store leftovers, and how long will they keep? ▾
Let leftover baked cheesy cauliflower cool completely to room temperature within 2 hours of baking, then transfer it to an airtight container and store it in the fridge for up to 3 days. Reheat portions in the oven at 350°F for 10 to 12 minutes, or in the microwave in 30-second bursts, until heated through.
11.Do I need to blanch the cauliflower before baking it in the cheese sauce? ▾
You don’t have to blanch cauliflower first, but a quick 3-minute blanch in boiling salted water (followed by an ice bath and thorough pat-dry) cuts down total bake time and yields extra-tender florets. If you skip blanching, add 5 to 7 minutes to your total bake time, and cover the dish for the first 10 minutes to let the cauliflower steam slightly.

Comments (9)

2 hours ago

OMG this baked cheesy cauliflower is a total game changer for weeknight family dinners! My two kids usually turn their noses up at any veggie that isn’t a tater tot, but they ate seconds tonight and even asked if we could have it again later this week. It’s so cheesy, the top gets perfectly crispy, and the cauliflower stays tender instead of turning into mushy garbage. SO good, this is going into our regular dinner rotation for sure!

3 days ago

Made this for my Sunday football watch party this past weekend to go along with the wings and sliders, and even the guys who swear they “don’t eat rabbit food” were going back for thirds. Only small tweak I made was sprinkling crumbled bacon on top right before baking, and man, that was chef’s kiss. It was so easy too, didn’t take any time away from getting the rest of the spread ready or watching the game.

2 days ago

So stoked this was a hit at your watch party! That crumbled bacon addition sounds incredible — the salty, crispy crunch pairs so perfectly with the creamy cheese and tender cauliflower. Thanks for sharing your fun tweak with everyone!

1 week ago

Full transparency: I’ve hated cauliflower my entire life. I always thought it was the most boring, bland, flavorless vegetable on the entire planet. My roommate made this last week and forced me to try one bite, and I’m officially a convert. The cheese sauce is so rich and creamy, and the roasted edges of the cauliflower get all nutty and sweet? Who even knew cauliflower could taste like that. I already grabbed all the ingredients to make a big batch for my weekly meal prep tonight.

5 days ago

Same! I used to only eat cauliflower tossed in hot wing sauce, but this cheesy version is now my go-to meal prep side. Quick tip: it reheats amazingly in the air fryer for 3-4 minutes if you want to crisp the cheese top back up instead of using the microwave!

3 days ago

Welcome to the cauliflower fan club! We’re so happy this recipe changed your mind about it. Shoutout to MealPrepQueen_Kate for the great reheating tip too — a quick air fryer blast or 1 minute under the broiler brings that crispy top right back to life, which is perfect for meal prep leftovers.

3 days ago

As someone who only has a tiny, beat-up dorm oven and basically zero actual cooking skills, this was so easy to pull off! 30 minutes total, barely any dishes to wash, super cheap ingredients, and it tastes way fancier than it has any right to. My roommate and I split the entire pan in one sitting, zero regrets. Will absolutely be making this again when we’re sick of dining hall food.

5 days ago

Made this for my grandkids when they came to visit over the weekend. I was worried it wouldn’t be filling enough, but paired with some baked chicken and roasted broccoli it was the perfect family dinner. Even my oldest granddaughter, who’s going through that “I only eat plain buttered pasta” phase, cleaned her entire plate. One quick tip for new cooks: don’t overcook the cauliflower before adding the cheese! Keep it a little firm so it doesn’t turn mushy while baking.

3 days ago

This is such an important tip! I made that exact mistake my first time making this and it was a little soggy, but the second time I kept the cauliflower crisp-tender before adding the cheese and it turned out absolutely perfect.

2 weeks ago

I’m so glad I stumbled on this recipe! It’s naturally gluten free as long as you double check your cheese labels for hidden weird additives, which is perfect for my celiac diet. I brought a big pan of it to our neighborhood potluck last week, and half the people there tracked me down before they left to ask for the recipe. SO good, I’ve already made it twice since that potluck.

1 week ago

I brought this to a work potluck a couple weeks ago too! It’s such a universal crowd pleaser — even people who don’t eat low-carb or avoid gluten go crazy for it. I added a sprinkle of smoked paprika on top for a little color and a warm, smoky kick, and it was chef’s kiss.

5 days ago

Love that this recipe works for your gluten free needs, Gina! That smoked paprika add-on from Luna is such a smart call — a little sprinkle adds such a nice warm depth that pairs perfectly with the melted cheese. Thanks for sharing it with your neighbors at the potluck, that makes our day!

yesterday

This was so tasty, but I wanted a little extra heat so I mixed a finely diced jalapeño into the cheese sauce and topped the whole thing with crushed pork rinds instead of breadcrumbs since I’m doing low carb right now. Wow, that combo slapped! The texture was perfect, and the jalapeño heat cut through the richness of the cheese so nicely. I’ll be making this exact version on repeat for sure.

30 minutes ago

That jalapeño and pork rind twist sounds absolutely delicious! Crushed pork rinds make such a great crispy, low-carb alternative to breadcrumbs, and that little kick from the jalapeño sounds like the perfect addition. We’ll have to test that version in our test kitchen soon — thanks for the creative idea!

5 minutes ago

I made a big pan of this on Sunday for my weekly meal prep to serve as a side with dinners all week, and it’s held up so much better than I thought it would! I was worried the cheese would get rubbery or gross when reheated, but 30 seconds in the microwave and a quick minute under the broiler and it tastes just as good as it did fresh out of the oven. Total lifesaver for busy weeks when I don’t have time to cook every single night.

just now

Pro tip: portion it out into single-serve glass containers when you store it so you don’t have to reheat the whole batch every time! I do this every Sunday too, and it’s saved me so many last-minute takeout nights when I’m too tired to cook.

2 days ago

Bumping this to 4 stars because the recipe itself is super easy and the parts that didn’t burn tasted amazing, but I totally charred the top layer of cheese because I got sucked into a game of Valorant while it was in the oven. That’s 100% on me, not the recipe at all! The non-burned bits were so creamy and flavorful, I’m definitely making it again this weekend and I’m setting three timers so I don’t zone out and ruin it next time.

yesterday

Dude I did the EXACT same thing my first time making this except I got distracted by a TikTok rabbit hole! The timer hack is a lifesaver, it turns out perfect every time once you remember to set it.

2 hours ago

We’ve all been there! No judgment at all for getting distracted – that baked cheese smell is so good it’s easy to lose track of time. So glad you enjoyed the parts that weren’t charred, we know the next batch will turn out perfect for you!



