
Cheesy Hash Brown Casserole
intro
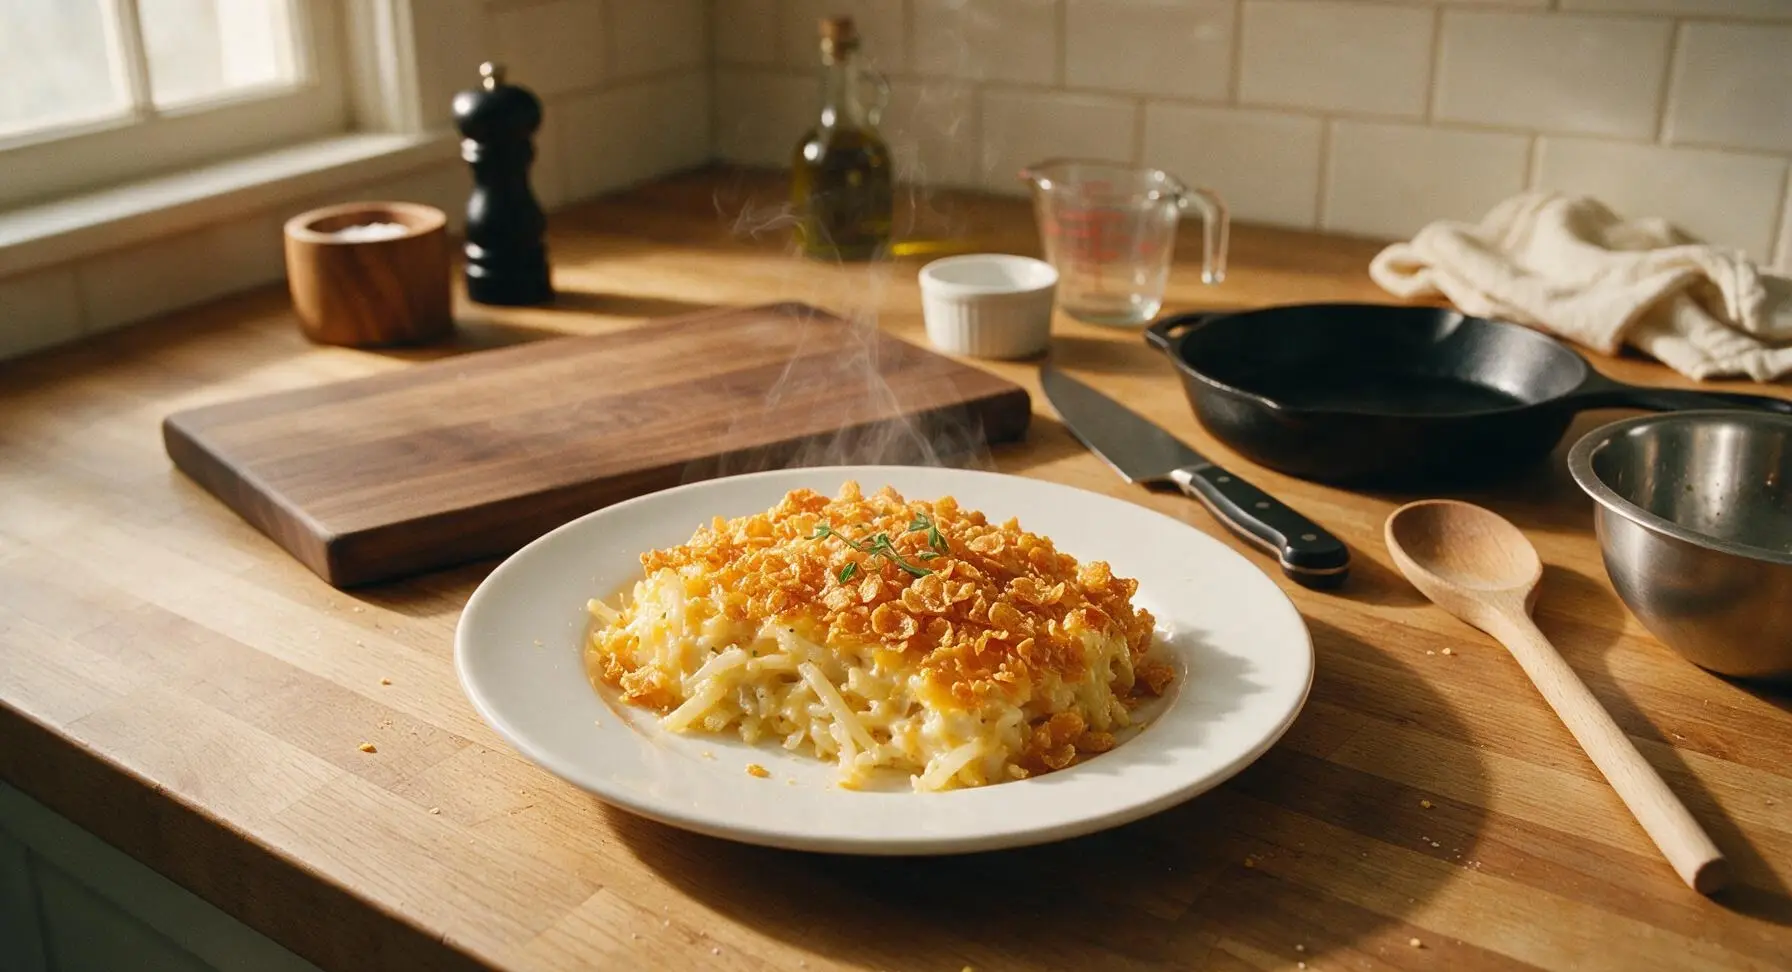
Creamy, cheese-laced shredded potato bake with a buttery crispy cornflake top, the beloved Midwestern potluck staple that delivers cozy, nostalgic comfort in every bite.
Ingredients
Steps
Preheat and Prep Dish
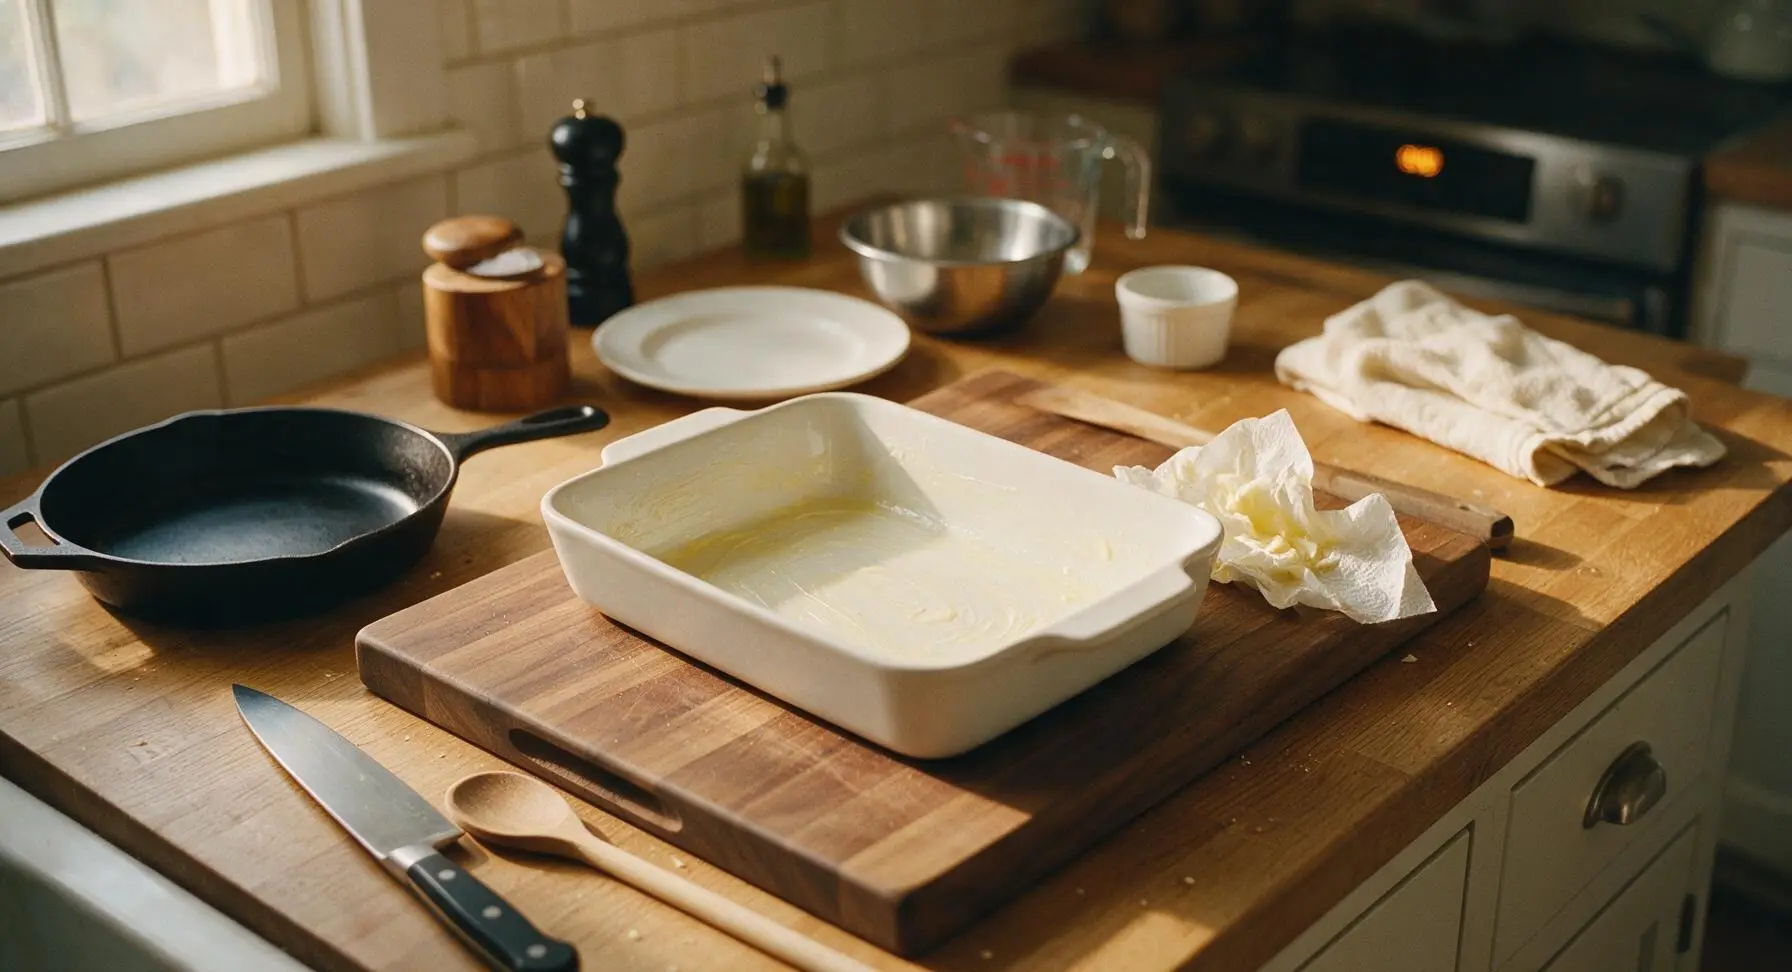
Preheat your oven to 350°F (175°C). Use a small pat of the melted butter to lightly grease the interior of the 9x13 inch matte white ceramic baking dish, coating the bottom and 1cm up the sides evenly with a crumpled paper towel to prevent sticking. Set the prepared dish on the beech wood cutting board near the mixing area.
Shred Fresh Cheddar
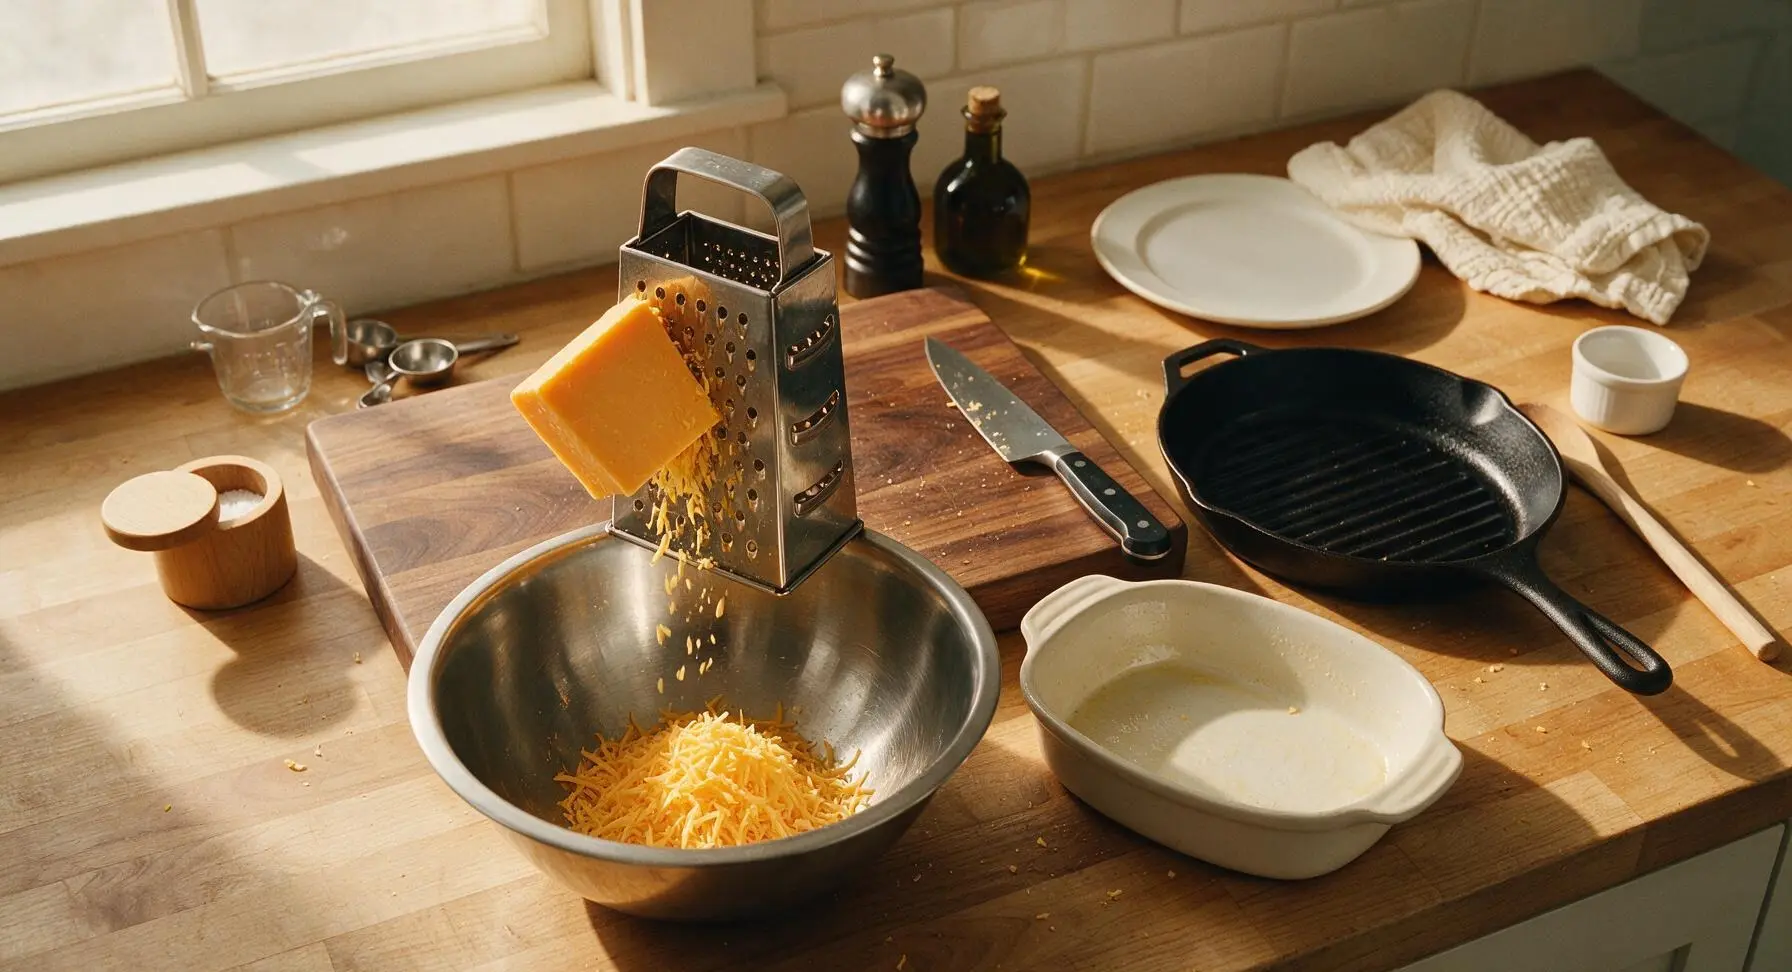
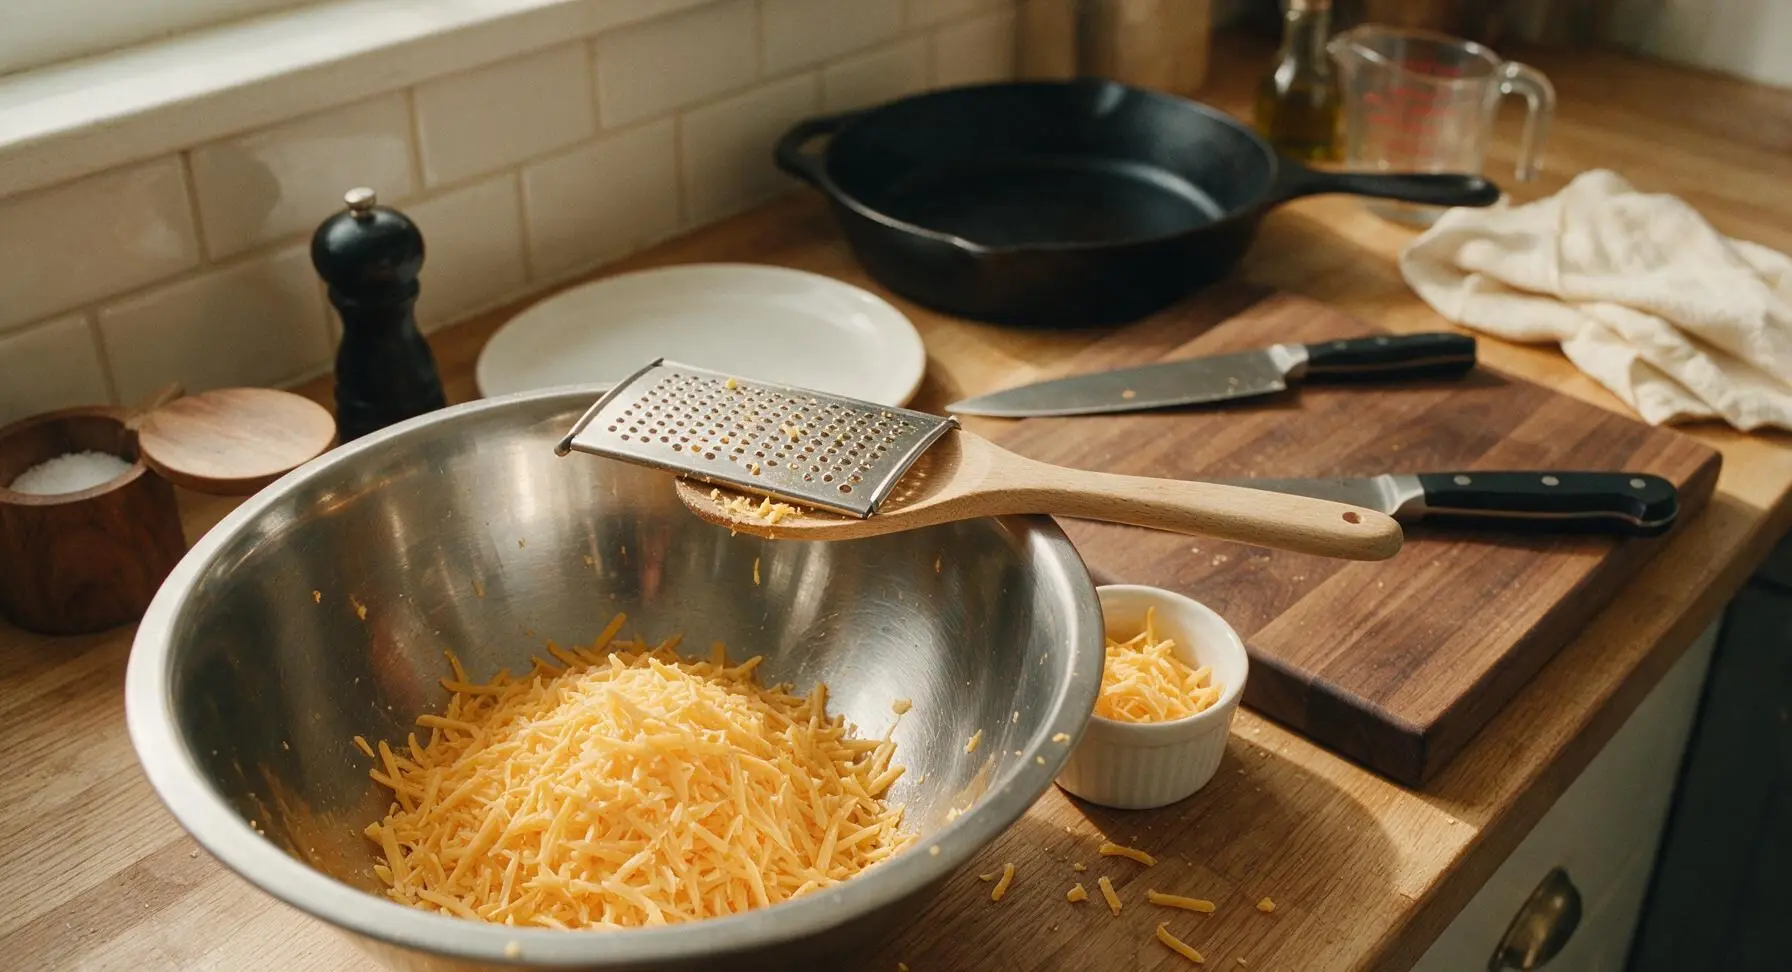
Place the 4-sided box grater on the stable surface of the beech cutting board, positioned over the large stainless steel mixing bowl. Hold the block of sharp cheddar firmly against the large grating holes, applying even pressure to shred the cheese into the bowl until you have 2 full cups of light, fluffy shreds. Set aside 1/2 cup of the shredded cheese in a small pinch bowl to sprinkle over the topping later, if desired. Note: Pre-shredded bagged cheese works in a pinch, but fresh shreds melt far more smoothly due to the lack of starchy anti-caking coatings.
Combine Casserole Base
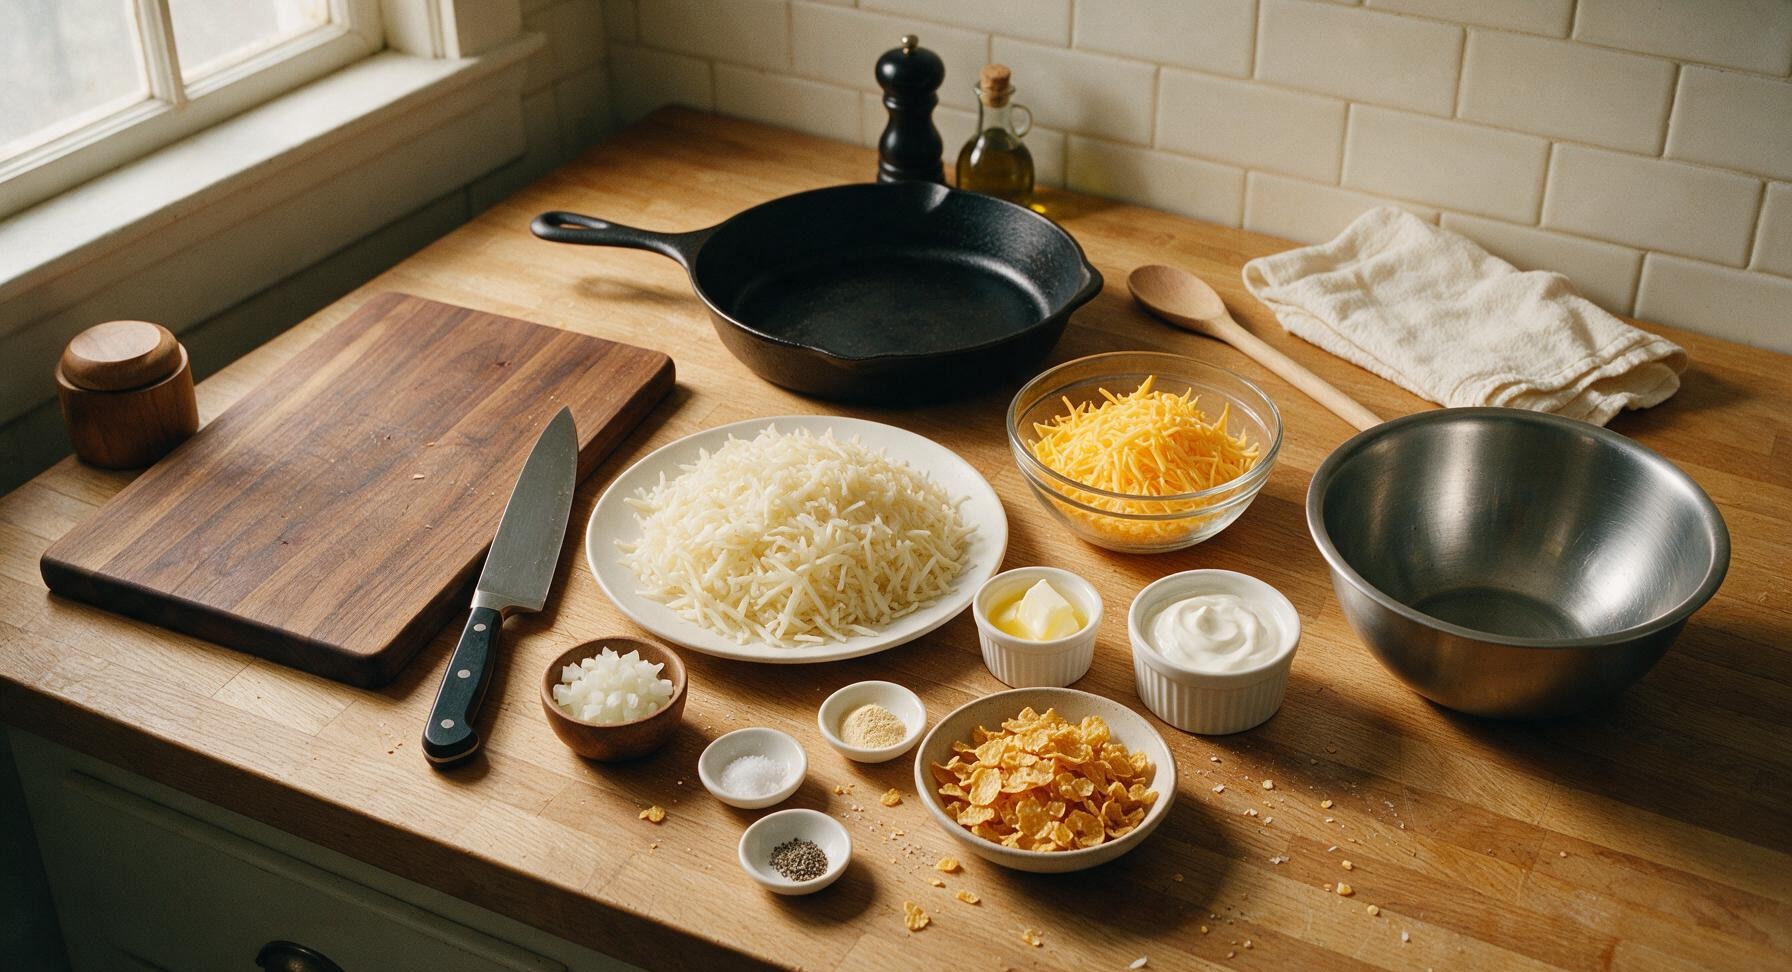
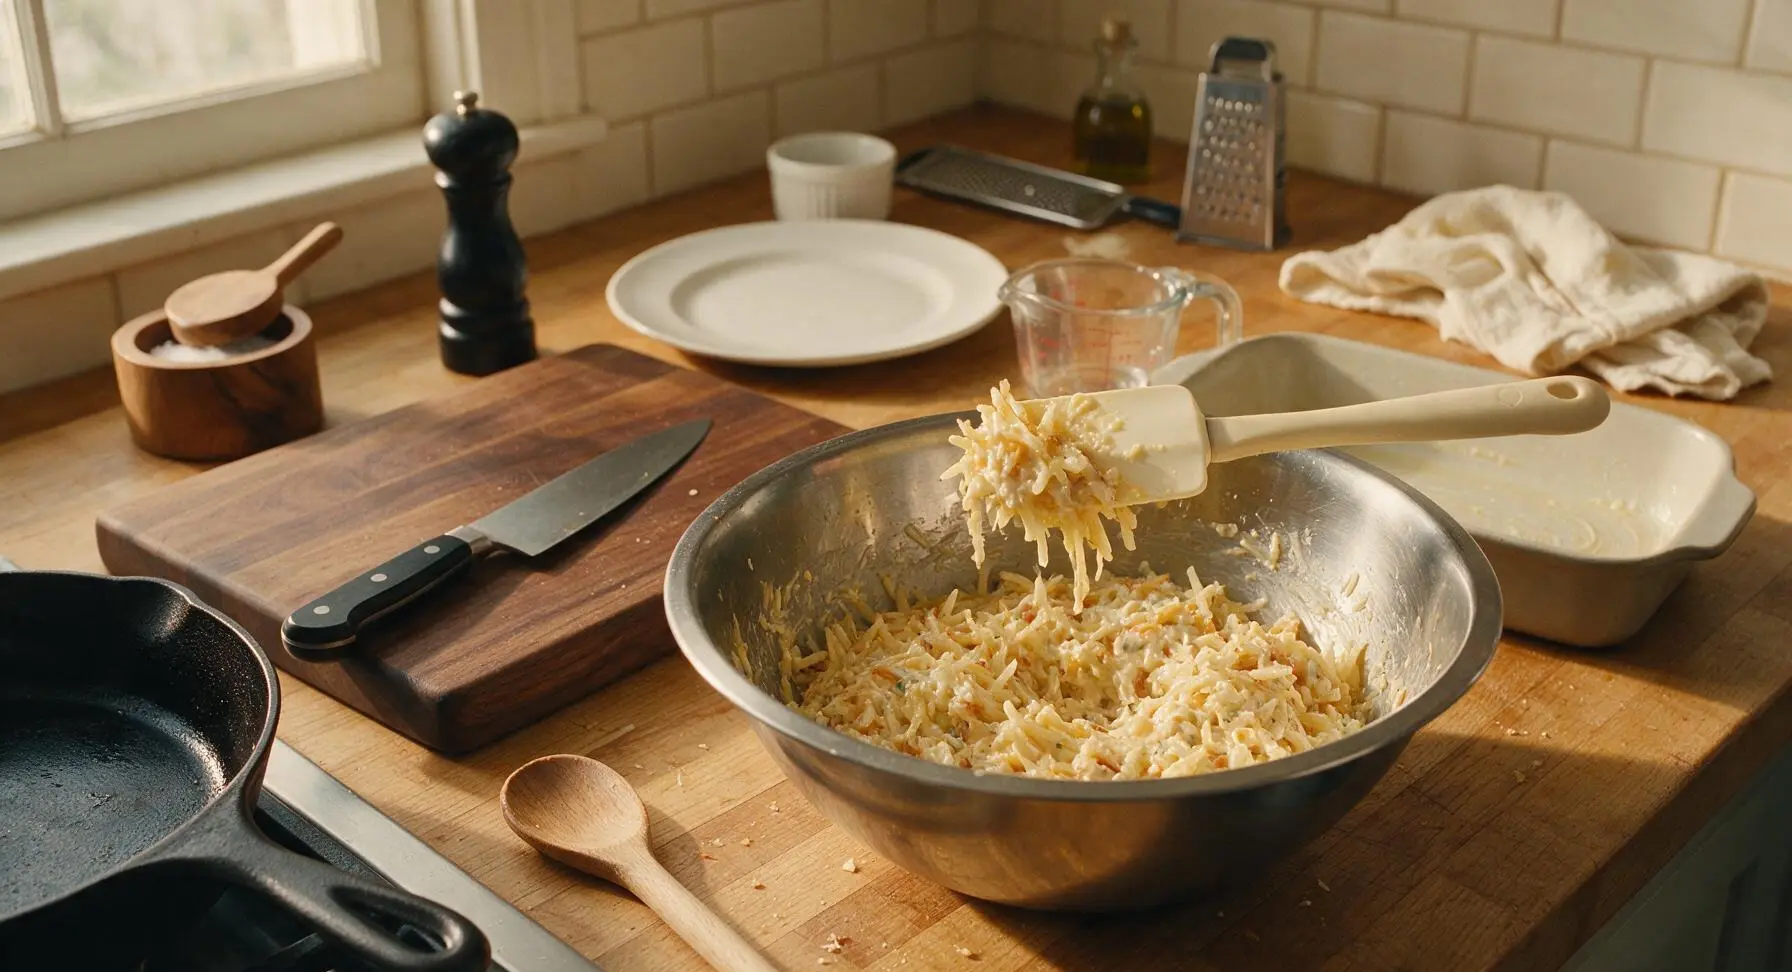
To the large mixing bowl holding the shredded cheddar, add the squeezed-dry hash browns, 1 cup full-fat sour cream, condensed cream of chicken soup, finely diced yellow onion, 1 tsp garlic powder, 1/2 tsp kosher salt, 1/4 tsp freshly ground black pepper, and 1/4 cup (half) of the melted unsalted butter. Use the cream-handled silicone spatula to fold all ingredients together thoroughly, scraping the bottom and sides of the bowl repeatedly, until every hash brown shred is evenly coated in the creamy, cheesy mixture with no dry potato clumps remaining.
Fill Baking Dish
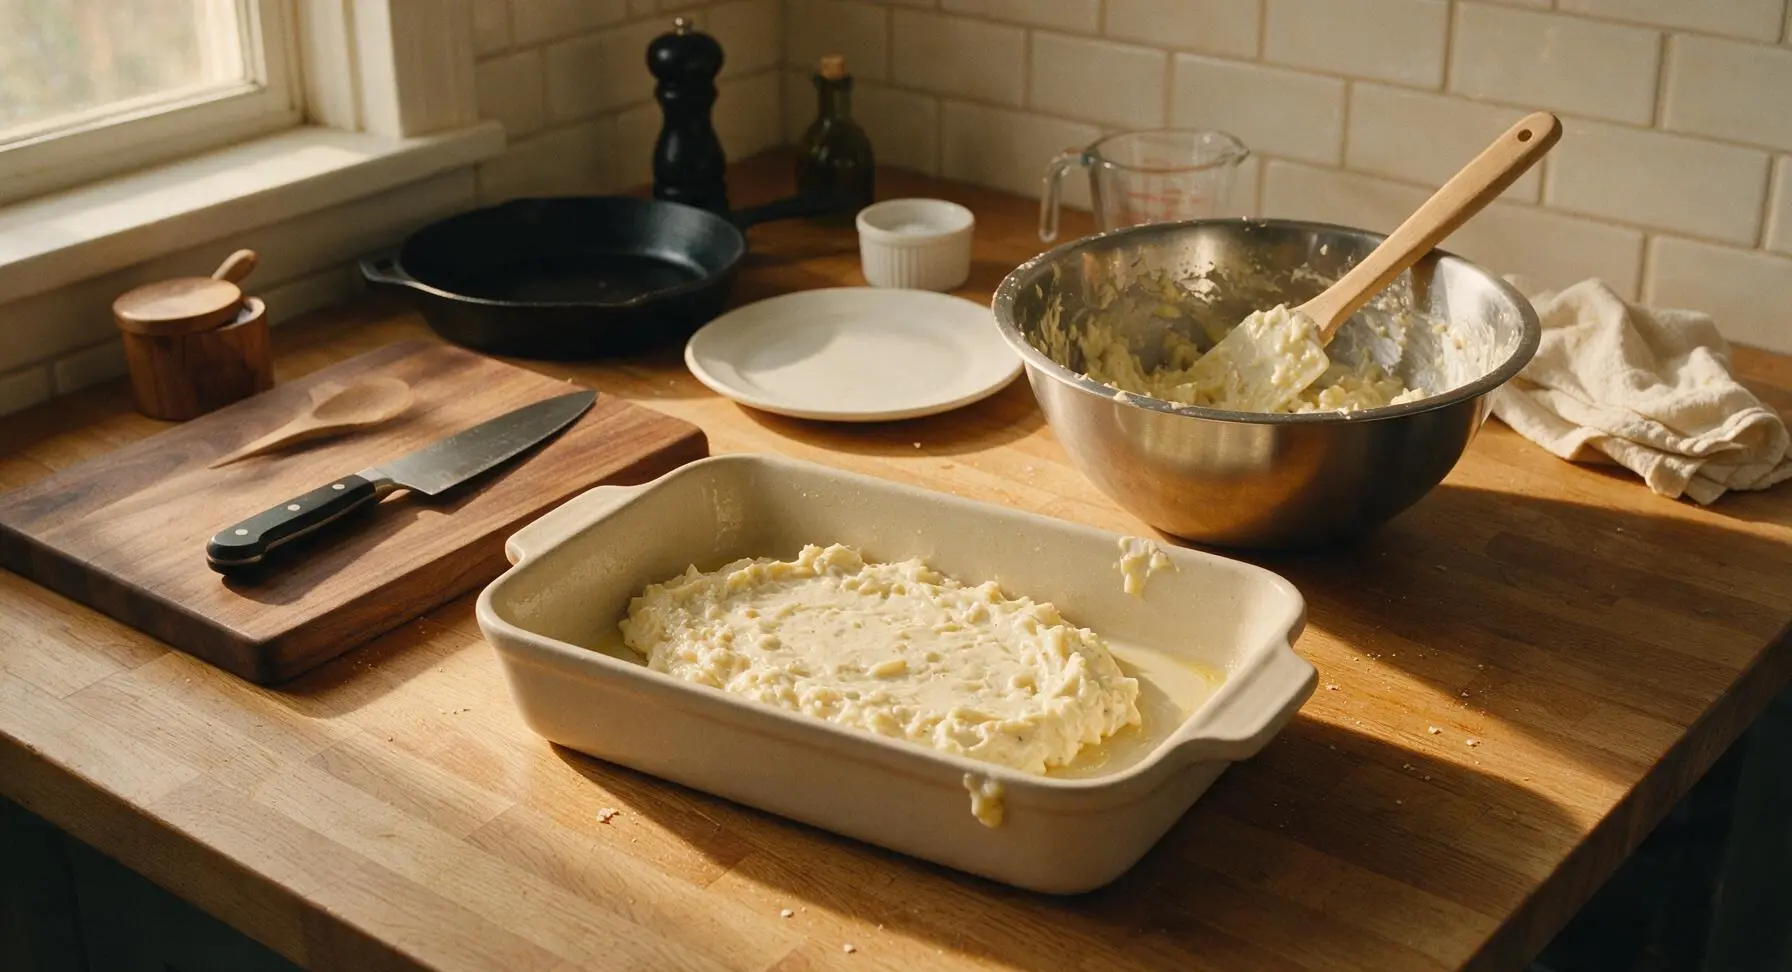
Use the silicone spatula to scrape every bit of the creamy hash brown mixture from the large mixing bowl into the greased 9x13 ceramic baking dish. Spread the mixture into a smooth, even layer across the entire dish, pressing very gently with the flat side of the spatula to eliminate large air pockets, ensuring the casserole bakes to a uniform thickness with no thin, overcooked edges.
Mix Buttery Topping
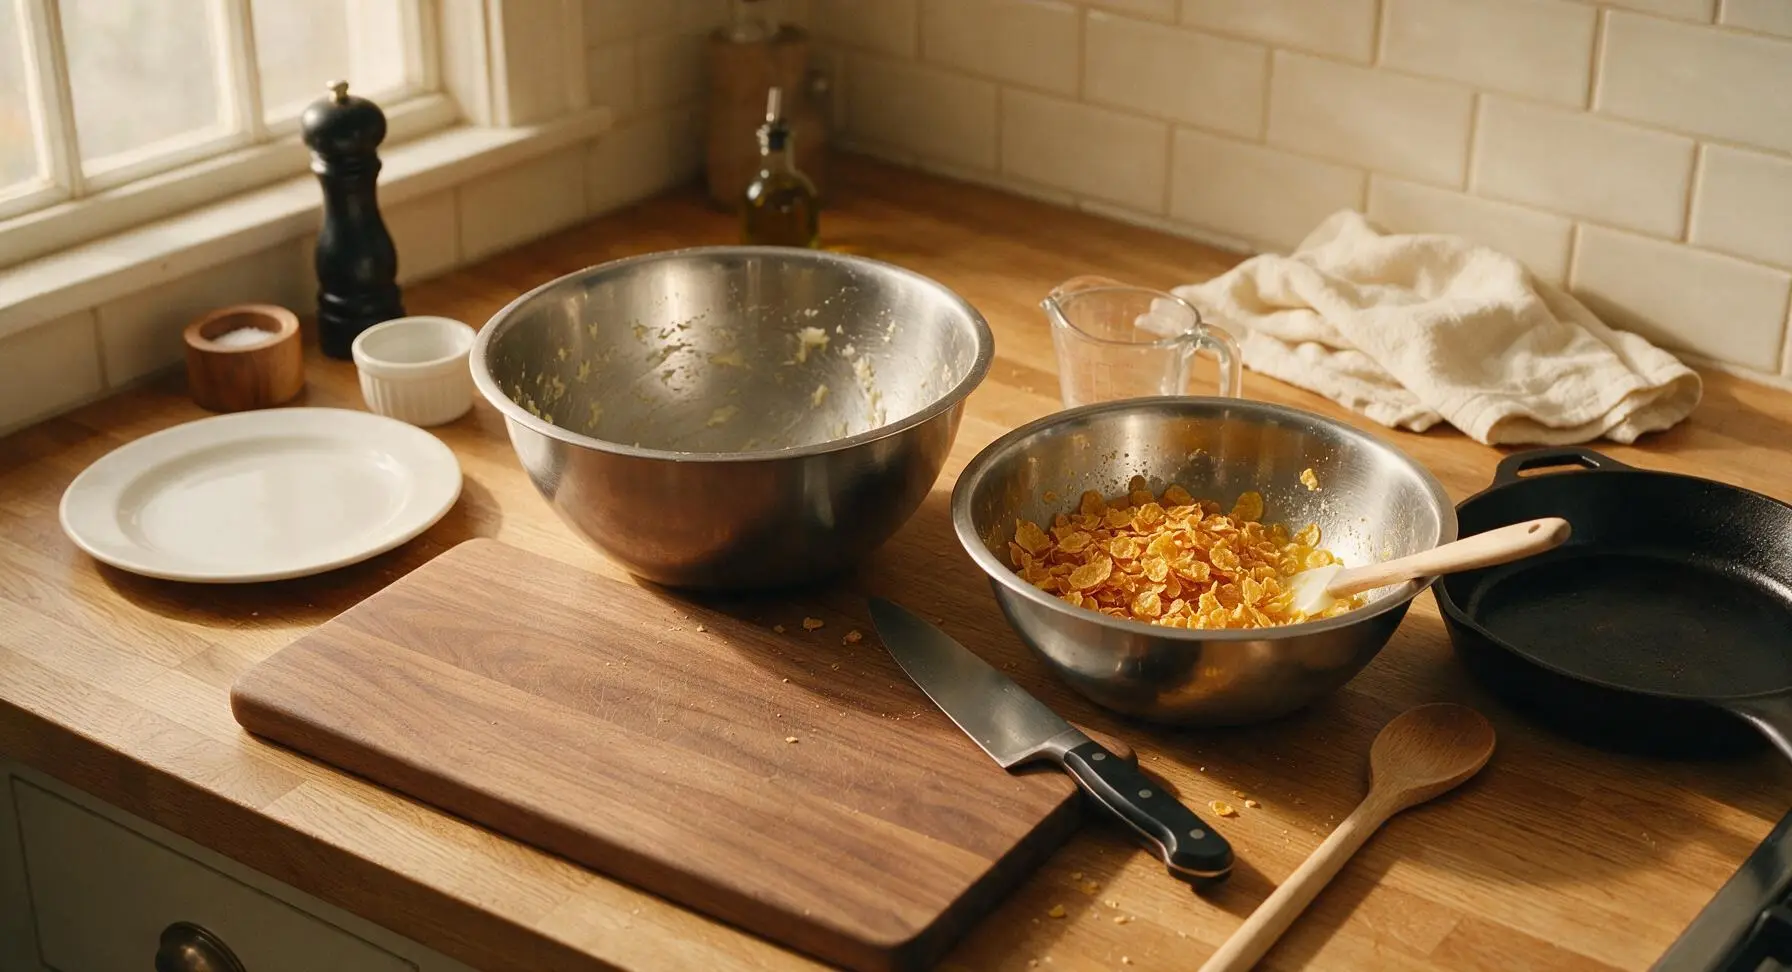
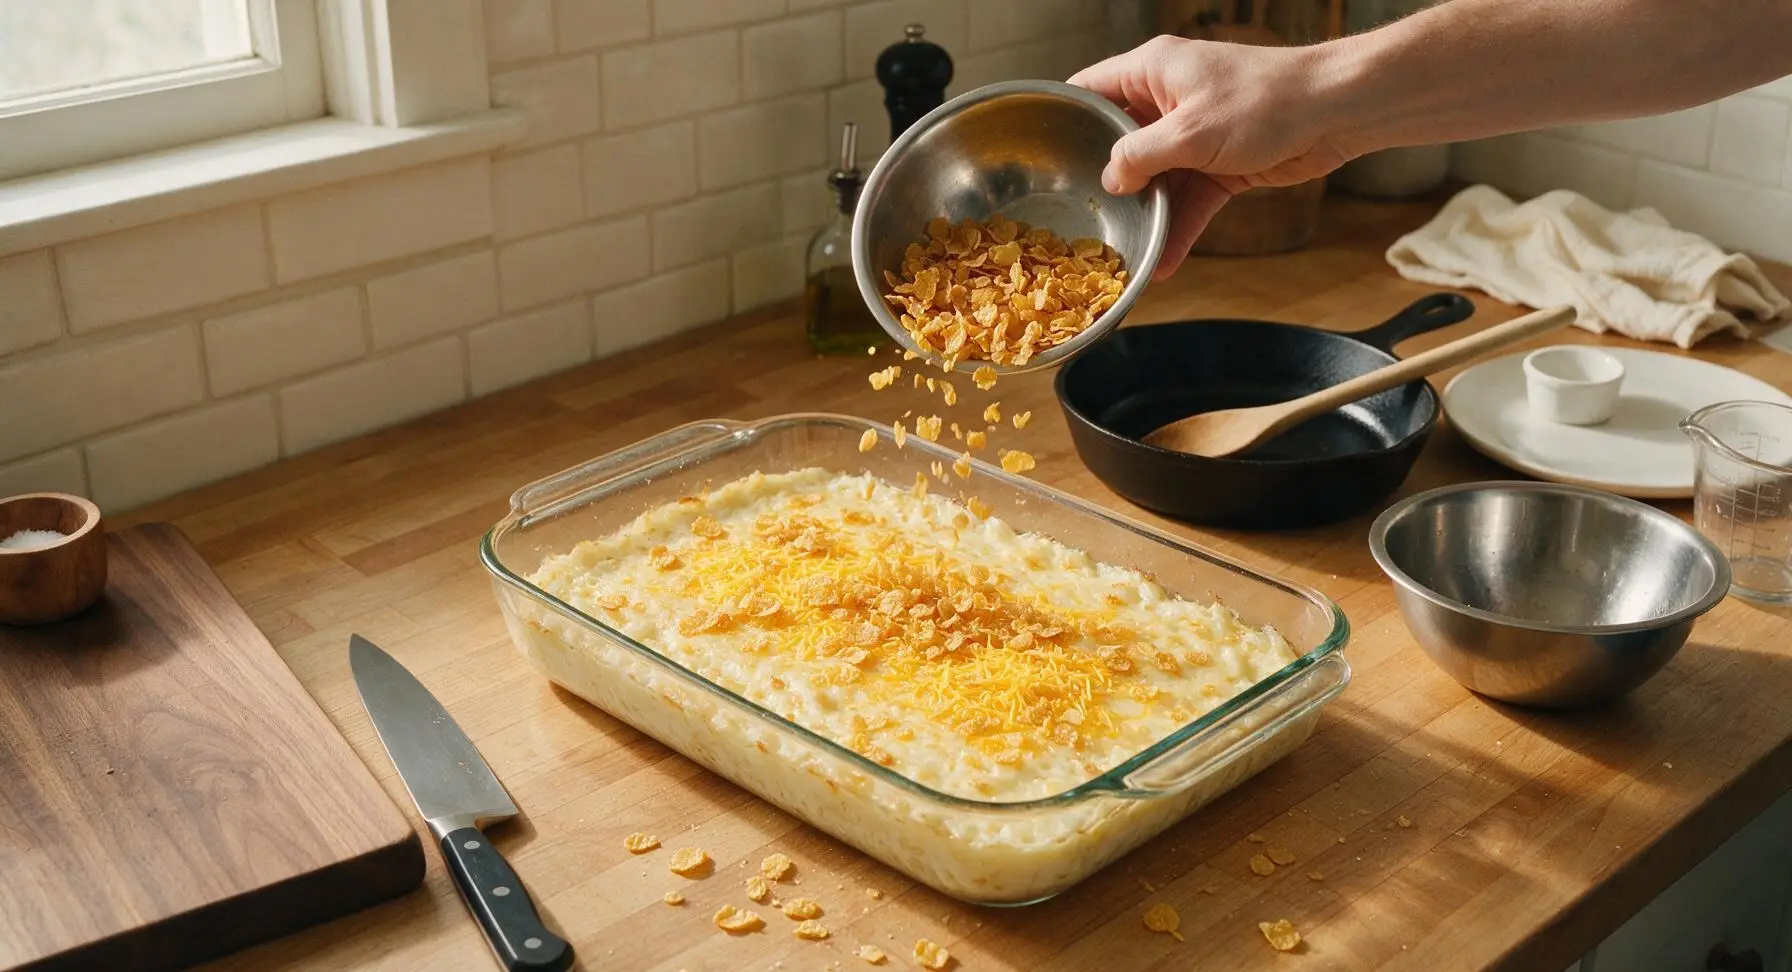
In the small stainless steel mixing bowl, combine the 2 cups of lightly crushed cornflakes with the remaining 1/4 cup of melted unsalted butter. Toss gently with the tip of the silicone spatula until every cornflake is lightly coated in melted butter, taking care not to crush the flakes into fine crumbs—small, uneven clusters create the best crunchy texture after baking.
Top and Bake Casserole
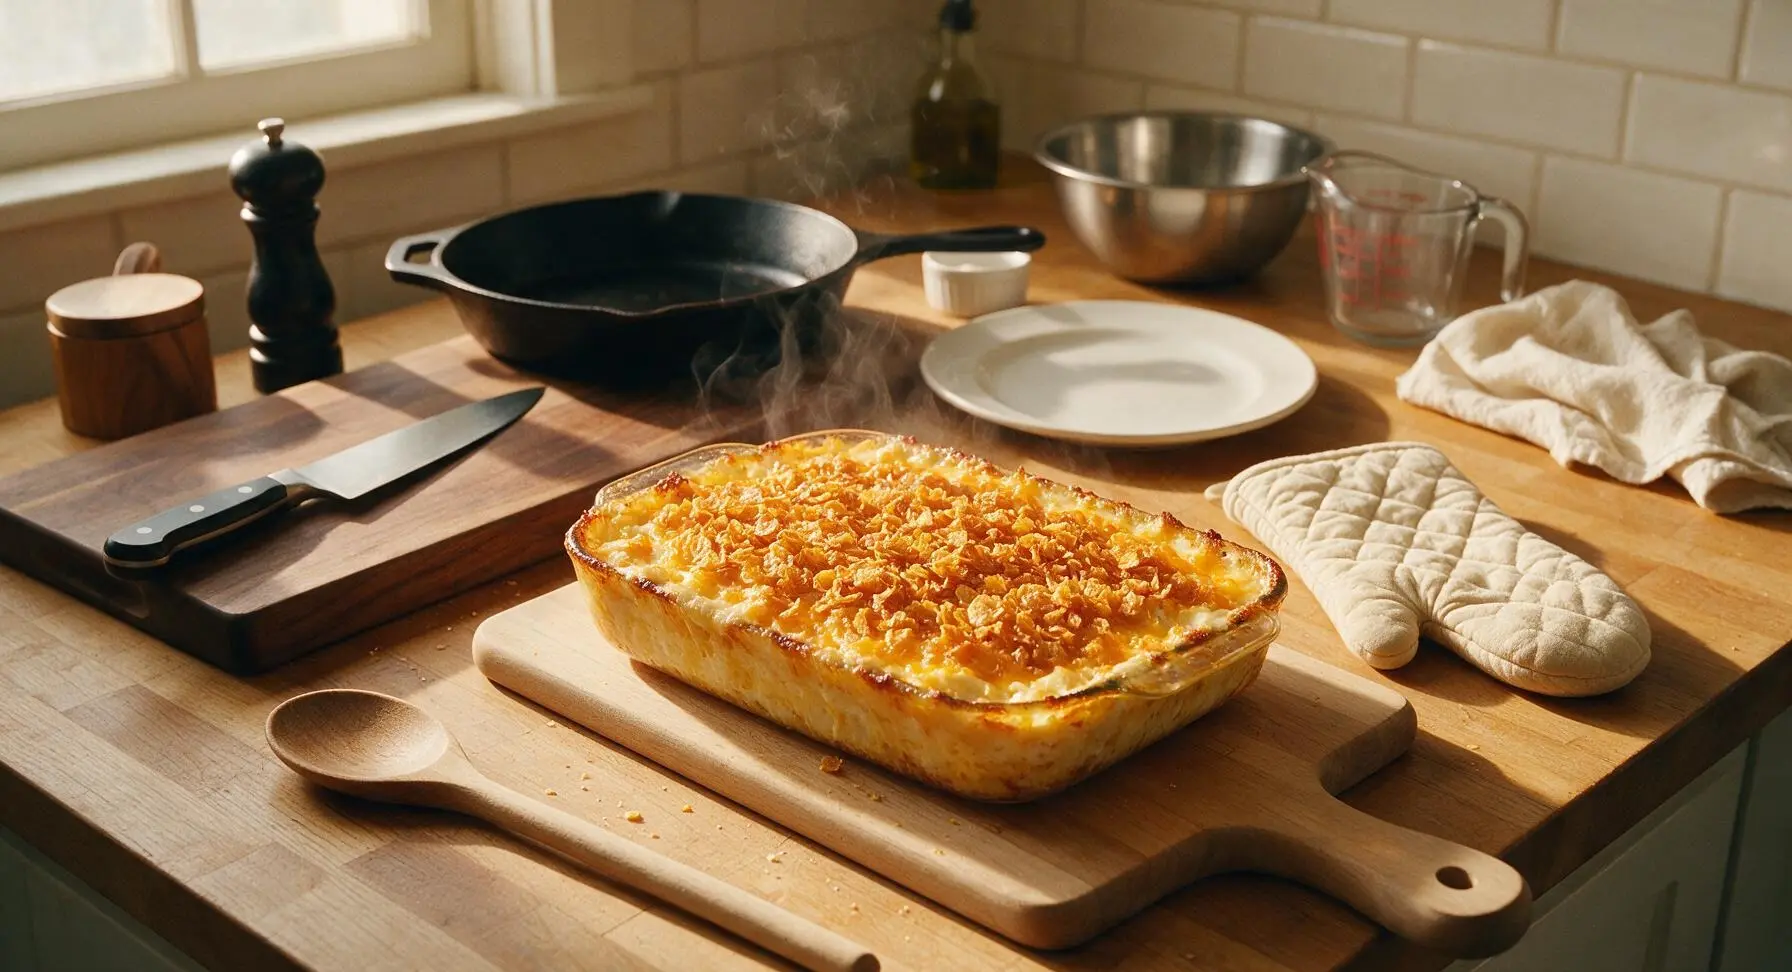
Sprinkle the buttery cornflake mixture evenly over the entire surface of the hash brown base in the baking dish, spreading it in a loose, even layer without pressing down firmly. Top with the reserved 1/2 cup of shredded cheddar, if using. Place the baking dish on the middle rack of the preheated 350°F (175°C) oven, and bake for 45-50 minutes, until the edges are bubbling vigorously around the entire perimeter of the dish and the cornflake top is a deep, toasty golden brown.
Rest Before Serving
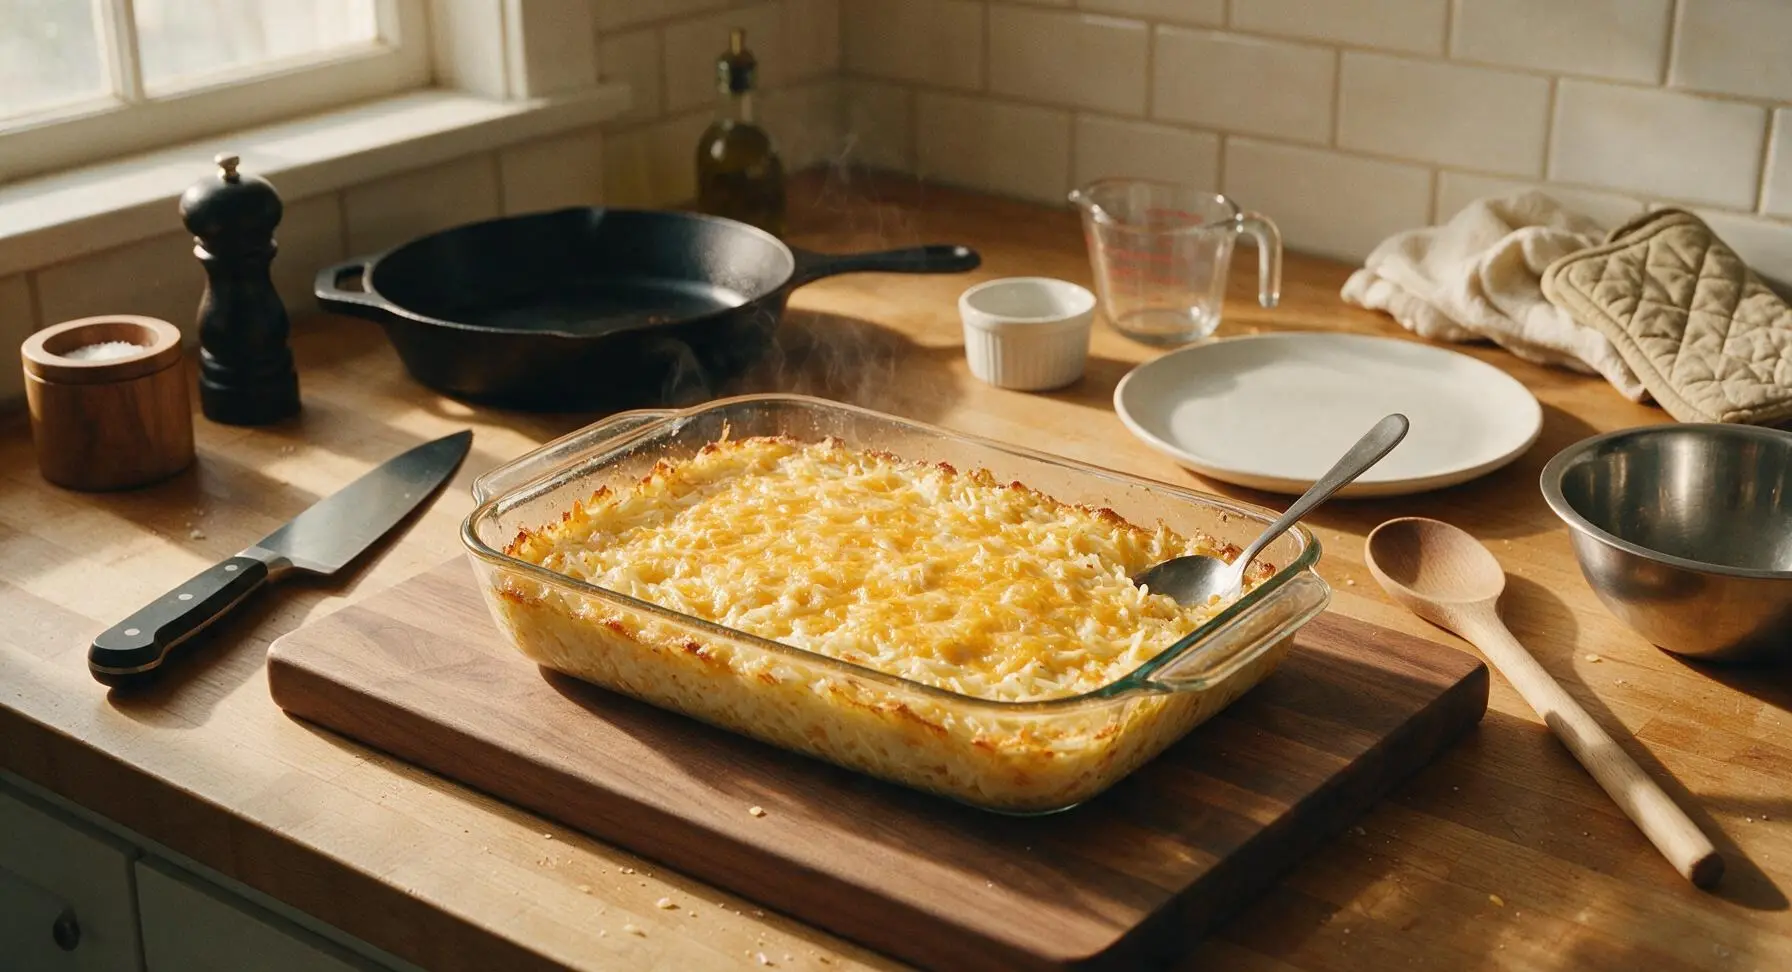
Let the hot casserole rest undisturbed for 10 minutes at room temperature before serving. This resting period allows the creamy cheese and potato mixture to set slightly, so scoops hold their shape instead of sliding apart into a runny mess when plated.
Tips
2.Shred your own cheddar from a block instead of using pre-shredded bagged cheese: pre-shredded cheese is coated in potato starch and anti-caking agents that prevent smooth melting, leading to a grainy, less gooey cheese texture in the finished dish.
3.Keep the cornflake topping loose when spreading: never press the flakes firmly into the potato layer, as this traps moisture and creates a dense, soggy topping instead of the light, crunchy contrast that defines the classic recipe.






OMG this cheesy hash brown casserole was the star of our Sunday family dinner last night! My picky 7 year old asked for thirds, even my husband who hates potato dishes went back for more. So creamy, perfectly cheesy, not soggy at all. 10/10 will make for our next church potluck too!
Total game changer for my weekly meal prep! I made this on Sunday, portioned it out for lunches all week, and it reheats like an absolute dream. Not grainy, not greasy, just perfect comfort food. I added a little crumbled bacon on top per my roommate’s request and *chef’s kiss*
I’ve tried so many hash brown casserole recipes over the years and this one is easily the best! No weird canned soup aftertaste, the cheese blend is perfect, and the crunchy cornflake top is *to die for*. Made it for my book club potluck and every single person asked for the recipe.
As someone who burns toast 90% of the time, I was shocked how easy this was to pull off! 50 minutes total, no fancy steps, and my roommates thought I ordered takeout from that fancy brunch place downtown. Win for the newbie cooks!
Made this for our Easter brunch spread and it was the first dish to get cleaned out! I was worried it would be too heavy next to the pancakes and fruit, but it was the perfect savory option. Only note: I wish I’d doubled the recipe, we ran out in 10 minutes flat!
Wait is there such thing as too much cheese? Because I added an extra half cup of sharp cheddar and honestly, it was the best decision I’ve made all month. So rich, so gooey, exactly what I wanted when I was craving comfort food after a long work week.
So happy I found this! I swapped the regular cream of chicken for the gluten free version and used gluten free cornflakes for the topping, and you couldn’t even tell the difference. My whole family (none of whom are gluten free) devoured it. Will be in our regular rotation for sure!
Made this for the kids’ soccer team potluck last weekend, and all the other parents were hounding me for the recipe. Super easy to throw together after practice, no fancy ingredients, tastes like a million bucks. Only complaint is my kids now ask for it every single night for dinner hahaha
I swapped the hash browns for shredded sweet potato and added a handful of spinach, and it turned out so good! I was worried the swaps would mess up the texture, but the cheese sauce coated everything perfectly. Great base recipe to mess around with!
Really tasty, but mine came out a little soupier than the photos even though I squeezed my hash browns. Next time I’ll cut back a little on the sour cream I think? Flavor was 10/10, just texture was off for me first try. Definitely giving it another go though!
Made this for our college football tailgate last Saturday, kept it warm in the crockpot after baking, and it was a hit. Perfect game day food - hearty, cheesy, easy to scoop onto plates with a burger or hot dog. Already planning to make it for the next home game.
I was worried this would be too heavy for my sensitive stomach, but it’s actually really well balanced! I used low fat sour cream and reduced fat cheese, and it still tasted super rich and indulgent without leaving me bloated. Perfect comfort food for people who can’t do super heavy meals.
Wait dumb question - can I use fresh shredded potatoes instead of frozen hash browns? I have a bag of russets I need to use up before they go bad, and I don’t feel like running to the store.
Who says hash brown casserole is only for brunch? I made this for dinner last night with a side of scrambled eggs and crispy bacon, and it felt like the coziest weekend breakfast even though it was a Tuesday. 10/10, breakfast for dinner hits different when this casserole is involved.
Y’all, I swapped the cornflake topping for crushed up sour cream and onion potato chips and I will never go back. The extra salty crunch paired with the creamy cheese filling is insane. If you’re a snack fan, you have to try this hack.
I added a little pinch of cayenne and a sprinkle of smoked paprika to the cheese sauce, and it gave it the best subtle kick that cut through the richness so nicely! Don’t sleep on adding a little heat to this, it’s next level.
I made this last night and ate half the pan by myself, no regrets. It’s so creamy, the cheese pull is unreal, and it’s so easy to make after work when I don’t feel like putting in a ton of effort. 100% adding this to my weeknight rotation.
Made two batches of this last month, froze one before baking, and pulled it out for a last minute dinner when my sister’s family surprised us with a visit. Baked it straight from frozen (added 25 minutes to the cook time, covered with foil) and it tasted exactly like fresh! No one could tell it was a freezer meal.