
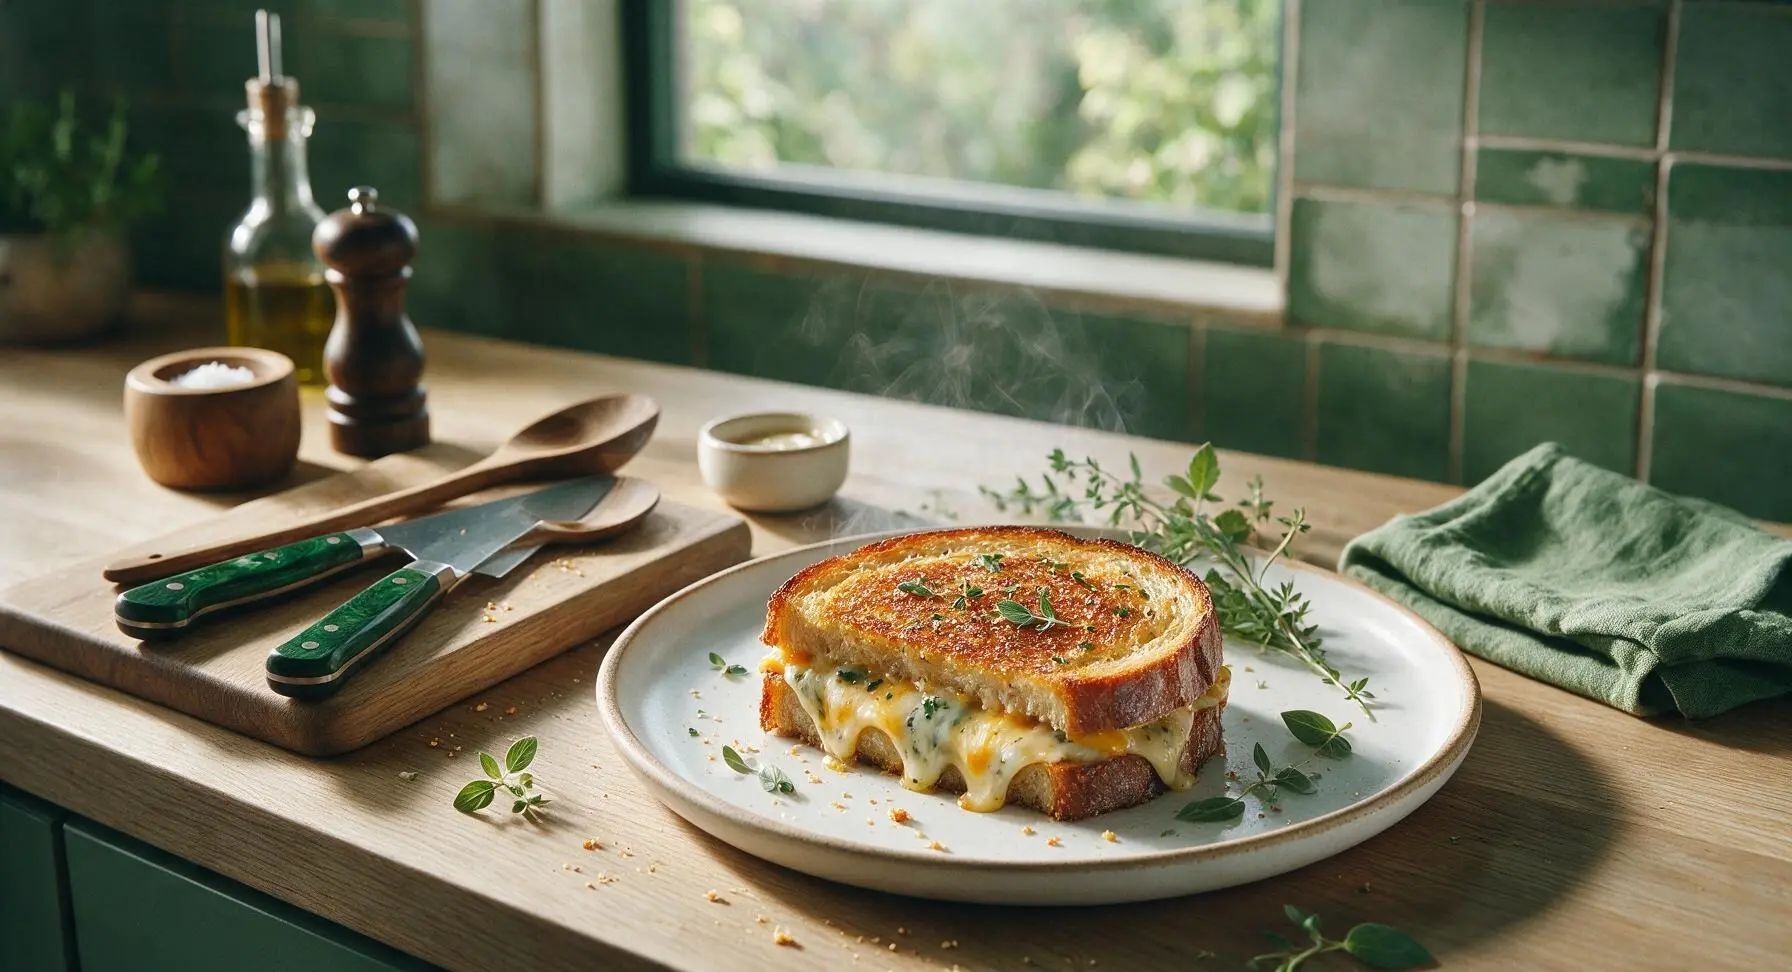
chef grilled cheese

title 1
chef grilled cheese
⏱️ cook time 8 minutes
🍽️ servings 2
⚡ Difficulty easy

intro

Shatteringly crisp sourdough crust, three nutty melted cheeses, and a subtle garlic-thyme butter elevate this grilled cheese far beyond the basic childhood classic.

Ingredients
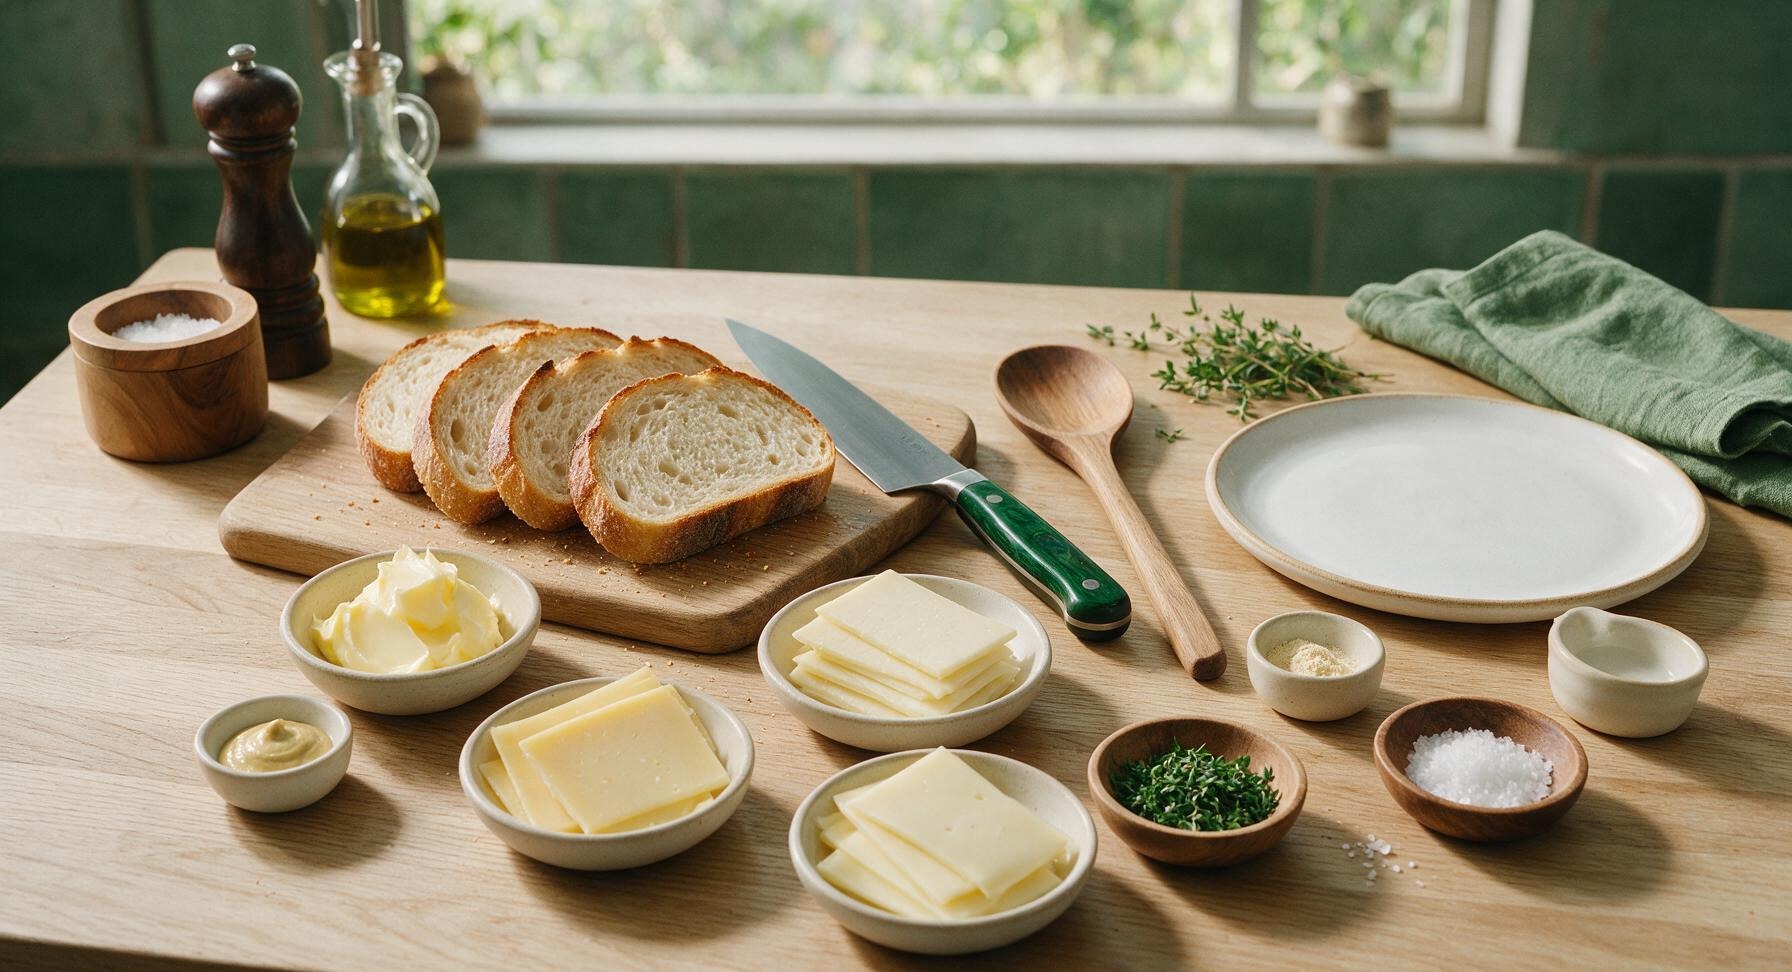
Thick-cut sourdough bread 4 slices (1.5cm thick, ~240g total)
Unsalted butter, softened 3 tbsp (42g)
Sharp white cheddar cheese 85g, thinly sliced
Gruyere cheese 55g, thinly sliced
Fontina cheese 30g, thinly sliced
Dijon mustard 1 tsp
Fresh thyme leaves 1 tsp, finely chopped
Garlic powder 1/4 tsp
Flaky sea salt 1/8 tsp

Steps

1

Mix Herb Butter Spread

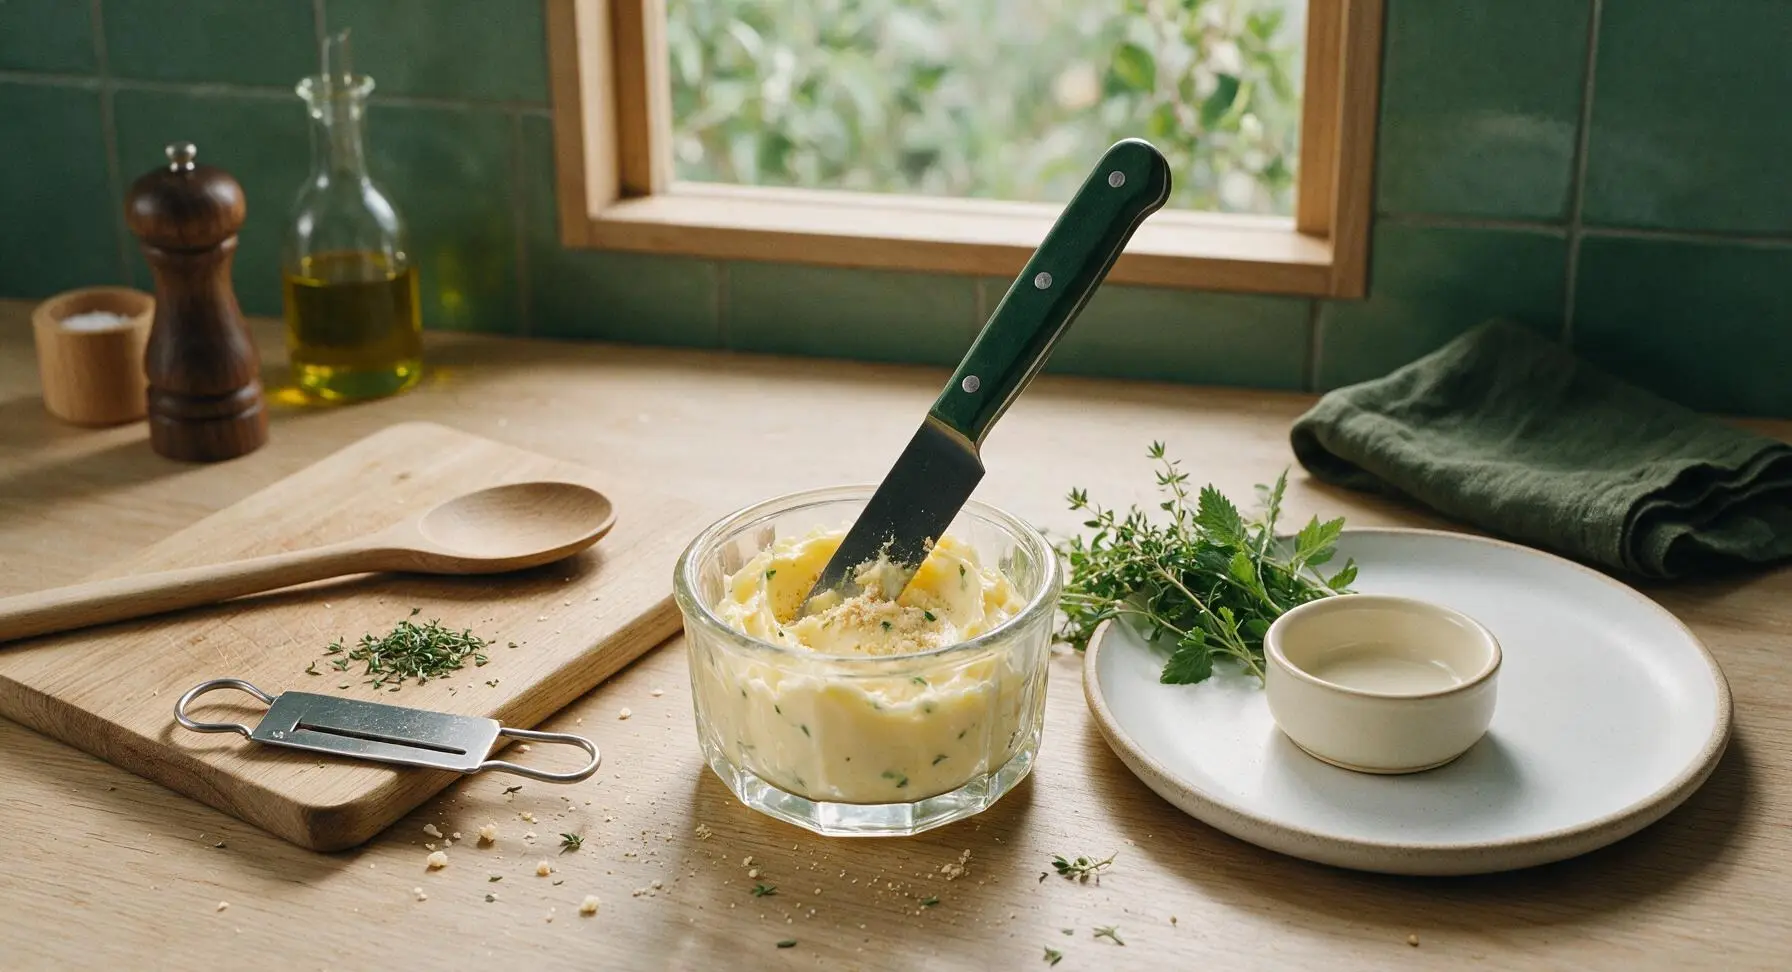
Place the 3 tablespoons of softened unsalted butter into the small glass ramekin. Add 1/4 teaspoon garlic powder and 1 teaspoon of finely chopped fresh thyme leaves. Stir with the tip of the chef knife until fully combined, smooth, and evenly flecked with green thyme. Let sit at room temperature while you prep the cheese, so it spreads easily without tearing soft bread.
Step 1
step1:Mix Herb Butter Spread
2

Slice Cheese Thinly

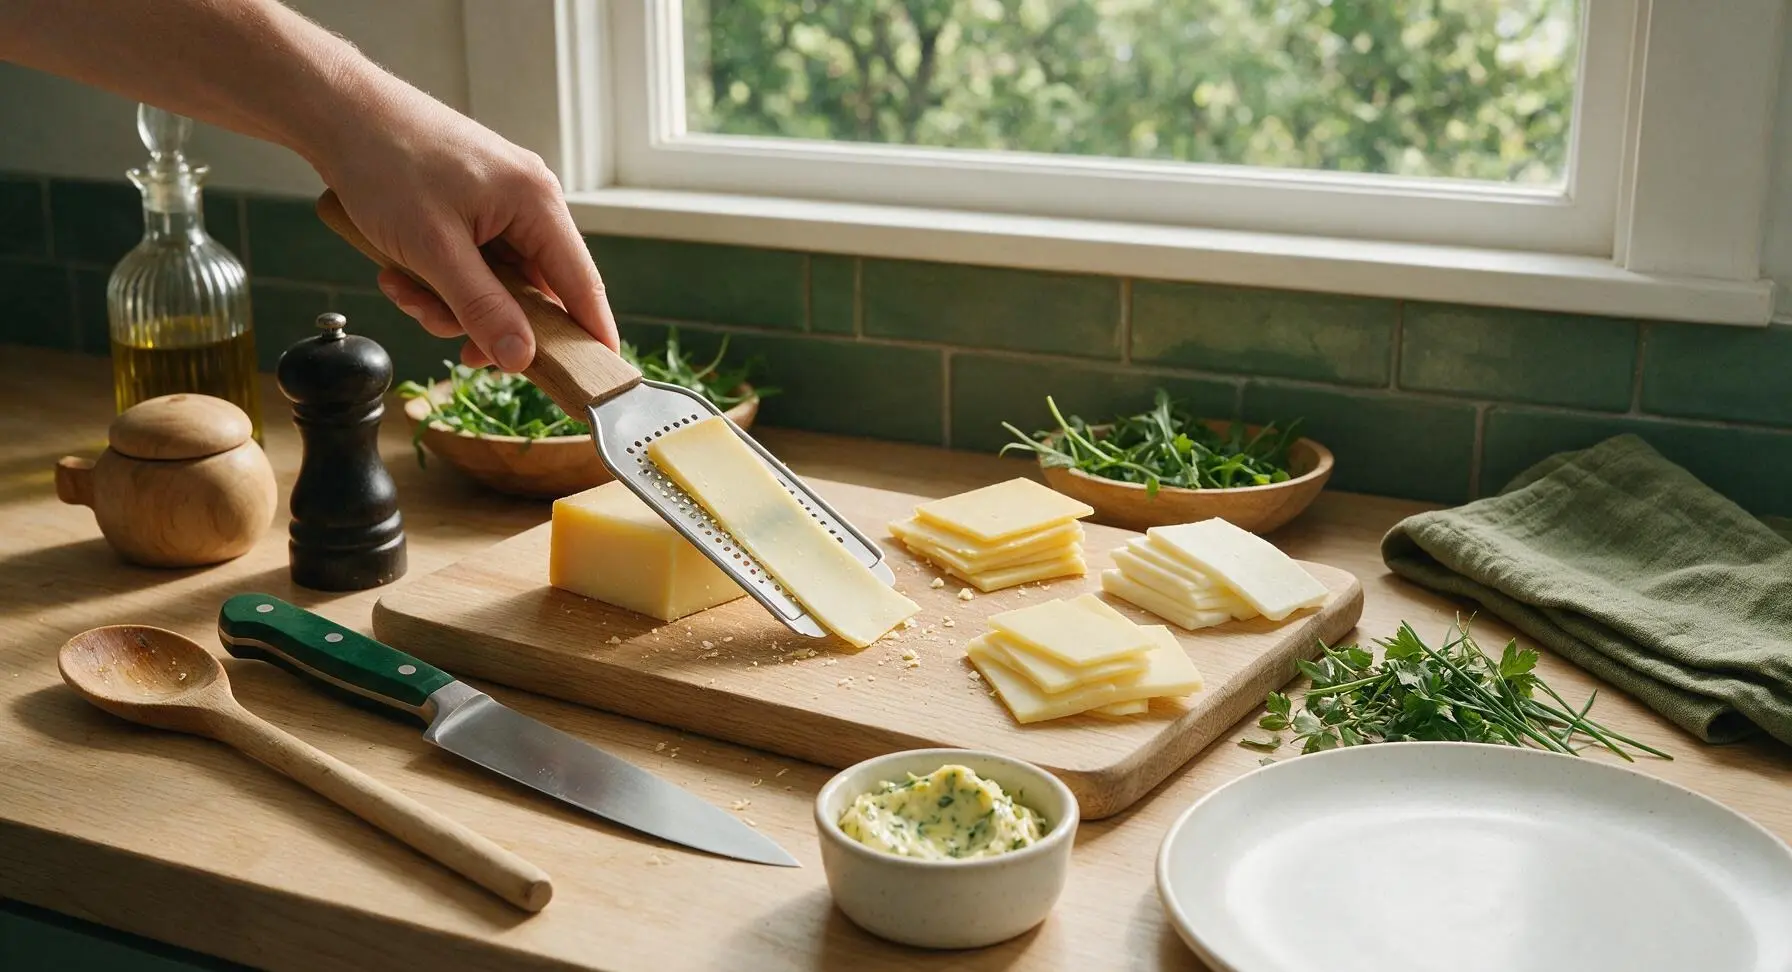
Use the cheese plane to slice the sharp white cheddar, gruyere, and fontina into uniform 2mm thick slices. Avoid thick chunks, as thin slices melt evenly without oozing excessively out of the sandwich sides. Separate the slices into two equal piles, one for each sandwich.
Step 2
step2:Slice Cheese Thinly
3

Build Sandwich Layers

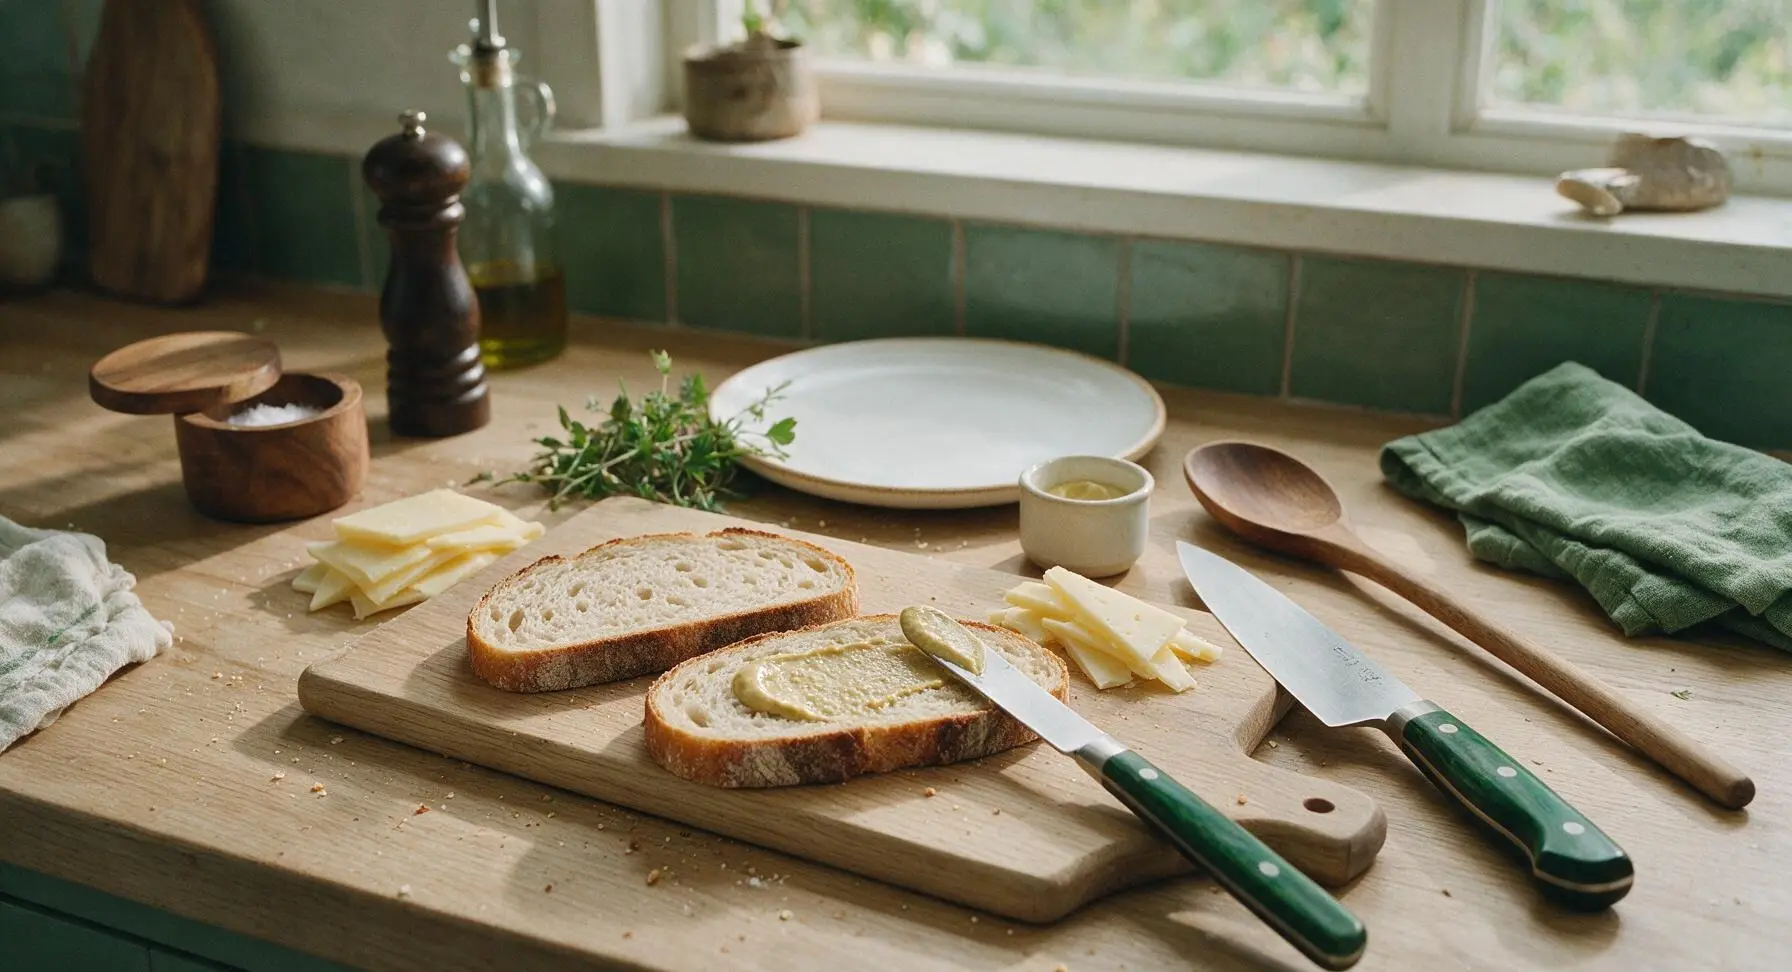
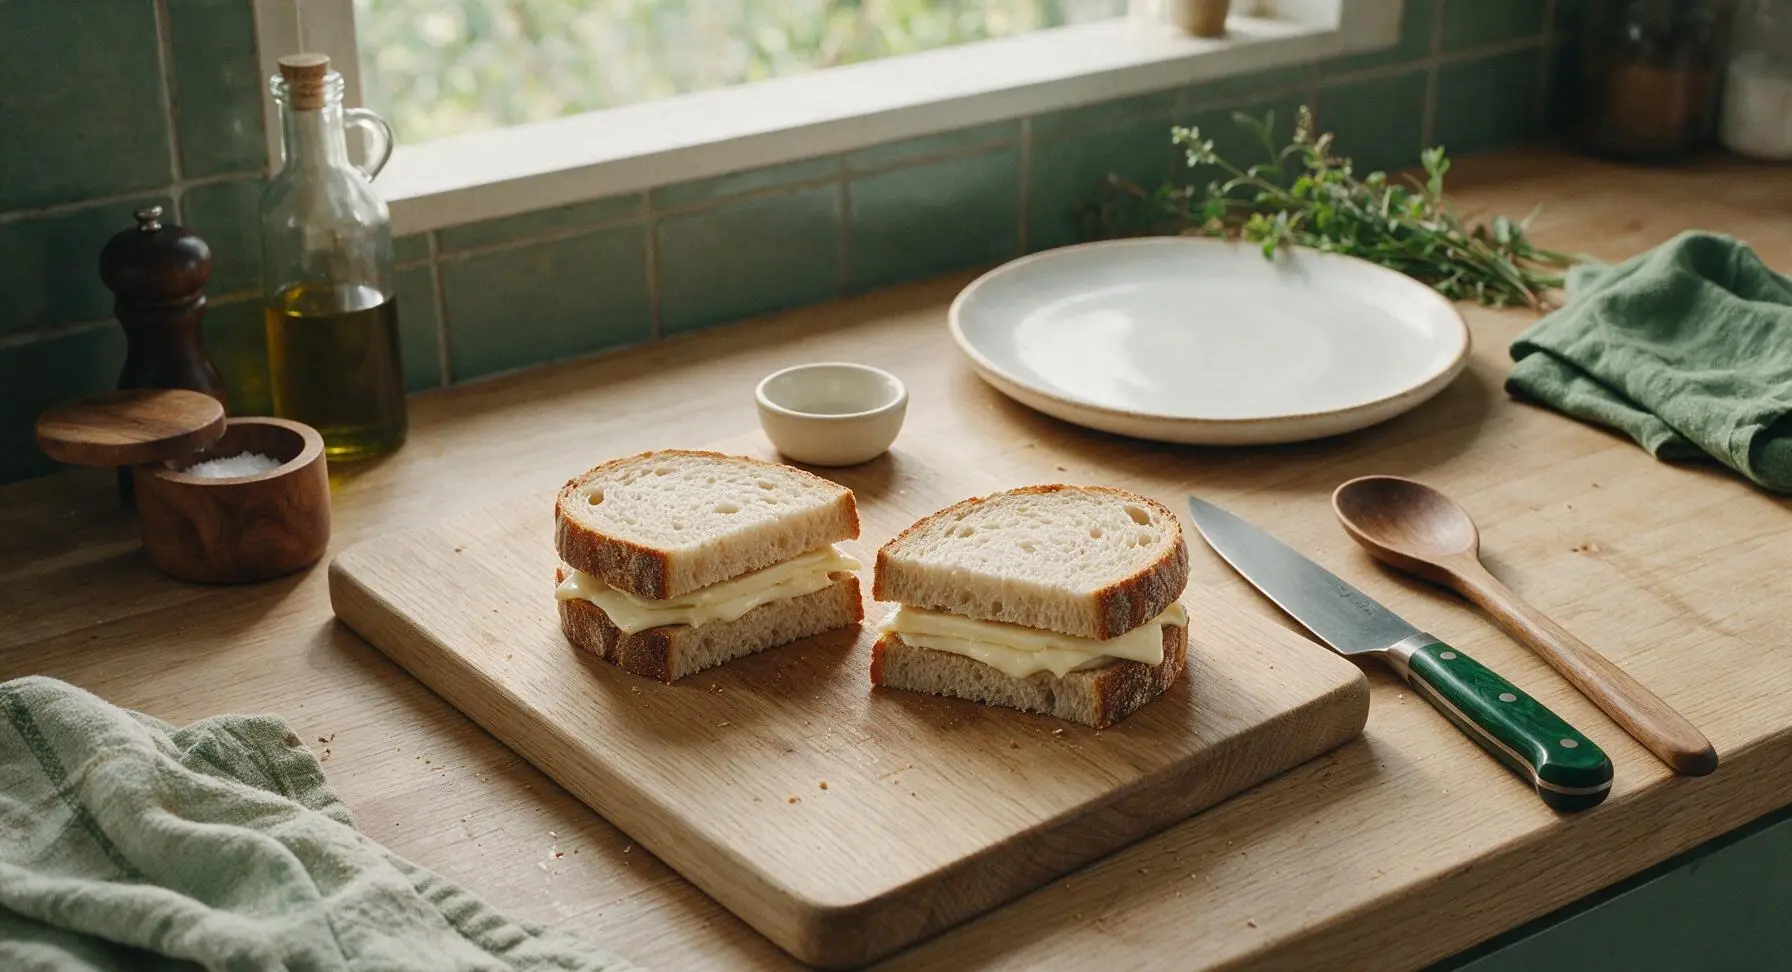
Lay all four sourdough slices flat on the acacia cutting board. Spread a very thin 1/4 teaspoon layer of Dijon mustard on the inner side of each slice. Layer the cheese evenly across two of the slices, mixing the three cheese types for consistent flavor in every bite, then top with the remaining bread slices to form two sandwiches. Press down gently on each sandwich to help the layers adhere.
Step 3
step3:Build Sandwich Layers
Step 3
step3:Build Sandwich Layers
4

Butter Bread Exteriors

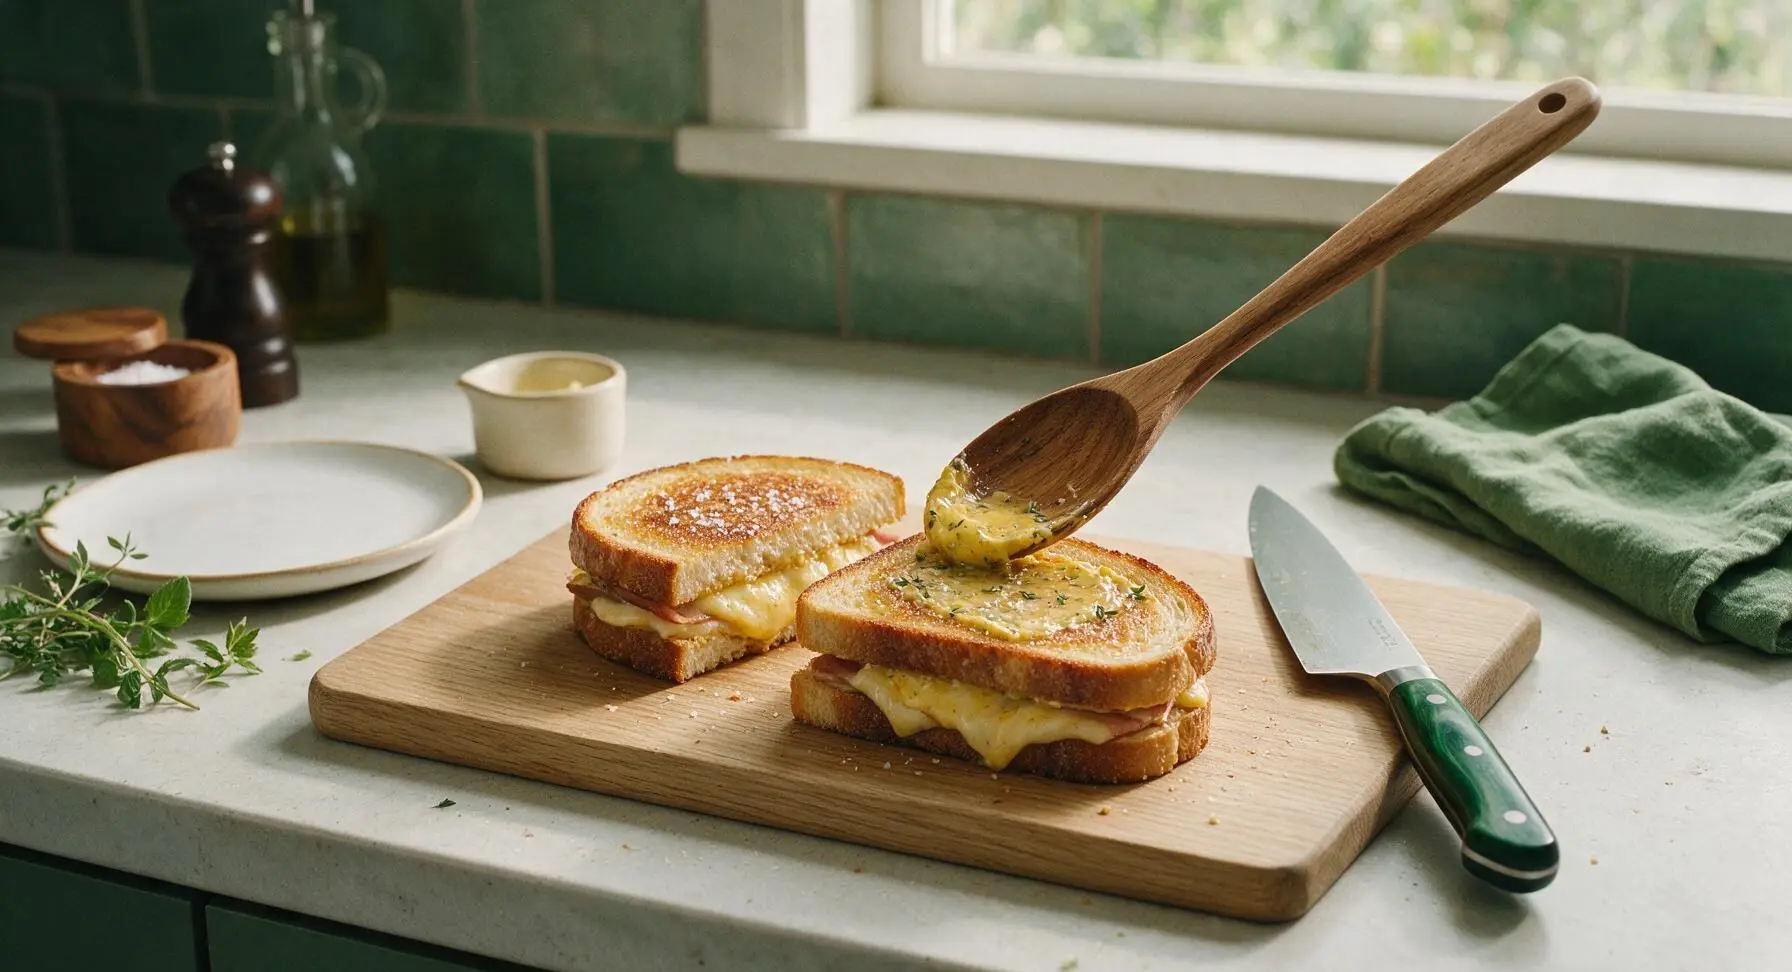
Use the back of a spoon to spread half of the herb butter evenly across the top outer surface of each sandwich, covering every edge all the way to the crust. Sprinkle the buttered surfaces with a tiny pinch of flaky sea salt. The butter layer should be thin enough that it does not drip when heated, but thick enough to create a uniformly crisp crust.
Step 4
step4:Butter Bread Exteriors
5

Preheat Carbon Steel Skillet

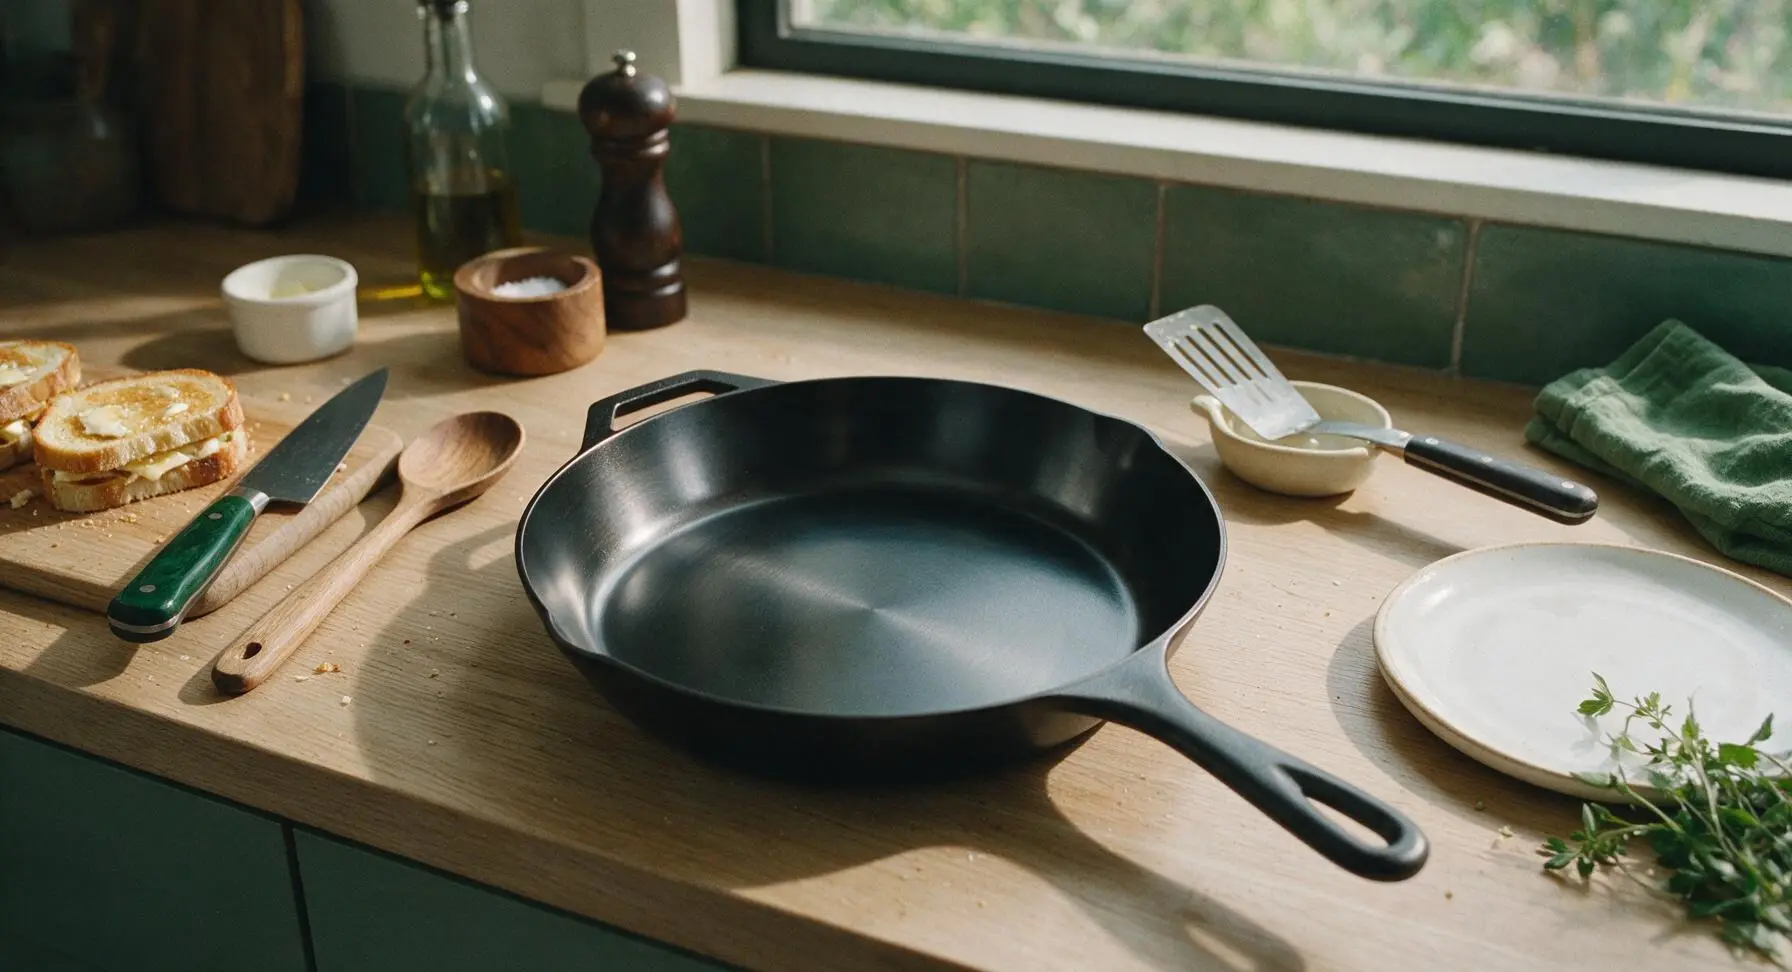
Retrieve the 10-inch carbon steel skillet from the adjacent stovetop and place it in the center of the work zone. Heat over medium-low heat (325°F / 160°C) for 3 minutes, until the surface is evenly hot but not smoking. Do not add extra butter or oil to the pan at this stage, as the butter on the bread will provide all the fat needed for crisping.
Step 5
step5:Preheat Carbon Steel Skillet
6

Grill First Sandwich Side

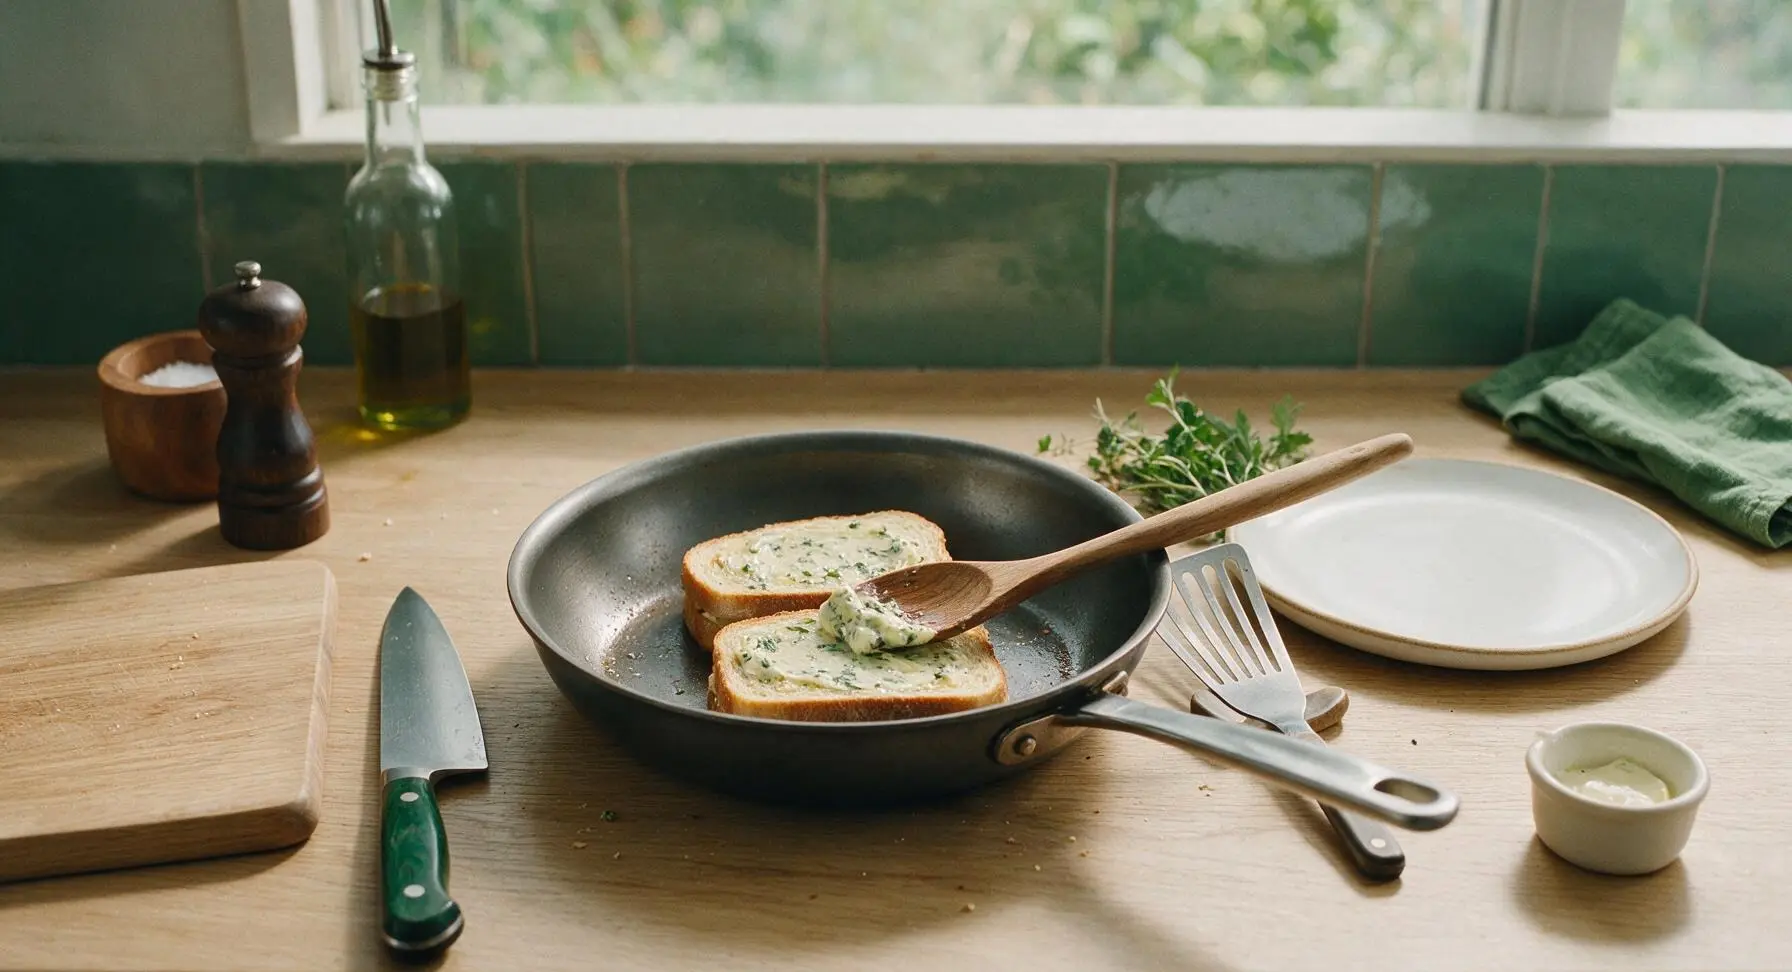
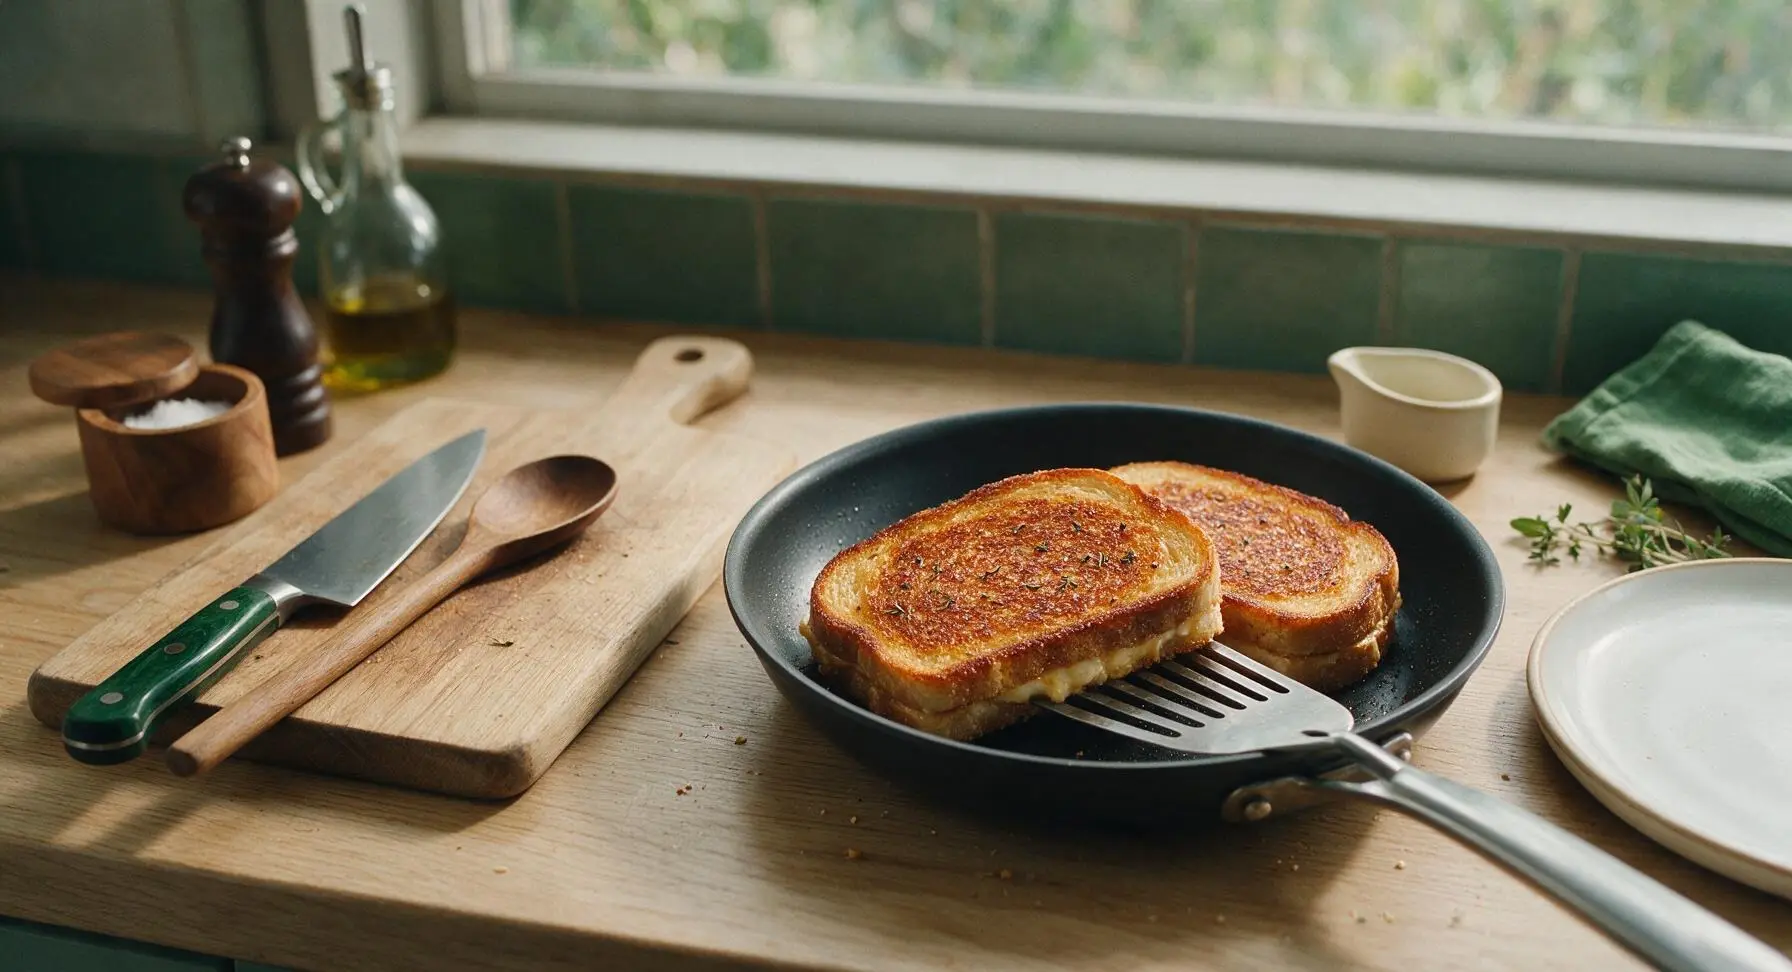
Carefully place both sandwiches buttered-side down into the preheated skillet. Spread the remaining herb butter across the now-exposed top surface of each sandwich, and sprinkle with a tiny pinch of flaky sea salt. Cook for 4 minutes, resisting the urge to press down on the sandwiches, until the bottom crust is deep golden, crispy, and evenly browned with no pale spots.
Step 6
step6:Grill First Sandwich Side
Step 6
step6:Grill First Sandwich Side
7

Flip and Cook Second Side

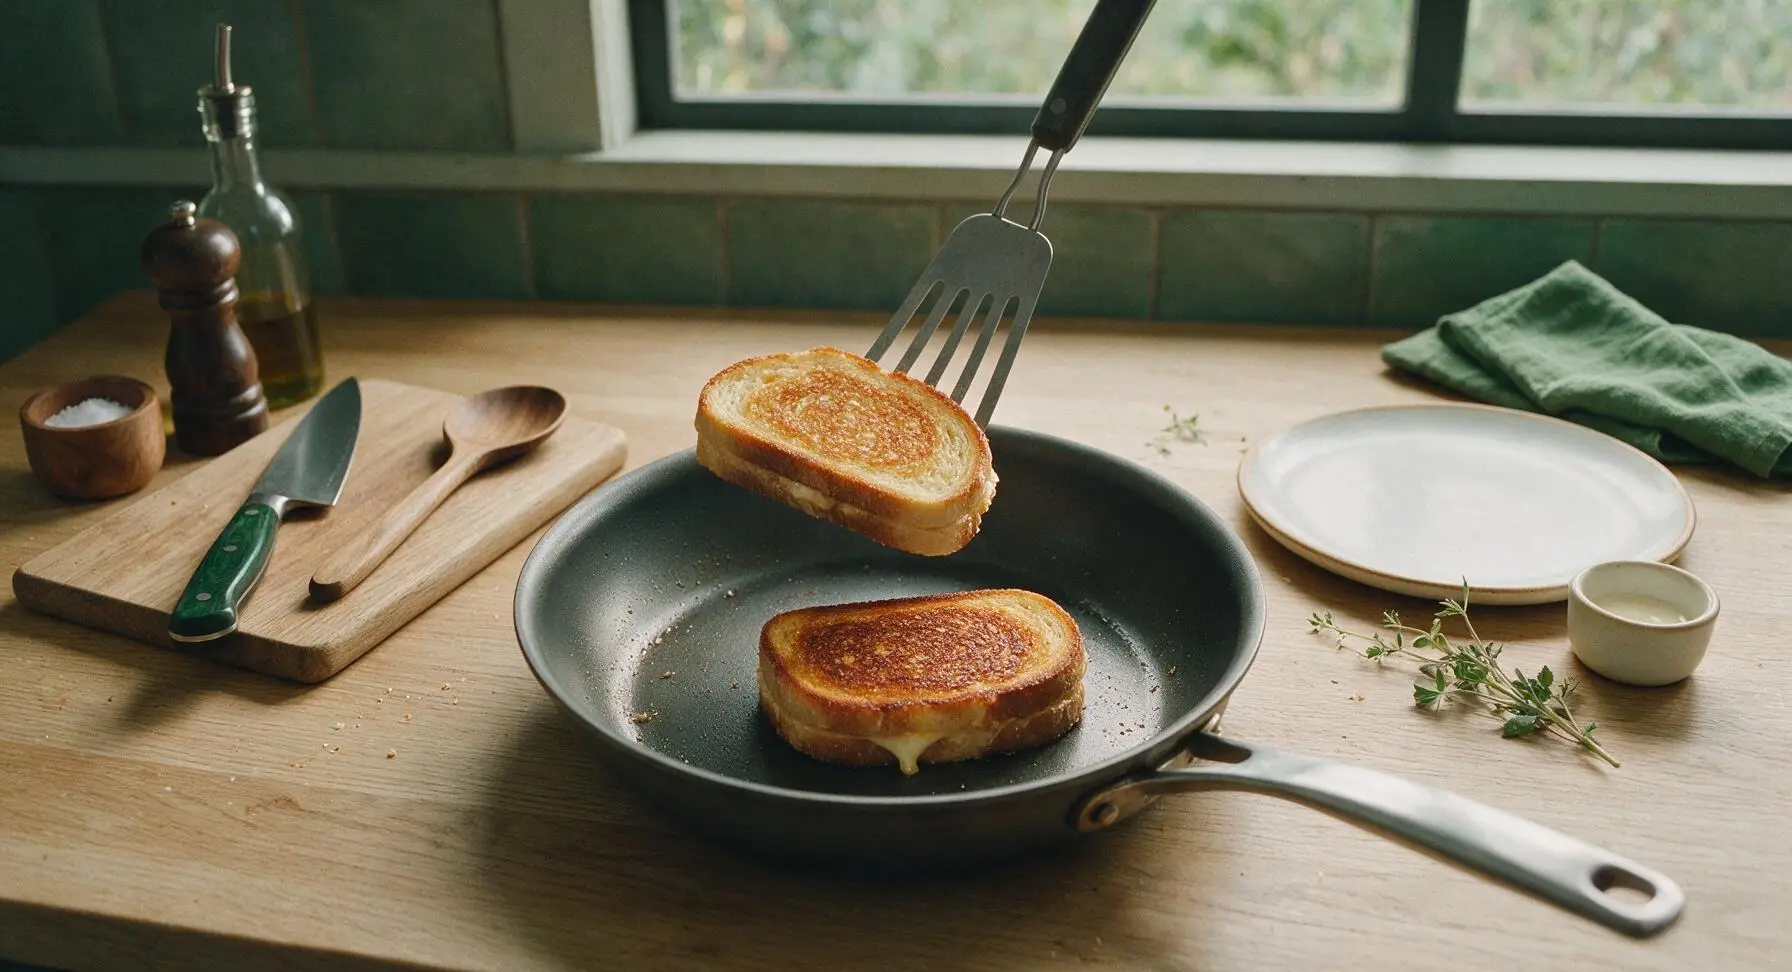
Use the thin fish spatula to gently flip each sandwich. Cook for an additional 3-4 minutes on the second side, until the crust is equally golden and crisp, and the cheese in the center is fully melted and oozing slightly from the edges. If the bread is browning too quickly, reduce heat to low to avoid burning before the cheese melts.
Step 7
step7:Flip and Cook Second Side
8

Rest and Plate Sandwiches

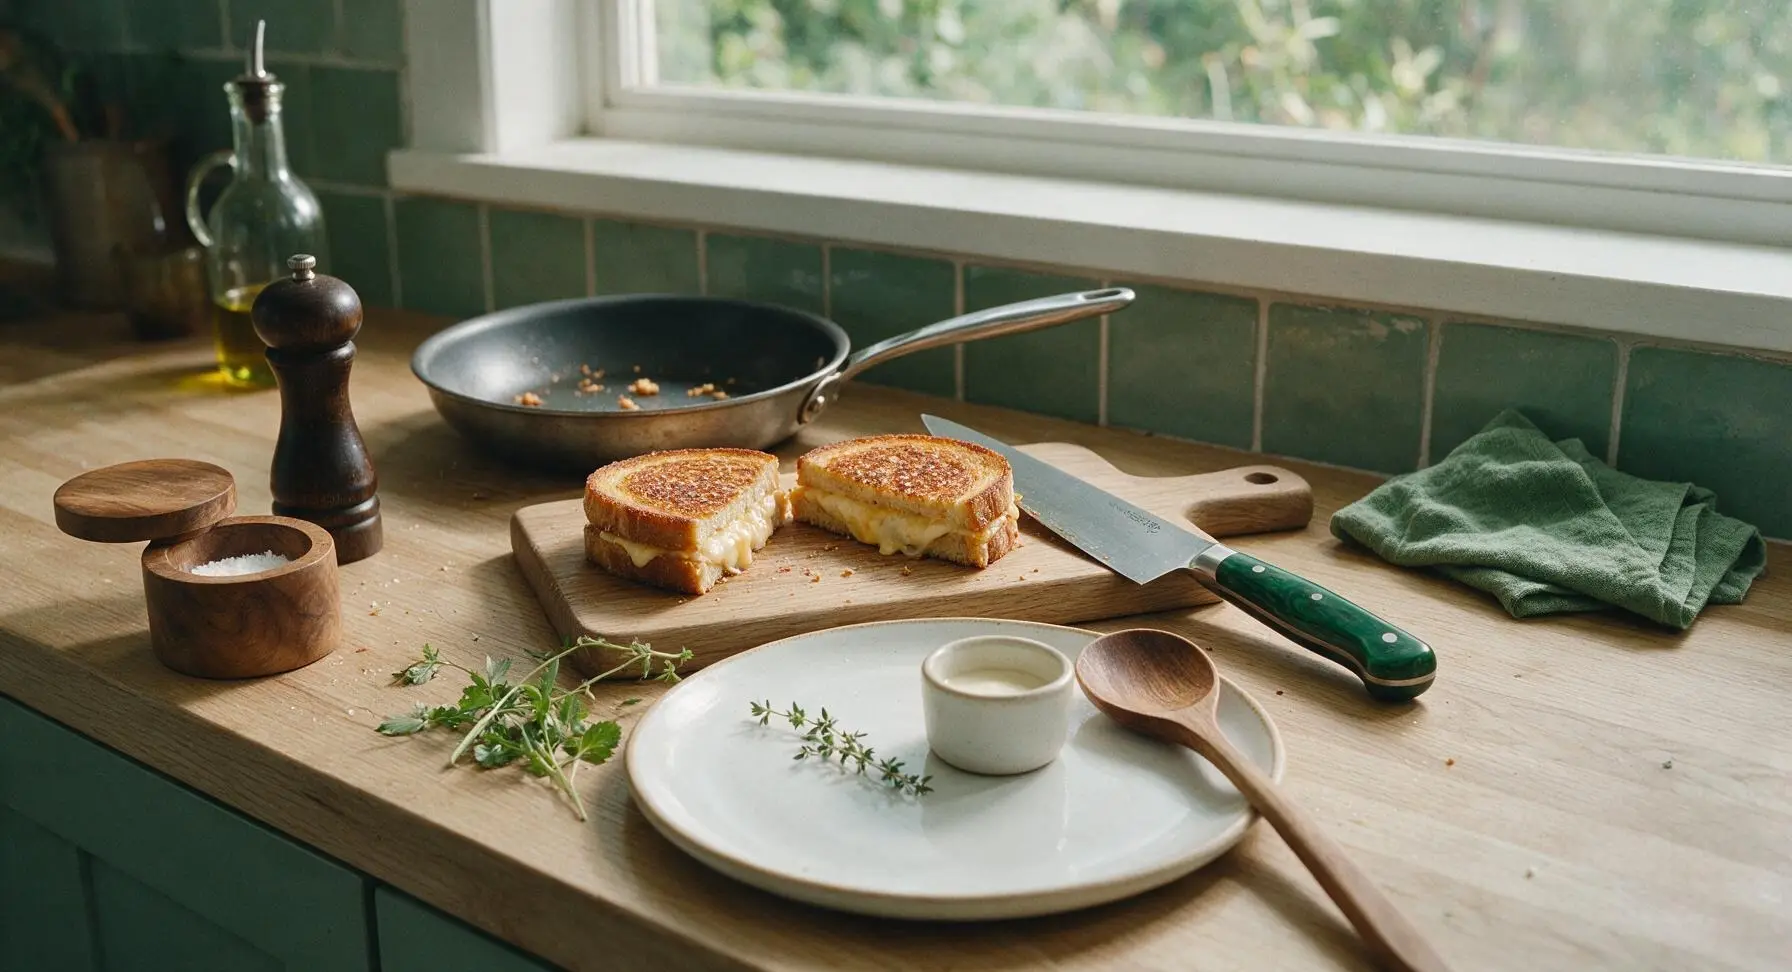
Transfer the cooked sandwiches from the skillet to the acacia cutting board and let rest for 1 minute, which allows the melted cheese to set slightly so it does not run out when cut. Cut each sandwich diagonally into two triangles, then transfer to the matte cream stoneware plate. Tuck a small sprig of fresh thyme on the plate for a bright, fresh garnish.
Step 8
step8:Rest and Plate Sandwiches

Tips

1.Slice cheese paper-thin (2mm or less): Thick cheese chunks require longer cooking time to melt fully, which almost always leads to burnt, overly dark bread before the center is gooey. Thin slices melt completely in the exact 8-minute cook time needed for a perfect crisp crust.
2.Never press down on sandwiches with the spatula while grilling: Pressing squeezes melted butter and liquid cheese out from between the bread slices, leading to a dry, less crisp crust and lost filling. The light weight of the top bread slice creates enough even contact with the pan for uniform browning.
3.Rest cooked sandwiches for 1 full minute before cutting: Slicing immediately after removing from the pan causes runny, liquid cheese to pour out of the cut edges. The short rest lets the melted cheese set slightly, creating that iconic, satisfying stretchy cheese pull when you take your first bite.


✨ You May Also Like

Lunch
🍜 United States

Creamy, salty, tangy nostalgic Midwestern sandwich pairing rich peanut butter with crisp briny dill pickles for a fast, satisfying no-cook meal.

⏱️ 5 minutesLunch ★ 4.6
Lunch
🍜 United States

Crispy, melty pressed sandwich layered with savory roast pork, ham, Swiss cheese, pickles, and tangy mustard: a beloved Cuban-American comfort classic.

⏱️ 25 minuteLunch ★ 4.9
Lunch
🍜 United States

Hearty, briny New Orleans pressed sandwich stacked with cured Italian meats, provolone, and zesty olive salad, served cold for bold, portable flavor.

⏱️ 1 hour 20Lunch ★ 4.7
Lunch
🍜 United States

A tangy, creamy Southern American staple, this no-cook cheesy sandwich is packed with sharp cheddar and sweet pimentos for a satisfying, portable bite.

⏱️ 1 hour 15Lunch ★ 4.8
Lunch
🍜 United States

Crispy Cajun-spiced fried shrimp piled on crusty French bread with tangy remoulade and fresh toppings, the iconic Louisiana street food sandwich.

⏱️ 35 minuteLunch ★ 4.4
Lunch
🍜 United States

Stacked, savory deli-style corned beef sandwich with melted Swiss, tangy mustard, and crisp griddled rye— a fast, hearty, satisfying classic.

⏱️ 15 minuteLunch ★ 4.9

chef grilled cheese:Frequently Asked Questions

1.Why use thick-cut sourdough instead of regular soft sandwich bread for this recipe? ▾
Thick 1-inch sourdough has the sturdy structure to support three layers of melted cheese without turning soggy, and its subtle tang cuts through the rich, nutty cheese to balance every bite. Soft, thin sandwich bread compresses easily, burns faster, and can’t hold that signature shatteringly crisp crust we’re going for.
2.What gives this grilled cheese that 'shatteringly crisp' crust instead of a chewy or soggy one? ▾
Two simple chef tricks make all the difference: first, spread softened (not melted) garlic-thyme butter all the way to every edge of the bread so there are no bare, pale spots. Second, cook over medium-low heat, not high, so the bread toasts slowly and evenly as the cheese melts, with no scorched patches.
3.Why use a three-cheese blend instead of just plain cheddar? ▾
Each cheese in the blend serves a specific purpose: sharp white cheddar brings that bright, familiar tang, Gruyere adds deep, nutty notes and a smooth non-stringy melt, and Fontina acts as an ultra-creamy binder to hold the blend together. Single-cheddar grilled cheese often turns rubbery, greasy, or one-note by comparison.
4.Can I use pre-shredded store-bought cheese to save time? ▾
I really don’t recommend it for the best texture. Pre-shredded cheese is coated in potato starch and anti-caking agents that prevent smooth, even melting, leaving you with clumpy, gritty cheese instead of that silky, oozing pull. Shred your own blocks right before cooking for restaurant-worthy results.
5.How thick should I cut my sourdough slices for the best results? ▾
Aim for evenly cut 1-inch thick slices. If slices are thinner than ¾ of an inch, they’ll get overly brittle and crack under the weight of the cheese. If they’re thicker than 1.25 inches, not enough heat will reach the center to melt the cheese fully before the crust burns.
6.When do I add the garlic and thyme to the butter to avoid bitter flavor? ▾
Mix finely minced fresh garlic and chopped thyme into your softened butter before you spread it on the bread, no need to cook the garlic first. Just keep your stovetop at medium-low the whole cook time—high heat will burn the garlic fast, leaving a harsh, bitter aftertaste on the crust.
7.My cheese never fully melts before the bread burns—what am I doing wrong? ▾
That’s almost always caused by cooking over too high heat. Turn your burner down to medium-low, and once you set the sandwich in the pan, cover it with a small domed lid for 1 to 2 minutes. The trapped gentle heat will melt the cheese all the way through without scorching the crisp crust.
8.What are good substitutes if I don’t have Gruyere or Fontina on hand? ▾
Stick to cheeses with matching melt and flavor profiles for the best results: swap Gruyere for Emmental or domestic Swiss for that same nutty, smooth melt, and swap Fontina for low-moisture mozzarella or young provolone for that creamy, stretchy binder. Skip high-moisture cheeses like brie that make bread soggy.
9.Do I need to butter both sides of each bread slice? ▾
Butter only the outer faces of both slices, spreading a thin, even layer all the way to the edges to avoid pale, un-toasted spots. Don’t butter the inner sides that touch the cheese—that adds unnecessary grease, and prevents the bread from adhering to the melted cheese for a clean, cohesive bite.
10.How do I keep the crust from getting soggy right after I take it off the pan? ▾
Don’t set the hot sandwich directly on a flat plate right after cooking! Rest it on a wire rack set over a plate for 1 full minute so air can circulate under the bread. Setting it directly on a plate traps steam that softens that perfect crisp crust in seconds.
11.Can I make this in a panini press instead of on the stovetop? ▾
You absolutely can, with a couple small adjustments. Set the press to medium-low heat, don’t press down hard right away (that squeezes out all the melted cheese!), and cook for 3 to 4 minutes total. Skip the high-heat panini setting, which will burn the crust before the cheese melts.
12.How much cheese should I use per sandwich so it’s not overstuffed? ▾
Aim for roughly ⅓ cup of total shredded cheese per sandwich, split evenly between the three cheeses. Pile it right up to the bread edges so every bite has melted cheese, but don’t overstuff it—too much cheese will ooze out the sides, burn on the pan, and make the sandwich messy to hold.
13.Can I adjust this recipe to make it dairy-free? ▾
Yes, with the right swaps. Use a firm dairy-free butter block (not watery spreadable tub butter) for the crust, and pick a blend of melt-friendly dairy-free cheddar, Swiss-style, and mozzarella-style shreds. Skip cheap dairy-free cheeses that stay rubbery and won’t melt into that smooth, oozing texture.
14.What are the best sides to serve with this grilled cheese? ▾
This rich, crisp sandwich pairs perfectly with classic creamy tomato soup for dipping, a crunchy tangy dill pickle spear to cut through the richness, or a simple arugula salad tossed with lemon vinaigrette for a light, fresh contrast. Skip heavy creamy sides that make the meal feel overly rich.

Comments (9)

2 days ago

OMG this is a total game changer! I’ve been making sad grilled cheese for my kids for years and they always complain the bread is too soggy. Followed the tip to use mayo on the outside instead of butter and it got SO crispy in 8 minutes flat, just like the recipe says! My kids loved it, both asked for seconds, and my husband even stole half my sandwich. Will be making this every week for lunch now!

yesterday

Wait you used mayo instead of butter?? I was so skeptical about that trick but I tried it last week and it’s chef’s kiss, no more burnt butter spots for sure!

yesterday

So happy your family loved it! The mayo trick is our secret for that even, shatteringly crisp crust without any burnt edges—so glad it worked for your crew!

5 minutes ago

This recipe is so easy I almost laughed. 8 minutes total from pulling the bread out to taking the first bite? Perfect for when I get home late from work and don’t want to order takeout. I added a little extra sharp cheddar and a sprinkle of garlic powder to the bread, turned out amazing. 10/10, no notes.

1 week ago

Brought these to our neighborhood block party potluck last weekend, cut them into little triangles and they were gone in 10 minutes flat! Everyone was asking who made the fancy grilled cheese, I felt like a real chef. Only thing is I cooked them a little longer on my cast iron because I like mine extra crispy, but the timing was spot on for regular stovetop.

5 days ago

Love that you brought these to a potluck! The mini triangle cut is such a great serving tip for crowds, and cast iron is perfect for extra crisp—great call adjusting the cook time to your preference!

yesterday

As someone who burns 90% of the things I try to cook, this was foolproof. Difficulty level is actually easy, no lie. I used cheap white bread and pre-sliced cheese because that’s all I had in my dorm and it still came out crispy and delicious. Saved my dinner last night when the dining hall was closed.

30 minutes ago

Has anyone tested this recipe with gluten free sourdough? I’ve tried so many GF grilled cheese recipes that end up gummy or rock hard, and I’m dying to get that perfect crispy crust! Would love any tips if anyone has tried it.

5 minutes ago

I tried it last week with my go-to GF sourdough loaf! Just make sure you spread the mayo a little thinner than you would on regular bread and turn the heat down a tiny bit, it gets perfectly crispy no gumminess at all!

just now

Great question! We’ve tested it with a few GF sourdough brands, and Bex’s tip is spot on—thinner mayo spread, slightly lower heat, and it crisps up beautifully without getting gummy. Hope you love it!

2 weeks ago

Added these to my weekly meal prep rotation! I make a batch on Sunday, wrap them individually, and reheat them in the toaster oven during the work week. They stay way crispier than I thought they would, way better than the sad frozen grilled cheeses from the grocery store.

1 week ago

Wait how long do they stay good in the fridge? I’ve been looking for easy work lunches that don’t get soggy, this sounds perfect!

2 hours ago

Tried this last night for my date night in, paired it with tomato soup (obviously) and my date said it was better than the grilled cheese we got at that fancy bistro downtown last month. Win for me! Used a mix of gruyere and American cheese like the recipe suggested, the cheese pull was insane.

3 days ago

This is SO good! I added a couple slices of pickled jalapeno and a dash of hot honey to mine, next level. The crispiness was perfect, no sogginess at all even with the extra fillings. Cook time was exactly 8 minutes on my gas stovetop, no adjustments needed.

2 days ago

Yum, hot honey and pickled jalapenos sound like the perfect combo! So glad the crisp held up even with extra fillings—that’s the sign of a good grilled cheese crust if you ask me!

5 days ago

I was so excited to try this, but my first go-round didn’t turn out quite right. The bread got perfectly crispy on both sides, but the cheese in the middle was totally not melted! I had to pop it in the microwave for 10 seconds which made the bread go soggy, total bummer. Did I do something wrong?

3 days ago

I had that exact same problem my first try! You gotta turn the heat down just a little so the bread doesn’t crisp up too fast before the cheese melts, and throw a lid on the pan for the last minute. Traps the heat so the cheese gets all gooey without burning the bread, no microwave needed!

2 days ago

So sorry your first batch didn’t turn out perfectly! Harry’s tip is exactly right—medium-low heat and a quick lid cover at the end helps the cheese melt evenly while keeping that crispy crust intact. Give it another shot, we promise it’s worth it!



