
chick fil a sandwich
intro
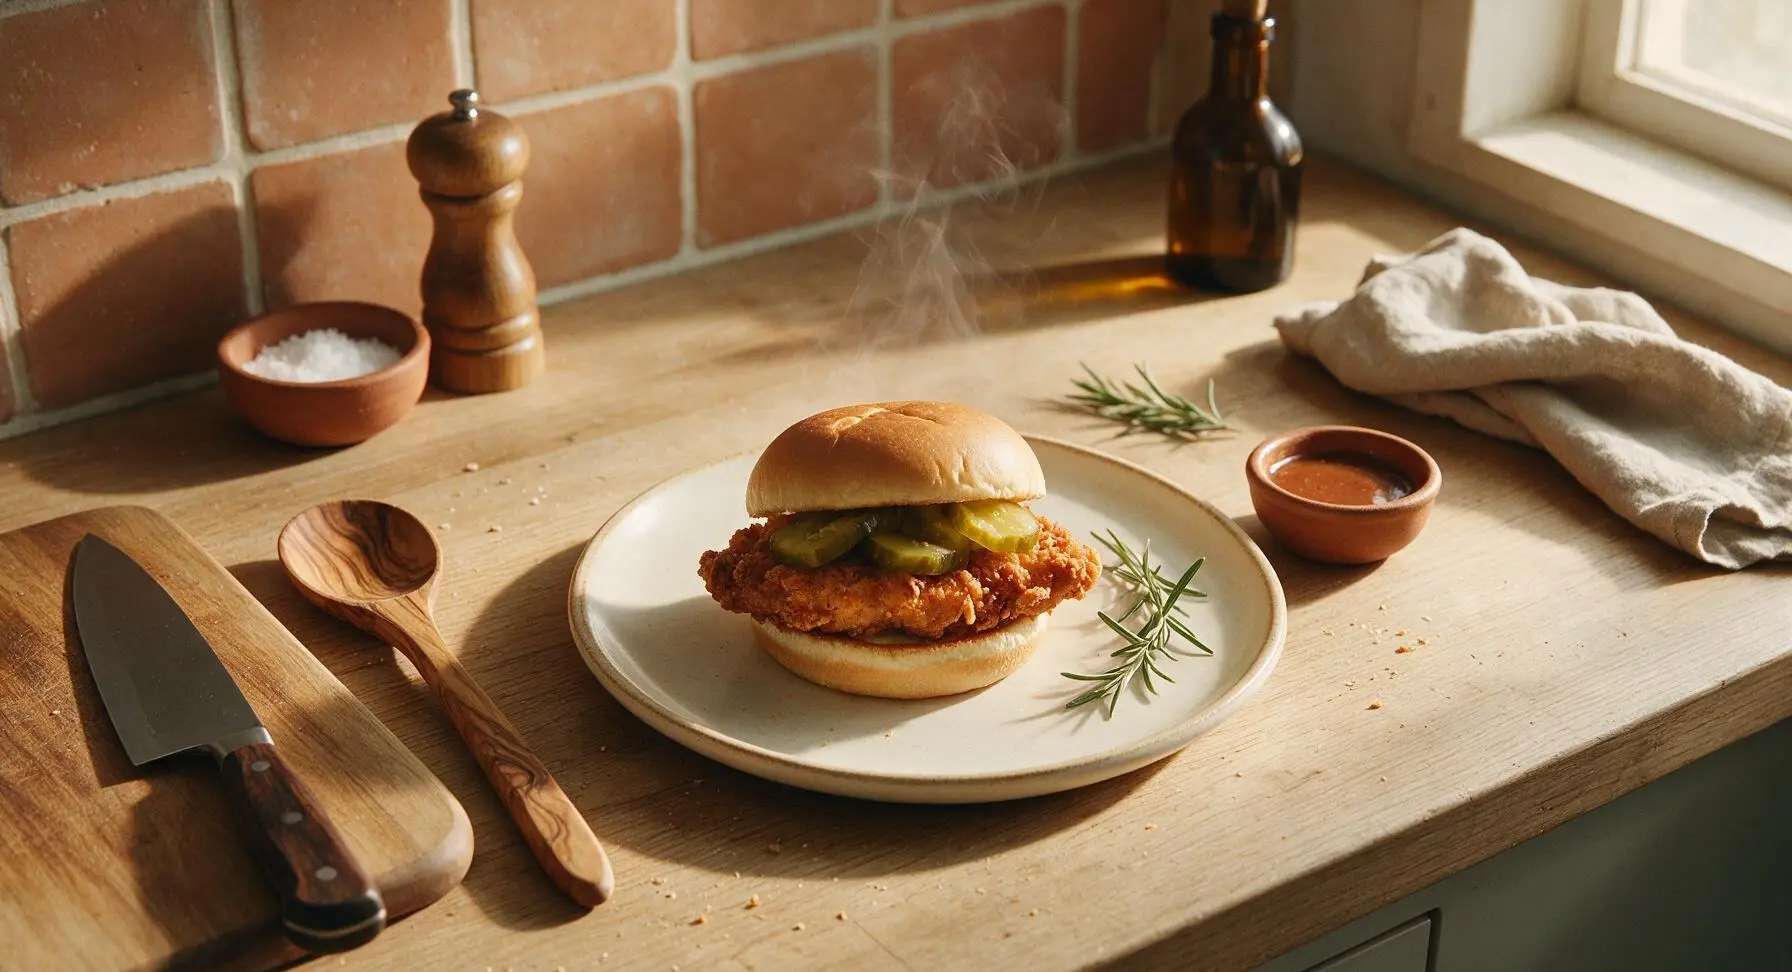
Crispy, tangy pickle-brined fried chicken stacked with dill pickles on a soft buttered bun: the iconic copycat Chick-fil-A sandwich, made perfectly juicy at home.
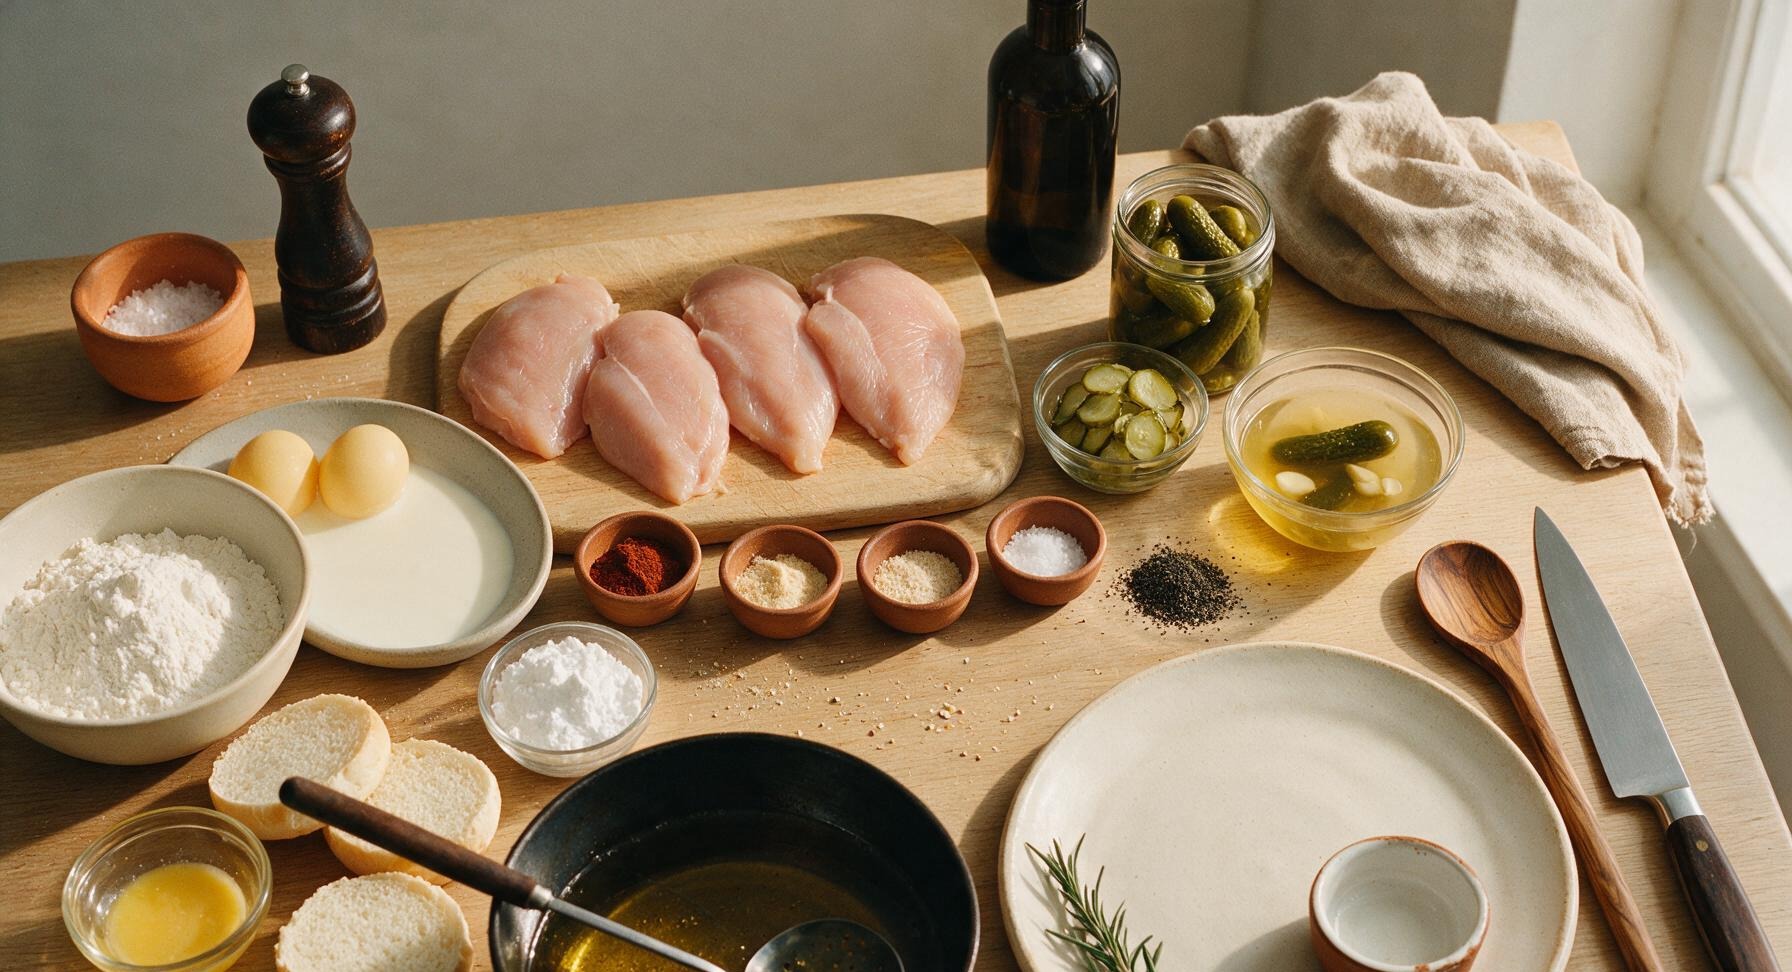
Ingredients
Steps
Brine Chicken Cutlets
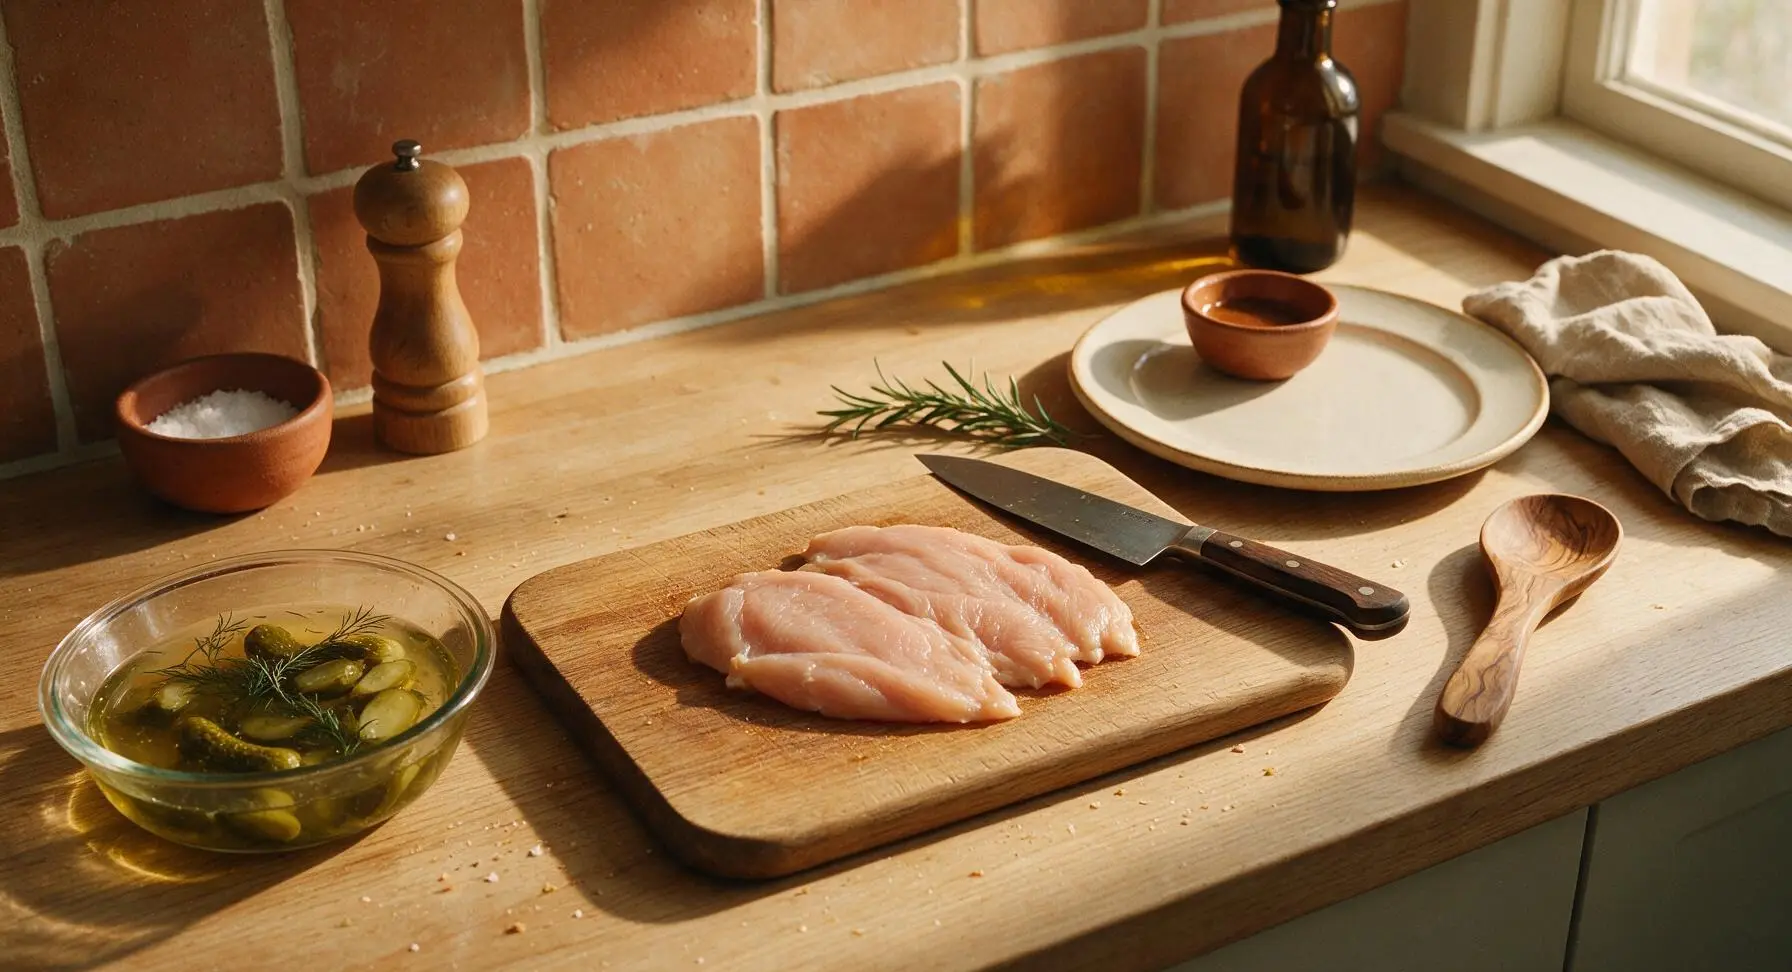
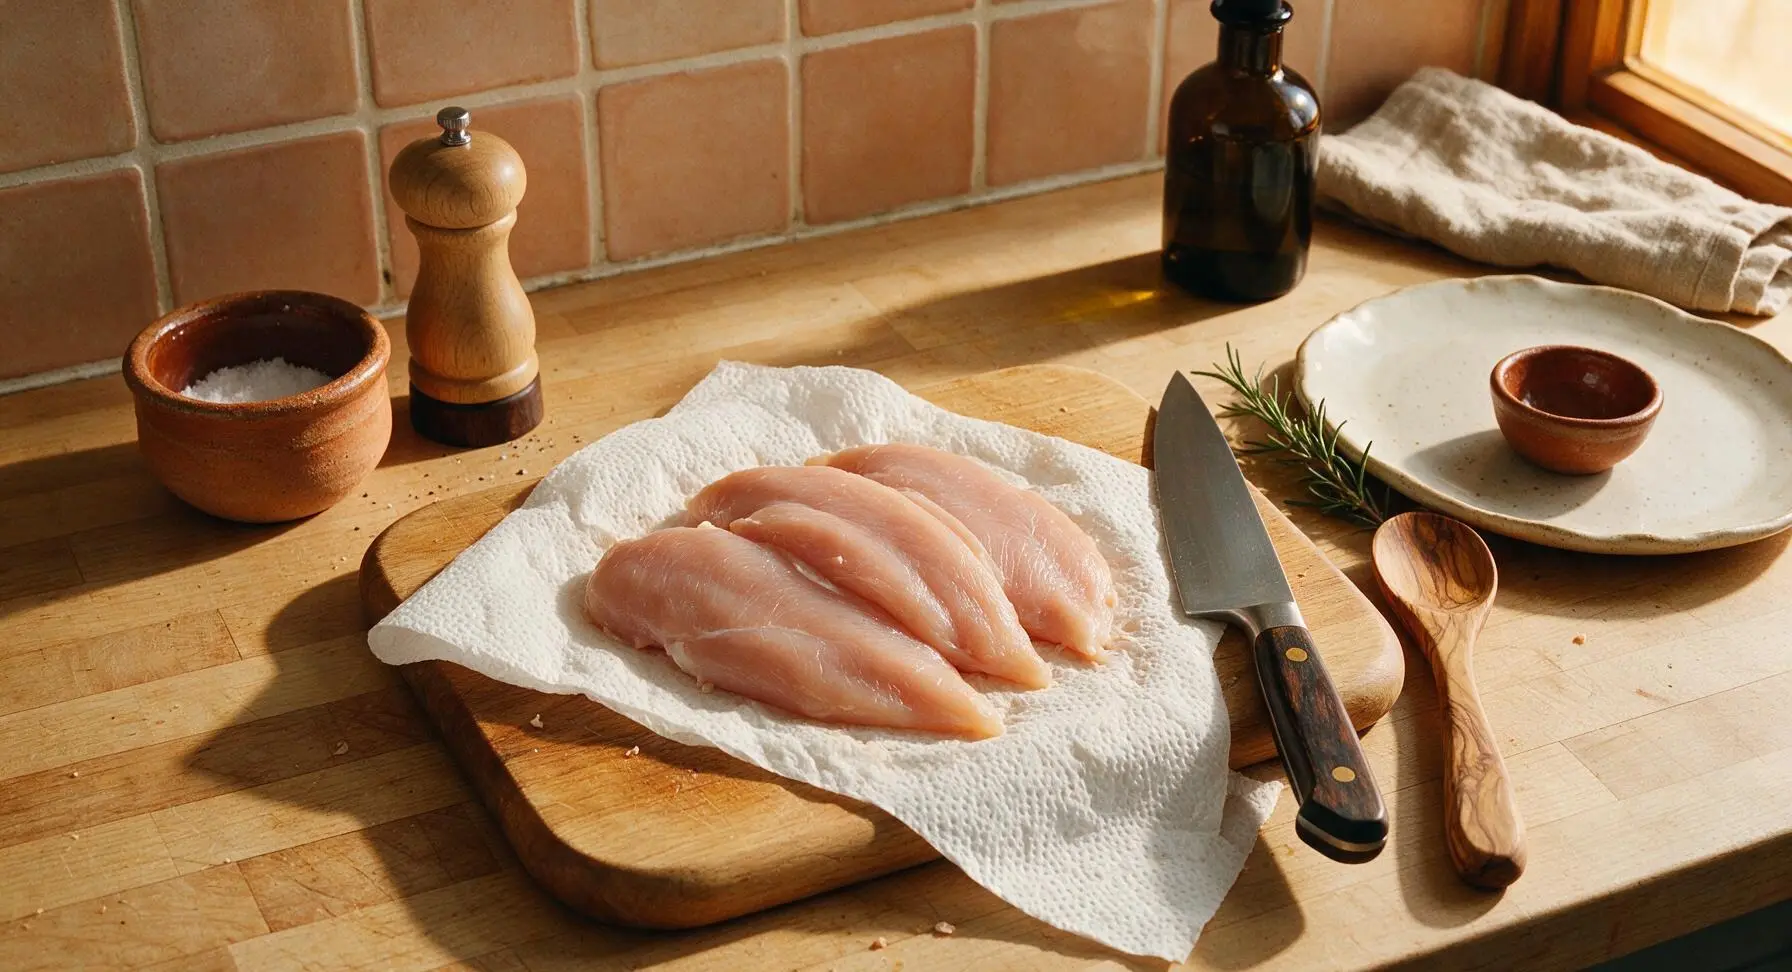
Place chicken breasts on the maple cutting board, use the chef knife to trim any excess fat, then pound to an even 1/2-inch thickness for consistent cooking. Submerge cutlets in 1 cup dill pickle brine, cover, and refrigerate for 30 minutes to infuse the signature tangy flavor and lock in juiciness. Do not brine longer than 1 hour, as the meat will become overly salty. After brining, remove chicken and pat completely dry with paper towels to ensure a crispy crust.
Prepare Coating Stations
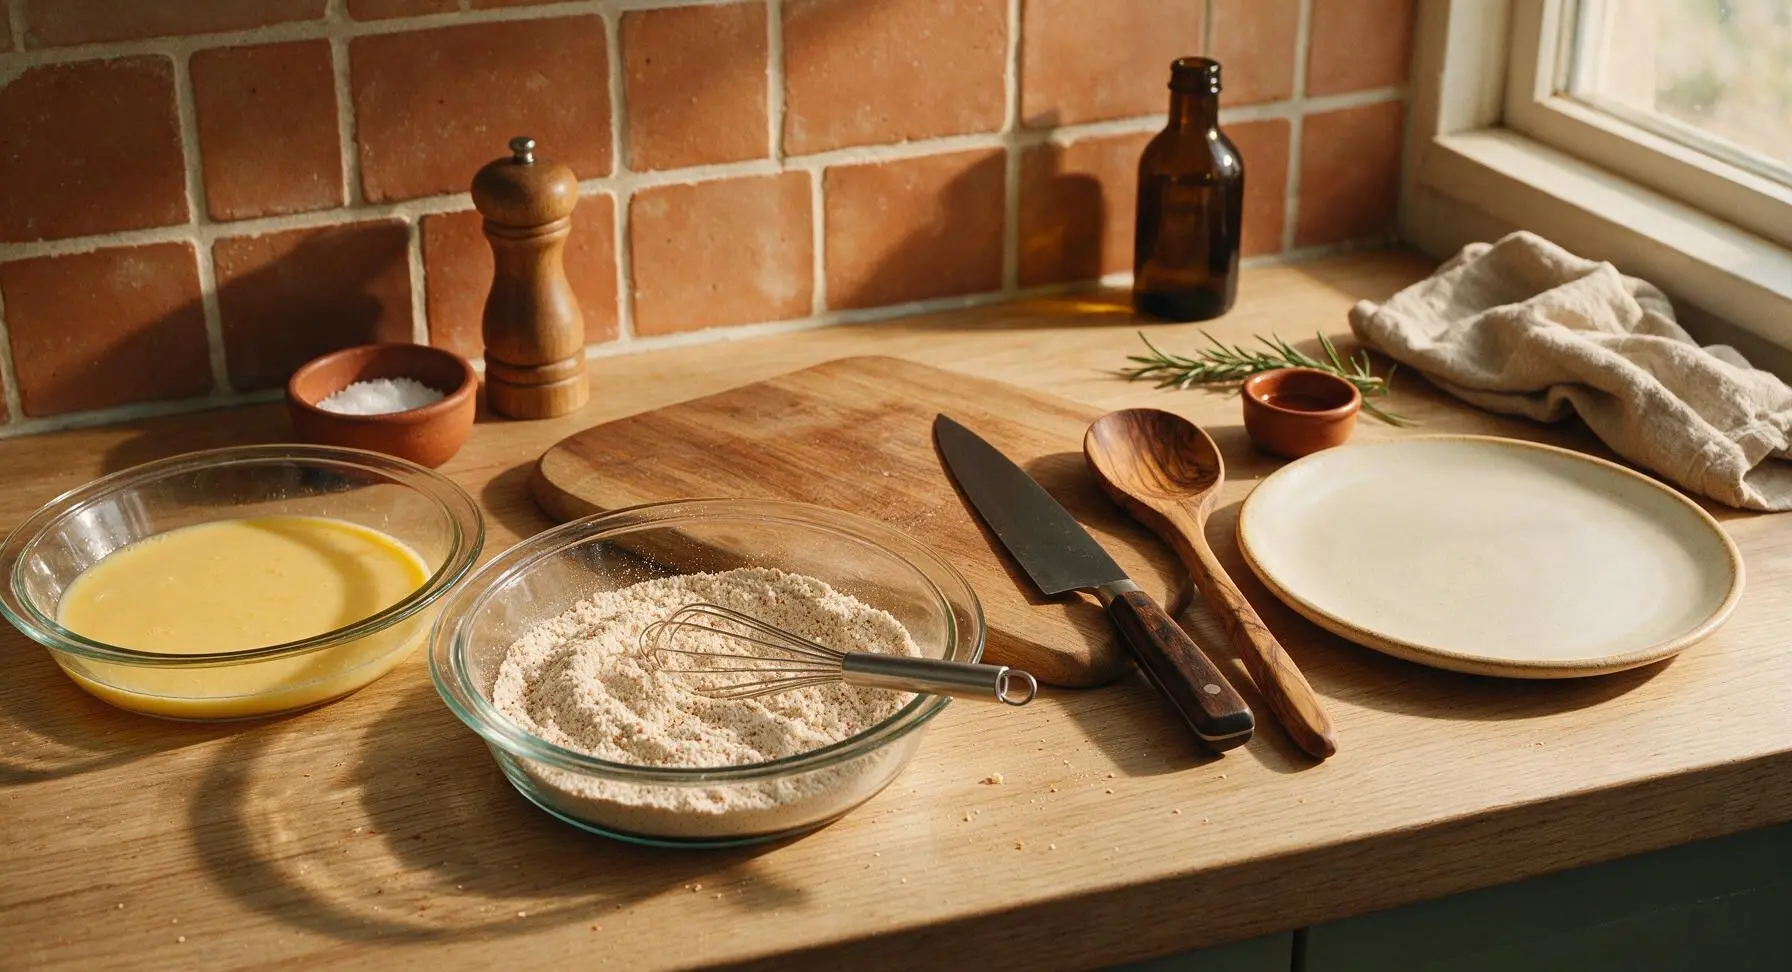
Set the two 9-inch clear glass pie dishes to the left of the cutting board. In the first dish, whisk 2 large eggs and 1/4 cup whole milk until completely smooth, with no streaks of unincorporated egg white remaining. In the second dish, whisk together 1 1/2 cups all-purpose flour, 2 tbsp confectioners' sugar, 1 tsp paprika, 1 tsp garlic powder, 1 tsp onion powder, 1 tsp fine sea salt, and 1/2 tsp black pepper until fully combined, with no clumps of spice visible.
Dredge Chicken Evenly
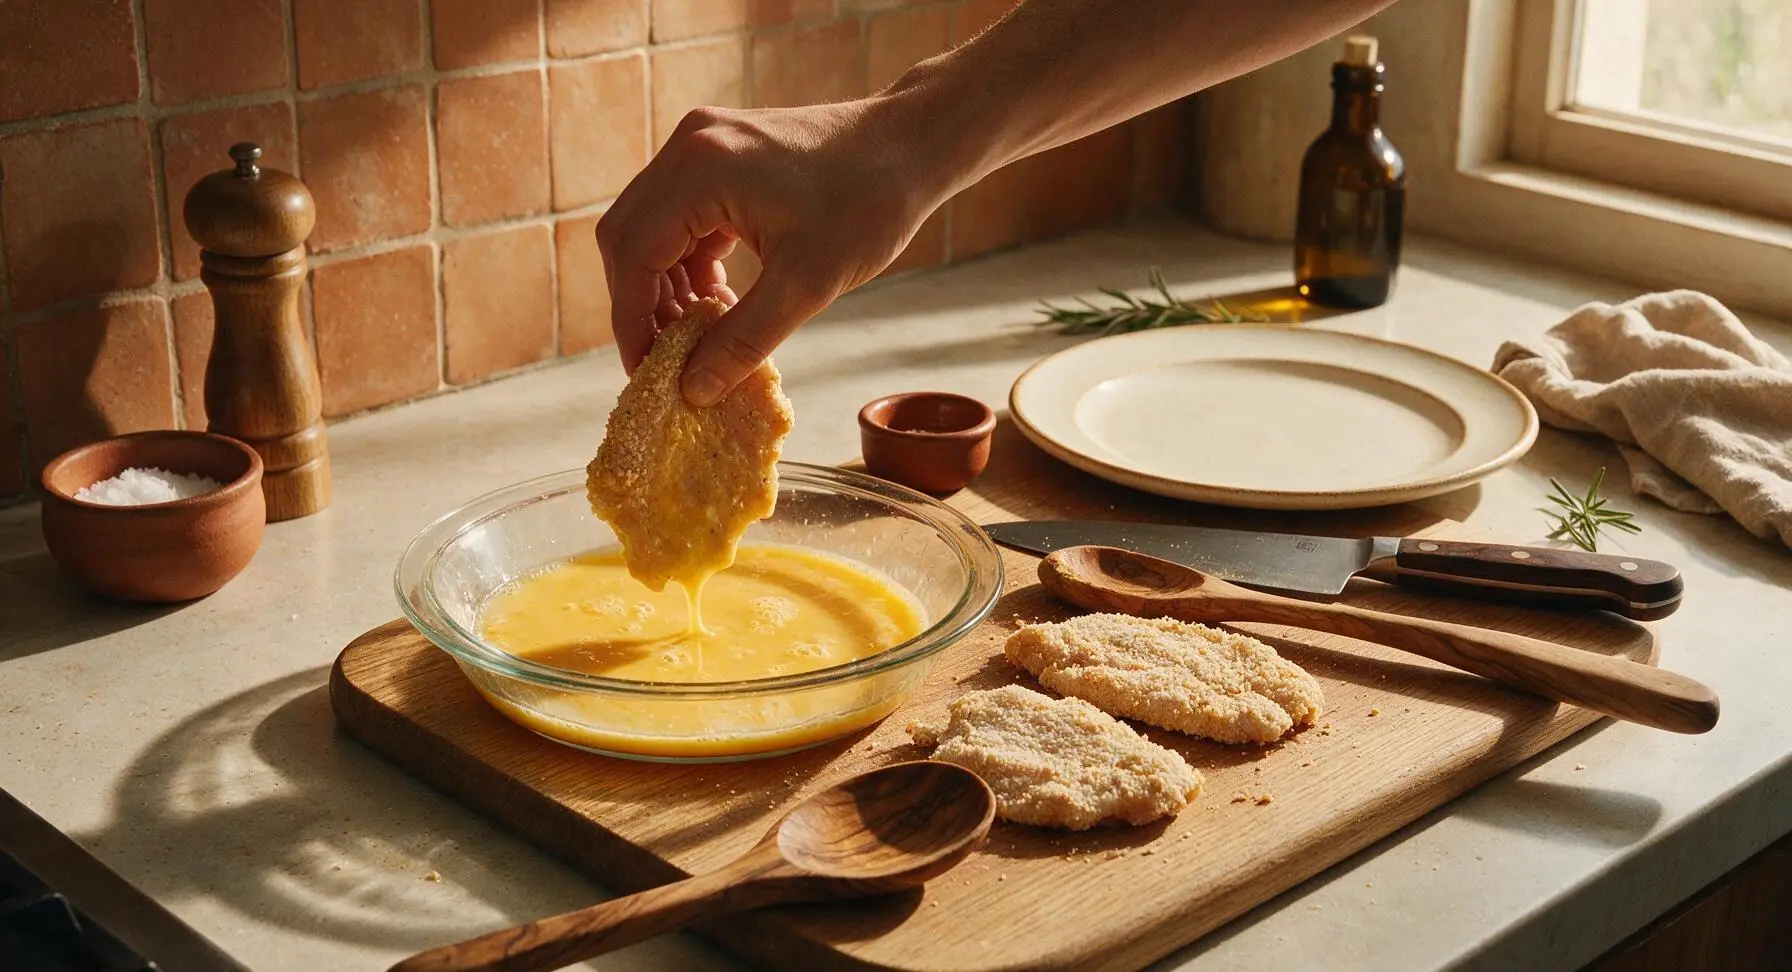
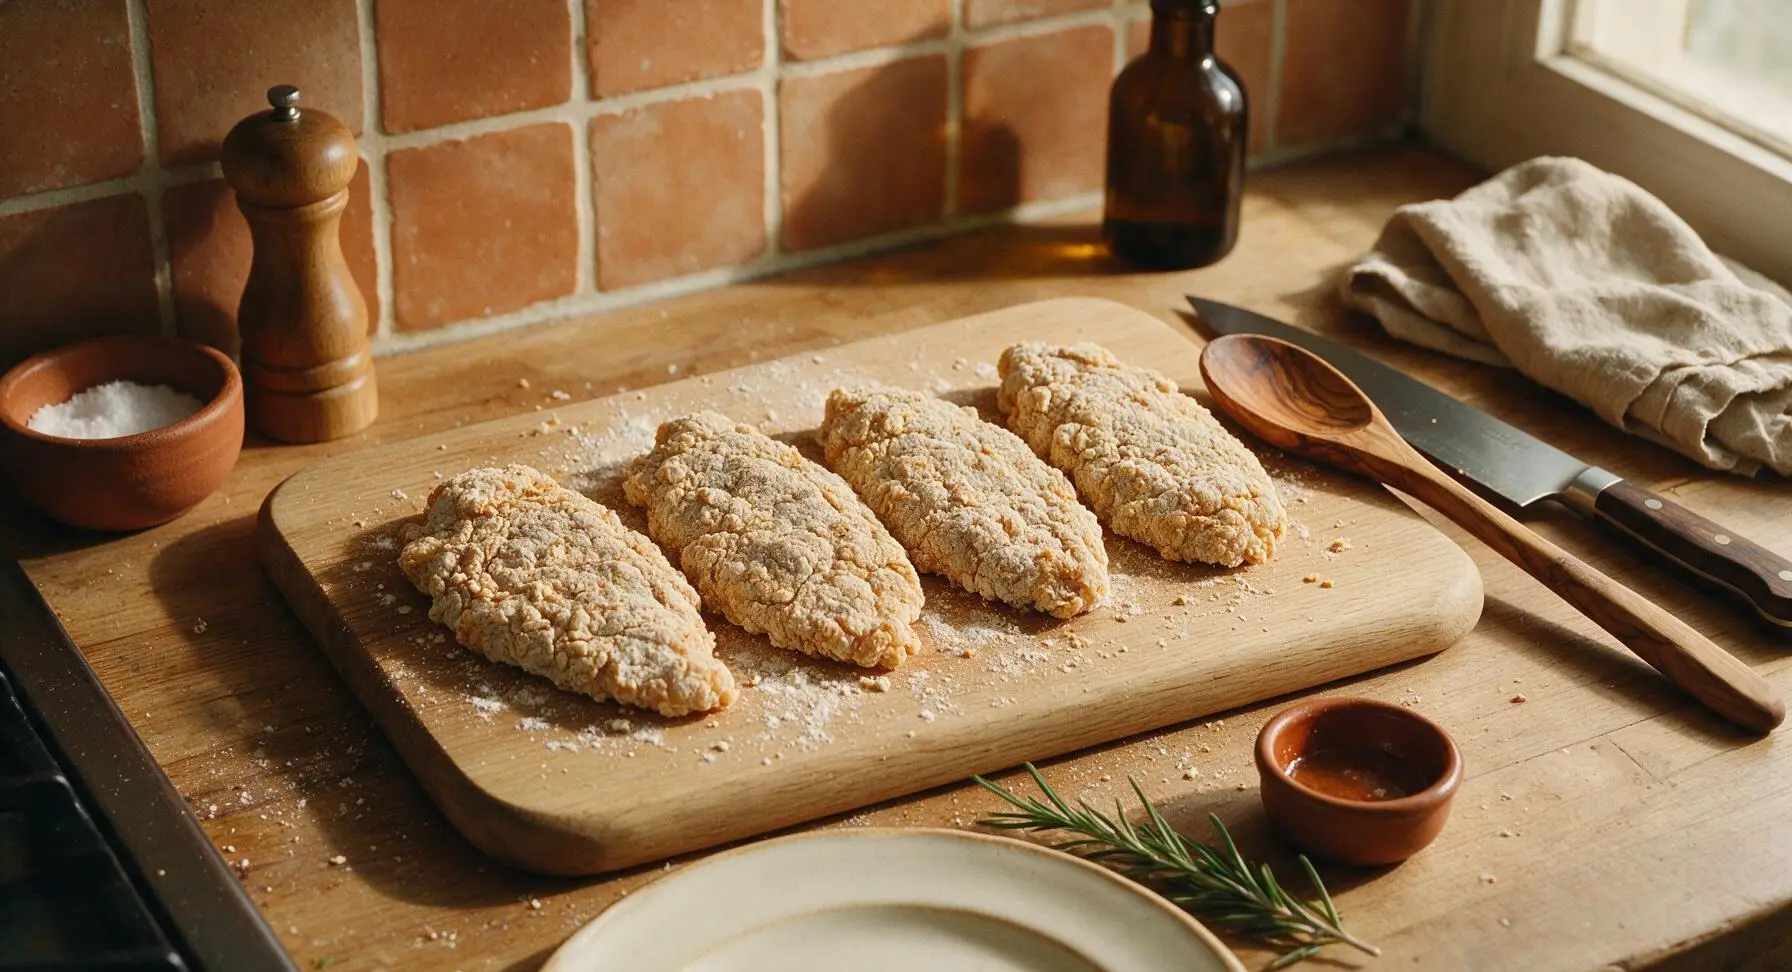
Working one cutlet at a time, dip dried chicken first into the egg wash, coating both sides fully and letting excess egg drip off for 3 seconds. Next, press the chicken firmly into the spiced flour mixture, coating every surface completely, pressing the flour into the chicken to create a craggy, textured coating. Set dredged cutlets on a clean section of the cutting board and rest for 5 minutes to allow the coating to adhere—this prevents breading from falling off during frying.
Heat Frying Oil
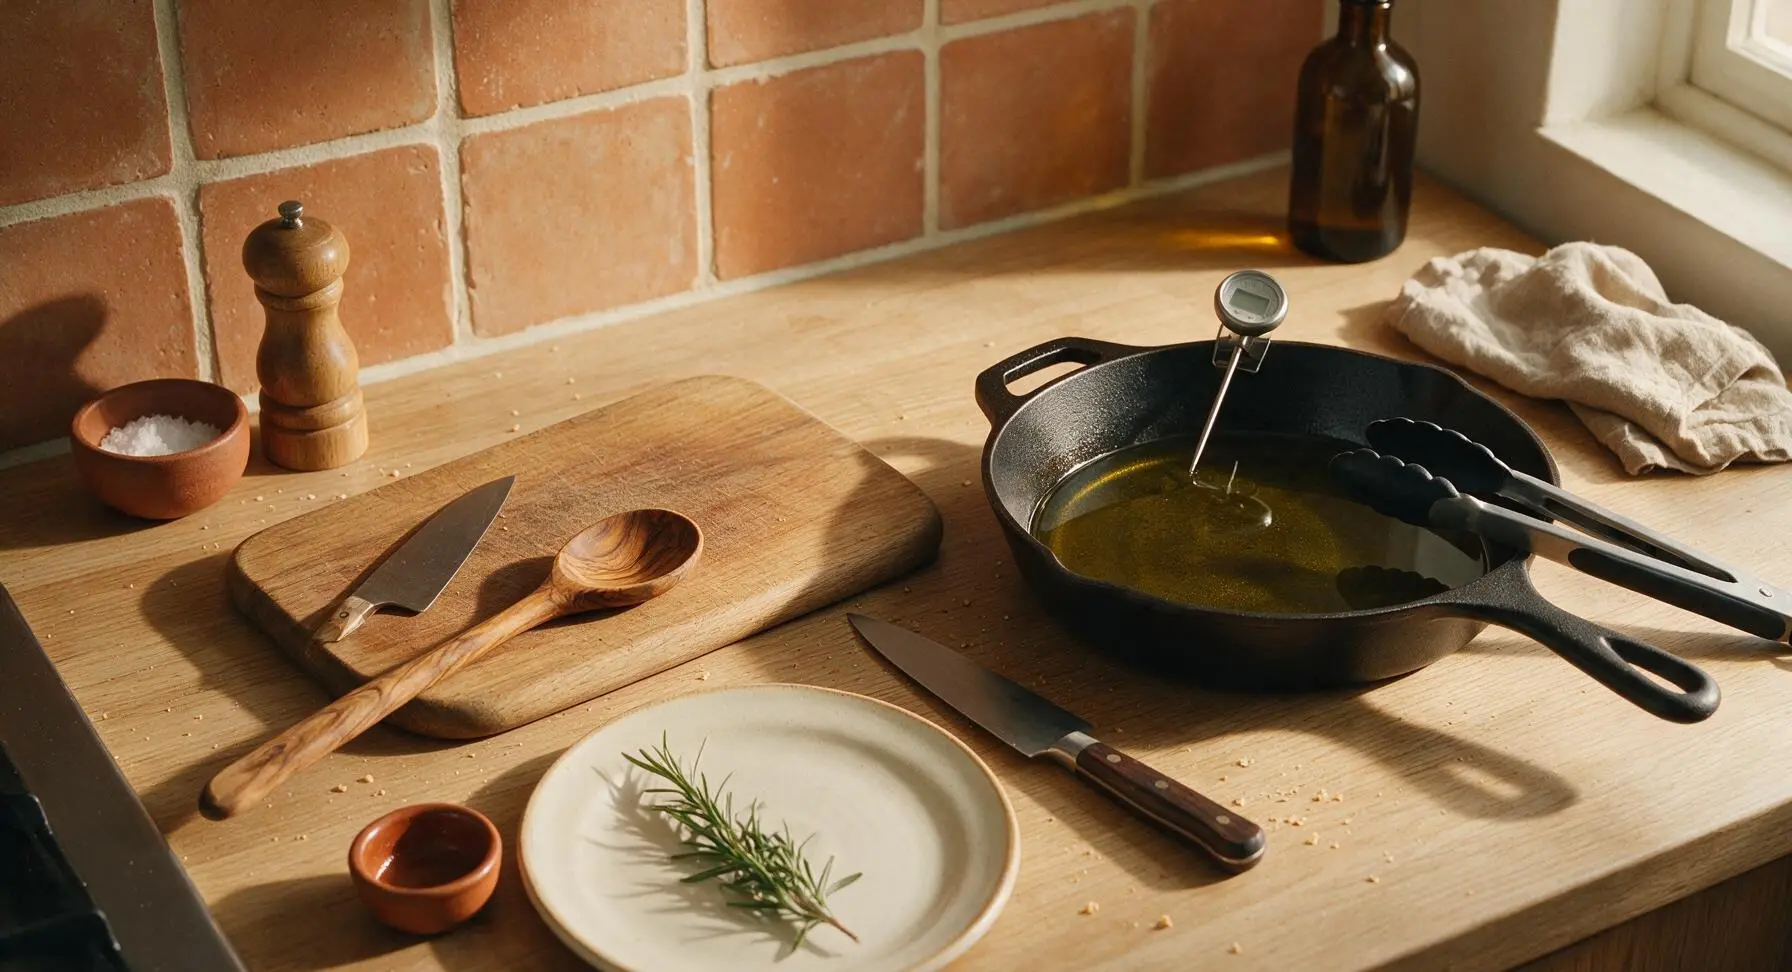
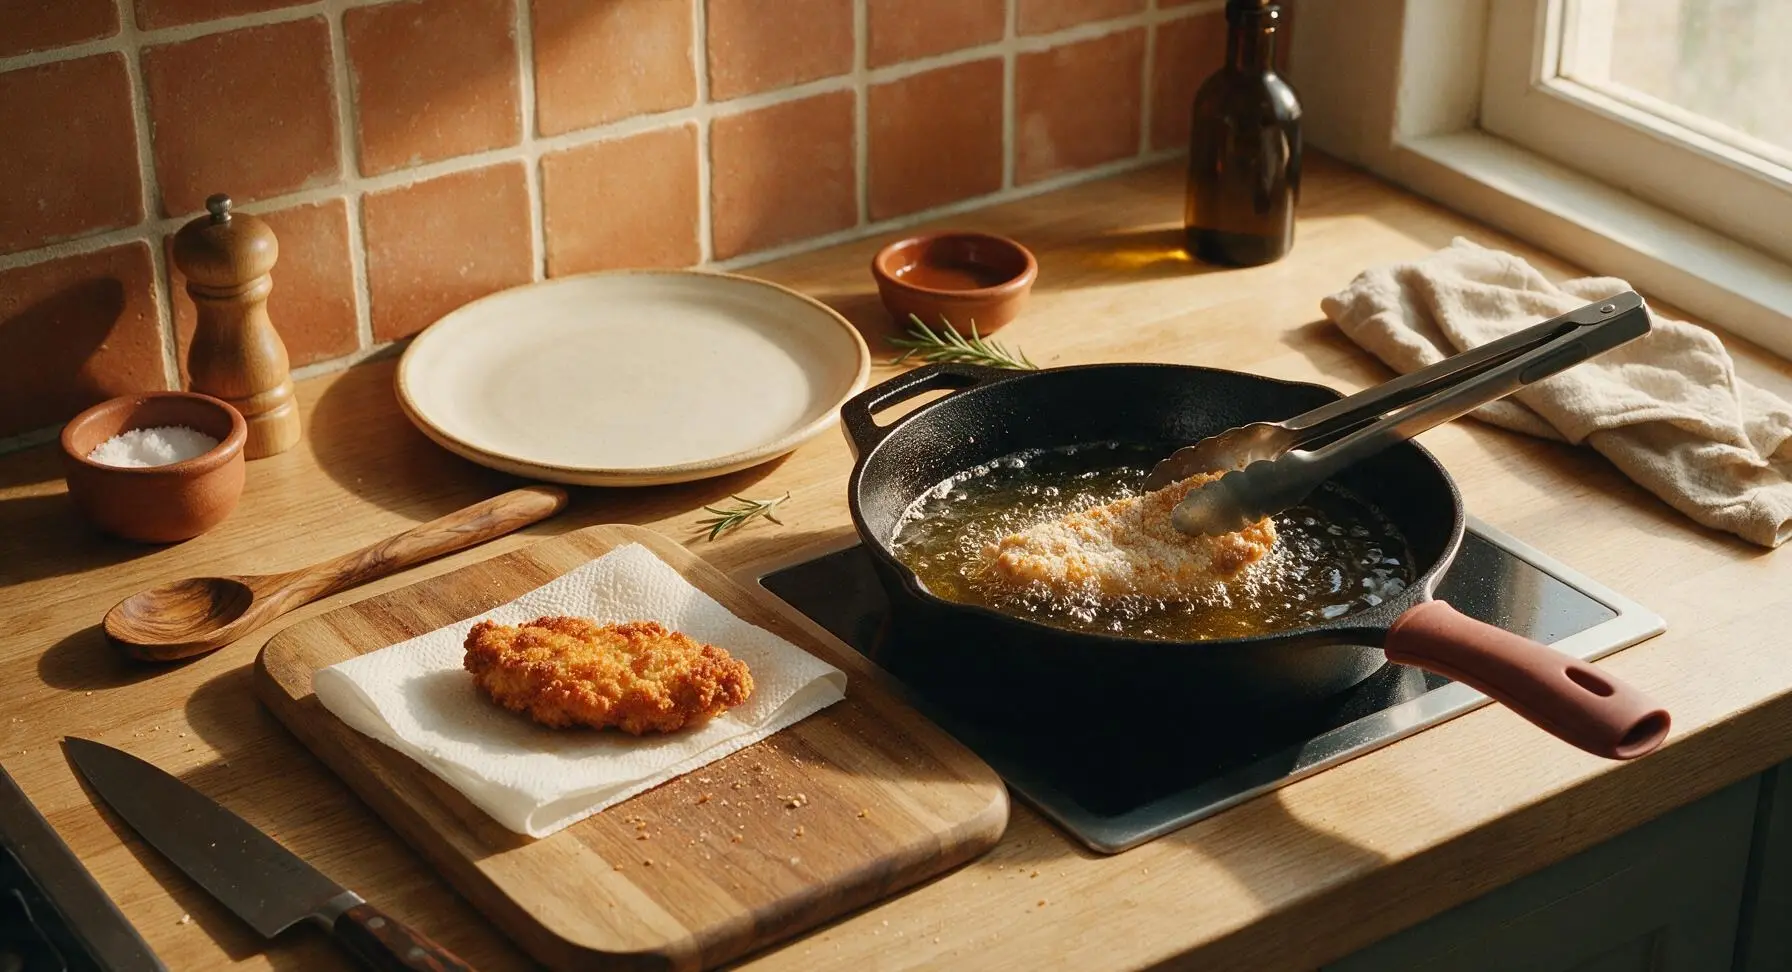
Retrieve the 12-inch pre-seasoned cast iron skillet from under-counter storage and place it to the right of the cutting board. Pour 2 cups peanut oil into the skillet, heat over medium heat until the oil reaches a steady 350°F, measured with the instant-read thermometer. Do not let oil exceed 360°F, as this will burn the coating before the chicken cooks through.
Fry Chicken To Crisp
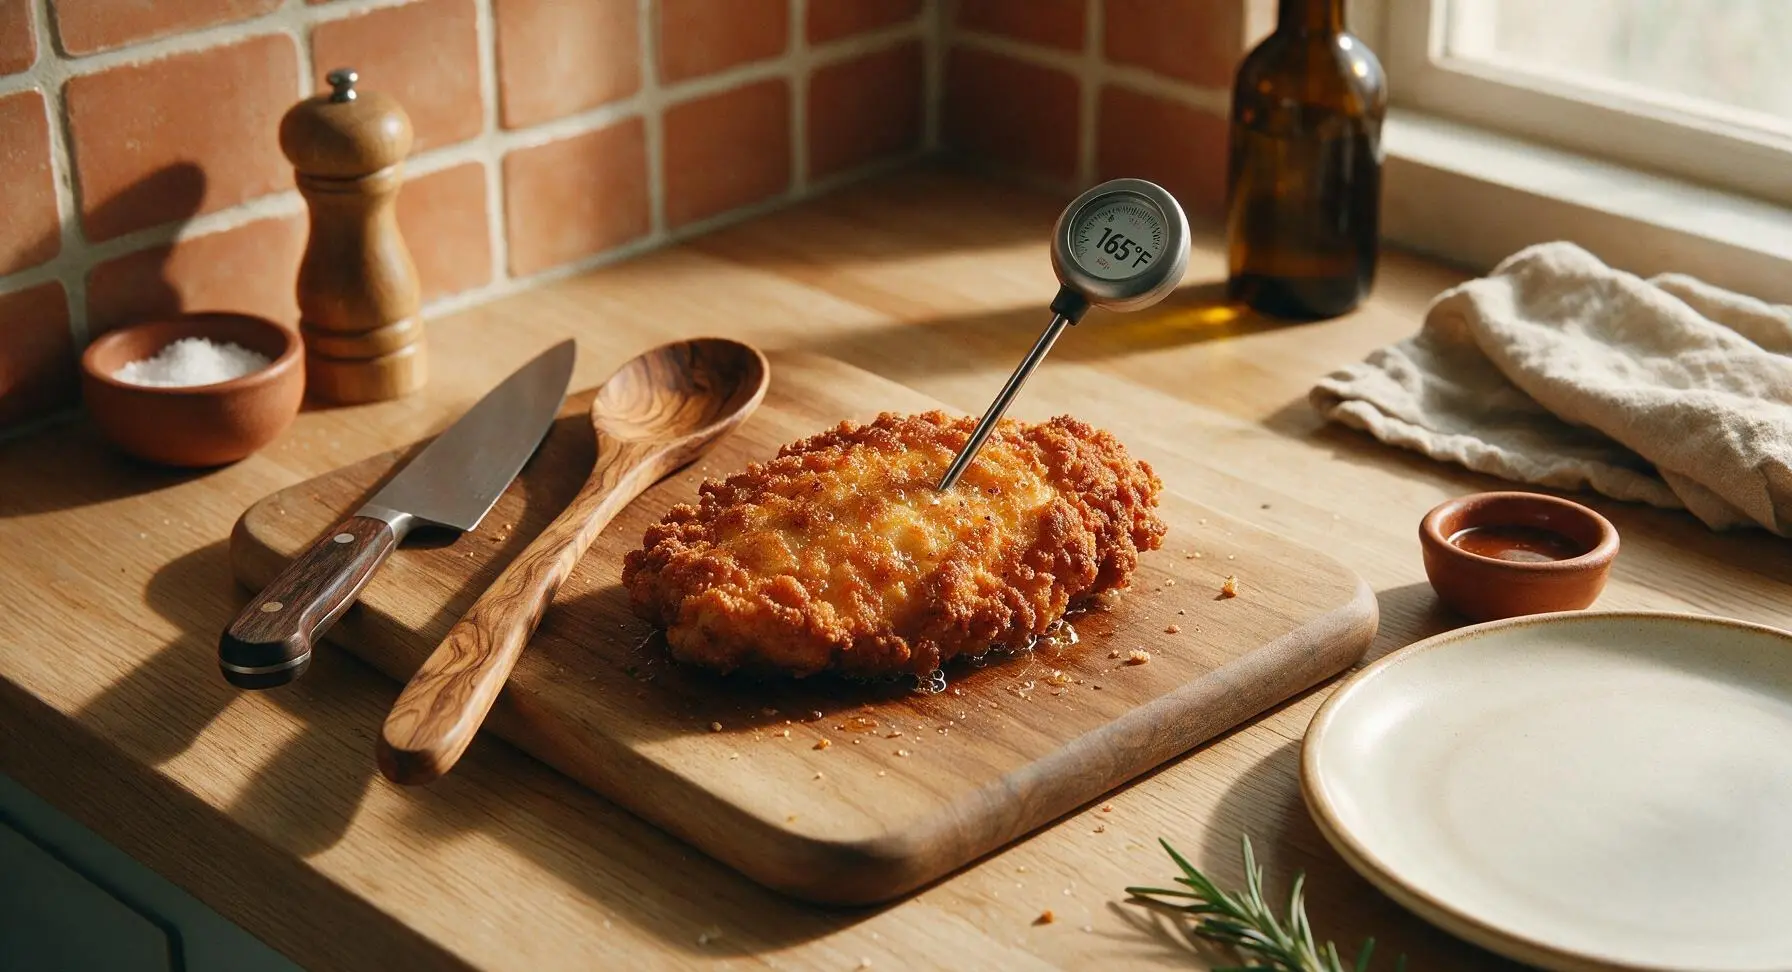
Using the tongs, carefully lower 2 dredged chicken cutlets into the hot oil, working in batches to avoid dropping oil temperature. Fry 3-4 minutes per side, until the coating is deep golden brown and crispy, and chicken reaches an internal temperature of 165°F on the instant-read thermometer. Transfer cooked chicken to a paper-towel lined section of the cutting board to drain for 2 minutes; do not stack cutlets, as this will make the crust soggy. Repeat with remaining cutlets, allowing oil to return to 350°F between batches.
Butter And Toast Buns
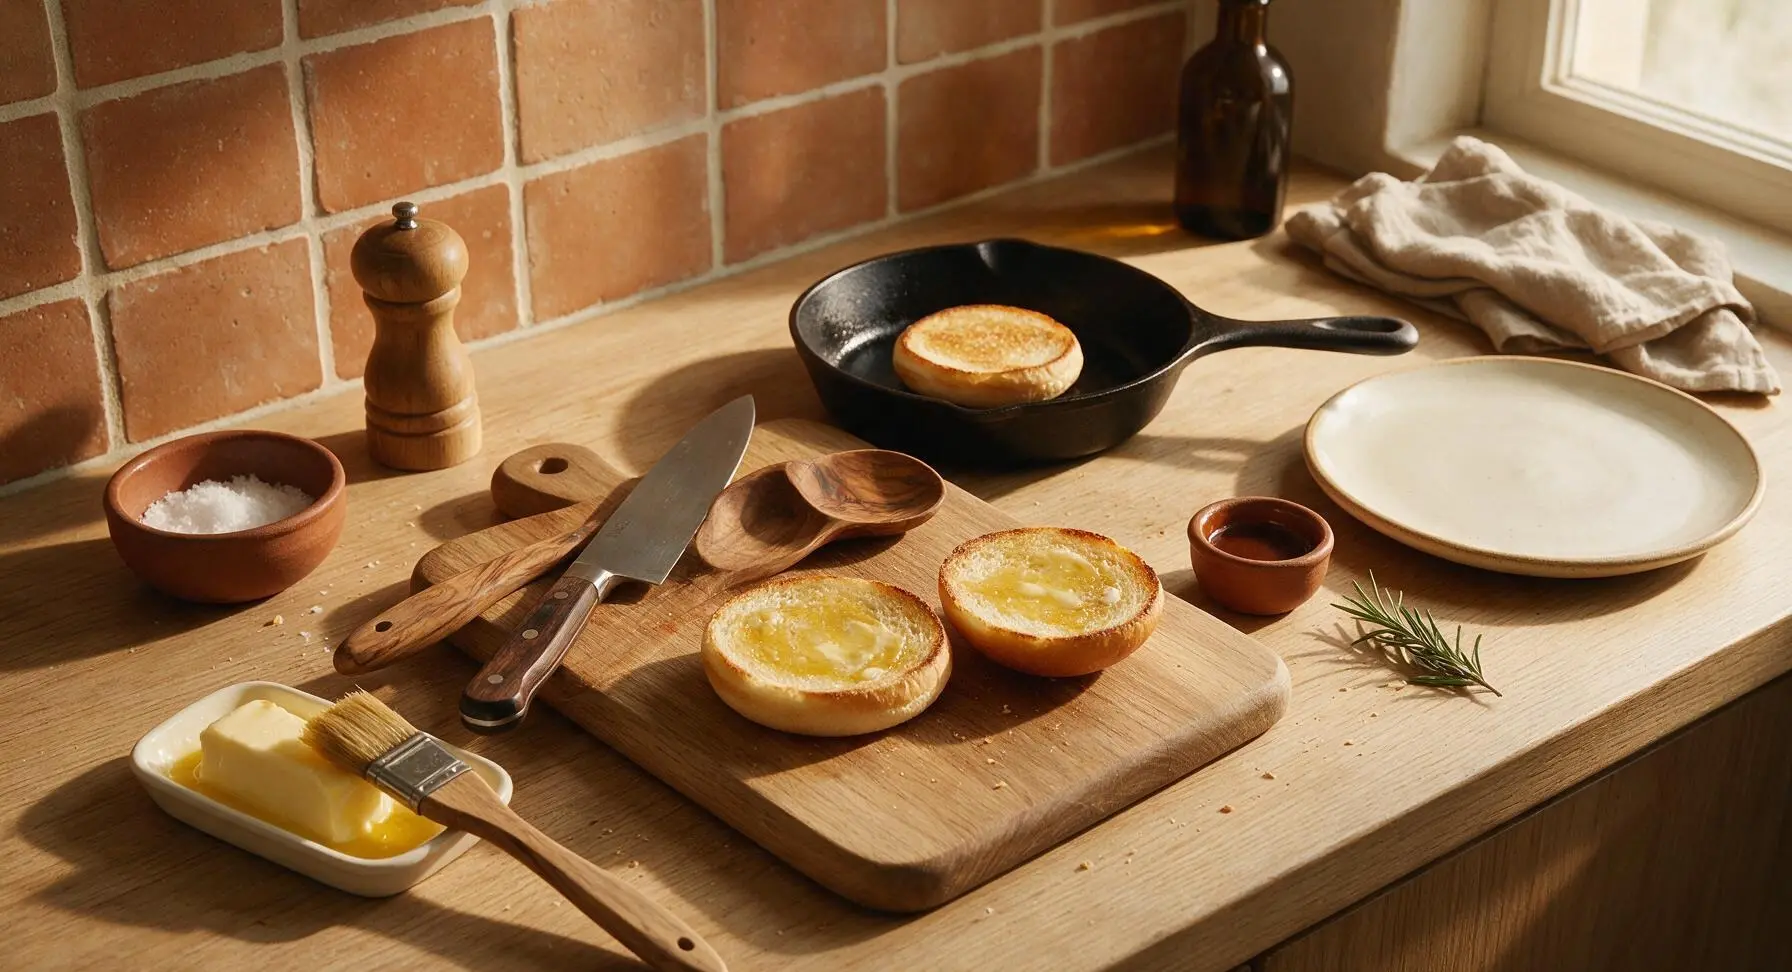
Once all chicken is cooked and set aside to drain, use the pastry brush to coat the cut sides of all 4 split hamburger buns with melted unsalted butter from the cream butter dish. Wipe excess oil from the cast iron skillet with a paper towel, then place buns cut-side down in the skillet over low heat for 45-60 seconds, until the cut surface is lightly golden and buttery, remaining soft rather than crispy.
Assemble Sandwiches
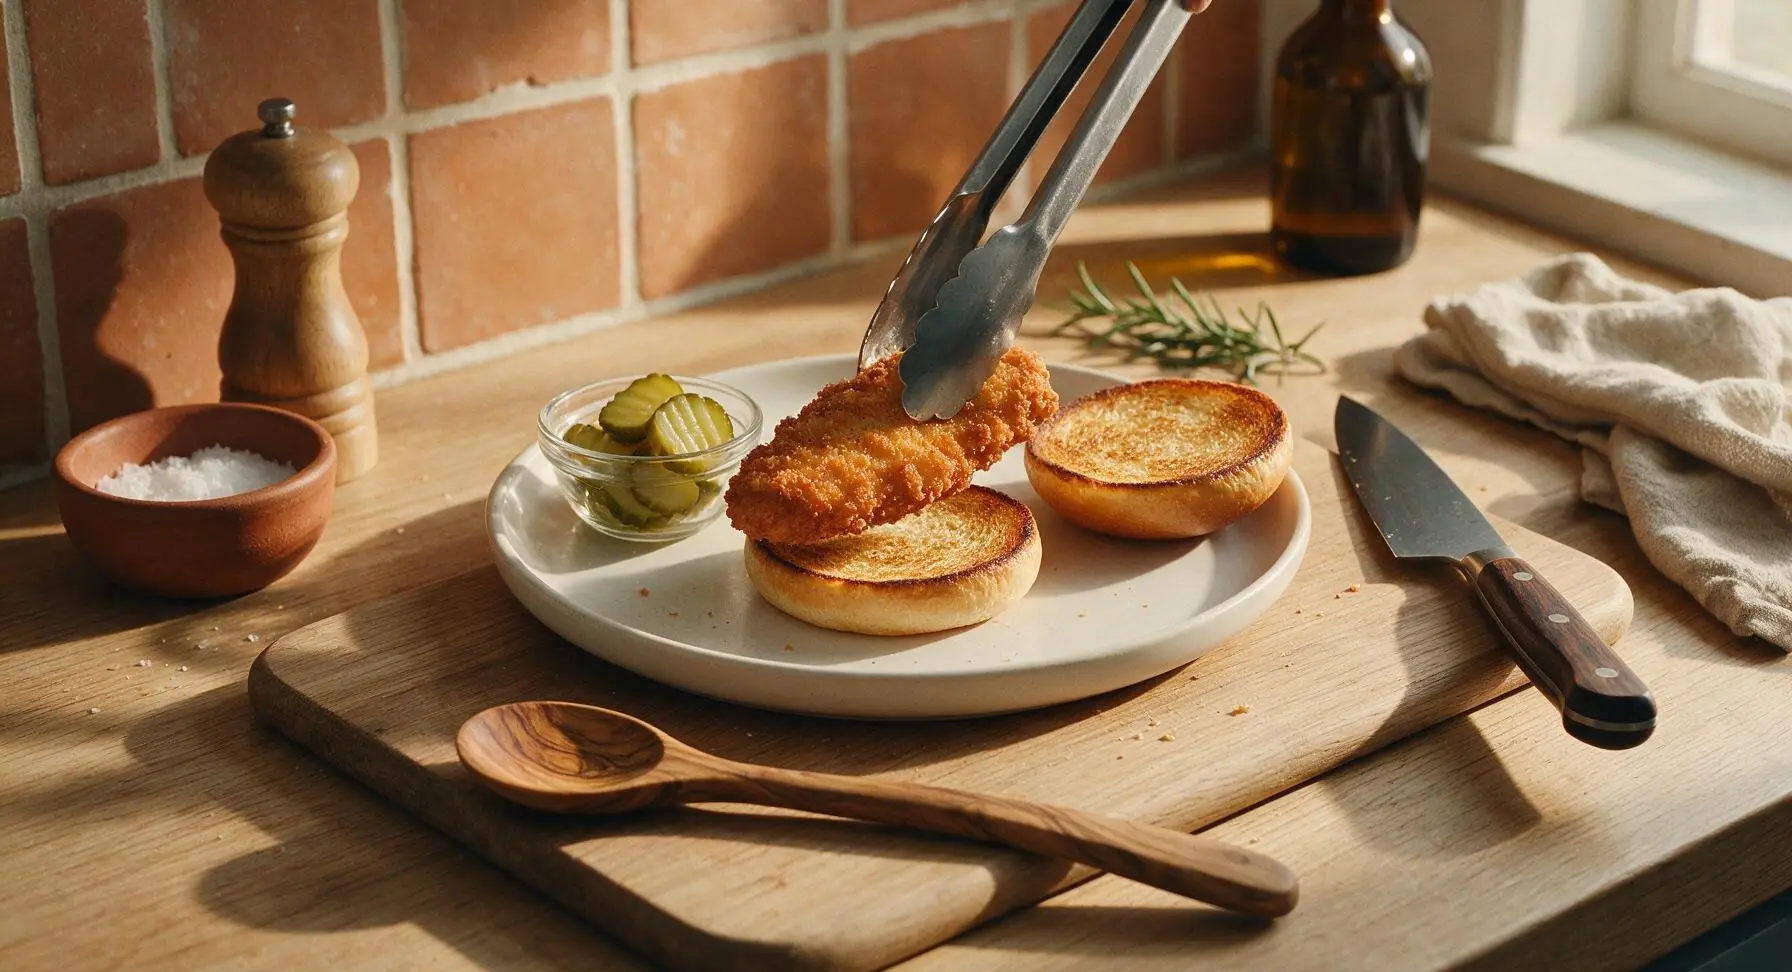
Place the bottom half of a toasted bun on the matte white ceramic dinner plate. Lay one crispy fried chicken cutlet on the bottom bun, top with 4 crinkle-cut dill pickle slices arranged evenly across the chicken, then set the top toasted bun in place. Press down gently to set the sandwich so flavors meld, and serve immediately while the chicken is hot and crispy.
Tips
2.Let dredged chicken rest for 5 minutes before frying: this short pause allows the egg and flour coating to bind tightly to the chicken, eliminating bare spots and preventing breading from separating in the hot oil.
3.Maintain a steady 350°F oil temperature while frying: oil that is too cool will leave the crust soggy and oil-soaked, while oil that is too hot will burn the outer coating before the chicken cooks through to a safe 165°F internal temperature.






OMG this is a total game changer! I made these for my kid’s after-school soccer team snack earlier this week and every single parent asked for the recipe. The chicken comes out so crispy even after I drove 15 minutes to the field, no soggy breading at all! I did add a tiny extra pinch of paprika to the flour mix because my family loves a little smoky kick. 10/10, will be making these every week for Sunday dinner from now on.
SO good. I was fully skeptical a home recipe could nail that exact CFA crunch, but this is dead on. Cook time really is only 10 minutes too — perfect for quick weeknight meals when I don’t feel like waiting in the drive-thru line after work. I toasted the buns a little extra with butter like they do at the restaurant and it took it over the top. Will be adding this to my regular meal prep rotation for sure.
Made this in my tiny dorm kitchen with just a cheap countertop air fryer instead of pan frying and it still turned out insane! I didn’t have peanut oil so I used canola, and even with those swaps it tasted exactly like the sandwich I get between classes. Only thing is I burned the first batch a little because my air fryer runs hot, so keep an eye on it if you use one! Only reason I’m not giving 5 stars is I wish there was a note about air fryer temp adjustments, otherwise it’s perfect.
Brought these to our neighborhood block party potluck this weekend and they were gone in 10 minutes flat. People were coming back for seconds before I even got to put the platter down! I served them with the classic copycat CFA sauce (the mayo/mustard/honey/BBQ mix) on the side and everyone swore I picked them up straight from the restaurant. Total crowd pleaser, zero complaints.
I’ve tried probably 5 different copycat CFA sandwich recipes off the internet over the years and this is by far the closest one. No weird fancy ingredients, no 24 hour brine, just simple stuff I already have in my pantry. The crispy breading doesn’t slide off the chicken when you take a bite, which is my biggest pet peeve with fried chicken sandwiches. SO good, even my super picky teen who only eats fast food gave it two thumbs up.
Game changer for my Sunday meal prep! I cooked up a batch of these chicken cutlets, stored them in the fridge, and crisped them up in the toaster oven for 3 minutes when I was ready to eat during the week. They held up way better than I thought they would, no sogginess at all. Saved me so much money not hitting the CFA drive-thru on my lunch break every day this week!