
chicken bacon ranch sub

title 1
chicken bacon ranch sub
⏱️ cook time 20 minutes
🍽️ servings 4
⚡ Difficulty easy

intro

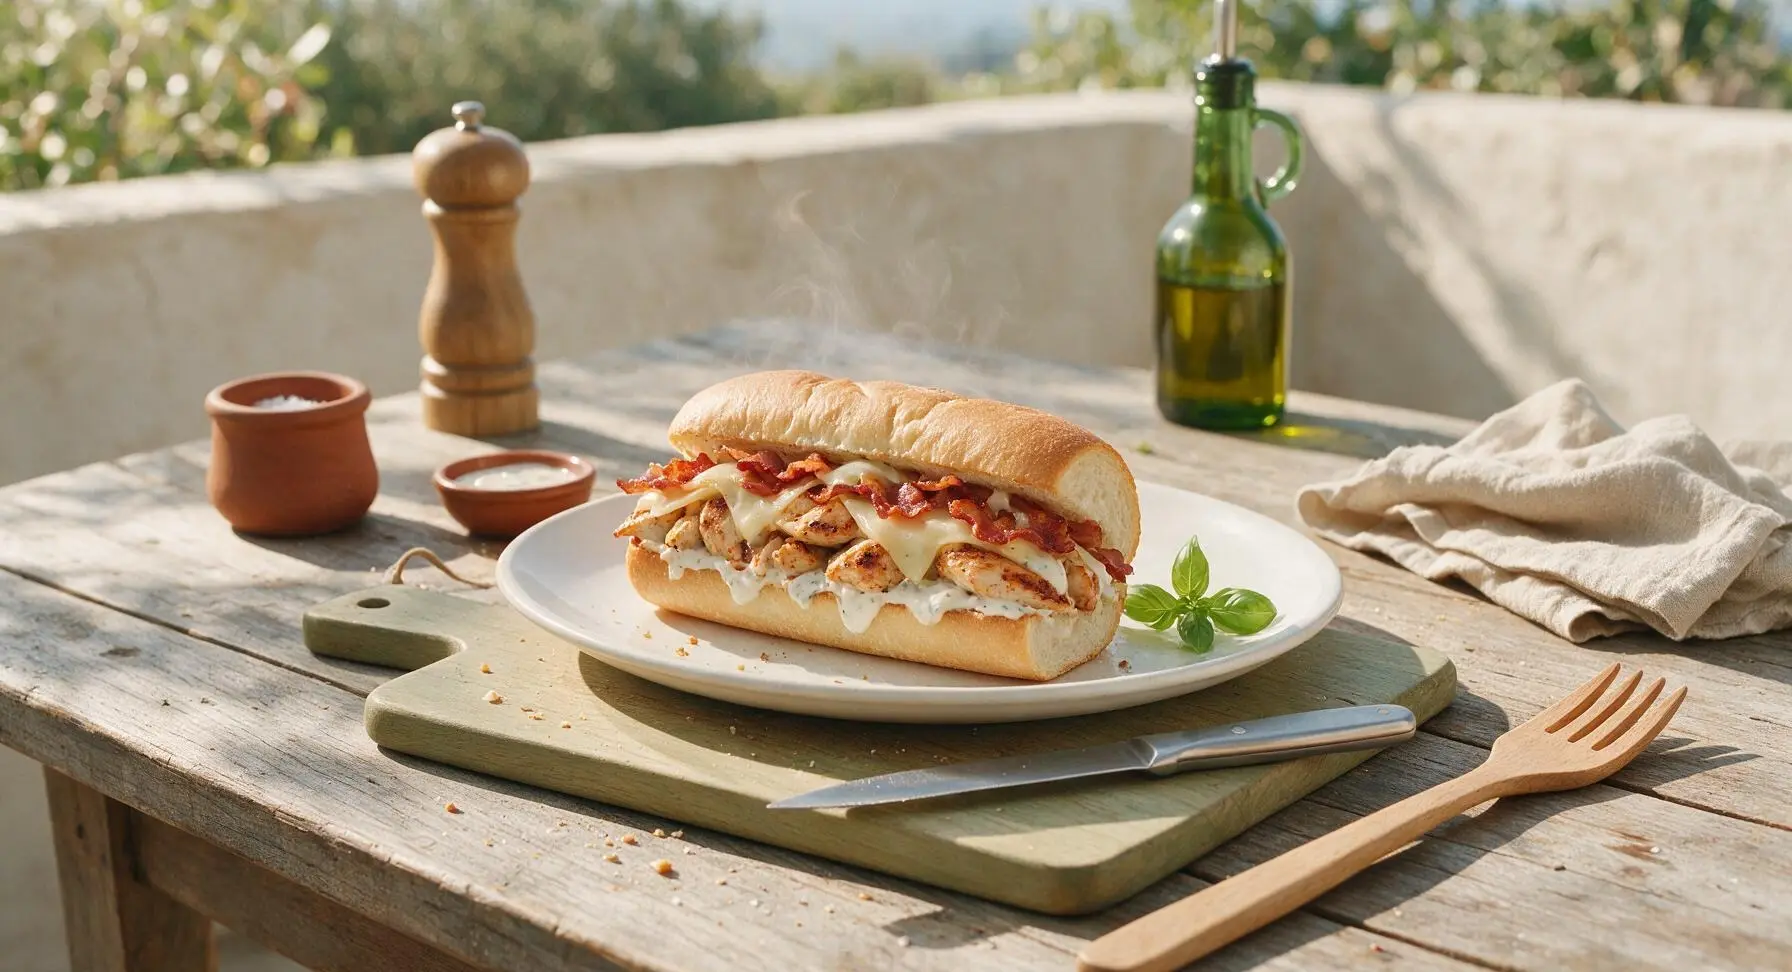
Juicy seared chicken, crispy bacon, melted provolone, and tangy ranch piled high on a toasted hoagie—this classic American deli sub is hearty, satisfying, and packed with bold, comforting flavor.

Ingredients
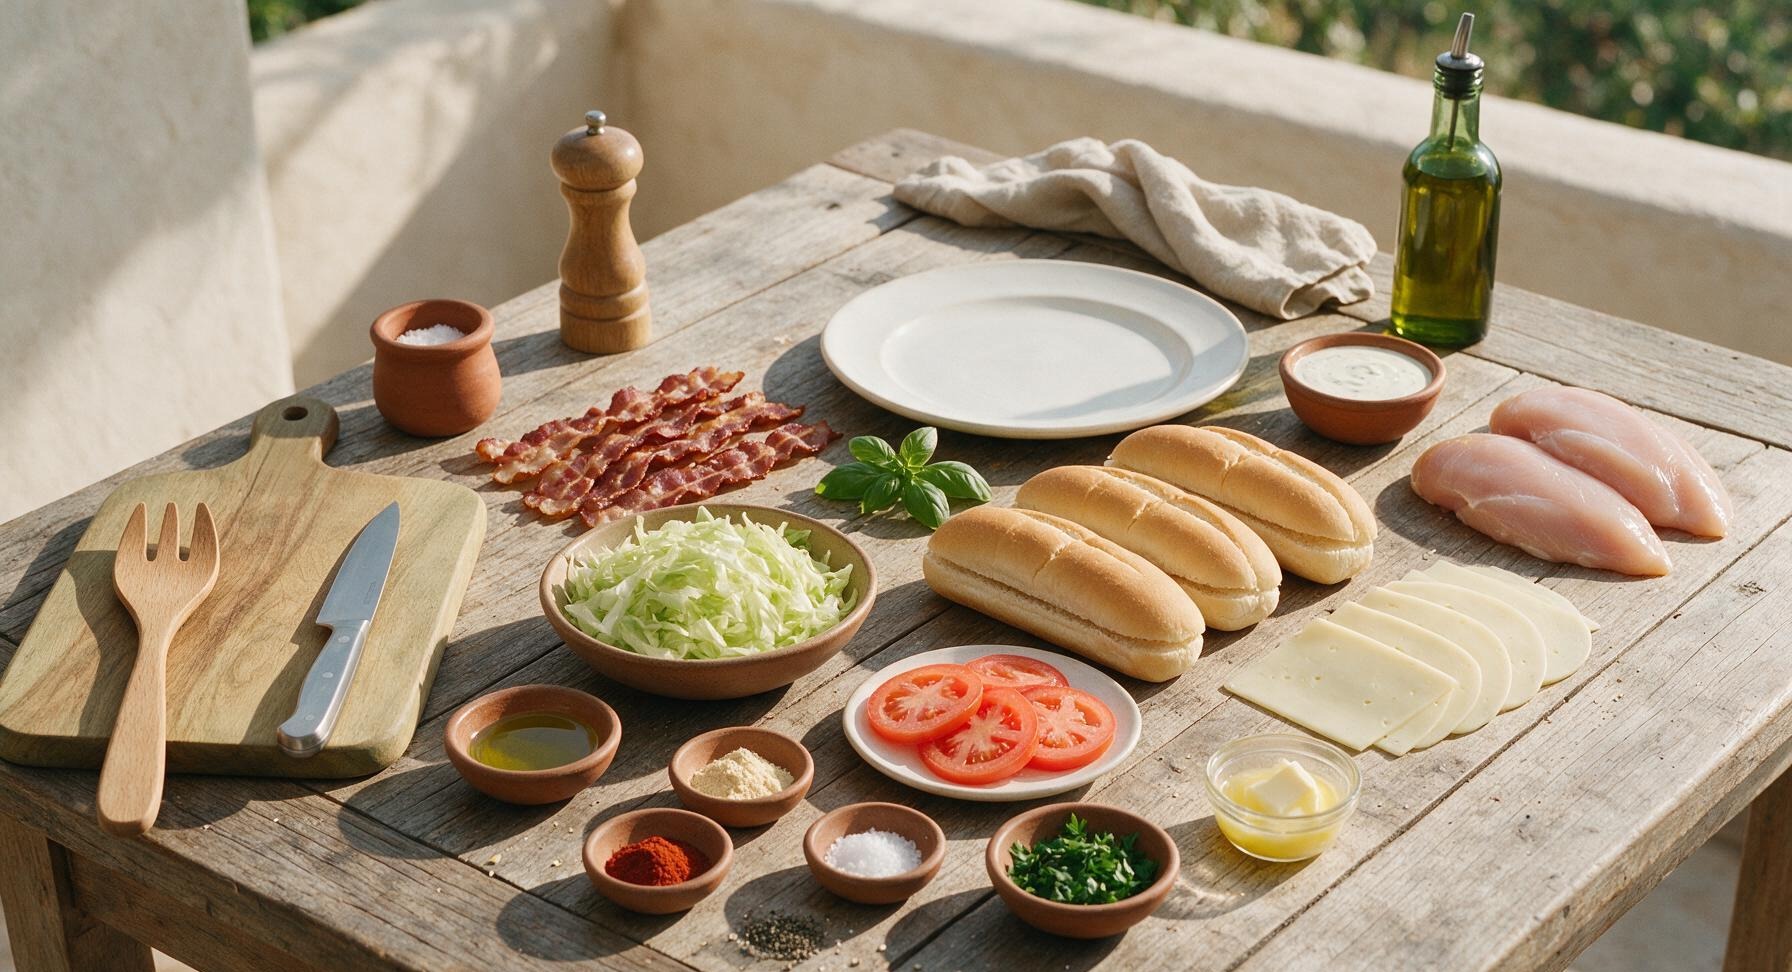
Boneless skinless chicken breasts 680g (1.5 lbs)
Thick-cut bacon strips 8 slices (225g)
6-inch soft white hoagie rolls, split lengthwise 4
Sliced provolone cheese 8 slices (170g)
Creamy ranch dressing 120ml (1/2 cup)
Shredded iceberg lettuce 100g (1.5 cups, loosely packed)
Roma tomatoes 2 medium, sliced 1/4-inch thick
Extra-virgin olive oil 1 tablespoon
Garlic powder 1 teaspoon
Smoked paprika 1/2 teaspoon
Kosher salt 1/2 teaspoon
Freshly ground black pepper 1/4 teaspoon
Unsalted butter, melted 2 tablespoons
Fresh flat-leaf parsley, chopped 2 tablespoons

Steps

1

Cook Crispy Bacon

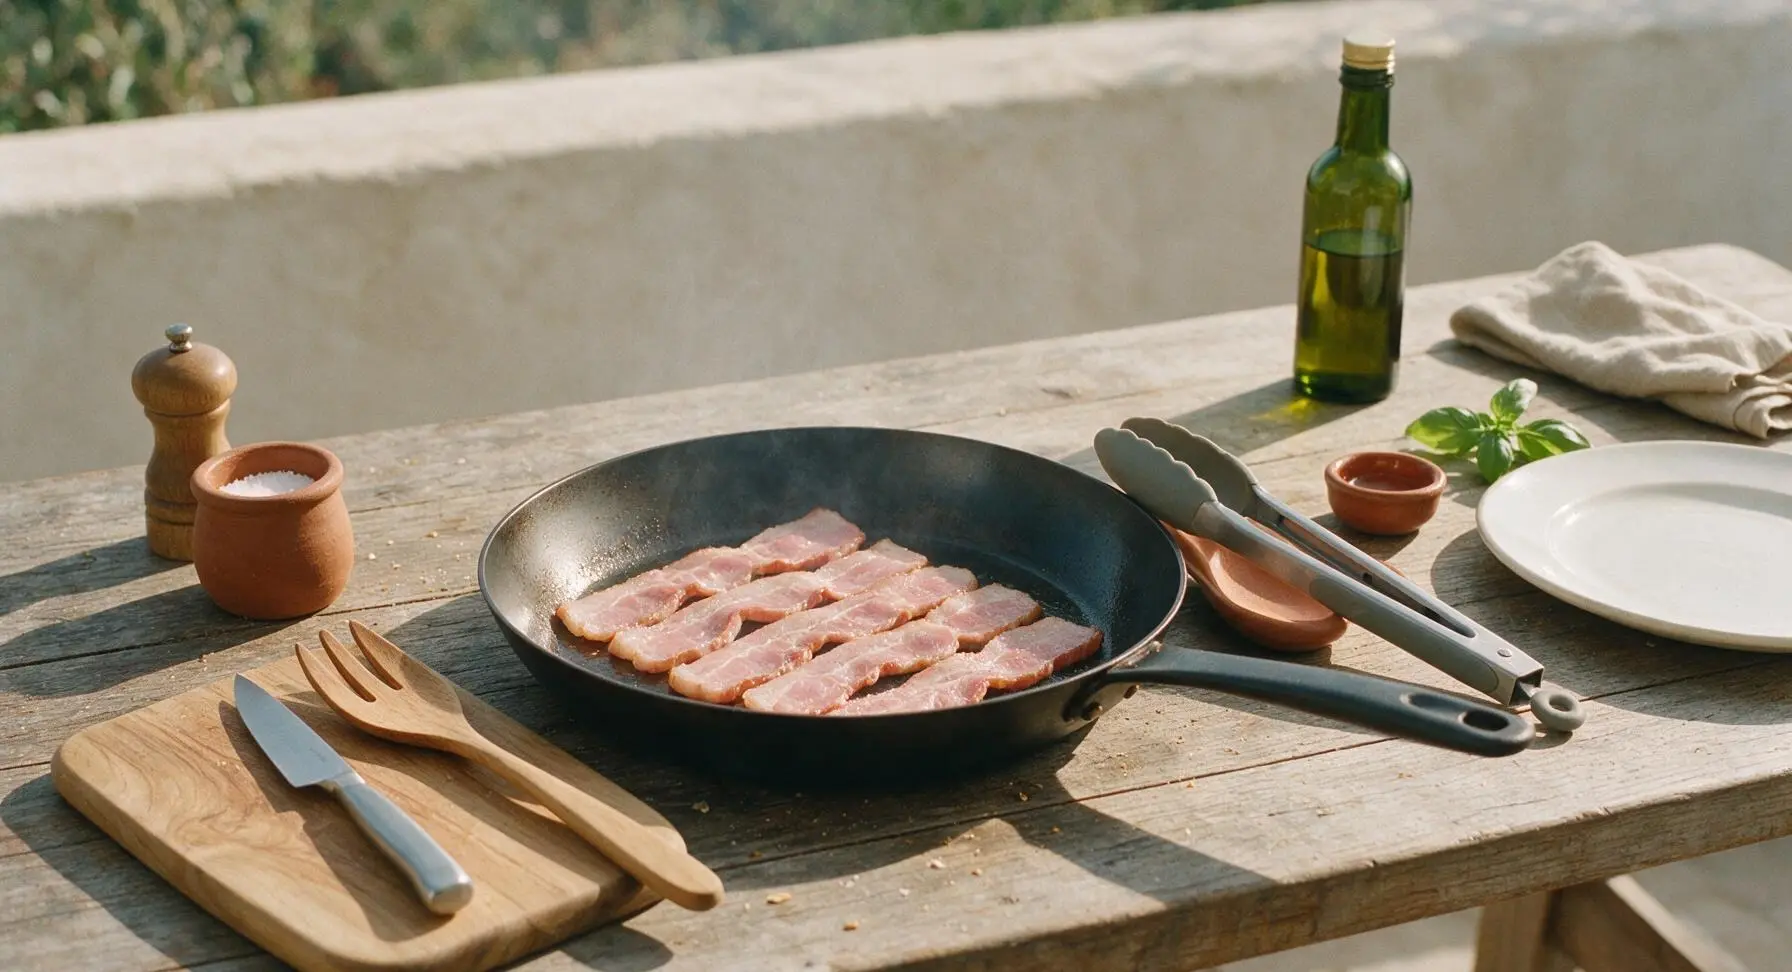
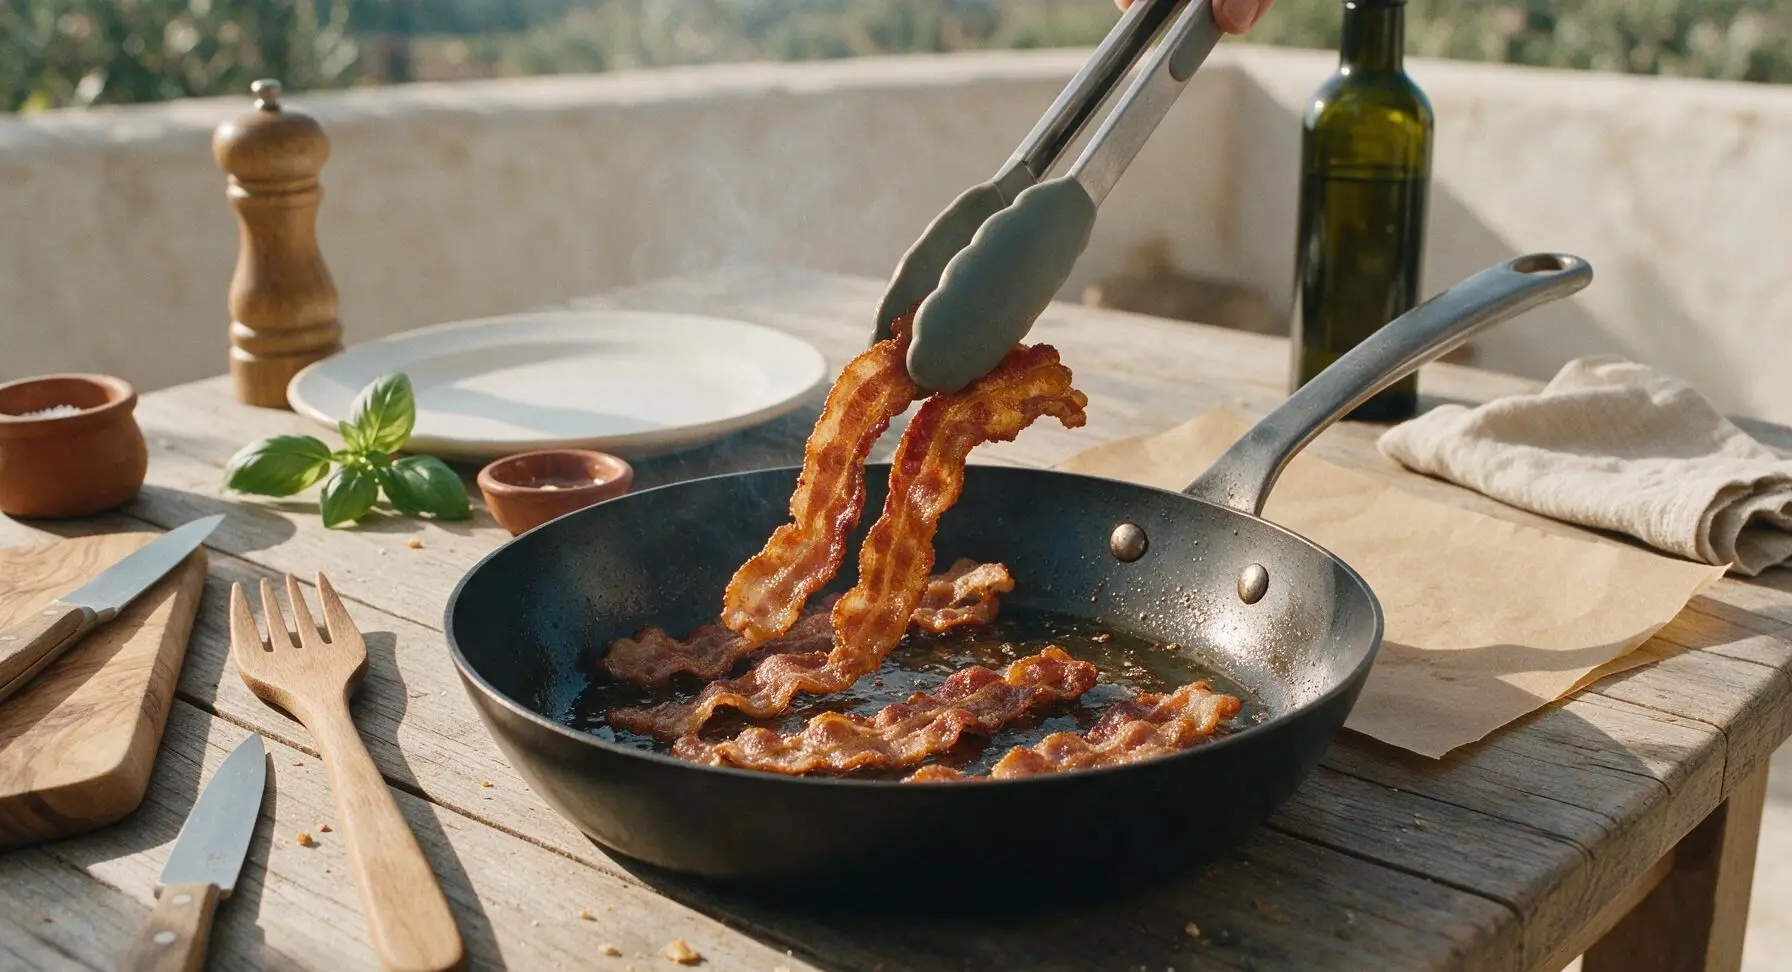
Place the 12-inch matte black carbon steel skillet over medium heat. Lay 8 thick-cut bacon strips in a single layer in the cold skillet to encourage even fat rendering. Cook 6-8 minutes total, flipping once with the silicone-tipped tongs, until bacon is deep golden, evenly rendered, and fully crispy with no soft, fatty white spots remaining. Use tongs to transfer cooked bacon to a sheet of unbleached brown paper liner from the stack at the right counter to drain excess grease; leave 1 tablespoon of bacon fat in the skillet to cook the chicken for extra flavor.
Step 1
step1:Cook Crispy Bacon
Step 1
step1:Cook Crispy Bacon
2

Season Chicken Strips

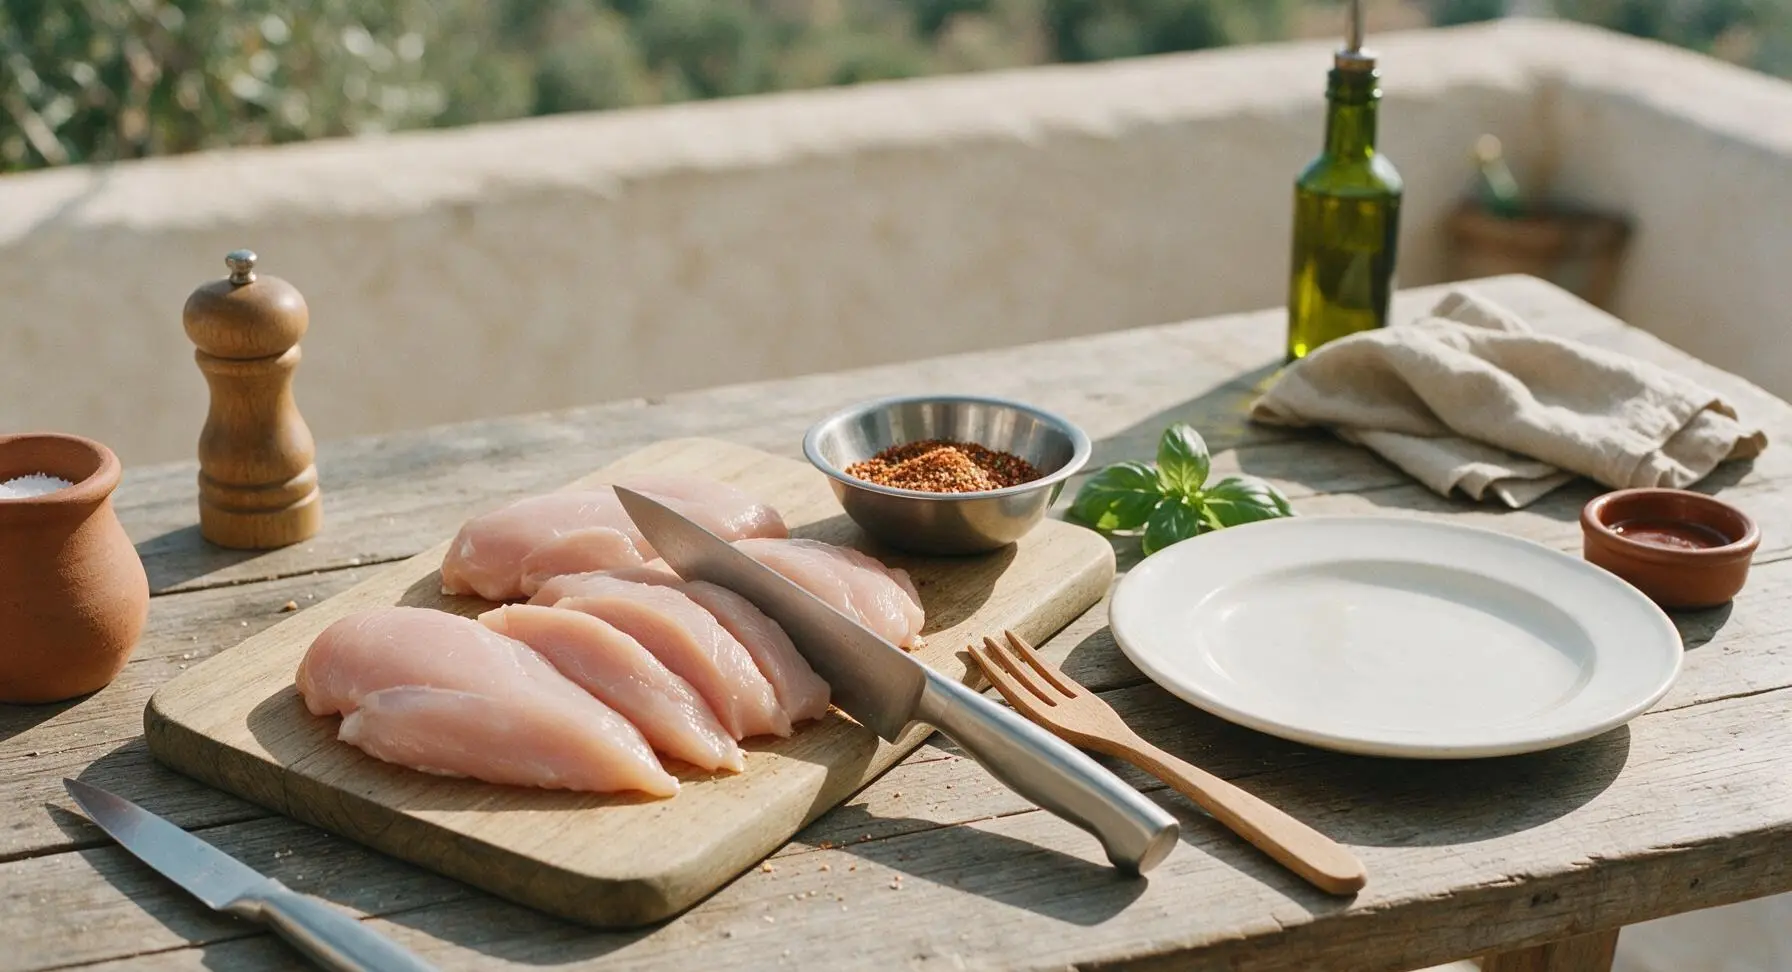
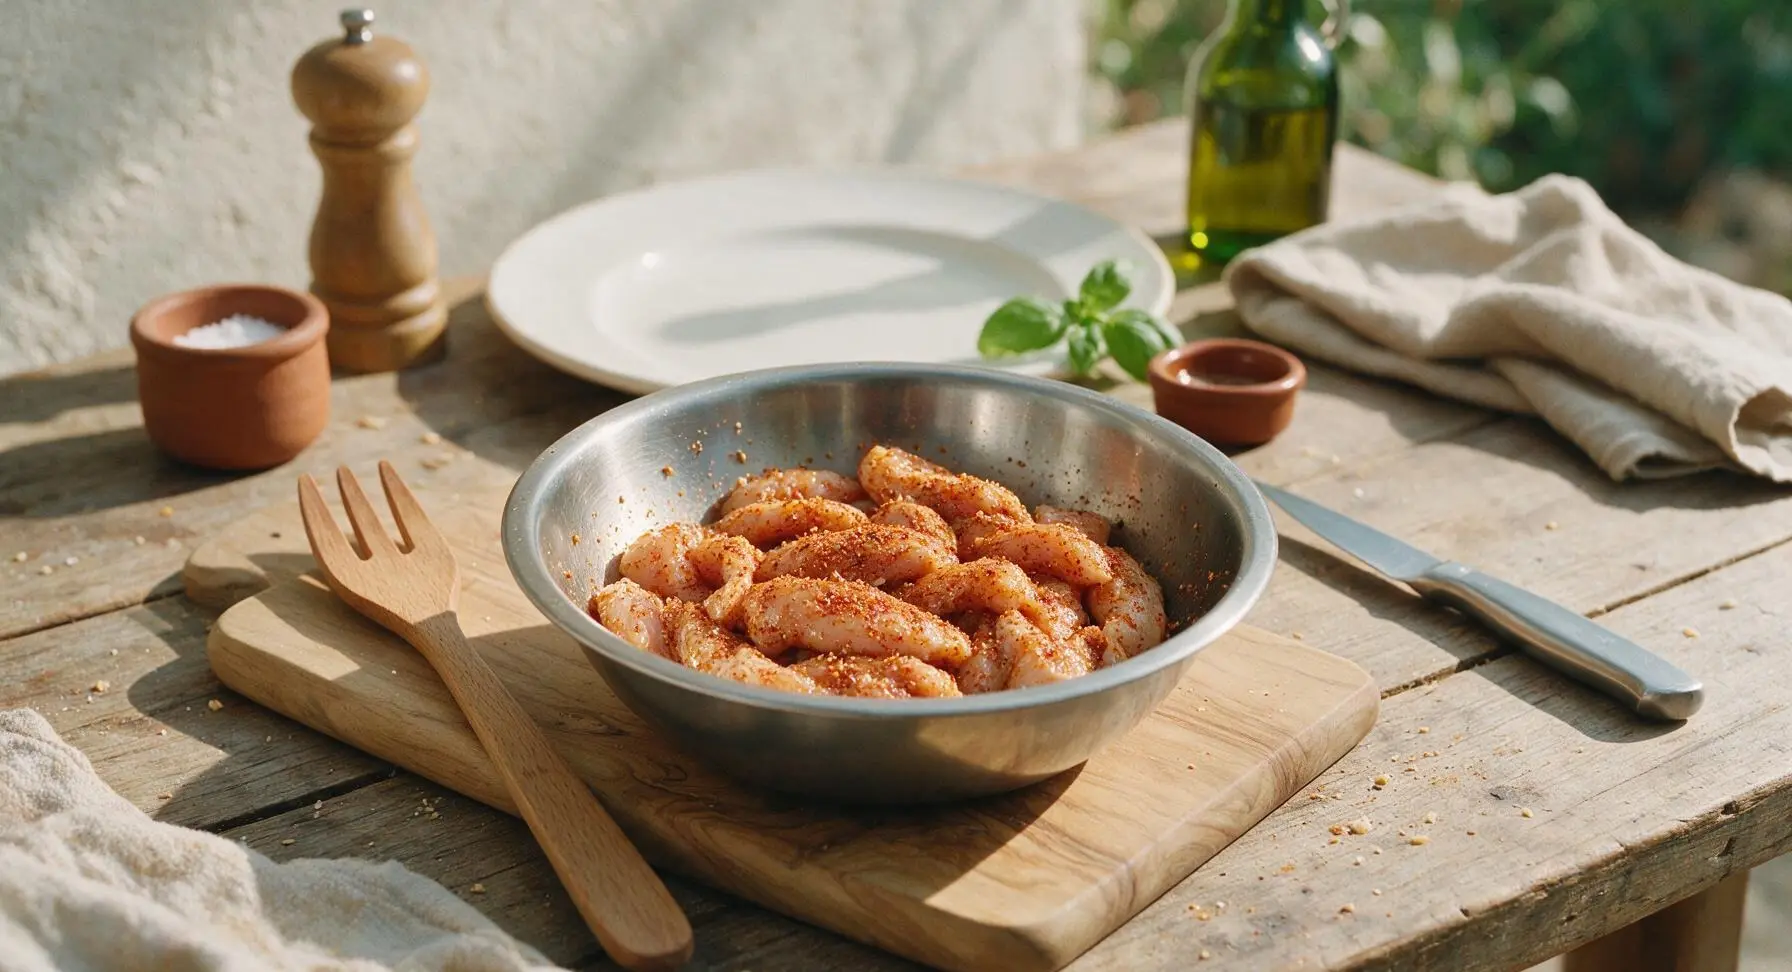
While bacon cooks, place 680g boneless skinless chicken breasts on the maple cutting board. Use the 8-inch chef knife to slice each breast lengthwise into 1.5cm (1/2-inch) thick uniform strips, which will cook quickly and evenly. In the small stainless steel mixing bowl, combine 1 teaspoon garlic powder, 1/2 teaspoon smoked paprika, 1/2 teaspoon kosher salt, and 1/4 teaspoon freshly ground black pepper. Toss the chicken strips with 1 tablespoon olive oil and the spice mix until every piece is evenly coated, with no pale unseasoned patches visible on the chicken surface.
Step 2
step2:Season Chicken Strips
Step 2
step2:Season Chicken Strips
3

Sear Cheese-Topped Chicken

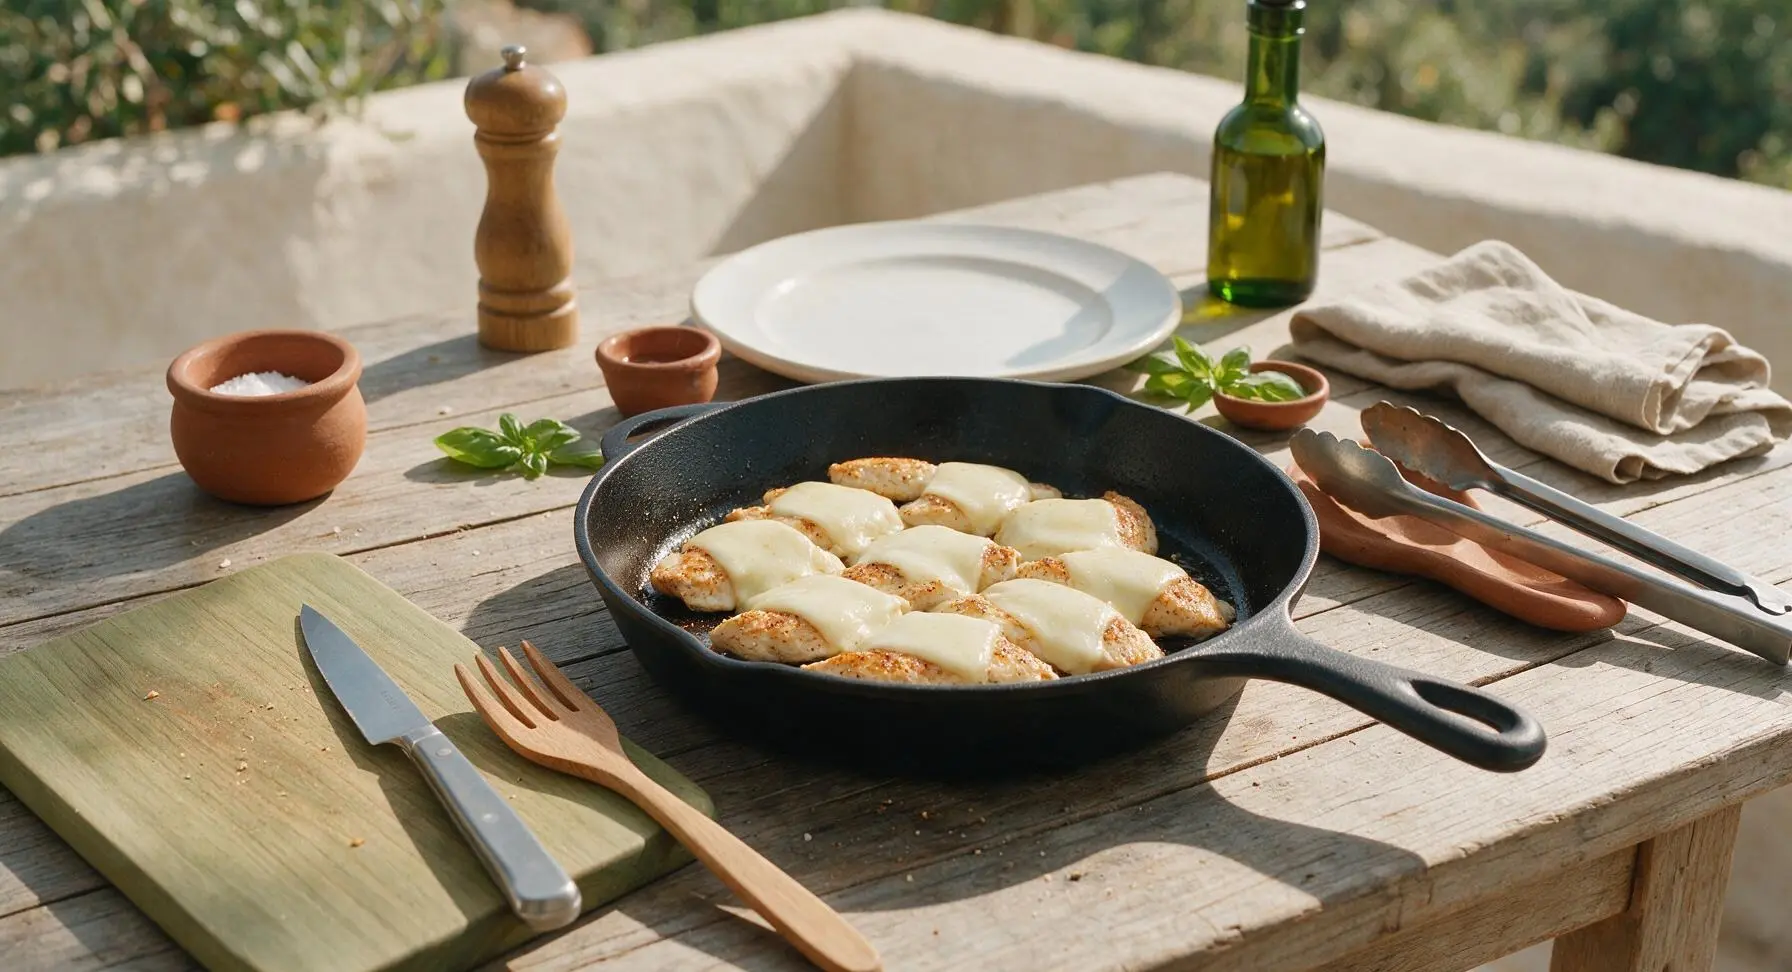
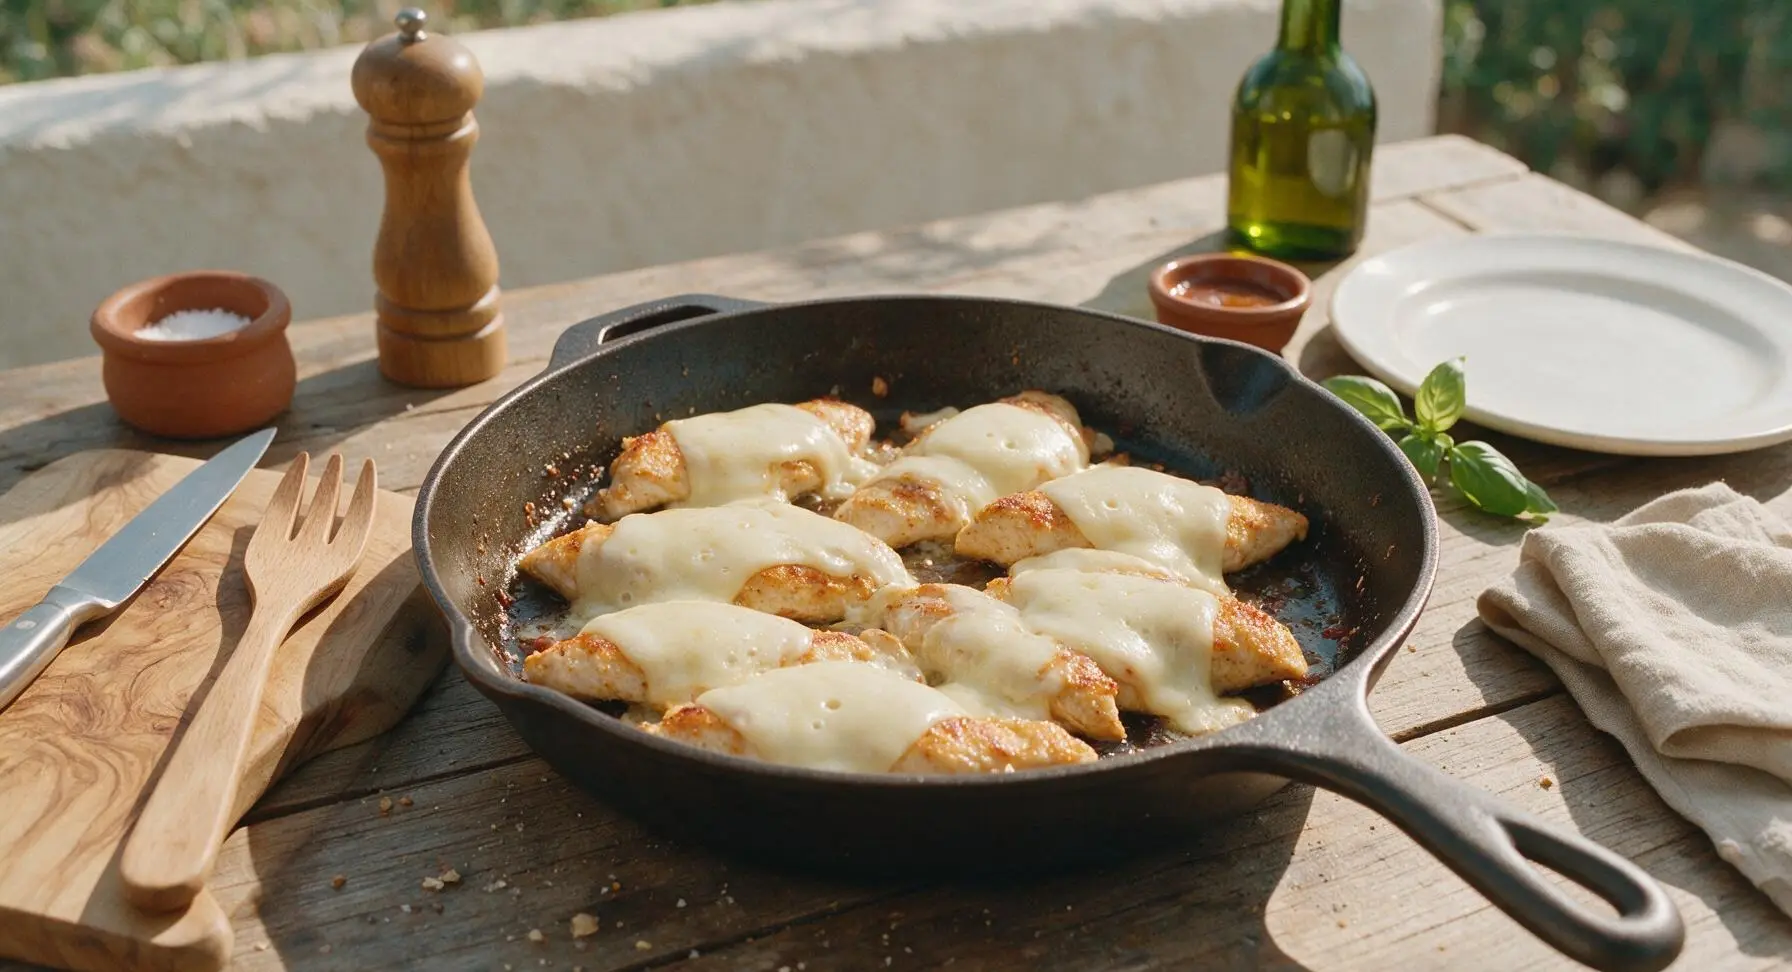
Return the skillet with reserved bacon fat to medium heat. Add the seasoned chicken strips in a single layer, working in two batches if needed to avoid overcrowding the pan (overcrowding causes steaming instead of a savory golden sear). Cook 3-4 minutes per side, flipping with tongs, until chicken is deep golden brown on the outside and reaches an internal temperature of 74C (165F), with no pink remaining in the thickest part of each strip. Turn off the heat, top chicken strips with 8 slices of provolone cheese, and let residual pan heat melt the cheese for 1 minute until smooth, glossy, and slightly bubbly at the edges.
Step 3
step3:Sear Cheese-Topped Chicken
Step 3
step3:Sear Cheese-Topped Chicken
4

Toast Buttered Hoagies

Use the pastry brush to coat the cut sides of the 4 split hoagie rolls with 2 tablespoons of melted unsalted butter. Place rolls cut-side down in the same warm skillet (after removing the cheese-topped chicken, use residual low pan heat) for 1-2 minutes, until the cut surface is golden brown, slightly crispy, and toasted to a light crunch that will resist sogginess from dressing. Remove toasted rolls from the skillet and set on the maple cutting board for assembly.
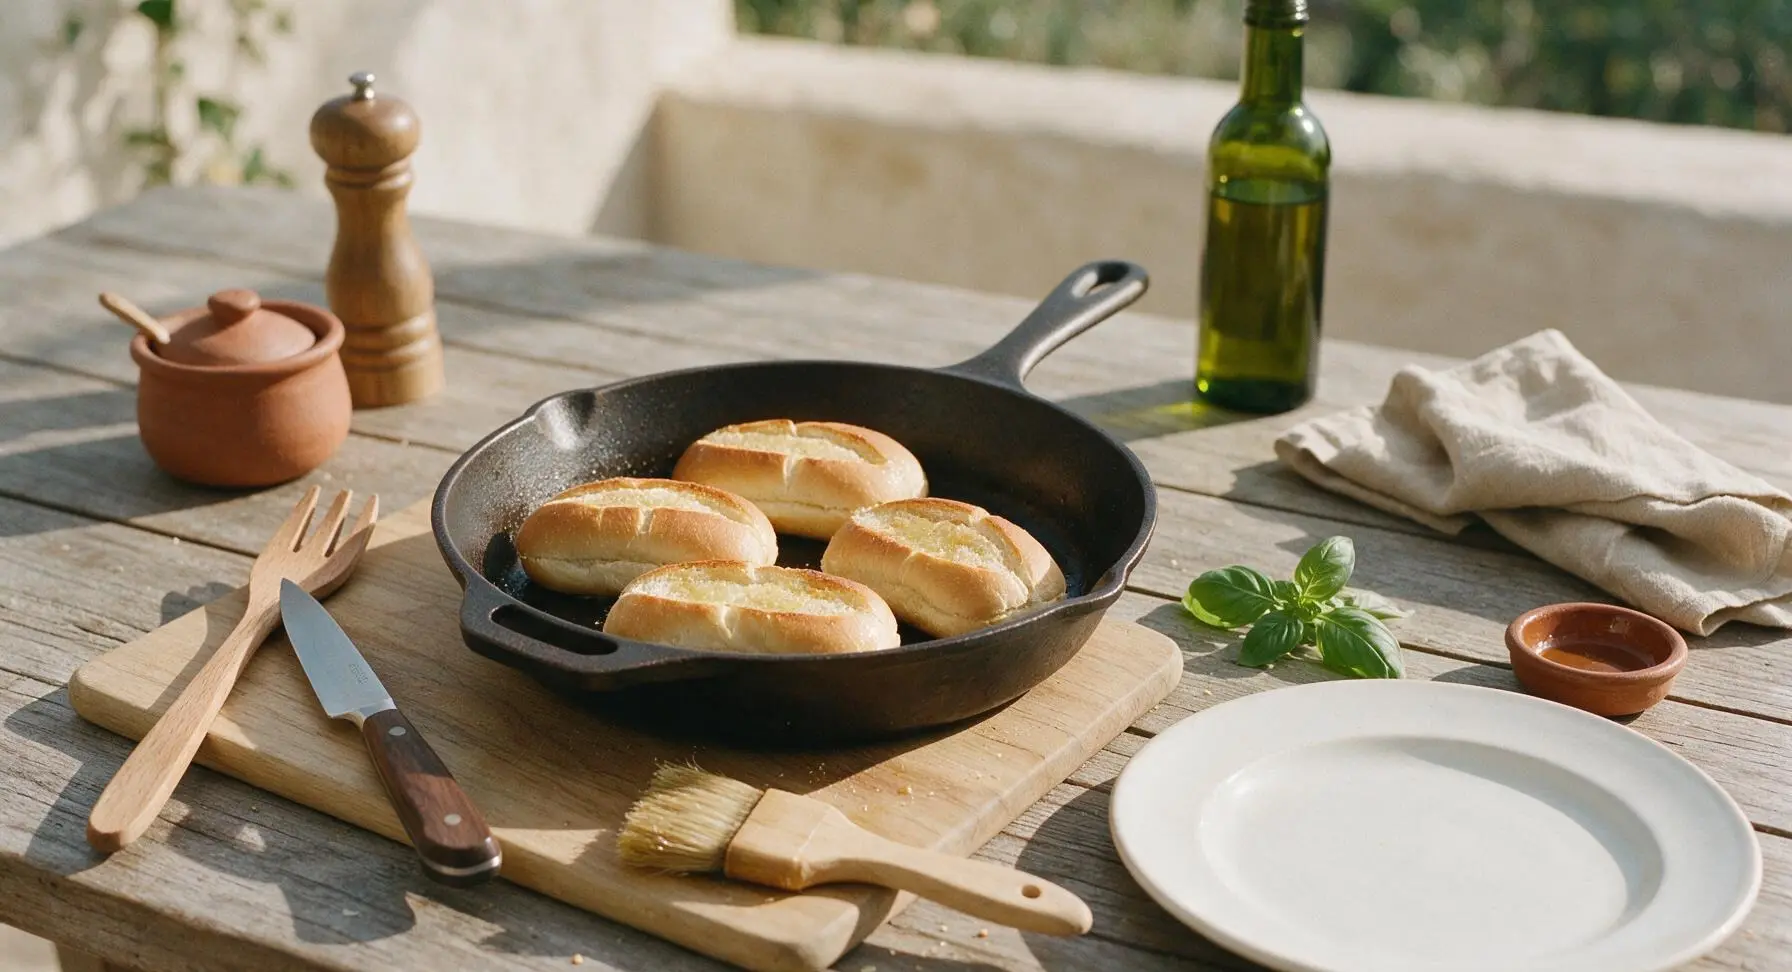
Step 4
step4:Toast Buttered Hoagies
5

Layer Sub Fillings

Lay the toasted hoagie rolls cut-side up on the cutting board. Spread 1 tablespoon of creamy ranch dressing on the cut side of both the top and bottom of each roll, using the back of a spoon to spread it evenly to the edges. Divide the cheese-topped chicken strips evenly between the 4 bottom roll halves. Crumble the reserved crispy bacon over the chicken, then layer 2-3 thin tomato slices over the bacon, followed by a loose, fluffy pile of shredded iceberg lettuce. Place the top roll half on each sub, pressing down gently to set the layers without squeezing filling out the sides.
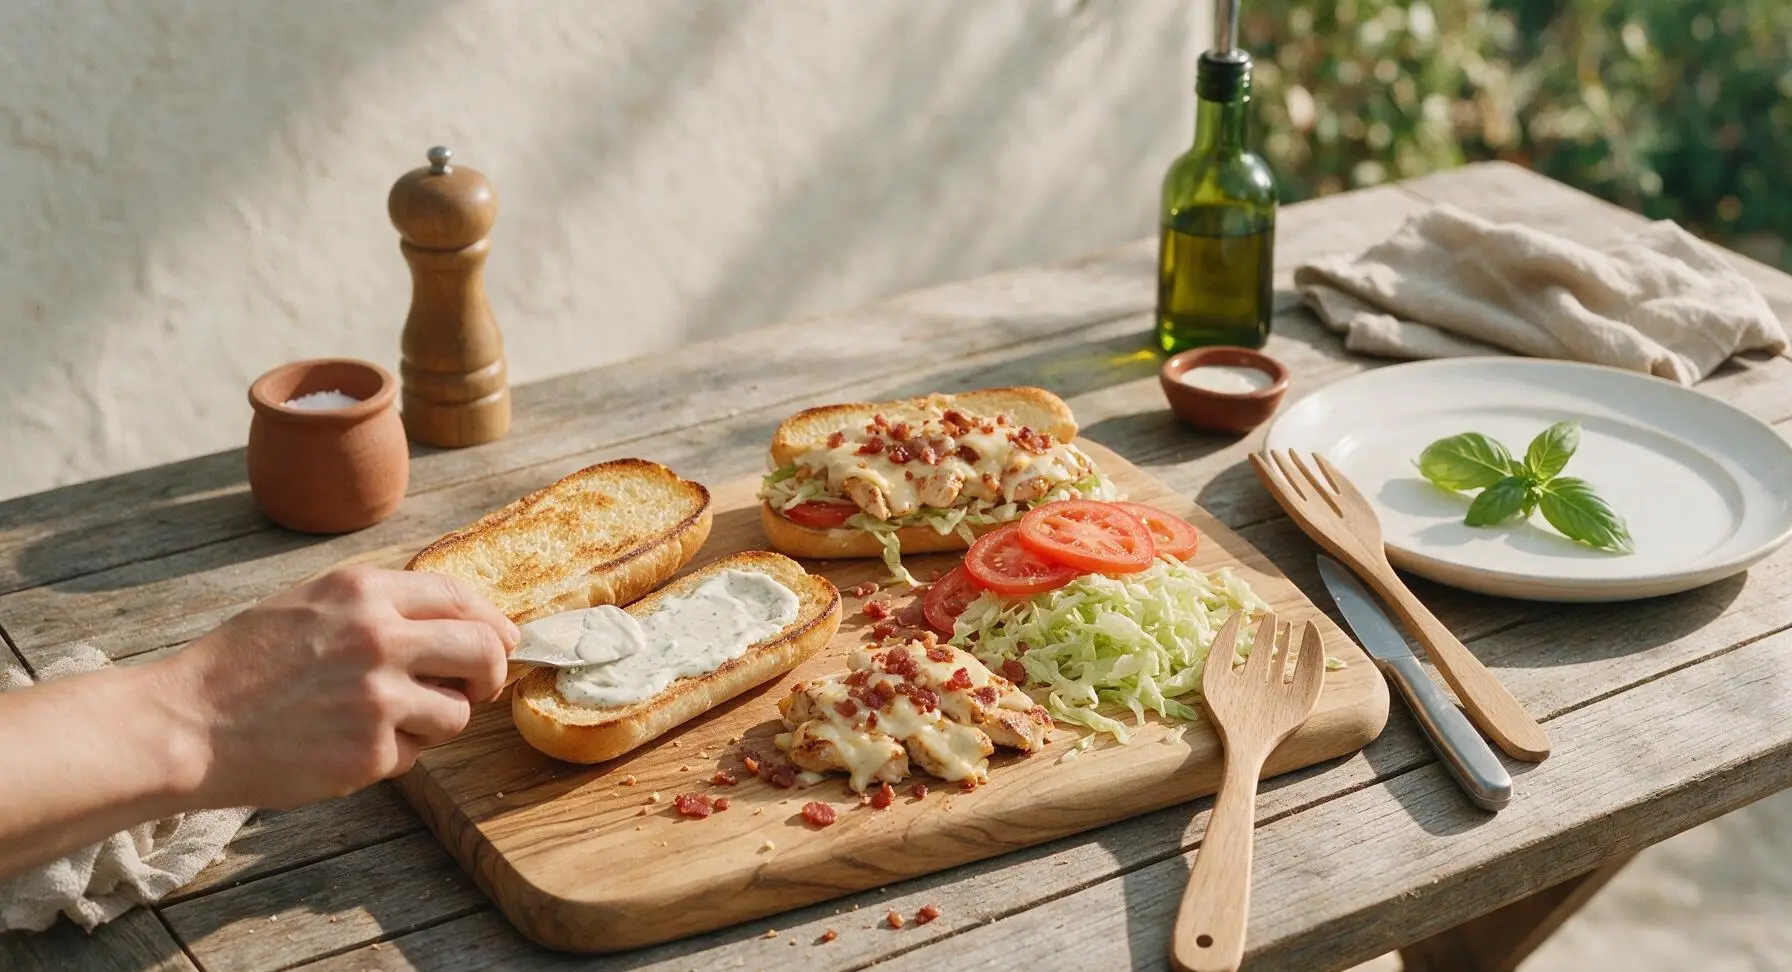
Step 5
step5:Layer Sub Fillings
6

Cut and Plate Subs

Use the 8-inch chef knife to cut each assembled sub diagonally in half at a 45-degree angle, for a classic deli presentation. Transfer the cut subs to the rectangular matte white ceramic serving platter, arranging them so the cut cross-section faces outward to show the layered fillings. Drizzle an extra 1 teaspoon of ranch over the exposed filling of each sub, then sprinkle with 2 tablespoons of chopped fresh parsley for a bright, fresh garnish.
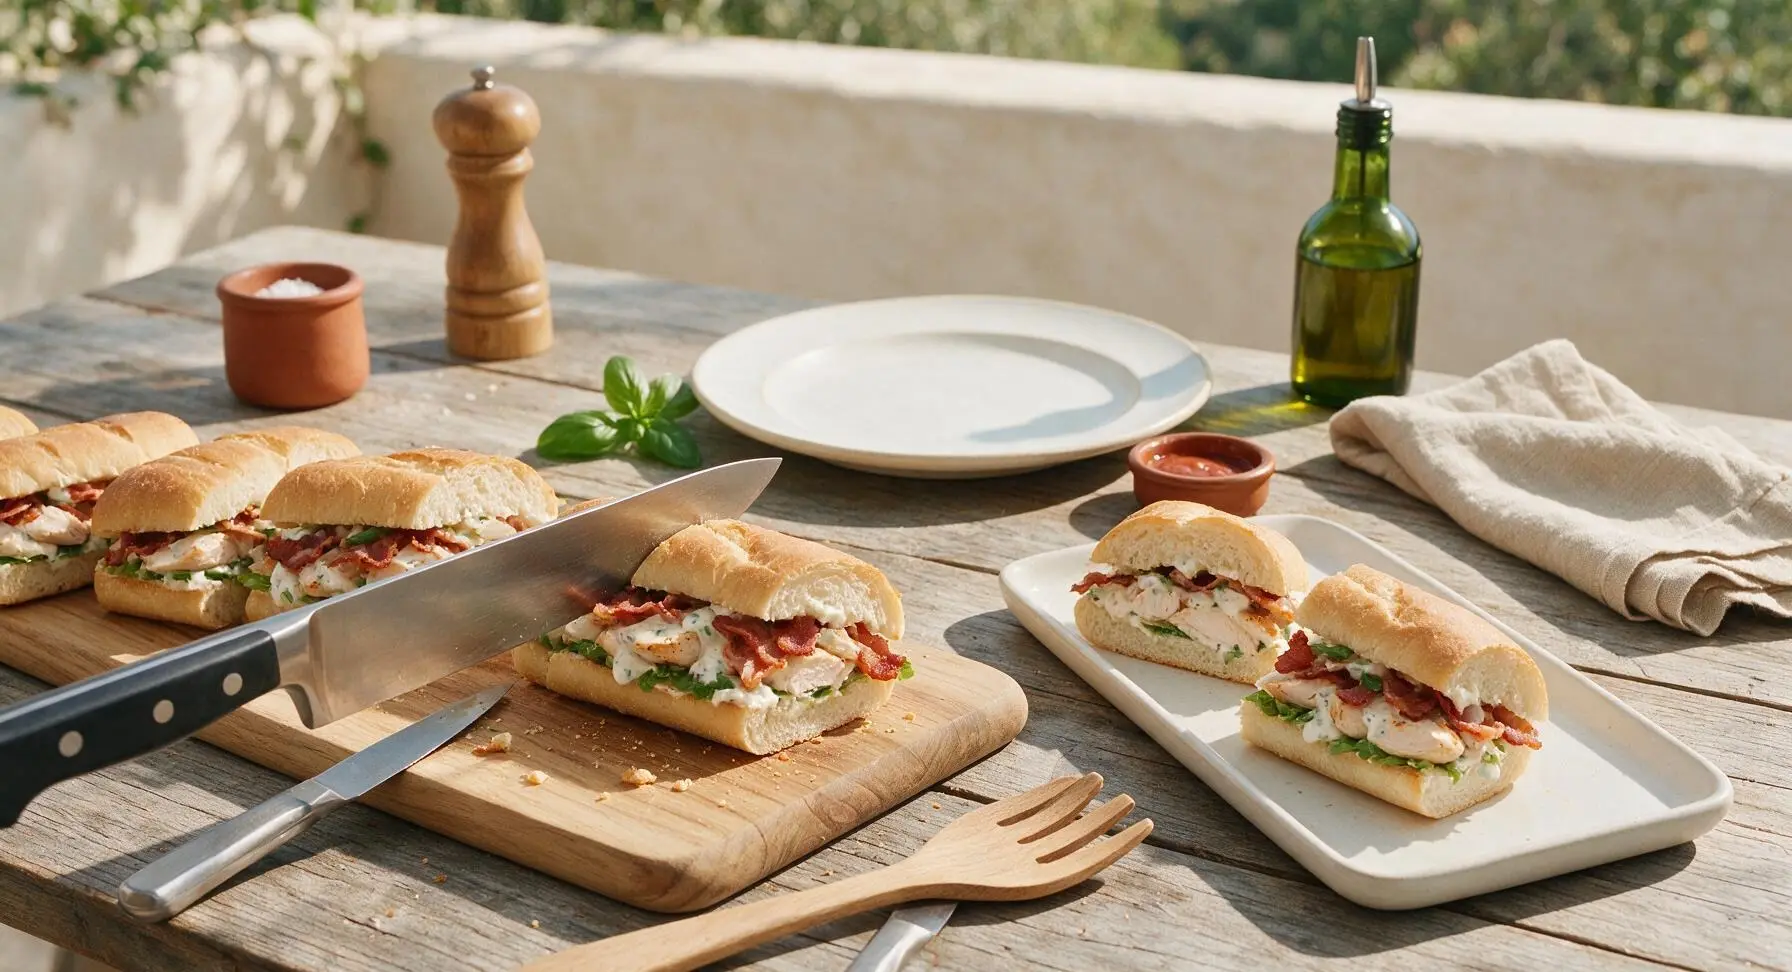
Step 6
step6:Cut and Plate Subs

Tips

1.Avoid overcrowding the skillet when cooking chicken: if strips are packed too tightly, they will steam instead of developing a golden, savory sear, leading to pale, bland filling. Cook in two batches if needed, leaving 1cm of space between each strip for even browning.
2.Toast the buttered rolls cut-side down directly in the residual skillet fat instead of using a separate toaster: this adds rich, savory bacon and chicken flavor to the bread, and creates a crispy moisture barrier that prevents ranch dressing and tomato juice from making the roll soggy.
3.Let cooked bacon drain fully on brown paper liner before adding it to the sub, and crumble it just before assembly: excess bacon grease will drip into the filling and make the bread soggy if you add greasy bacon straight from the pan, and pre-crumbled bacon loses its crisp texture quickly.


✨ You May Also Like

Lunch
🍜 United States

Creamy, salty, tangy nostalgic Midwestern sandwich pairing rich peanut butter with crisp briny dill pickles for a fast, satisfying no-cook meal.

⏱️ 5 minutesLunch ★ 4.6
Lunch
🍜 United States

Crispy, melty pressed sandwich layered with savory roast pork, ham, Swiss cheese, pickles, and tangy mustard: a beloved Cuban-American comfort classic.

⏱️ 25 minuteLunch ★ 4.9
Lunch
🍜 United States

Hearty, briny New Orleans pressed sandwich stacked with cured Italian meats, provolone, and zesty olive salad, served cold for bold, portable flavor.

⏱️ 1 hour 20Lunch ★ 4.7
Lunch
🍜 United States

A tangy, creamy Southern American staple, this no-cook cheesy sandwich is packed with sharp cheddar and sweet pimentos for a satisfying, portable bite.

⏱️ 1 hour 15Lunch ★ 4.8
Lunch
🍜 United States

Crispy Cajun-spiced fried shrimp piled on crusty French bread with tangy remoulade and fresh toppings, the iconic Louisiana street food sandwich.

⏱️ 35 minuteLunch ★ 4.4
Lunch
🍜 United States

Stacked, savory deli-style corned beef sandwich with melted Swiss, tangy mustard, and crisp griddled rye— a fast, hearty, satisfying classic.

⏱️ 15 minuteLunch ★ 4.9

chicken bacon ranch sub:Frequently Asked Questions

1.Can I prep components of this chicken bacon ranch sub ahead for quick weeknight meals? ▾
Absolutely! Cook your bacon and sear chicken up to 3 days in advance, stored in sealed airtight containers in the fridge. Pre-slice rolls and portion provolone to cut down on assembly time, but hold off on toasting bread, melting cheese, and adding ranch until serving to prevent soggy, limp rolls.
2.What’s the best way to get crispy bacon for this sub without it turning chewy? ▾
Cook thick-cut bacon low and slow in a cast iron skillet over medium-low heat, flipping occasionally, for 8-10 minutes until fat renders fully and edges crisp. Drain cooked bacon on a wire rack set over paper towels instead of piling it directly on towels, so it stays crisp instead of steaming as it cools.
3.Can I use chicken thighs instead of chicken breasts for this recipe? ▾
Totally! Boneless, skinless chicken thighs actually add extra juiciness and rich, savory flavor that pairs beautifully with ranch and bacon. Cook them to the same 165°F internal temperature as breasts, and note they’ll take 2-3 minutes longer per side to sear fully thanks to their slightly higher fat content.
4.How do I keep my hoagie roll from getting soggy after adding ranch and chicken? ▾
First, toast your split hoagie roll cut-side down on a skillet or griddle until the cut surface is lightly crisp and golden—this creates a natural moisture barrier. Layer melted provolone against both cut sides of the roll first, too, so the cheese acts as an extra seal between bread and juicier fillings.
5.What type of ranch dressing works best for this sub? ▾
A thick, creamy, full-fat refrigerated ranch works far better than thin, shelf-stable bottled versions, which can make rolls soggy fast. If you only have thinner ranch, stir in 1 tablespoon of sour cream per ¼ cup of dressing to thicken it up, or whip up a quick homemade version for extra bright tang.
6.Can I make this sub in a panini press instead of toasting it open-faced? ▾
Absolutely! Assemble the sub fully with chicken, bacon, cheese, and a light spread of ranch, then press it for 3-4 minutes at medium heat until the roll is toasty, cheese is fully melted, and fillings are warmed through. Go light on the ranch if pressing, though, to avoid it squeezing out the sides.
7.What internal temperature should I cook the chicken to for the juiciest results? ▾
Cook seared chicken breasts to 160°F when you pull them off the skillet, then let them rest for 5 minutes before slicing. Residual carryover cooking will bring them up to the FDA-recommended 165°F safe temperature, and resting lets juices redistribute so they don’t run out all over your sub.
8.Can I use a different cheese if I don’t have provolone on hand? ▾
Sure! Melted low-moisture mozzarella is the closest swap, with that same mild, stretchy melt that pairs perfectly with ranch and bacon. If you want bolder flavor, try sliced white American, mild cheddar, or even pepper jack for a little subtle heat—just stick to good-melting sliced cheeses.
9.How do I get the cheese perfectly melted on the sub without burning the roll? ▾
After toasting the cut sides of your hoagie, lay provolone slices on both warm cut sides, then pop the open roll under a low broiler for 30-45 seconds, watching closely, until cheese is bubbly. You can also lay cheese directly on warm seared chicken during the last minute of cooking so it melts right on the protein.
10.Can I make this recipe gluten-free? ▾
Easily! Swap the regular white hoagie roll for a certified gluten-free soft hoagie or sub roll, and double check that your ranch dressing and bacon are labeled gluten-free—some bacon uses gluten-containing fillers, and some ranch has wheat-based thickeners. Toast gluten-free rolls a minute longer, as they get soggy faster.
11.What extra toppings work well on a chicken bacon ranch sub? ▾
Classic, crowd-pleasing add-ons include shredded iceberg lettuce for crunch, thin-sliced ripe tomato, tangy pickled banana peppers, thin slices of red onion, or creamy sliced avocado. If adding fresh veggies, tuck them between the cheese and fillings after toasting so they don’t wilt or make bread soggy.
12.My chicken breasts always come out dry when I sear them—what’s the fix? ▾
First, pound thicker chicken breasts to an even ½-inch thickness before searing, so they cook evenly without thin edges drying out before the center is done. Sear over medium-high heat in a little oil for 3-4 minutes per side, and don’t move the chicken as it sears to build a crust that locks in moisture.
13.Can I make these subs for a party or game day crowd? ▾
Definitely! Assemble toasted, cheese-lined rolls with warm chicken, bacon, and melted cheese on a large sheet pan, and keep them warm in a 200°F oven for up to 30 minutes before serving. Set out ranch, lettuce, tomato, and other toppings on the side so guests can customize their own subs without sogginess.
14.Is there a way to make a lower-fat version of this sub without losing flavor? ▾
You can swap regular bacon for crispy cooked turkey bacon, use reduced-fat provolone, and mix your ranch with equal parts plain non-fat Greek yogurt to cut fat while keeping that classic tangy flavor. Load the sub up with extra crunchy veggies like shredded lettuce and sliced bell pepper to add bulk and texture.
15.How thick should I slice the chicken for this sub? ▾
Slice your rested seared chicken against the grain into ¼-inch thick slices, so they’re easy to bite through without pulling all the fillings out of the sub when you take a bite. Don’t slice chicken too thick, or it will make the sub hard to stack, and skip shredding unless you specifically prefer that softer texture.
16.Can I freeze assembled chicken bacon ranch subs for later? ▾
I don’t recommend freezing fully assembled subs, as the ranch will separate and the roll will turn mushy when thawed. You can freeze cooked, sliced chicken and cooked bacon for up to 3 months in sealed freezer bags, though—just thaw in the fridge overnight, reheat gently, and assemble with fresh rolls, cheese, and ranch.

Comments (17)

2 days ago

SO good! I threw these together for a quick weeknight dinner when I forgot to meal prep on Sunday and even my super picky 7 year old ate two halves. No fancy ingredients, 20 minutes flat, zero stress. Total weeknight win.

1 week ago

Game changer alert! I used pepper jack instead of provolone because that’s what I had in the fridge and it slapped so hard. The only note I have is I toasted my hoagie rolls for 3 minutes in the oven first and it made the bread not get soggy even when I loaded on extra ranch. 10/10

5 days ago

Love the pepper jack swap and the toasting tip, Steve! Toasting the rolls is such a smart hack to cut down on sogginess, especially if you’re piling on extra ranch — we’re totally stealing that trick for our next batch.

yesterday

Made these for a post-hike lunch with my friends last Saturday and everyone raved. The cook time is no joke, I had everything on the table in 22 minutes total including chopping the lettuce and tomato. Perfect easy meal for when you’re tired after being outside all morning.

30 minutes ago

Wait has anyone tried making these ahead for weekly meal prep? I’m wondering if the chicken and bacon hold up okay if I assemble them the night before for work lunches?

5 minutes ago

I do this all the time! I keep the ranch and the wet toppings (tomato, pickles I add) in a separate tiny container and assemble right when I’m ready to eat. The chicken and bacon stay perfect for 3-4 days in the fridge, no issues!

2 weeks ago

Made these for my son’s 13th birthday party since all his friends are obsessed with subs, and let me tell you — not a single crumb left. I doubled the recipe and still had kids asking for seconds. Only thing I did different was add a little sprinkle of paprika to the chicken while it cooked, gave it a tiny extra kick that everyone loved.

1 week ago

Oh the paprika addition sounds chef’s kiss! My son’s birthday is next month and I was already planning to make these for his friend group, I’m definitely stealing that tip.

1 week ago

So happy these were a hit at the birthday party! The paprika sprinkle is such a great call — a little smoky spice pairs so perfectly with the cool ranch and salty bacon, we love that tweak.

just now

As someone who burns toast 50% of the time, I was shocked how easy this was to pull off. No weird techniques, no fancy equipment, just straight up good food. My roommate thought I ordered takeout lmao

2 hours ago

Okay I need to know — what brand of ranch do y’all use for this? I tried it with my usual grocery store brand and it was good but I feel like it could be next level with the right ranch.

30 minutes ago

Great question! We usually go for a full-fat buttermilk ranch from the refrigerated section of the grocery store (the kind near the produce, not the shelf-stable stuff by the salad dressings) for the creamiest, tangiest result. If you’re feeling fancy, a homemade ranch with a little dill and chives works amazing too!

5 days ago

Has anyone made this with gluten free hoagie rolls? My partner has celiac so I’m always looking for easy weeknight meals I can adapt for him without making two separate dinners.

3 days ago

I made it last week with the Udi’s gluten free hoagies and it was perfect! I toasted them a little extra so they didn’t get mushy, and my non-GF husband didn’t even notice the difference.

2 days ago

So glad you’re asking! We’ve tested this with a few different GF roll brands, and toasting them well (like Gabi mentioned!) is the key to keeping that classic sub texture. Just make sure your bacon and ranch are certified GF too if cross-contamination is a concern!

3 days ago

Bro this saved my wallet this week. I was spending $12 every other day on the chicken bacon ranch sub from the sub shop by campus and I just made 4 of these for like $10 total. Tastes exactly the same if not better lmao

2 days ago

Same! I stopped getting takeout subs once I found this recipe too. The math is insane how much money you save making them at home, and you can load on as much bacon as you want no extra charge lmao

1 week ago

Added this to our regular Sunday dinner rotation last month and it’s been a hit every single time. I usually serve it with a side of oven fries and a little side salad, and it feels like a full meal without a ton of work. Perfect for when we have last minute family pop bys too.

2 days ago

I added a drizzle of hot honey on mine last night and OH MY GOD. The sweet heat with the salty bacon and creamy ranch? I will never make this without hot honey again. It’s that good.

yesterday

Hot honey on a chicken bacon ranch sub?? Why have I never thought of that? That sounds like the exact sweet-savory combo I’m obsessed with, trying that tonight.

yesterday

The hot honey addition is genius! We tested a version with hot honey a while back and it was such a fan favorite — that little kick of heat and touch of sweetness cuts through the richness of the ranch and bacon so well. Great call!

5 minutes ago

Quick question! Can I use pre-cooked bacon for this to save even more time? I’m still learning to cook bacon on the stovetop without making a huge grease mess everywhere lol

just now

Absolutely! Pre-cooked bacon works perfectly here — just pop it in the microwave for a few seconds to crisp it up before assembling your sub, and you’re good to go. No grease splatters required, we won’t tell anyone if you take the shortcut!

1 week ago

Thinking about making these sliders-style for our work potluck next week — would that work? I figured I could cut the hoagie rolls into smaller sections, or just use Hawaiian rolls? Any tips?

5 days ago

I did Hawaiian roll sliders of this for my book club potluck last month! I brushed the tops with a little garlic butter before baking them for 10 minutes and they were gone in 10 minutes flat. So good for potlucks.

3 days ago

Seconding the Hawaiian roll sliders! I made them for a work potluck too and people were fighting over the last one. Just keep the ranch on the side if you’re making them ahead so they don’t get soggy during the meeting.

yesterday

I cooked the chicken and bacon in my air fryer instead of the stovetop and it came out perfect! 12 minutes at 390 for the chicken, 5 minutes for the bacon, no flipping needed. So easy.

2 hours ago

Oh thank you for the air fryer tip! I hate cleaning my stovetop after cooking bacon, I’m definitely trying this method tomorrow. 390 for the chicken, 5 for the bacon, got it!

2 weeks ago

Loaded mine with extra pickles and banana peppers for that tangy crunch and wow. I thought I liked the basic version before but the tang from the peppers takes it to a whole new level. My wife said it’s better than the sub shop down the street, which is the highest compliment possible in our house.

2 days ago

I have 3 teen boys who eat like they’re training for a marathon, and this recipe actually filled them up last night! I doubled the chicken and bacon, added a little extra cheese, and served with chips, and there were zero complaints. That’s basically a miracle in our house.

yesterday

That’s the best compliment we could ask for! Teen boys are the toughest food critics when they’re always hungry, so we’re thrilled this recipe passed the test. We love the idea of doubling up the chicken and bacon for extra heartiness — perfect for growing appetites!

30 minutes ago

How well do the leftovers hold up? I’m thinking of making a big batch on Sunday so I don’t have to cook during the week, but I don’t want soggy sad subs for lunch.

5 minutes ago

I store all the components separate — cooked chicken and bacon in one container, chopped veggies in another, rolls in the bread bag, ranch in its own bottle. Assemble when you’re ready to eat and it’s just as good as day 1 for up to 4 days.

just now

Max is exactly right! Storing components separately is the secret to avoiding soggy subs when meal prepping. If you want to assemble ahead, just toast the rolls really well and keep wet ingredients (tomato, ranch) out until right before serving, and you’ll be golden!



