
chicken lunch meat
intro
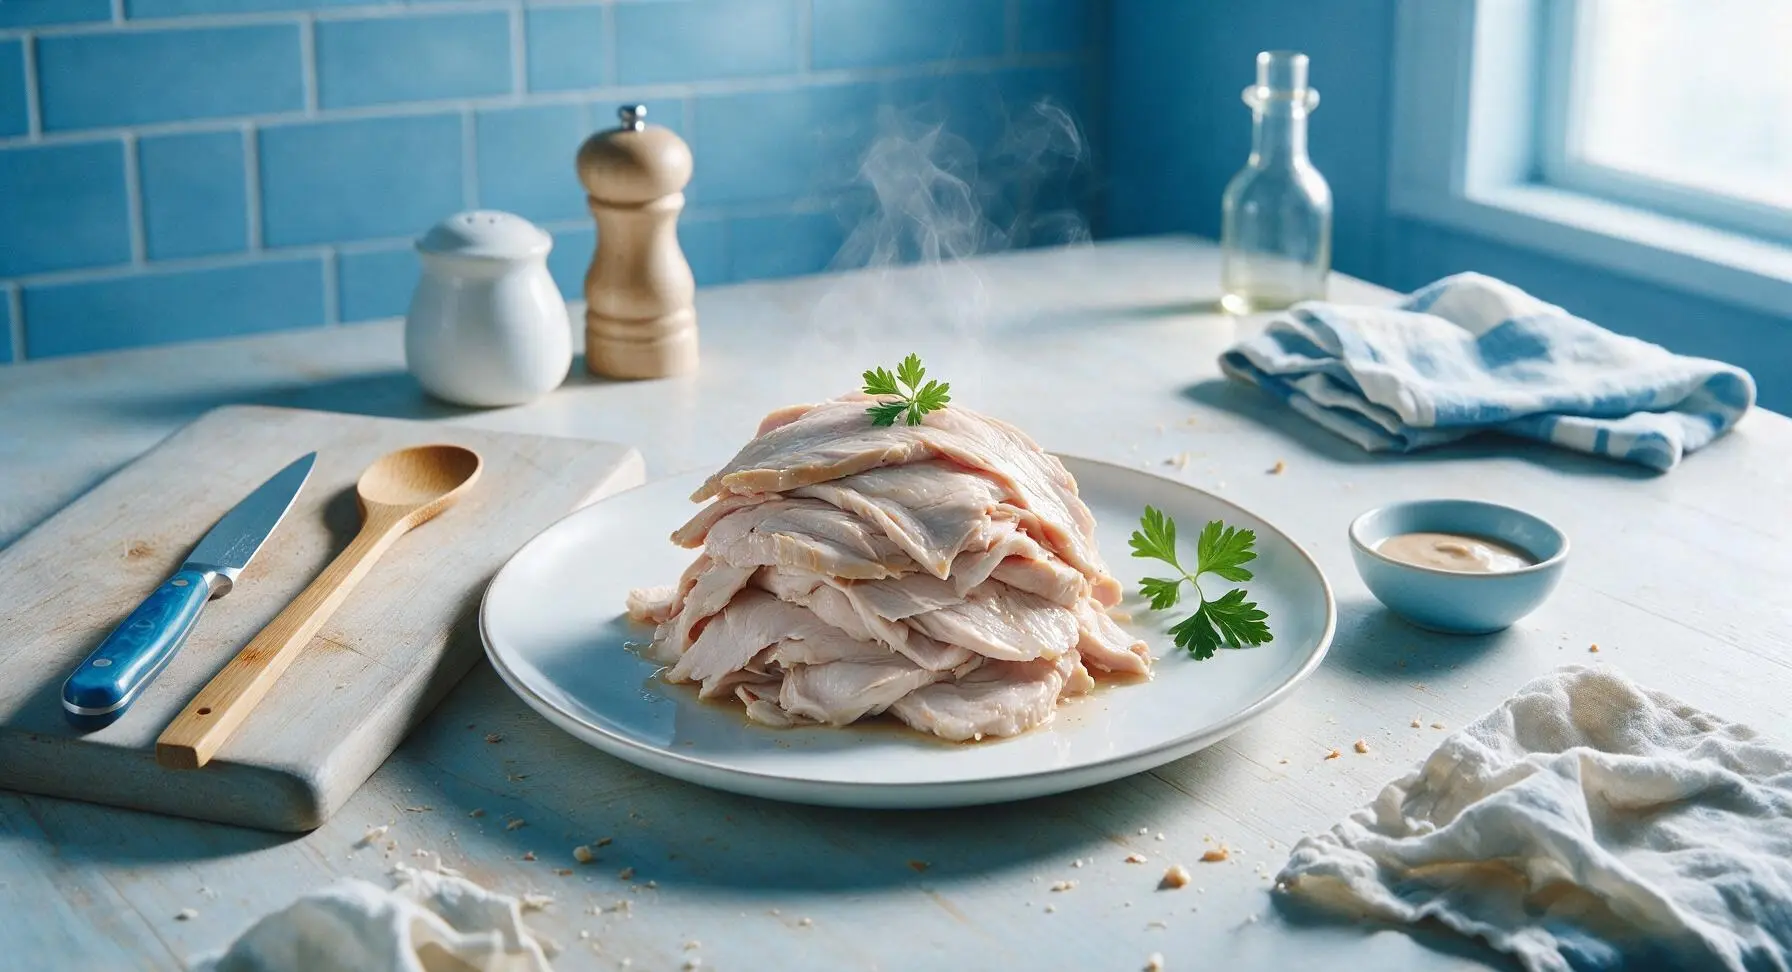
Juicy, preservative-free homemade deli chicken lunch meat, tender and perfectly seasoned, ideal for sandwiches, wraps, and picnic boards—far fresher than store-bought slices.
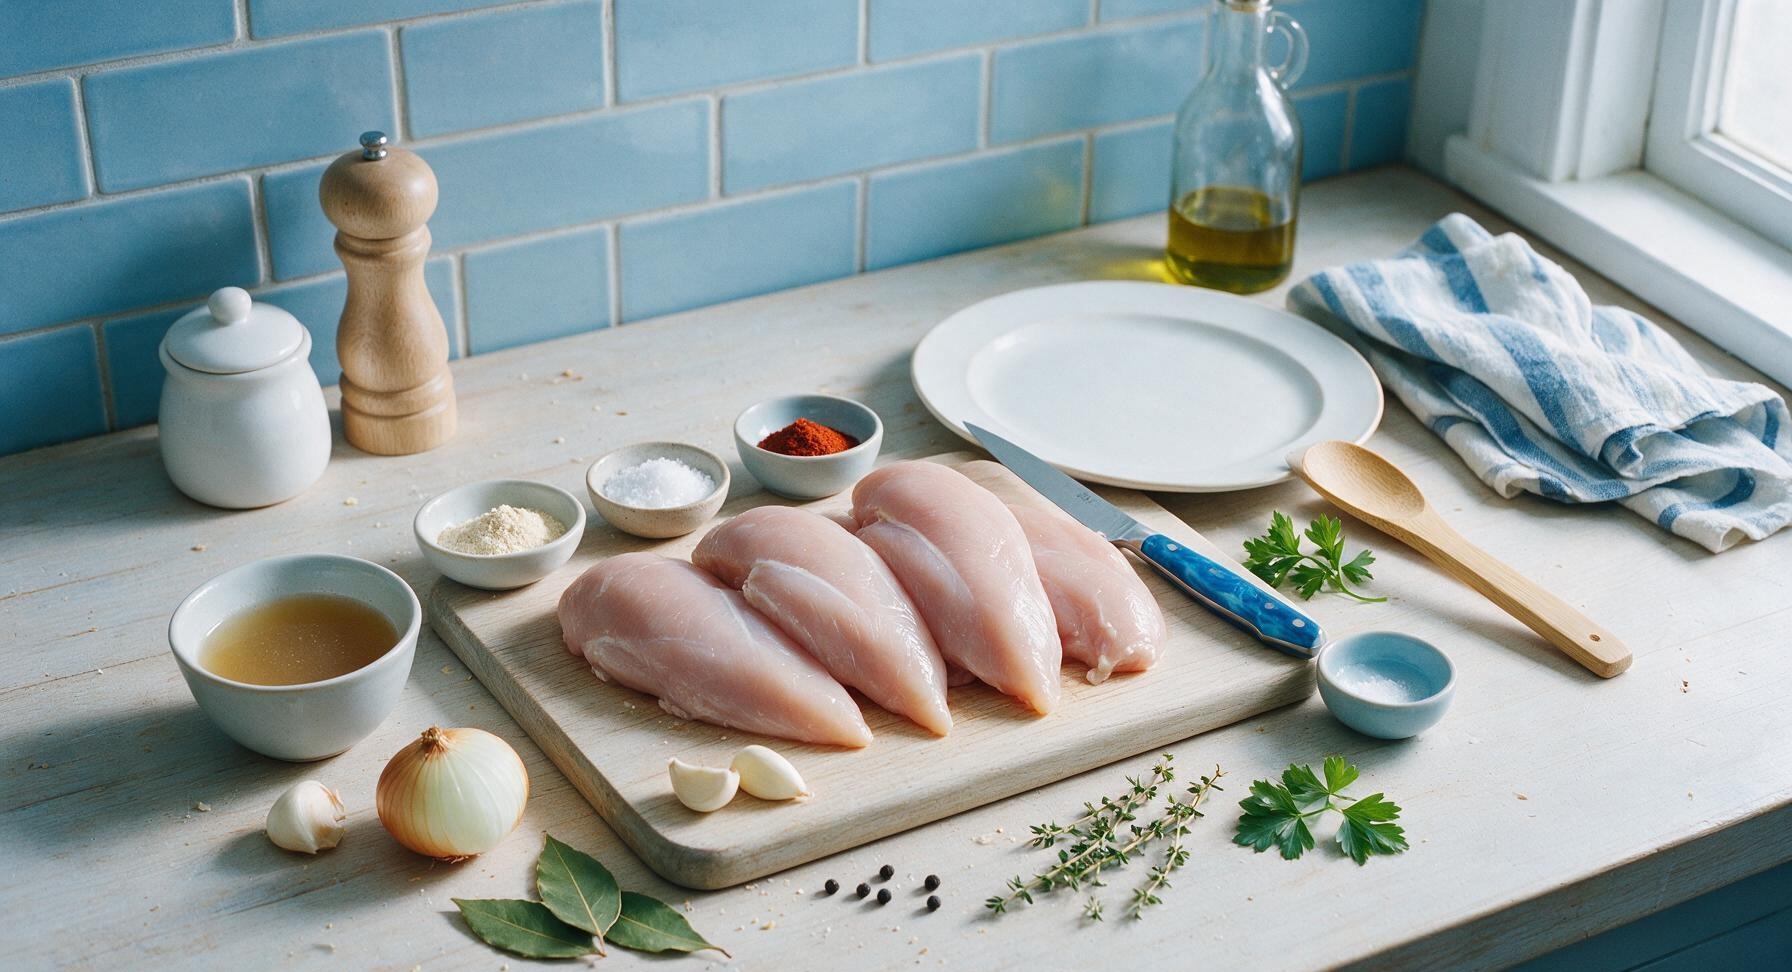
Ingredients
Steps
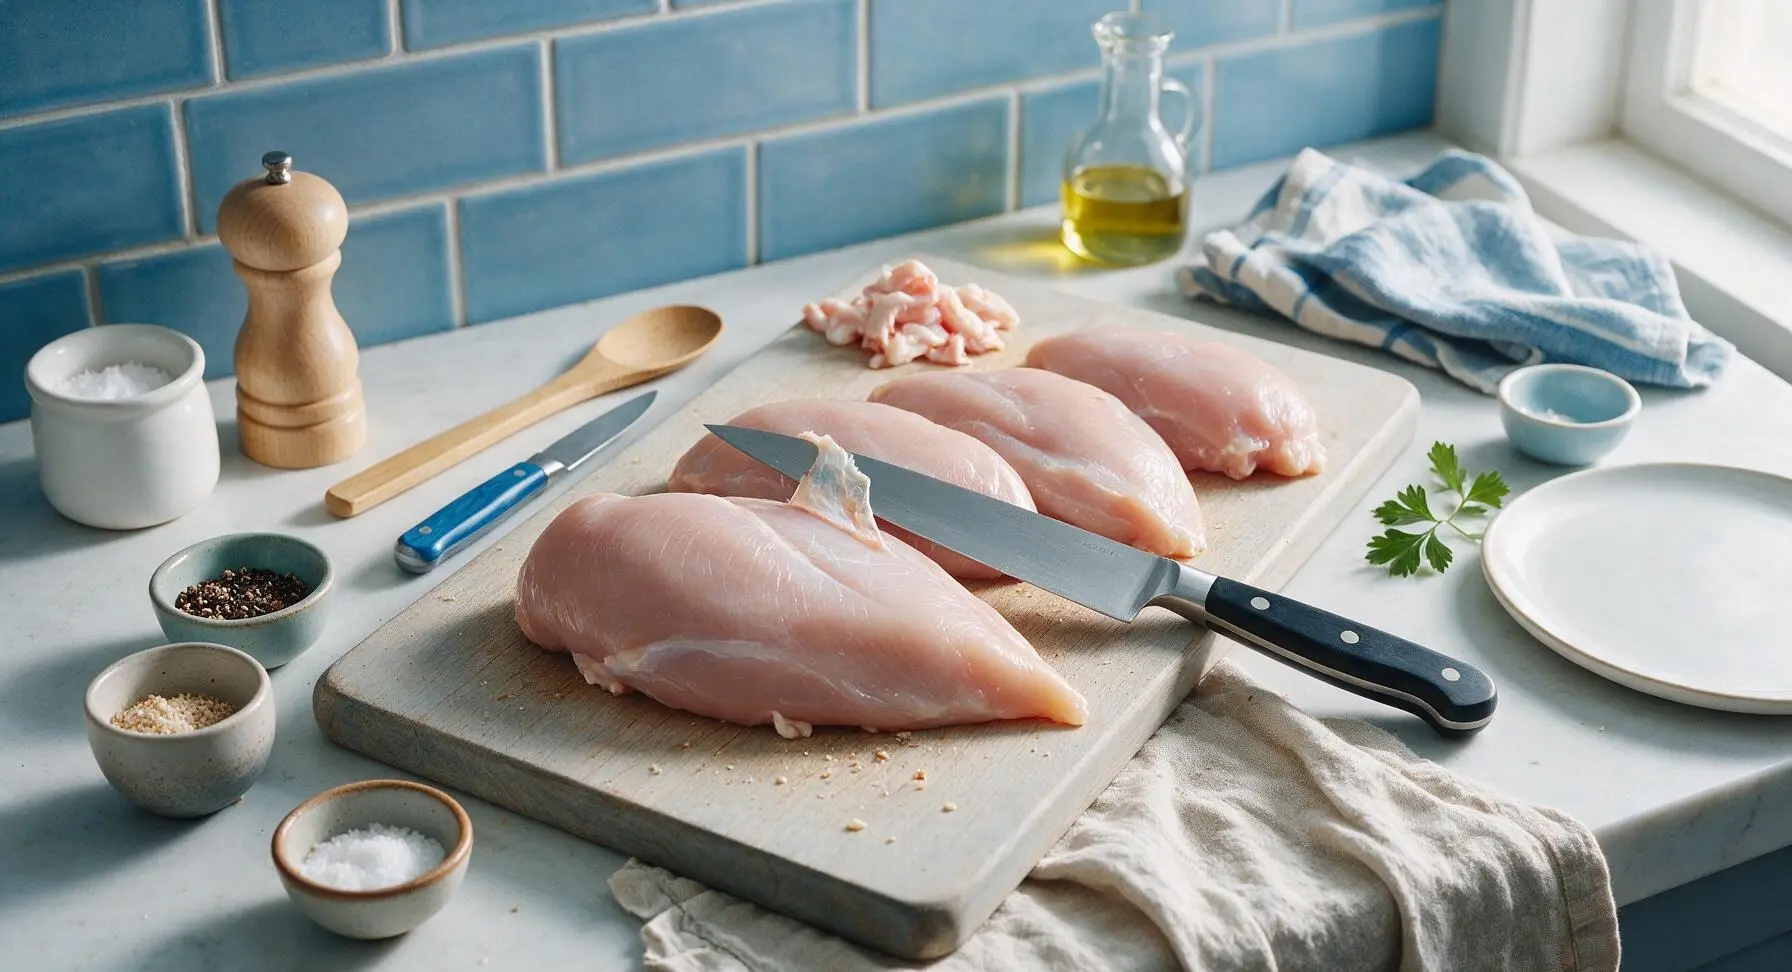
Trim Chicken Breasts
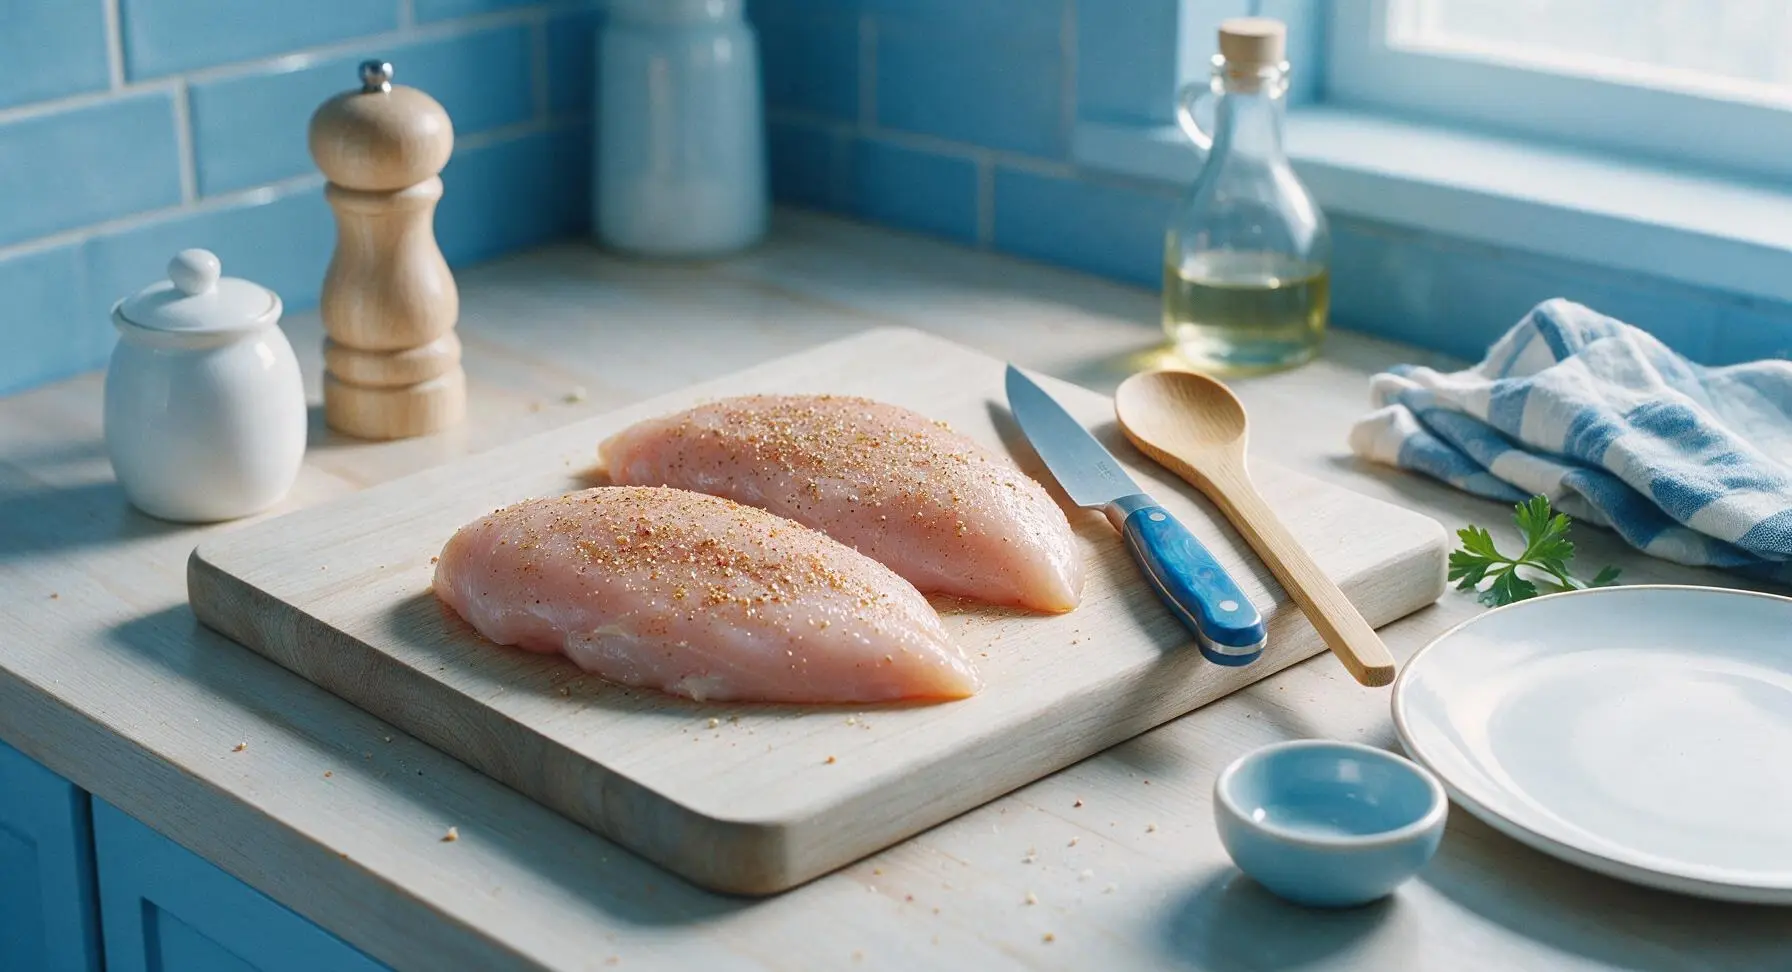
Place the 1kg boneless, skinless chicken breasts on the maple cutting board set at center counter. Use the 8-inch chef knife to trim away all visible silver skin, excess hard fat, and tough connective tissue from the chicken surface. Cut any overly thick breast sections to create evenly thick 5cm pieces, so all chicken cooks at the same rate. Pat the chicken completely dry using a corner of the fixed oatmeal linen tea towel.
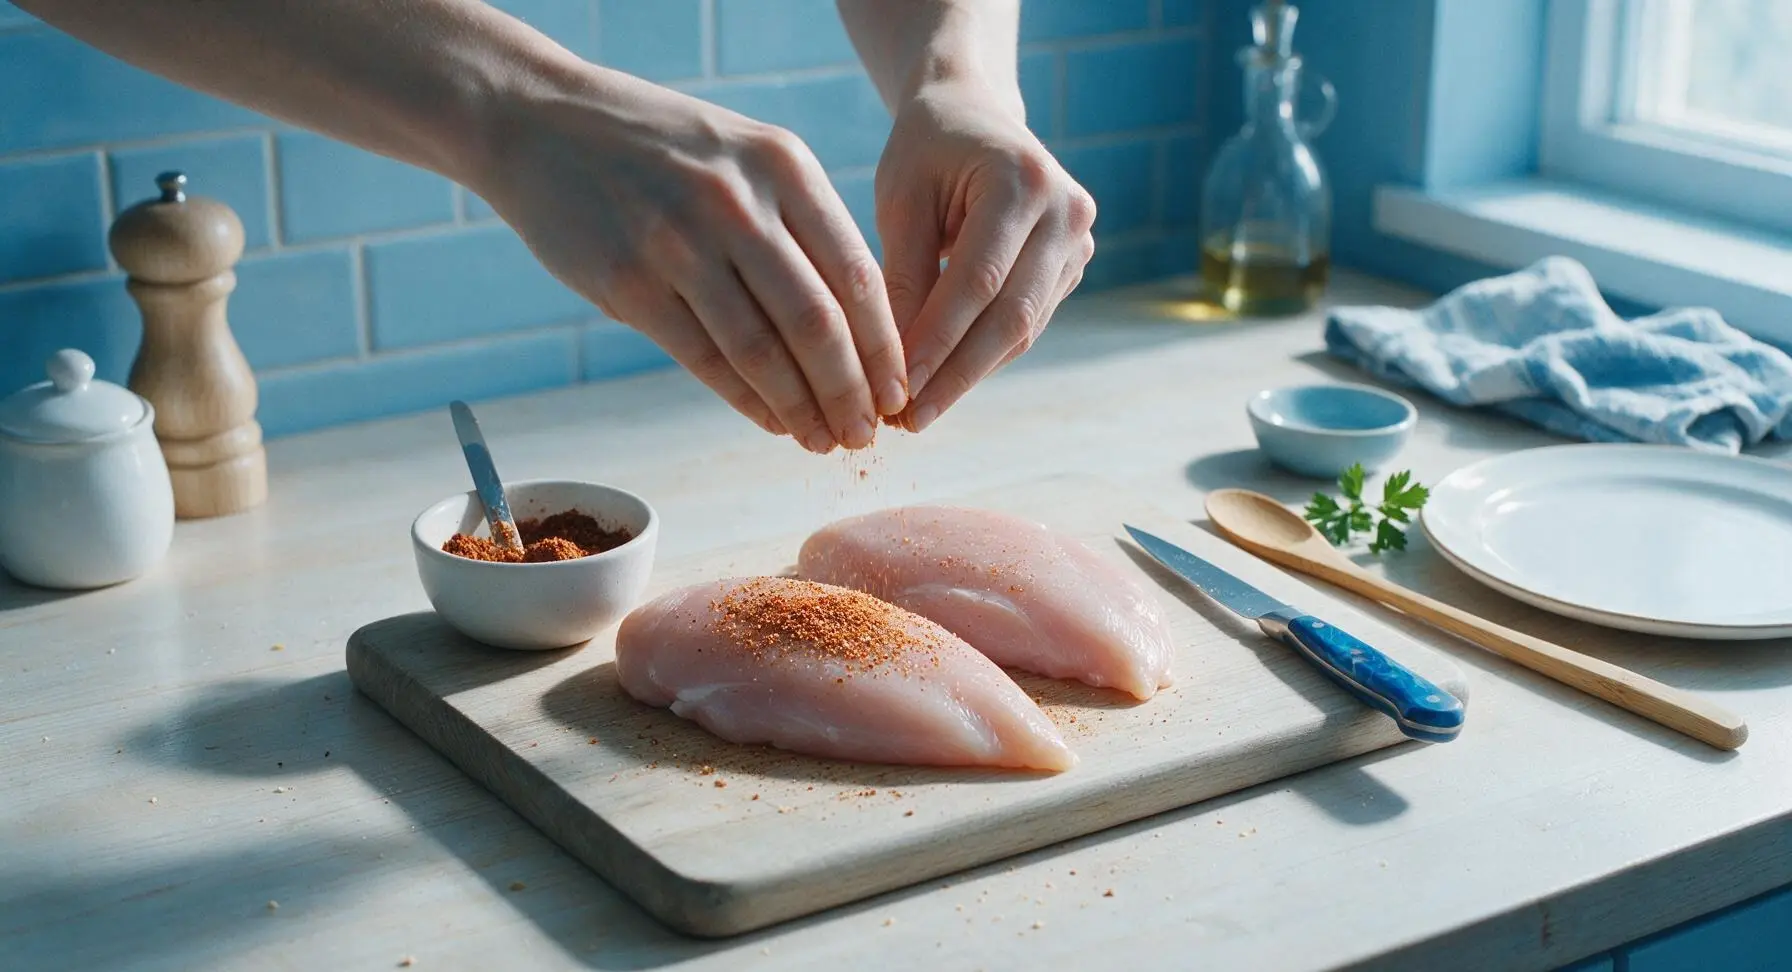
Season Chicken Evenly
Combine the measured fine sea salt, garlic powder, onion powder, ground white pepper, and smoked paprika in one of the small matte white pinch bowls, stirring with the tip of the chef knife to blend fully. Sprinkle the spice mix evenly over all sides of the trimmed chicken breasts, rubbing gently with clean hands to press seasoning into the meat surface. Let the seasoned chicken rest for 10 minutes at room temperature to allow salt to penetrate the surface.
Bloom Gelatin Mixture
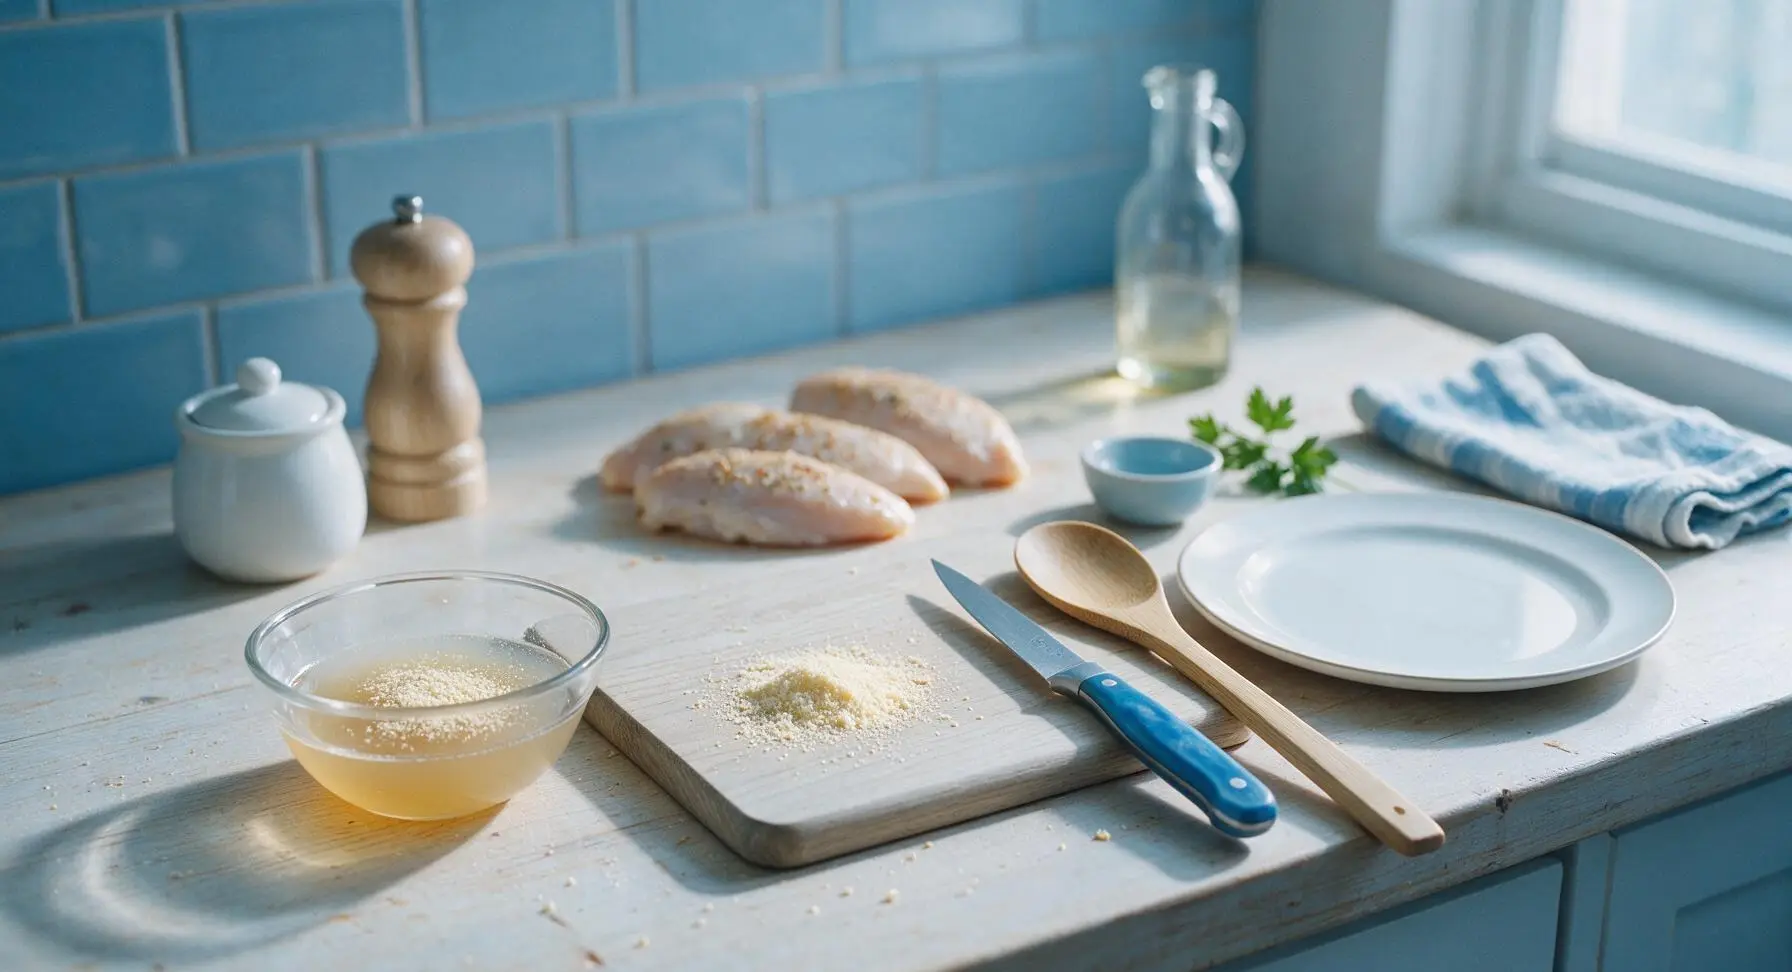
Pour the ¼ cup cold low-sodium chicken broth into a second small pinch bowl. Sprinkle the 1 tbsp unflavored powdered gelatin evenly across the cold broth surface, and let sit undisturbed for 5 minutes to bloom; the mixture will thicken and turn slightly translucent as gelatin absorbs liquid, and stirring early will cause lumps.
Prep Poaching Liquid
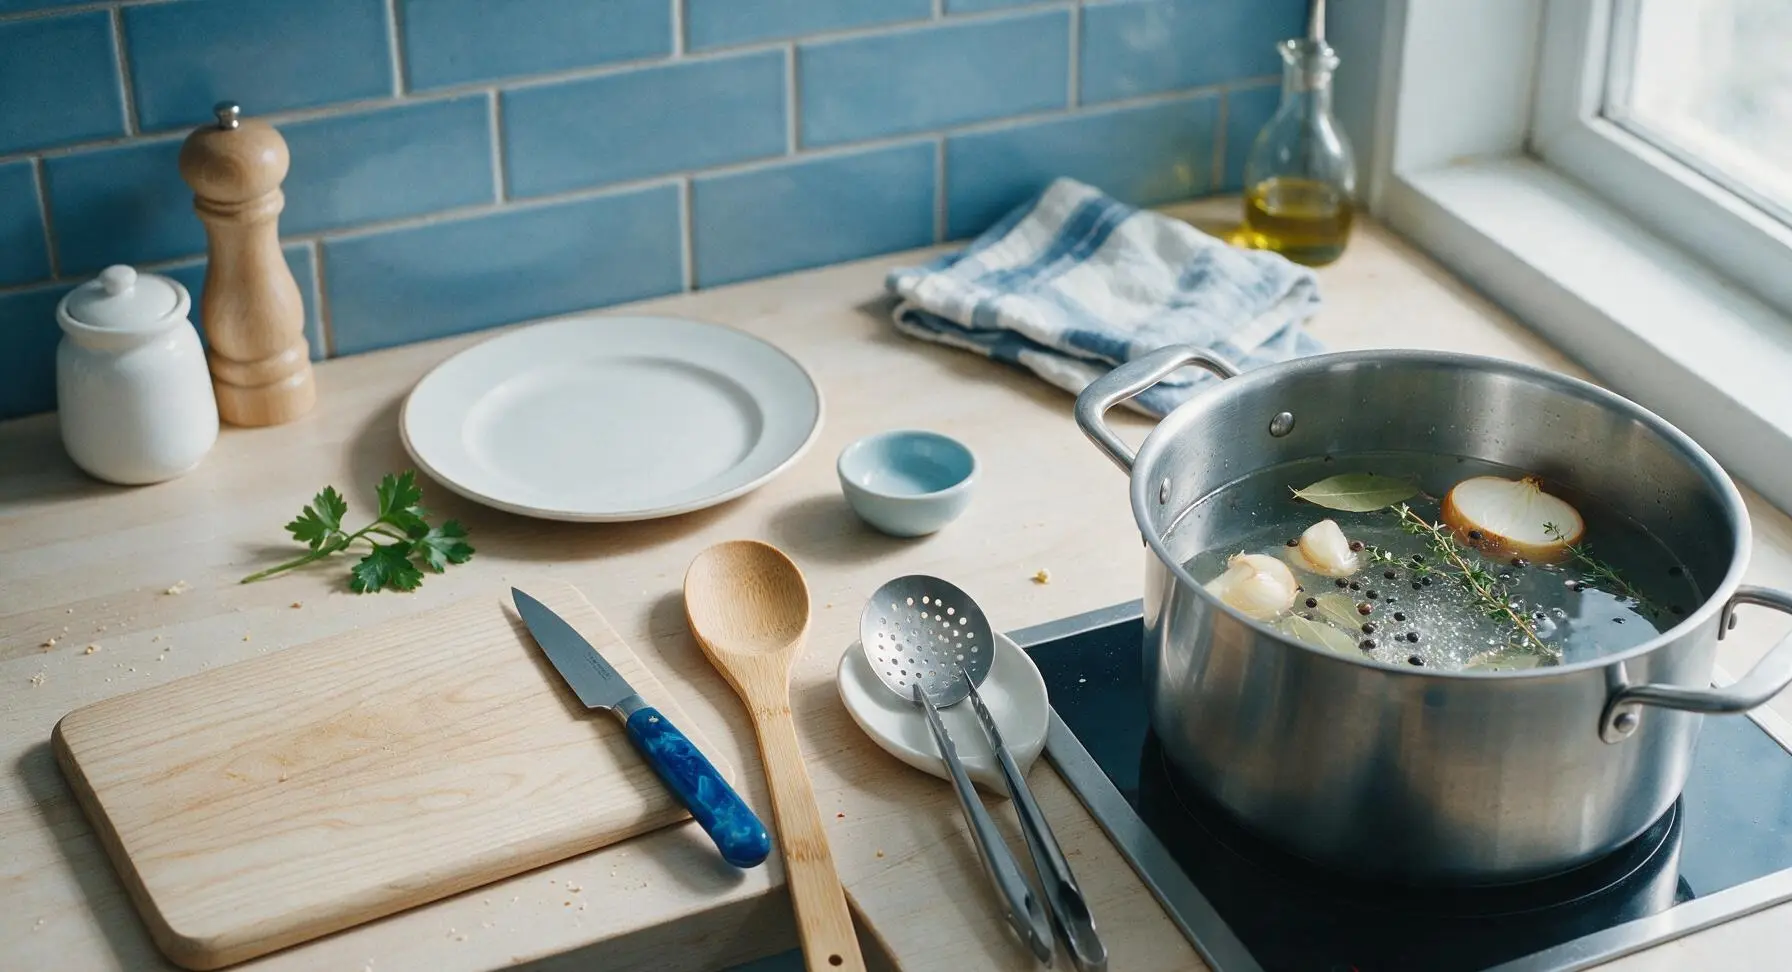
Set the 6L brushed stainless steel stock pot on the right-side induction stovetop. Add the halved yellow onion, peeled garlic cloves, bay leaves, whole black peppercorns, and fresh thyme sprigs to the pot, then pour in 2L cold water to cover the aromatics. Turn the stovetop to medium heat to bring water to a gentle 85°C (185°F) simmer, with no rapid rolling bubbles.
Poach Chicken Gently
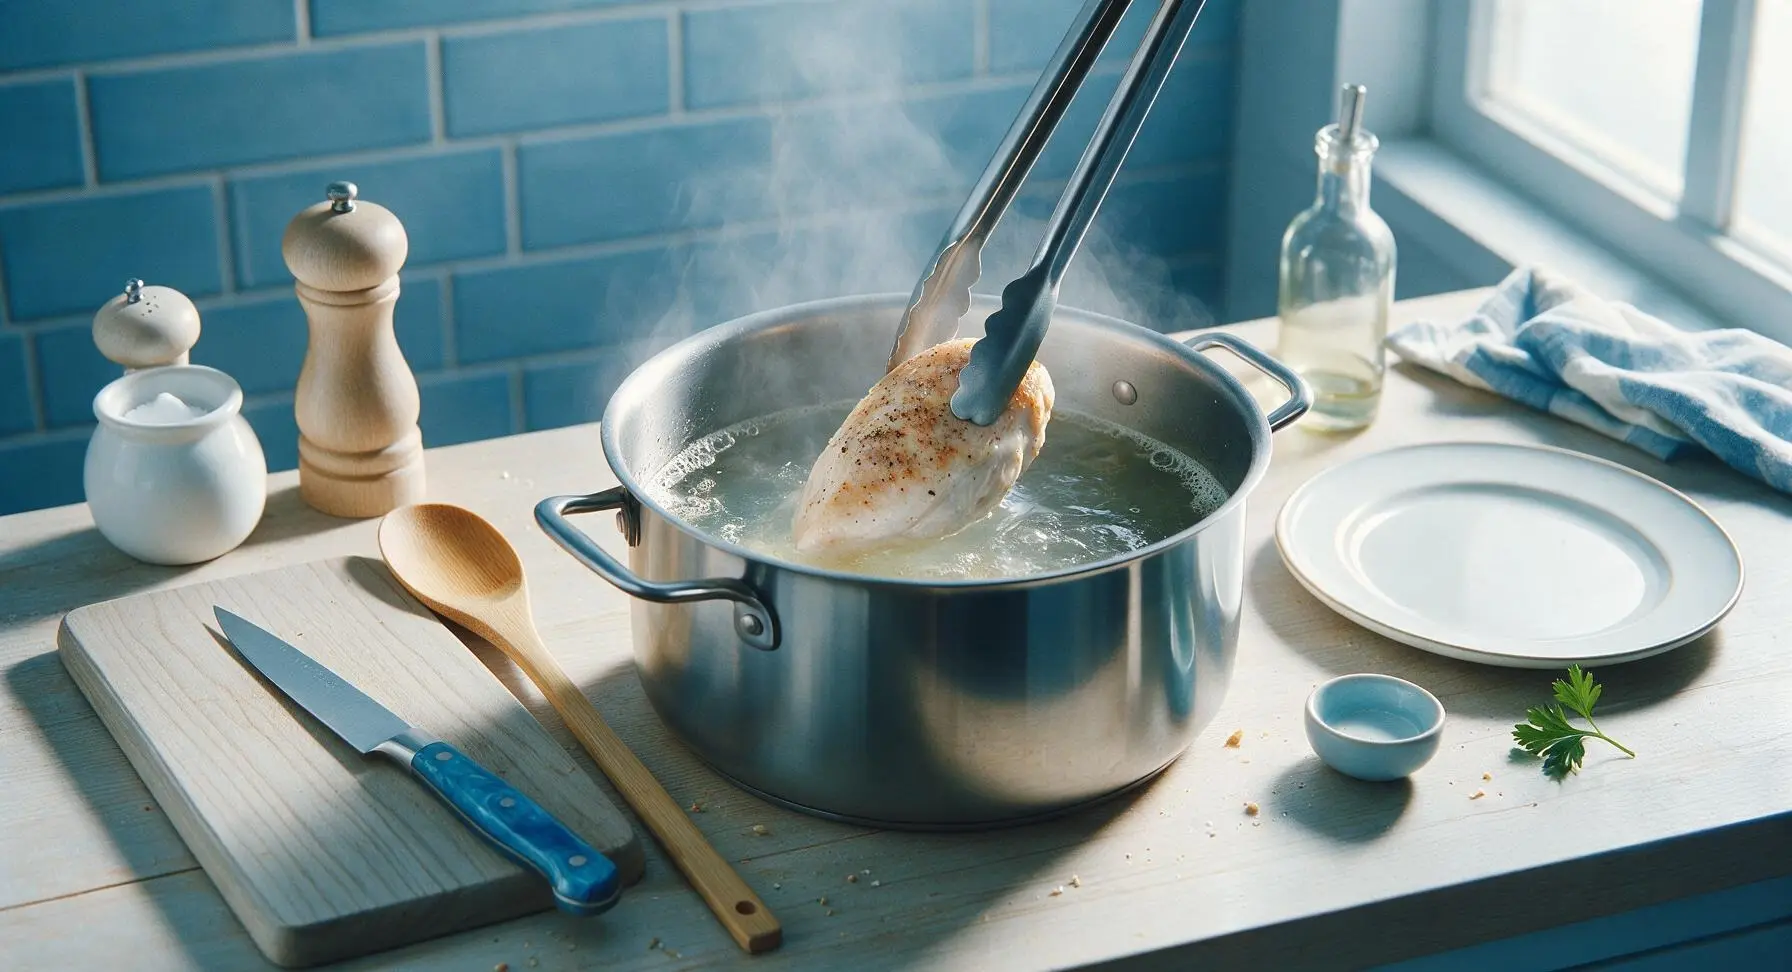
Once poaching liquid reaches a bare, gentle simmer, use the stainless steel tongs to carefully lower the seasoned chicken breasts into the pot, ensuring they are fully submerged. Reduce heat to low to maintain a constant 80-85°C (175-185°F) temperature, and poach for 35-40 minutes. Check for doneness by inserting the instant-read thermometer into the thickest part of the largest breast: it should read 74°C (165°F). Use the fine-mesh skimmer to remove any faint white foam that rises to the surface during cooking.
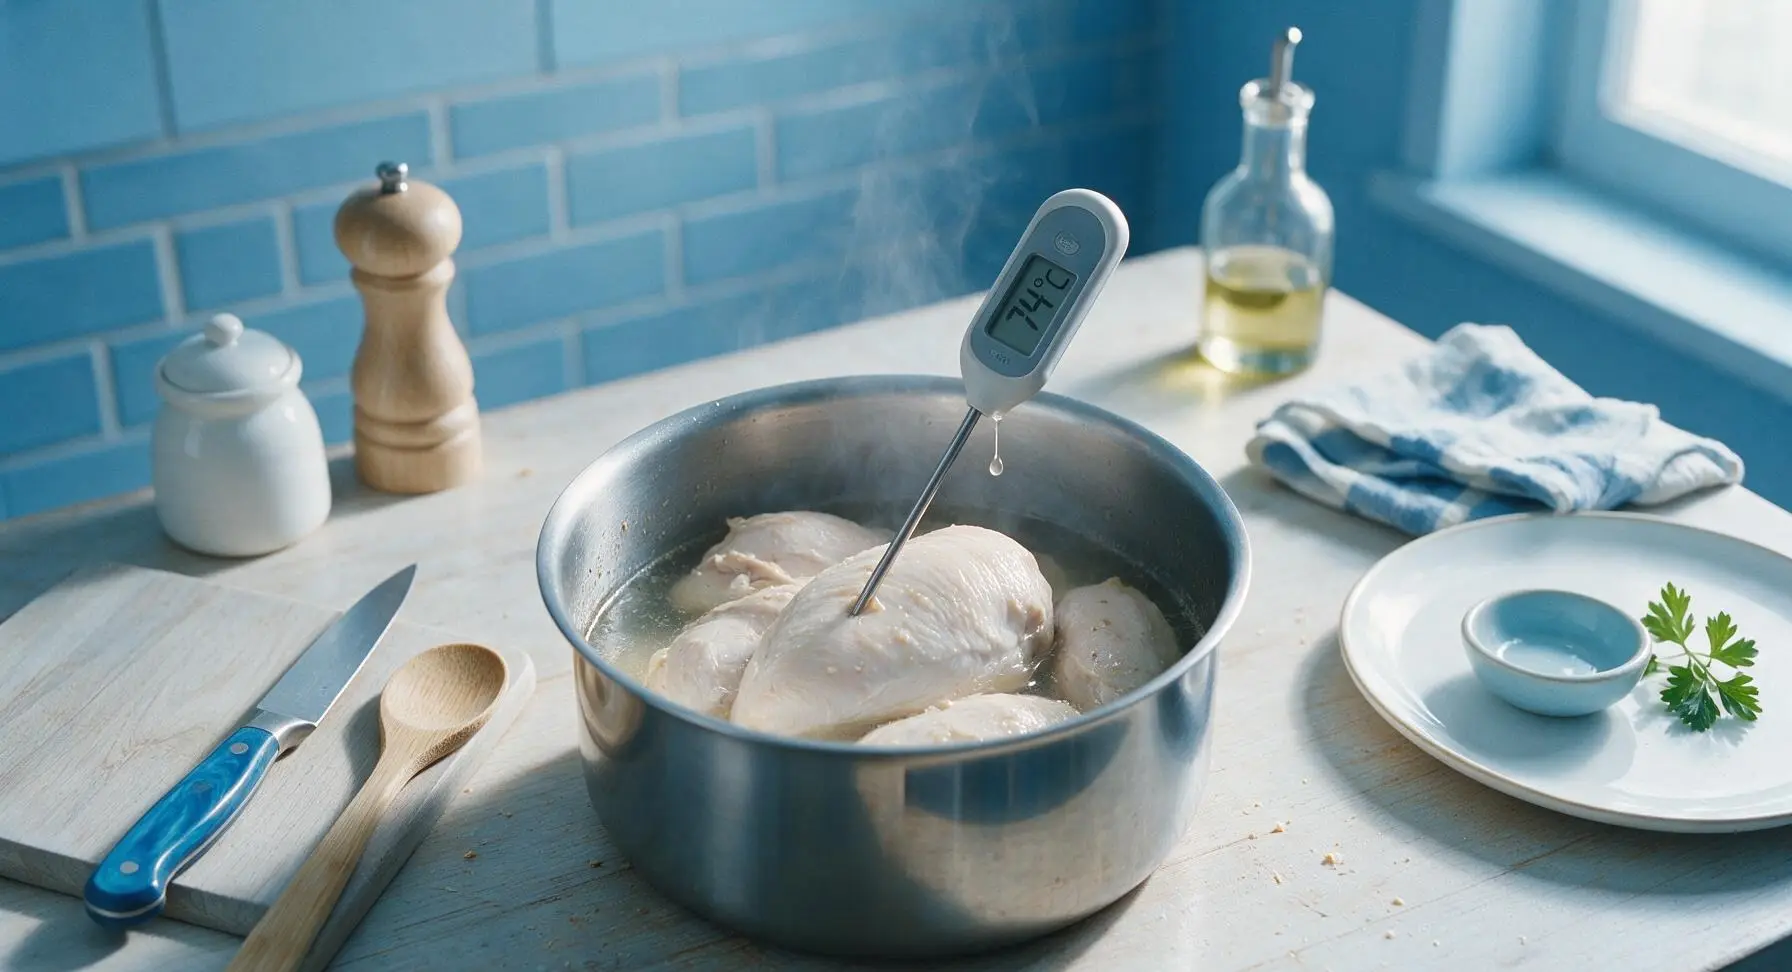
Mix Chicken With Gelatin
Use tongs to transfer cooked chicken from the poaching liquid to the maple cutting board, and let cool for 10 minutes until safe to handle. Roughly tear or chop chicken into 2-3cm chunks, reserving 2 tbsp of warm poaching liquid from the pot. Stir the warm reserved poaching liquid into the bloomed gelatin to melt it into a smooth, pourable liquid. Place chopped chicken into the 2L clear glass mixing bowl set on the cutting board, pour melted gelatin over top, and toss gently to coat all pieces evenly.
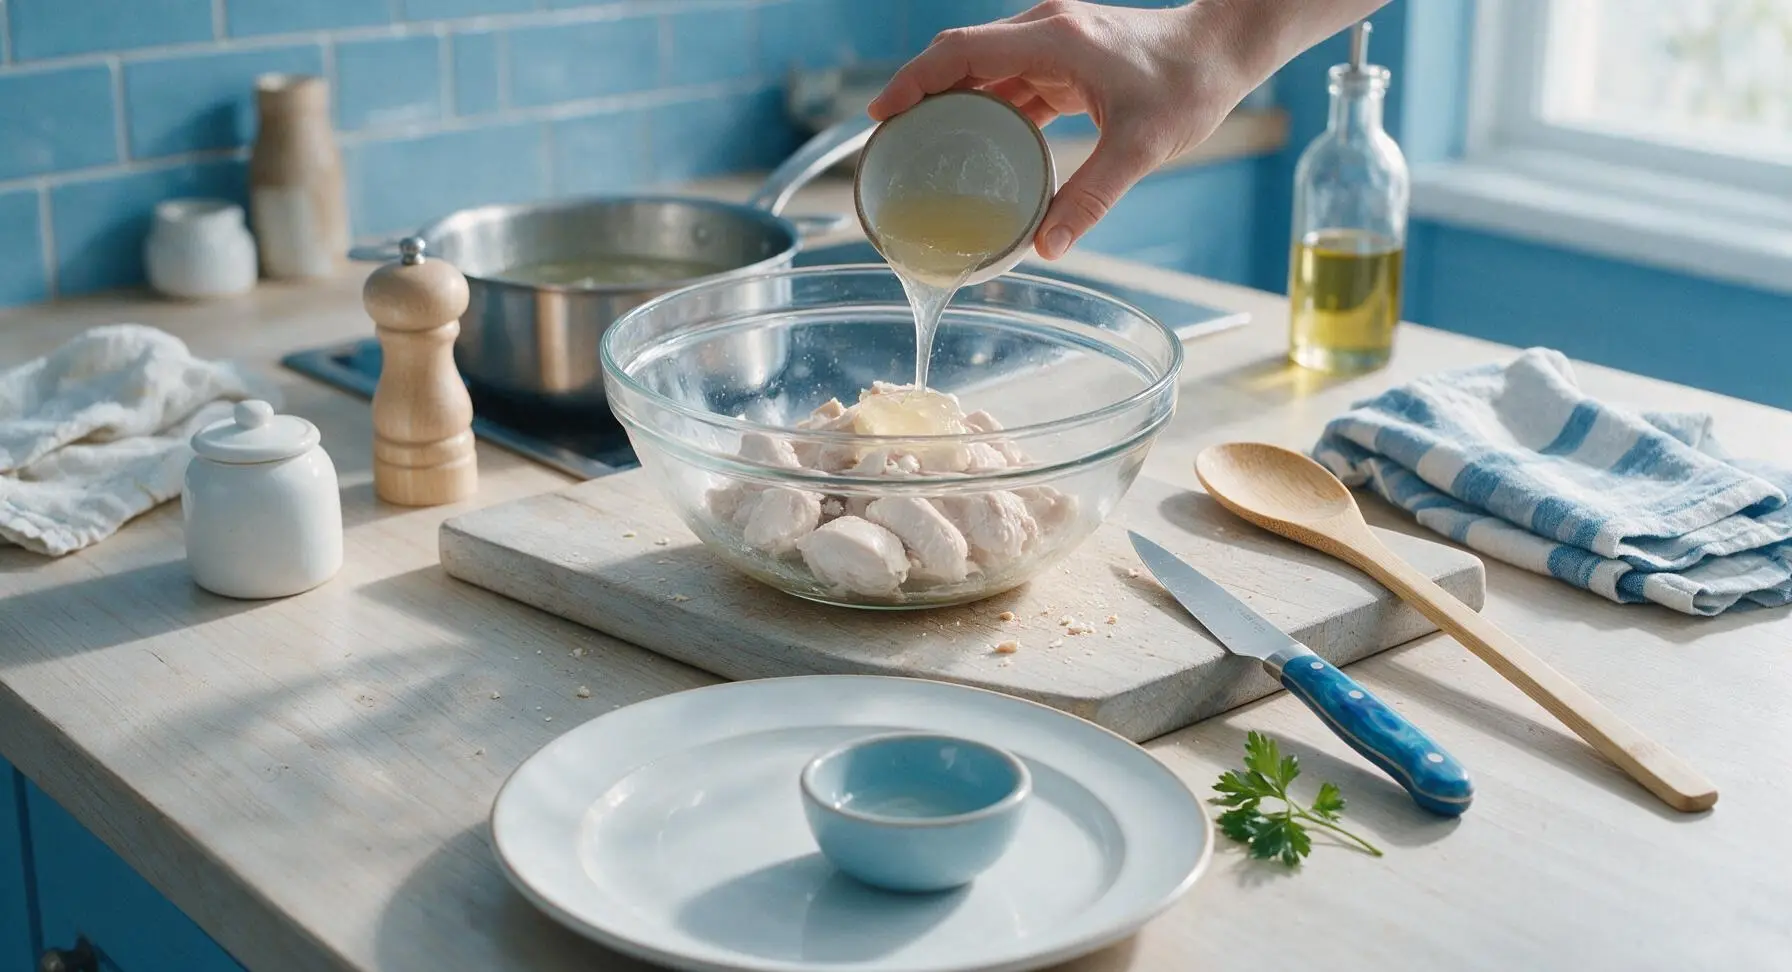
Press And Chill Loaf
Line the matte silver aluminum loaf pan with a sheet of unbleached parchment paper from the fixed roll, leaving 5cm overhang on the long sides to lift the finished loaf. Transfer gelatin-coated chicken chunks into the lined pan, pressing very firmly with the back of the olive wood spoon to eliminate all air gaps between pieces. Fold the parchment overhang over the top of the chicken, then set the small pre-seasoned cast iron skillet on top as a weight to compress the loaf tightly. Refrigerate for a minimum of 4 hours (or overnight) until gelatin is fully set and chicken forms a firm, solid loaf.
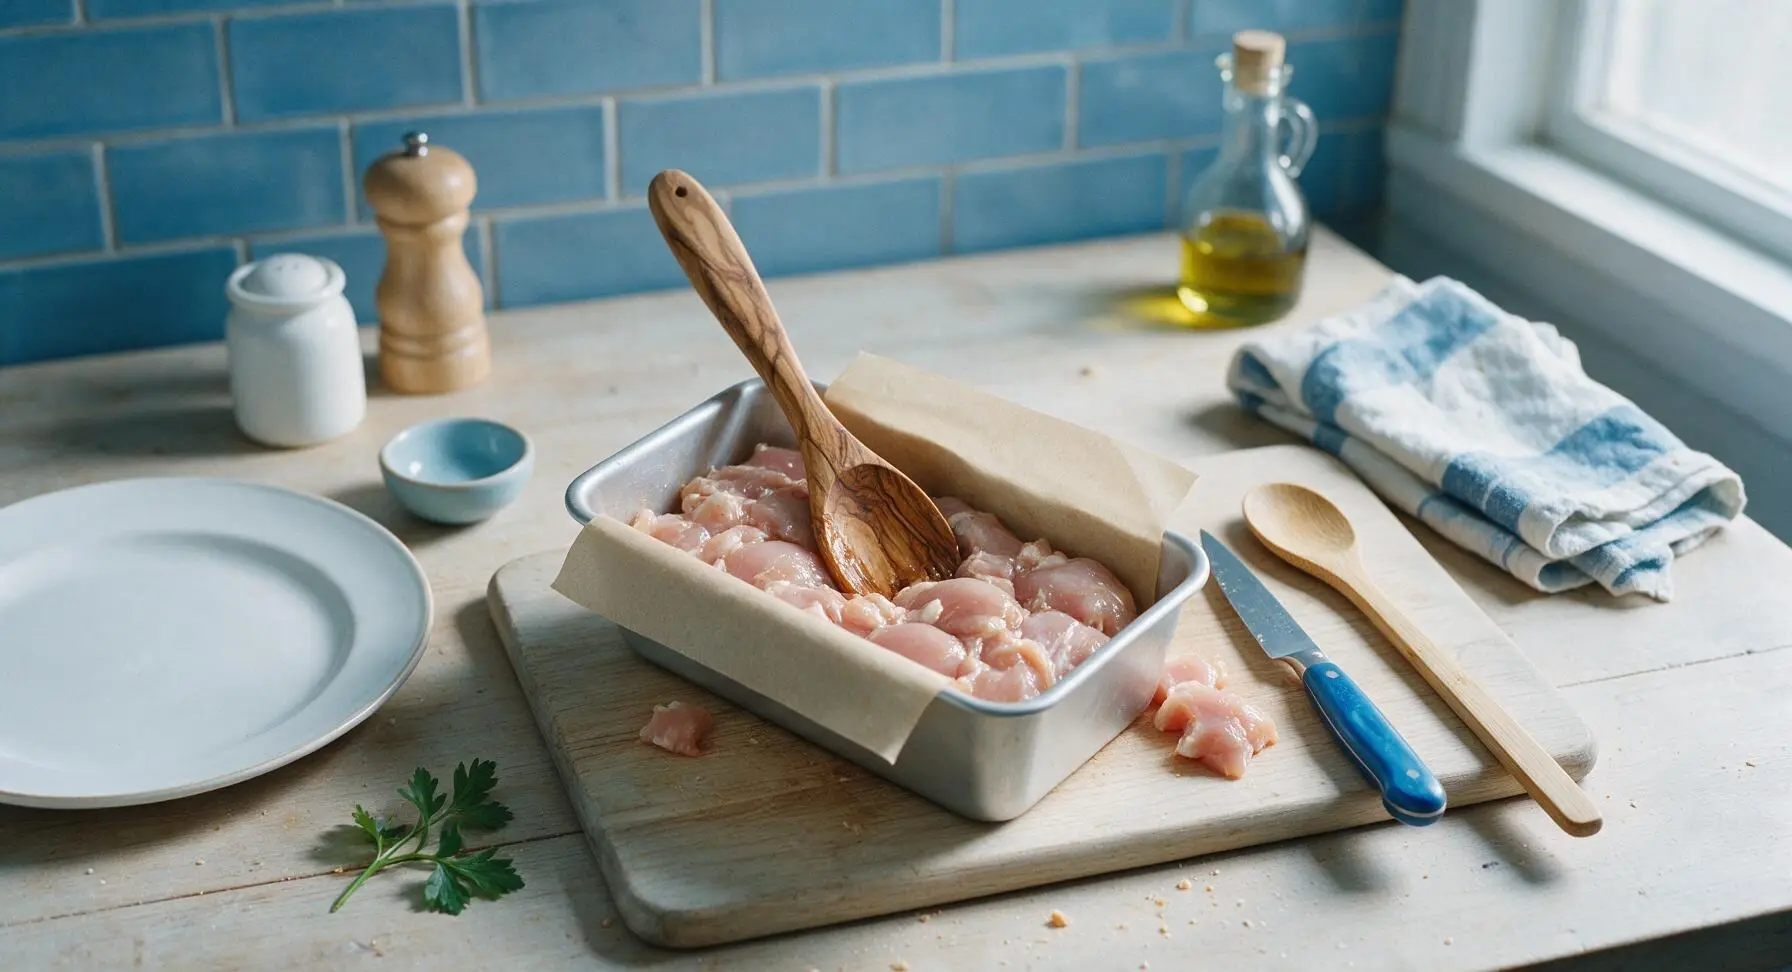
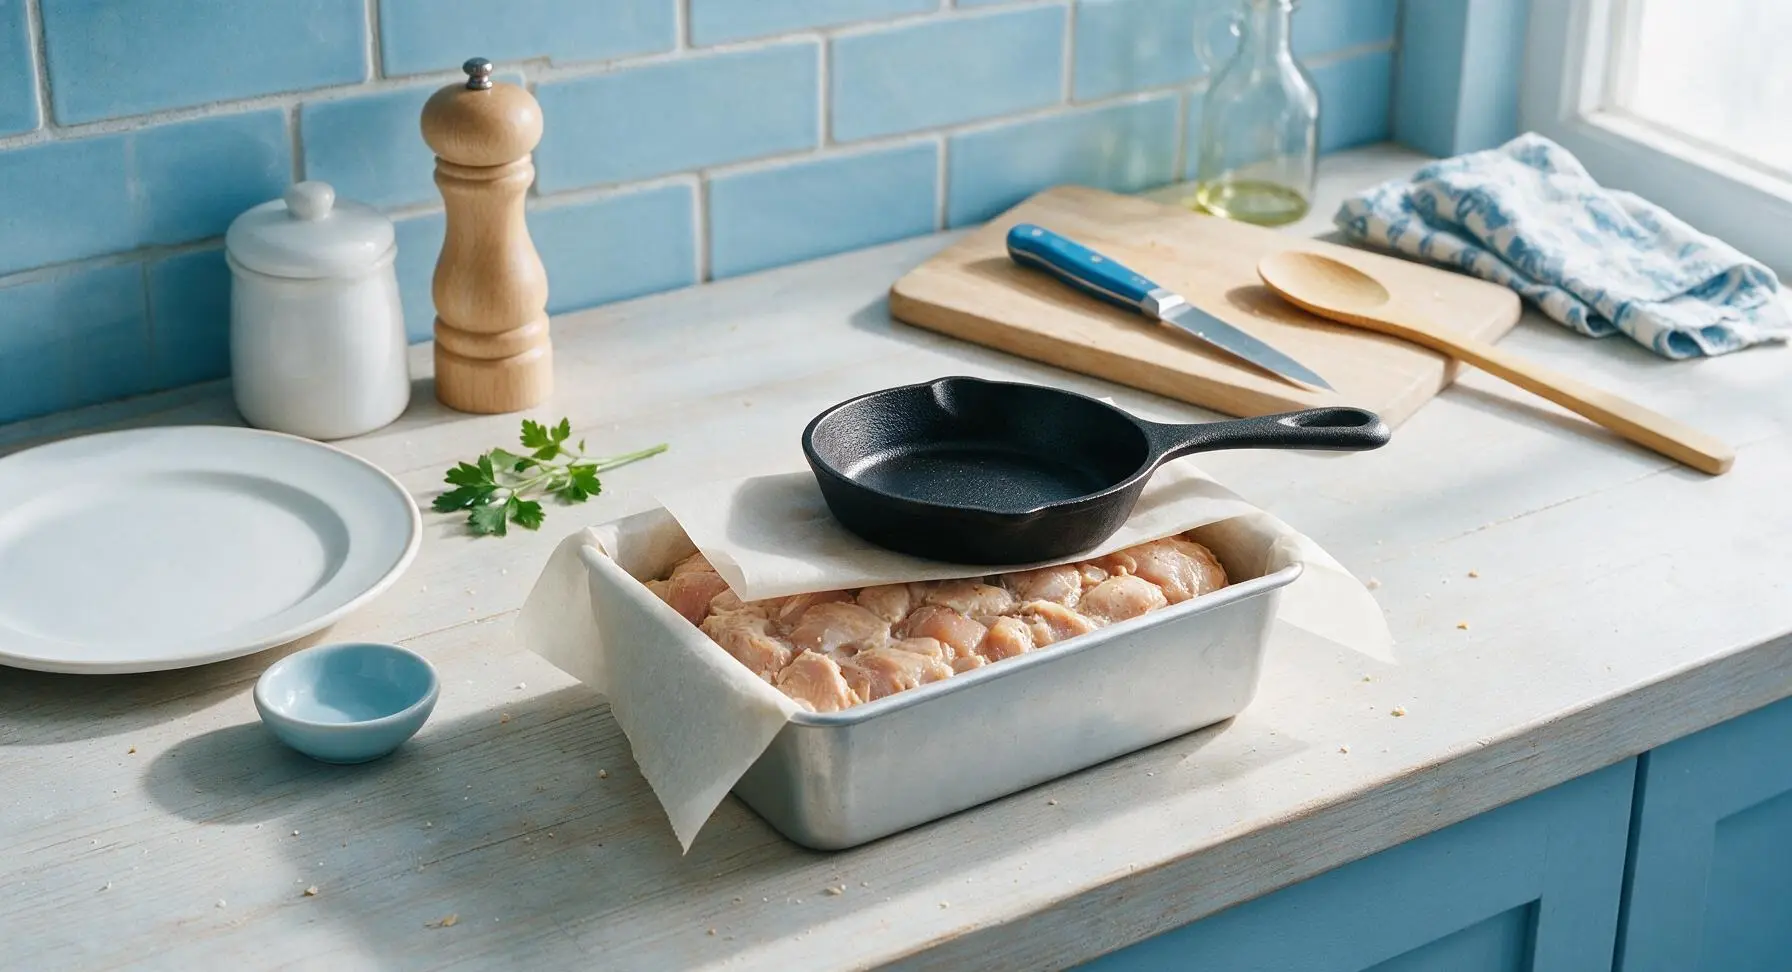
Slice For Serving
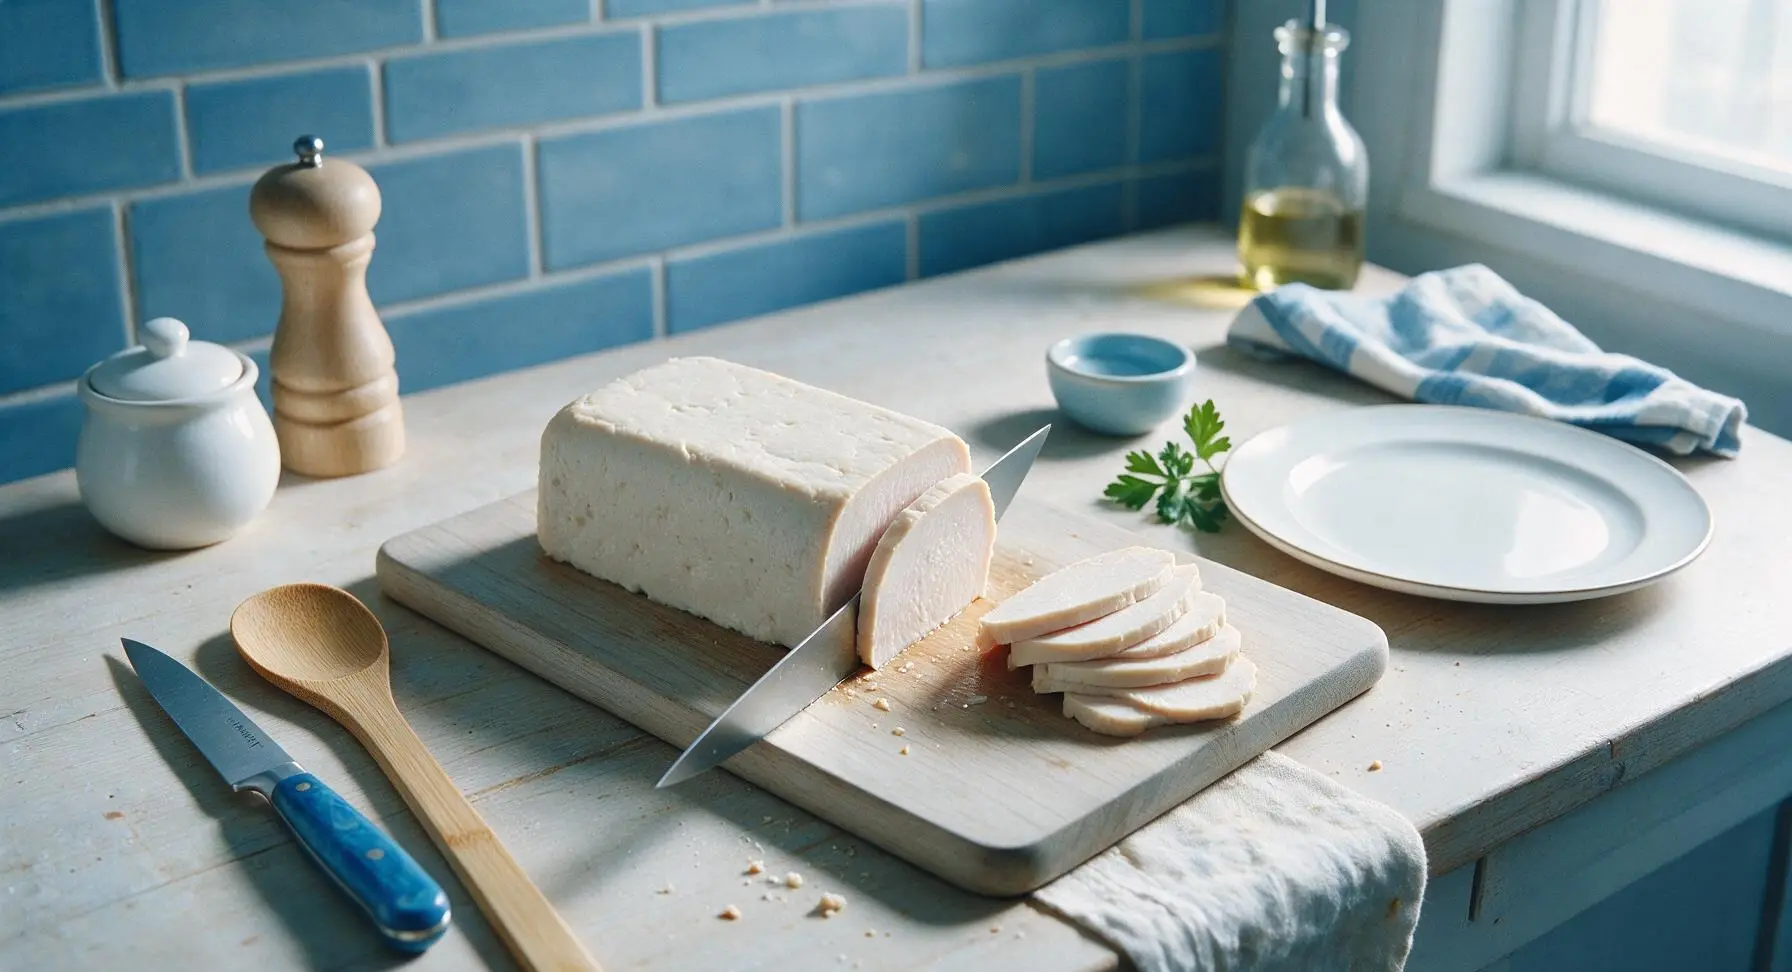
Once fully chilled, lift the set chicken loaf from the pan using the parchment overhang, and set it on the maple cutting board. Use the sharp chef knife to cut the loaf into thin, even 3mm thick slices, applying steady, gentle pressure to avoid tearing. Arrange slices on the matte white ceramic dinner plate to serve.
Tips
2.Never let the poaching water reach a rolling boil: rapid boiling causes chicken proteins to seize, resulting in tough, rubbery slices. Keep the water at a bare simmer, with only tiny bubbles breaking the surface, for the juiciest meat.
3.The powdered gelatin is key for perfect sliceable texture: it binds chicken pieces into a solid loaf that cuts into thin, deli-style slices without crumbling, and adds no noticeable flavor of its own. Skip it and your slices will fall apart.






OMG this is such a game changer! I spend so much money on deli lunch meat every week for my husband’s work sandwiches and my kids’ school lunches, and this was so easy to make. Tastes way better than the store bought stuff that’s loaded with weird preservatives. 10/10 will be making this every Sunday for meal prep!
Made this for our neighborhood potluck last weekend and people kept asking where I bought the lunch meat! When I told them I made it from scratch no one believed me. Super juicy, not dry at all like some homemade chicken lunch meat recipes I’ve tried before.
Just pulled this out of the oven and let it cool, had a test slice and it’s SO good. My 7 year old who turns her nose up at literally every protein asked for a second bite! Win for mom today.
Really solid recipe! I added a little extra garlic powder and smoked paprika to give it a bit more of a smoky flavor, which worked great. My only note is that I cooked mine 5 minutes less because my oven runs hot, so keep that in mind if yours is the same!
As someone who lives in a tiny apartment with basically no counter space, I was shocked how easy this was to pull off. No fancy equipment needed, just a baking sheet and some seasonings? Sold. Way cheaper than grabbing deli meat from the bodega down the street every week.
I’ve been making my own lunch meat for years now and this is hands down the best chicken version I’ve ever tried. The 45 minute cook time is spot on, no dry bits, the seasoning is balanced so it doesn’t overpower the chicken. 10/10, added to my permanent recipe rotation.
Wait, this is my first time ever making any kind of lunch meat from scratch and I was so nervous I’d mess it up! The instructions were so straightforward I didn’t even have to re-read anything. It turned out perfect on the first try, I’m so proud of myself lol.
As someone with a ton of food sensitivities, finding gluten free, no added nitrate lunch meat that doesn’t cost $12 a pack is impossible. This recipe is a total lifesaver! I can control exactly what goes in it, no weird hidden ingredients, and it tastes amazing.
Sliced this super thin and piled it high on sliders for our football watch party last weekend, absolute touchdown. Everyone was raving about how tender the chicken was, even the guys who claim they ‘only eat red meat’ went back for seconds.
Love that I can make this and skip all the plastic packaging that comes with store bought deli meat! Tastes better, cheaper, less waste. Total win win win for me. I’ve already made it two weeks in a row.
This was really good! I thought the seasoning was a little bland for my taste so next time I’ll add a bit more black pepper and maybe some onion powder, but the texture was absolutely perfect, not rubbery at all like I was worried it would be.
I was skeptical that homemade chicken lunch meat could hold a candle to the deli counter stuff, but wow, I was wrong. It’s so juicy, slices clean, works perfect for sandwiches, charcuterie boards, even just snacking on straight out of the fridge when I’m too lazy to cook.
Made this in my dorm oven! It was so easy, no fancy skills needed, and I’ve been eating it on sandwiches, salads, even with eggs for breakfast all week. Saved me so much money on takeout lunches between classes.
Mixed a little cayenne and chili powder into the seasoning blend for a spicy version and it’s unreal. Tastes like that spicy buffalo deli chicken I used to buy but way fresher. Will be making this on repeat, no cap.
Tried this recipe last night and I’m never going back to store bought deli meat again. The texture is perfect, it’s so flavorful, and I love that I don’t have to wait in the long deli line at the grocery store anymore. Game. Changer.