
chicken puff
intro
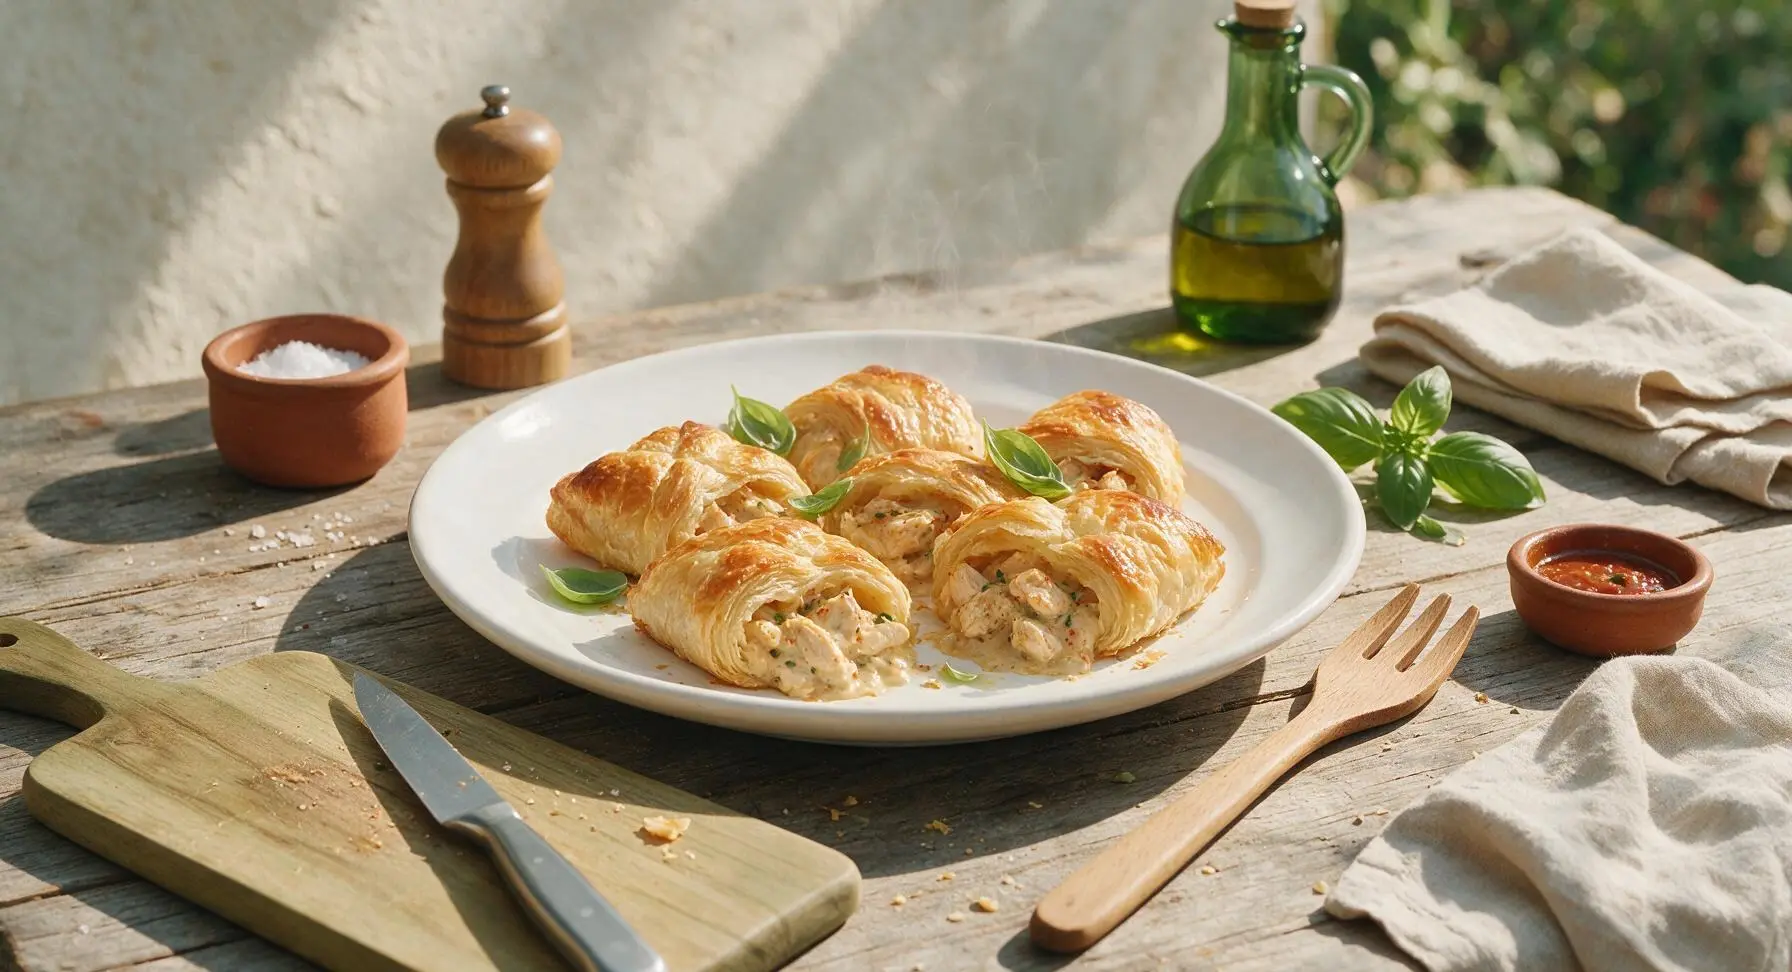
Flaky, buttery golden puff pastry wrapped around creamy spiced chicken filling, baked to crisp perfection—an iconic handheld bakery snack perfect for sharing.
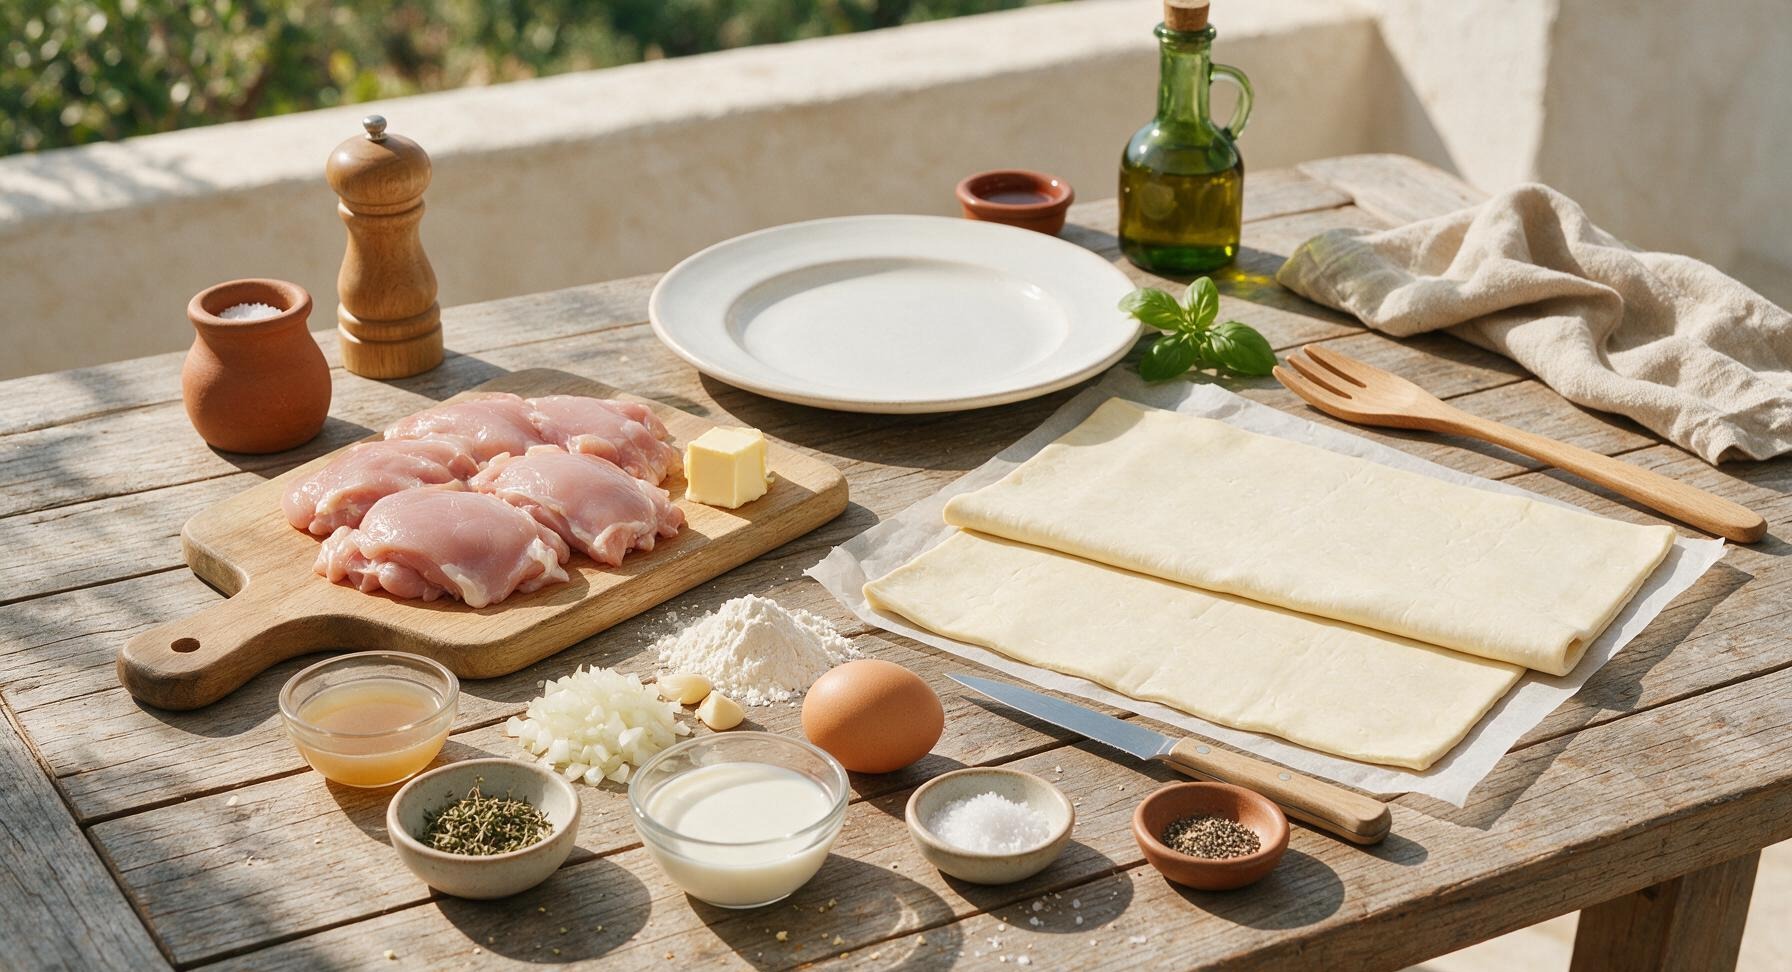
Ingredients
Steps
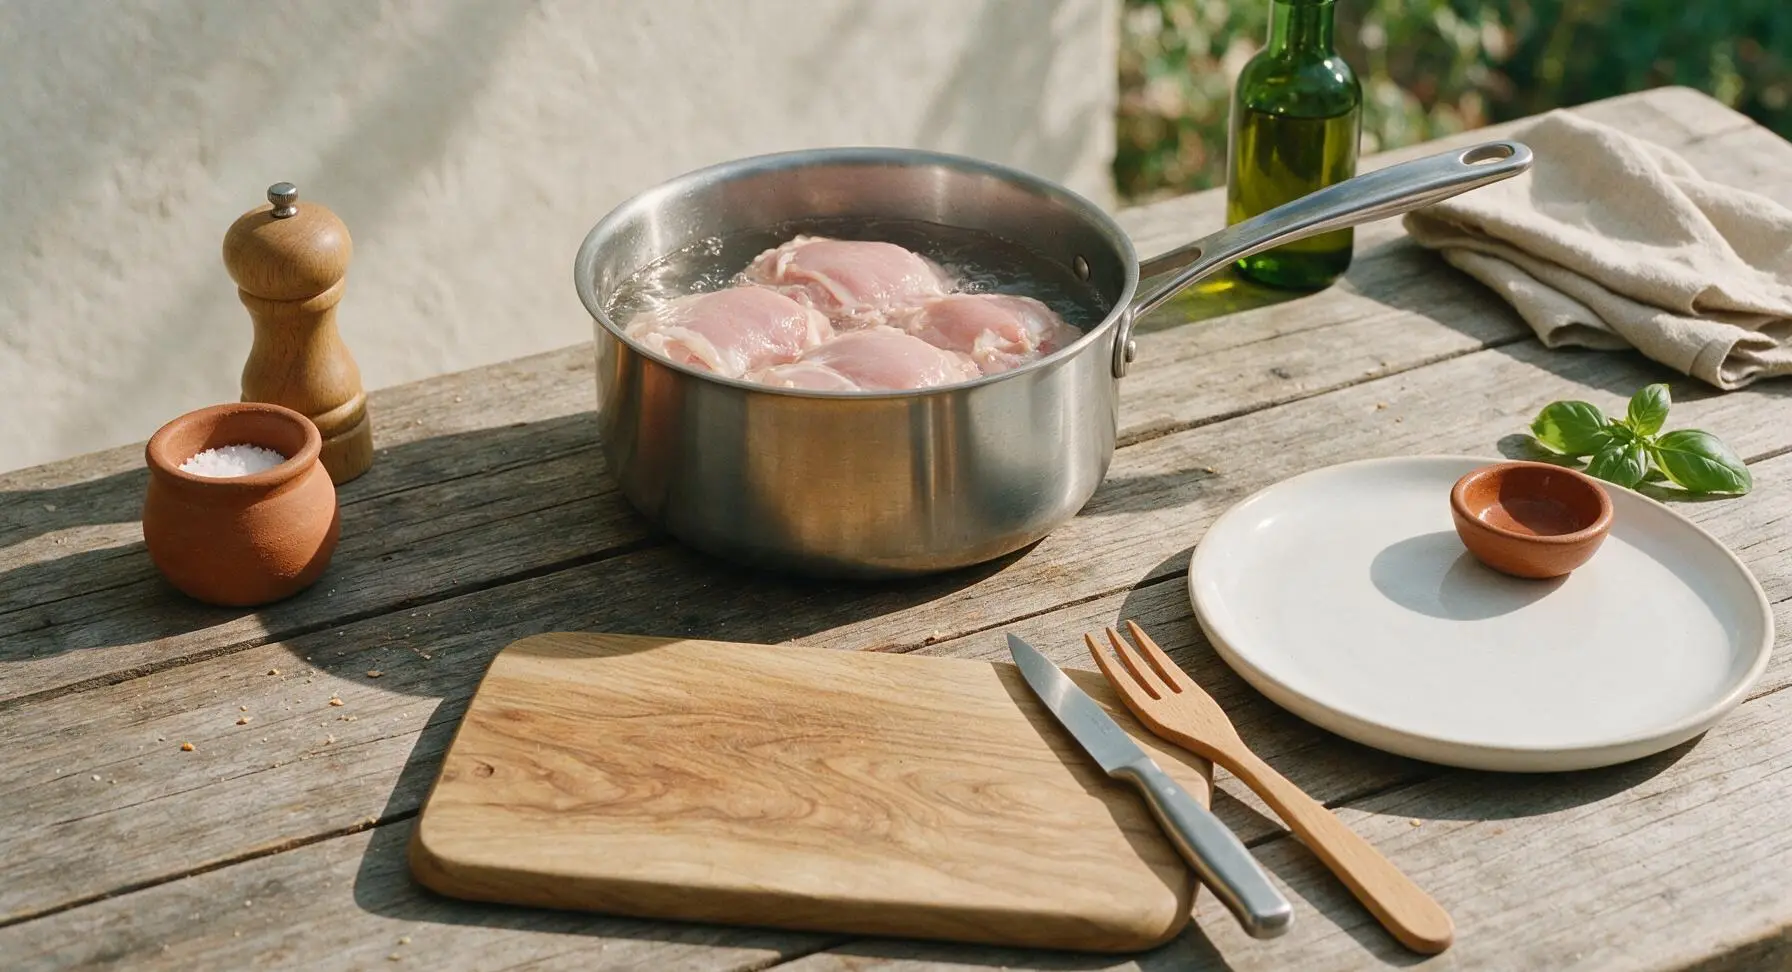
Poach and Shred Chicken
Place 300g boneless skinless chicken thighs in the 2L stainless steel saucepan, cover with cold water, and bring to a gentle simmer over medium heat. Cook for 10 minutes until the chicken reaches an internal temperature of 74C/165F with no pink remaining. Remove chicken from water, let cool 5 minutes, then shred into fine, bite-sized pieces using two forks. Transfer shredded chicken to the stainless steel mixing bowl and set aside.
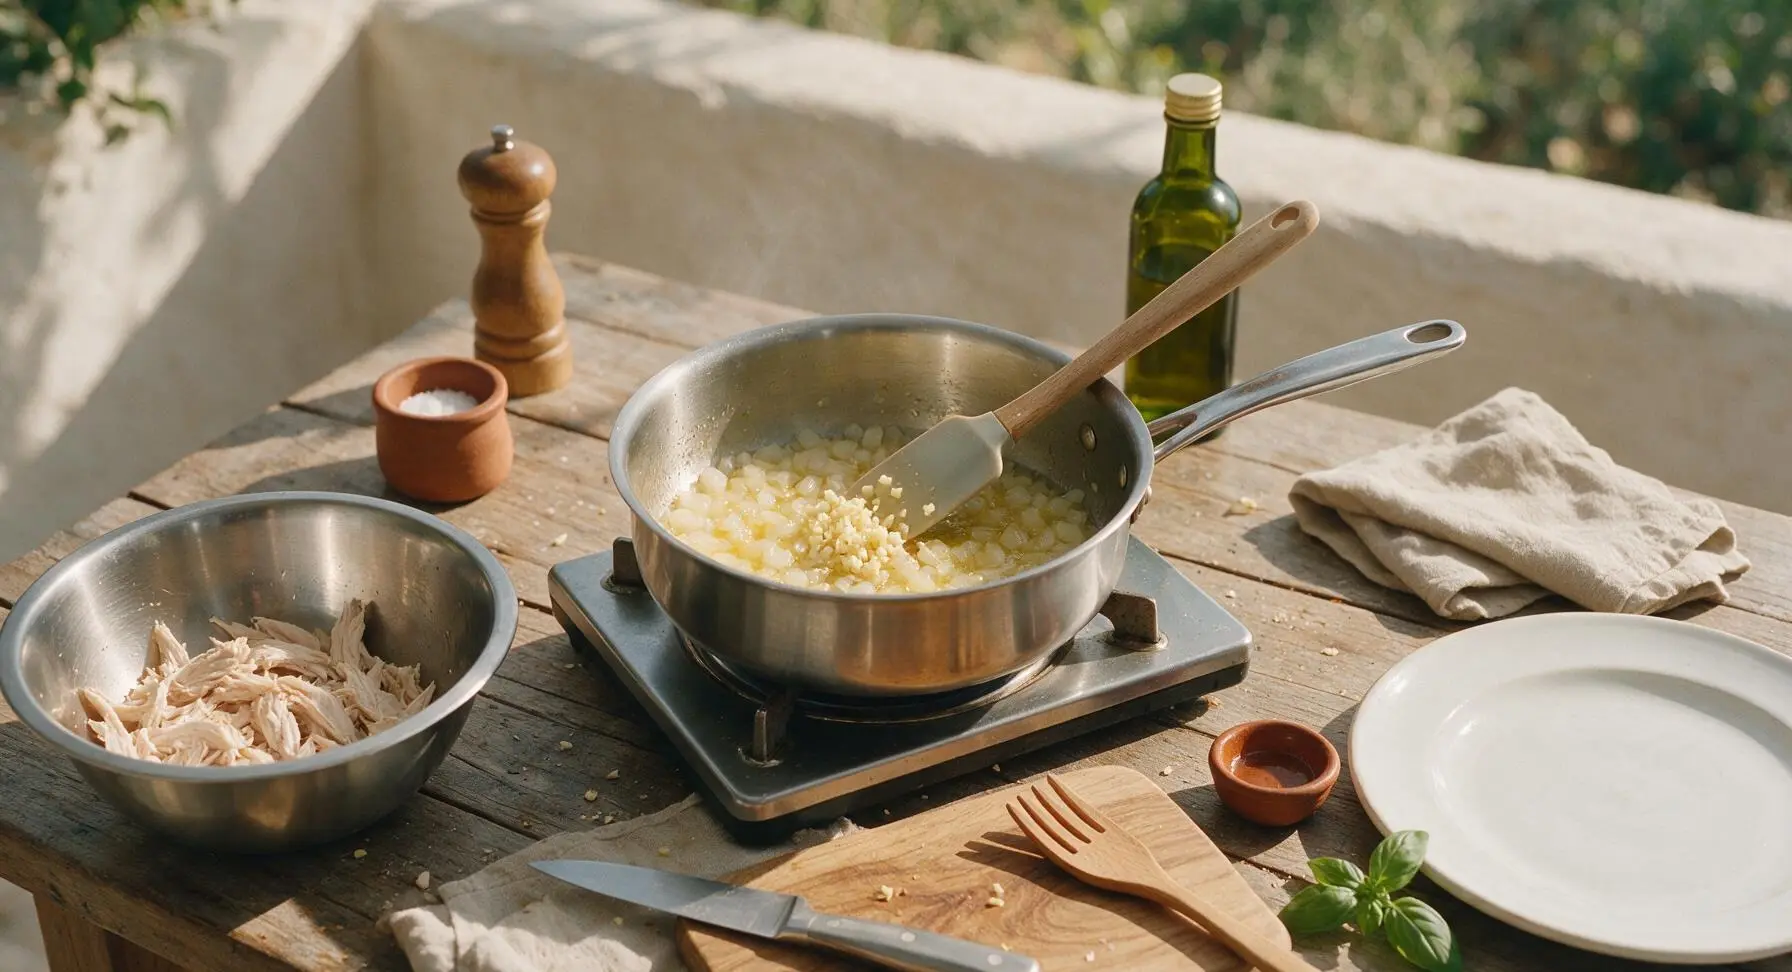
Sauté Aromatics
Discard poaching water, then return the saucepan to medium-low heat. Melt 2 tablespoons unsalted butter, then add the finely diced yellow onion. Cook for 5 minutes, stirring occasionally with the silicone spatula, until onion is soft and translucent with no golden browning. Add minced garlic and cook for 30 seconds, stirring constantly, until fragrant, taking care not to burn the garlic.
Make Creamy Filling
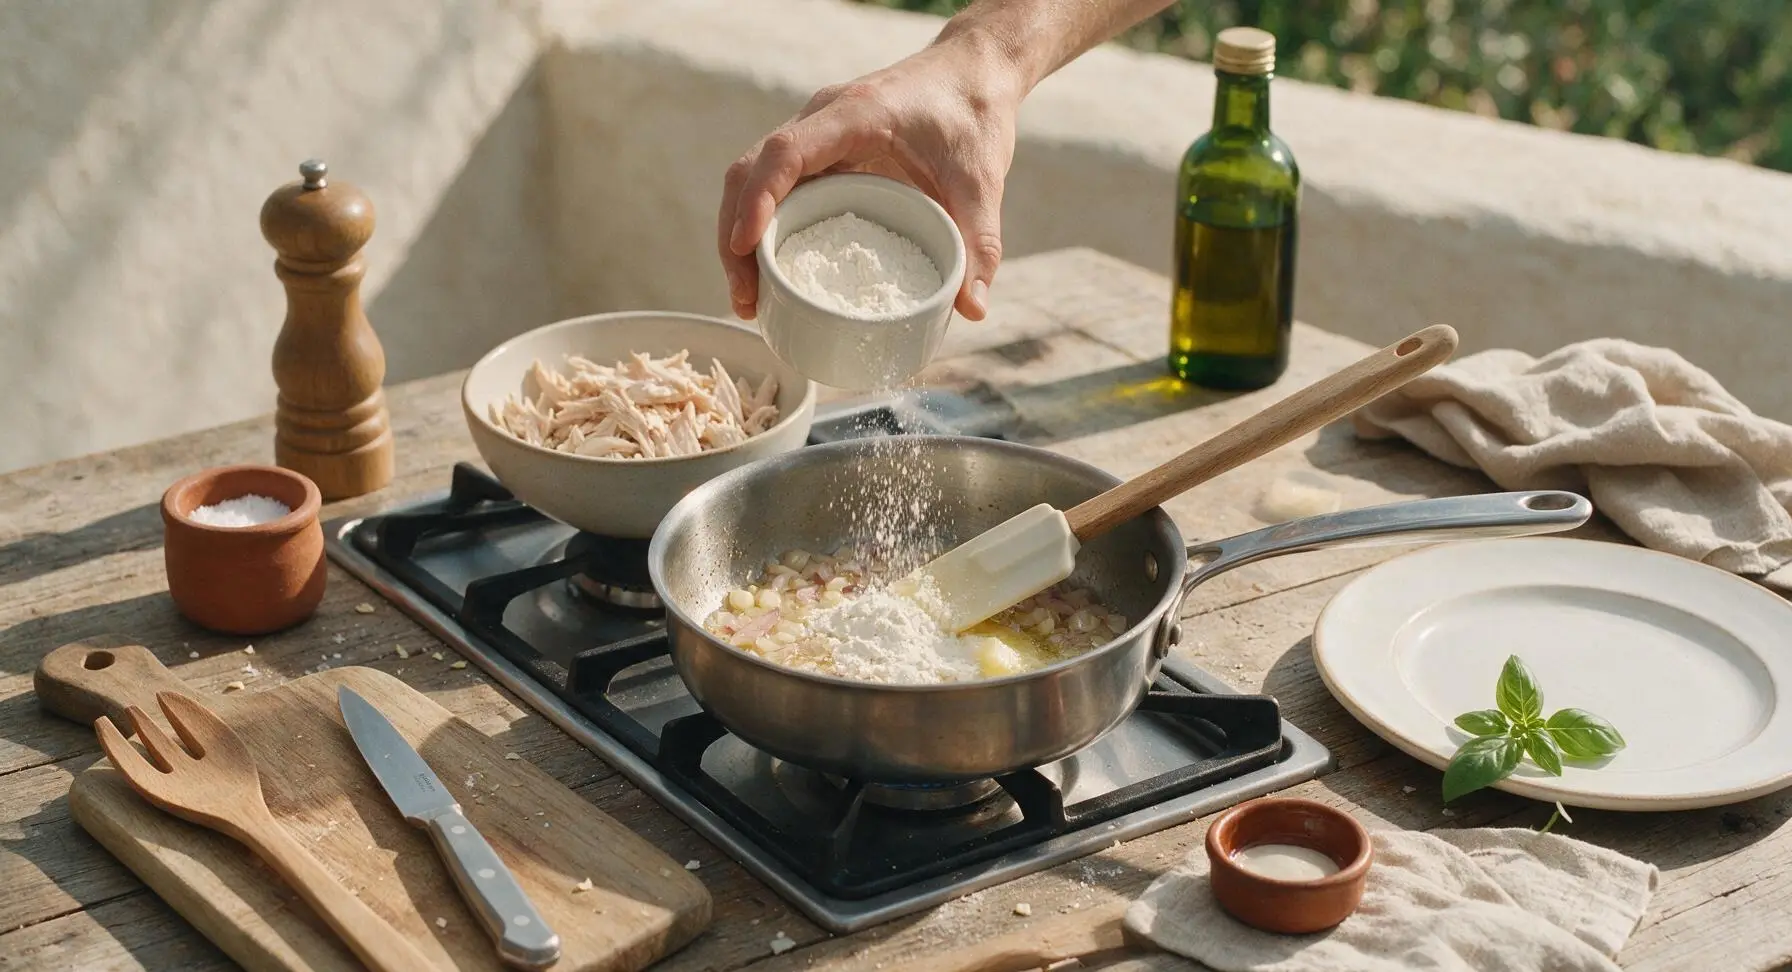
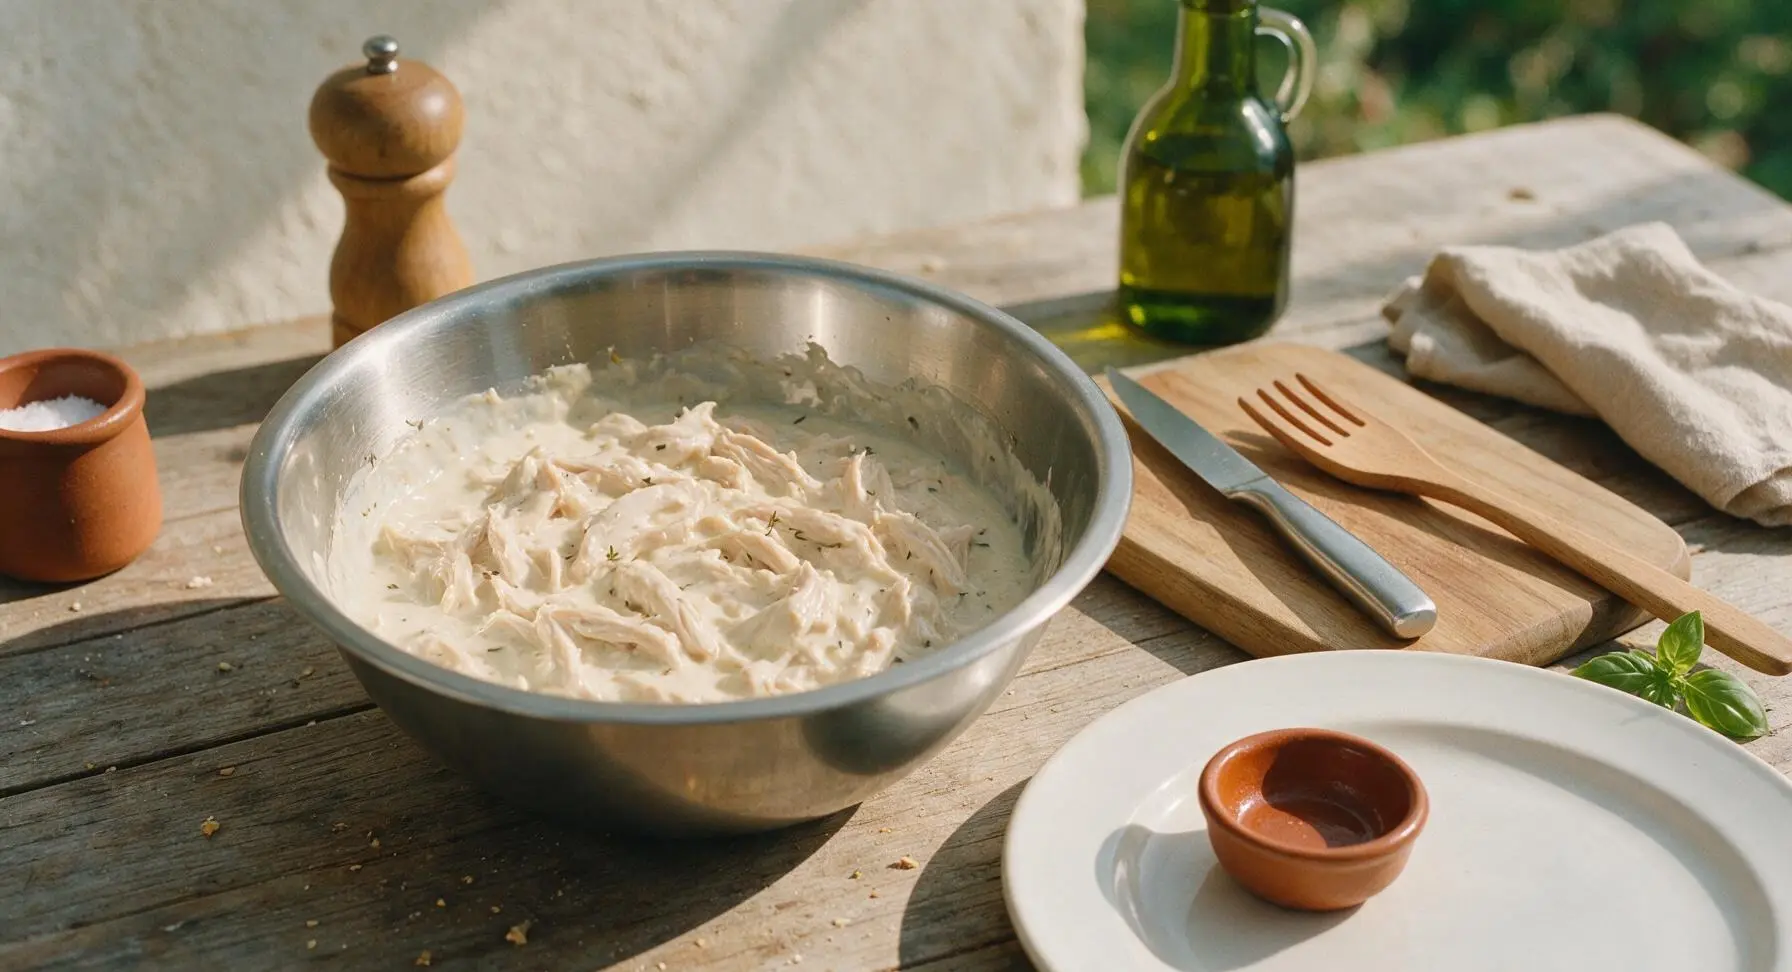
Sprinkle 1 tablespoon all-purpose flour over the sautéed onion and garlic, stirring constantly for 1 minute to cook out the raw flour taste. Slowly pour in 1/3 cup whole milk and 1/4 cup chicken stock, stirring continuously to prevent lumps. Bring to a gentle simmer, cook for 2 minutes until the sauce thickens to a gravy-like consistency that coats the back of the spatula. Stir in shredded chicken, dried thyme, salt, and black pepper until fully coated. Remove from heat and let cool completely for 10 minutes.
Cut Pastry Squares
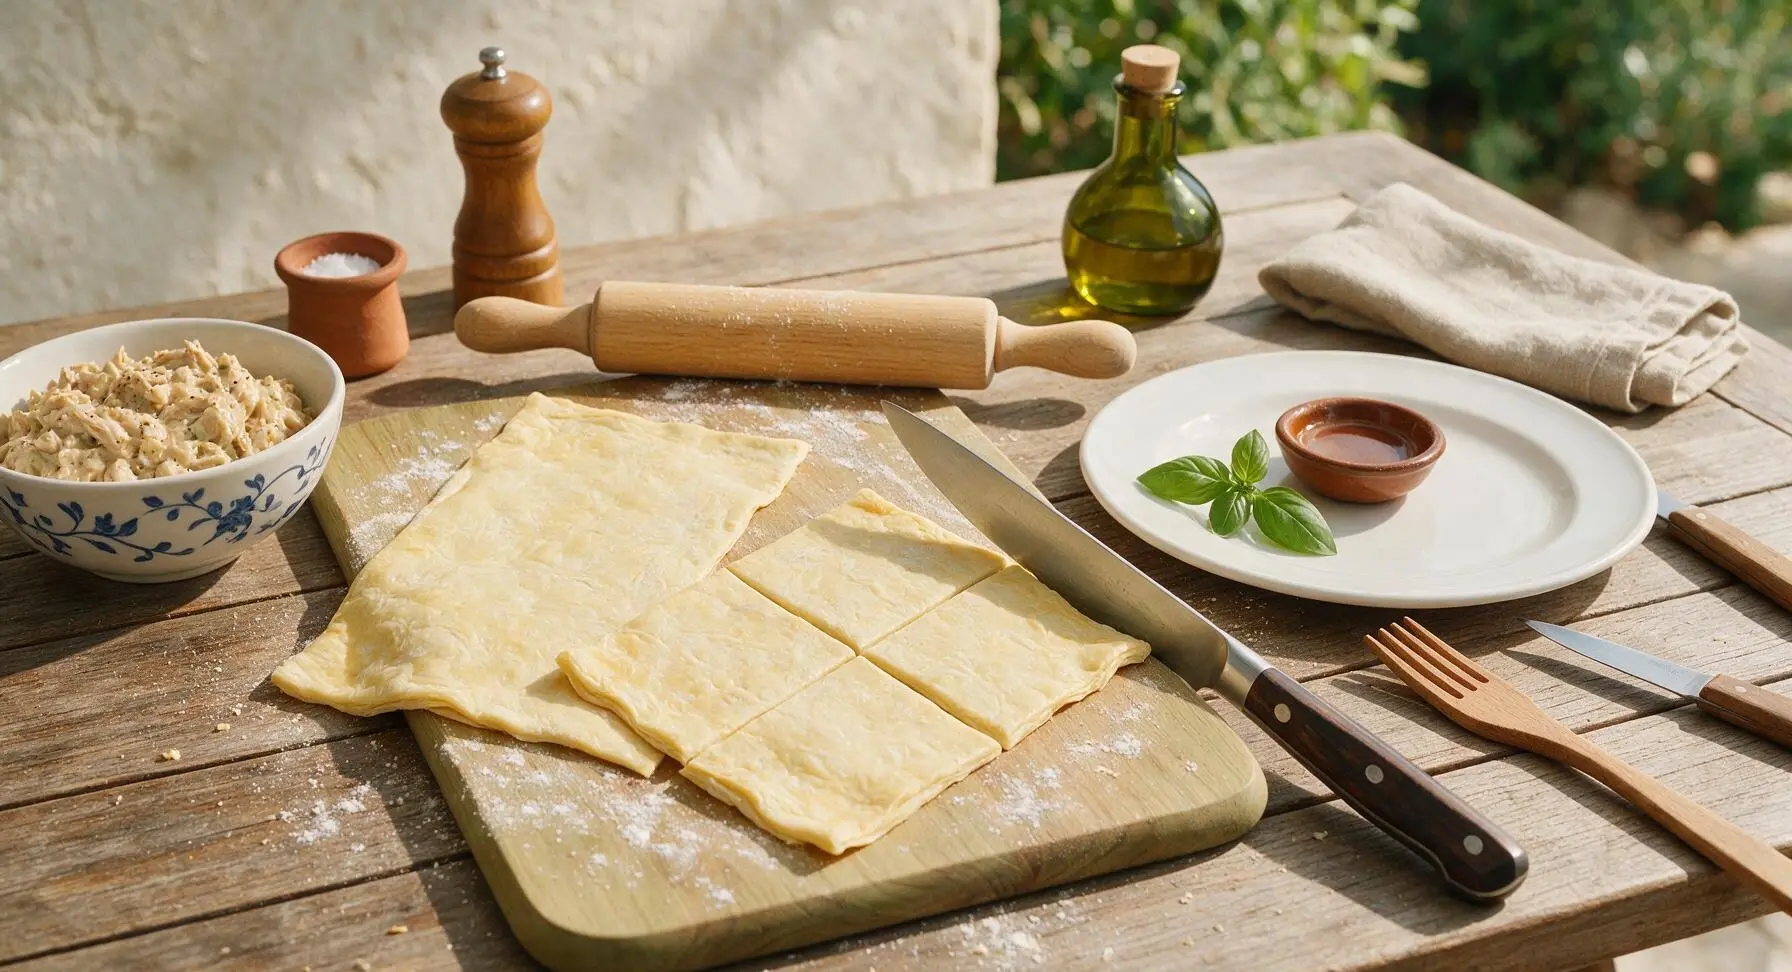
Lightly dust the bamboo cutting board with a pinch of all-purpose flour. Unfold the two thawed puff pastry sheets onto the board, using the chef knife to cut each sheet into 4 equal 12cm (5-inch) squares for 8 total squares. Use the hardwood rolling pin to gently roll each square 2mm thinner, taking care not to stretch the pastry (stretching causes uneven rising during baking).
Fill and Crimp Puffs
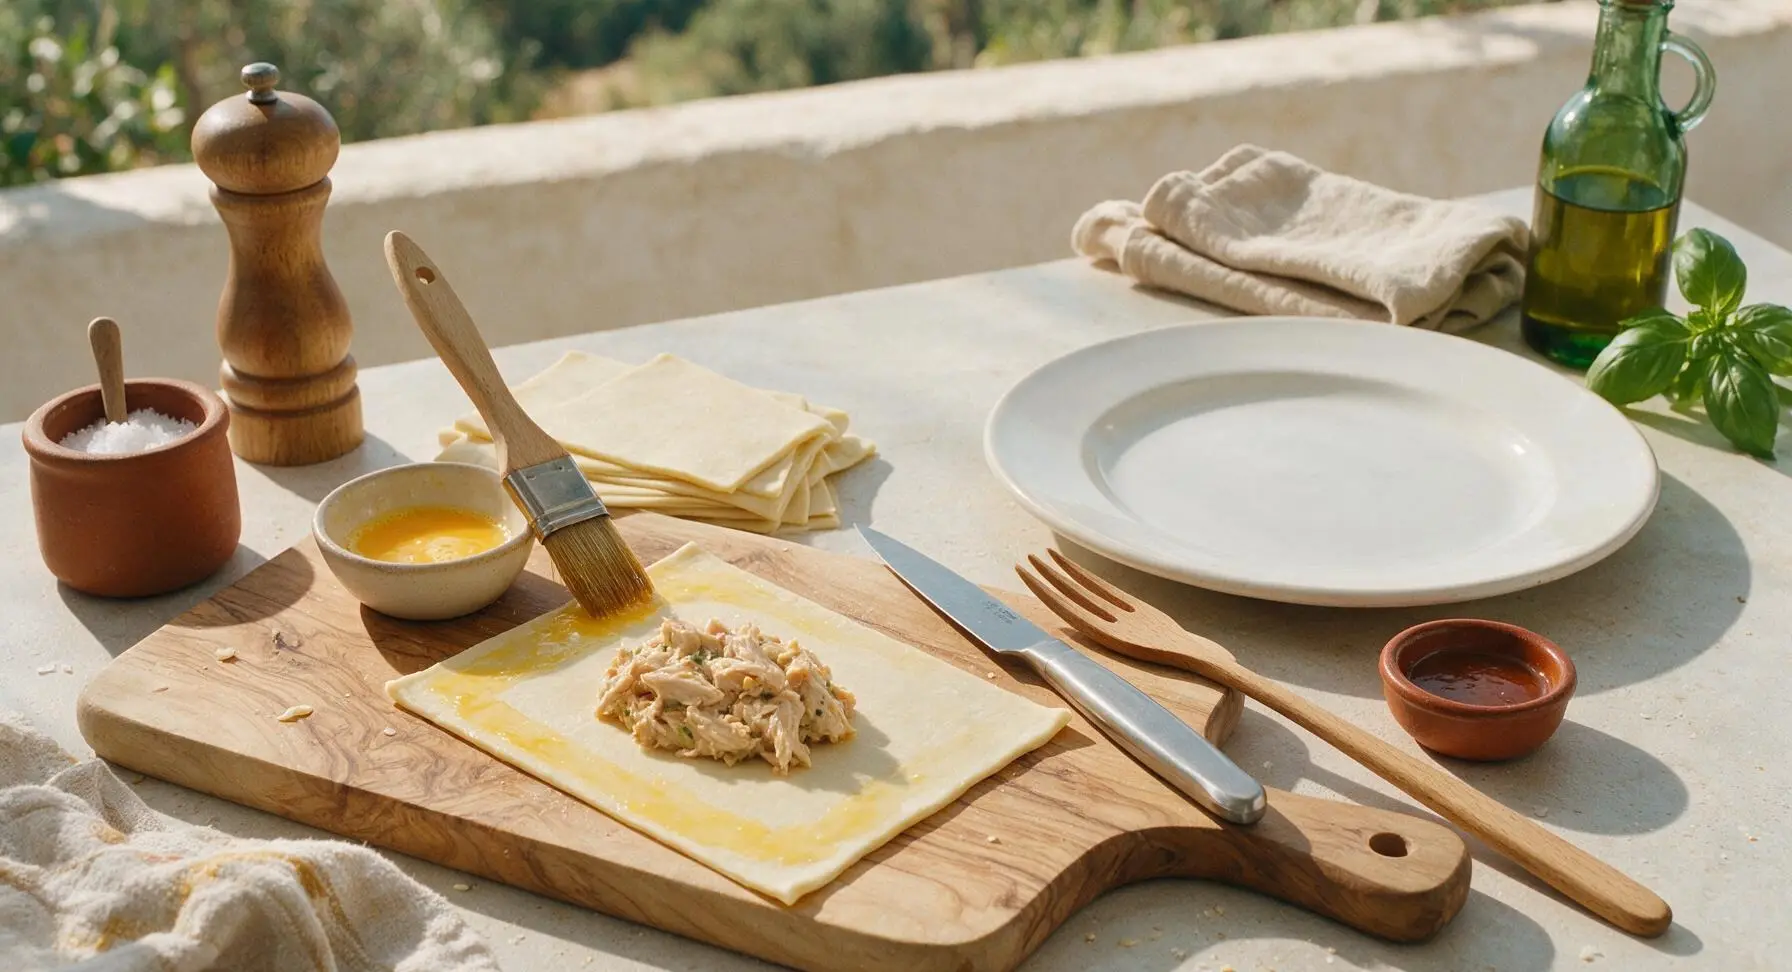
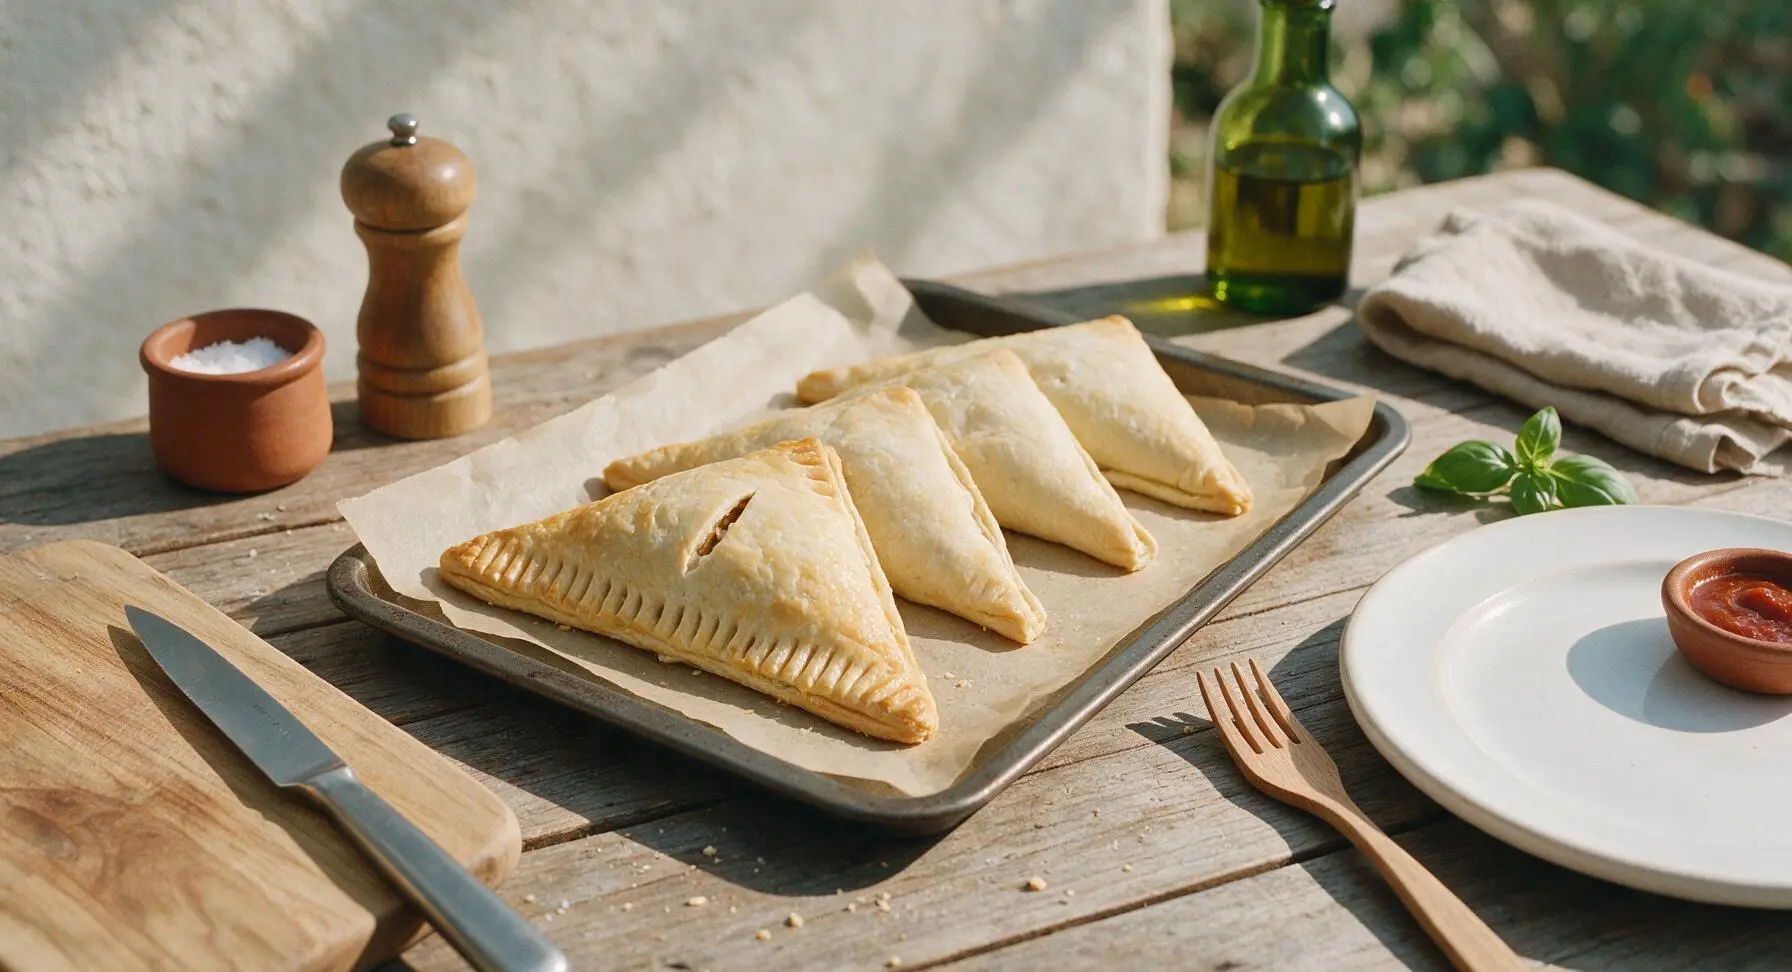
Spoon 1 heaped tablespoon of cooled chicken filling onto the center of each pastry square, leaving a 1.5cm border around the edge. Beat 1 large egg with 1 teaspoon cold water in a small ramekin, then use the pastry brush to lightly coat the pastry border with egg wash. Fold each square diagonally in half over the filling to form a neat triangle, pressing firmly along the edges to seal. Use the tines of the stainless steel fork to crimp the edges tightly, ensuring no gaps for filling to leak. Cut a 1cm slit in the top of each triangle to allow steam to escape, then transfer to the parchment-lined baking sheet.
Apply Egg Wash
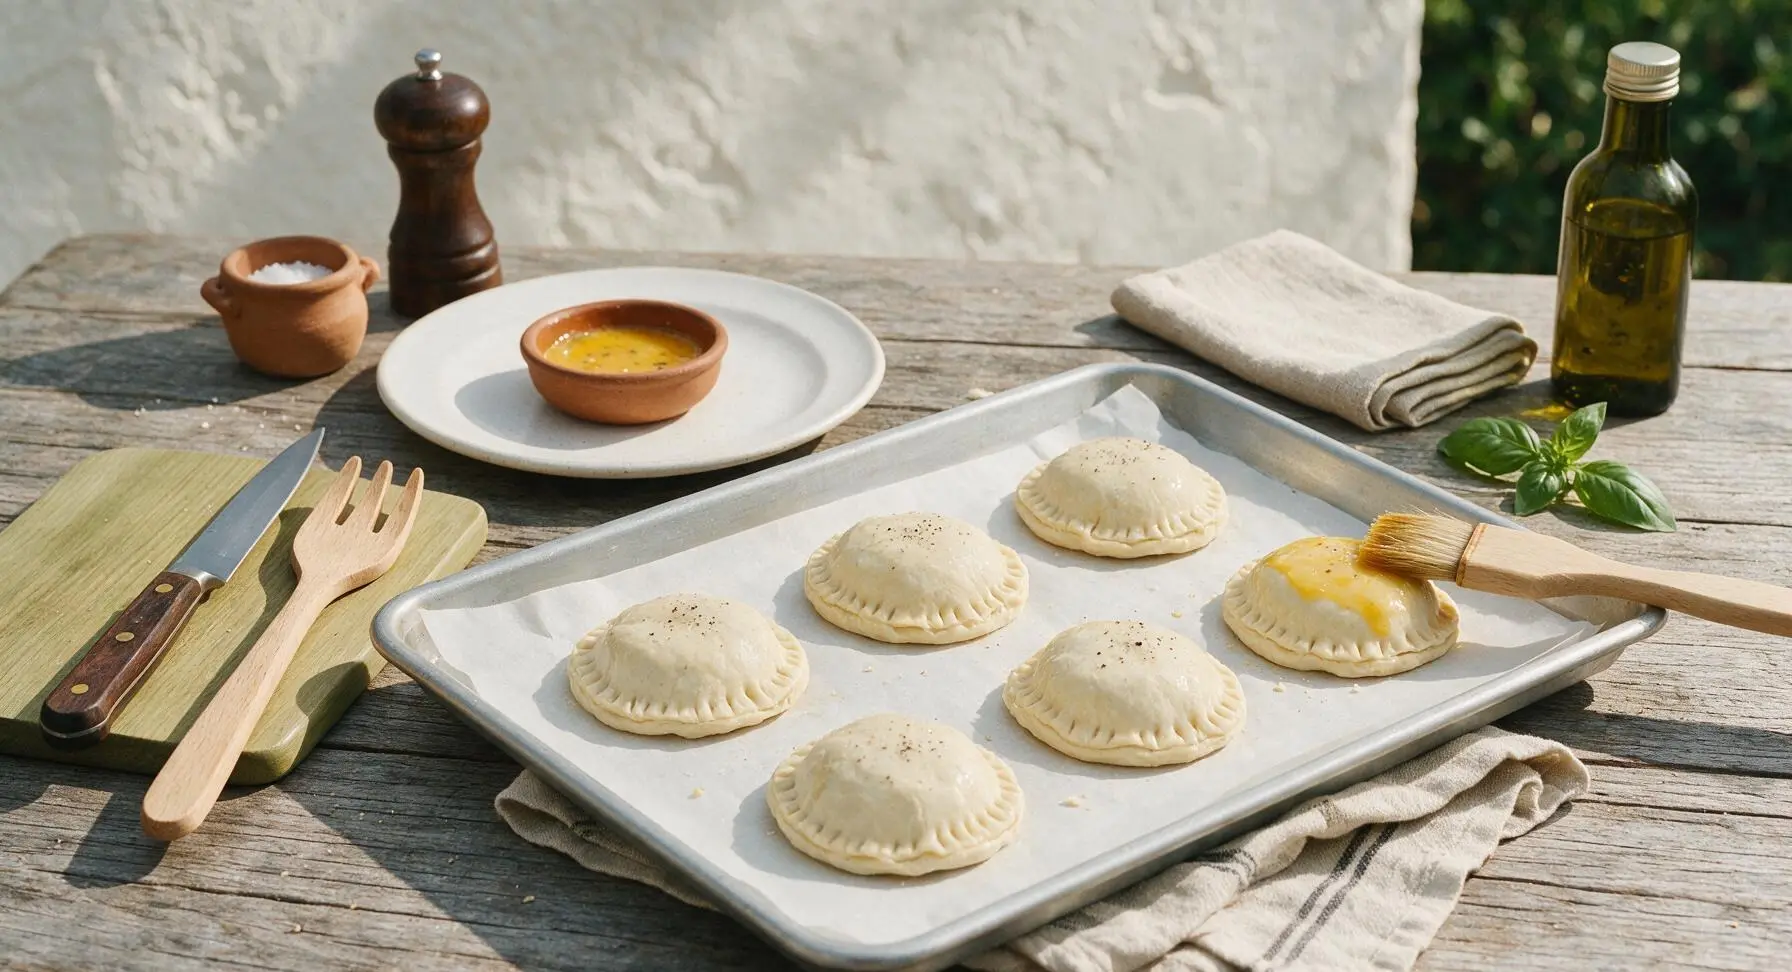
Arrange assembled puffs 5cm apart on the parchment-lined baking sheet to leave room for expansion. Use the pastry brush to coat the top surface of each puff evenly with remaining egg wash, taking care not to let egg wash drip down the sides (drips will glue pastry layers together and prevent even rising).
Bake Until Golden
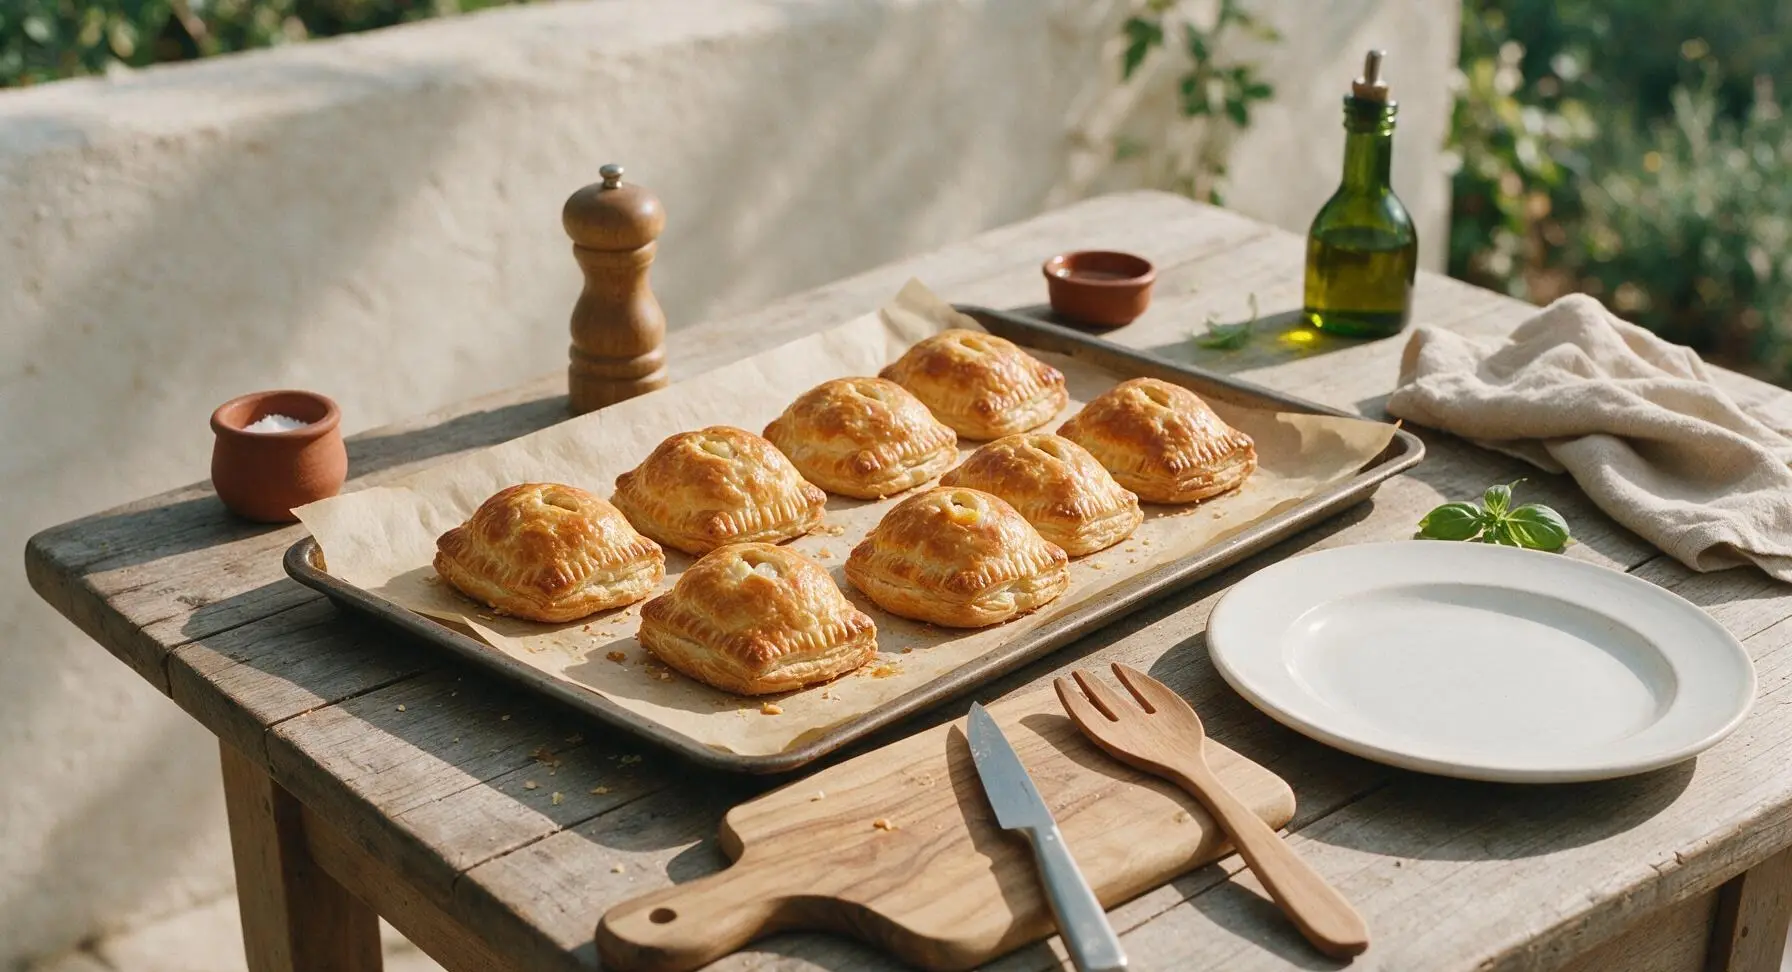
Place the baking sheet in a preheated 200C/400F oven. Bake for 22-25 minutes, rotating the sheet halfway through, until puffs are dramatically risen, deep golden brown all over, and crisp to the touch. Do not open the oven door for the first 15 minutes of baking, as sudden temperature drops will cause pastry to collapse.
Rest and Serve
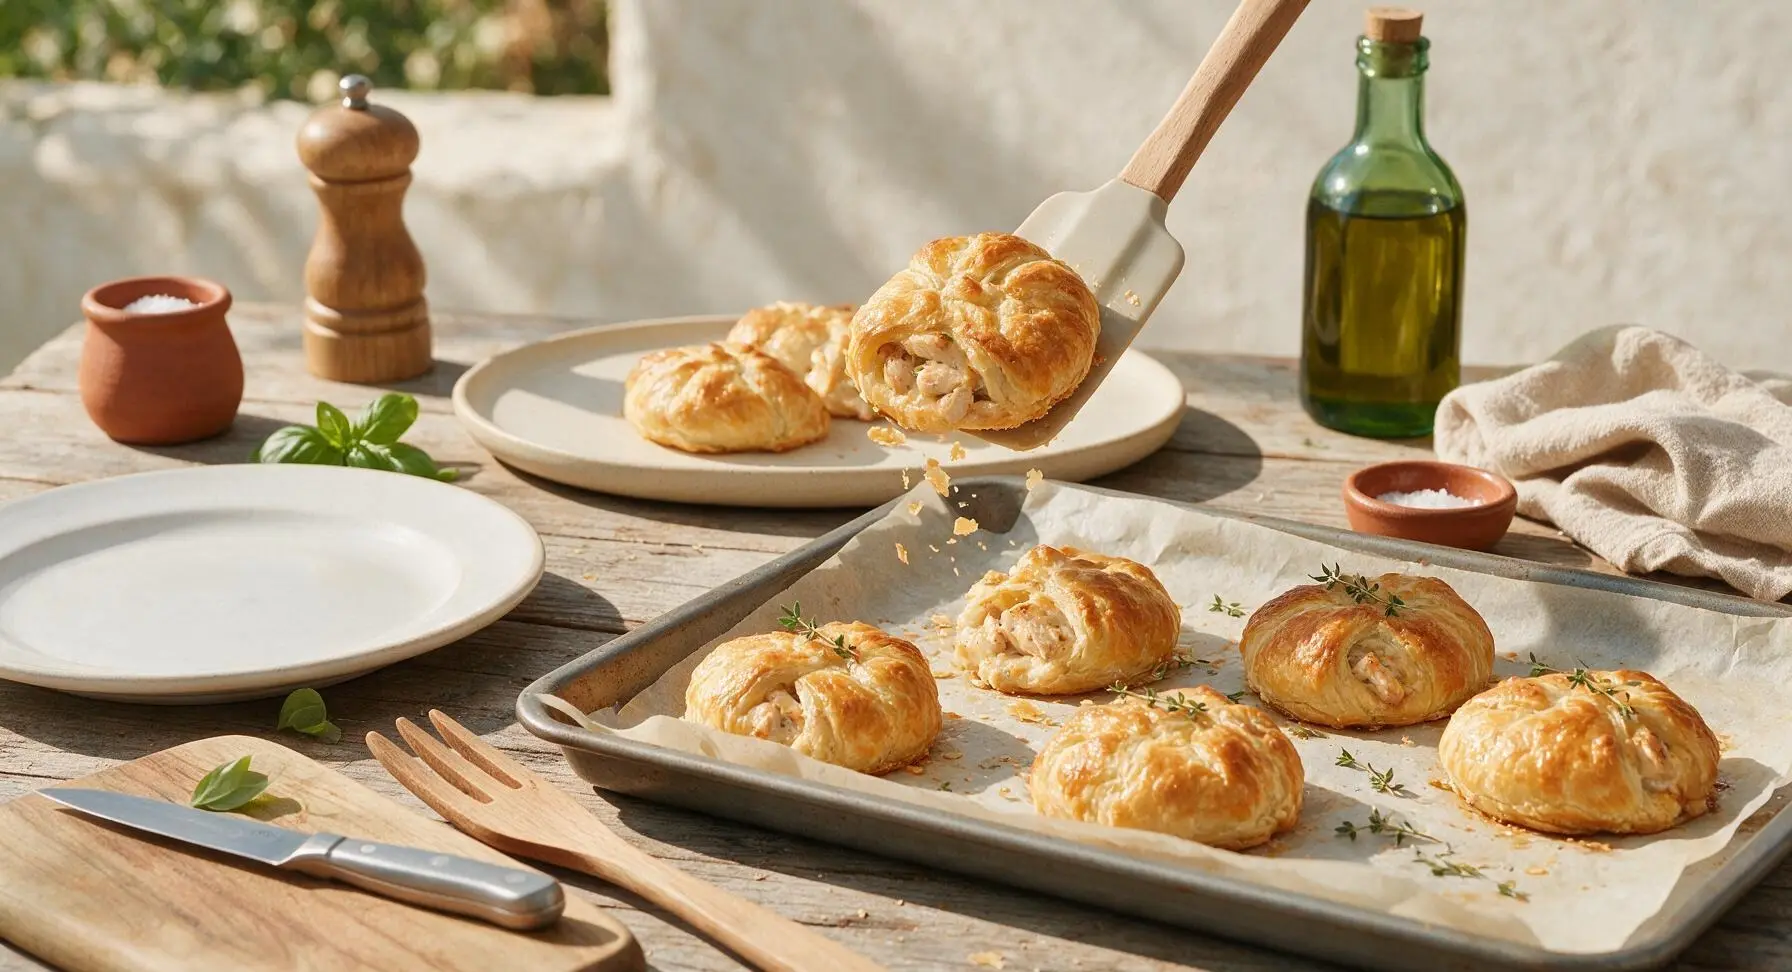
Let puffs rest on the baking sheet for 5 minutes to allow the filling to set (hot filling will be runny if served immediately). Use the silicone spatula to transfer puffs to the matte cream serving platter, garnish with fresh thyme sprigs, and serve warm.
Tips
2.Crimp edges tightly with a fork and avoid overfilling the pastry: too much filling or loose seals will cause the creamy center to bubble out during baking, leaving you with dry puffs and a burnt, messy baking sheet.
3.Resist opening the oven door for the first 15 minutes of baking: puff pastry relies on trapped steam to rise, and a sudden rush of cool air will make the puffs collapse before they can set into their flaky, tall shape.






OMG these came out exactly like the chicken puffs I used to grab at my neighborhood bakery growing up! So flaky, the filling is perfectly seasoned, not too salty. Total cook time was actually 40 minutes even with my chaotic kitchen setup, which is perfect for weeknights. My 7 year old asked for seconds before he even finished his first one!
Brought these to our neighborhood block party last weekend and people were hounding me for the recipe before I even set the platter down! Game changer for potlucks because they’re handheld, no messy plates needed. Only thing I did extra was brush a little extra egg wash on top for extra golden crisp.
Super easy even for someone who burns toast half the time! I used store-bought puff pastry like the recipe said and no one could tell I didn’t make everything from scratch. Perfect cheap meal for dorm movie nights with my roommates, we devoured the whole batch in 10 minutes.
These are going into my regular weeknight rotation for sure! I love that I don’t need any fancy ingredients, just stuff I usually already have in the fridge and pantry. My husband said they taste better than the fancy bakery ones downtown that charge $4 a pop!
Wait, I messed up the first batch because I forgot to thaw the puff pastry ahead of time 😂 but the second batch came out SO good! Any tips for making sure the filling doesn’t leak out the sides while baking? I had a couple oops ones that spilled chicken all over my baking sheet.
Made these for a post-hike snack last weekend and they were the perfect portable, protein-packed pick me up. I added a little extra garlic powder to the filling because I’m a garlic fiend and it was chef’s kiss. Will definitely be making these for our next trail day.
I make a big batch of these every other week for our office break room and they’re gone by 10am every single time. People keep leaving sticky notes on my desk asking when I’ll bring them next. Only note: they reheat really well in the office toaster oven, way better than the microwave.
I swapped the regular puff pastry for a gluten free version and these still came out amazing! I was worried the GF pastry would be tough or weirdly textured but it flaked up just like the regular stuff. My whole family (who doesn’t eat GF) devoured them and didn’t even notice a difference.
These are just like the chicken puffs I made for my kids back in the 80s! The recipe is so straightforward, I was able to make them with my 10 year old granddaughter this weekend and she had a blast crimping the edges. We added a little bit of shredded cheddar to the filling for extra oomph, so tasty.
I lightened these up a little by using lower fat cream cheese in the filling and baked them on a wire rack over the baking sheet to let excess grease drip off, and they still tasted totally indulgent. Great macro-friendly option for meal prep, I portioned them out with a side salad for lunches all week.
Wow, these are way easier than I thought they’d be! I was intimidated by anything labeled “bakery-style” but this recipe is foolproof. I tossed a little diced smoked sausage into half the batch for a Texas twist, and those were my son’s favorite. Will be making these for our next tailgate.
Okay, first time I’ve ever made something that didn’t come out of a frozen box and my roommate said it tastes like it came from a fancy cafe! I did accidentally use garlic salt instead of garlic powder the first go around so it was a little salty, but fixed it on the second batch. 10/10, will make again.
Served these at my bridal shower brunch last month and they were such a hit! They work so well as a savory option alongside all the sweet pastries and fruit. I cut them into smaller bite-sized pieces so people could grab them easily while mingling, highly recommend that for parties.
I’ve tried so many chicken puff recipes online and this is the only one that gets the filling ratio right! No dry chicken, no runny cream cheese mess, just perfect creamy, savory filling inside buttery flaky pastry. SO good, I already sent the recipe to my mom and my sister.
Made a double batch on Sunday and these lasted all week for quick school lunches for my two kids. They didn’t even get soggy when I reheated them in the morning before packing them in their lunch boxes. Total time saver for busy school mornings, I can’t sing this recipe’s praises enough.
These are the perfect little comfort food snack! I made them for my book club meeting this week and everyone asked for the recipe. The seasoning is just right, not too bland, not too spicy so it works for people with all different taste preferences. I’ll be making these for our next meeting for sure.