1.Can I use dried chickpeas instead of canned for this chickpea grilled cheese?
▾
Absolutely, though canned is the fastest pick for this quick weeknight meal. If using dried, cook ½ cup dried chickpeas until fully tender (about 90 minutes simmered, salt added at the end) then drain very well before mashing. Skip al dente chickpeas here—they’ll leave your mash grainy instead of the smooth, creamy texture we want.
2.Do I have to use thick-cut sourdough, or will other bread work?
▾
Thick-cut sourdough gives the best crispy, sturdy base that holds up to the chickpea mash and oozing cheese without getting soggy, but you can swap it if needed. Good alternatives include crusty country white, whole-grain artisan bread, or sourdough sandwich bread—just avoid thin, soft sandwich slices, which will fall apart as you cook.
3.How do I keep my grilled cheese from getting soggy from the chickpea mash?
▾
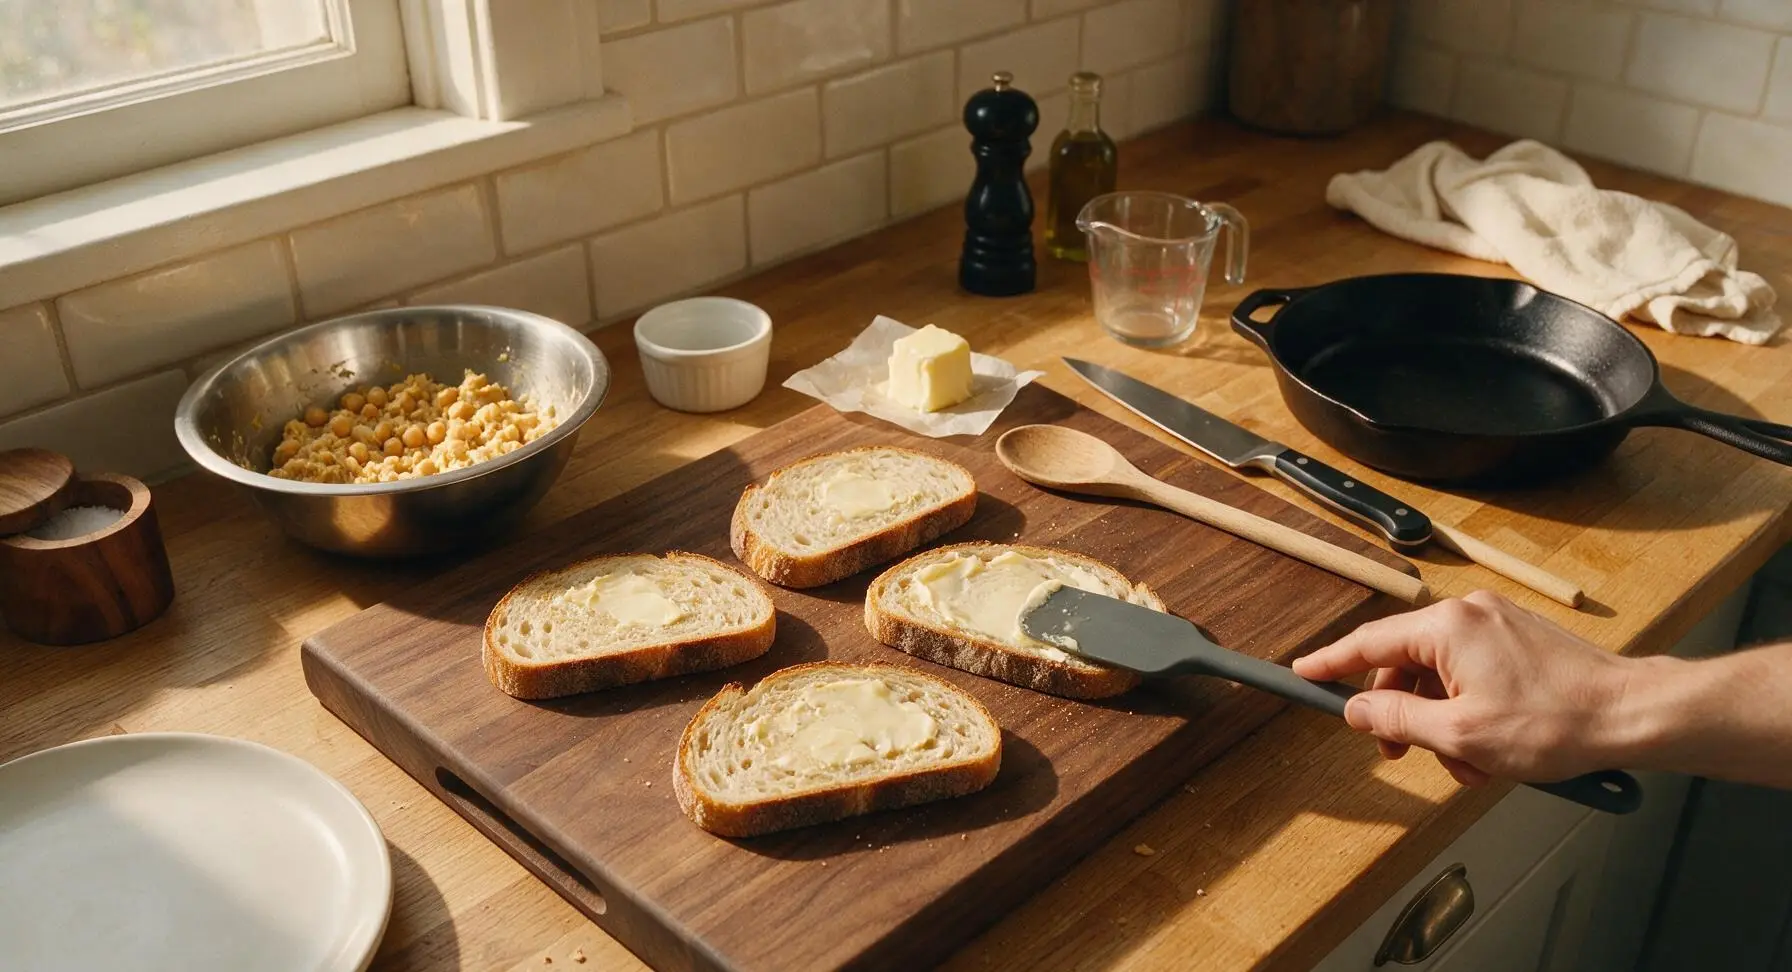
Great question—sogginess is the most common misstep here. First, make sure your rinsed canned chickpeas are patted very dry with paper towels before mashing, so excess moisture doesn’t seep into the bread. Second, spread a thin layer of softened butter all the way to the edges of each slice to create a moisture barrier before adding fillings.
4.What spices work best for the spiced chickpea mash?
▾
The base recipe uses minced garlic for warm savoriness, but you can customize the spice blend to taste. My go-to additions are ¼ teaspoon smoked paprika, a pinch of cumin, a crack of black pepper, and a light sprinkle of red pepper flakes for a gentle kick. Avoid adding too many wet seasonings like hot sauce, which will thin the mash and cause sogginess.
5.Can I use a different cheese instead of sharp cheddar?
▾
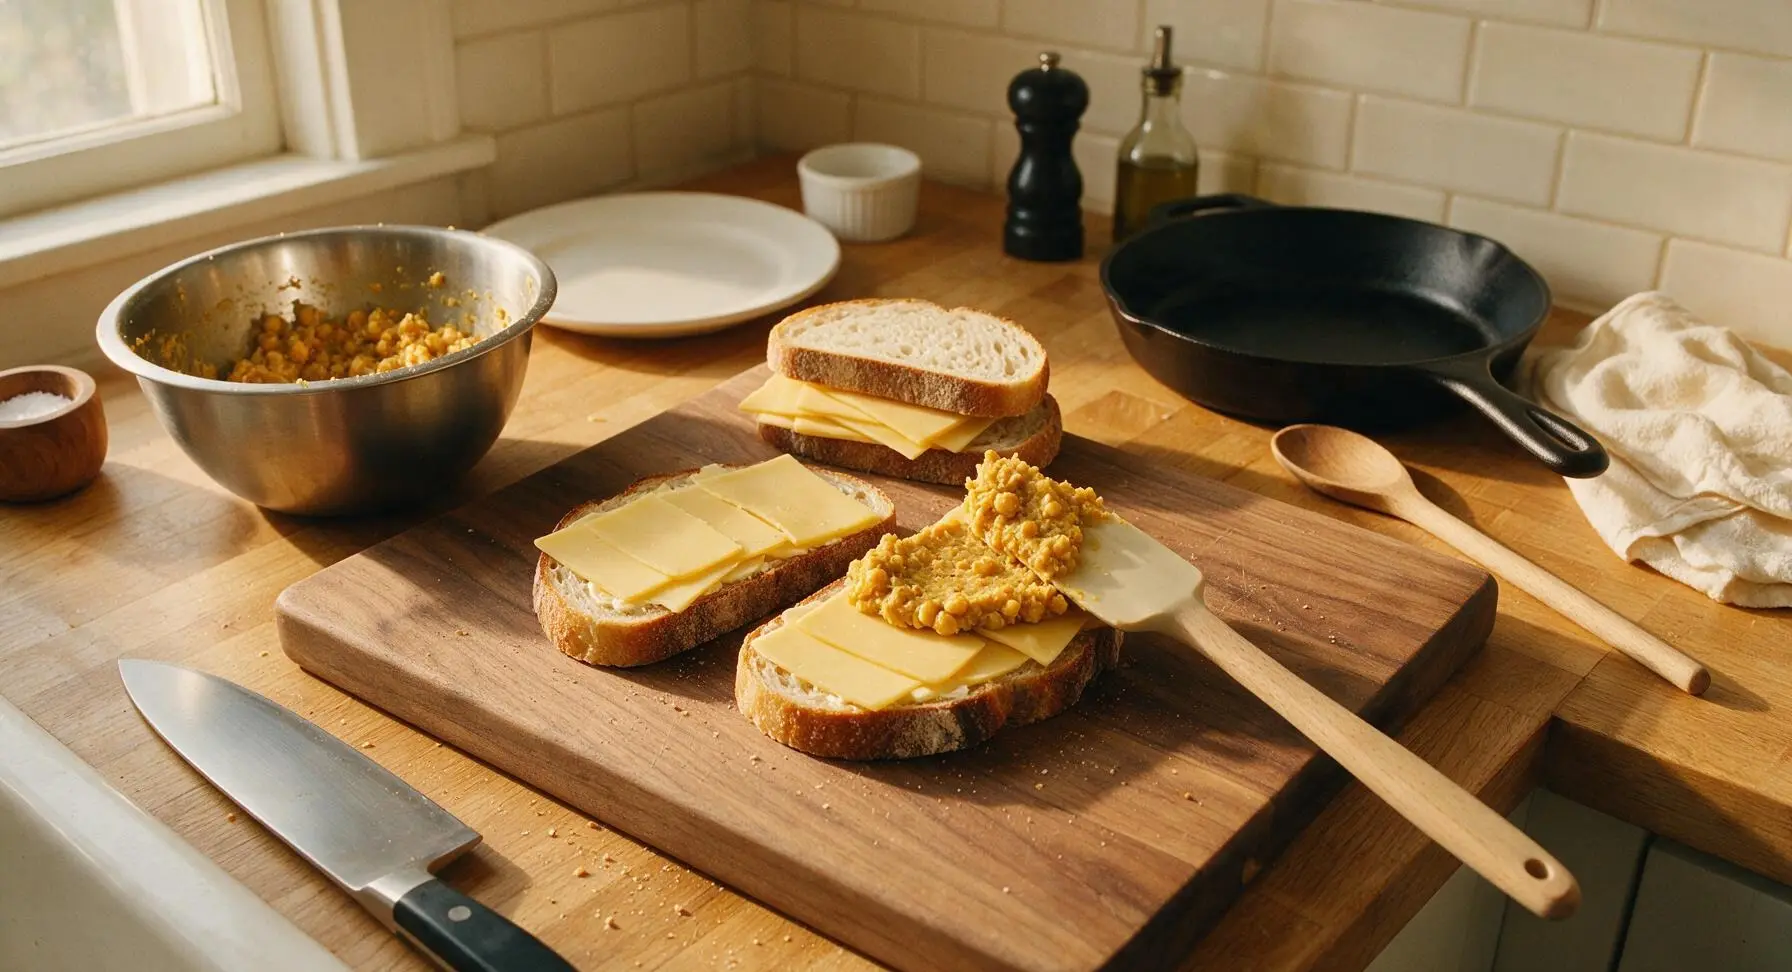
Sharp cheddar is ideal here because its tangy, bold flavor cuts through the creamy, earthy chickpea mash and melts into that perfect oozing texture. That said, you can swap in pepper jack for a spicy kick, smoked gouda for a deeper, nuttier flavor, or mozzarella for extra stretch—just use thinly sliced cheese so it melts evenly.
6.How do I get that perfectly crispy, golden bread crust every time?
▾
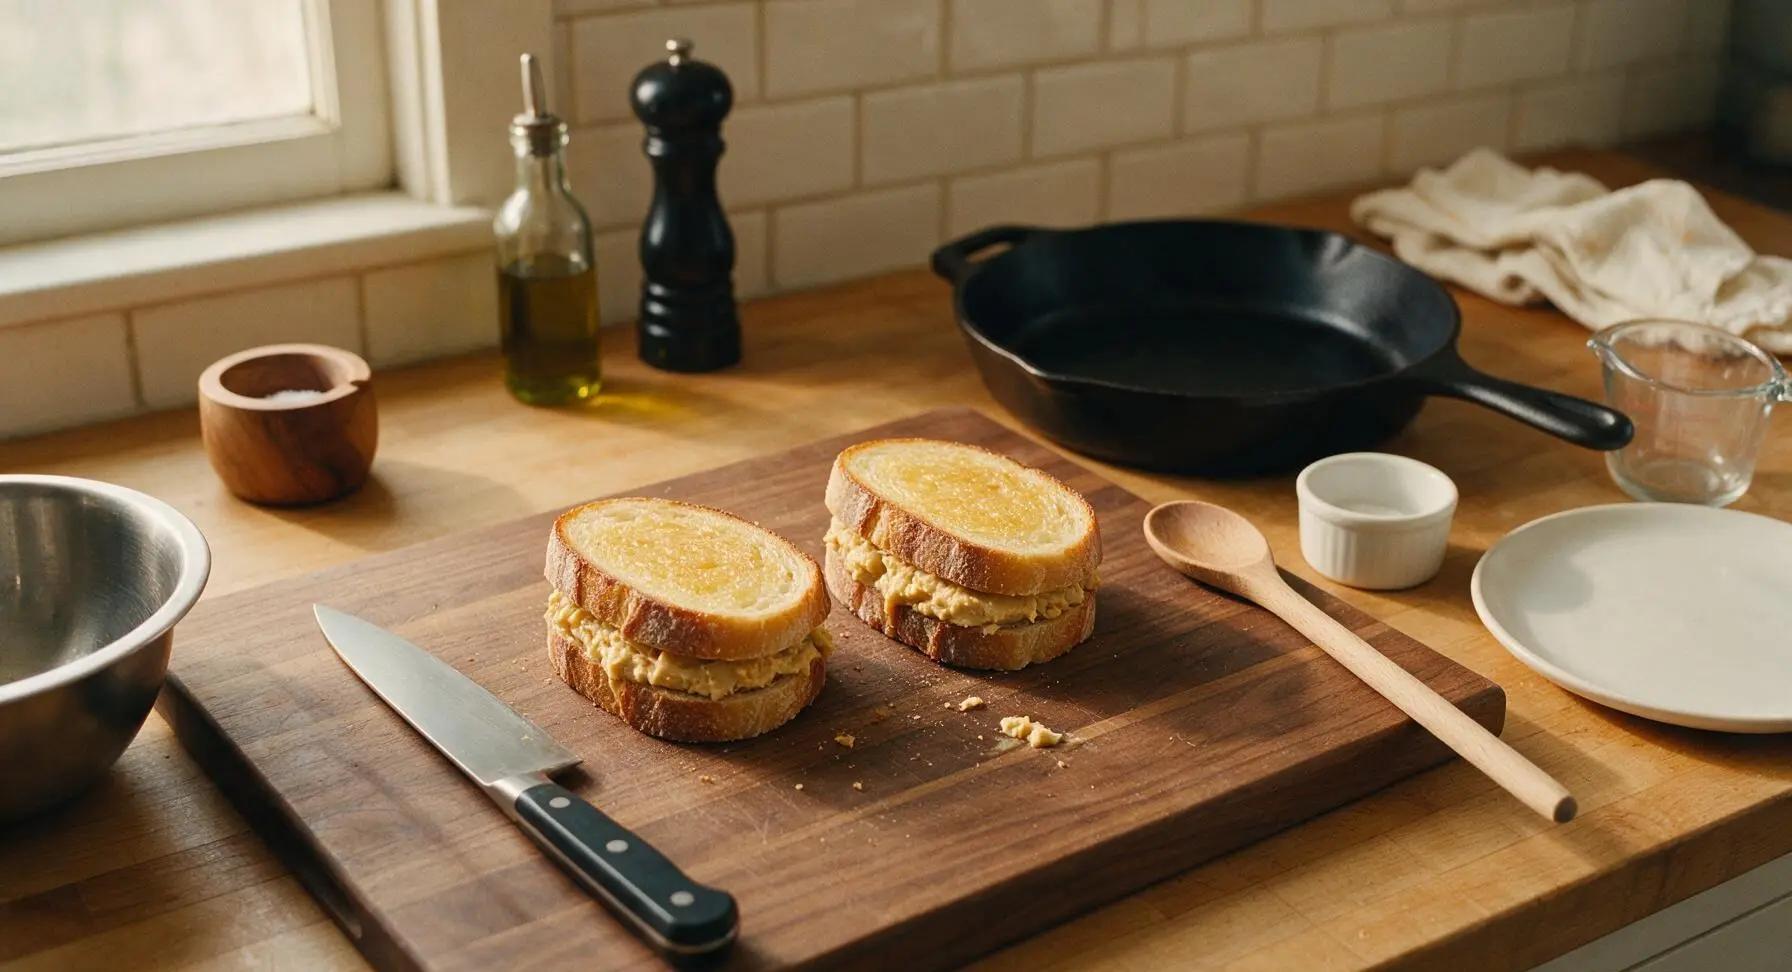
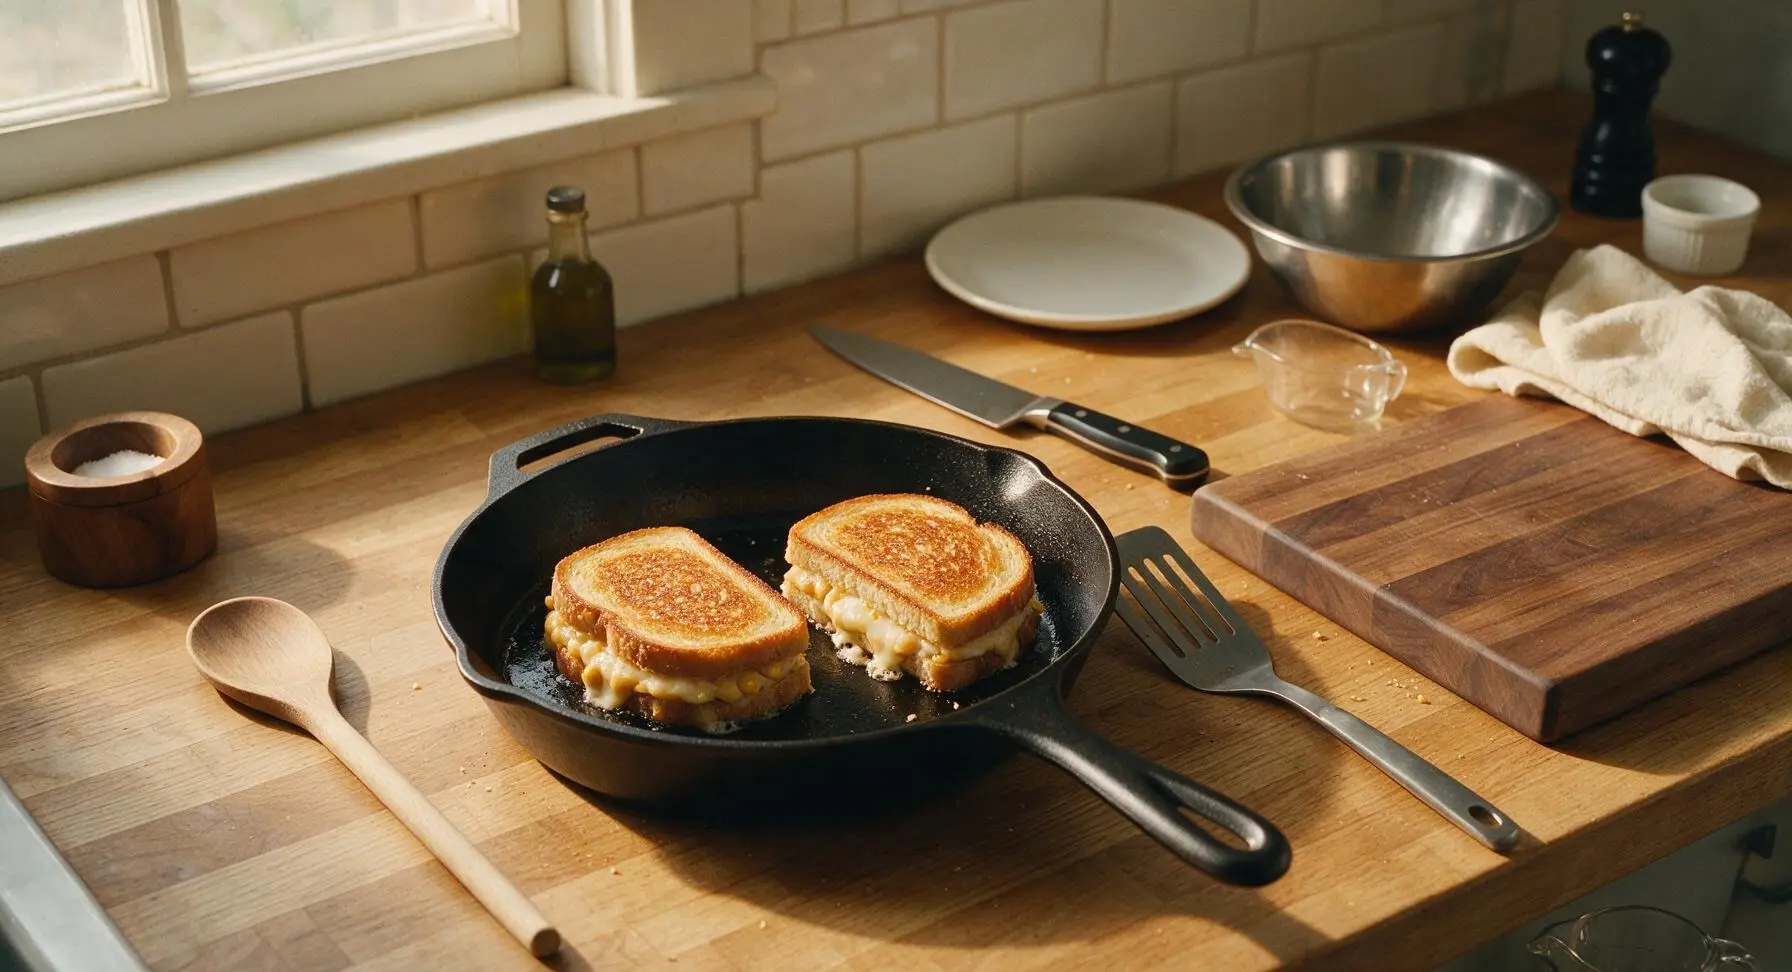
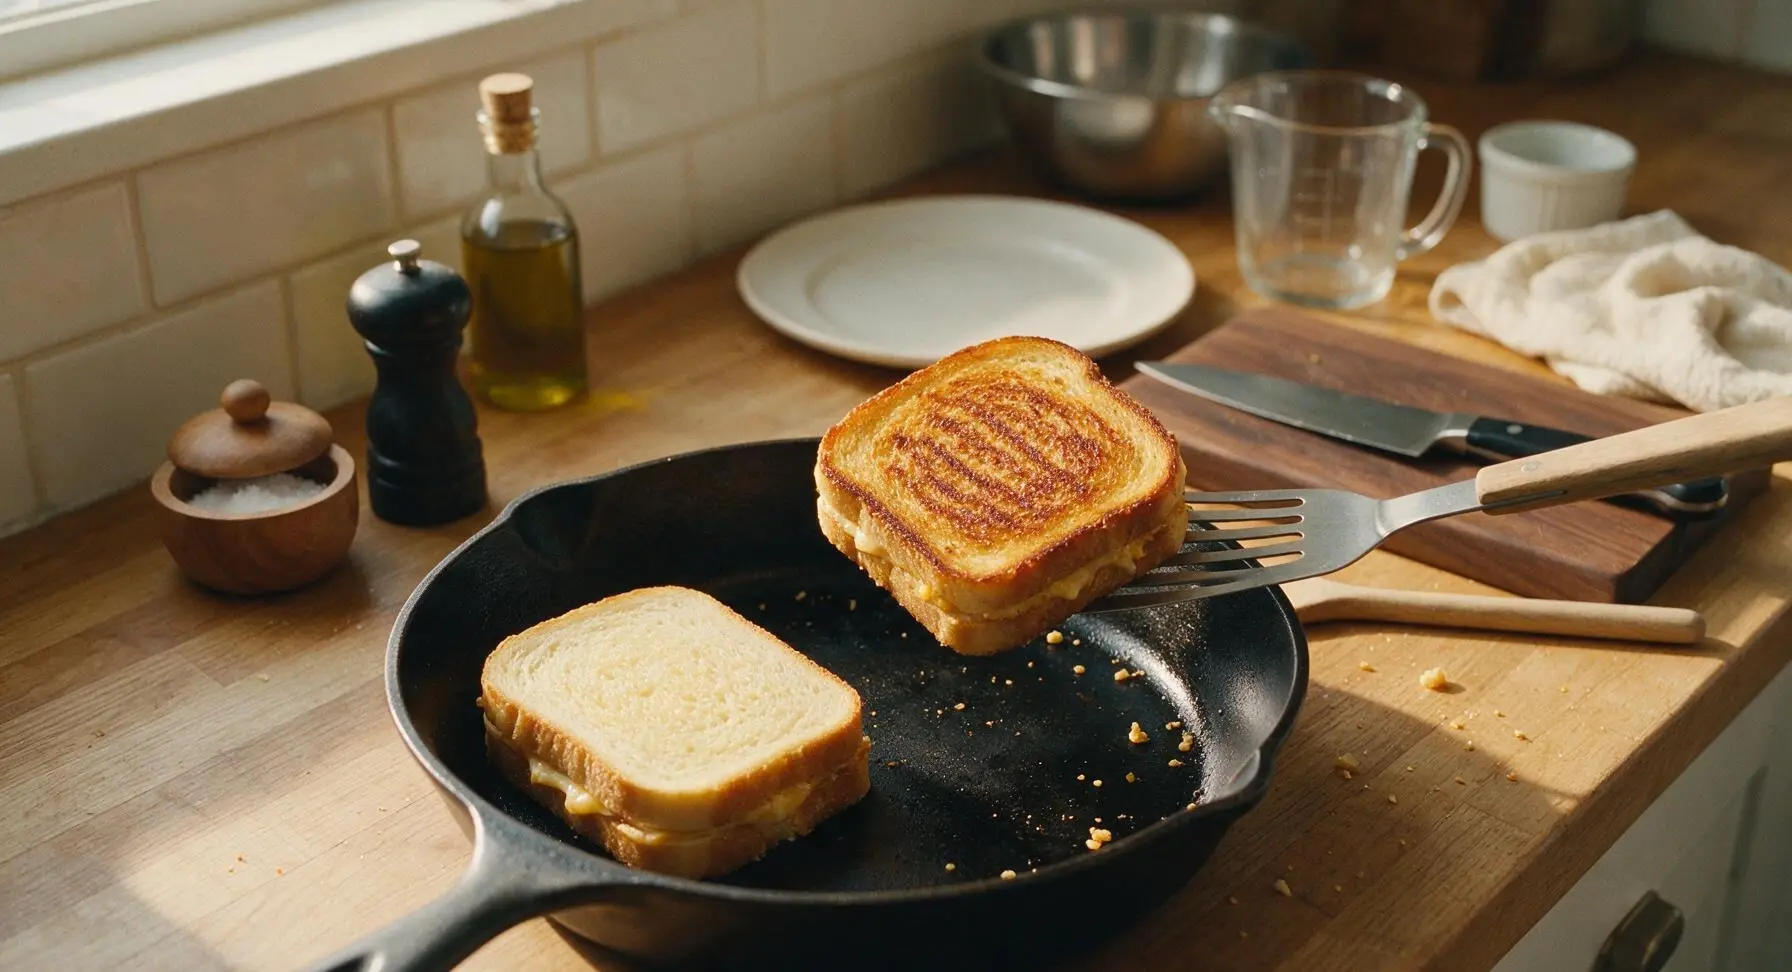
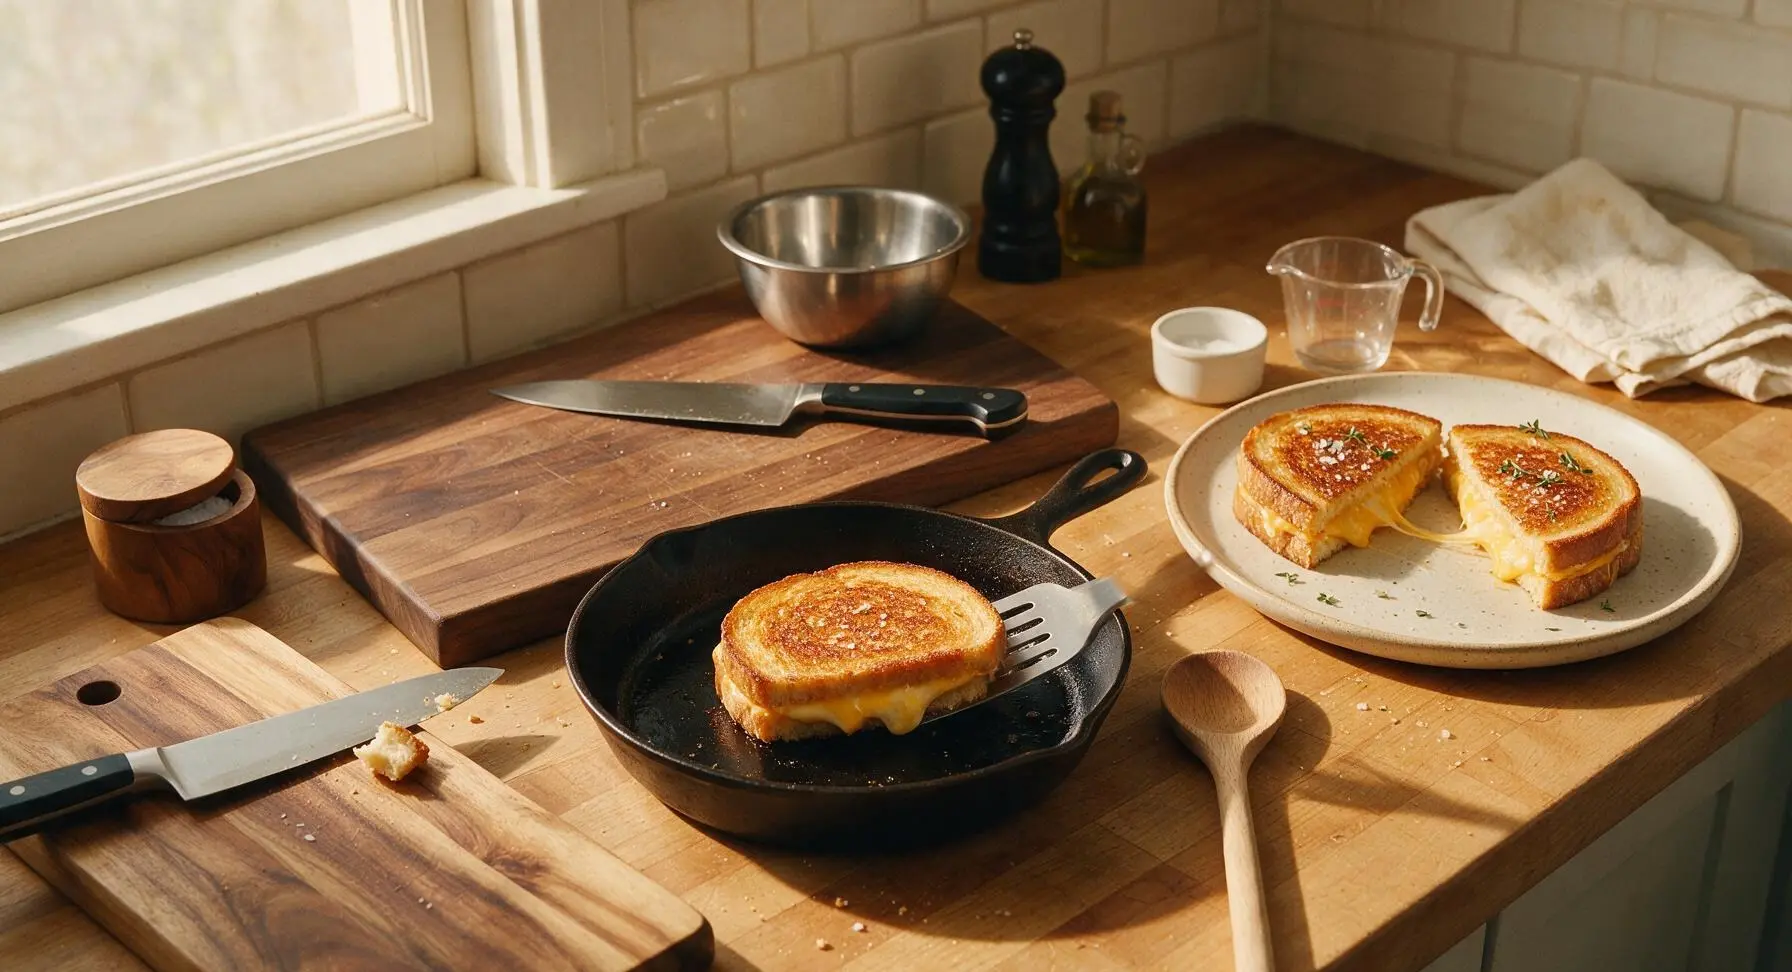
The trick is low to medium heat and softened, not melted, butter. Spread softened unsalted butter evenly all the way to the bread edges, then cook the sandwich over medium-low heat for 3-4 minutes per side. Cranking the heat too high will burn the outside before the cheese fully melts and the center warms through, so resist the urge to turn up the stove.
7.Do I need to fully mash the chickpeas, or can I leave them chunky?
▾
That’s totally up to your texture preference! I recommend mashing about ¾ of the chickpeas until smooth, then leaving the rest whole or lightly crushed for a little hearty bite. If you mash every chickpea completely smooth, the filling will feel more like hummus; if you leave them all whole, they’ll tumble out of the sandwich as you eat.
8.Can I make this recipe vegan?
▾
Definitely! Swap the sharp cheddar for your favorite meltable vegan sharp cheddar slice, and replace the unsalted butter with softened vegan butter (look for a high-fat, low-water brand to avoid soggy bread). Double-check that your canned chickpeas have no added animal-derived ingredients, and you’ll get the same crispy, cozy, protein-packed sandwich.
9.How much protein is in one serving of this chickpea grilled cheese?
▾
One standard two-slice sandwich packs roughly 22-25 grams of protein, depending on how much cheddar and chickpeas you use. That’s nearly double the protein of a basic plain grilled cheese, making it a filling option for lunch, a quick dinner, or even a hearty post-workout meal that doesn’t skimp on that classic comfort food feel.
10.Can I prep the chickpea mash ahead of time for faster weeknight meals?
▾
Absolutely! Make the spiced chickpea mash up to 3 days in advance, store it in an airtight container in the fridge, and let it come to room temperature for 10 minutes before building your sandwiches. Don’t assemble the full sandwiches ahead of time, though—the moist filling will make the bread soggy if it sits too long before cooking.
11.Why does my cheese not melt all the way before the bread gets too dark?
▾
This almost always happens when your pan heat is too high, or your cheese slices are too thick. Stick to medium-low heat, use thinly sliced sharp cheddar as the recipe recommends, and cover the pan with a lid for 1 minute after flipping to trap light steam, which helps cheese melt fully without burning the crisp bread crust.
12.Can I add other fillings to this grilled cheese?
▾
Of course! Just stick to low-moisture add-ins to avoid sogginess. Great options include thin slices of patted-dry roasted red pepper, a handful of fresh baby spinach, a sprinkle of caramelized onions, or a few thin slices of crispy cooked bacon. Skip watery add-ins like fresh tomato unless you seed and pat them completely dry first.
13.Is there a way to make this without dairy butter if I don’t have vegan butter on hand?
▾
If you’re out of both regular unsalted butter and vegan butter, you can use full-fat mayonnaise (regular or plant-based) spread thin on the outside of the bread instead. It creates that same perfectly golden, crispy crust, has a neutral, rich flavor, and won’t make bread soggy the way drizzled olive oil can if applied too heavily.
14.Should I rinse the canned chickpeas before mashing them?
▾
Yes, always! The thick, starchy liquid in canned chickpea cans (called aquafaba) has a slightly briny, metallic off-flavor that will throw off the taste of your mash if left on. Dump chickpeas into a colander, rinse under cool running water for 30 seconds, then pat them fully dry with paper towels before mashing with garlic and spices.
15.What pan is best for cooking this chickpea grilled cheese?
▾
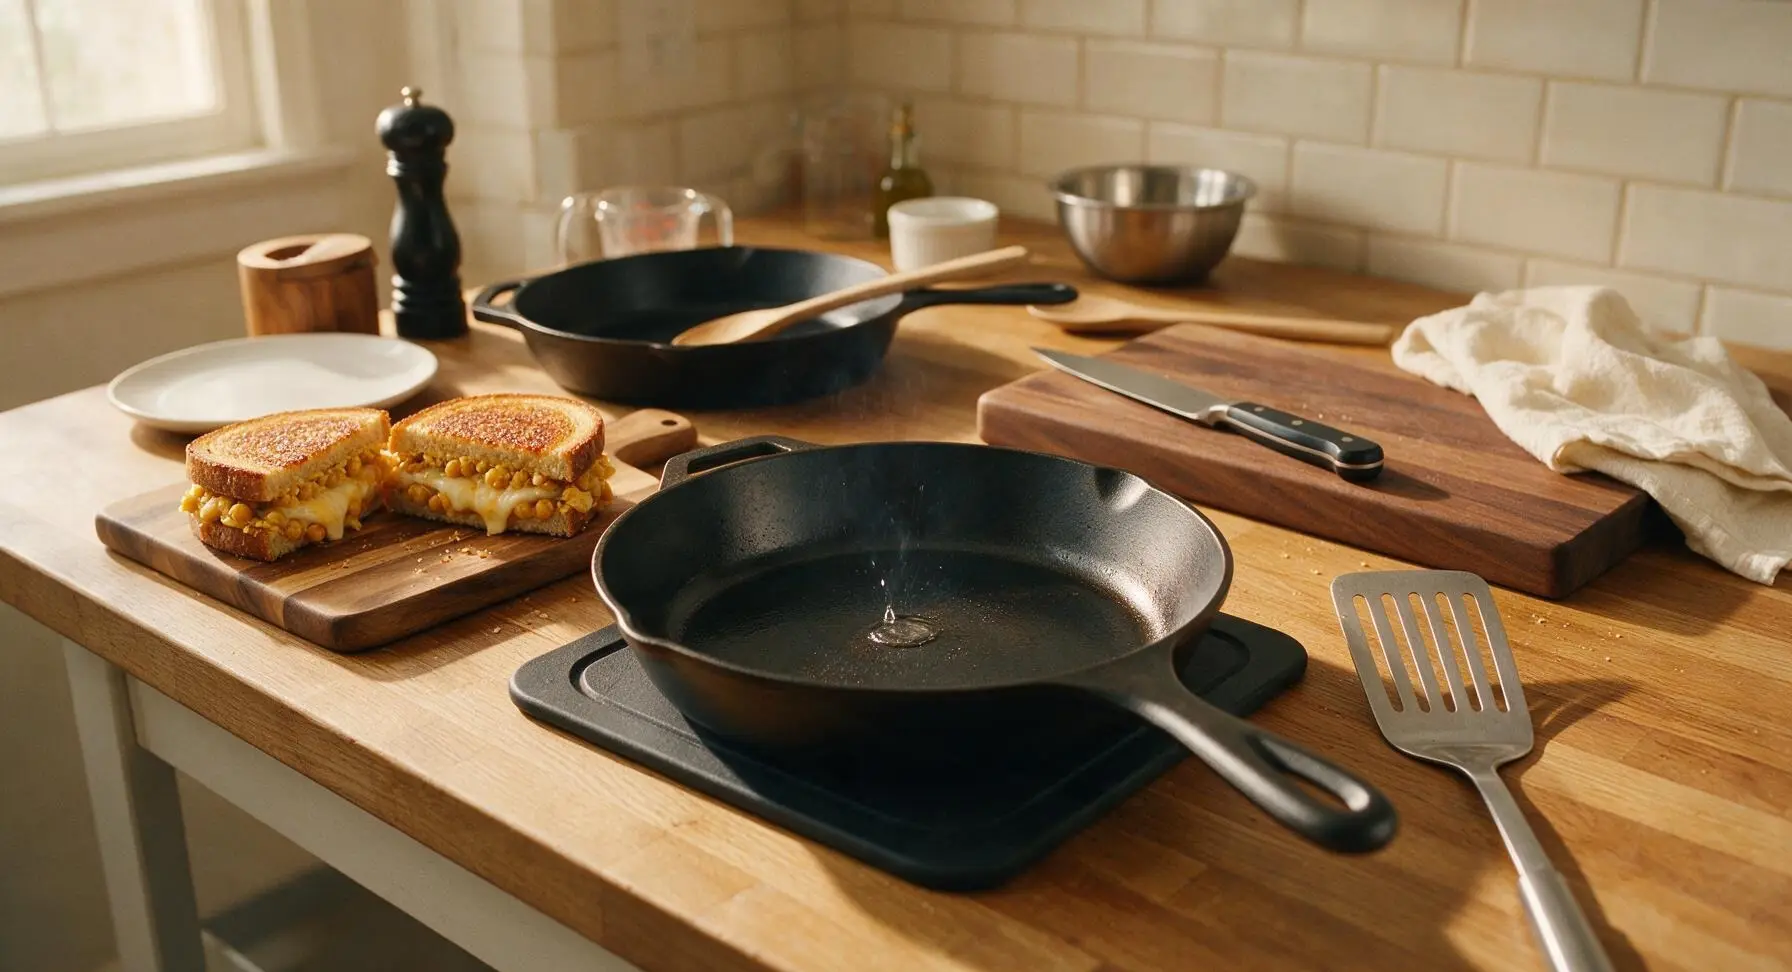
A heavy-bottomed cast iron skillet or nonstick frying pan works best here, because it distributes heat evenly across the bread surface so you don’t get random burnt spots. If you have a panini press, that works too—just set it to medium heat, and don’t press too hard, or you’ll squeeze out all the oozing cheese and chickpea filling.
16.Can I freeze these sandwiches for quick make-ahead meals?
▾
You can, though the texture will be slightly different than fresh-made. Assemble the uncooked sandwiches (don’t cook them first), wrap each tightly in plastic wrap and foil, and freeze for up to 2 months. Cook straight from frozen over low heat, adding an extra 2-3 minutes per side to ensure the center heats through and cheese melts fully.
17.How much garlic should I add to the chickpea mash?
▾
The recipe calls for minced fresh garlic, and I find 1 small to medium clove per sandwich is the perfect balance—you get that warm, savory garlic flavor without it overpowering the cheddar and chickpeas. If you love garlic, you can bump that up to 2 cloves, but skip garlic powder here; it won’t give the same sweet, mellow cooked garlic flavor.
18.Why use unsalted butter instead of salted butter for the crust?
▾
Unsalted butter lets you control the total sodium level in the sandwich, since canned chickpeas and sharp cheddar already have a fair amount of salt. If you only have salted butter on hand, that works fine—just skip adding any extra salt to your chickpea mash, so the final sandwich doesn’t end up overly salty and throw off the flavor balance.
19.What should I serve with this chickpea grilled cheese for a full meal?
▾
This cozy sandwich pairs perfectly with lighter, bright sides to cut through its rich, cheesy flavor. My top picks are a simple side salad with tangy vinaigrette, a cup of creamy tomato soup (the classic grilled cheese pairing!), crispy baked sweet potato fries, or a small dish of tangy pickled veggies like dill pickles or pickled red onions.
20.My chickpea mash keeps falling out of the sandwich when I take a bite—how do I fix that?
▾
That’s an easy fix! First, make sure you mash most of the chickpeas so the mixture sticks together, instead of leaving all chickpeas whole and loose. Second, layer a thin slice of cheddar both below and above the chickpea mash, so melted cheese acts like glue holding the filling to the bread. Don’t overstuff, either—¼ cup of mash per sandwich is ideal.

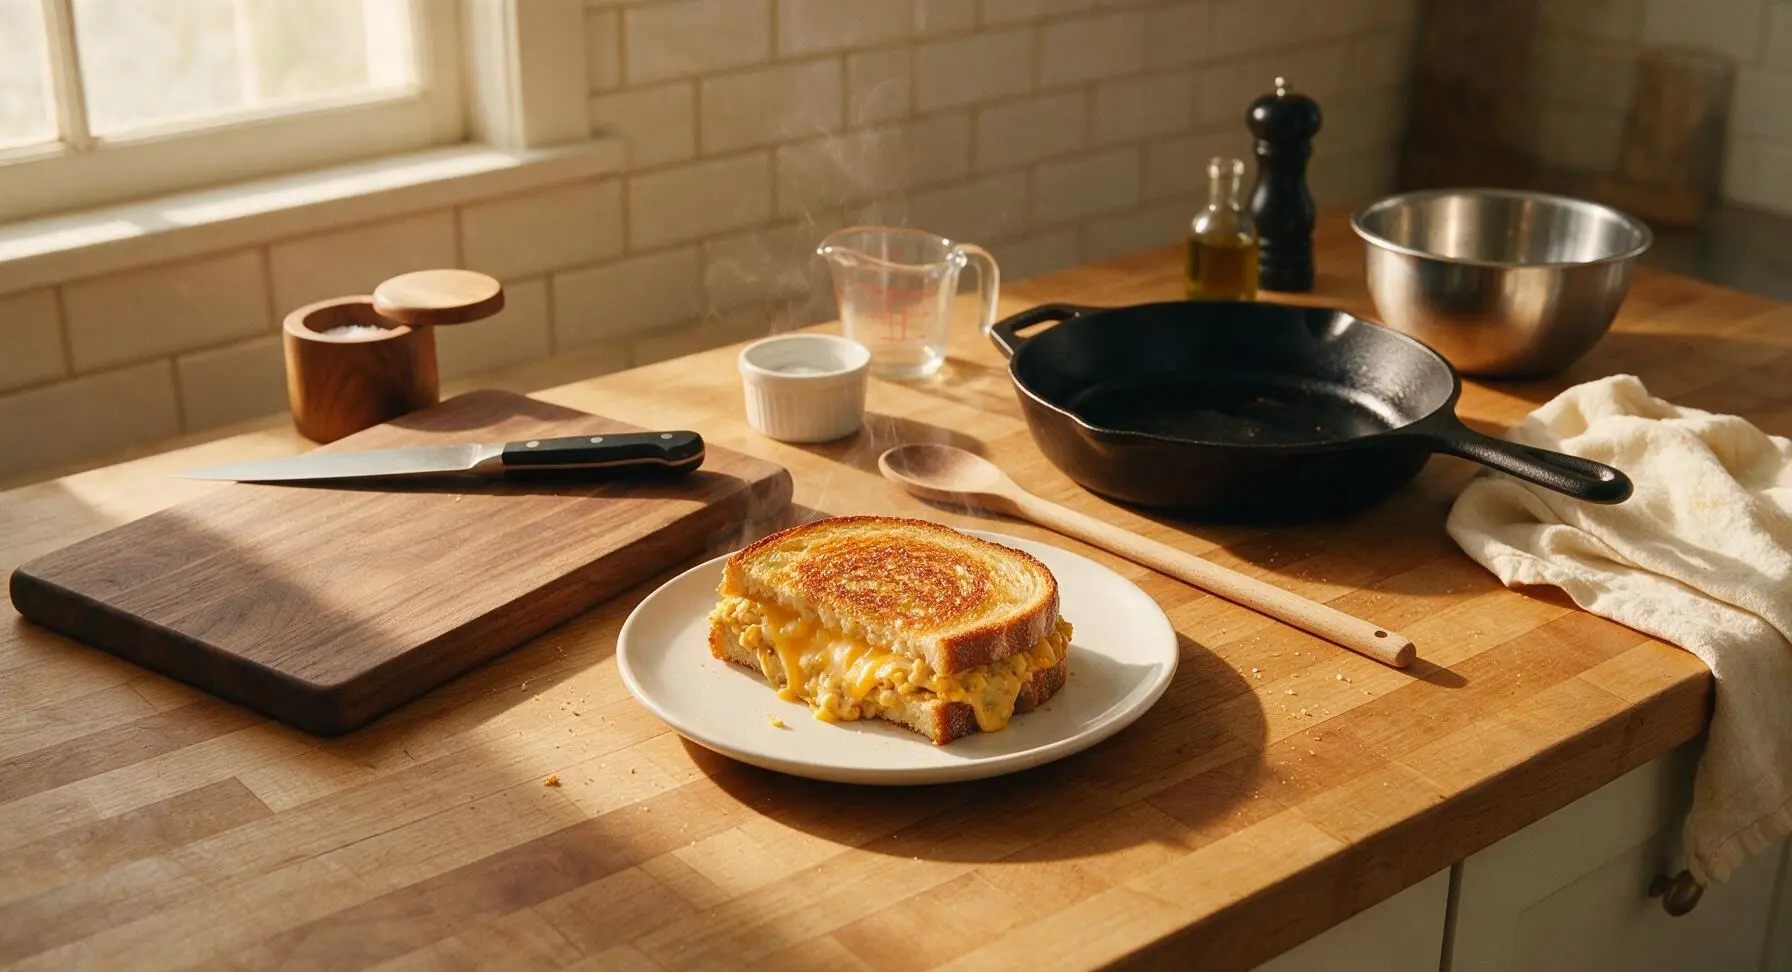
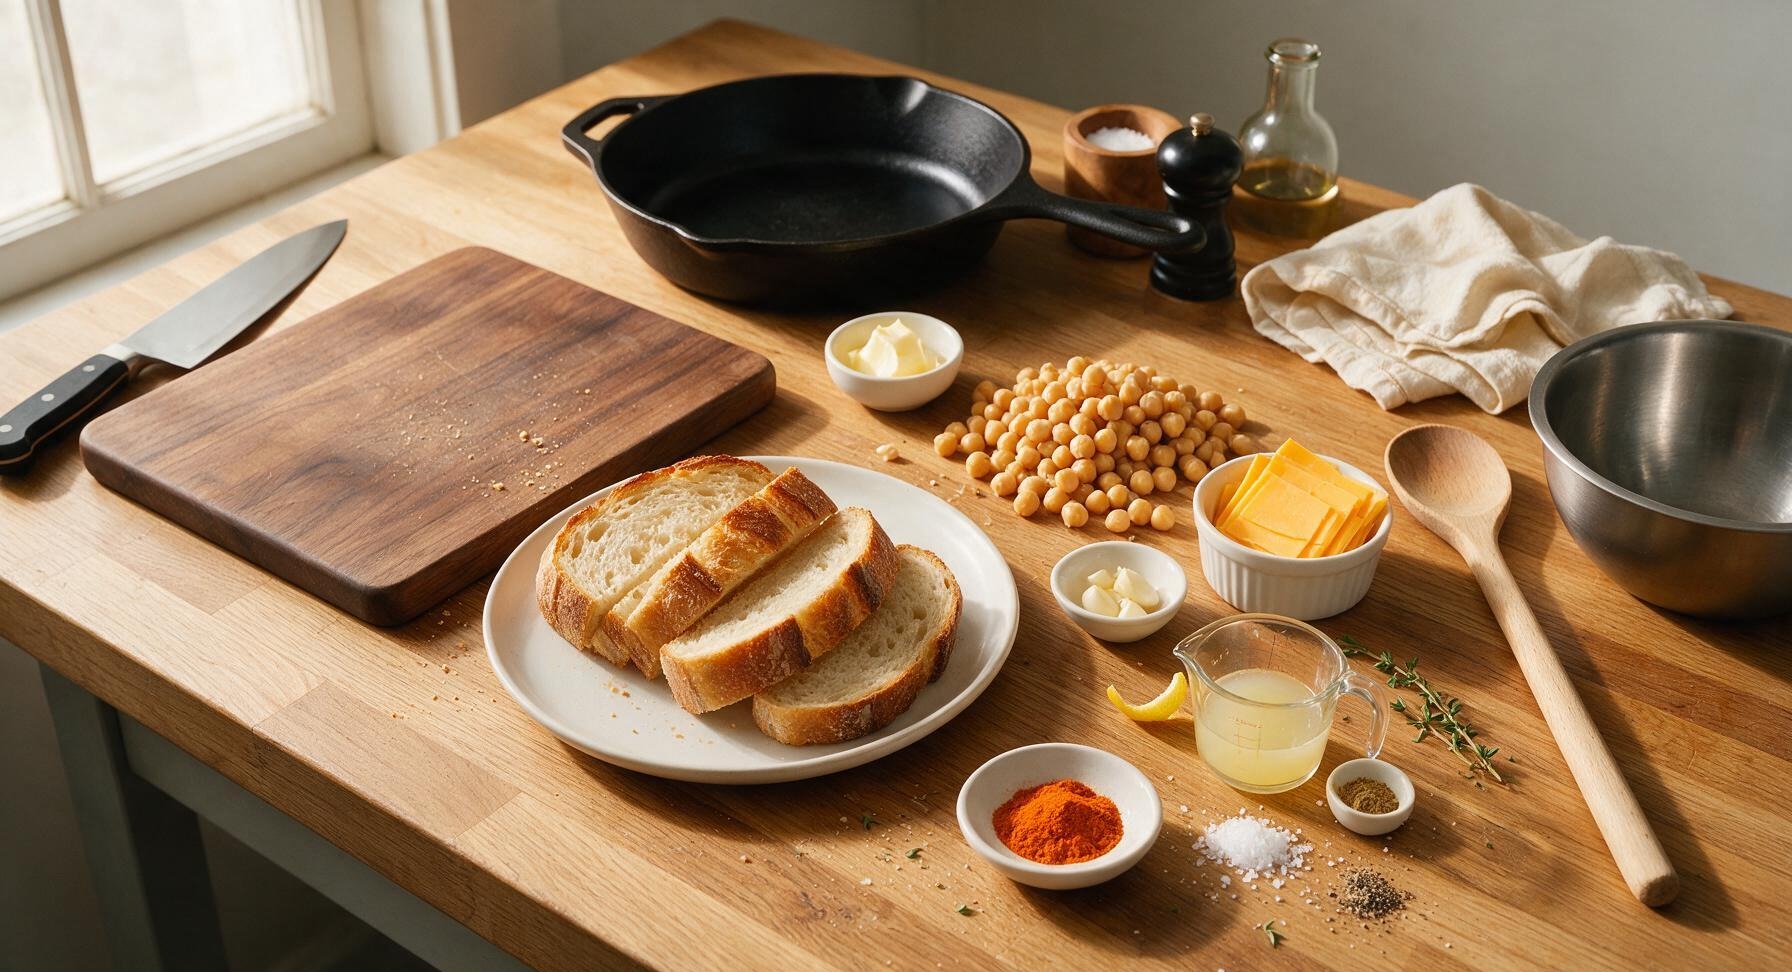
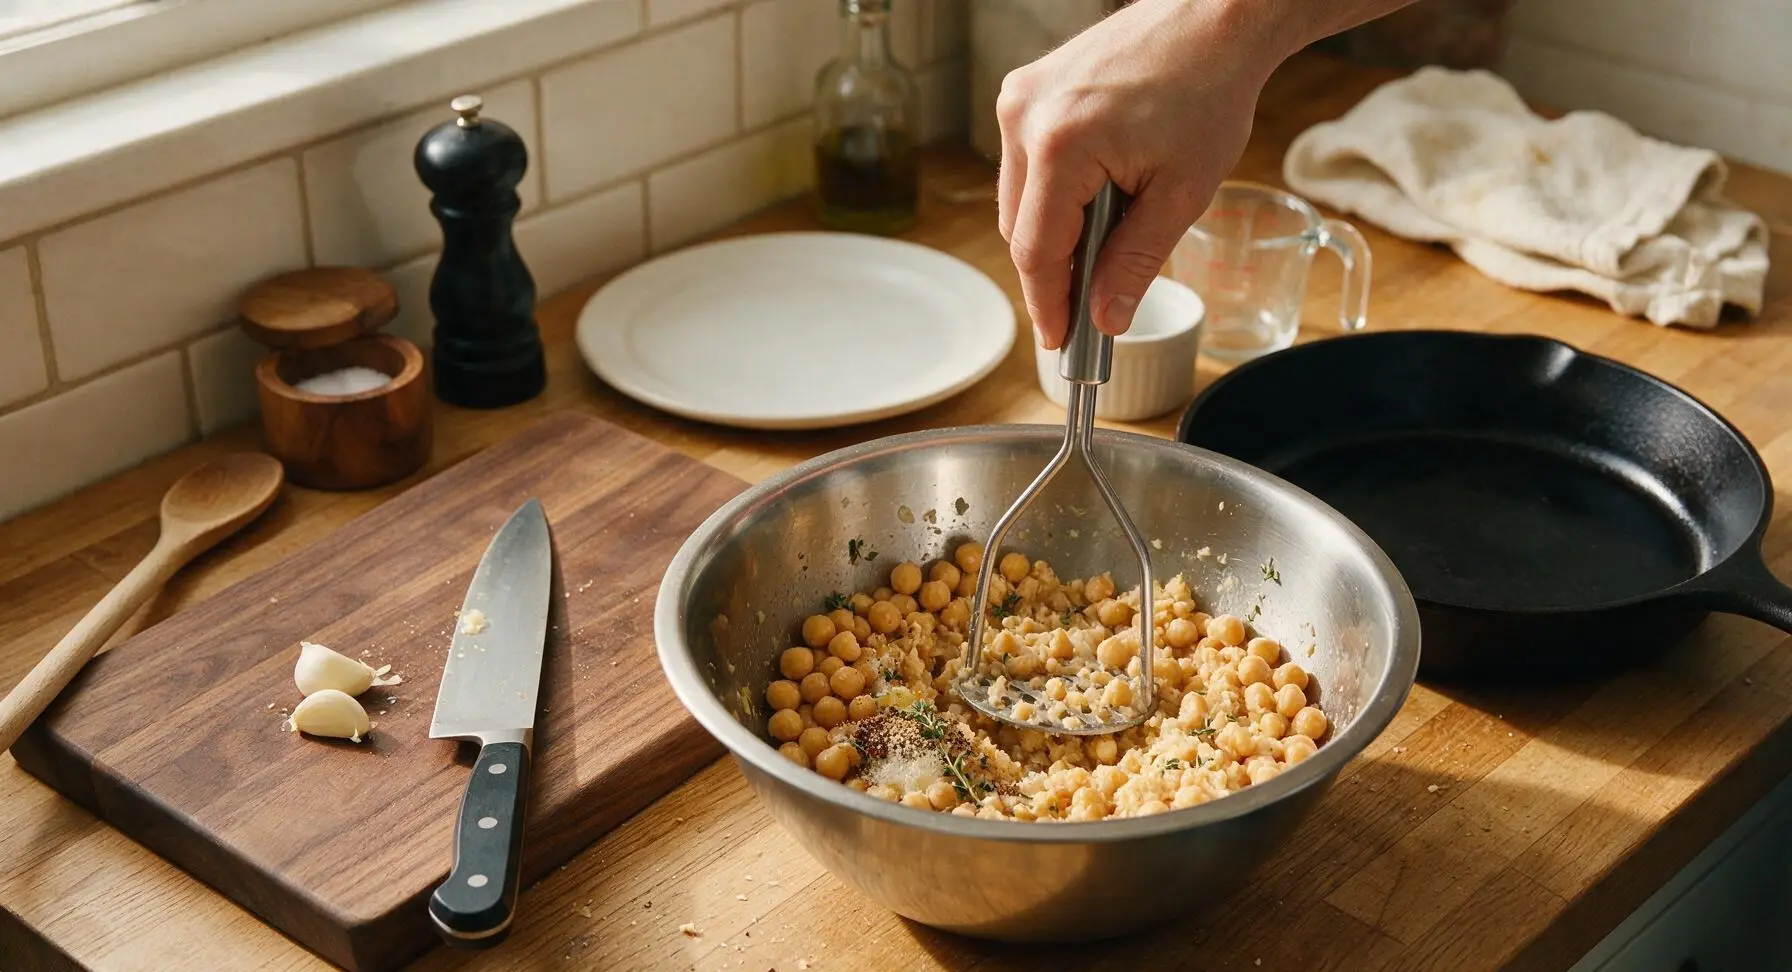
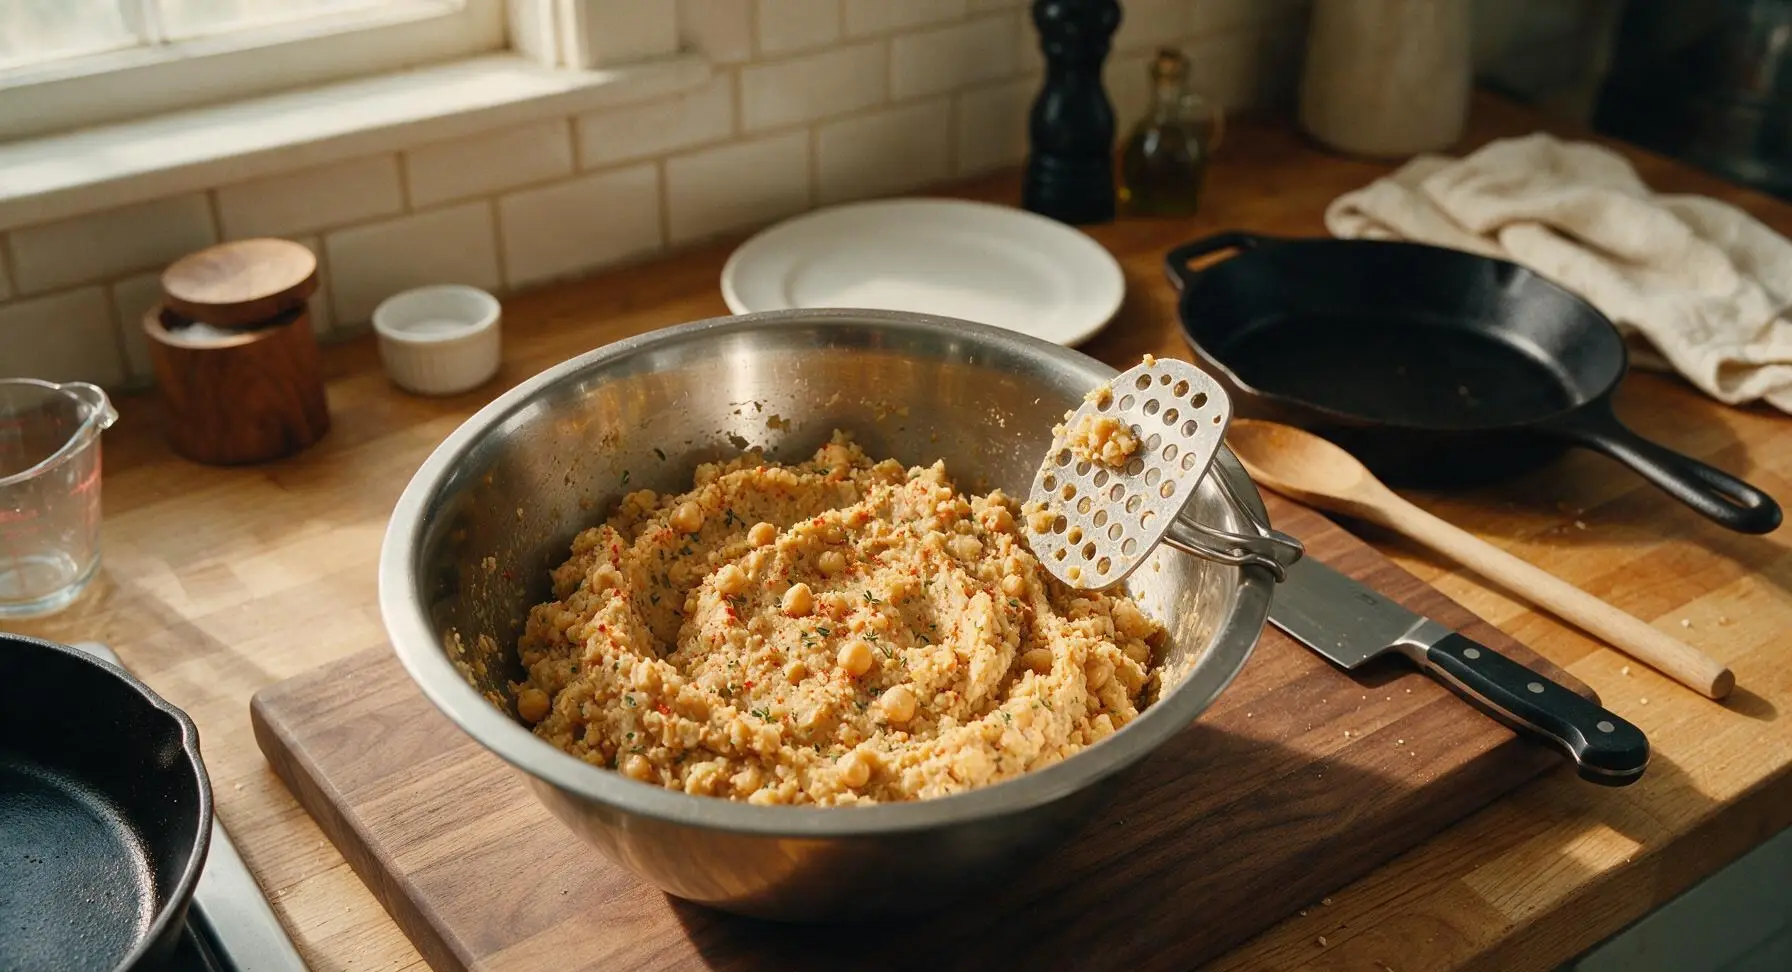






OMG this chickpea grilled cheese is a total game changer! My 7 and 9 year old are super picky and they devoured two each at dinner last night. I added a little extra paprika to the chickpea mash and it was chef’s kiss. 12 minute cook time is perfect for busy weeknights!
Added this to my weekly Sunday meal prep rotation! It holds up really well in the fridge for 3 days, just pop it in the toaster oven to crisp up the bread again. Way more filling than regular grilled cheese thanks to the chickpeas, no mid-afternoon slump at work for me this week.
Brought a batch of these cut into bite-sized triangles to my neighborhood potluck last weekend and they were gone in 10 minutes flat! Multiple people asked for the recipe, even my neighbor who swears he hates vegetarian food. Who knew chickpeas could make grilled cheese taste this good??
Wait this is SO good, and so cheap to make! I’m a college student on a super tight grocery budget and a can of chickpeas plus a block of cheddar and some bread costs like pennies per serving. Way better than the sad microwave meals I’ve been living off of.
Made this with gluten-free sourdough and dairy-free cheddar for my dietary restrictions and it turned out perfect! I was worried the chickpea mash would be mushy but mashing them slightly so there’s still some texture is key. Only reason it’s not 5 stars is I wish it had a little suggested seasoning variation for garlic lovers like me, but otherwise amazing! Will absolutely be making this again.
Tried this for my family’s meatless Monday dinner last night and everyone raved. My teen who turns her nose up at anything with beans didn’t even notice the chickpeas at first, she thought it was just extra cheesy, crispy grilled cheese. Win for dad!
Has anyone tried adding a little sriracha or pickled jalapeños to this? I love a little heat with my grilled cheese and I’m wondering if it pairs well with the chickpea flavor.
These are perfect for my kid’s school lunch! I make them in the morning, let them cool slightly, wrap in parchment, and they’re still at a good temp by lunchtime. Way more protein than a plain cheese sandwich so he stays full through after school practice.
12 minute cook time is no joke! I got home late from work last night, threw this together in between taking my dog out and answering a work email, and it was perfectly crispy and delicious. No fancy ingredients, no complicated steps, exactly what I need on busy weeknights.
I’m literally just learning how to cook and this was the first recipe I didn’t burn! The instructions were so easy to follow, I didn’t even have to look up what “sauté” meant because it was explained simply. I feel so proud of myself right now lol.
Wait would this work with vegan cheese? I’ve been looking for a quick vegan comfort food recipe that doesn’t require 20 weird ingredients I can’t find at my regular grocery store.
I mixed a teaspoon of garlic powder and a little parmesan into the butter I spread on the outside of the bread and oh my GOD. It was like garlic bread + grilled cheese + chickpea goodness all in one. 10/10, no notes, will be making this every weekend from now on.
This is my new go-to post-workout meal! The protein from the chickpeas and cheese is perfect for muscle recovery, and it tastes way better than the boring protein shakes I used to force myself to drink after the gym. Win win.
Wait has anyone made this in an air fryer instead of a pan? I hate cleaning my stovetop and would love to pop these in the air fryer if it turns out crispy enough.