
chinese chicken balls

title 1
chinese chicken balls
⏱️ cook time 20 minutes
🍽️ servings 4
⚡ Difficulty easy

intro

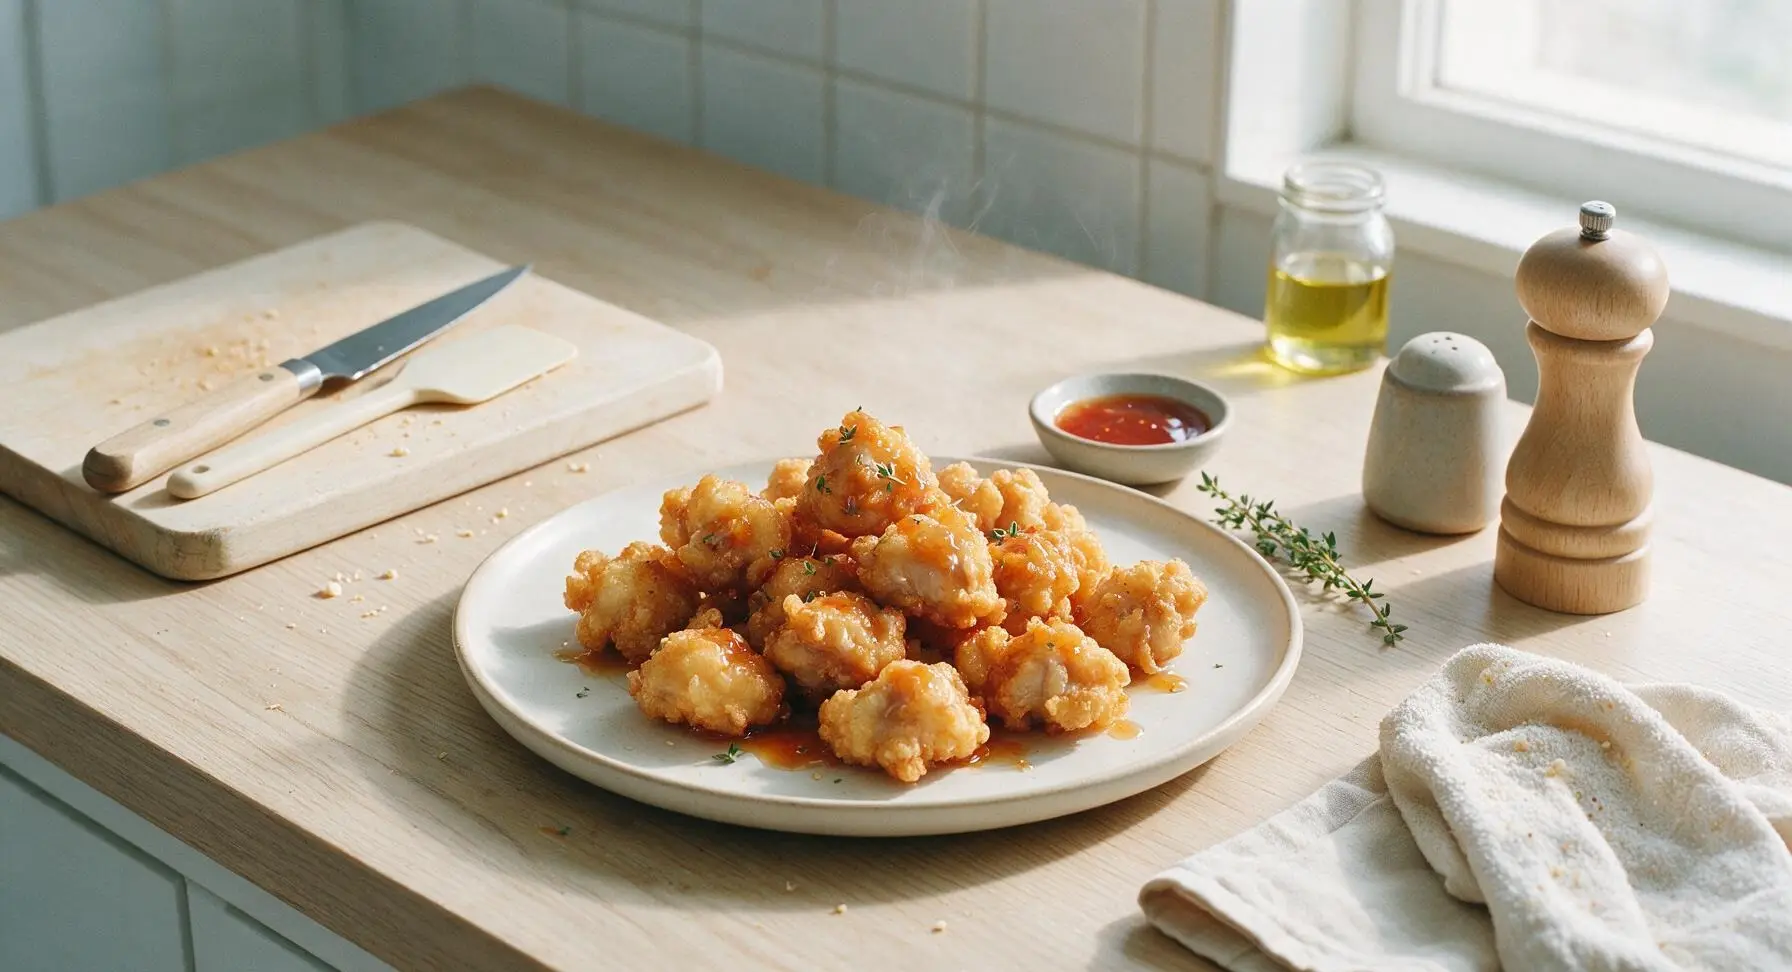
Crispy, golden battered chicken balls with juicy tender meat inside, served with tangy sweet and sour sauce—the beloved takeout favorite made easy at home.

Ingredients
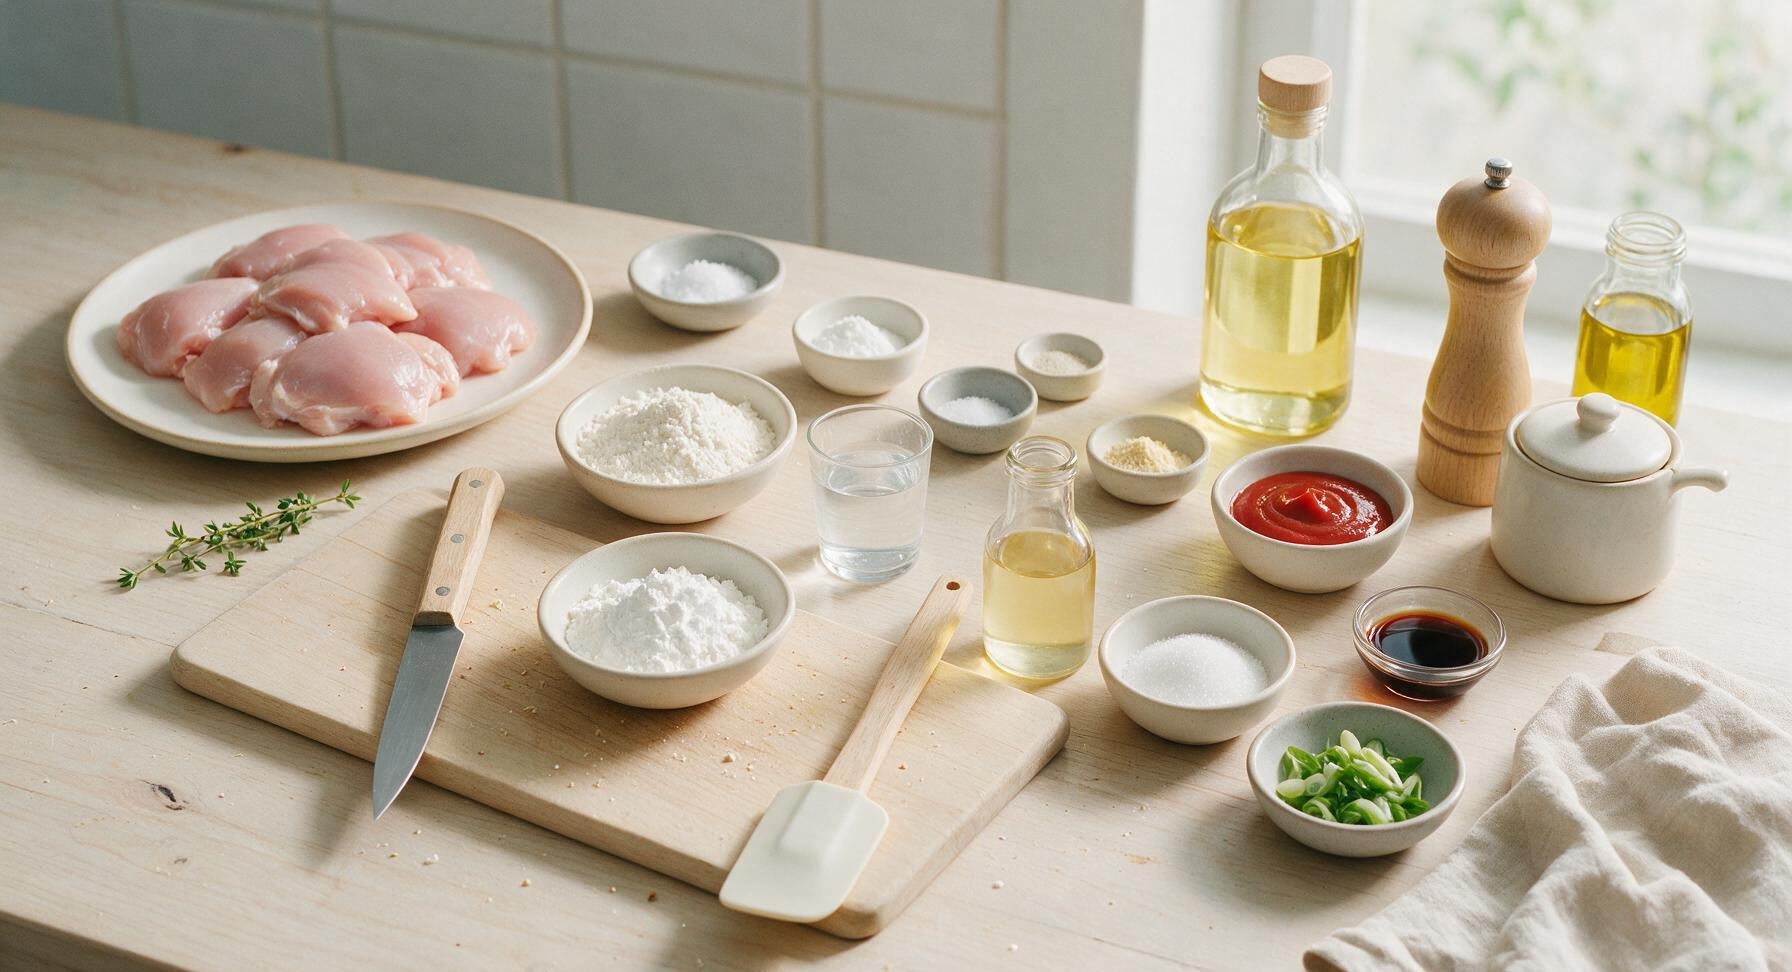
Boneless skinless chicken thighs 500g
All-purpose flour 120g
Cornstarch 70g (60g for batter, 10g for sauce)
Baking powder 1 tsp (4g)
Cold water 180ml (120ml for batter, 60ml for sauce)
Canola oil (for frying) 1L
Kosher salt 1 tsp (5g)
Ground white pepper 1/4 tsp (0.5g)
Garlic powder 1/2 tsp (1.5g)
White granulated sugar 60g
Unseasoned rice vinegar 60ml
Ketchup 3 tbsp (45ml)
Light soy sauce 1 tbsp (15ml)
Fresh scallions (green tops only, sliced for garnish) 2 stalks

Steps

1

Cut Chicken Into Chunks

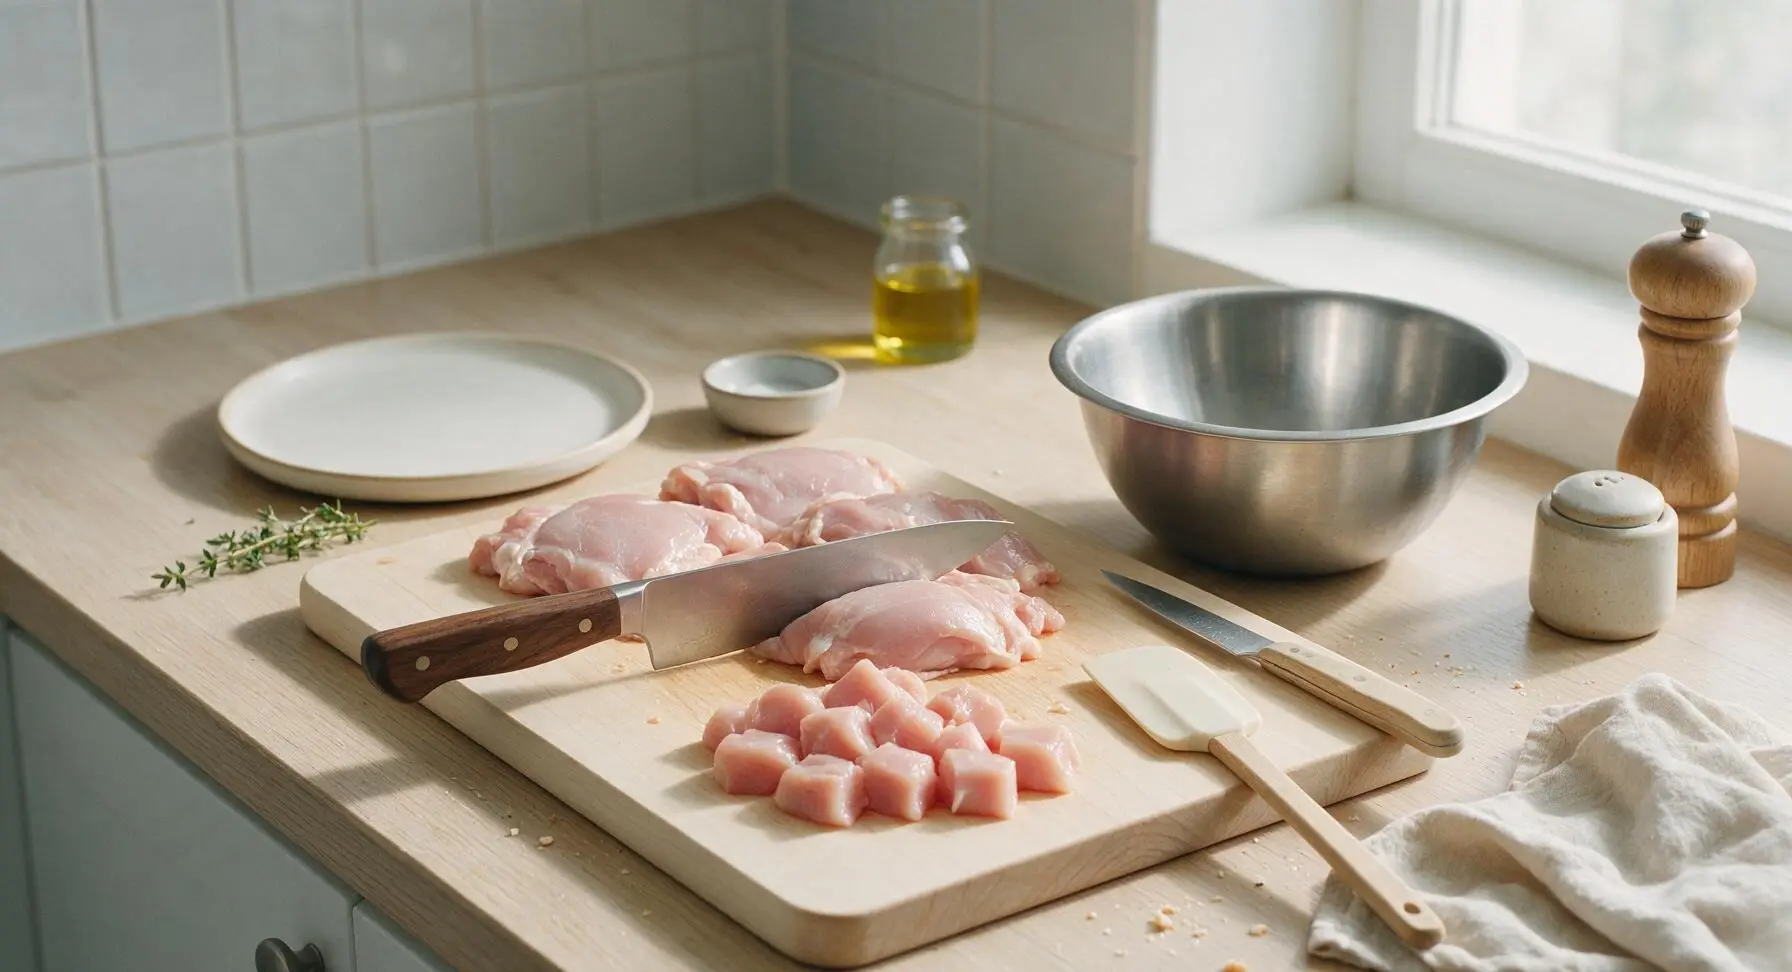
Place 500g boneless, skinless chicken thighs on the dark maple end-grain cutting board. Pat the chicken completely dry with the corner of the folded cream linen towel. Use the 8-inch walnut-handled chef knife to trim any excess hard fat or thin silver skin, then cut the chicken into uniform 3cm (1.25 inch) cubes. Uniform size ensures even cooking, with no undercooked large pieces or overcooked dry tiny bits. Set cut chicken aside on a corner of the board temporarily.
Step 1
step1:Cut Chicken Into Chunks
2

Mix Crispy Batter

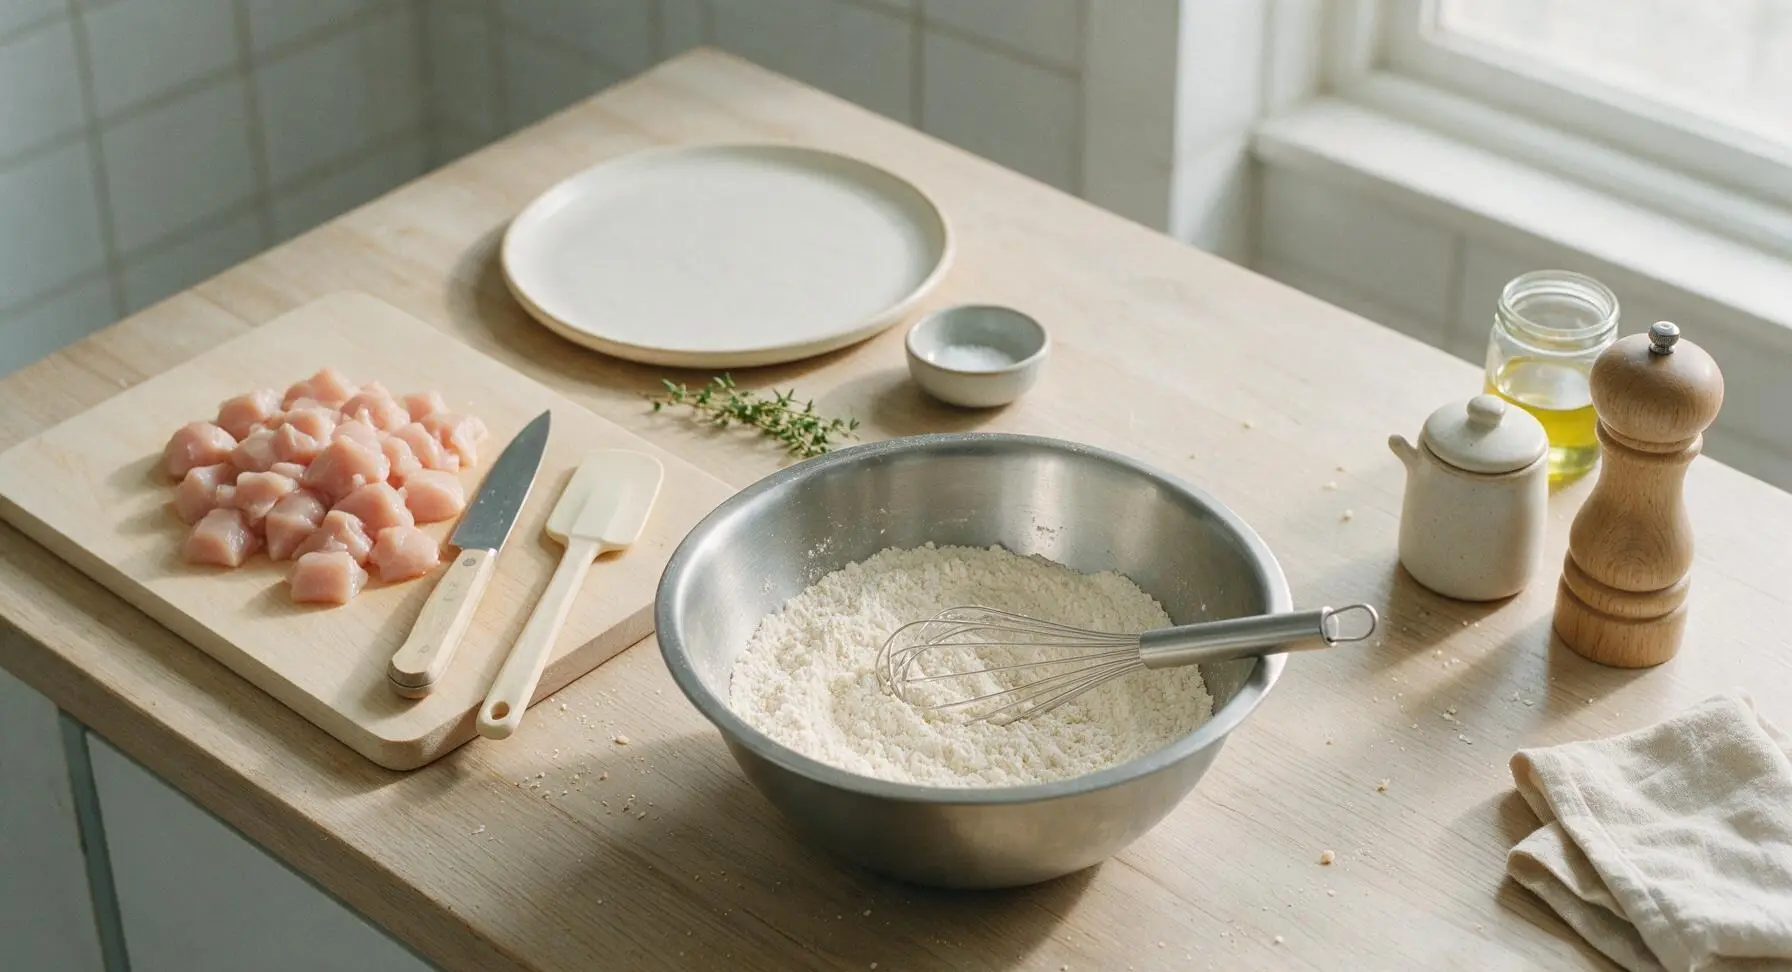
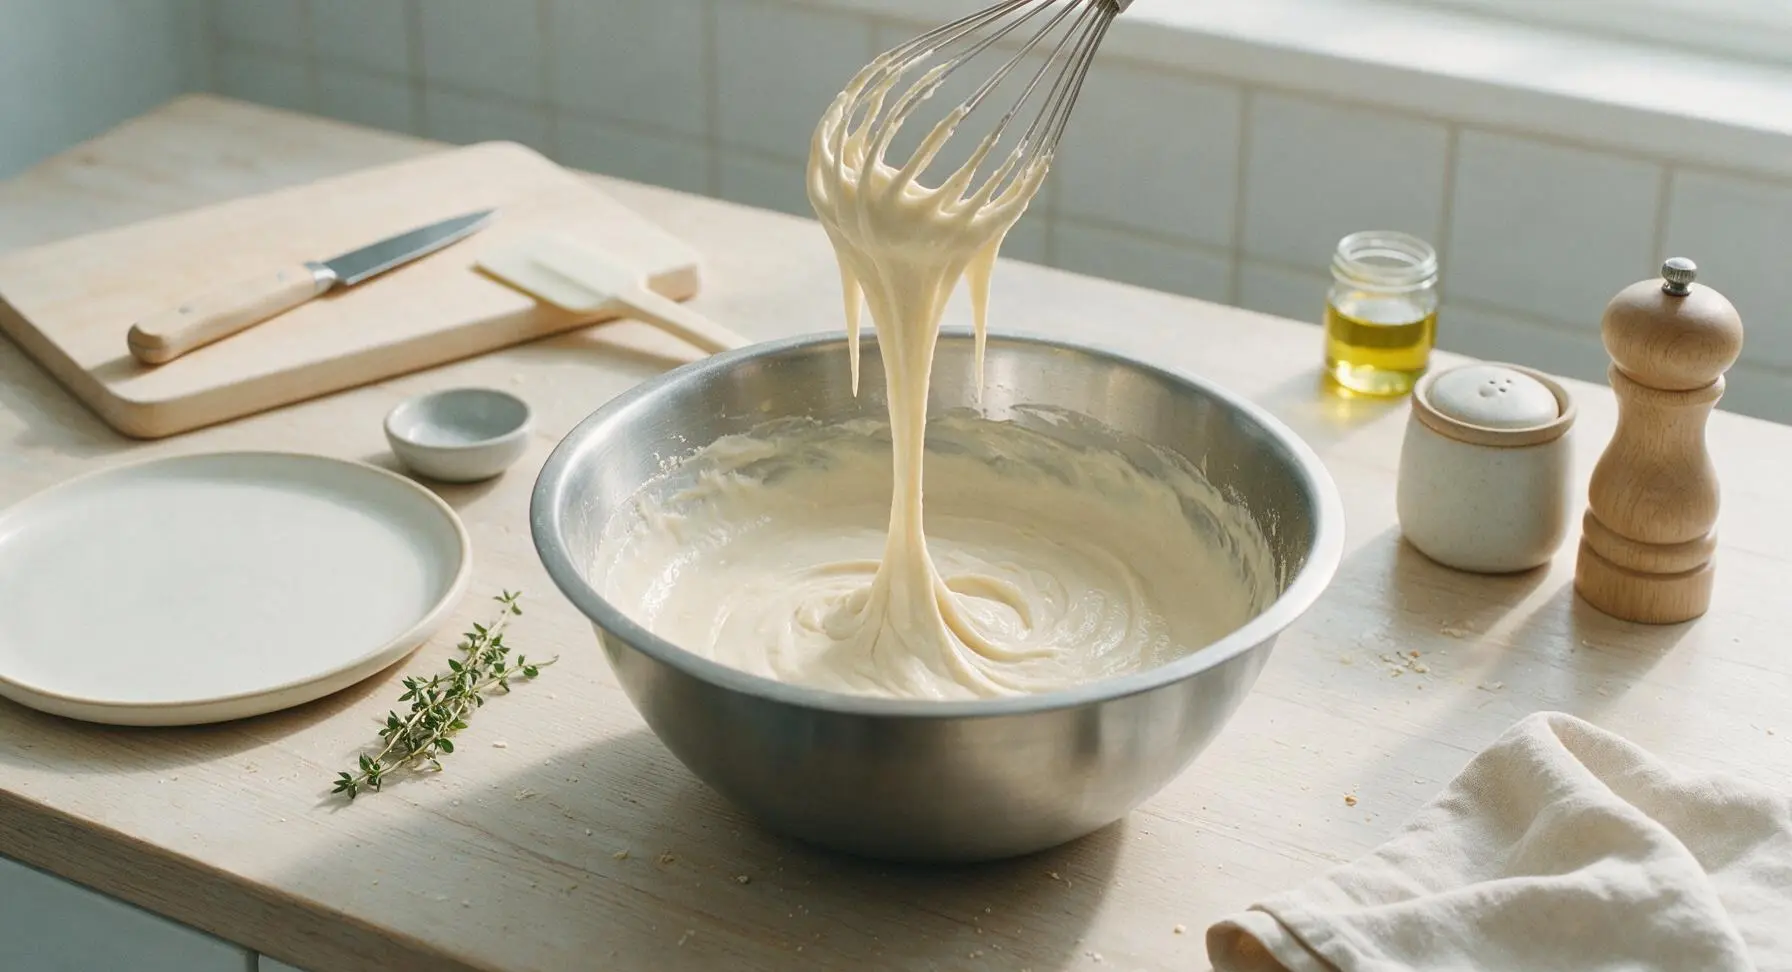
In the 24cm brushed stainless steel mixing bowl, combine 120g all-purpose flour, 60g cornstarch, 1 tsp baking powder, 1 tsp kosher salt, 1/4 tsp ground white pepper, and 1/2 tsp garlic powder. Use the small stainless steel whisk to stir dry ingredients until fully blended with no clumps of spice. Slowly pour in 120ml ice-cold water, whisking continuously, until the batter forms a smooth, thick consistency similar to heavy pancake batter—thick enough to coat the back of a spoon, with no dry lumps remaining. Avoid overmixing to prevent gluten development that would make the coating tough.
Step 2
step2:Mix Crispy Batter
Step 2
step2:Mix Crispy Batter
3

Coat Chicken In Batter

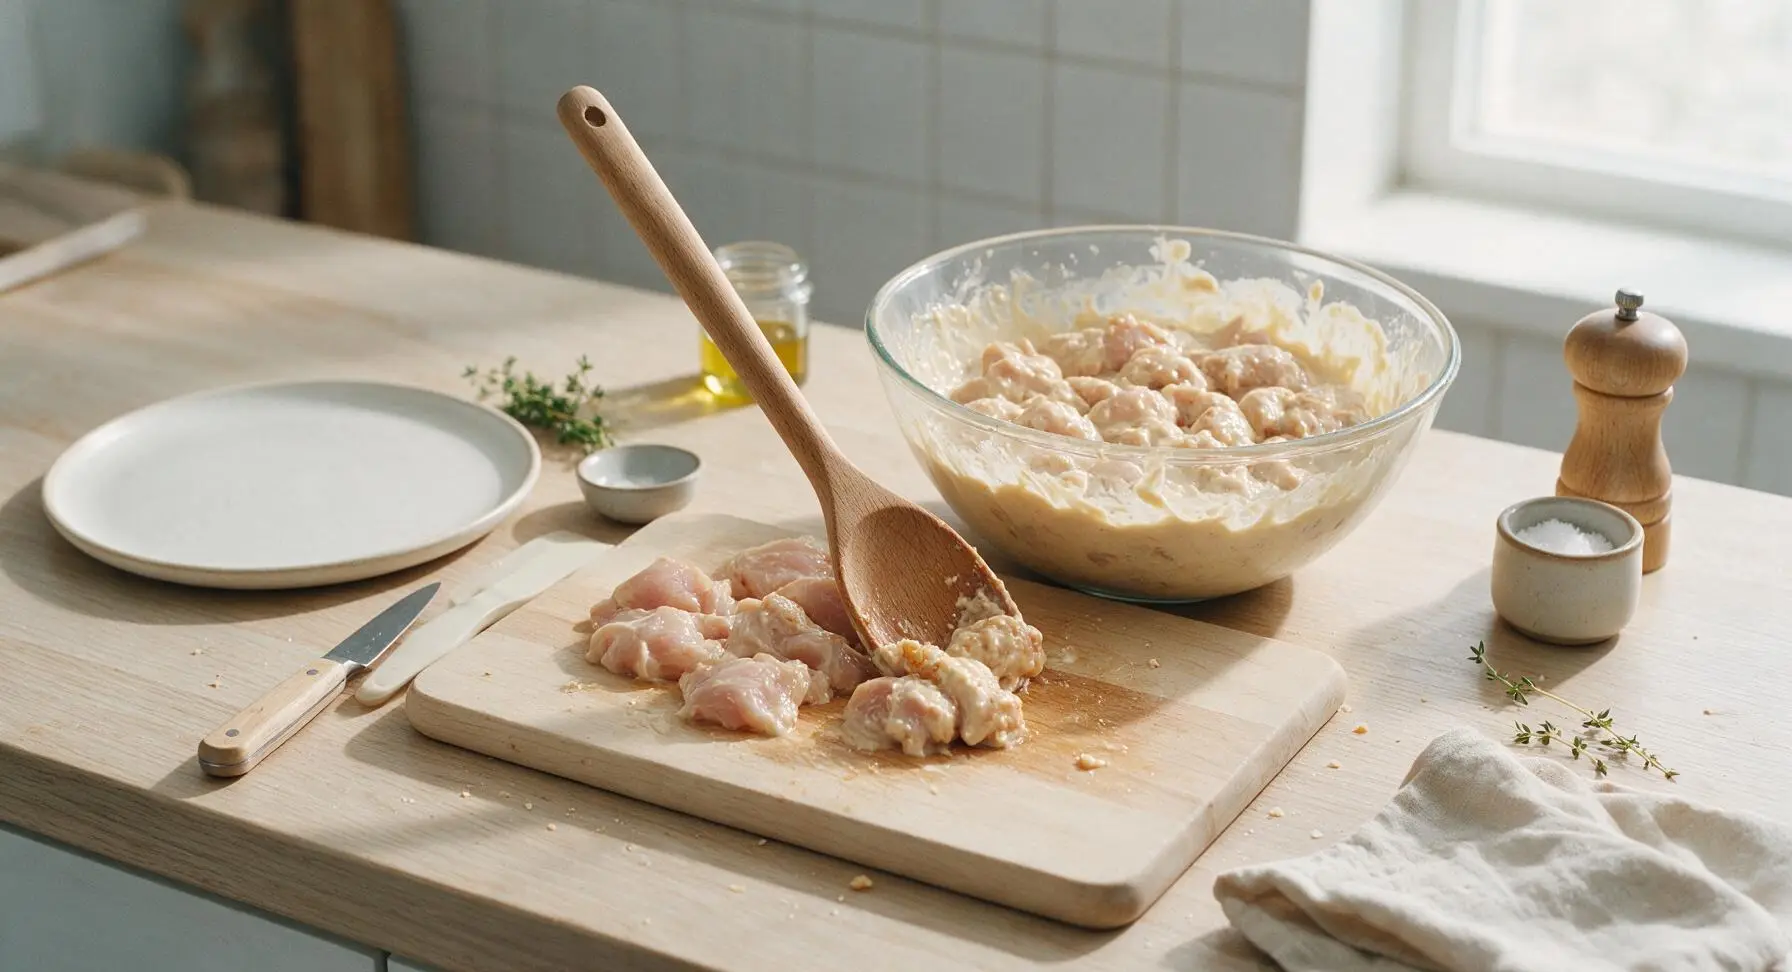
Add all the cut chicken cubes to the bowl of finished batter. Use the 30cm beechwood mixing spoon to toss the chicken gently until every piece is fully and evenly coated in batter, with no bare chicken spots visible. Let the coated chicken rest for 5 minutes at room temperature to let the batter adhere properly, which prevents it from sliding off during frying.
Step 3
step3:Coat Chicken In Batter
4

Heat Frying Oil

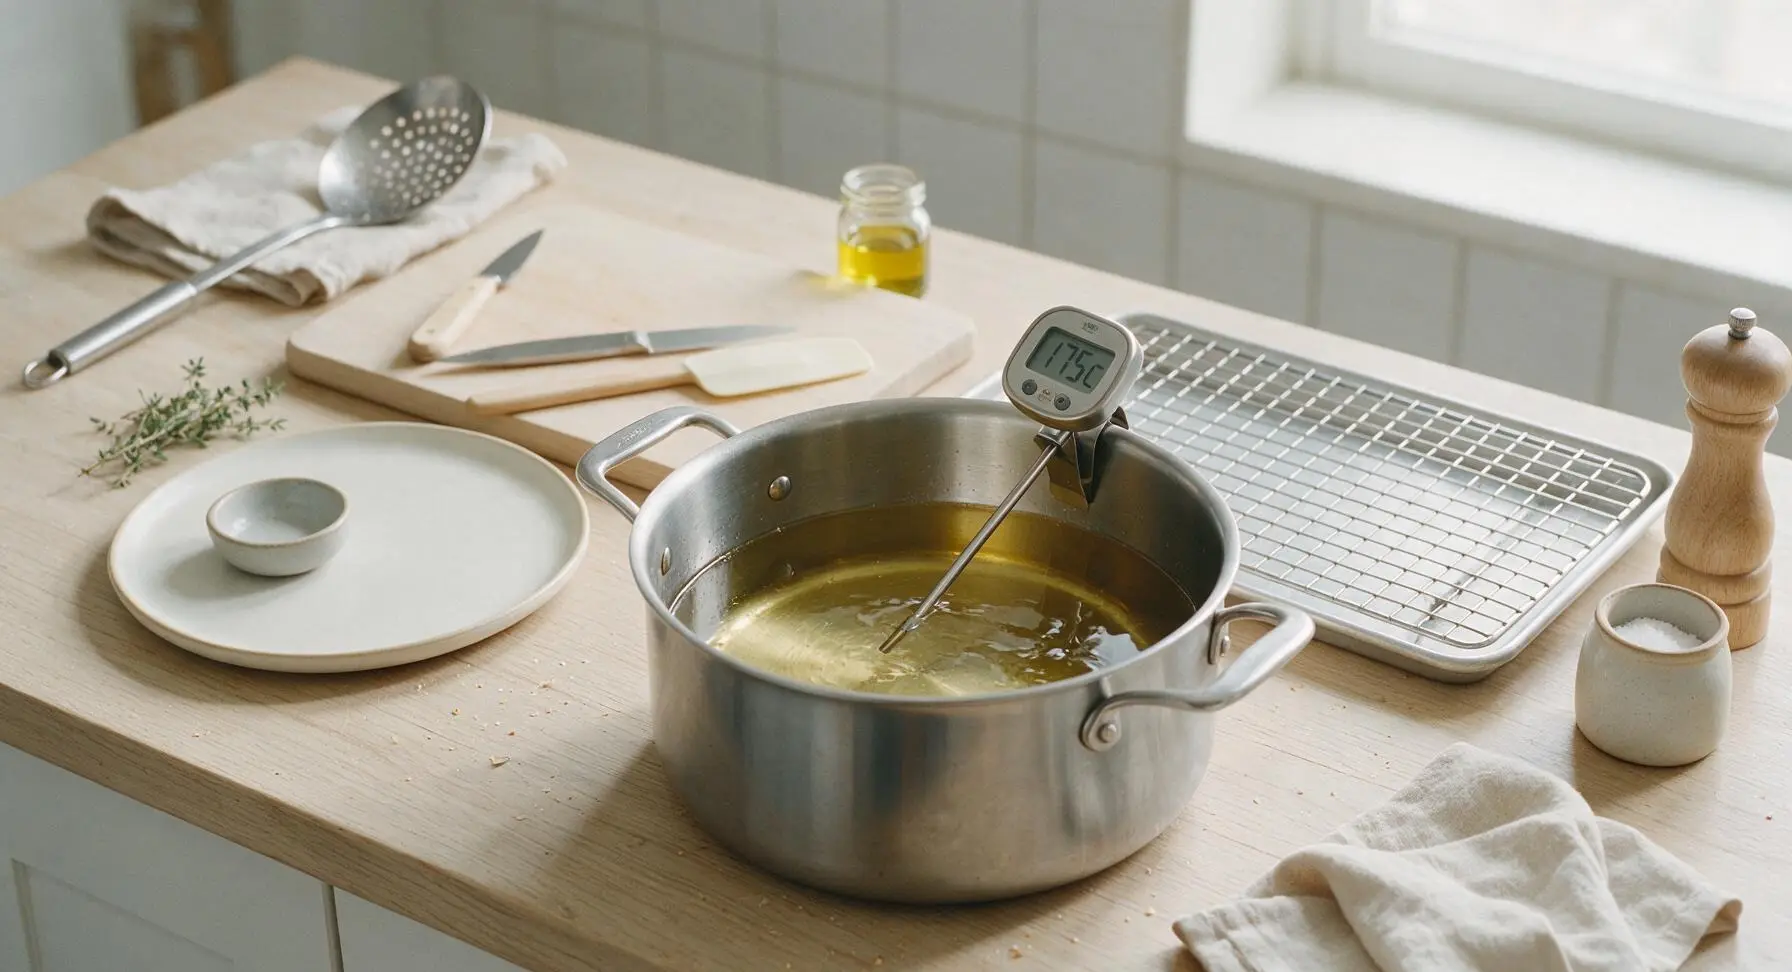
Place the 3L heavy-bottomed stainless steel deep pot in the center of the counter. Pour 1L canola oil into the pot, until it reaches 5cm depth. Heat the oil over medium-high heat until it reaches exactly 175C (350F), verified with the digital kitchen thermometer. Do not let the oil get hotter than 180C, as this will burn the batter before the chicken cooks through; oil below 165C will result in soggy, grease-soaked balls. Position the chrome wire cooling rack over the aluminum baking sheet to the right of the pot, for draining finished chicken balls.
Step 4
step4:Heat Frying Oil
5

Fry Chicken In Batches

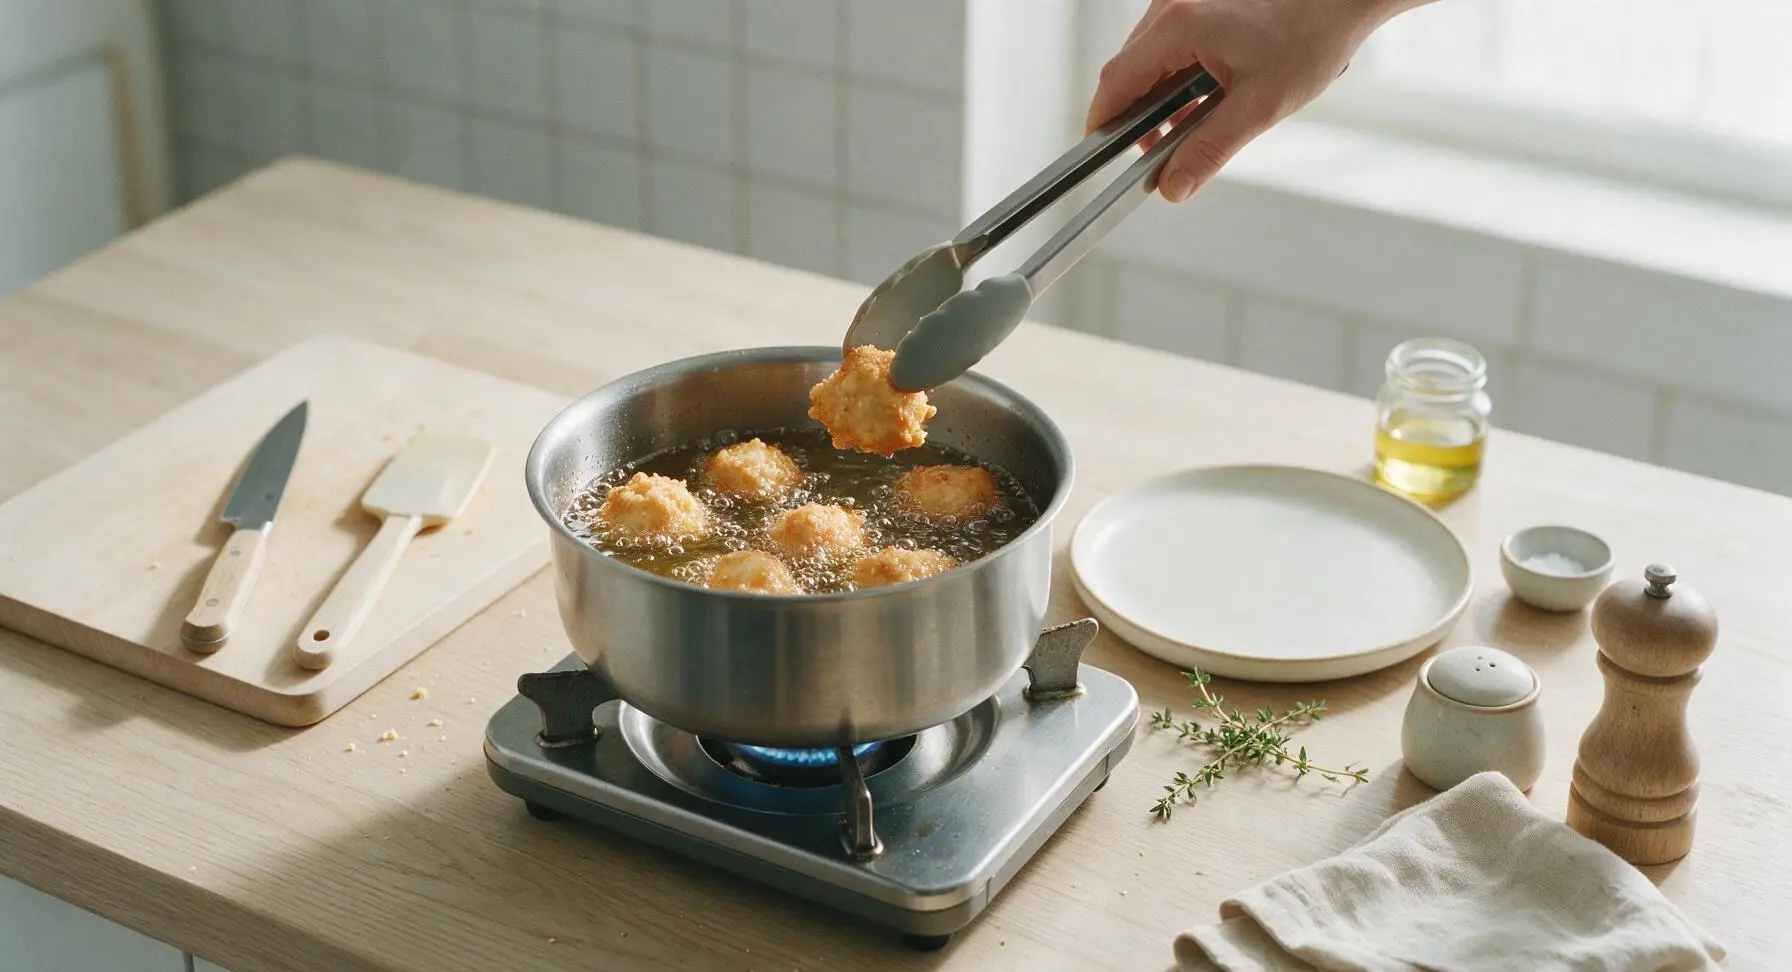
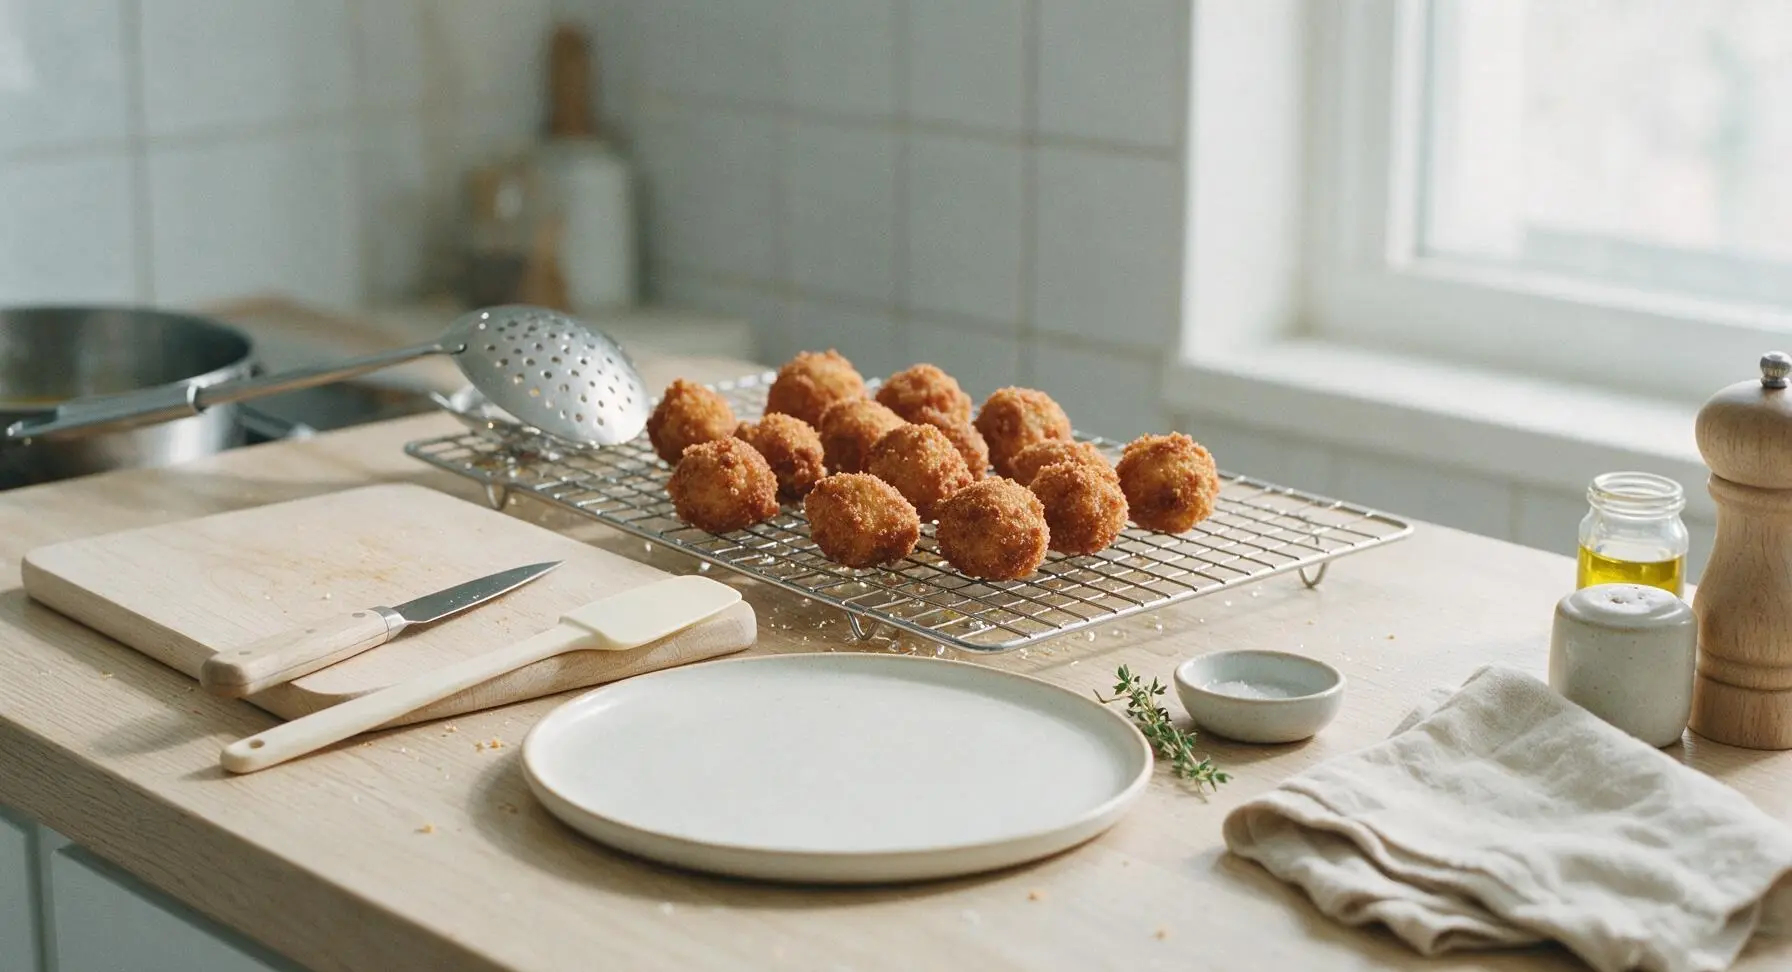
Working in 3 small batches (to avoid dropping oil temperature), use the silicone-tipped stainless steel tongs to gently lower batter-coated chicken pieces into the hot oil, taking care not to splash hot oil. Fry each batch for 5-6 minutes, turning the balls halfway through with the slotted spider skimmer, until the balls are deep golden brown, crispy, and the internal temperature of the chicken reaches 75C (165F). Use the spider skimmer to lift finished balls from the oil, letting excess oil drain for 2 seconds over the pot, then transfer to the wire cooling rack to drain. Wait 30 seconds between batches to let oil temperature return to 175C before adding the next batch.
Step 5
step5:Fry Chicken In Batches
Step 5
step5:Fry Chicken In Batches
6

Make Sweet Sour Sauce

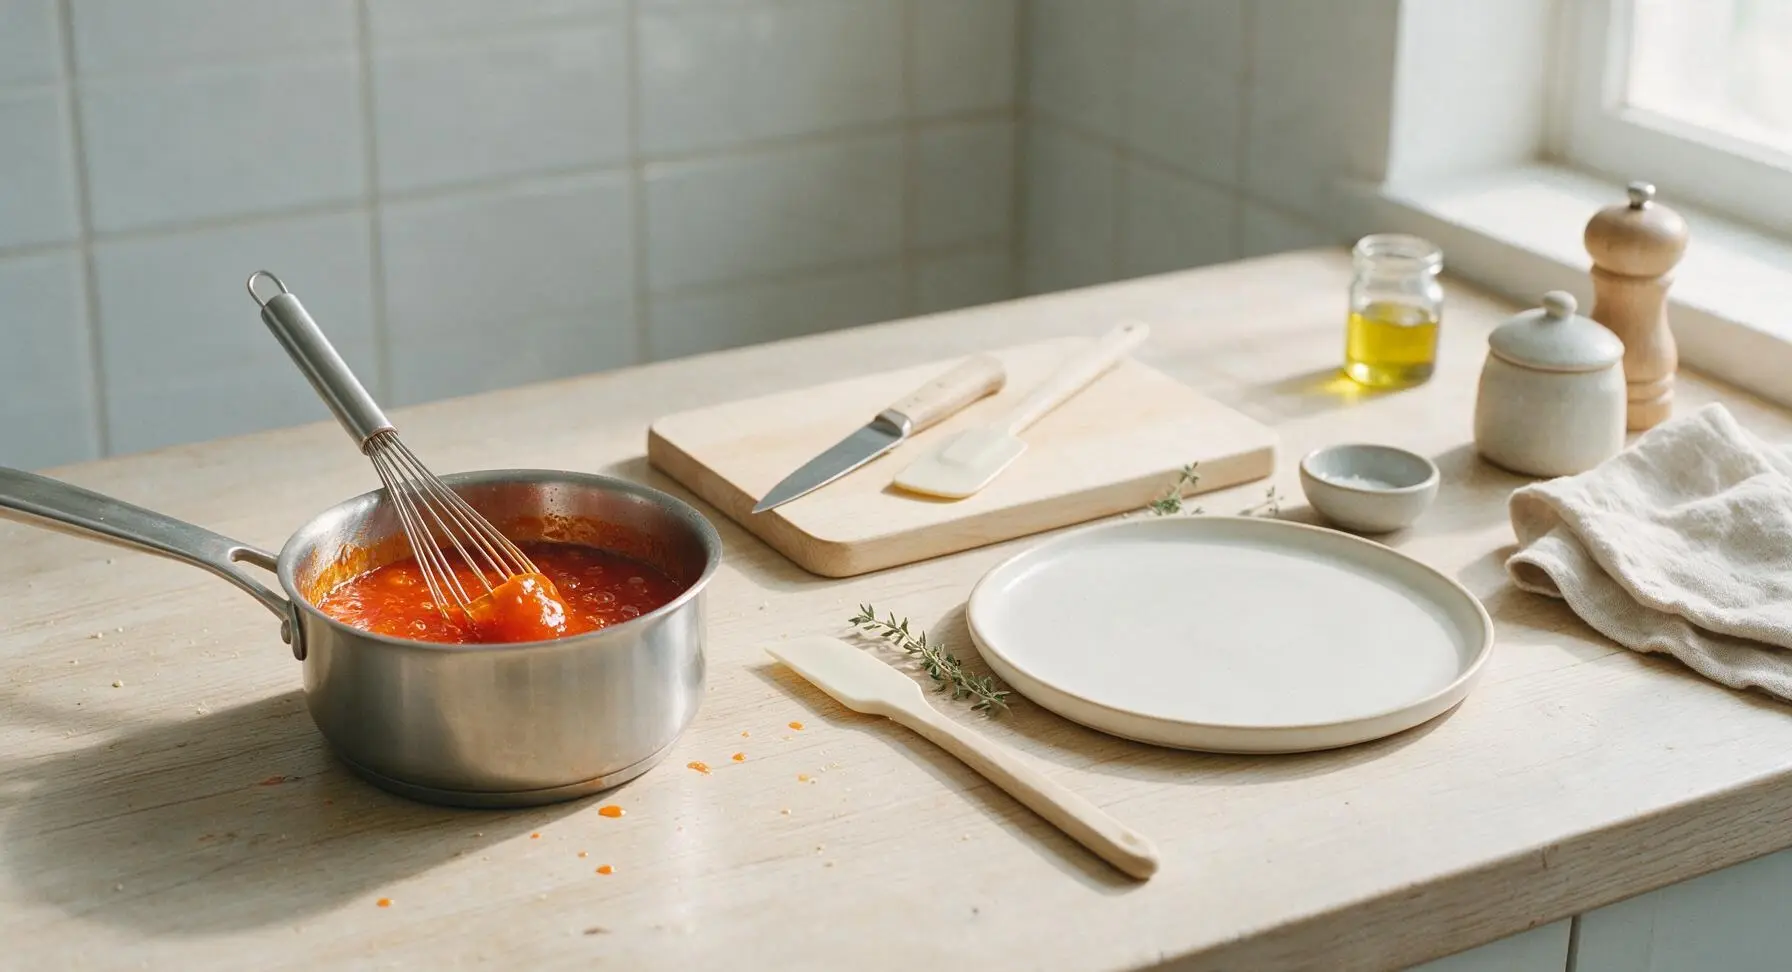
While the last batch of chicken fries, combine 60g white granulated sugar, 60ml rice vinegar, 3 tbsp ketchup, 1 tbsp light soy sauce, 60ml water, and 10g cornstarch in the 1L small stainless steel saucepan. Whisk over medium heat for 2-3 minutes, stirring constantly, until the sauce thickens to a glossy, pourable consistency that coats the back of a spoon, with a bright translucent orange-red color. Remove from heat immediately once thickened to avoid a gummy, over-thick texture.
Step 6
step6:Make Sweet Sour Sauce
7

Plate And Garnish

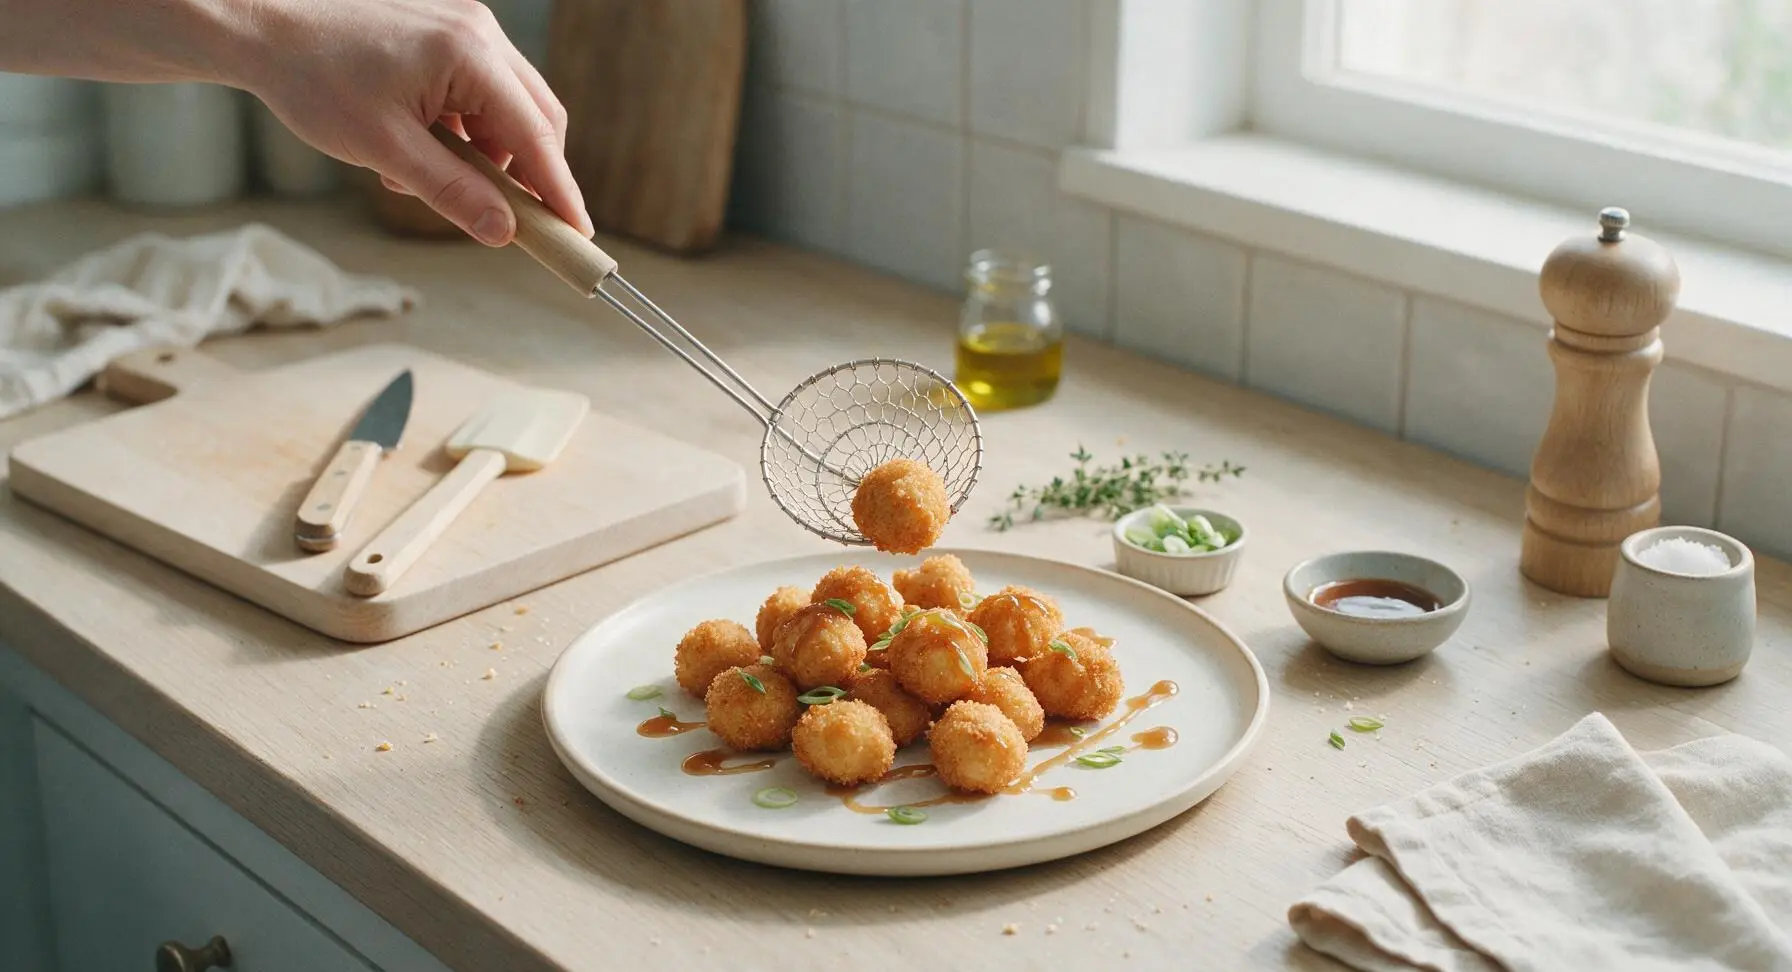
Transfer the drained, crispy chicken balls to the matte white ceramic dinner plate, piling them loosely in the center. Drizzle 2/3 of the sweet and sour sauce over the top of the balls in a thin zig-zag pattern, pouring the remaining sauce into the small white ceramic sauce bowl for dipping. Sprinkle thinly sliced green scallion tops over the chicken balls for a bright pop of color and mild fresh onion flavor. Serve immediately while the batter is hot and crispy, as the coating will soften if left to sit for more than 10 minutes.
Step 7
step7:Plate And Garnish

Tips

1.Use ice-cold water when mixing the batter: cold water slows gluten development in the flour, creating a lighter, crispier coating that doesn’t turn tough or chewy when fried, unlike the dense, bready coating that results from using warm or room temperature water.
2.Never overcrowd the frying pot: adding too many chicken pieces at once drops the oil temperature rapidly, which makes the batter absorb excess oil and turn soggy instead of crisping up immediately on contact. Frying in 3 small batches keeps oil temperature consistent for even, crisp results.
3.Let batter-coated chicken rest 5 minutes before frying: this short rest lets the batter adhere tightly to the chicken surface, so it doesn’t slide off the pieces when you lower them into hot oil, which would leave bare, uncoated chicken spots that dry out during cooking.


✨ You May Also Like

Snacks & Appetizers
🍜 Mexico

Crispy thick-cut tortilla chips piled high with seasoned beef, melted cheese, and bright fresh toppings for a shareable, crowd-favorite bite.

⏱️ 25 minuteSnacks & Appetizers ★ 4.8
Snacks & Appetizers
🍜 United States

Crisp, sweet-tangy spiced pickled watermelon rind is a zero-waste summer staple, perfect with grilled meats, charcuterie, or eaten straight from the jar as a bright snack.

⏱️ 30 minuteSnacks & Appetizers ★ 4.6
Snacks & Appetizers
🍜 Germany

A tangy, jellied pork cold cut slow-simmered with aromatic spices, set into a firm sliceable loaf, served cold with mustard and crusty bread.

⏱️ 3 hours 4Snacks & Appetizers ★ 4.8
Snacks & Appetizers
🍜 United States

Creamy, tangy, perfectly seasoned hard-boiled egg halves filled with a rich, smooth yolk mixture, a timeless, crowd-pleasing bite for holiday and casual gatherings alike.

⏱️ 40 minuteSnacks & Appetizers ★ 4.8
Snacks & Appetizers
🍜 Russia

Silky, dill-forward no-smoke cured salmon, a Scandinavian classic with bright salty-sweet flavor, ideal for holiday starter platters and open-faced rye sandwiches.

⏱️ 48 hours Snacks & Appetizers ★ 4.7
Snacks & Appetizers
🍜 Japan

Crisp golden bottoms, juicy savory pork and vegetable filling, and tangy dipping sauce make these pan-fried gyoza a beloved shareable bite.

⏱️ 45 minuteSnacks & Appetizers ★ 4.8

chinese chicken balls:Frequently Asked Questions

1.Why does this recipe use boneless skinless chicken thighs instead of chicken breast? ▾
Boneless, skinless chicken thighs stay juicy and tender even at the high frying heat needed for a crispy crust, unlike lean chicken breast which dries out very quickly. The small amount of natural fat in thighs also replicates that rich, savory takeout flavor, so you won’t end up with bland, dry chicken inside your crispy golden shell.
2.Why does the batter use both all-purpose flour and cornstarch instead of just flour? ▾
The blend of all-purpose flour and cornstarch creates that iconic takeout texture: flour gives the batter enough structure to puff and stick tightly to the chicken, while cornstarch cuts down on gluten development to keep the coating light, shatteringly crisp, and golden, instead of tough, chewy, or overly bready when fried.
3.What does baking powder do in the batter? Can I skip it? ▾
Baking powder creates tiny air bubbles in the batter as soon as it hits hot oil, which gives the coating that light, puffy, shatteringly crisp takeout texture instead of a thin, hard, flat crust. Don’t skip it, and double check your baking powder is fresh—expired leavening won’t fizz, leading to a dense, chewy coating that doesn’t puff up properly.
4.Why do you specify cold water for mixing the batter instead of room temperature? ▾
Cold water stops the gluten in the all-purpose flour from over-developing as you stir the batter, which keeps the final coating light and ultra-crispy instead of dense or tough. For an extra crunchy boost, you can even use ice water—just skip warm or hot water, which creates a heavy, grease-soaked crust when fried.
5.How do I get my chicken balls as crispy as restaurant takeout, instead of soggy? ▾
First, hold your frying oil at a steady 350°F—oil that’s too low makes the batter soak up grease and turn soft. Don’t overcrowd the pot, which drops oil temperature fast. Let battered chicken rest 2-3 minutes before frying so the coating sticks, and drain cooked balls on a wire rack instead of paper towels to keep crust crisp for serving.
6.Do I have to serve these with sweet and sour sauce? What other dips work well? ▾
Tangy sweet and sour sauce is the classic takeout pairing, but these crispy chicken balls work beautifully with lots of other dips. Try them with orange sauce, spicy honey garlic sauce, creamy yum yum sauce, or sweet chili sauce. For a simple option, toss them with a light sprinkle of salt and a squeeze of fresh lime right after frying for a bright, savory bite.

Comments (10)

2 days ago

OMG these taste EXACTLY like the chicken balls from my go-to takeout spot down the street! The batter got so crispy even after I tossed them in a little sweet and sour sauce, my kids devoured half the batch before I even got the plates on the table. Total game changer for weeknight dinners, no more waiting 45 mins for delivery!

1 day ago

So glad your family loved them, Jessie! Pro tip: if you want extra crisp, let the batter rest 10 mins before dipping the chicken — works every time!

3 days ago

Wait, is there a substitute for cornstarch? I ran out halfway through prepping and almost panicked, ended up using a little extra flour but they weren’t quite as crispy as I hoped. Still tasty though!

2 days ago

I used arrowroot starch last week when I was out of cornstarch and it worked almost exactly the same! Crisp held up even when I packed leftovers for lunch the next day

2 days ago

Great call from BakeBoss99! Arrowroot or potato starch both work great as 1:1 cornstarch swaps if you’re in a pinch. The extra flour can make the batter a little heavier, which is why the crisp didn’t hold as well!

1 week ago

Made a double batch on Sunday for meal prep and they reheated perfectly in the air fryer at 375 for 5 minutes! No soggy batter, no weird rubbery chicken, I’m obsessed. Way cheaper than ordering takeout for work lunches all week.

5 days ago

Brought these to my neighborhood block party potluck last weekend and people were asking me for the recipe before I even set the platter down! I served them with a side of that neon pink sweet and sour sauce everyone loves from takeout, total hit.

4 days ago

Oh that neon sauce is such a good call! I did honey garlic last time and they were great but I’m definitely grabbing that sweet and sour for the next batch I make for my poker night

5 minutes ago

Wait, this says easy difficulty and 20 minute cook time — is that actually accurate? I’m a total beginner in the kitchen and I burn 90% of the things I try to make, so I don’t wanna mess this up for my girlfriend’s birthday dinner.

3 minutes ago

Dude I’m also a terrible cook and I nailed these first try! Just make sure your oil is hot enough before you drop the balls in, I used a candy thermometer to check and it was foolproof

1 minute ago

It really is that easy, Nate! If you don’t have a thermometer, you can test the oil by dropping a tiny bit of batter in — if it sizzles and floats right up, you’re good to go. I’m sure your girlfriend will love them!

yesterday

Added a teaspoon of white pepper and a half teaspoon of five spice to the batter and wow, that extra depth of flavor made these even better than takeout! So crispy, so juicy on the inside, will 100% be making these every other week from now on.

2 weeks ago

SO good! I was worried the chicken would be dry since I used pre-cut chicken breast chunks from the grocery store to save time, but they were perfectly juicy. My youngest is super picky and he ate three helpings, that’s a win in my book.

1 week ago

Love that you used pre-cut chicken to save time — that’s such a smart hack for busy weeknights! So happy your picky eater approved, that’s the best review we can get!

30 minutes ago

Has anyone tried freezing these after cooking? I made a test batch last night and they were amazing, but I live alone and don’t want half of a big batch to go to waste before I can eat it all.

20 minutes ago

I froze a batch last month! Let them cool completely first, then freeze in a single layer on a baking sheet before transferring to a bag. Reheat in the oven at 400 for 10 mins straight from frozen and they get crispy again, no sogginess

15 minutes ago

That’s exactly the freezing method I recommend too! Just don’t thaw them first before reheating, that’s the trick to keeping the batter crisp instead of mushy.

2 hours ago

I was convinced homemade takeout-style recipes never actually taste like the real thing, but these proved me wrong. The batter is so light and crispy, not heavy and greasy like some of the versions I’ve ordered from local spots. Wild!

1 hour ago

Right?! I was so surprised too! I even did a side by side taste test with my usual order and my roommate said the homemade ones were better. Wild how easy they are too

just now

Made these for my at-home date night last night paired with fried rice and veggie egg rolls, and my partner said it was better than our usual date night takeout ritual. So easy to throw together after work too, didn’t feel like I spent forever in the kitchen!



